
Interface and application programming
Group assignment
Throughout the week, my focus was on learning a specific topic. I had a clear goal in mind: to create an interface in Windows for my final project. To achieve this, I decided to use PyQt5, a popular Python module for creating graphical user interfaces. My objective for the week was to maximize my learning outcome from this topic, because I know that in order to successfully build the machine for my final project, an interface is necessary. With that in mind, I was determined to fully understand and utilize PyQt5 to create the interface for my project. In summary, my focus for the week was on learning how to use PyQt5 to create a Windows interface for my final project. My objective was to fully understand the module and maximize my learning outcome in order to create a successful project.
PyQt5
PyQt5 is a Python binding for the Qt framework, allowing developers to create graphical user interfaces (GUIs) for their Python applications using Qt's extensive set of widgets and tools. It provides a comprehensive set of classes and methods for creating and managing GUIs, as well as a powerful event system for handling user input and other events. PyQt5 is compatible with various platforms and distributed under the GPL or commercial license. Overall, it is a versatile and powerful tool for developing cross-platform desktop applications with Python.

Setup
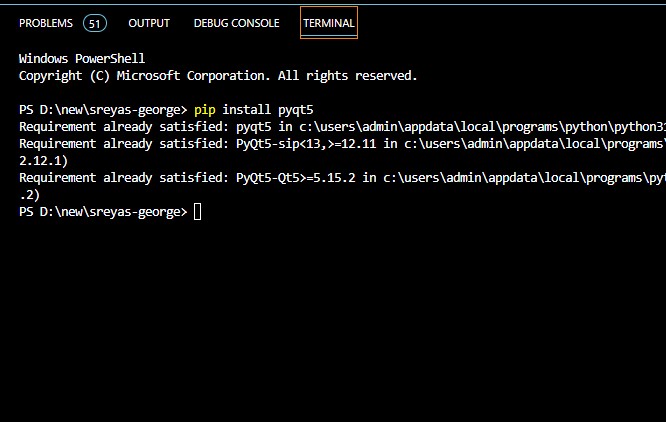
1.Ensure that you have Python installed on your system.
2.Open a command prompt or terminal window on your system.
3.Use pip, the Python package manager, to install PyQt5 by running the following command:
pip install pyqt5
This command will download and install the latest version of PyQt5 and its dependencies.
Interfacing With Something
To design a user interface, it is necessary to interface with an external device. To achieve this, I decided to use an input device that I had designed and built during the previous week. I connected this device to the serial monitor, which allowed it to send data via serial communication. The received data was then displayed on the user interface. This was the main idea that I had for the week.

To implement this idea, I used VS Code, an integrated development environment, to create the interface. The microchip was responsible for sending the data to the computer via the serial monitor. The user interface then read this data and displayed it on the computer screen. This approach allowed me to interface the input device with the user interface.

In summary, my goal for the week was to design a user interface that would work with an input device. To achieve this, I connected the input device to the serial monitor, and used VS Code to create the interface. The microchip sent data to the computer via the serial monitor, and the user interface read and displayed this data. This approach was successful in interfacing the input device with the user interface.
Experiments
Programming the Board

To program the board, I used the Arduino IDE and began by programming the two input pins and the switch pins of the board. I designed the program in such a way that the inputs to the serial monitor were integers, and it would read from positive to negative values. Additionally, when the switch is pressed, the values on the serial monitor convert to zero. This programming logic allows for better control and monitoring of the board, as well as the ability to track input values and switch states.
UI Design
After going through a series of tutorials and carefully studying documentation, I dedicated myself to designing a program that would allow me to create user interfaces with the help of the PyQt5 library. It was a challenging task, but I was determined to succeed, and with perseverance and patience, I was finally able to create a program that could produce a user interface with ease.
One of the main features of the program was its ability to connect to a serial port automatically when it was available. This was an essential requirement since I wanted to ensure that users could connect to their devices without any hassle. However, to ensure smooth functioning of the program, I had to set up the communication port and bandwidth settings beforehand. This made it easier for the GUI to start working immediately after the user initiated the program.
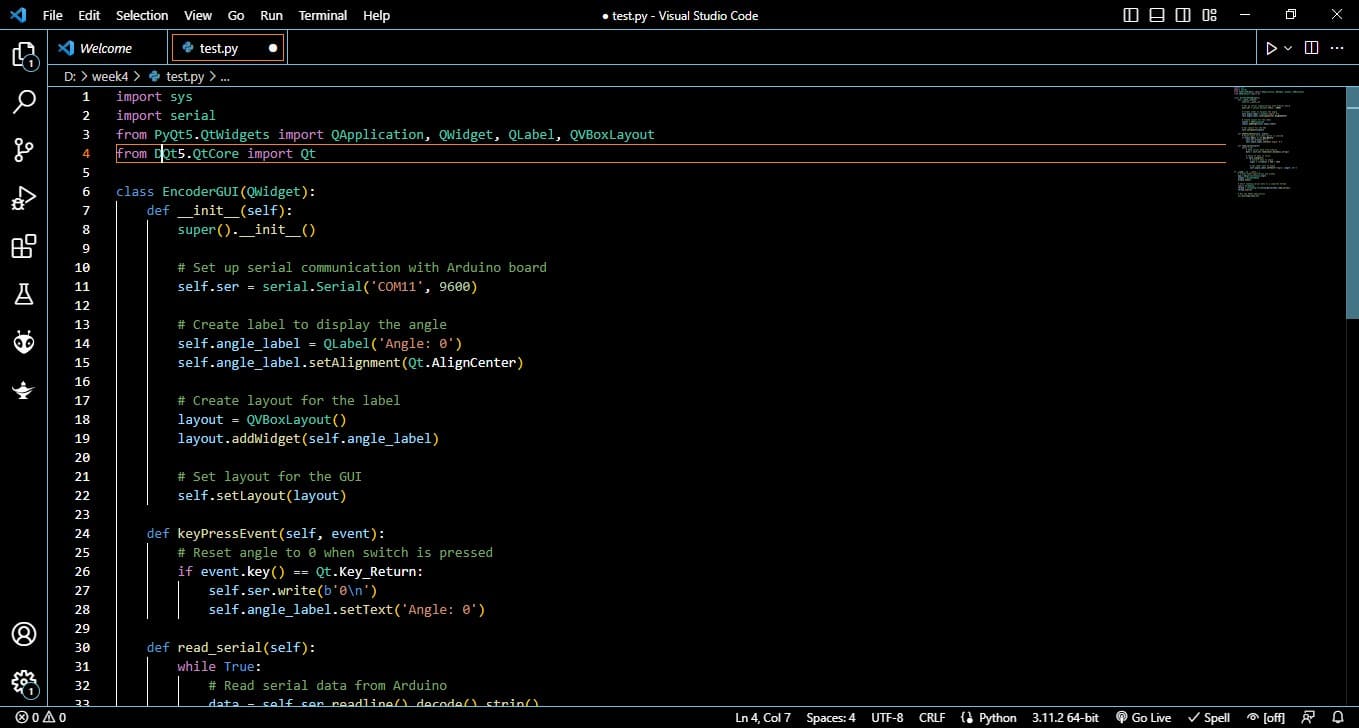
The code defines a class called EncoderGUI which represents the main GUI window. Inside the class constructor, the serial communication is set up, and a QLabel widget is created to display the angle value. The GUI layout is defined using a QVBoxLayout, and the QLabel is added to the layout. The keyPressEvent method handles the event when the Return key is pressed, resetting the angle value to zero. The read_serial method continuously reads the serial data from the Arduino, converts it to an angle value, and updates the QLabel widget. The script also creates a separate thread to run the read_serial method concurrently with the GUI updates. Finally, the PyQt5 application is created, the GUI window is displayed, and the event loop is started to run the application.
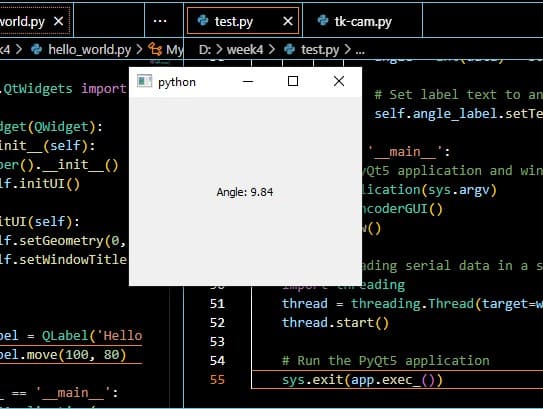
The GUI was designed to read data from the serial monitor and divide it by 10, which would then be displayed as an angle. This made it incredibly easy for users to view the data and interpret it with ease. However, despite my best efforts, I ran into numerous errors while working on the program. I tried my best to fix them, but it wasn't until I sought the help of ChatGPT that I was finally able to correct them.
The code communicates with the board using the serial module in Python.
In the EncoderGUI class constructor, a serial connection is established with the Arduino board by creating an instance of the Serial class. The serial connection is initialized with the port name (e.g., 'COM11') and the baud rate (9600 in this case). This allows the code to send and receive data to and from the Arduino.
The ser.write() method is used to send data to the Arduino. In the code, when the Return key is pressed (event.key() == Qt.Key_Return), the value '0' is sent to the Arduino board as a byte sequence (b'0\n'). This is achieved using the write() method of the ser object.
On the Arduino side, the code is expected to be listening for incoming data from the serial port. It can use the Serial.read() or Serial.readline() functions to read the data sent by the Python code.
In the read_serial method, the ser.readline() function is used to read the serial data from the Arduino. The received data is then processed to check if it is a valid numerical value (if data.isdigit()). If the data is valid, it is converted to an angle value using the formula angle = int(data) * 360 / 1024. Finally, the angle value is displayed in the QLabel widget by setting the text of the QLabel using self.angle_label.setText(f'Angle: {angle:.2f}').
This way, the Python code establishes a communication channel with the Arduino board using the serial connection and exchanges data with it.
<