
Computer Controlled Cutting
WEEK 3
This week’s assignments are:
- To learn to characterize our laser cutter's focus, power, speed, rate, kerf, joint clearance and types (Group Assignment added HERE)
- To cut something on the vinyl cutter
- To design, laser-cut, and document a parametric construction kit, accounting for the laser cutter kerf, which can be assembled in multiple ways
Vinyl Cutter
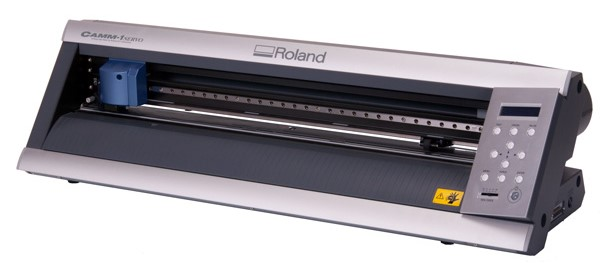
Roland CAMM 1 Servo- the vinyl Cutter we have in our FabLab
A Vinyl Cutter is a computer-controlled machine that allows us to make precise cuts on vinyl sheets. Vinyl cutters typically use a knife held by the cutting carriage to make these precise cuts
Machine Setup


*The machine controls -selecting roll *maximum force it can take *cutting tool
- We start off by loading the sticker roll or sheet by releasing the loading lever and aligning the paper
- Once we have aligned the vinyl paper we align the pinch rollers to the white lines and push the loading lever, locking the sheet down to the cutter
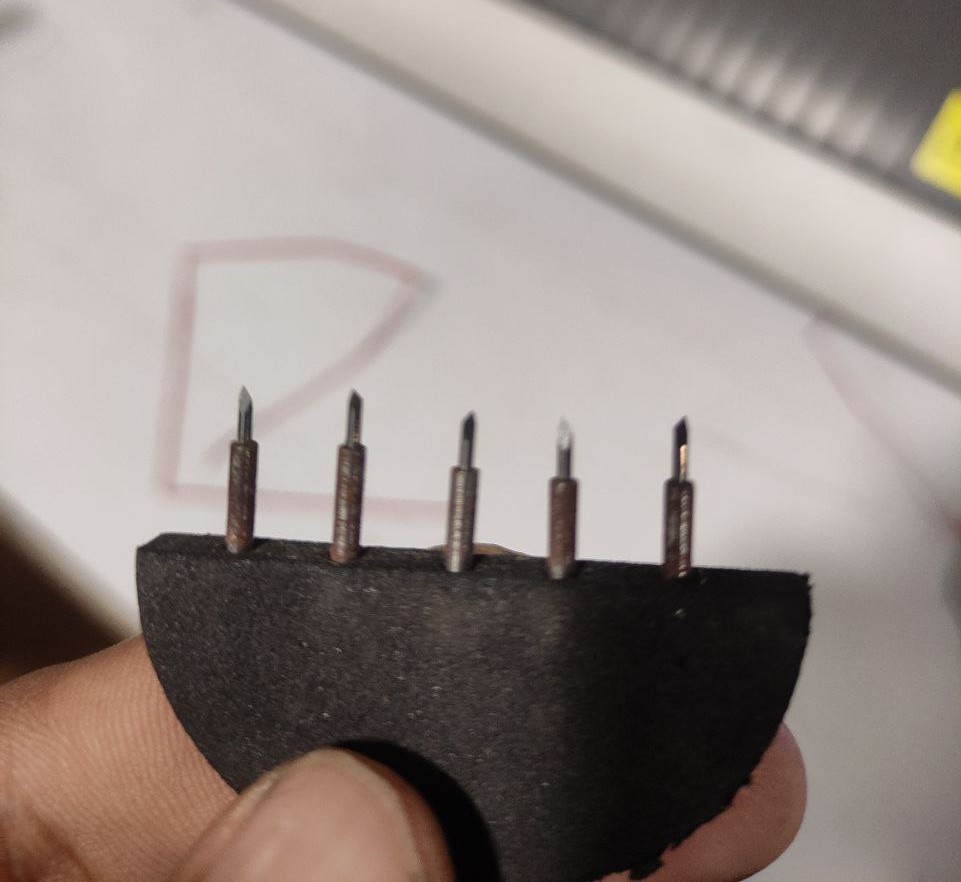
- inspecting the knife, by removing this cap we can also change the blade
- every blade will be needed to be changed after awhile
- We can also adjust the force mechanically by turning the cap which reveals more of the blade, hence a deeper cut
- Then we can finally set up our vinyl cutter and set an origin and make a test cut using the test button.

cutting knife enclosure
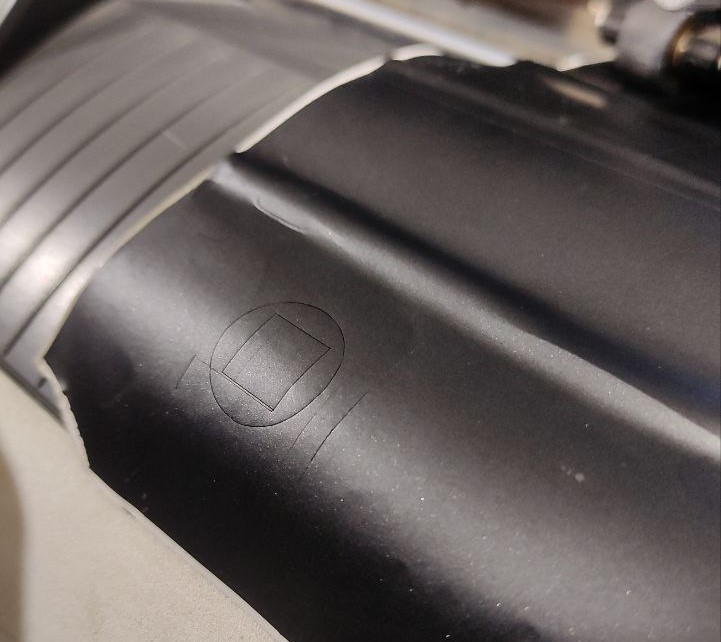
*test cuts
Design Phase
I used InkScape to create the vector for cutting the sticker. So i first imported a low res .JPG of a logo and then using “Trace Bitmap” converted it into a vector
The image I choose
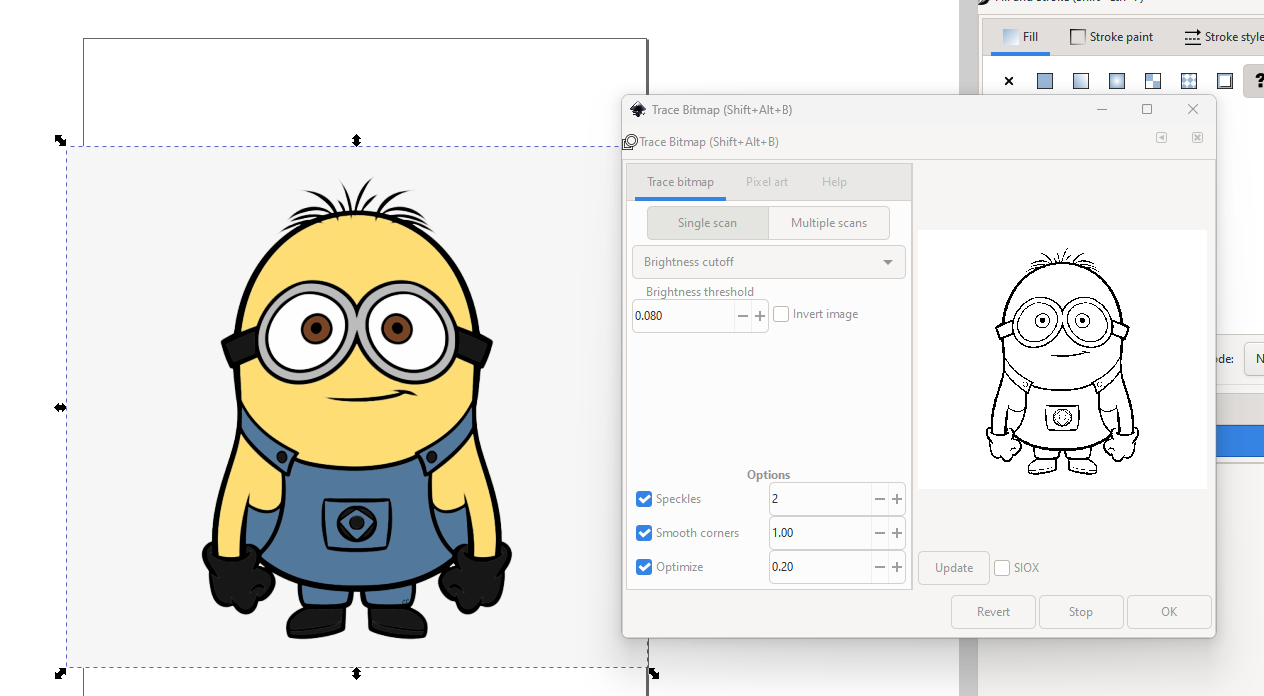
Since the .JPG was low-res raster image, So I used “Trace Bitmap” to convert it into a vector.
- Since the sticker, i am going to make has different layers
- I had to change all the colours into different layer groups and cut them separately
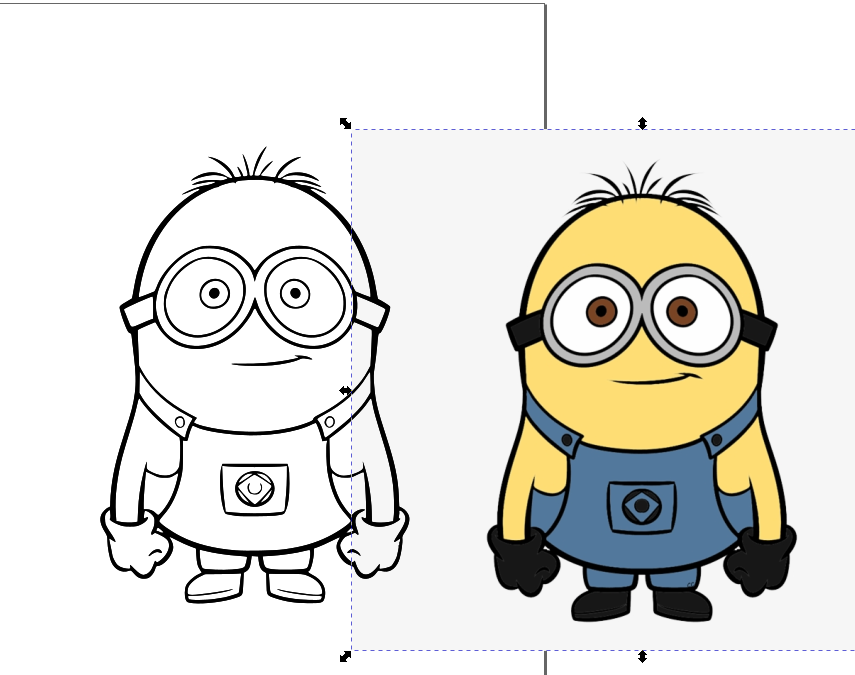
- first i changed it into a vector, only lines, using trace bitmap options
- now i used the bucket tool in Inkscape to fill in all the colours I wanted

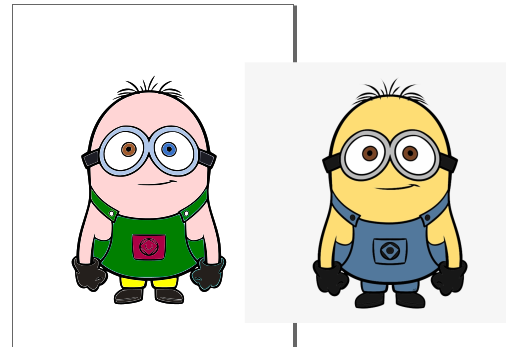
how about a minion in the colour scheme of a mario
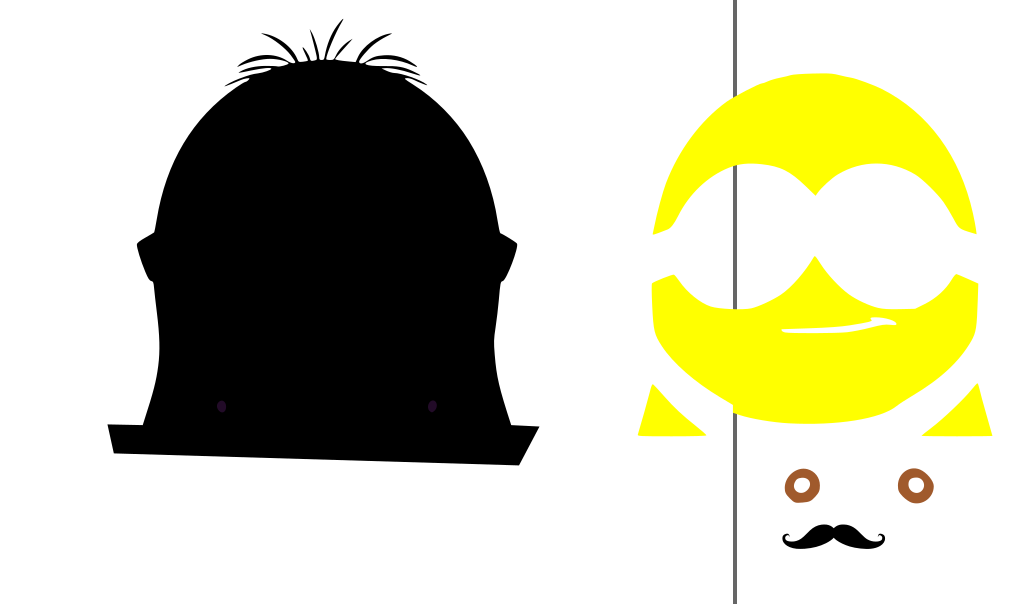
- now I grouped all the same colored shapes into different groups using the union command “c++” in inkscape

- our lab doesn't have these many colors, so i changed the design into only 3 colors, based on the instructions from our tutor “Jojin”

And this was the final output
Controlling the Machine using Mods
Since the design file is a .svg file it doesn’t have enough information that directs the Vinyl Cutter and also we doesn't have the propitiatory software of Roland vinyl cutter
- So to start cutting we must first run Mods by opening terminal and typing in “bash start-servers”…

- Then Right-Click on the page and navigate to “programs>>open program>>GX-GS 24 vinyl cutters

Then we import our .SVG into mods by clicking “select SVG file” button.
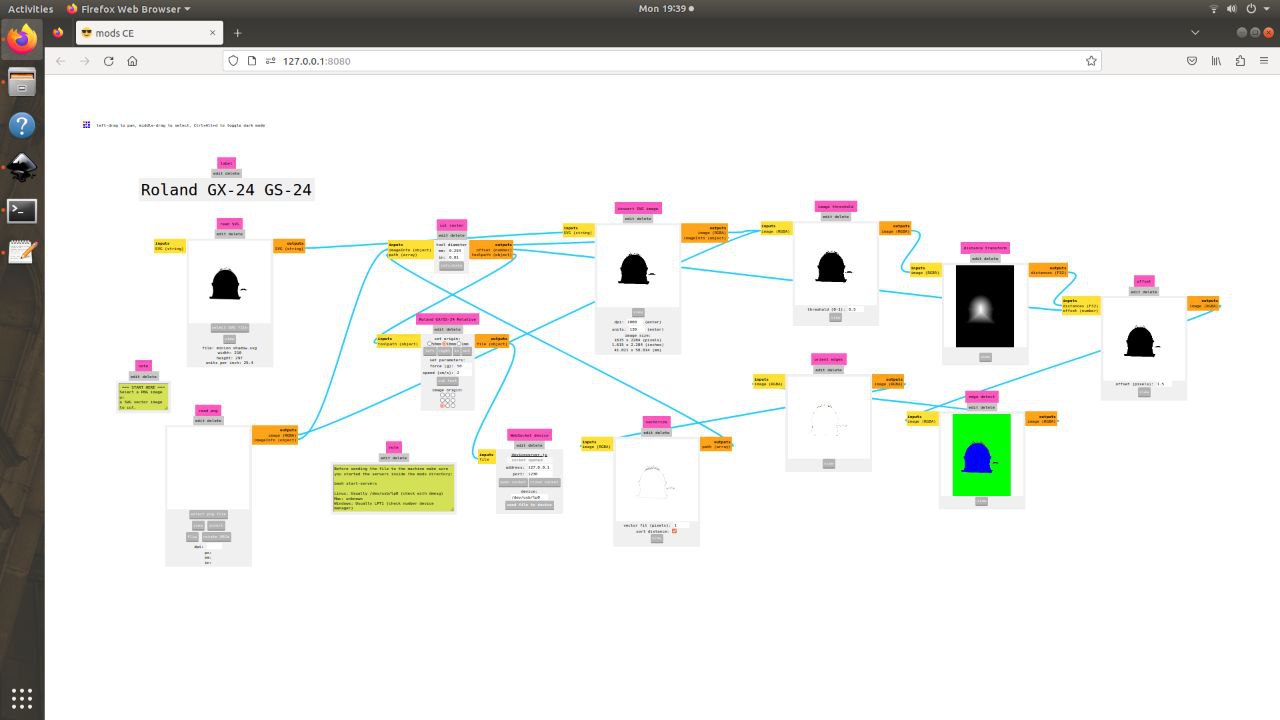
*this for one layer i have repeated the same process for 3 times
- Now set the force and speed under “Roland GX/GS-24 Relative” tab, and hit calculate under “cut raster” tab
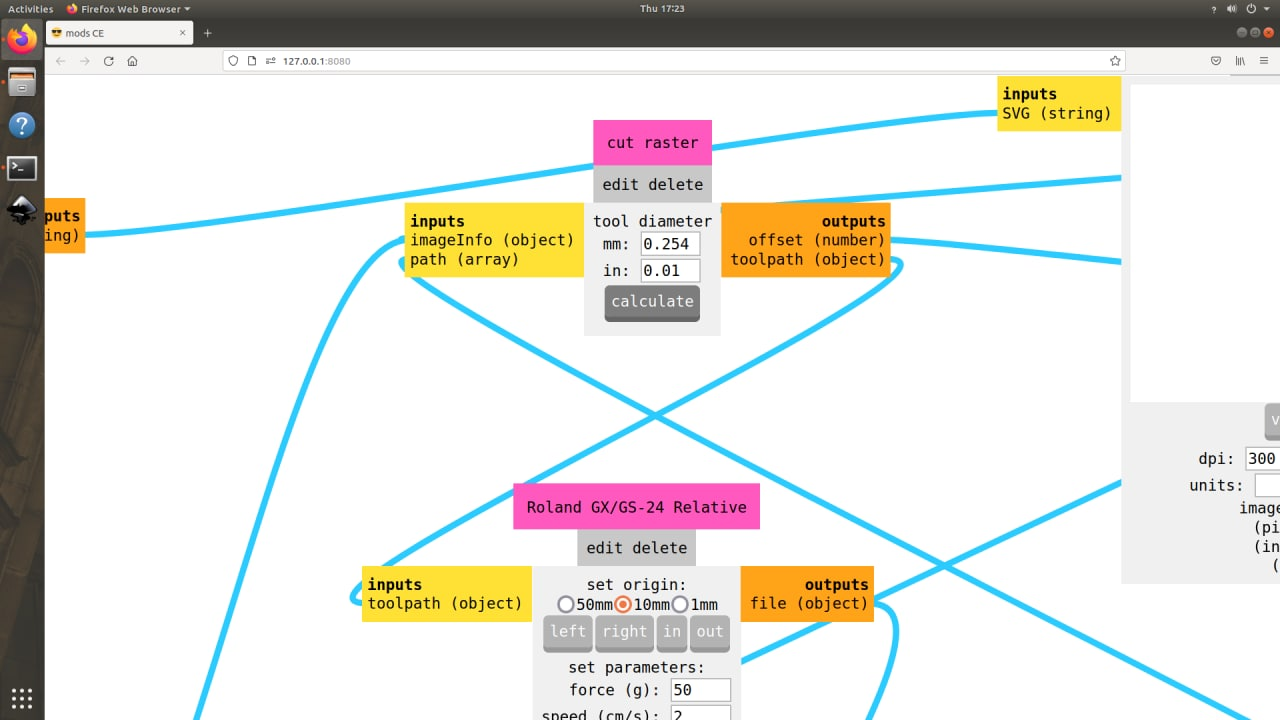
- then we click “open socket” and finally click “send file to device” under “WebSocket device” tab to start cutting
Cutting Phase
Like mentioned above the Vinyl Cutter uses a tiny knife that is allowed to rotate on a free axis using a ball bearing

you can see the cutting knife as a small notch below the cylindrical part, it can rotate there too.
Application
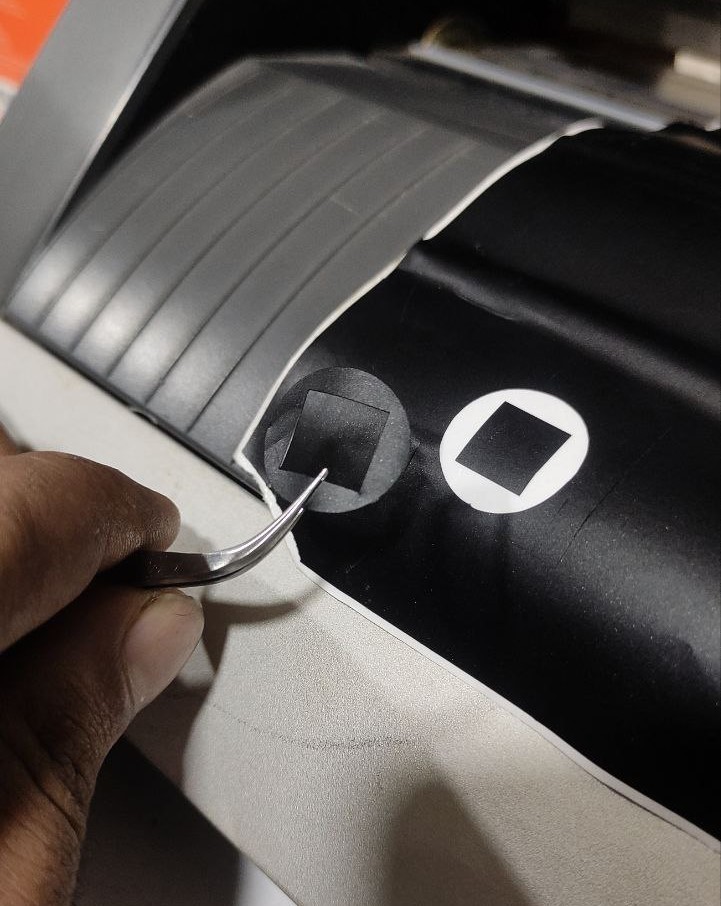
Now that the vinyl has been cut we have to peel out the remaining bits so we can use a transfer tape to transfer our sticker to the designated surface
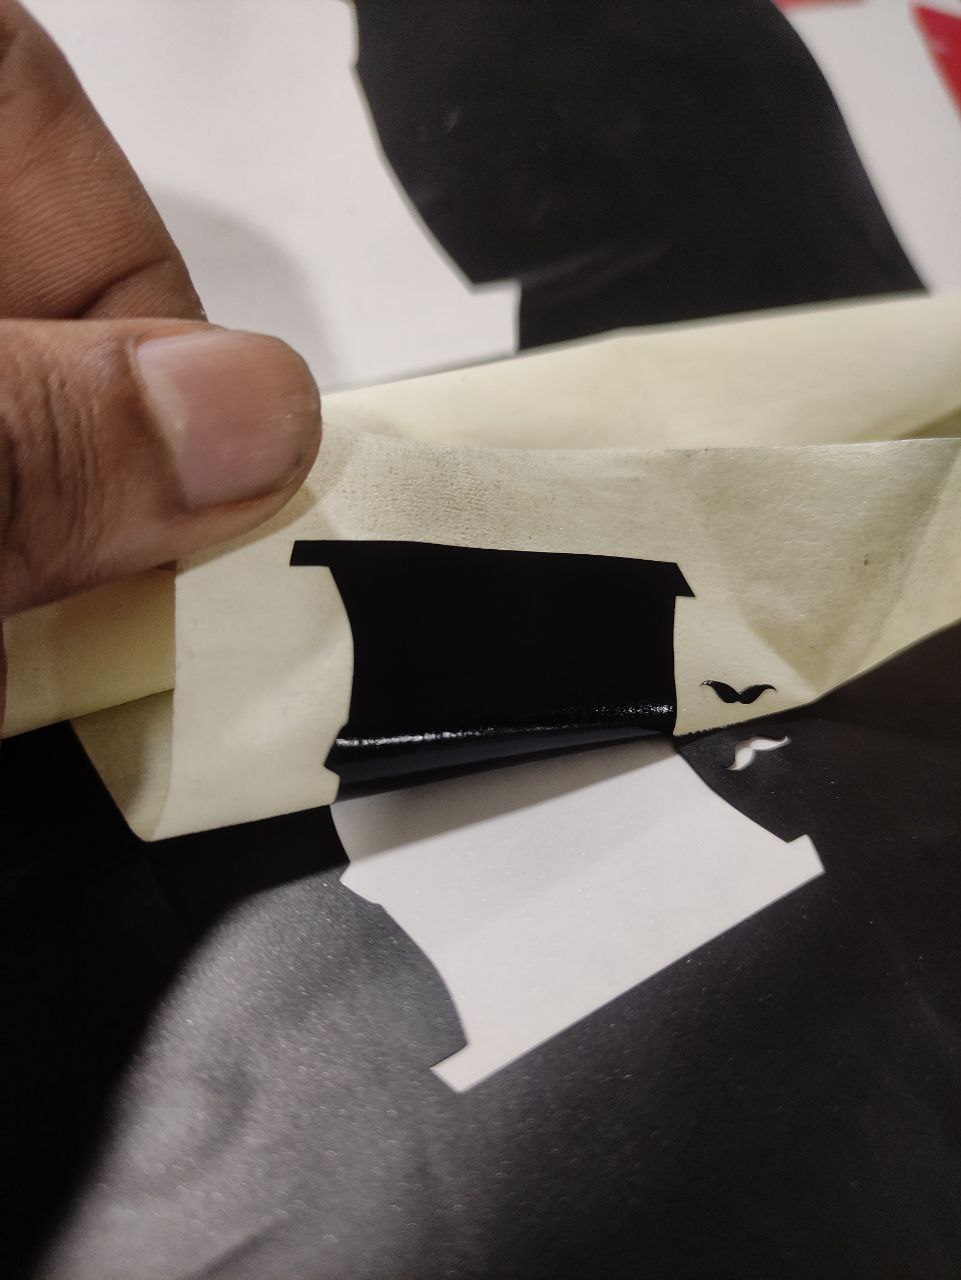

transferring the second layer above the first one
*removing sticker from the vinyl roll

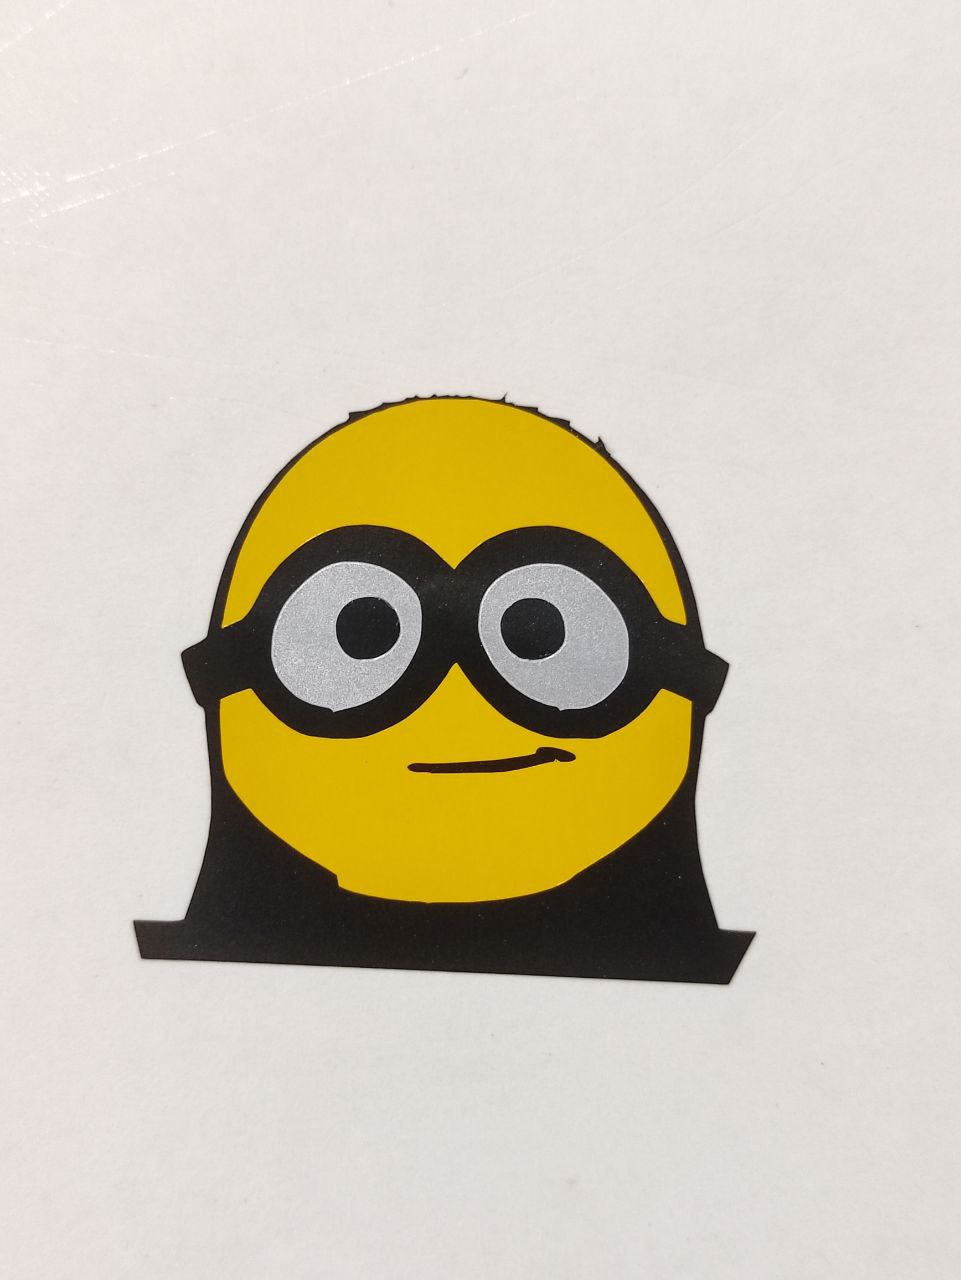
2nd layer final layer
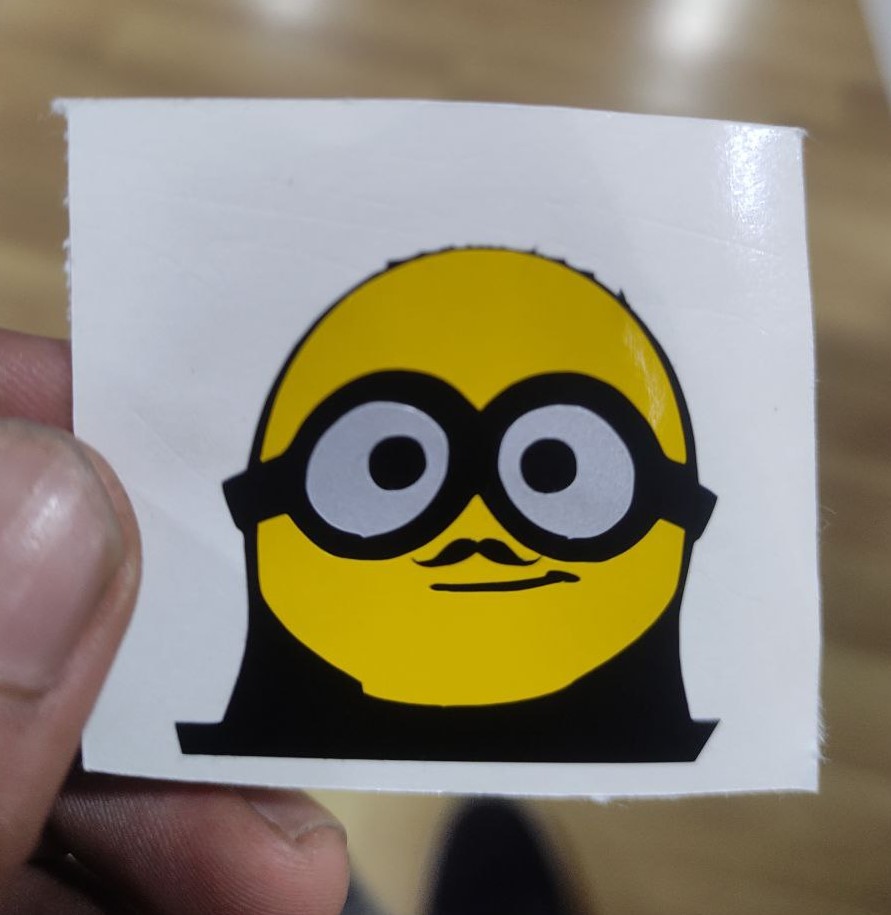
Vola added a mustache, *The final output after all the layers
.jpg)
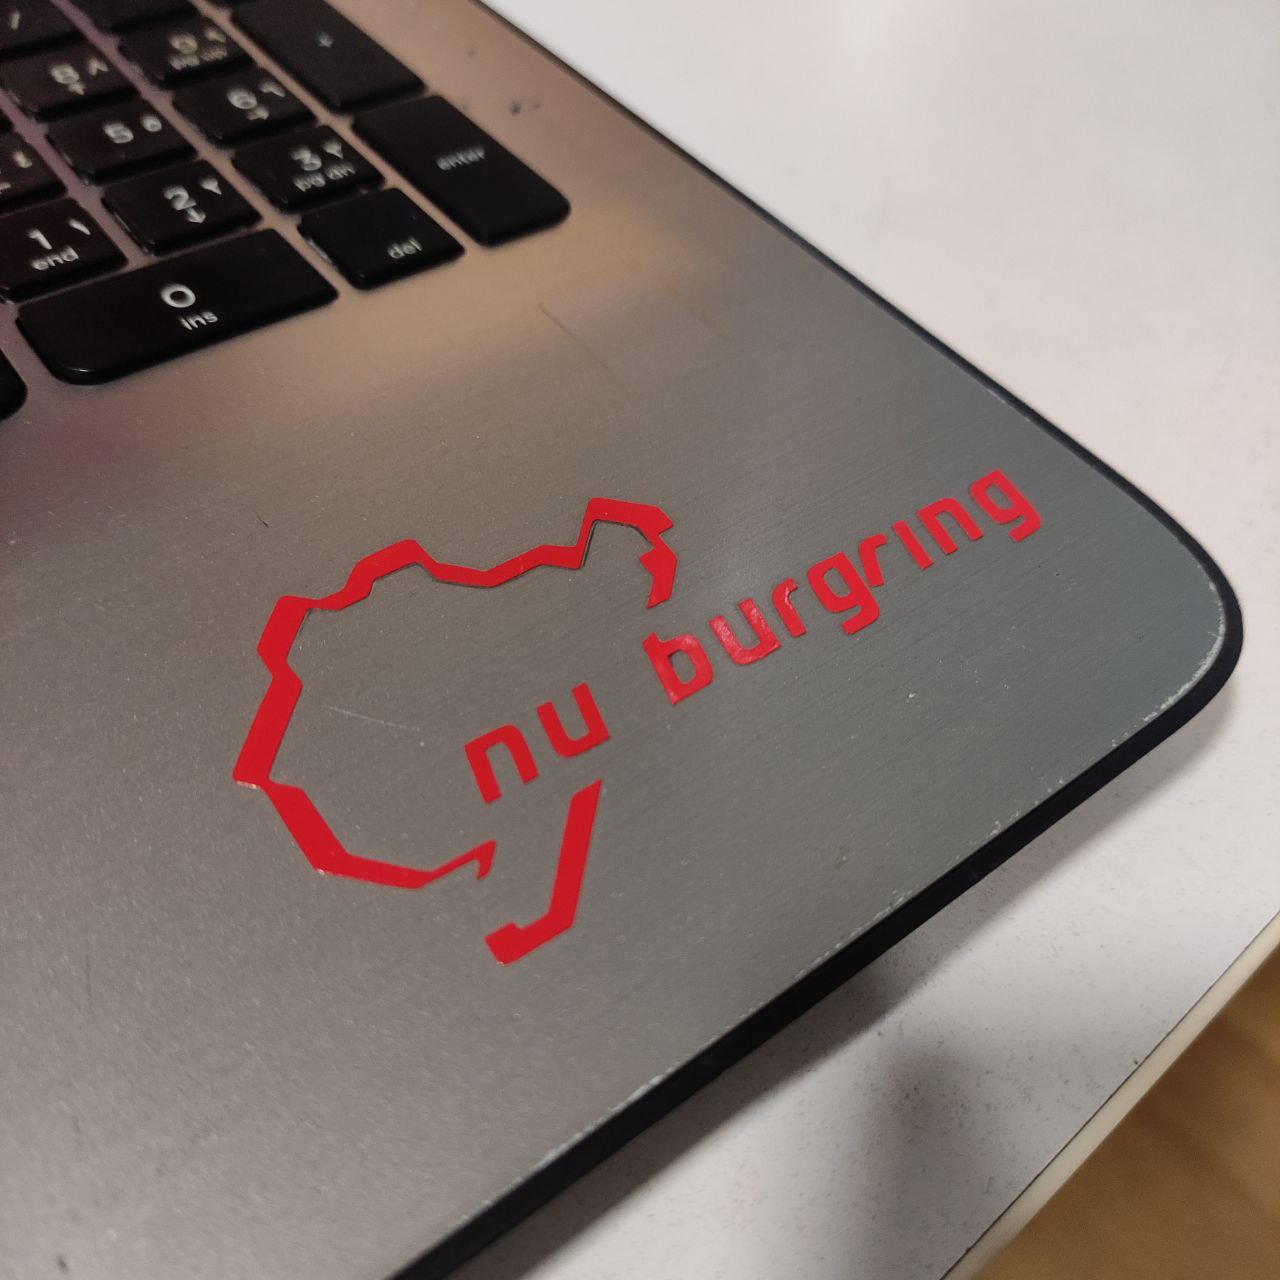
tried a different design, a logo of the famous race track the NURBURGRING, and my fav one
Laser Engraver
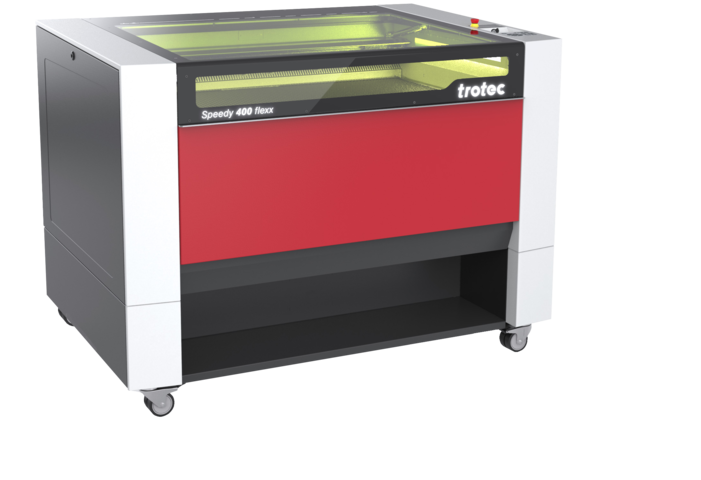
TROTEC Speedy 400
A Laser Engraving machine is also a computer-controlled machine that is typically used for engraving and cutting different types of media like acrylics, wood, cardboard, metals, etc.. The Laser emits a beam that is reflected using mirrors and focused onto our medium and burns into the material making precise cuts and with lower force it can also be used for engraving
Machine SetUp
There are many things we need to check while setting up the machine as each material has different properties like hardness melting point etc. for that we need to manage things such as power, speed, and kerf, before cutting, and so we decided to do this as a group
We did this as a group project click here for the link
Designing a parametric modular part
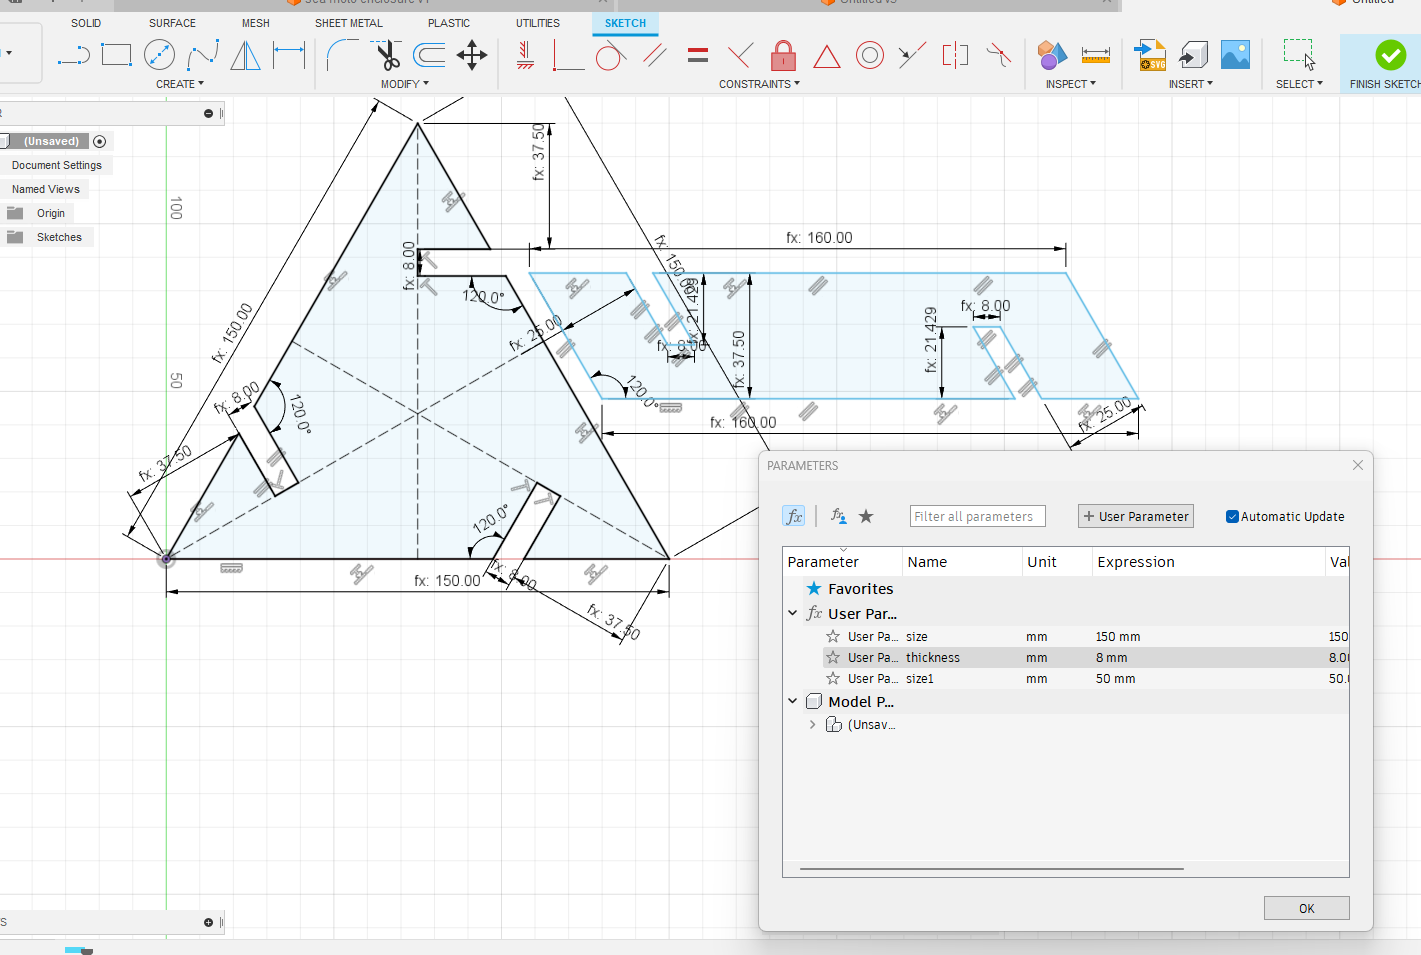
I was already using Fusion 360 for a while now but i have never tried parametric designing, so with the skill i had in fusion 360 i used to create a parametric press-fit construction piece, to make it simple and look subtle but beautiful, i had this in mind to only use only two pieces for the construction kit.
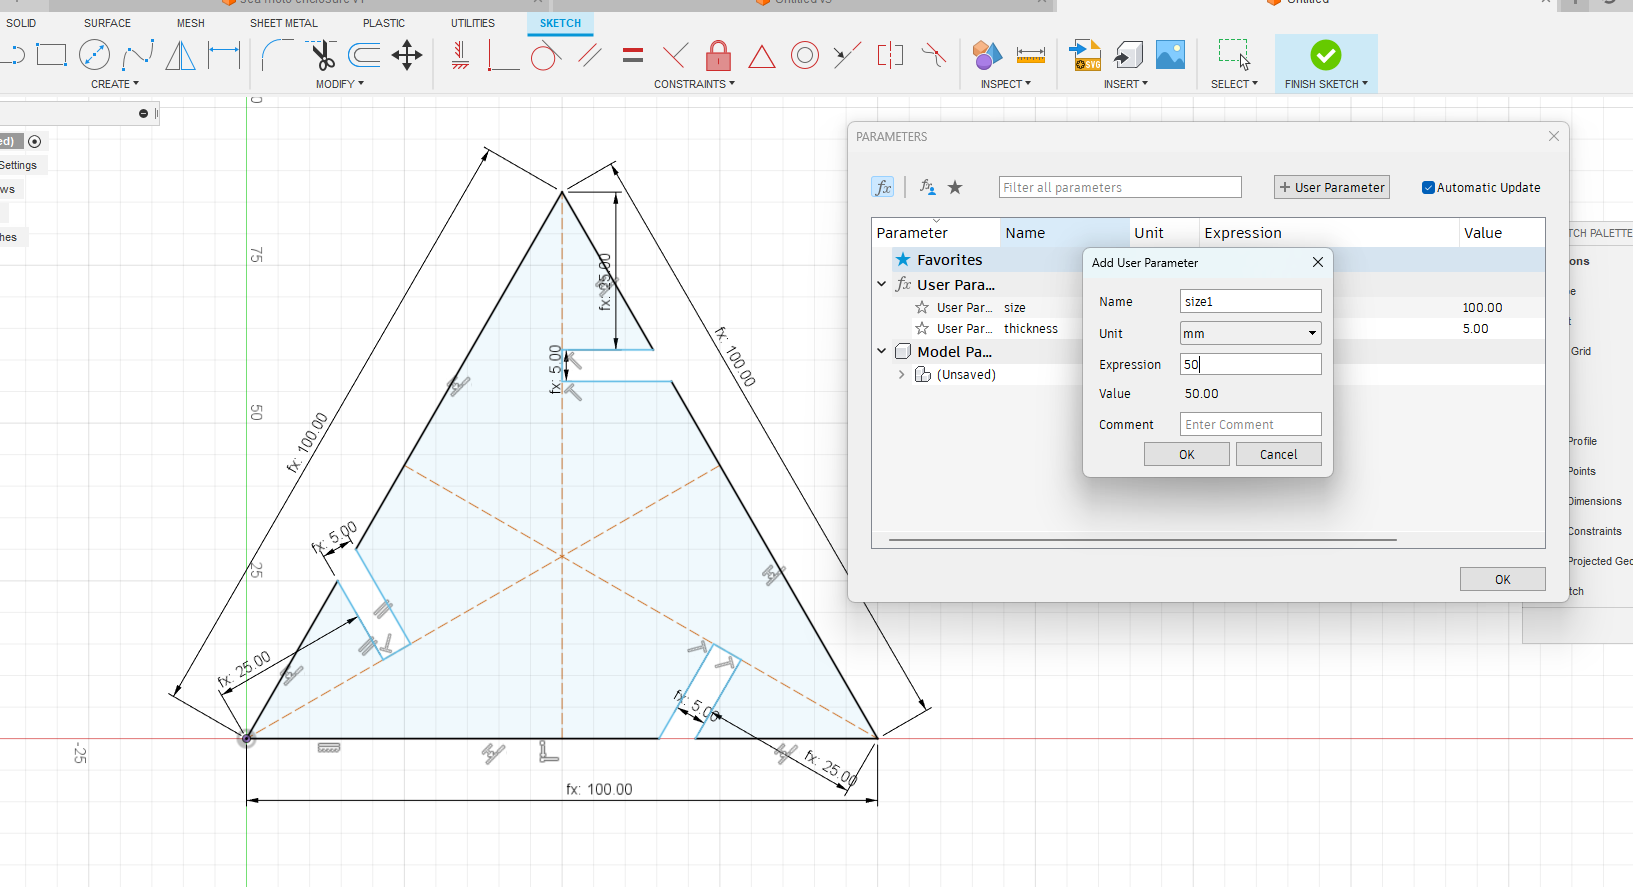
- adding parameters from, modify>parameters >+user Parameter
- now set the name “size1” and expression the value to be set “50” and press ok
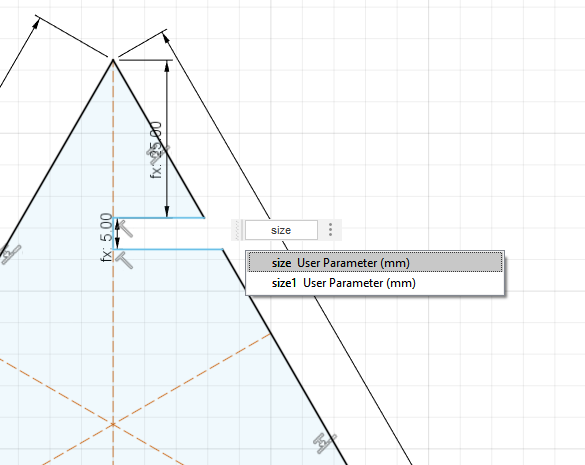
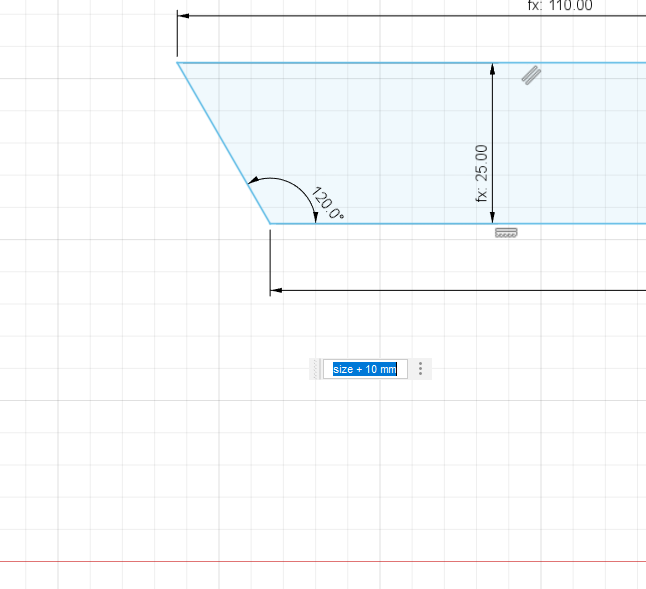
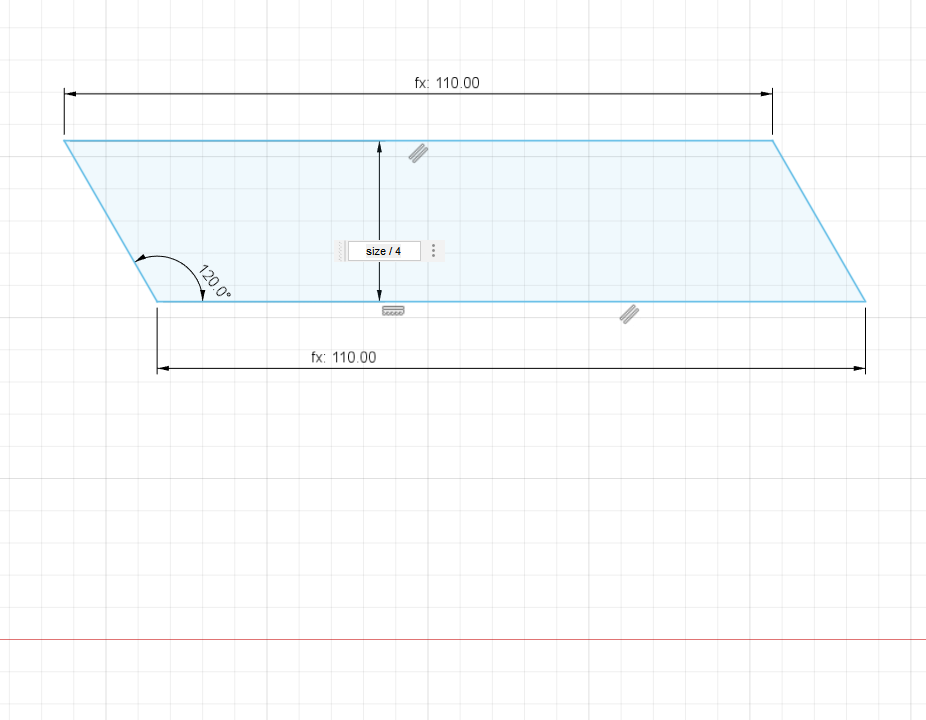
- now open sketch and define parameters for the values to be changed
- we can also add more equations to dimensions like “size+10” for lengths and “size/4” for widths
- after assigning the parameters, we can change the values,
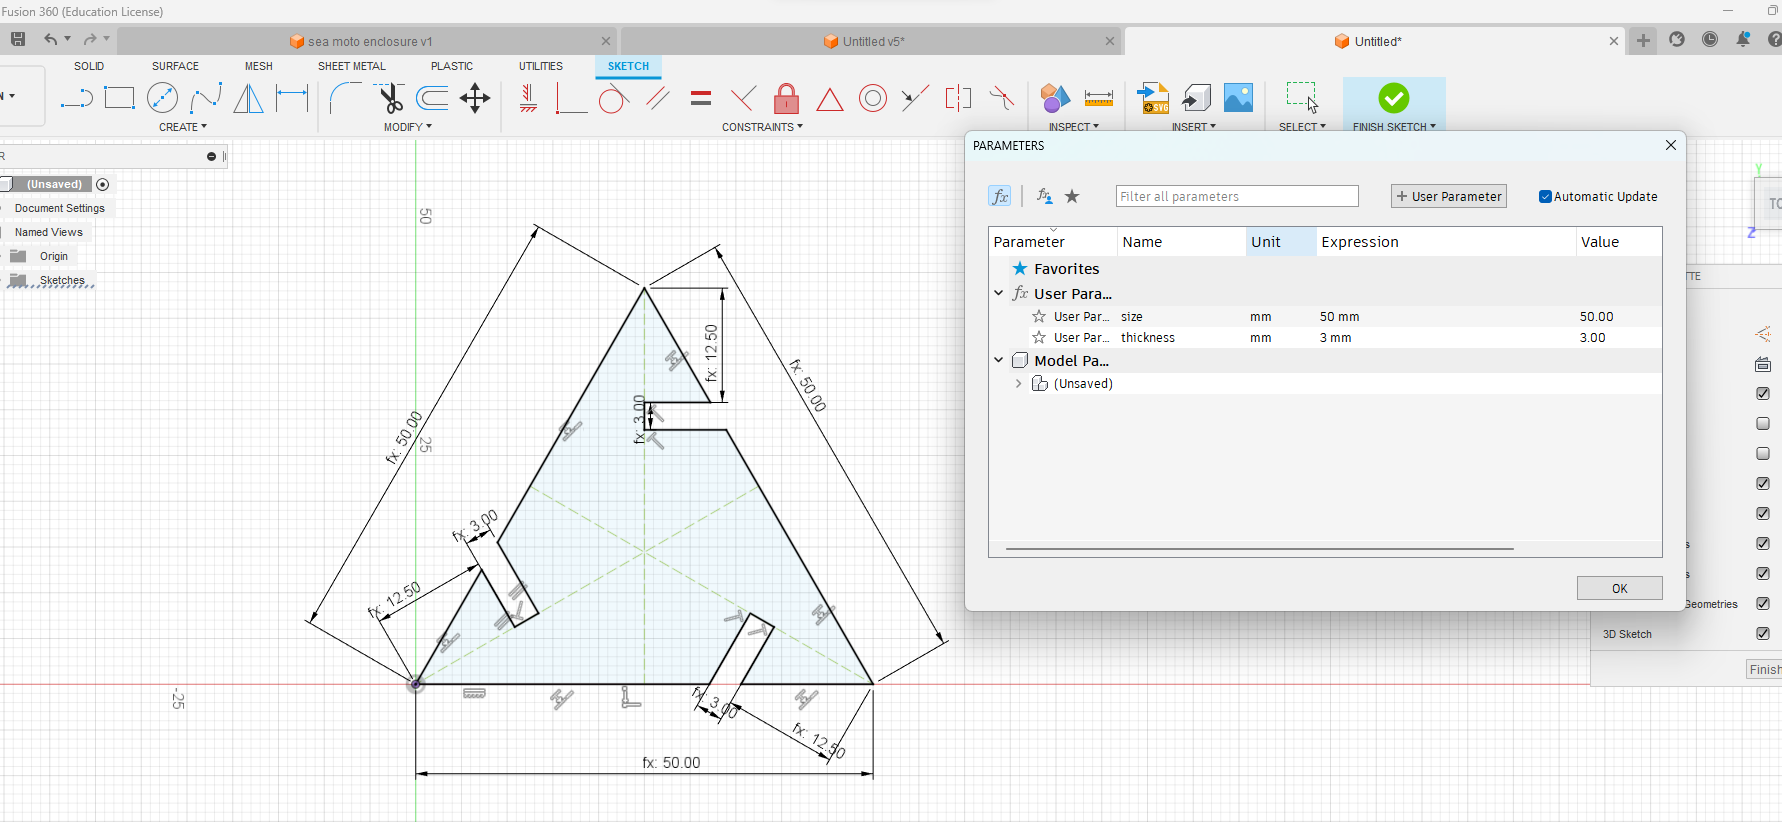
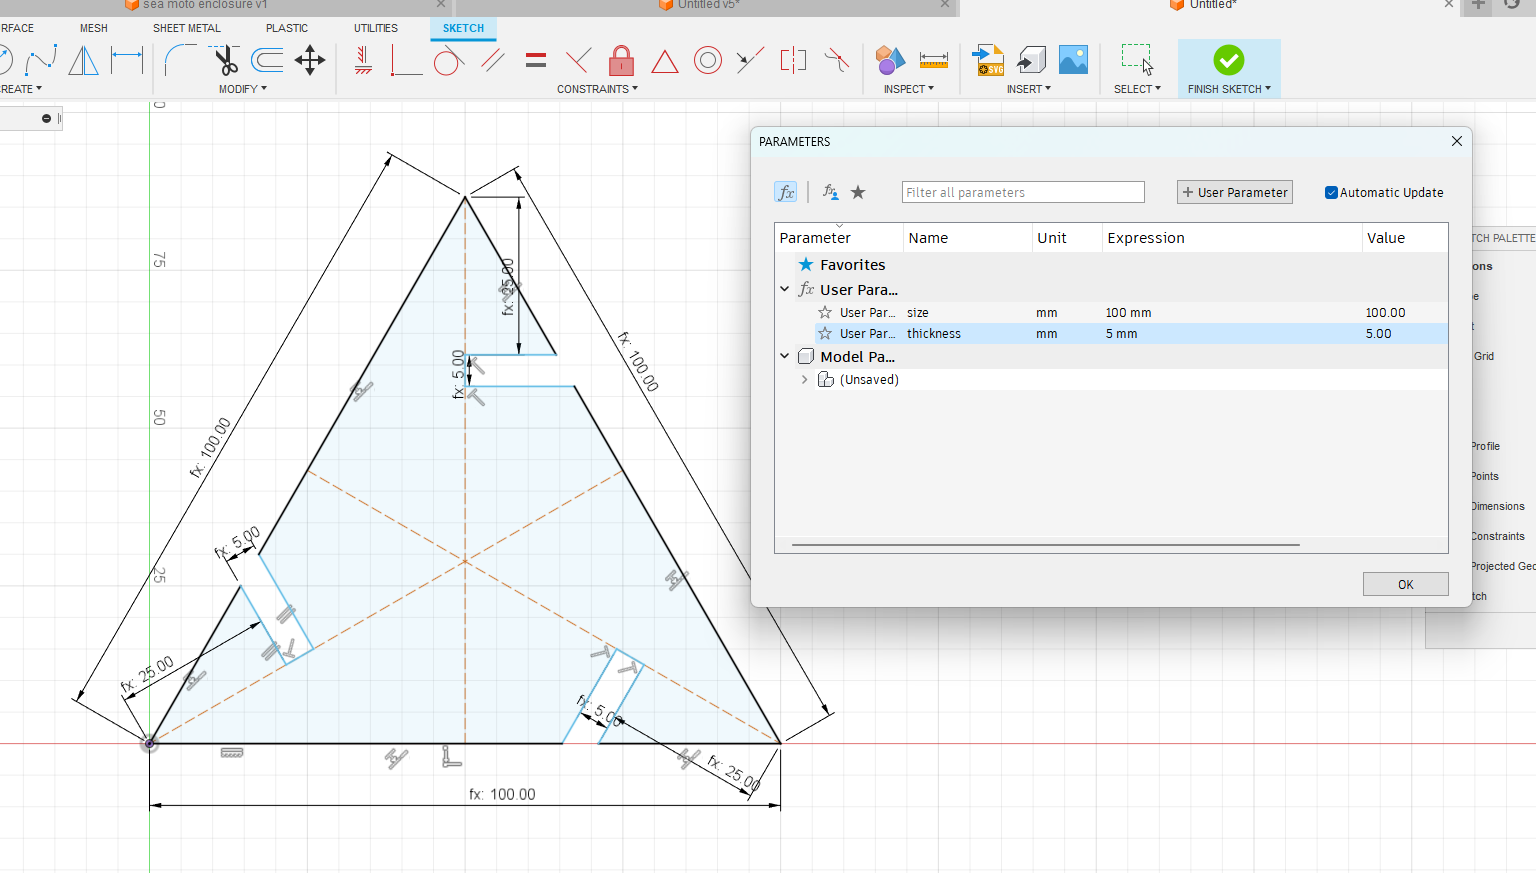
*here size”50” and thickness “3” *here size”100” and thickness “5”
after changing the parameters we can see the changes in the overall size
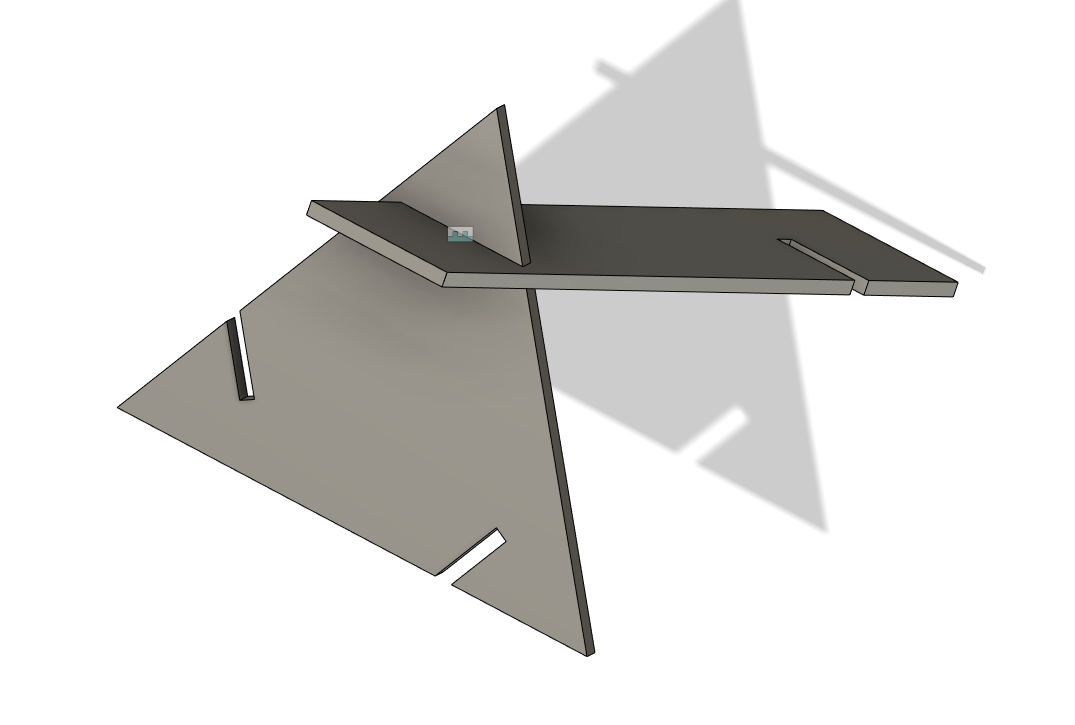

- A small assembly in fusion 360, we have endless possibilities using these two pieces
preparing for laser cutting
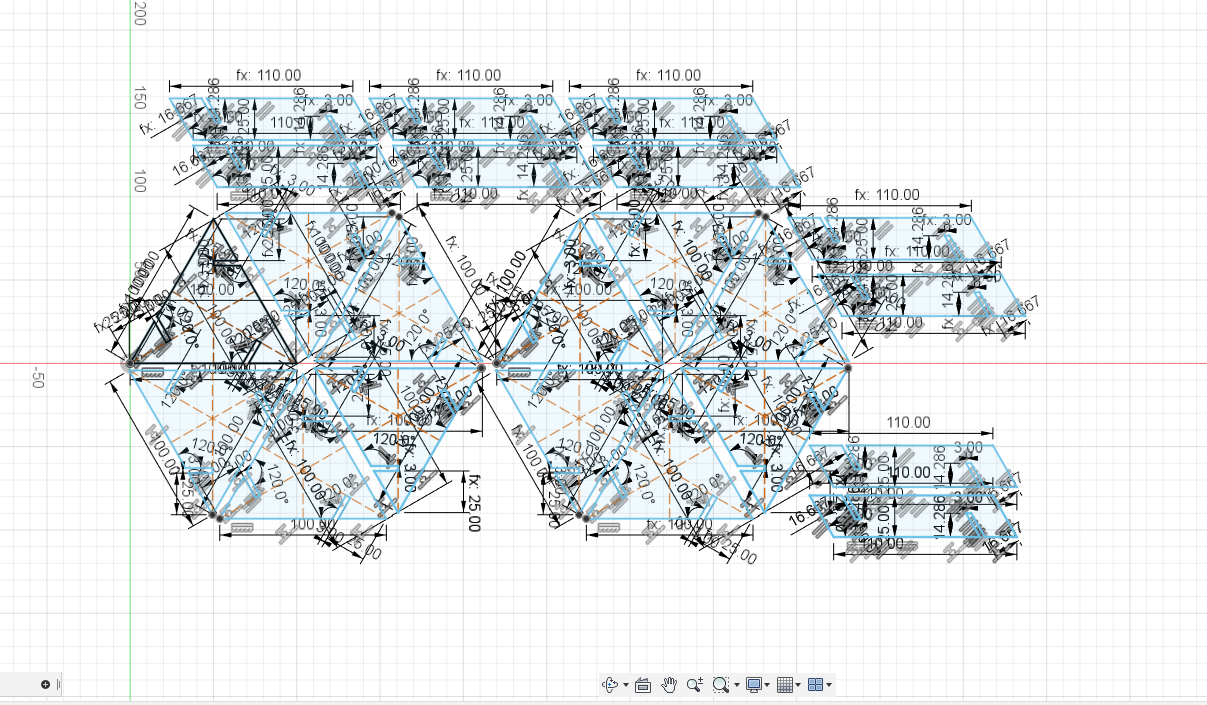
- nesting the shapes to fit maximum numbers in a sheet
Cutting this part in the laser cutter

these are the controls of a laser cutter for jogging power switches and autofocus
- Turn on the cutter, by turning the key
- now load the file in the computer, here i opened the .dxf file in Rhino for further modifications in the file
- I was not able to change the color and thickness of the dfx sketch so I used rhino software for editting the .dxf
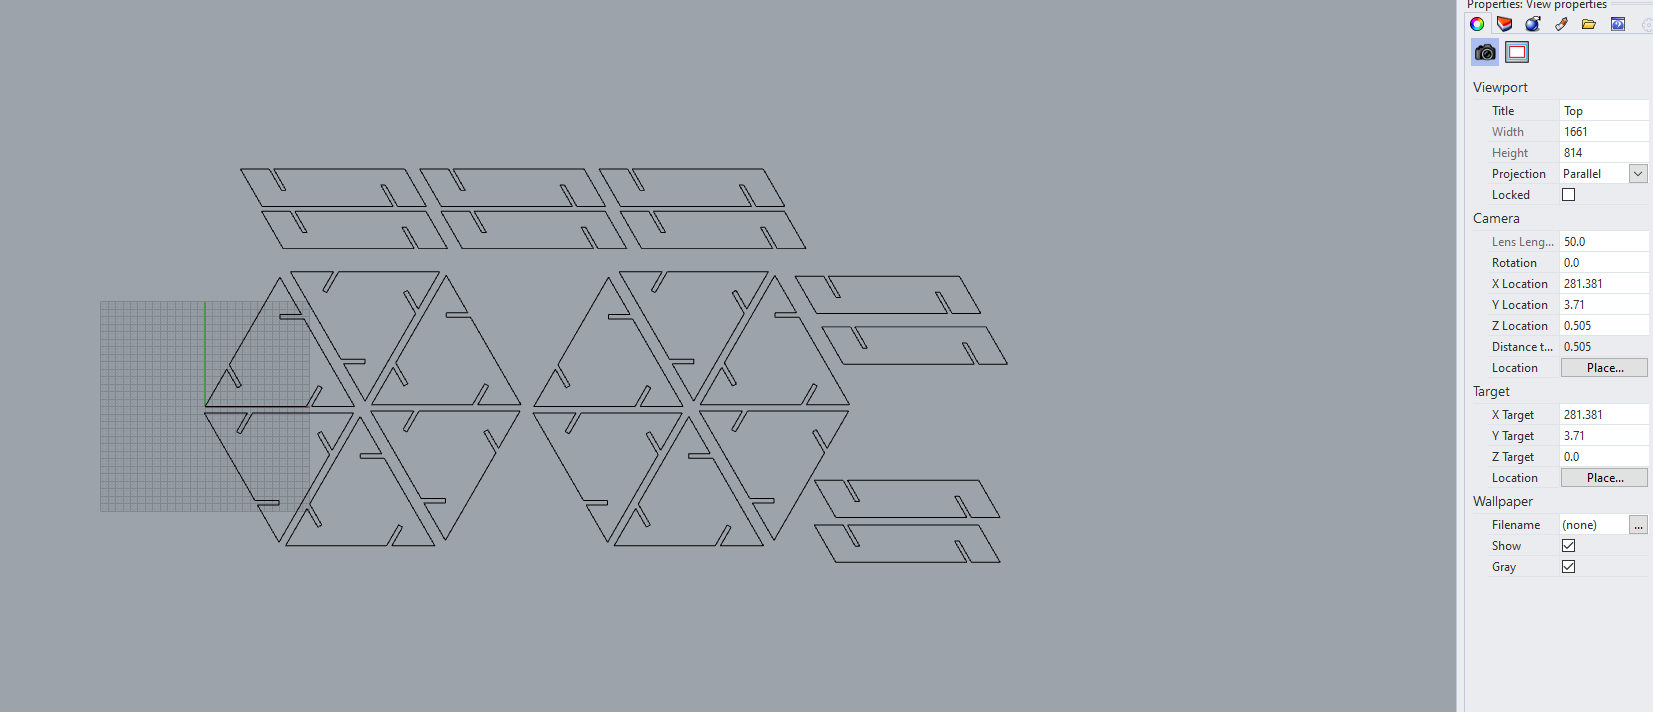
*editing in rhino
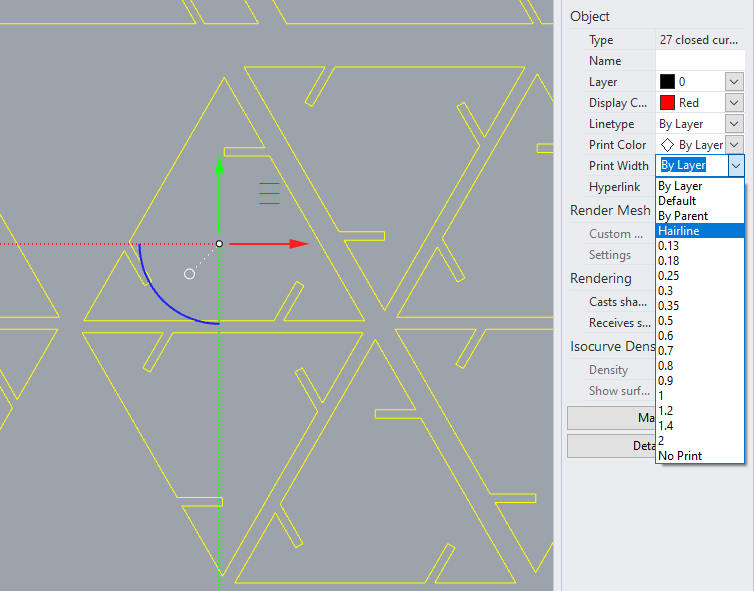
- here i had to change the line thickness to hairline, and color to red for the cutter software to recognize
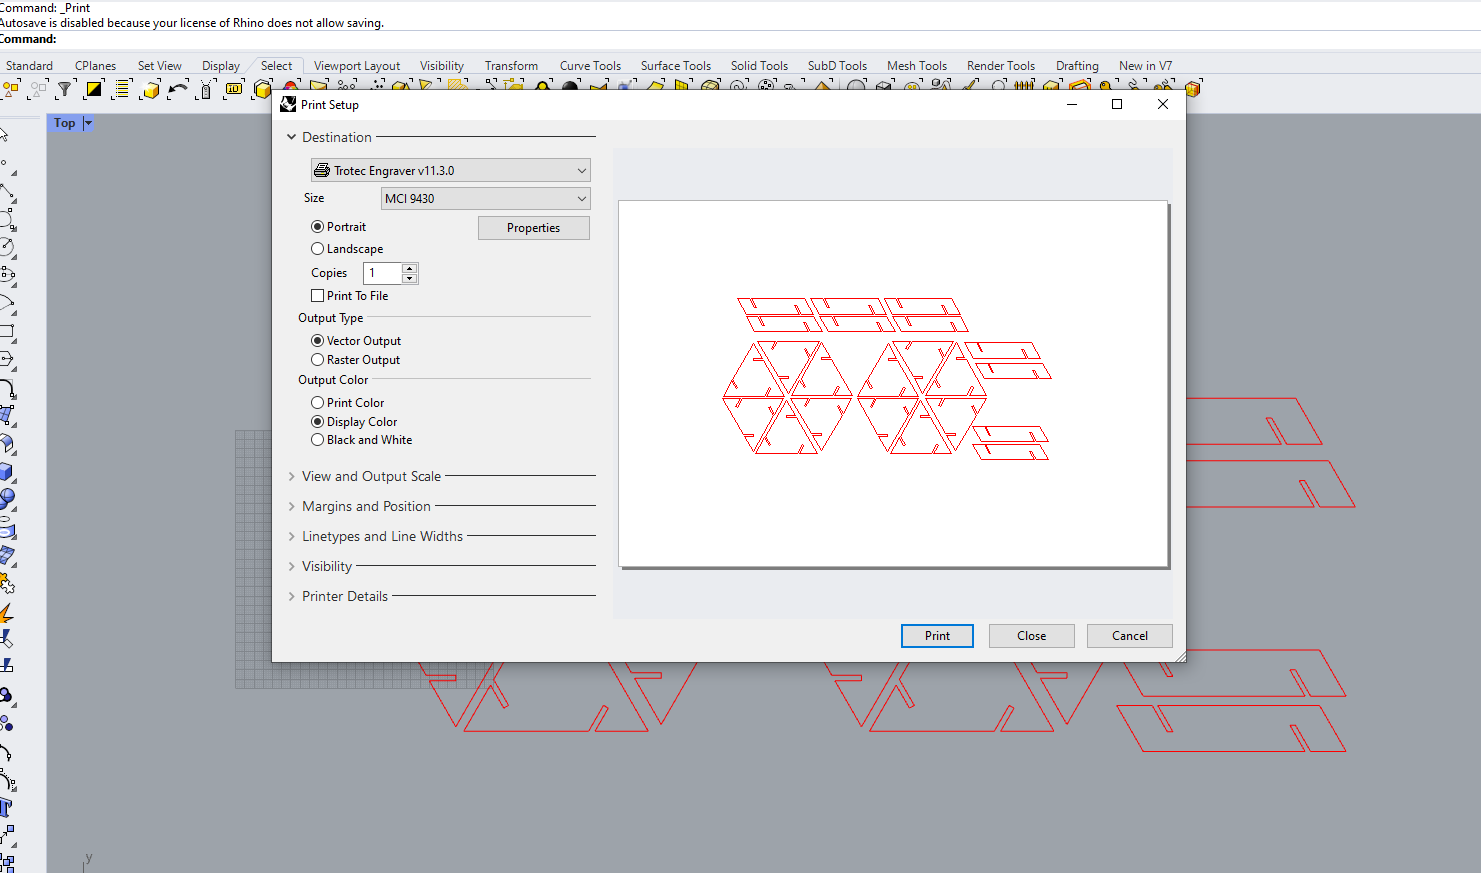
- now press “Ctrl P” to send the file to the trotec software “Trotec Job Control”
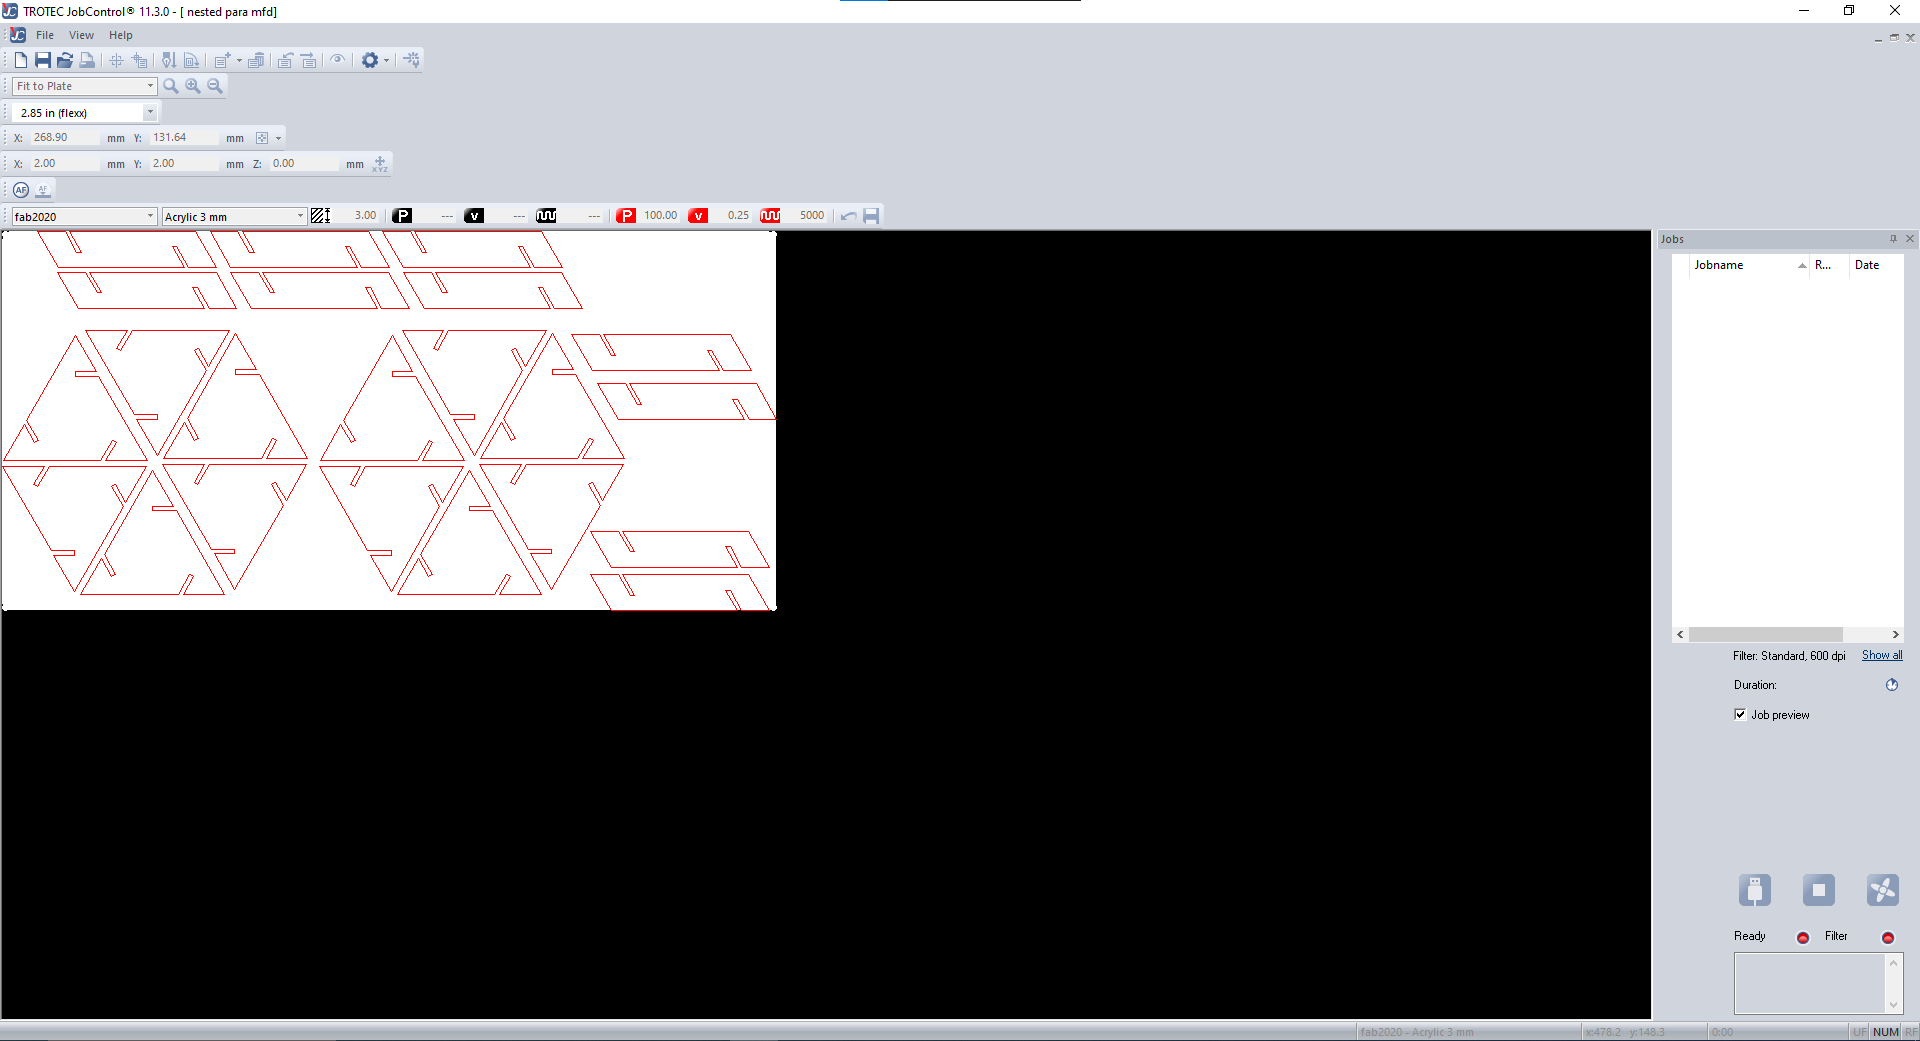
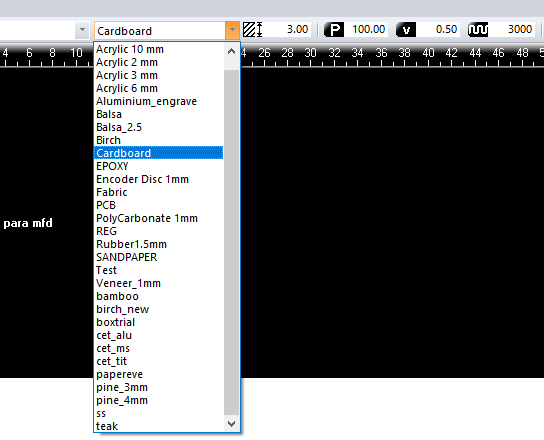
- Select the material from the library, Here cardboard and choose the thickness of it.
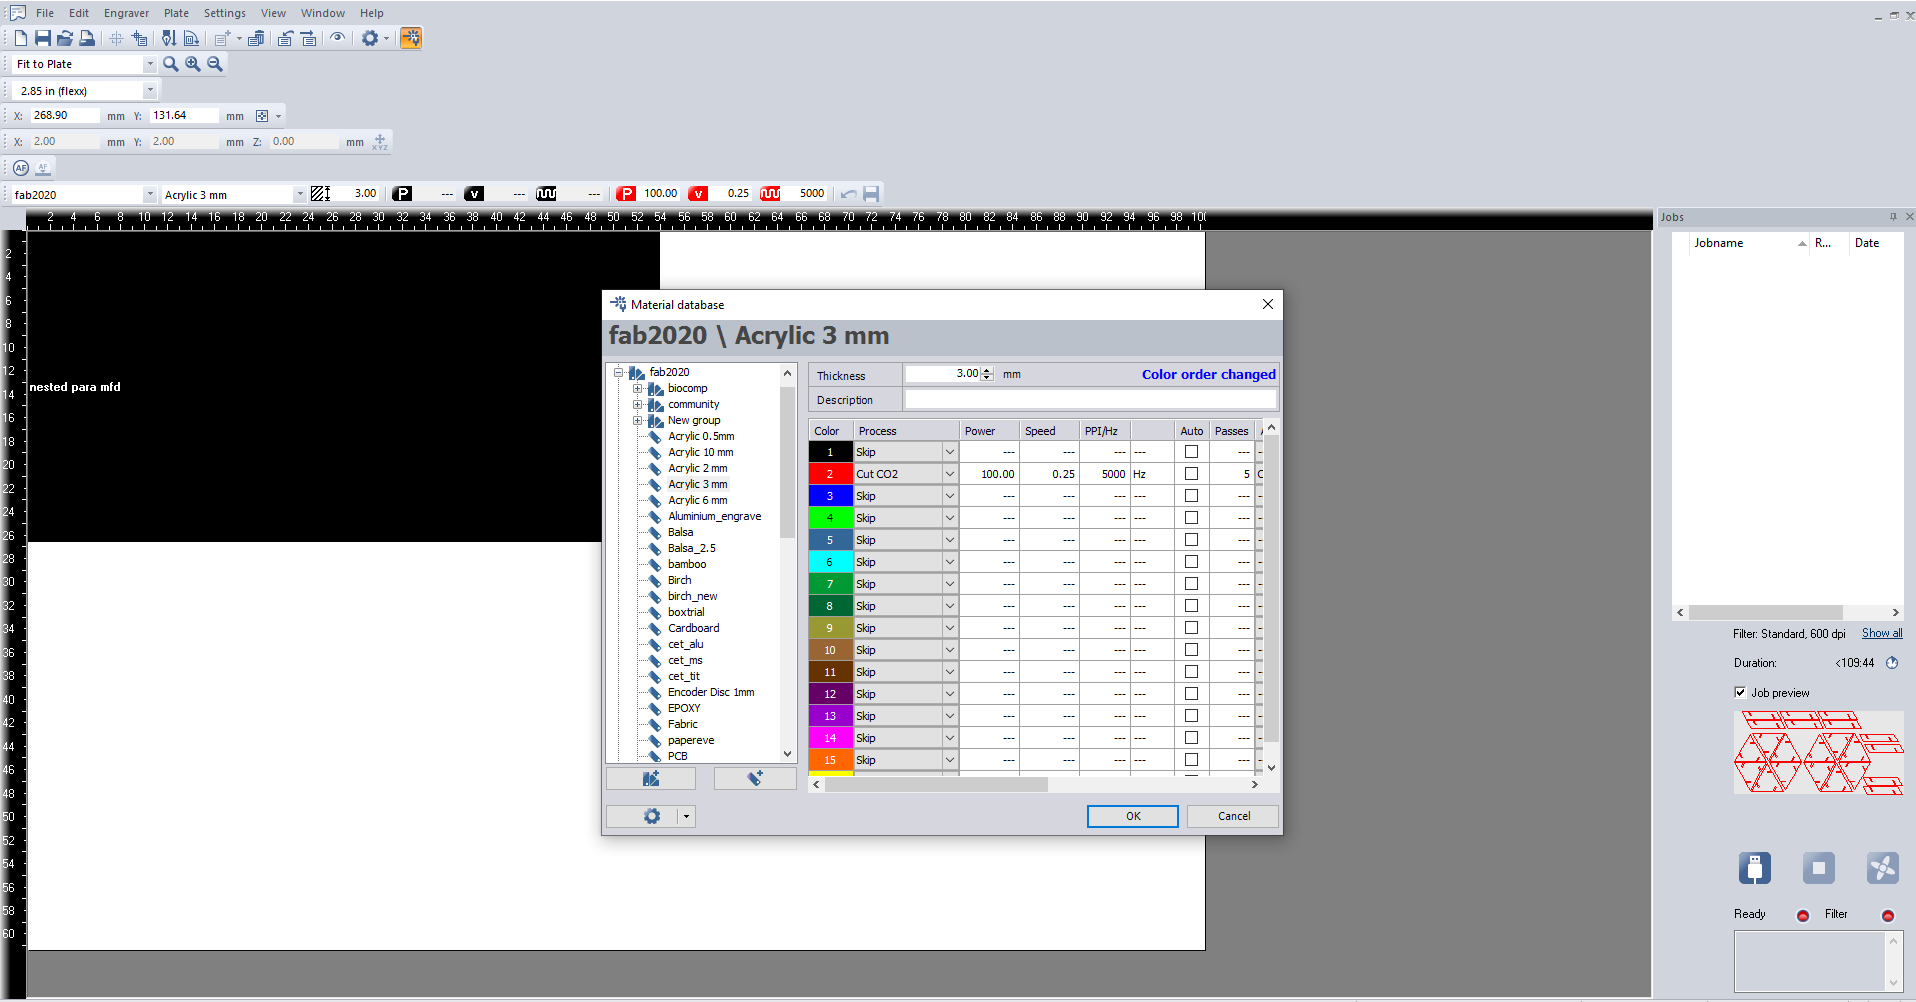
- select the power, speed, and PPI (points per inch), here we have a present for cardboard so all the values where there already, Our instructor told us to change it only if the cut is bad or didn’t get as expected.
- once these parameters are selected setup the printer
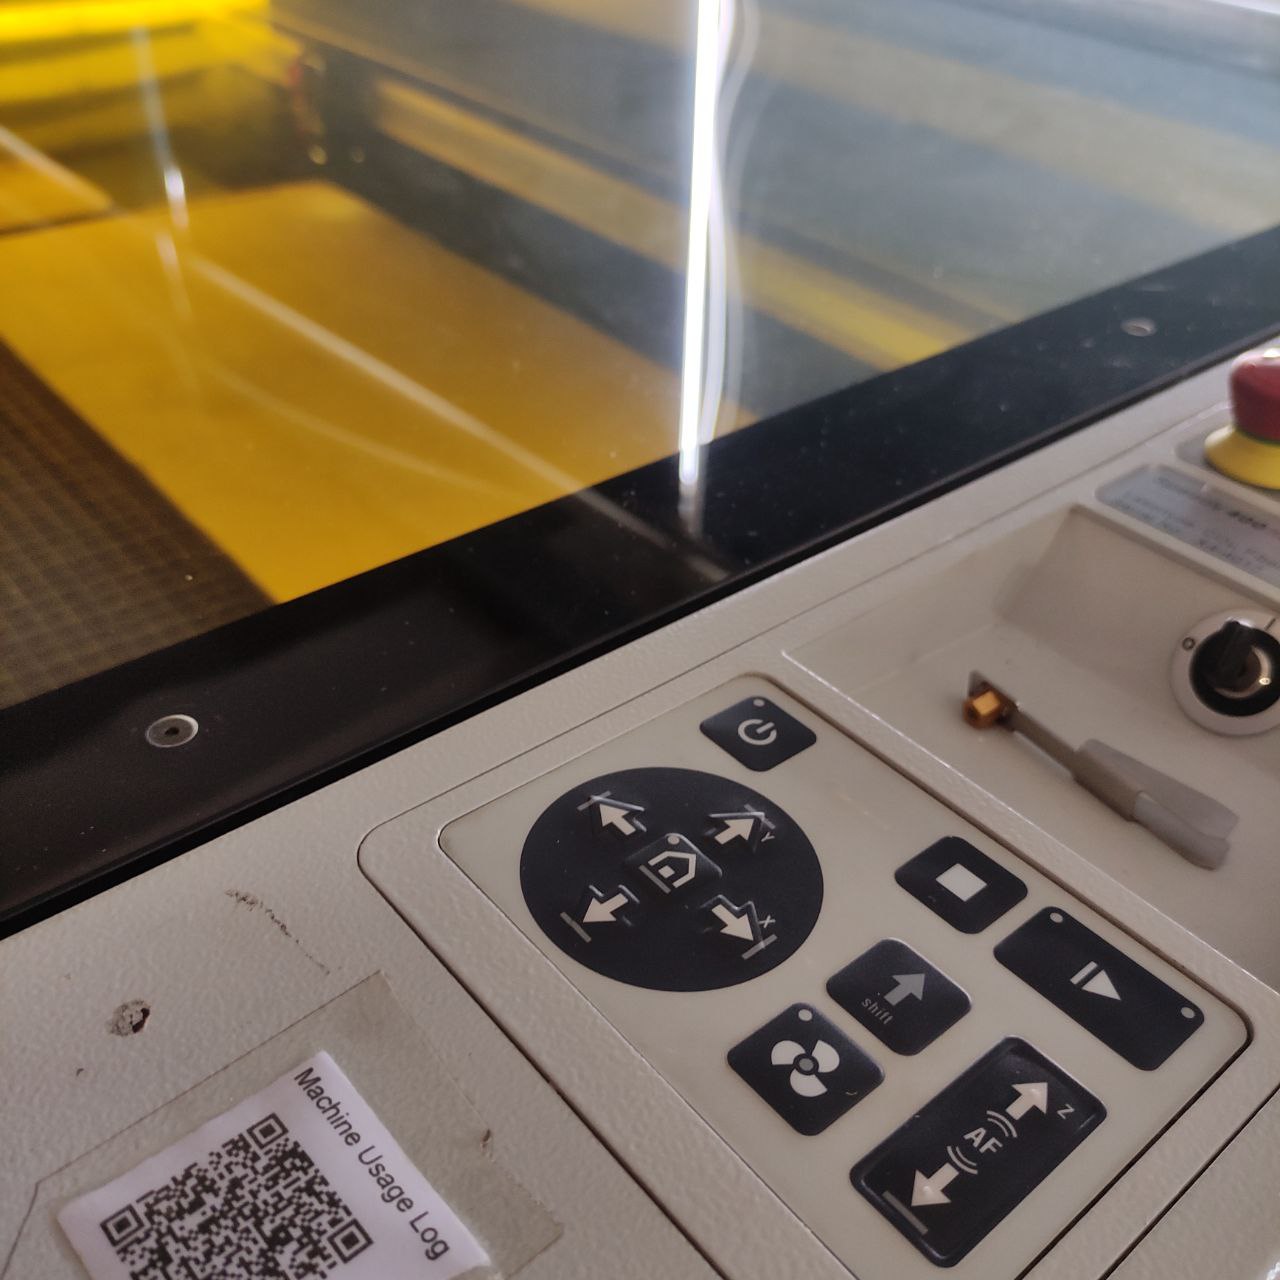

*controls for jogging and auto focus *press these two buttons for autofocus
- Now locate the laser head at the point where the cut is to be started and the software will set it as home, since out printer “Trotec speed400” has autofocus, I just had to press both buttons shown above simultaneously to autofocus.

- now place the design in the above-shown cross mark, which indicates as home and the part will be cut below that point as shown in a black box, which is our design.
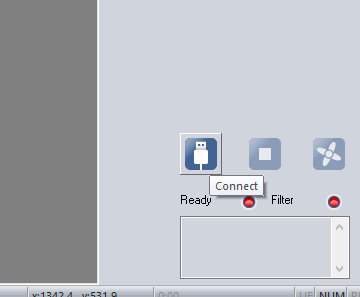
press connect to connect printer
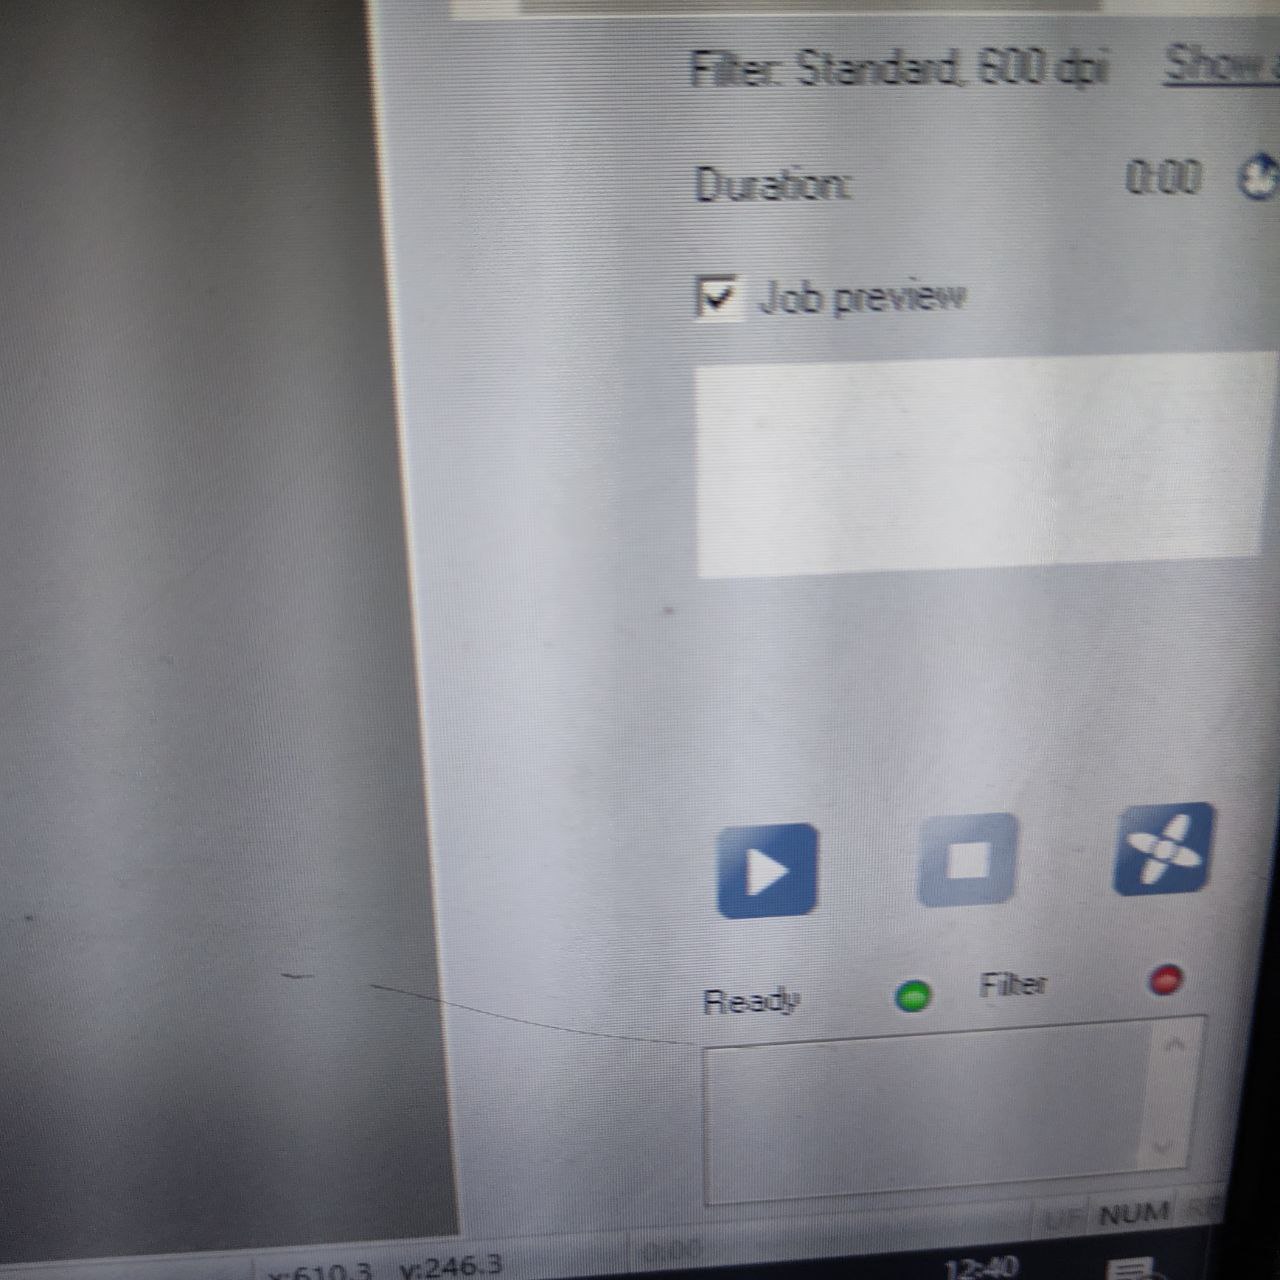
press ready to begin cutting

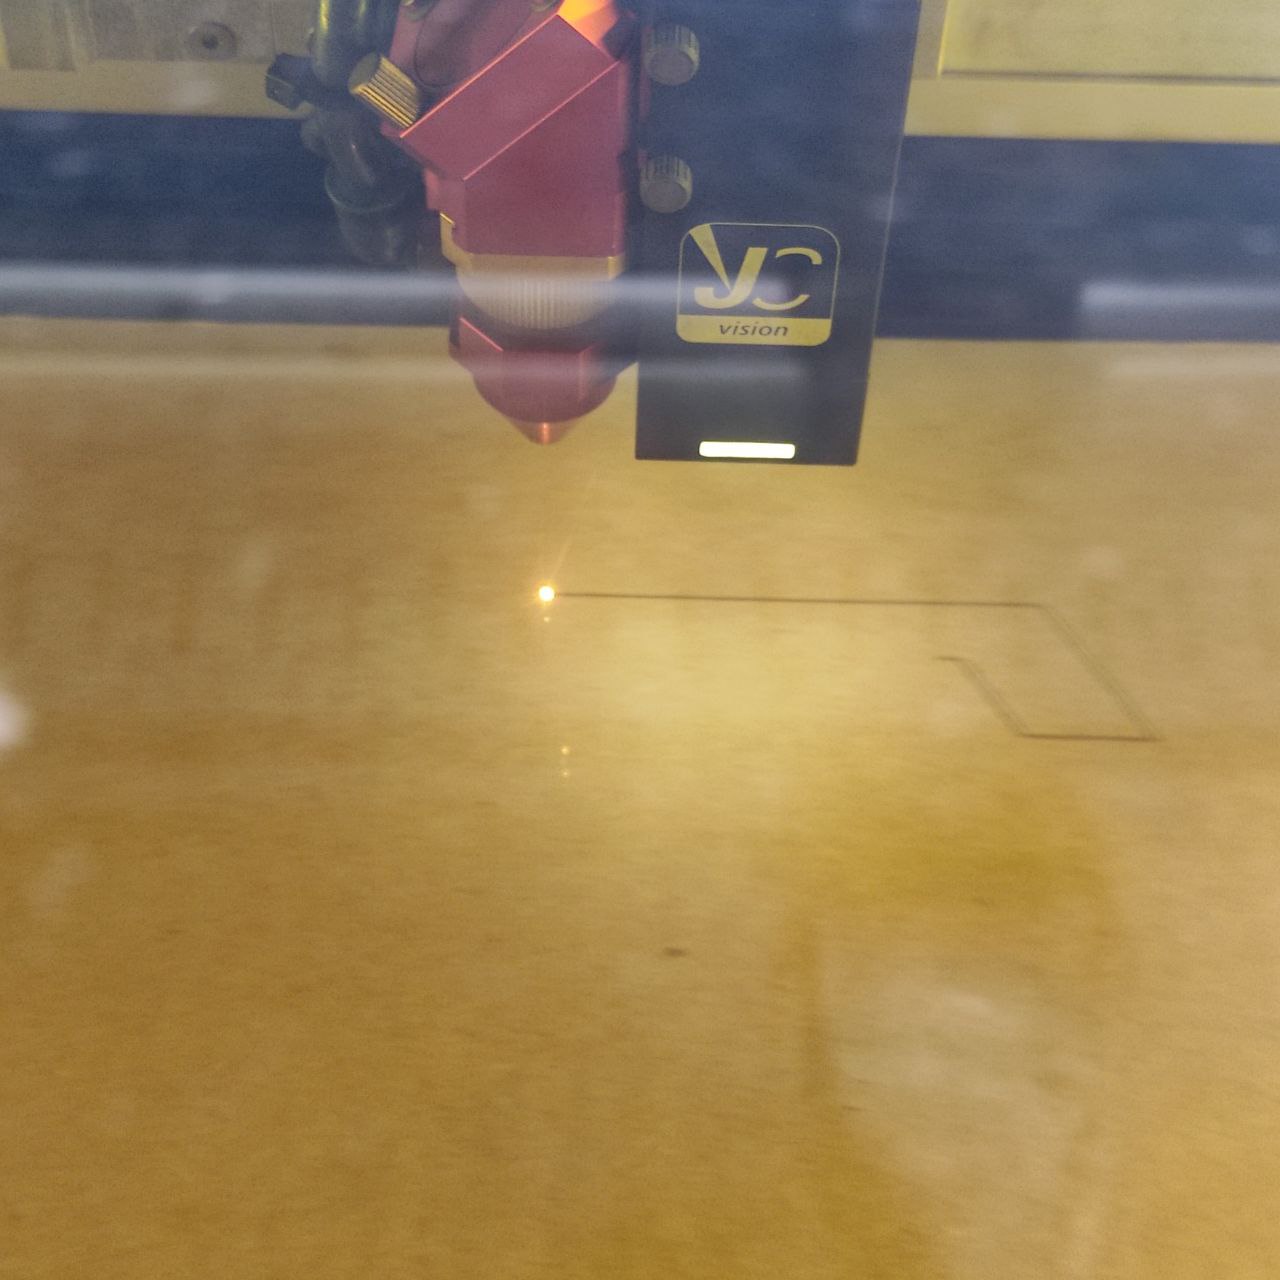

laser pointer *cutting straight line *moving to next part
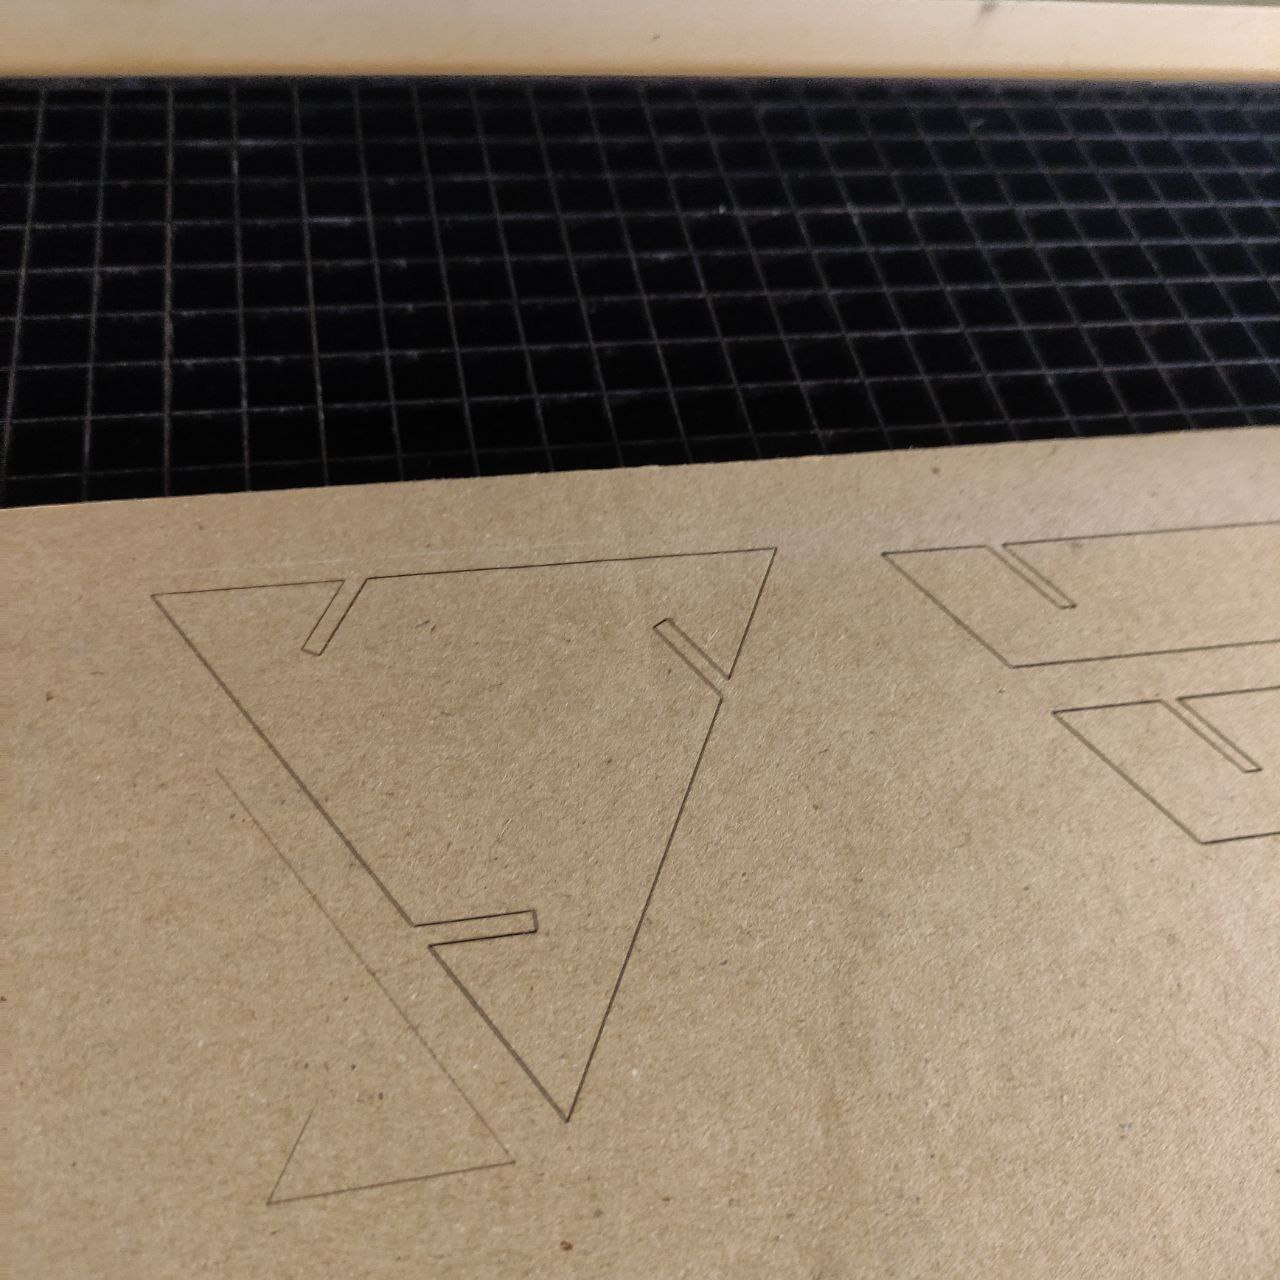
Sadly our laser cutter had been damaged because of the frequent use, the power of the laser is reduced and was not able to cut my parts completely.
you can see here the marks but it is not cut, only the top layer of the cardboard is burned.
I didn’t give up,
I switched to another machine called “ZUND DIGITAL CUTTER” it is a Swiss brand that does the cutting using a knife and has different modules attached to it for different functions, there is a creasing wheel, router, drawing tool, etc. it is precise and does our work as required so win-win.
.jpg)
ZUND DIGITAL CUTTER
Setting up ZUND digital cutter
.png)
.png)
- in zund cut editor, we specify operations for our design, here I have given through cut since the cardboard has to be cut out completely,
.png)
.png)
- now selecting the tool for cutting, here I choose “UCT” universal cutting tool which is basically a drag knife
- when everything is set click start job to start the cut
- now registration begins we have to show the corner of the cardboard
- it will identify the orientation of the cardboard piece and orient our design accordingly
.jpg)
.jpg)
*these are different tools in this cutter *controller for jogging and changing tools
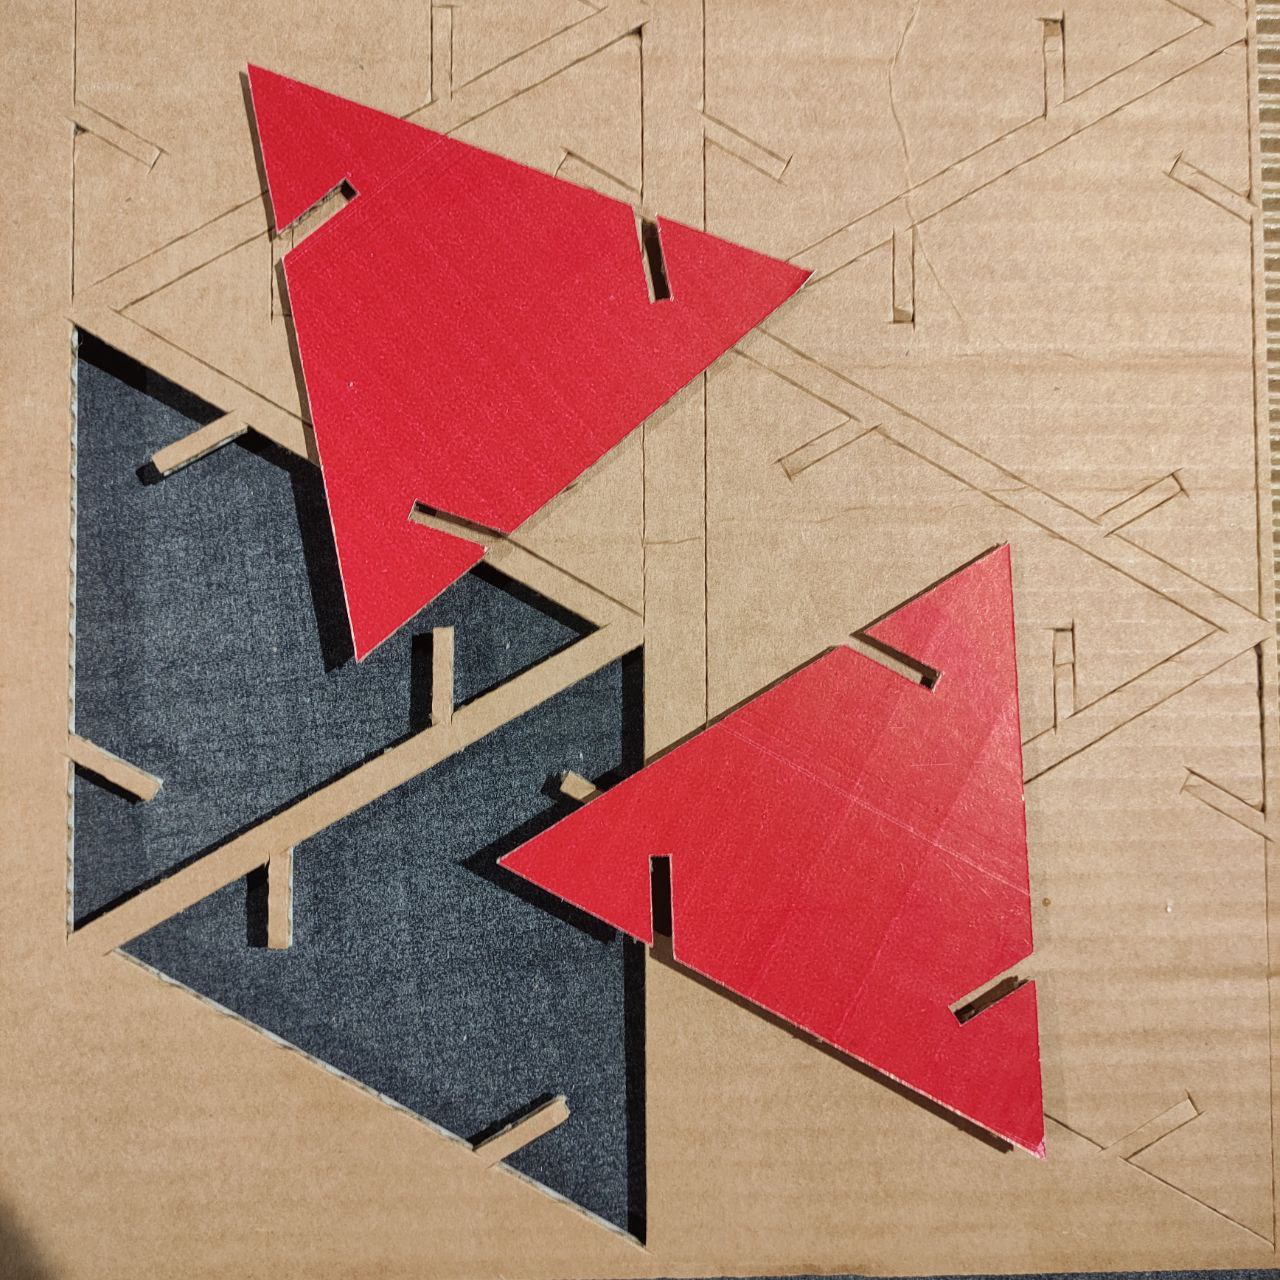
cutting the shapes
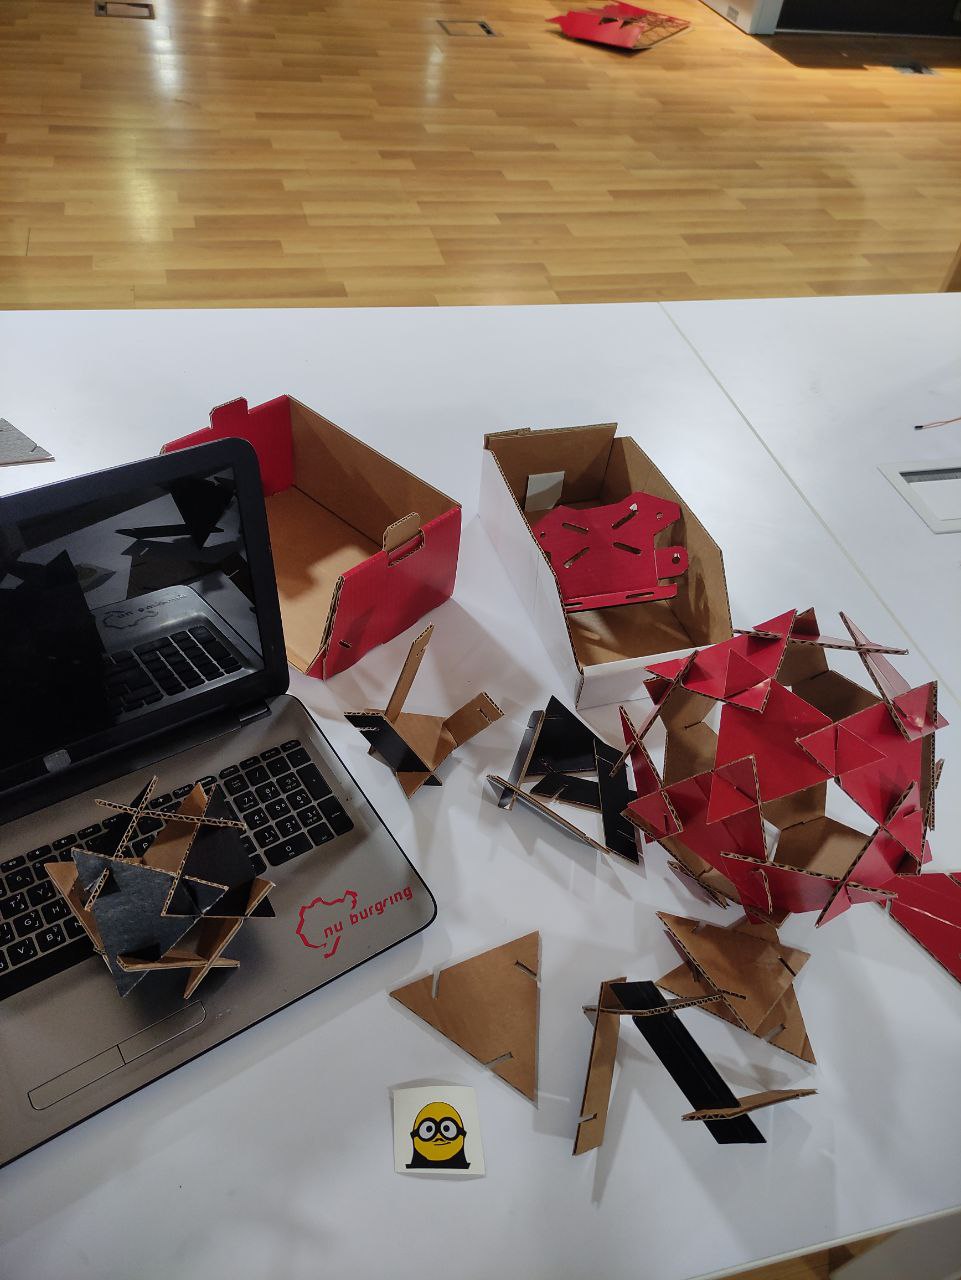
Assembling the parts
.jpg)
.jpg)
.jpg)
finally, i got a sphere shape, by joining in different variations
.jpg)
another assembly with different sizes using two parts.
Everything I did this week
ciao….
Design files
vinyl cutting:
minion head svg file:
Zund / laser cutting
.dxf file of the parametric design: