Project management, principles and practices
Tasks for this week:
- Build a personal site.
- Learn about GitLab and watch tutorials.
Why do we create a website for Fabacademy?
Having a website dedicated to Fab Academy documentation allows students to learn from the experiences of previous participants in the program. By accessing the documentation of past students, they can gain valuable insights and knowledge, both in terms of what worked well and what didn't. This can help them to avoid repeating mistakes and build upon the successes of others, ultimately leading to the creation of even more innovative and successful projects.
—Before starting to build the website we have to create some fundamentals, that is we have to set up a version control that will provide a centralized system for tracking changes to the website's code and content.
Version control
Version control, also known as source control or revision control, is a process used by software developers to manage changes to their code and other digital assets. It allows developers to collaborate on projects, track changes over time, and revert to previous versions if necessary.
These are the basic steps involved in using version control:
- Choose a Version Control System: The first step is to choose a version control system (VCS). Some popular options include Git, SVN, and Mercurial. Each VCS has its own strengths and weaknesses, so it's important to choose one that works best for your needs.
- Create a Repository: Once you have chosen a VCS, you need to create a repository. This is a central location where all of your code and other digital assets will be stored. You can either create a local repository on your own computer or a remote repository on a server.
- Add Files to the Repository: After you have created a repository, you need to add files to it. This includes all of your code, documentation, and other digital assets. You can either add files manually or use a tool like Git to automatically track changes to your code.
- Make Changes and Commit Them: Once you have added files to the repository, you can start making changes to your code. When you are ready to save your changes, you "commit" them to the repository. This creates a new version of the code that is stored in the repository.
- Collaborate with Others: Version control allows multiple developers to work on the same codebase at the same time. This means that you can collaborate with other developers, share code, and review each other's work.
- Revert to Previous Versions: If something goes wrong with your code, version control allows you to revert to a previous version. This can be a lifesaver if you accidentally delete something important or introduce a bug into your code.
Getting started with GIT
Here I am using GIT as the version controller, As Git is known for its speed, flexibility, and powerful branching and merging capabilities.
This video from GitLab covers most of the fundamentals of git
Git branching
“LearnGitBranching” is an interactive online tutorial that helps people learn Git, The tutorial is hosted at learngitbranching.js.org and provides a hands-on, interactive way to learn Git concepts such as branching, merging, and rebasing.
https://learngitbranching.js.org/ Check this website to learn GIT branching, it's a fun game to learn git for beginners
So it's time to install the GIT, you can download it here
If its already installed you can check the version using this command on cmd
git --version
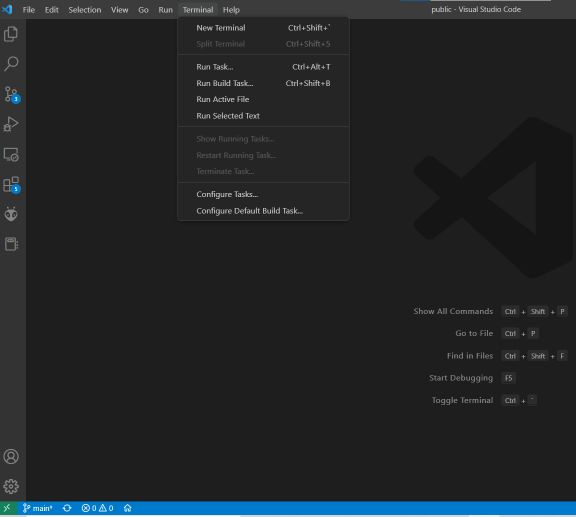
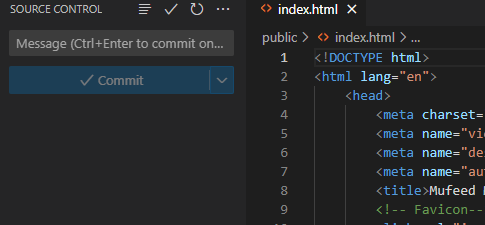
- after installing git we need to make sure whether its running for that open VS code and click
VScode
- Here I am using VScode as the code editor
- Download the VScode here
- follow that documentation for the installation process
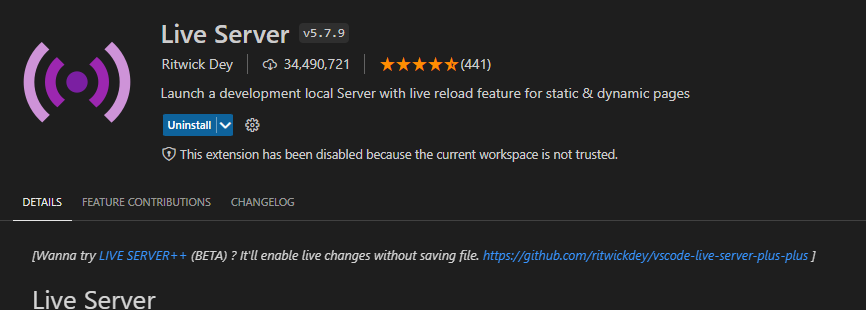
- Also, install the live server, which will launch a local development server with live reload capability. This means that any changes made to the code are immediately reflected in the browser without the need for a manual refresh.
- setting up the ssh key can be done in either VScode terminal or in windows power shell here im using the windows powershell / terminal
GitLab, GitHub
GitLab and GitHub are online platforms that offer remote access to Git repositories. These services not only provide a place to store your code but also offer a variety of features to facilitate the management of the software development process. These features are designed to help developers collaborate more effectively, track issues and bugs, automate testing and deployment, and manage the overall lifecycle of the software.
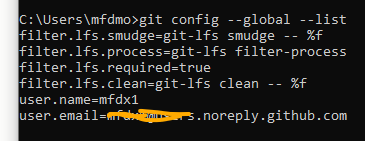
- Before using GitHub, it's necessary to configure it locally by setting up a global username and email address. This can be accomplished using terminal commands in Git
- open terminal use these commands
git config --global user.name "USERNAME"- now the username
git config --global user.email "email_address@example.com"- we can verify it using this command
git config --global --list- it will be shown like this—>
Setting up GitLab and SSH keys
SSH is a technology that enables secure communication between computers by creating a virtual tunnel over the internet. One way to establish this secure connection is by using an encryption technique called SSH keys. These keys can be generated through terminal commands in Git, and the GitLab platform supports several types of keys, including RSA, DSA, ECDSA, and ED25519. In my case, I generated an RSA key for my GitLab account.
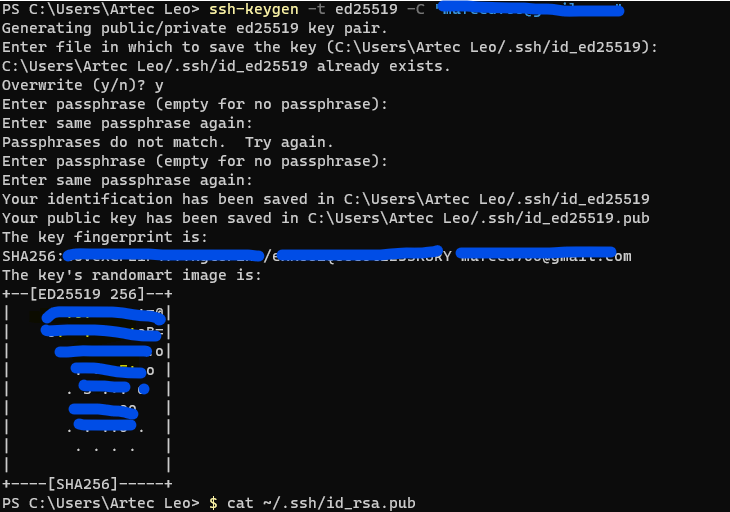
- this is the SSH key,
- After generating the SSH-RSA, the encryption key is stored in a hidden folder within the user directory, with a filename extension of .pub. To use the key, it can be copied from the id_rsa.pub file using the following command:
$ cat ~/.ssh/id_ssh.pubThis command will display the contents of the id_rsa.pub file in the terminal, which can then be copied and added to the SSH keys section of the user's GitLab account.
- now open Gitlab and
- Paste the keys in the user settings> SSH Keys
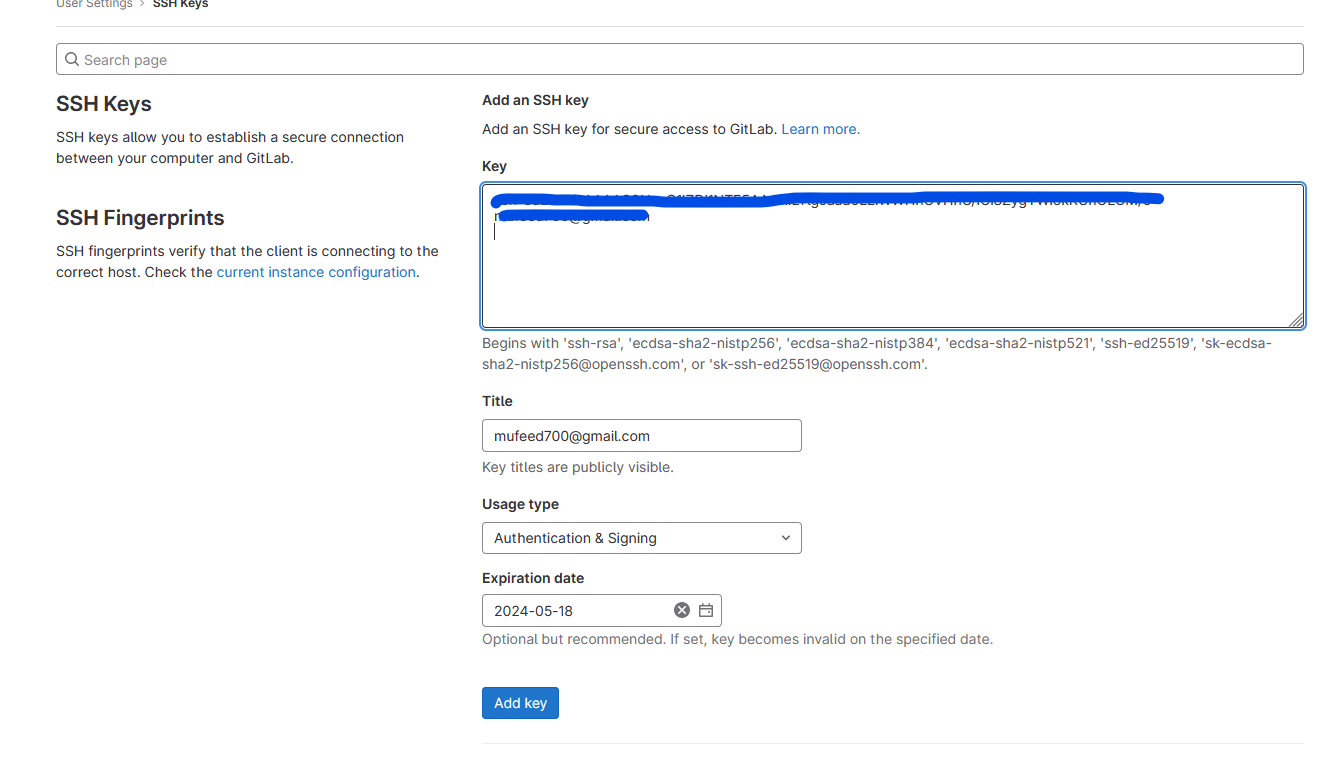

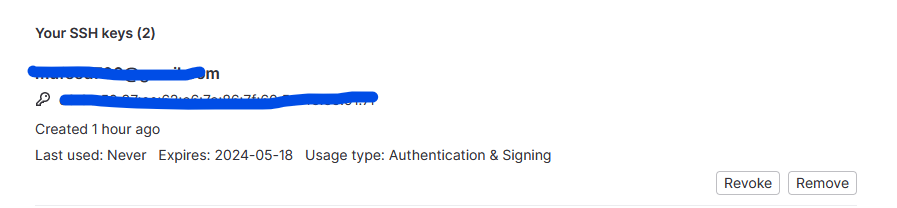
- now the keys are configured, for more details of the Keys here:
Cloning the Git-Repository
Next, we have to clone the existing repository provided by the fab foundation
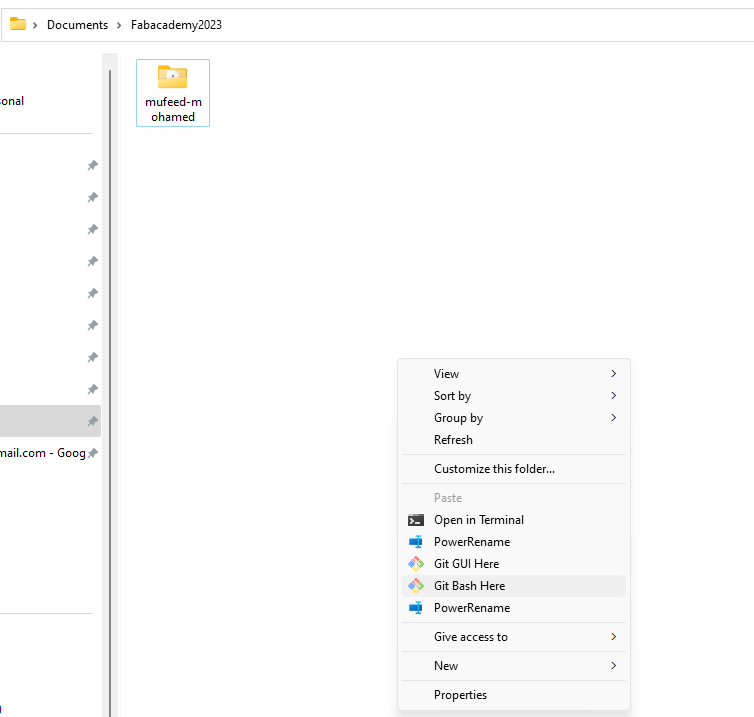
- first, create a new folder on the preferred location, and now open git bash on the location by right-clicking there.
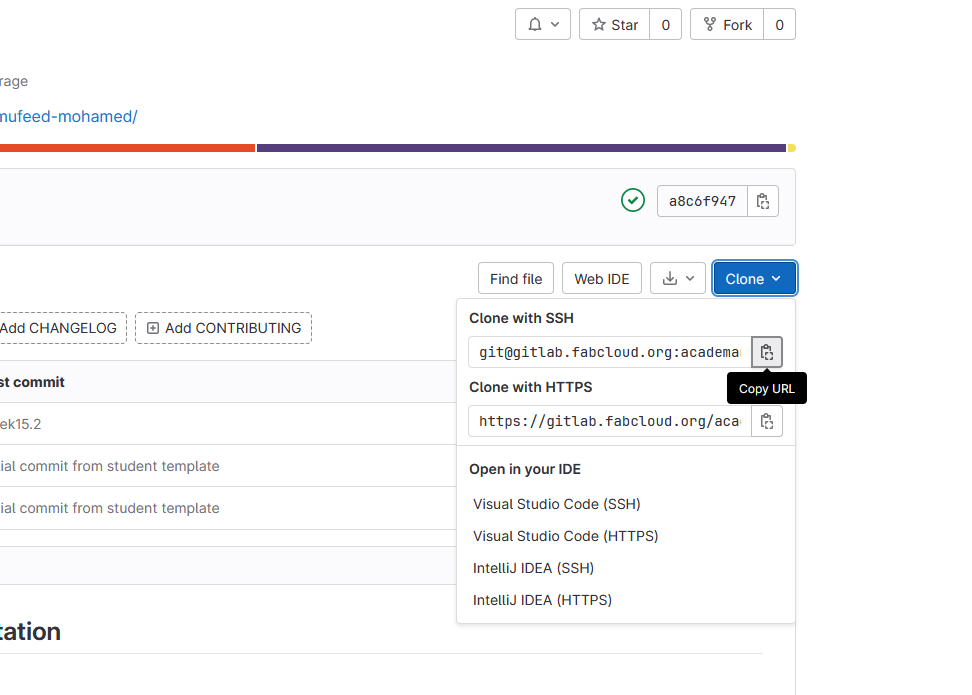
- now copy SSH link from the git home page by clicking the Clone button
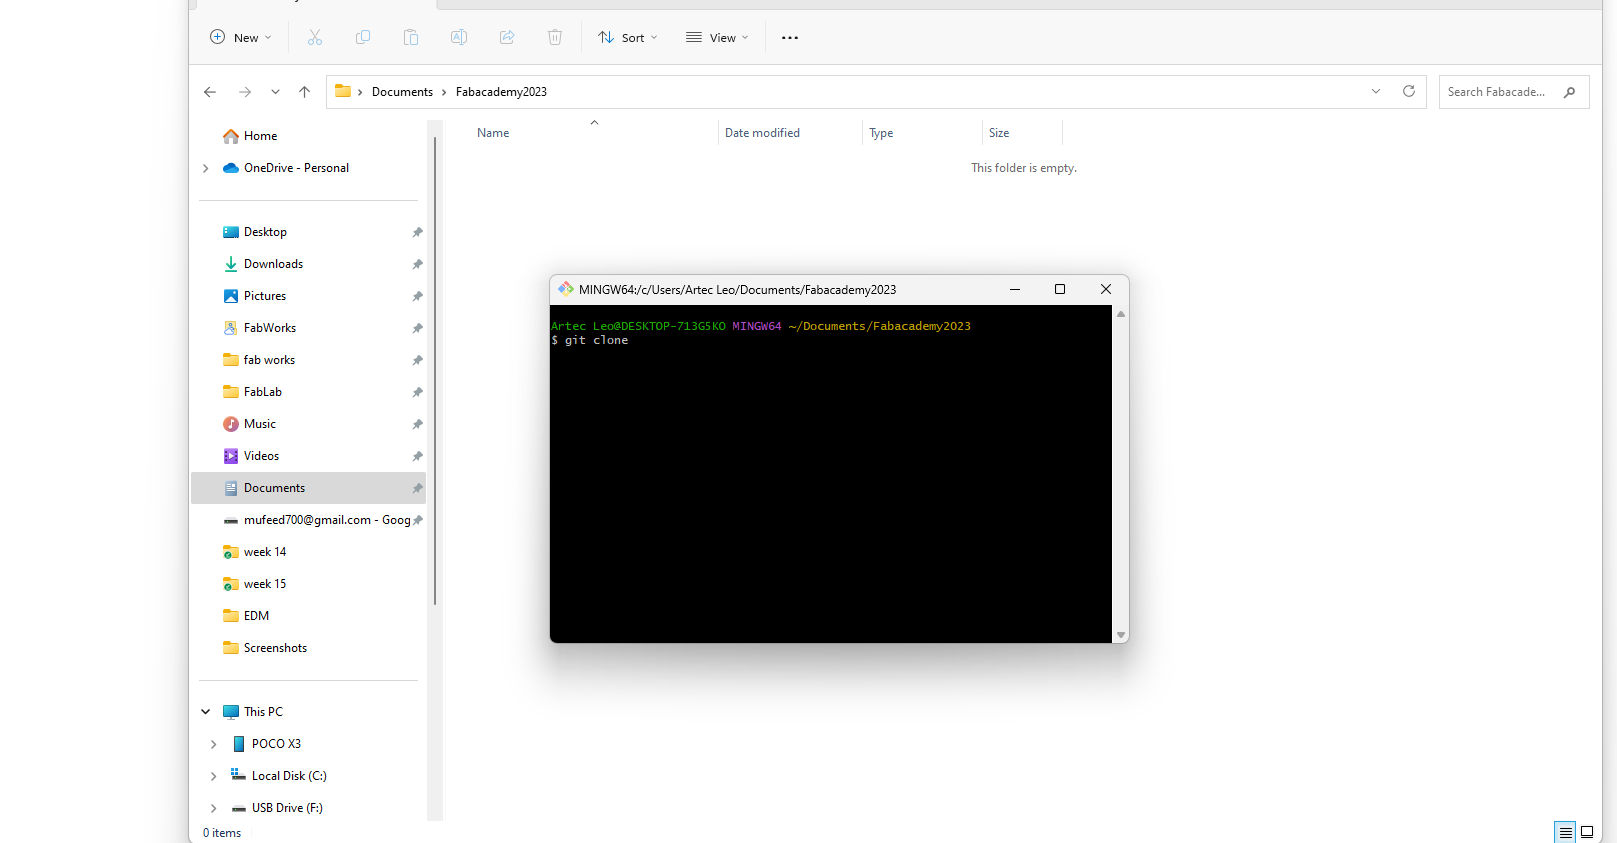
- use the below is code with the SSH key on git bash to clone the repository
git clone < ssh url >

- the repository is now cloned to the user folder. Remove the existing files and replace them with the new website that I previously created Inside that folder
Building a website
- initially, there will be a template provided by the fab-academy, we can use that or replace it with ours,
- Learning HTML- CSS- JavaScript
HTML is used to create the structure and content of a webpage, CSS is used to style and layout the page, and JavaScript is used to add interactivity and dynamic behavior to the page.
- for my website, I am using a template that I made previously, it was easier to use the template provided by the academy or use the Mkdox, for me i need to do something creative and learn the process of making a new website.
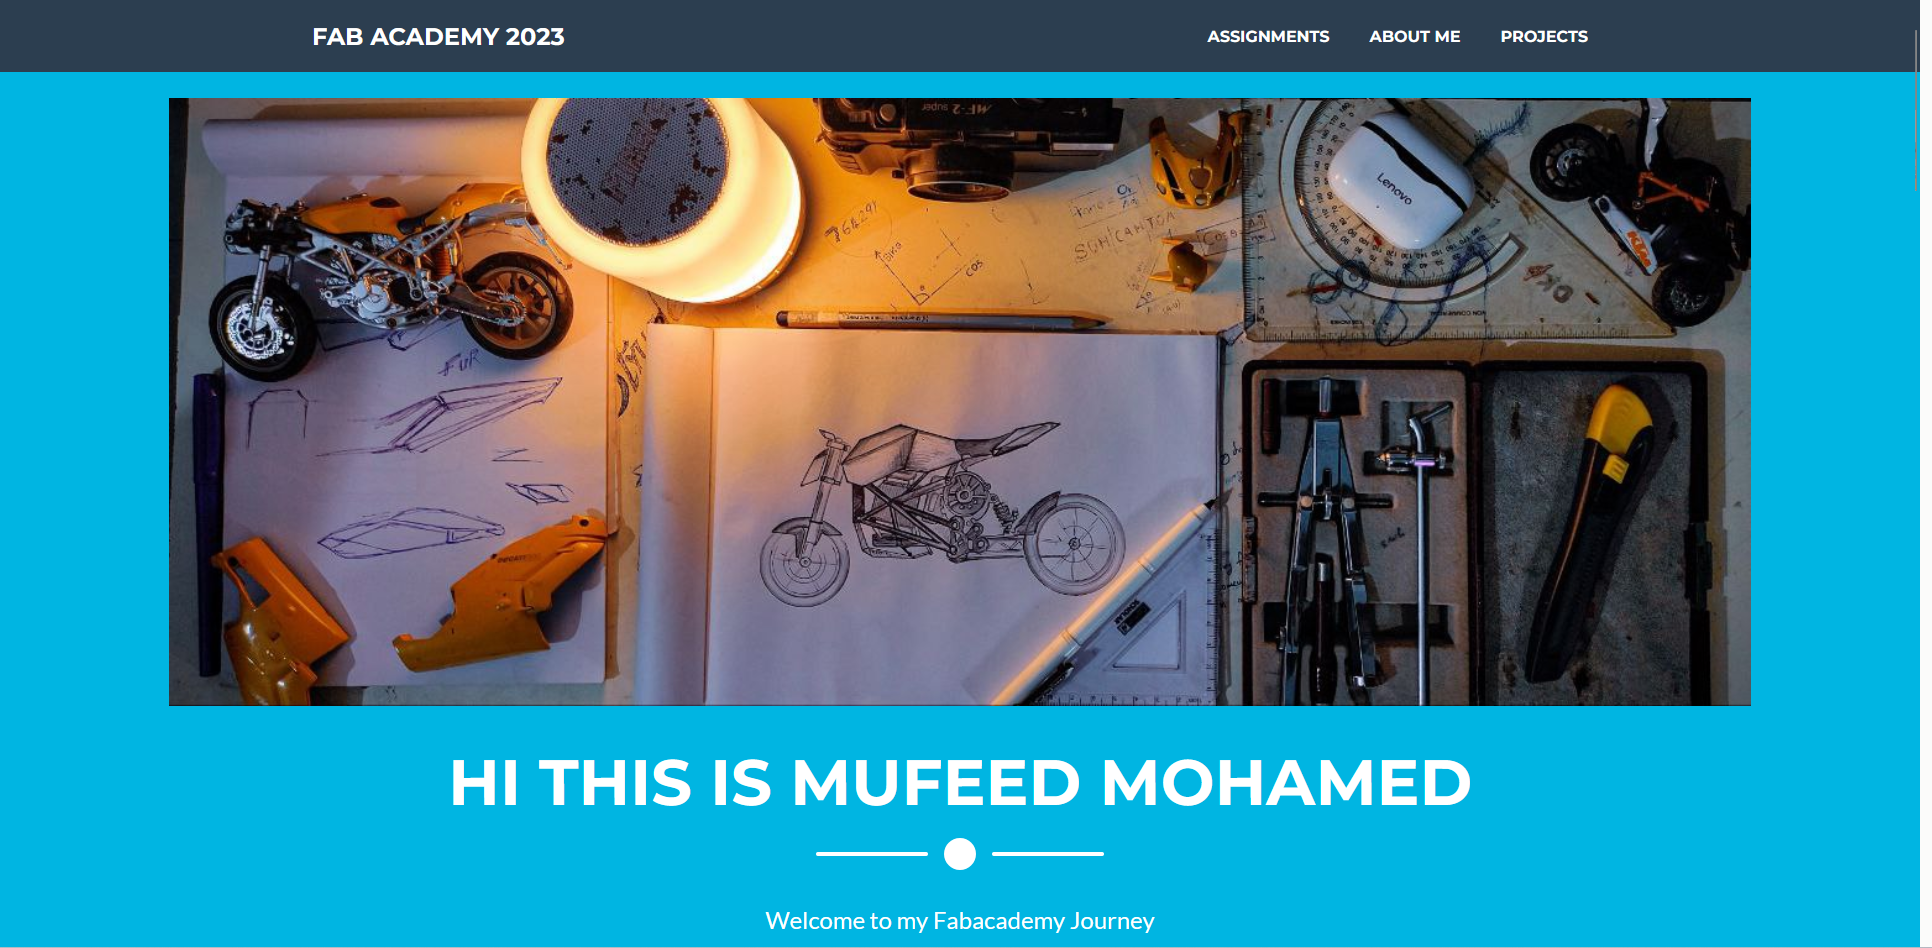
This is the landing page of the website that i created.
- this was viewed using the live server, locally
- and i will have to push the contents to the git for publishing it to the web
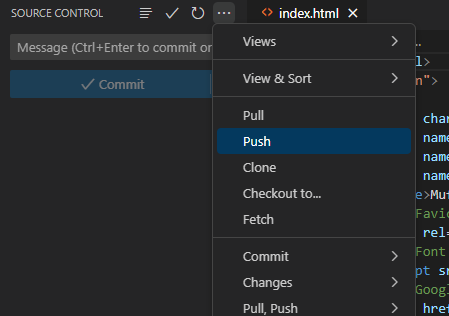
Add / Committing / Pushing
Add
The add command in Git is used to stage changes made to a file or multiple files, preparing them to be committed.
Committing
When you make changes to a file in a Git repository, the changes are initially only stored locally on your computer. Committing the changes creates a snapshot of the current state of the codebase and records it in Git's version control system. This snapshot includes all of the changes made since the last commit, along with a commit message that describes the changes.
Pushing
Pushing the commit to the remote repository provides a centralized location for all changes to the codebase, making it easy to track progress and collaborate effectively.
- press push to upload the files to gitlab.
Notes & Updates
- I used to document using notion and export them as .html, so when opening the HTML in VScode i get everything mixed up like this,
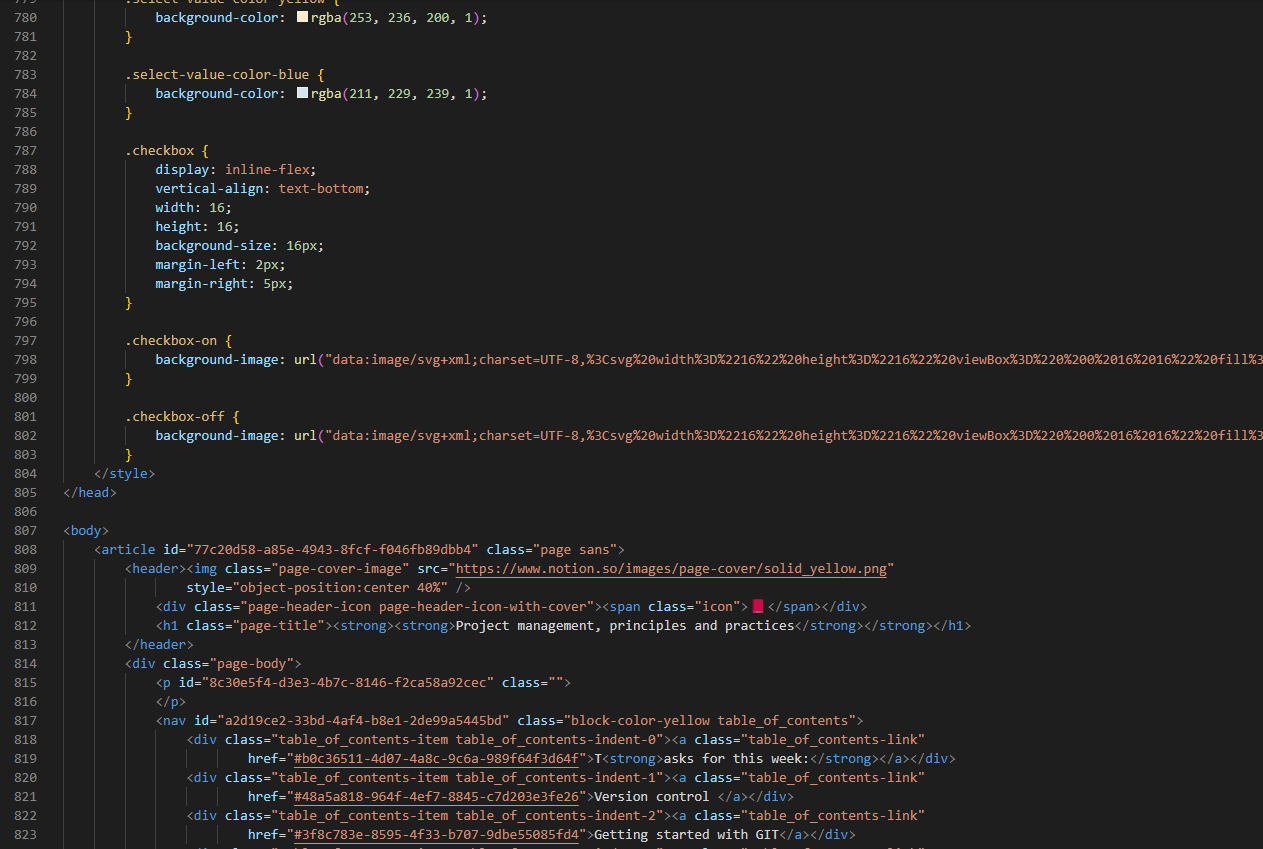
it is very difficult to edit them because everything is cramped up,
Solution
- so my friend Sibin Ks suggested me to use “ Prettier - Code formatter”
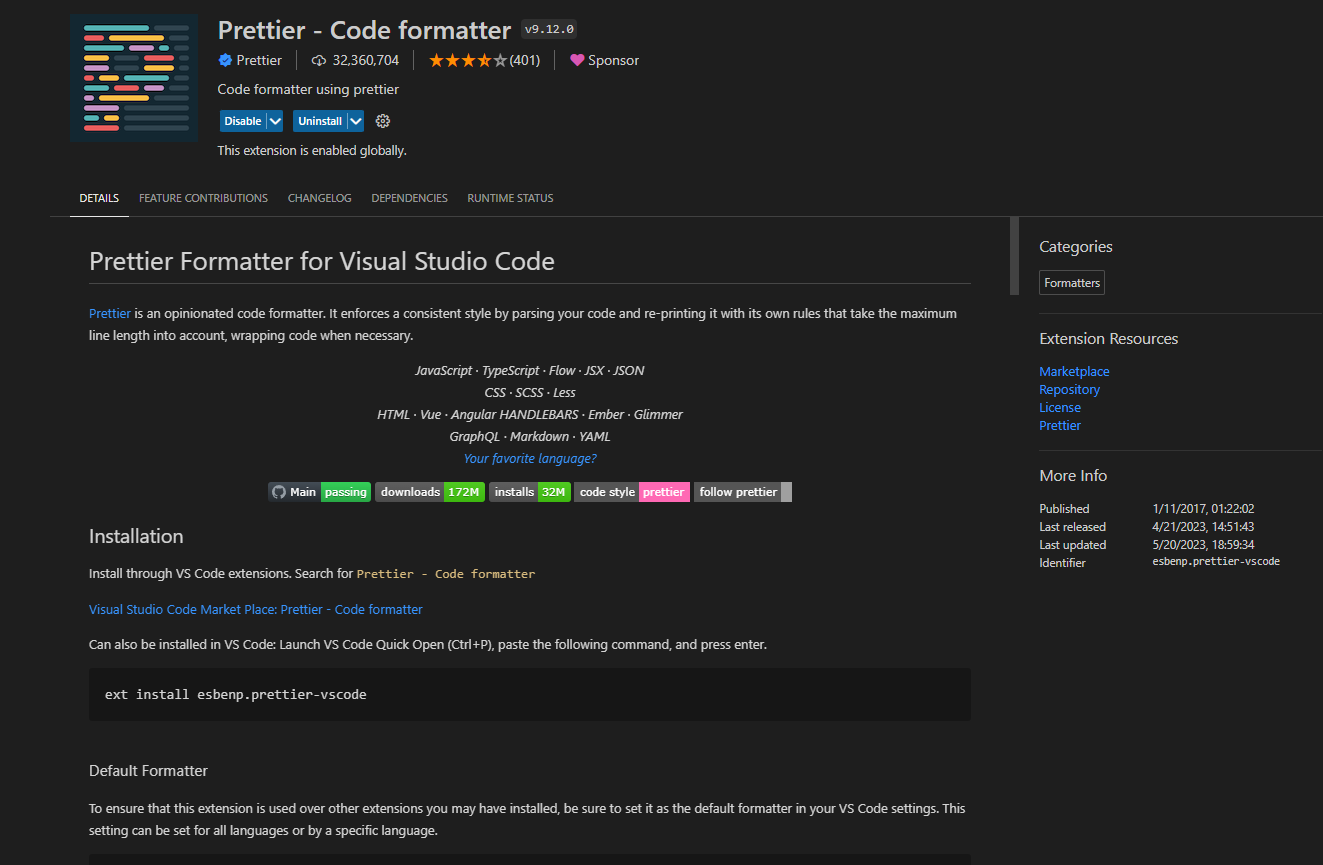
now the problem is fixed and i can easily format them, there is also an option in VScode when u right click on the page
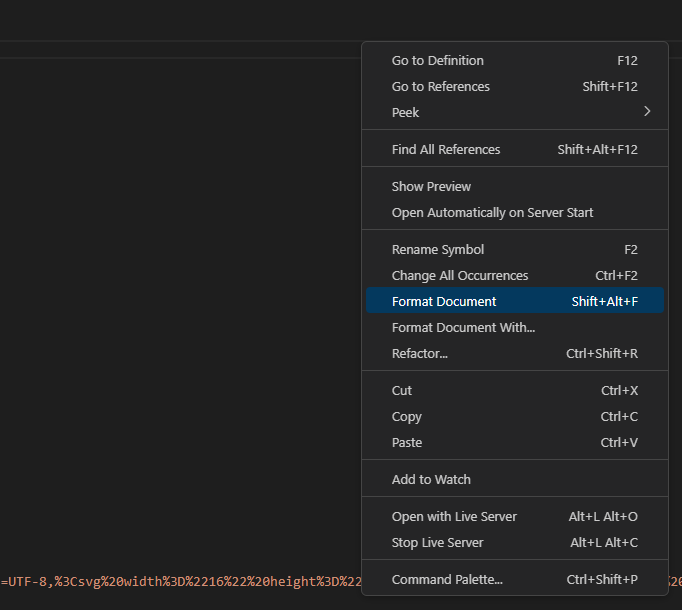
When I tried this method, the HTML code was formatted but the format of the webpage changed,