Week 5: 3D Printing
Tasks for this week
Group assignment
- Test the design rules for your 3D printer(s)
- Document your work on the group work page and reflect on your individual page what you learned about characteristics of your printer(s)
Individual assignment
- Design and 3D print an object (small, few cm3, limited by printer time) that could not be easily made subtractively
- 3D scan an object (and optionally print it)
Group Assignment
In Austrtalia the Ultimaker S5 was tested for the Group Assignment.
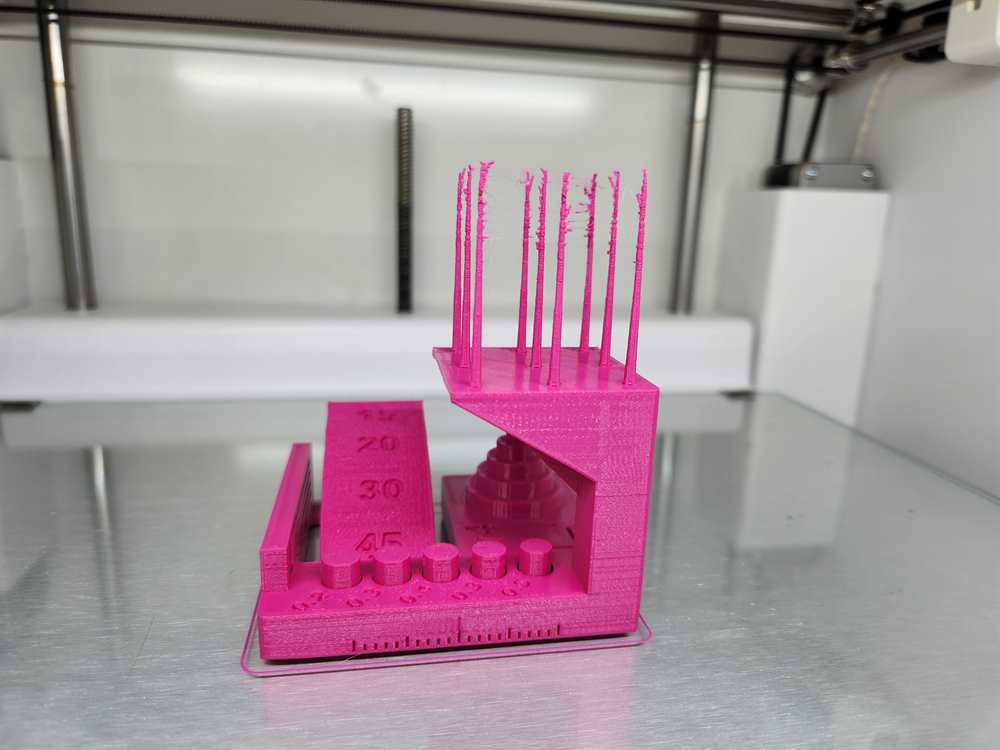
The test was done using default, 0.2mm Fast setting. The score for the test was 19.5. Overall this was a good score considering the print was done of a fast setting, not designed for high quality print results, but enough to still get a good print result. Things noted to watch out for were overhangs, bridging and clearance when the gap is below 0.3mm.
This highlights matching the print settings to what you are printing, for example avoid overhangs or large bridge spans when using the fast setting, alternatively keep it on fast and use supports.
3D Printing
Design
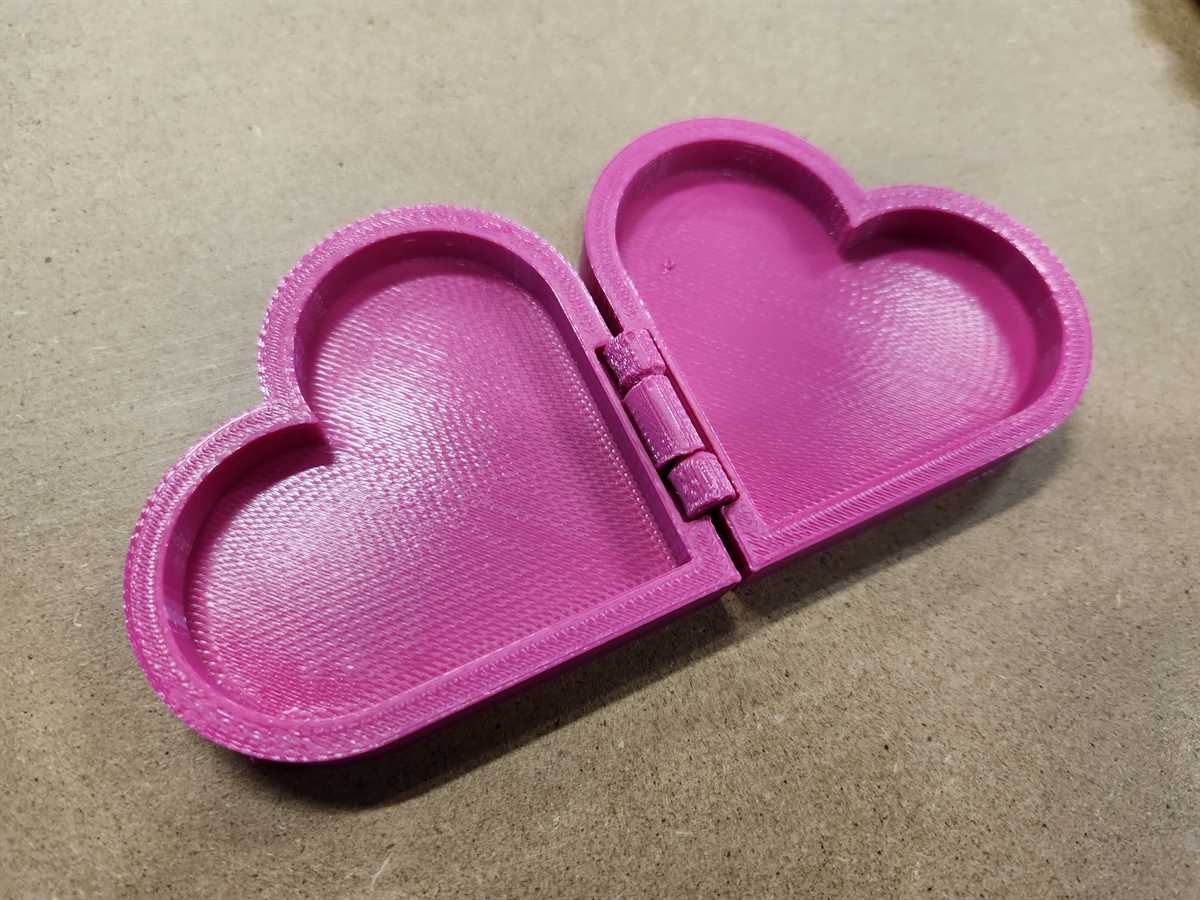
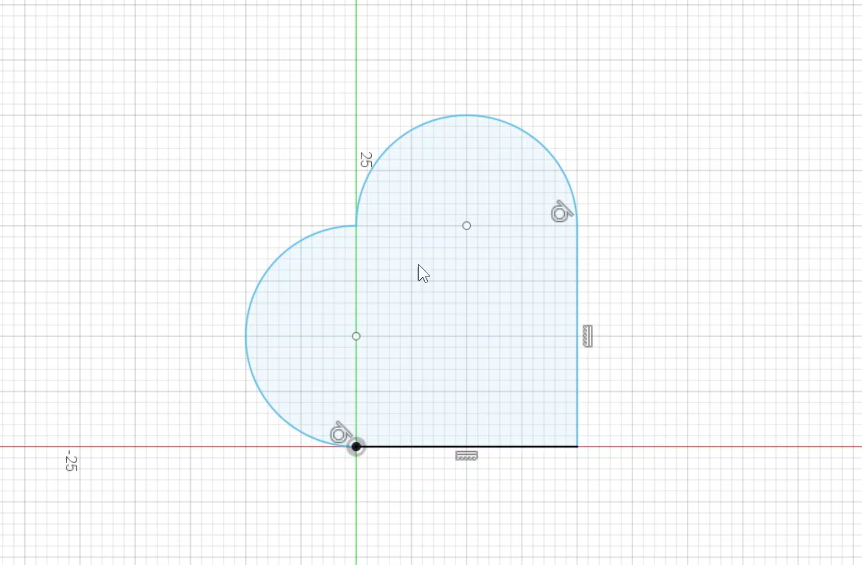
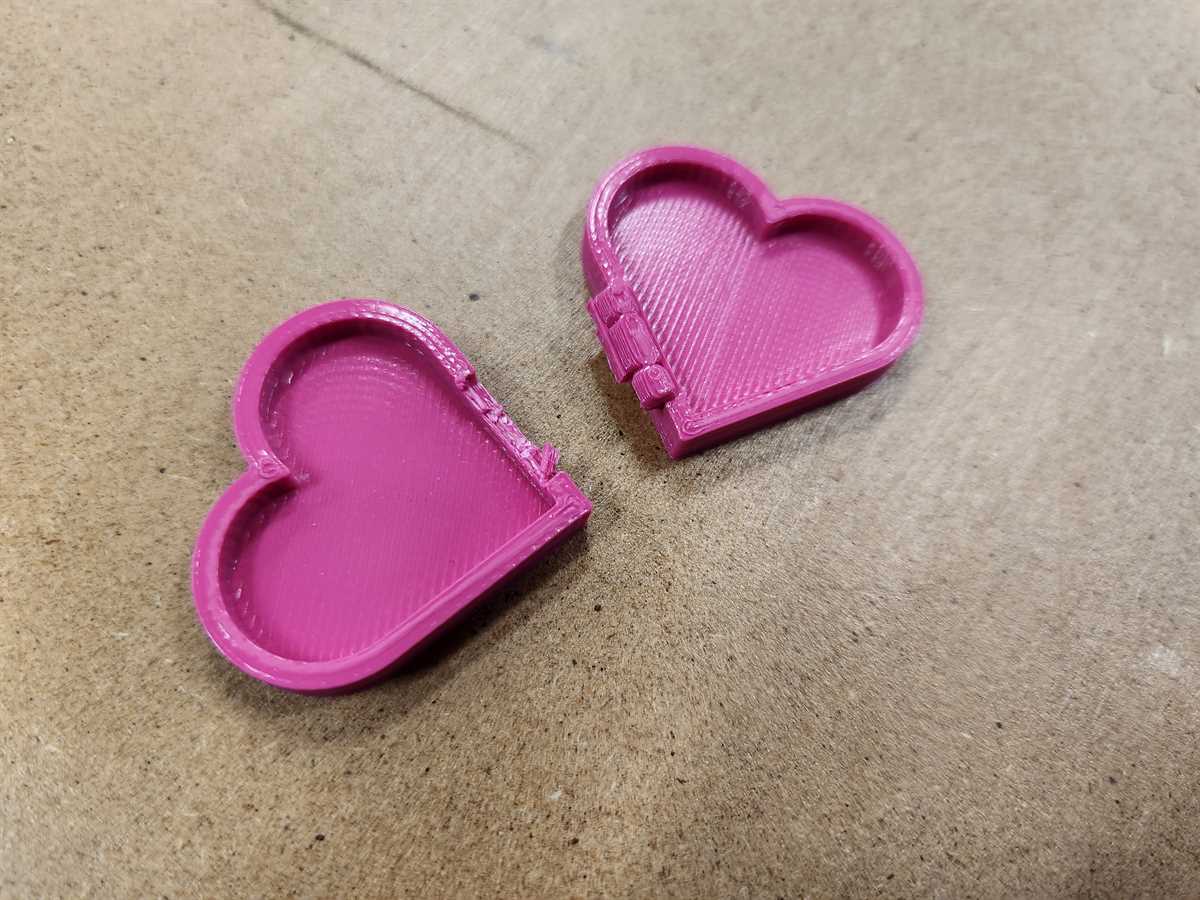
This week I have decided to do a heart box with a hinge in a single print. I used Fusion 360 to make the design.
I started by creating a sketch of a heart using a cube and two 3 point arcs.
I then extruded this sketch and used the shell modifier to make an edge, turning it into a box shape.
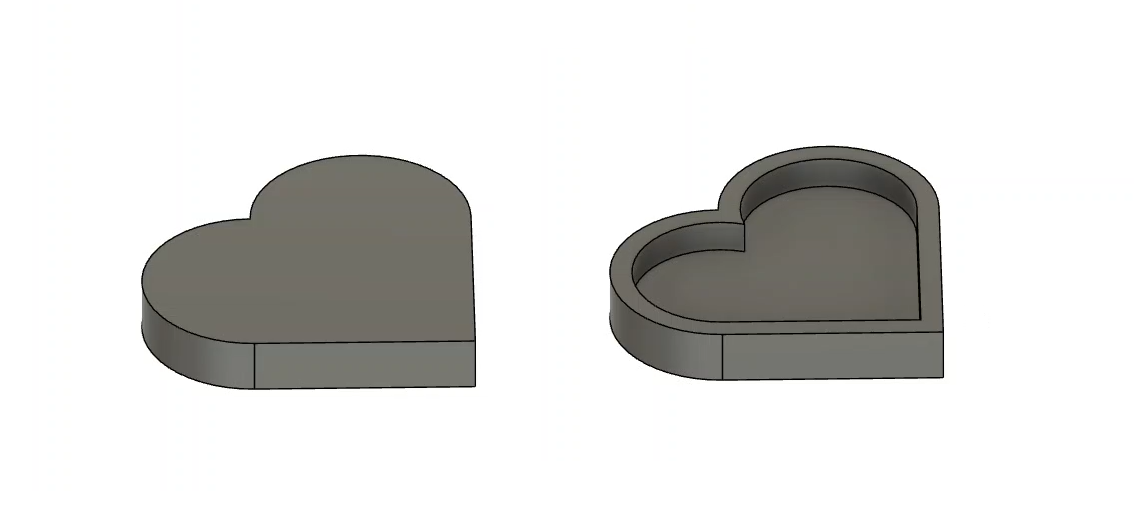
I duplicated the heart box shape.
Now it is time to create the hinge. I made the hinge out of cup and cone shapes that will print with a gap in between them. See video which shows how I made the hinge.
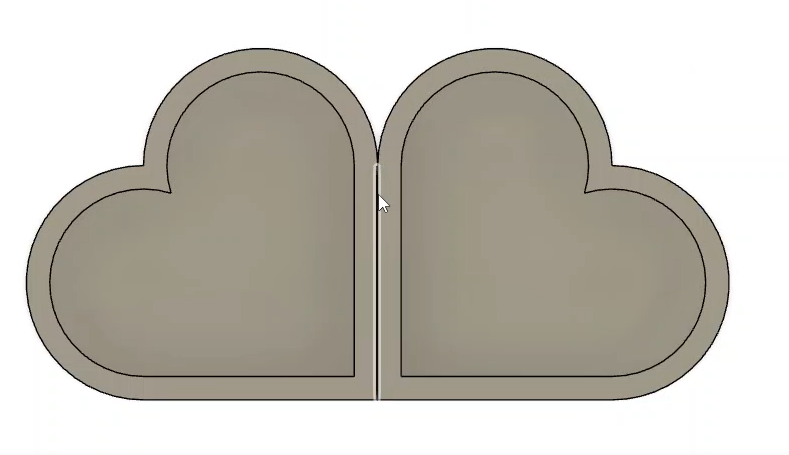
I exported an stl file from Fusion 360 to use for printing.
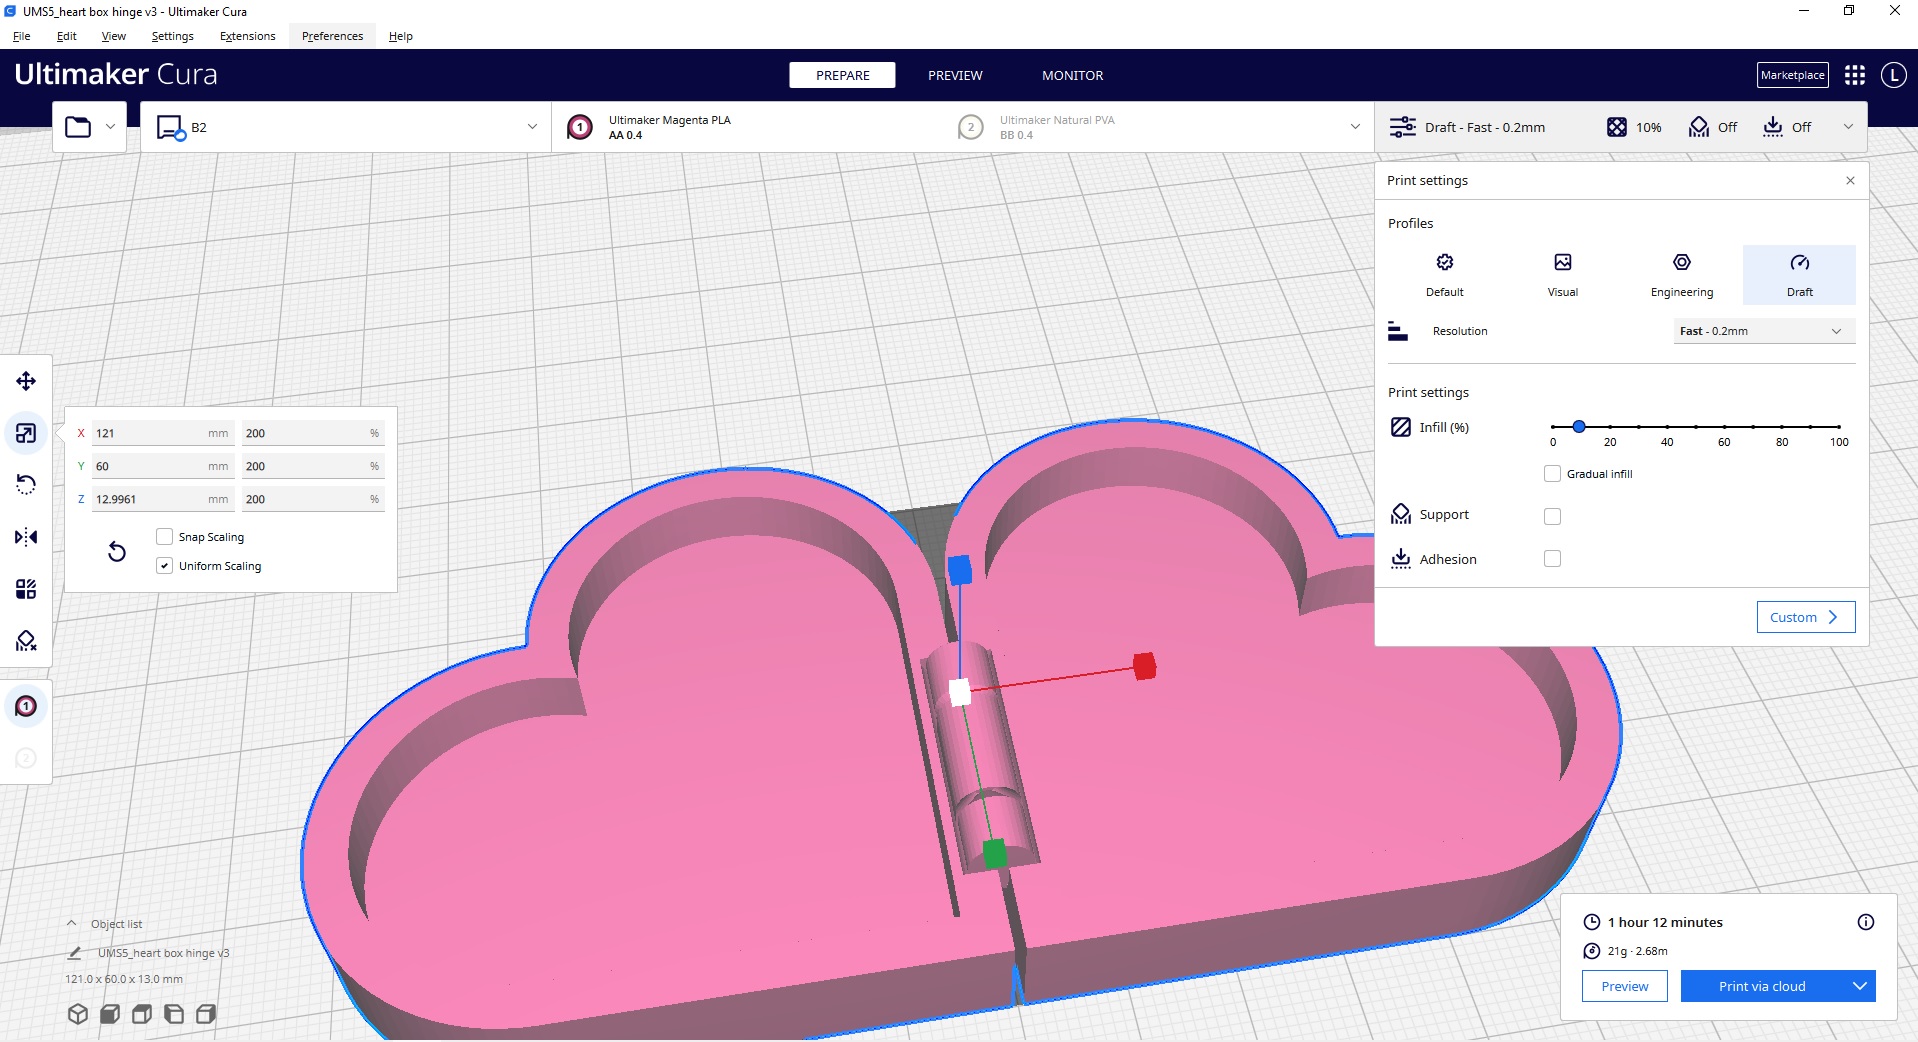
Printing Setup
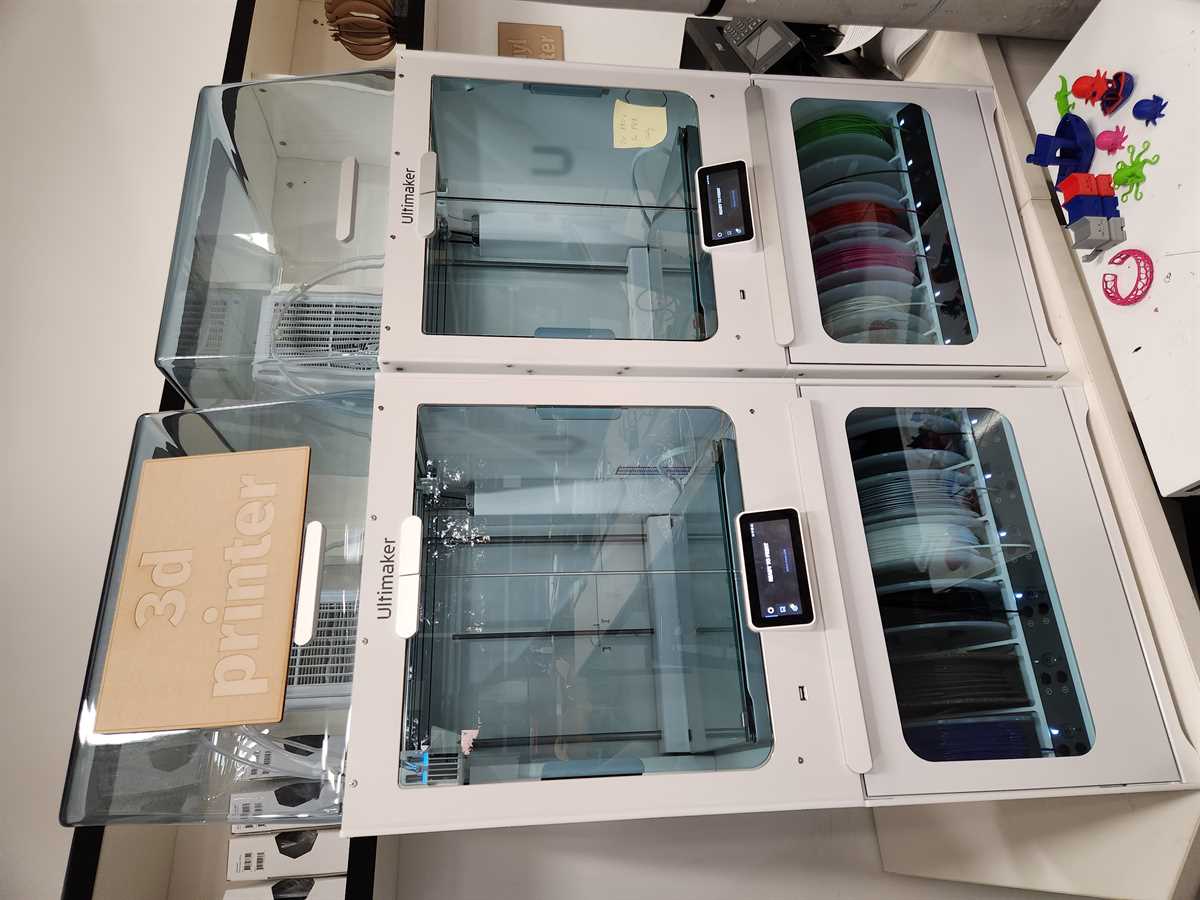
I used an Ultimaker S5 for printing and the software Ultimaker Cura to send the print to the printer.
Steps in Cura:
- Load/import the stl file you want to print
- Make sure it is in the right position
- Check scale (size) is what you want
- Rotate if needed, make sure you have the main flat side on the bed of the 3D printer
- Select printer and material
- Set printer settings (I used default, fast 0.2mm with 20% infill, no support or adhesion)
- Run Slice to get time and material amount to be used
- Send print to the 3D printer
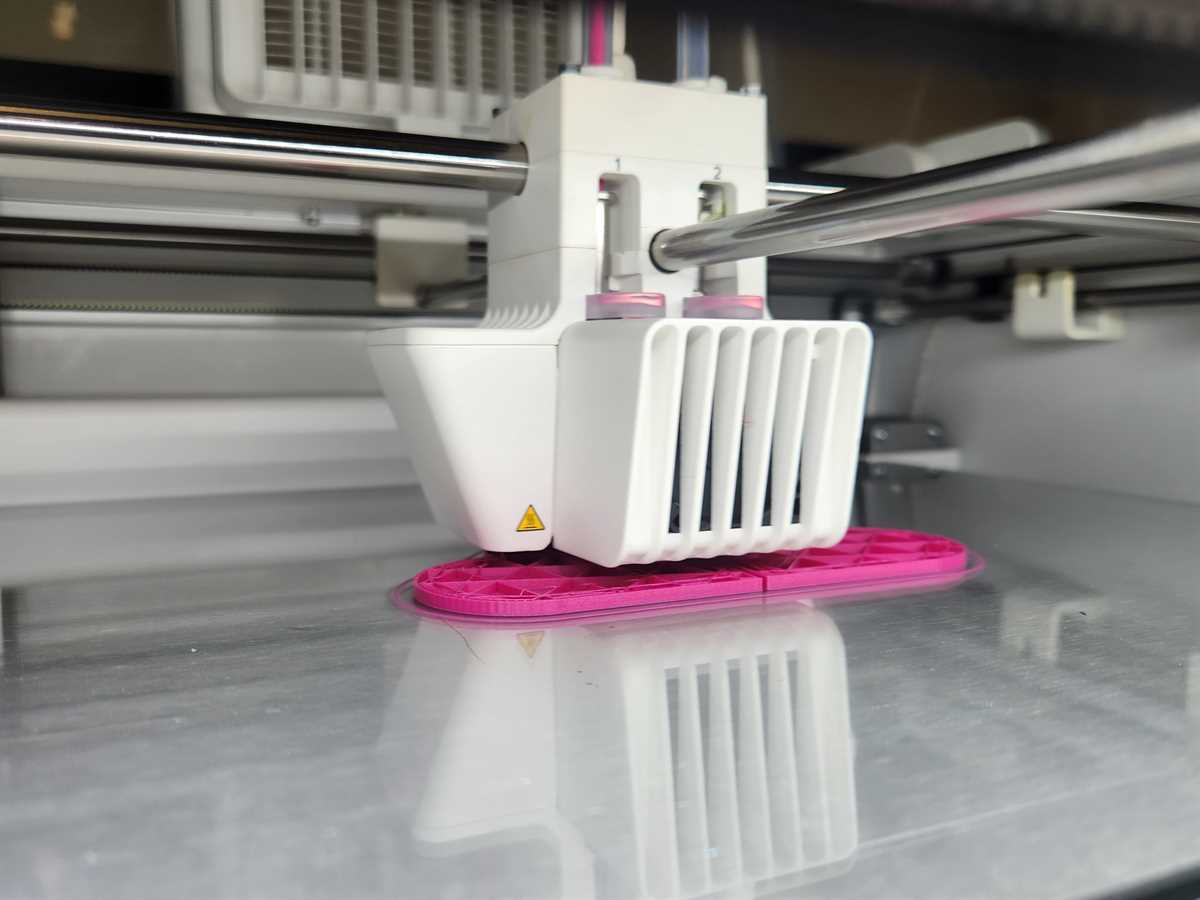
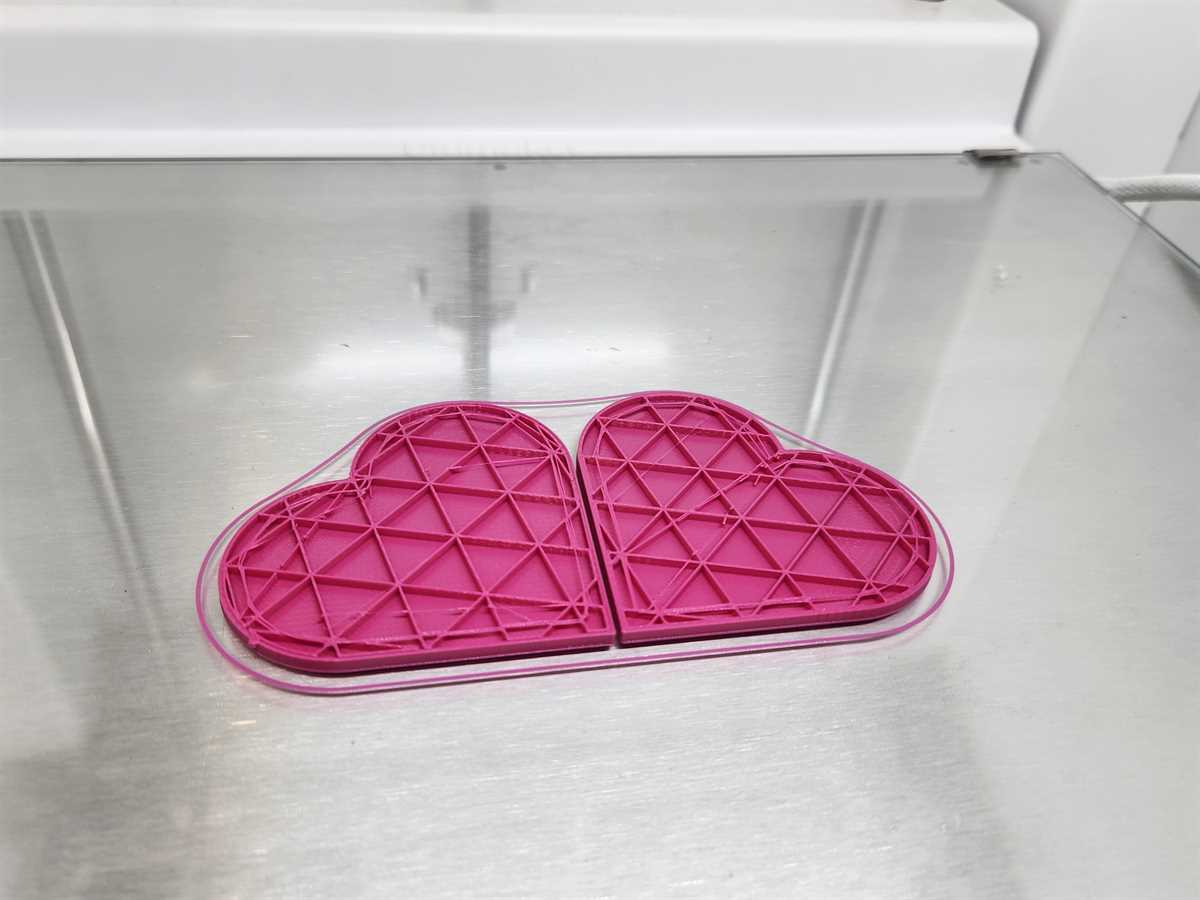
Printing
The Ultimaker S5 I am using has its own material storage and feeding. Materials are auto-fed to the printer. The printer also automatically does levelling and print head cleaning.
The print finished, however the hinge broke as soon as I tried to close the box. This I believe was because the print was so small, meaning the hinge gaps were too small for them to print properly on the printer.
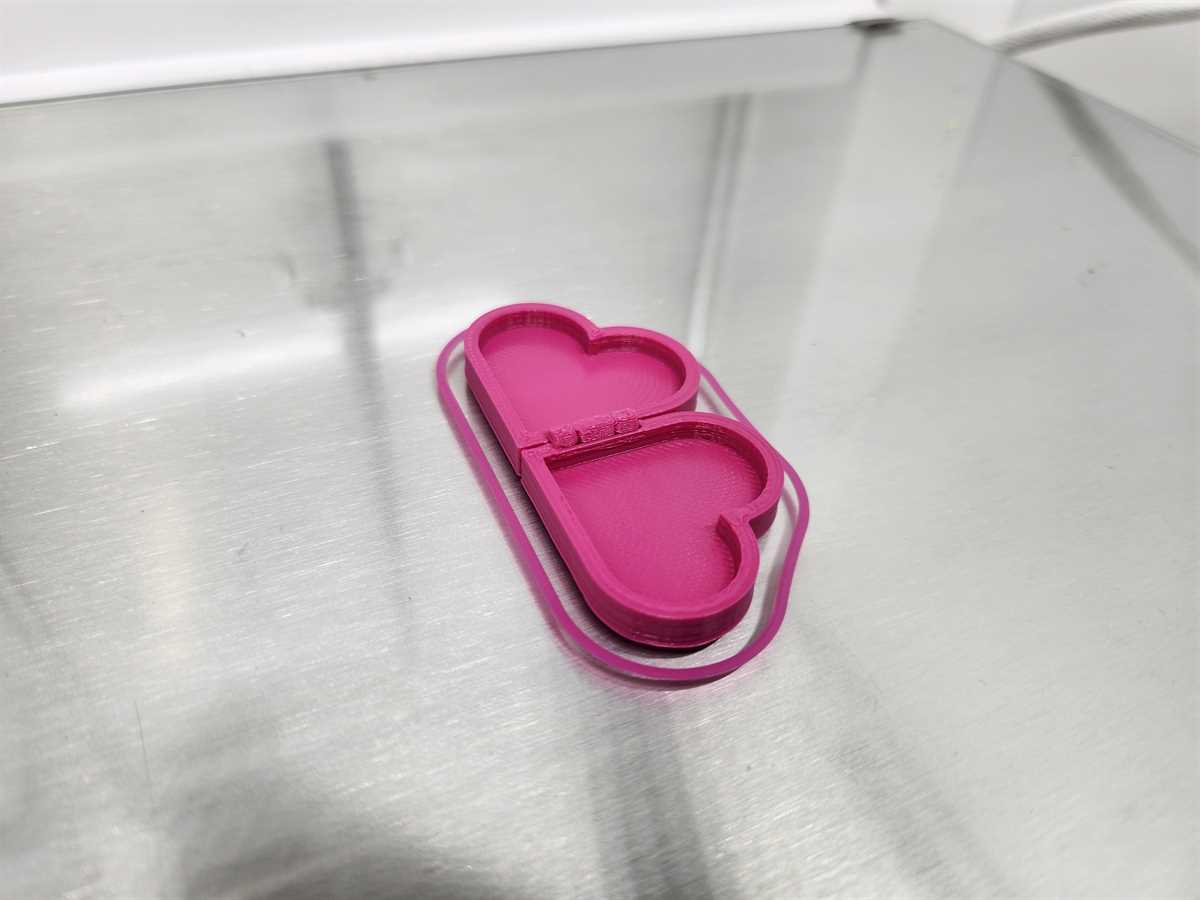
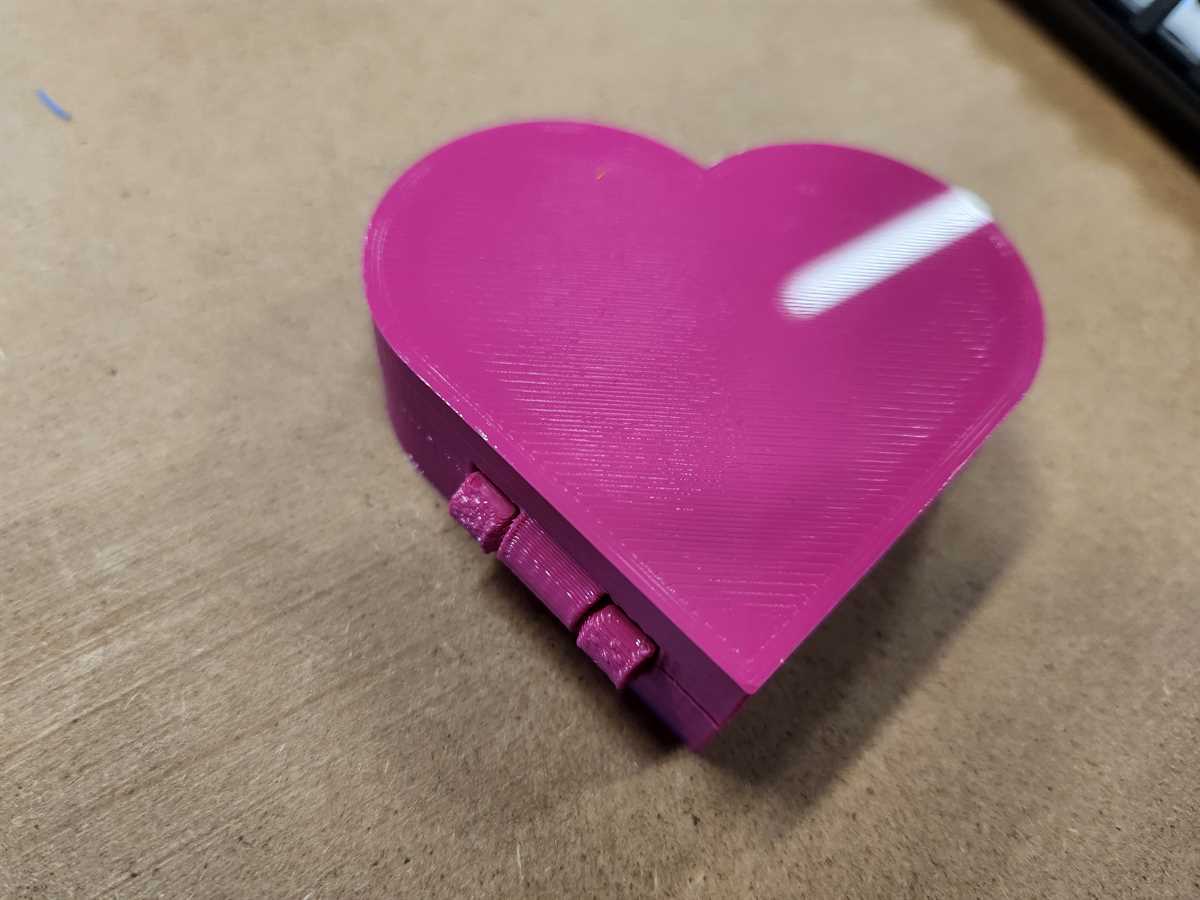
I increased the scale to 200% and printed on Draft Fast 0.2mm, 10% infill, no support or adhesion. The print took 1 hour and 12 minutes.
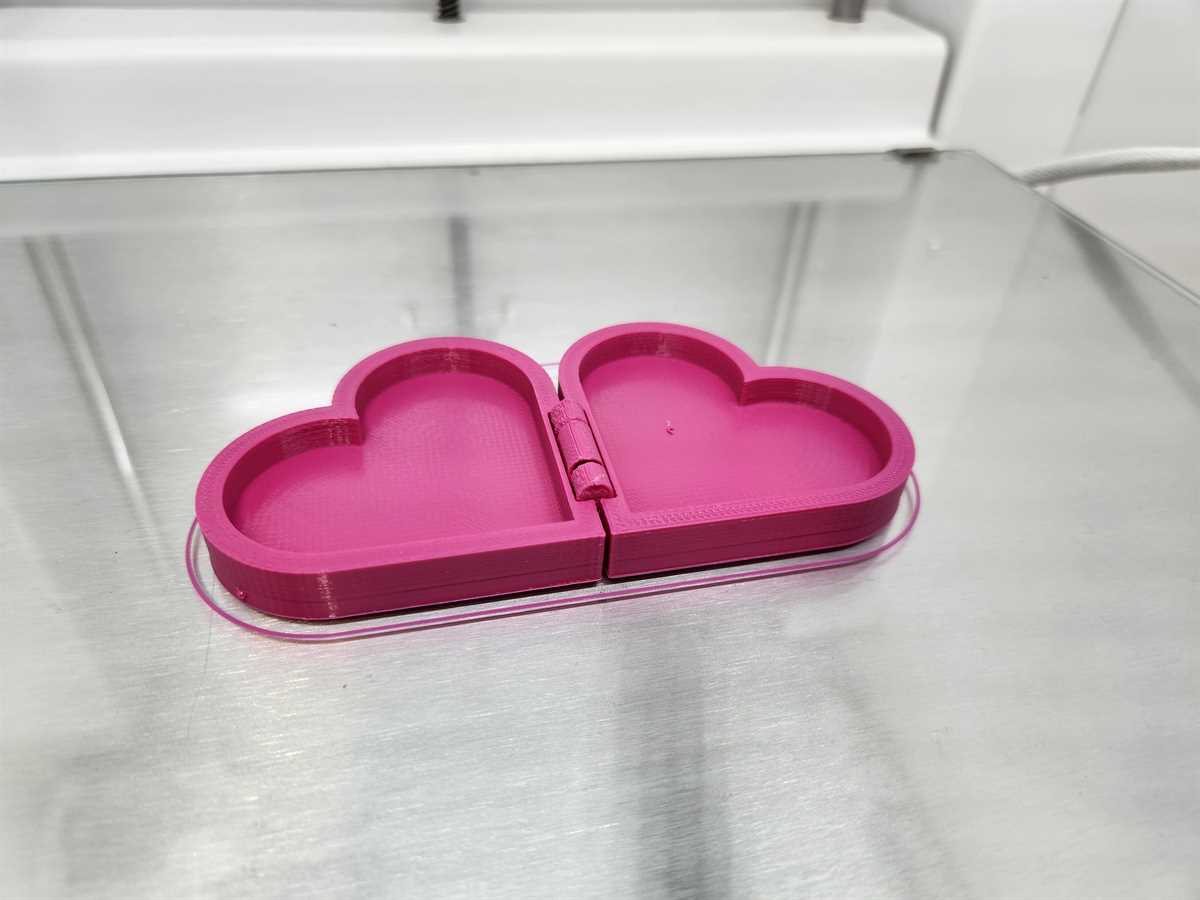
The printed hinge now works perfectly.
Result
3D Scanning
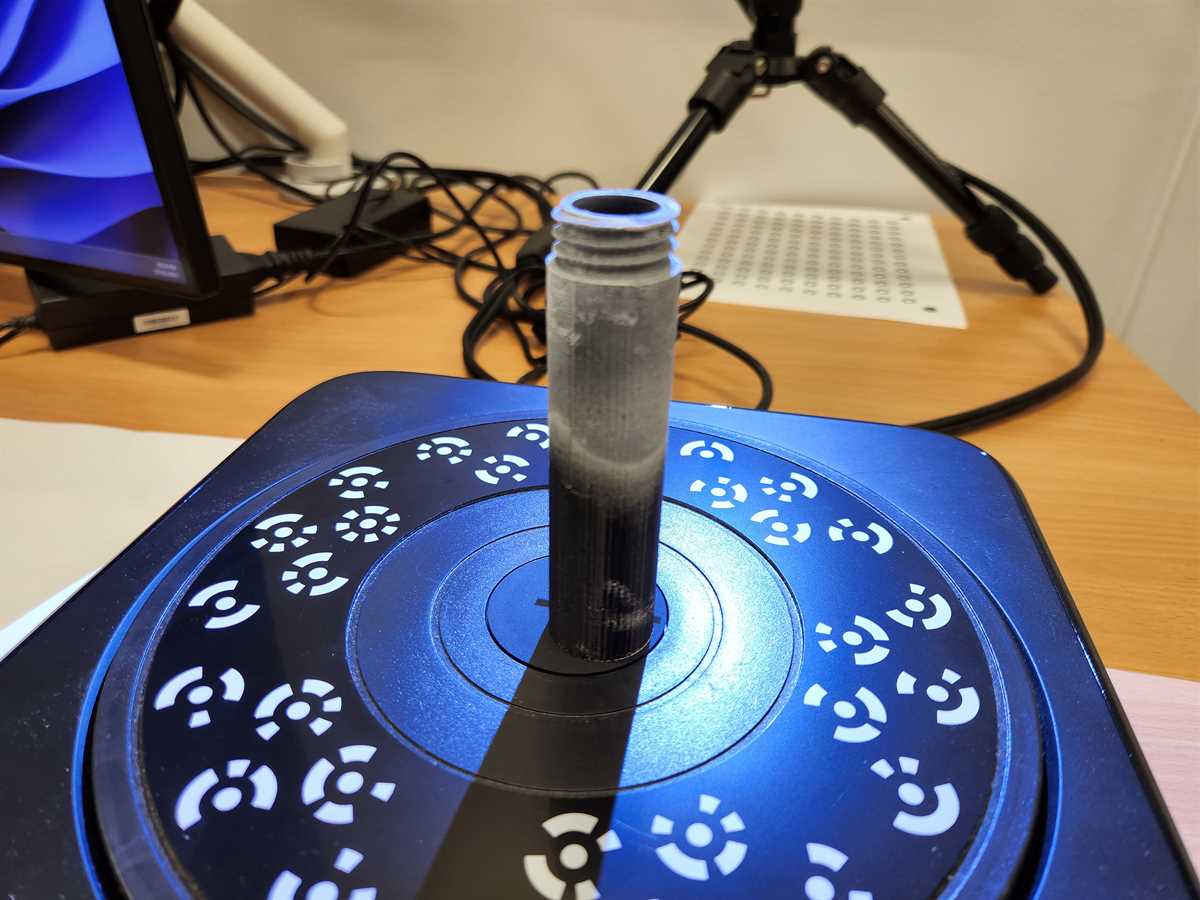
I decided to scan part of a test tube filter as it has a screw thread on it.
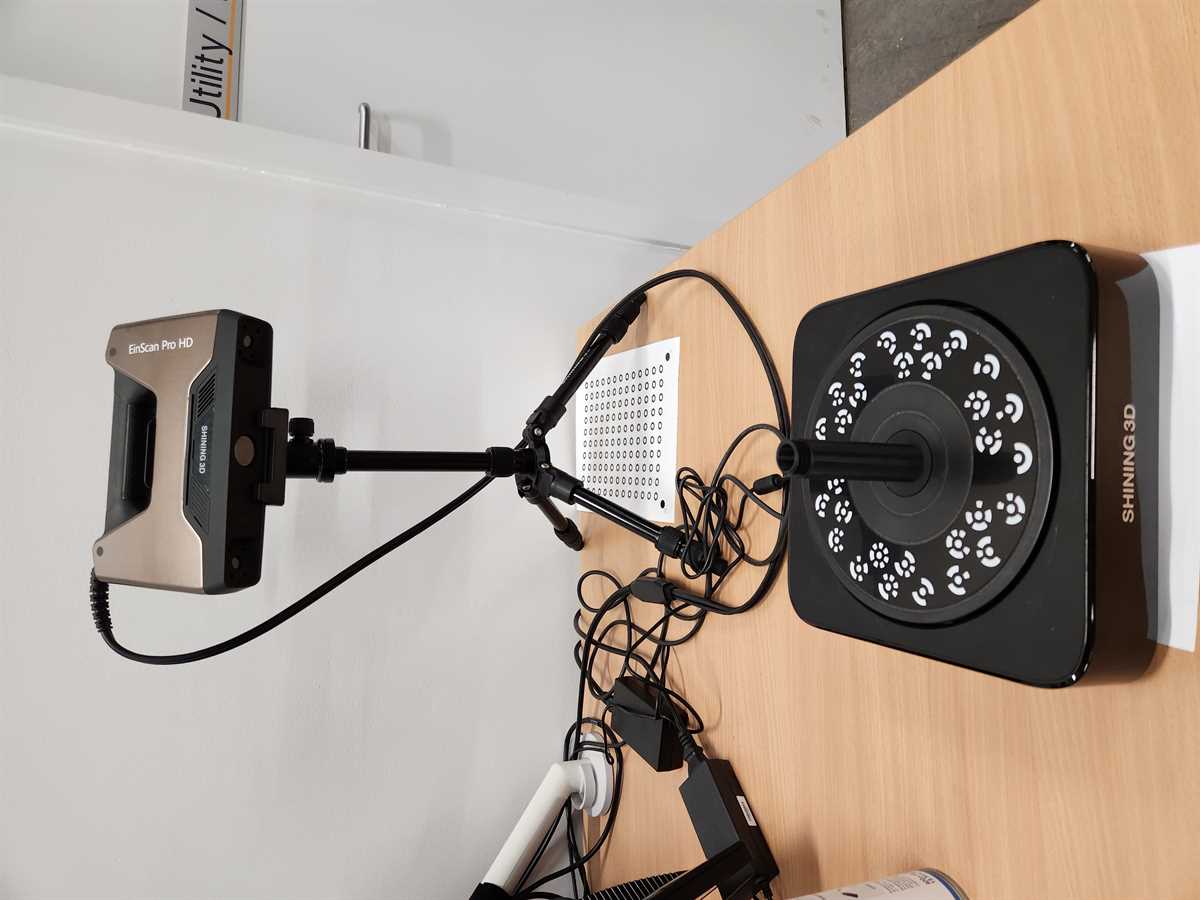
The scanner I used is an Einscan Pro HD from Shinning 3D. The software I used is called ExScan Pro which came with the scanner.
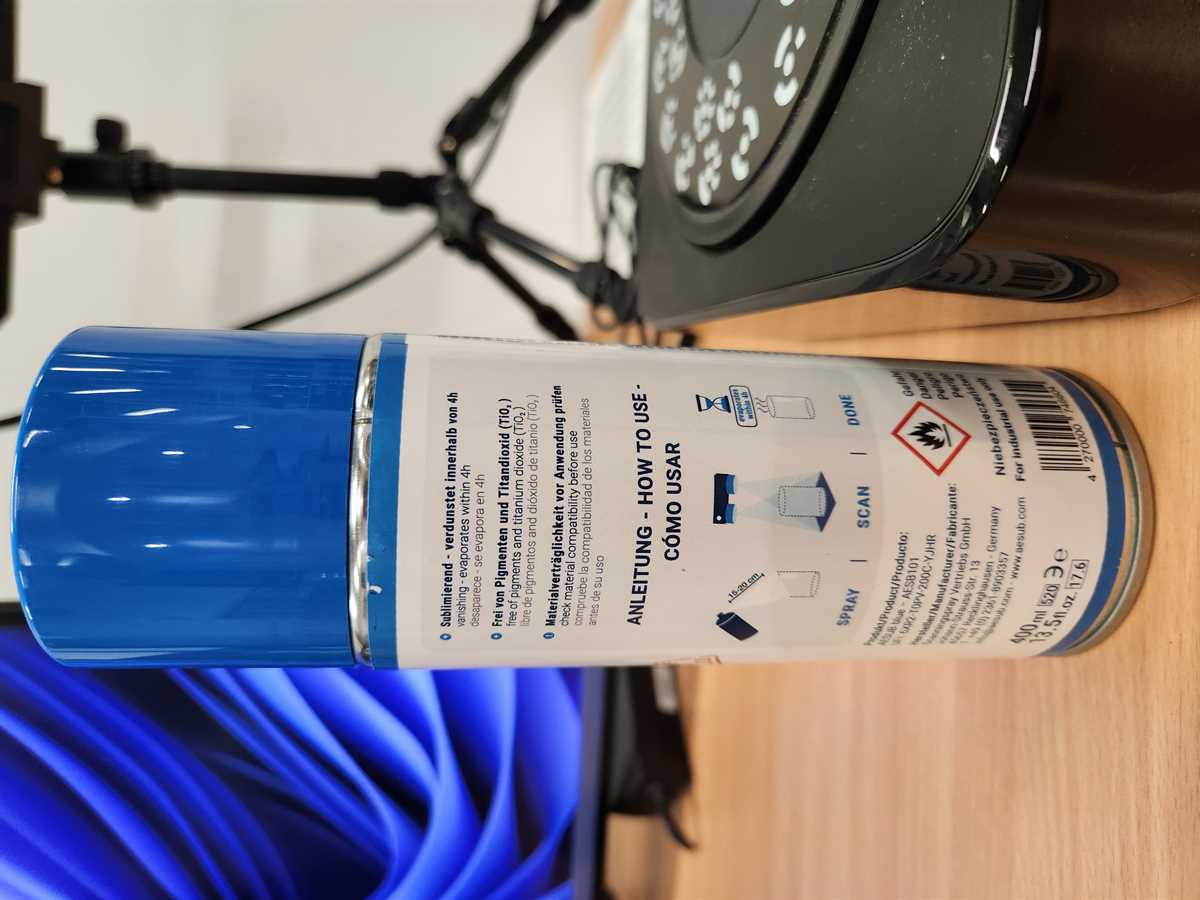
Because the object is black I needed to spray it with special spray paint that makes it the optimum colour and matte surface for scanning.

I setup the object on the scanner turntable.
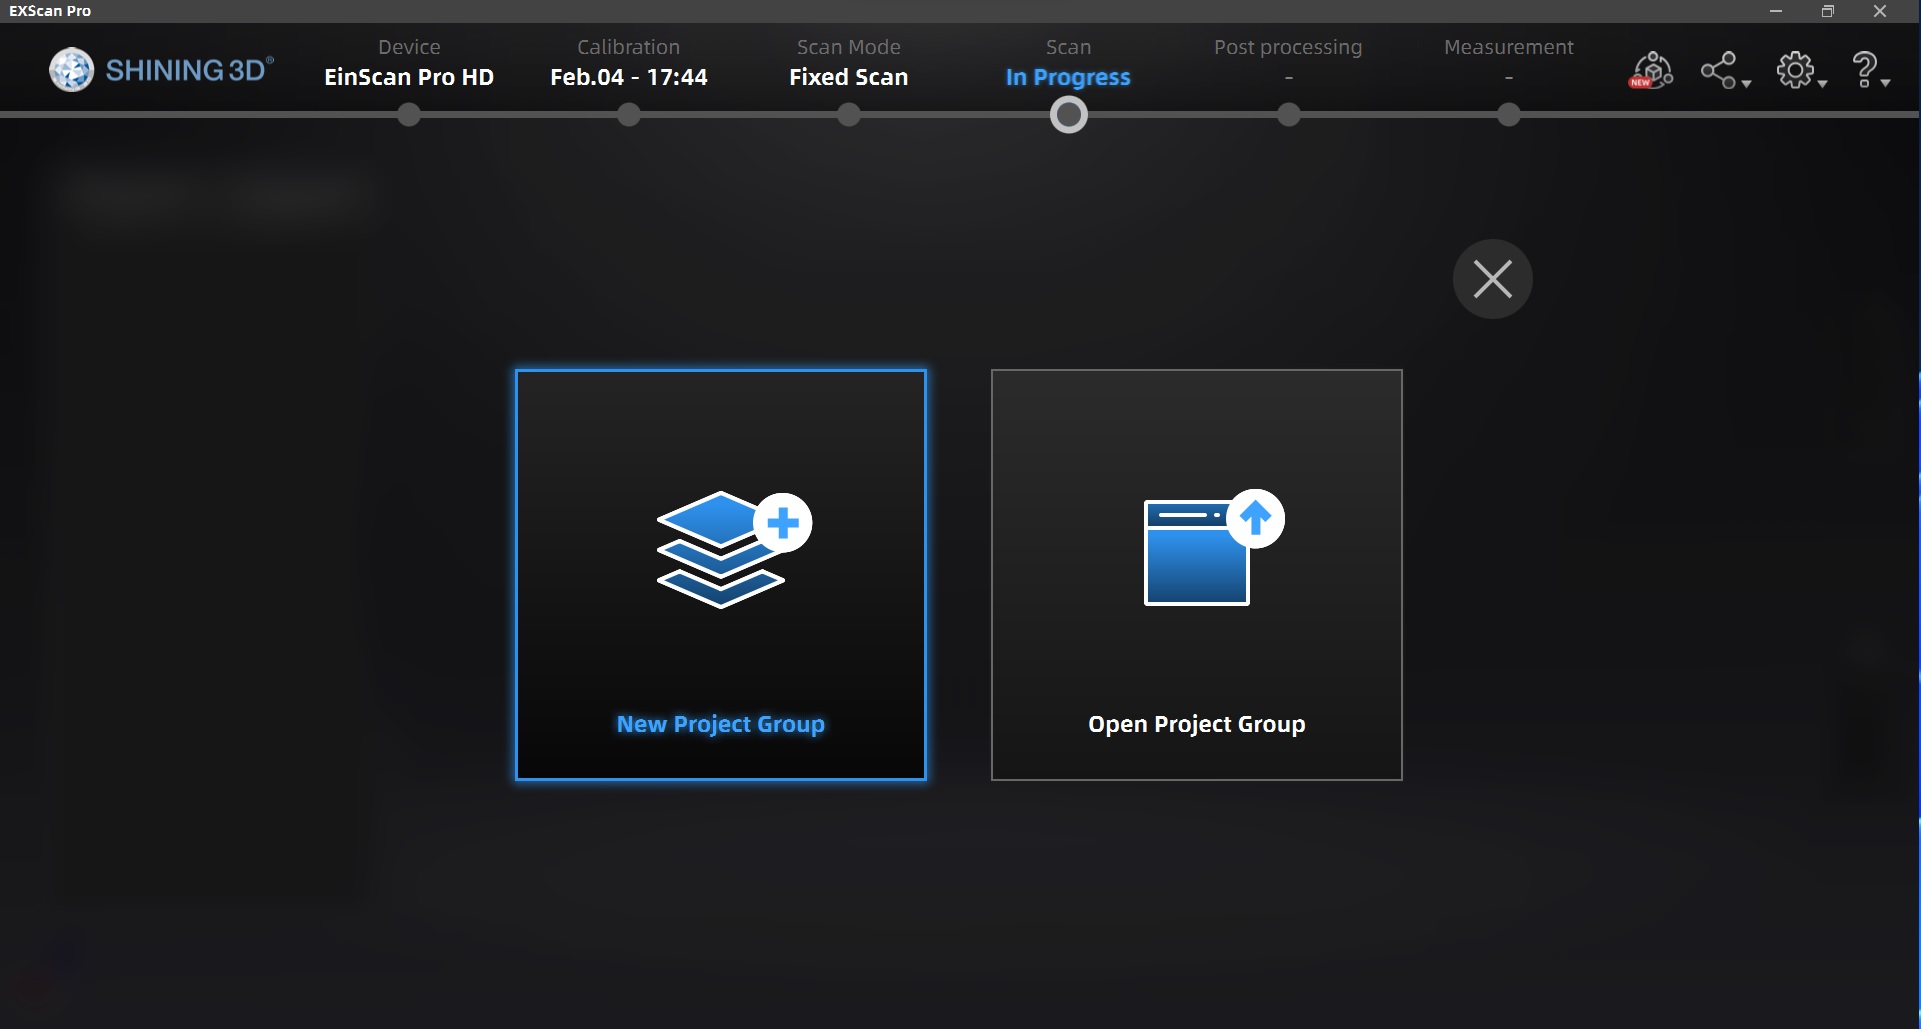
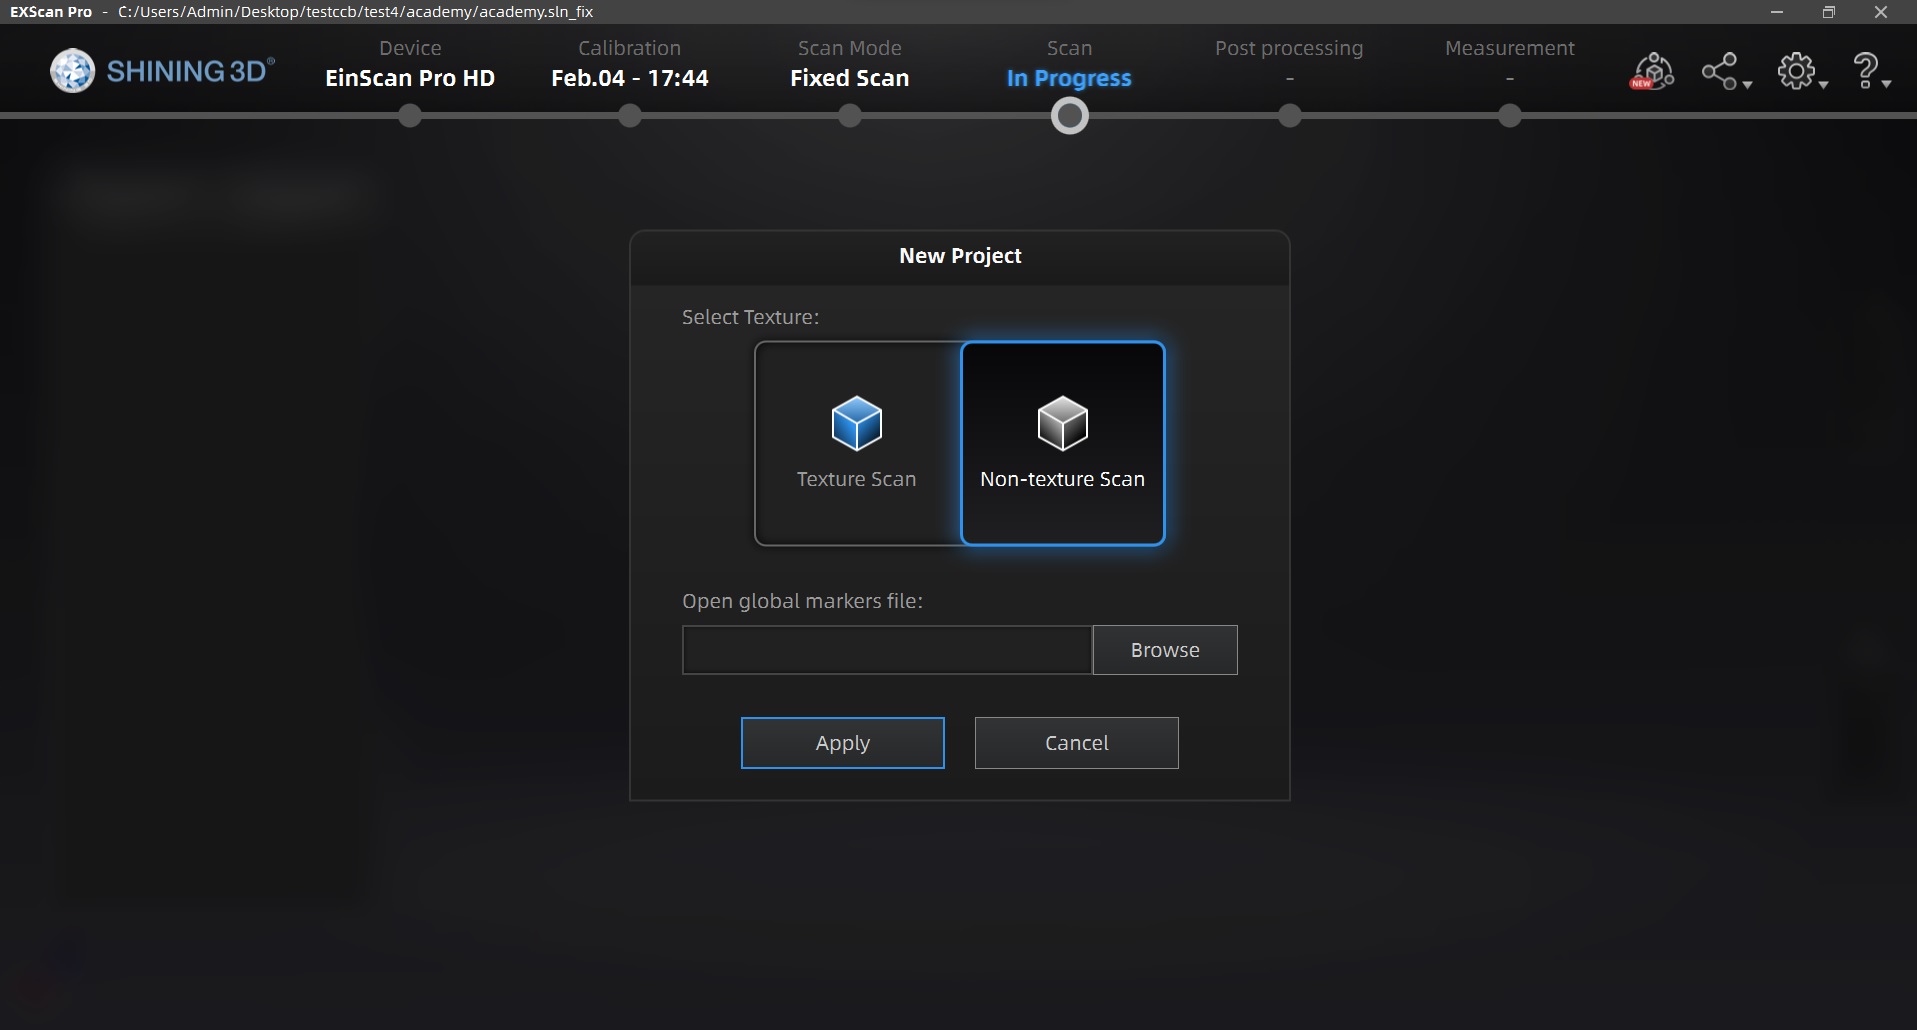
In the software I select Fixed Scan then set up a new project group and then selected non-texture scan to apply to then make the new project.

In the scan screen I then set the settings to HDR, With Turntable, 20 Turntable steps and Align Mode to Turntable Coded Targets.
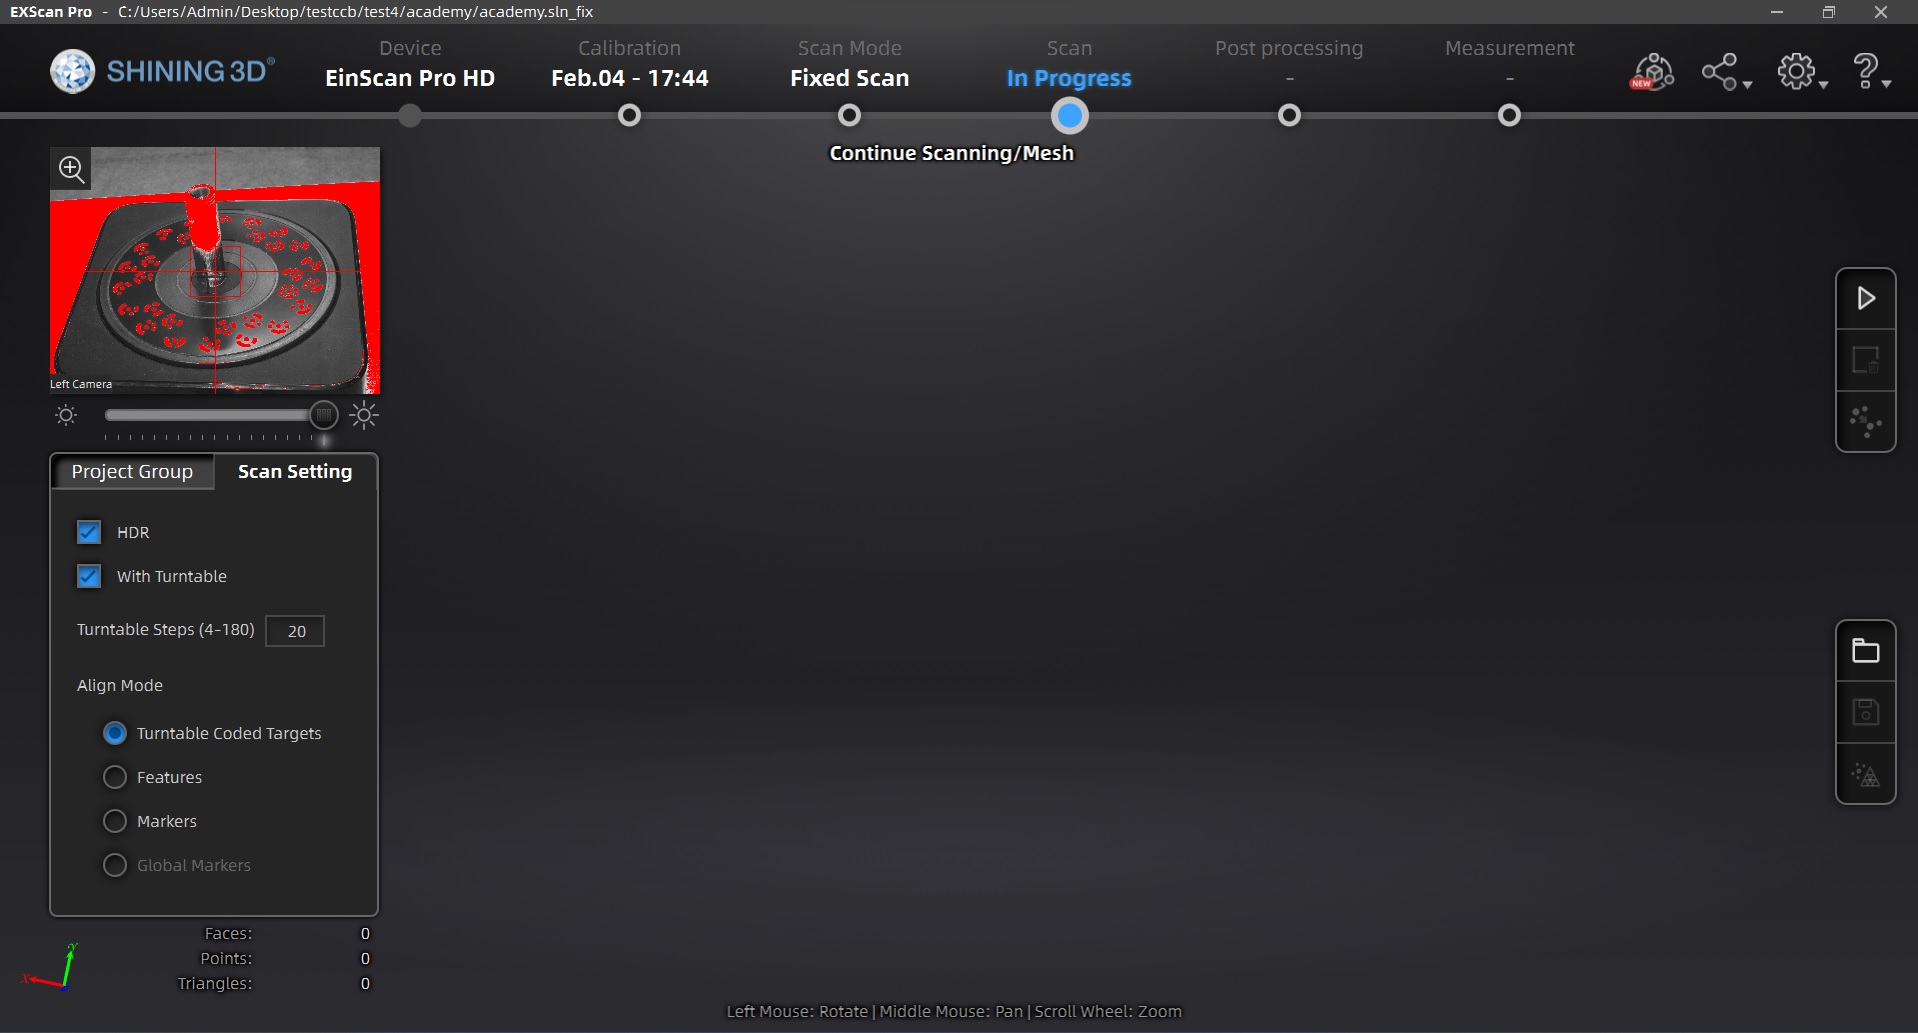
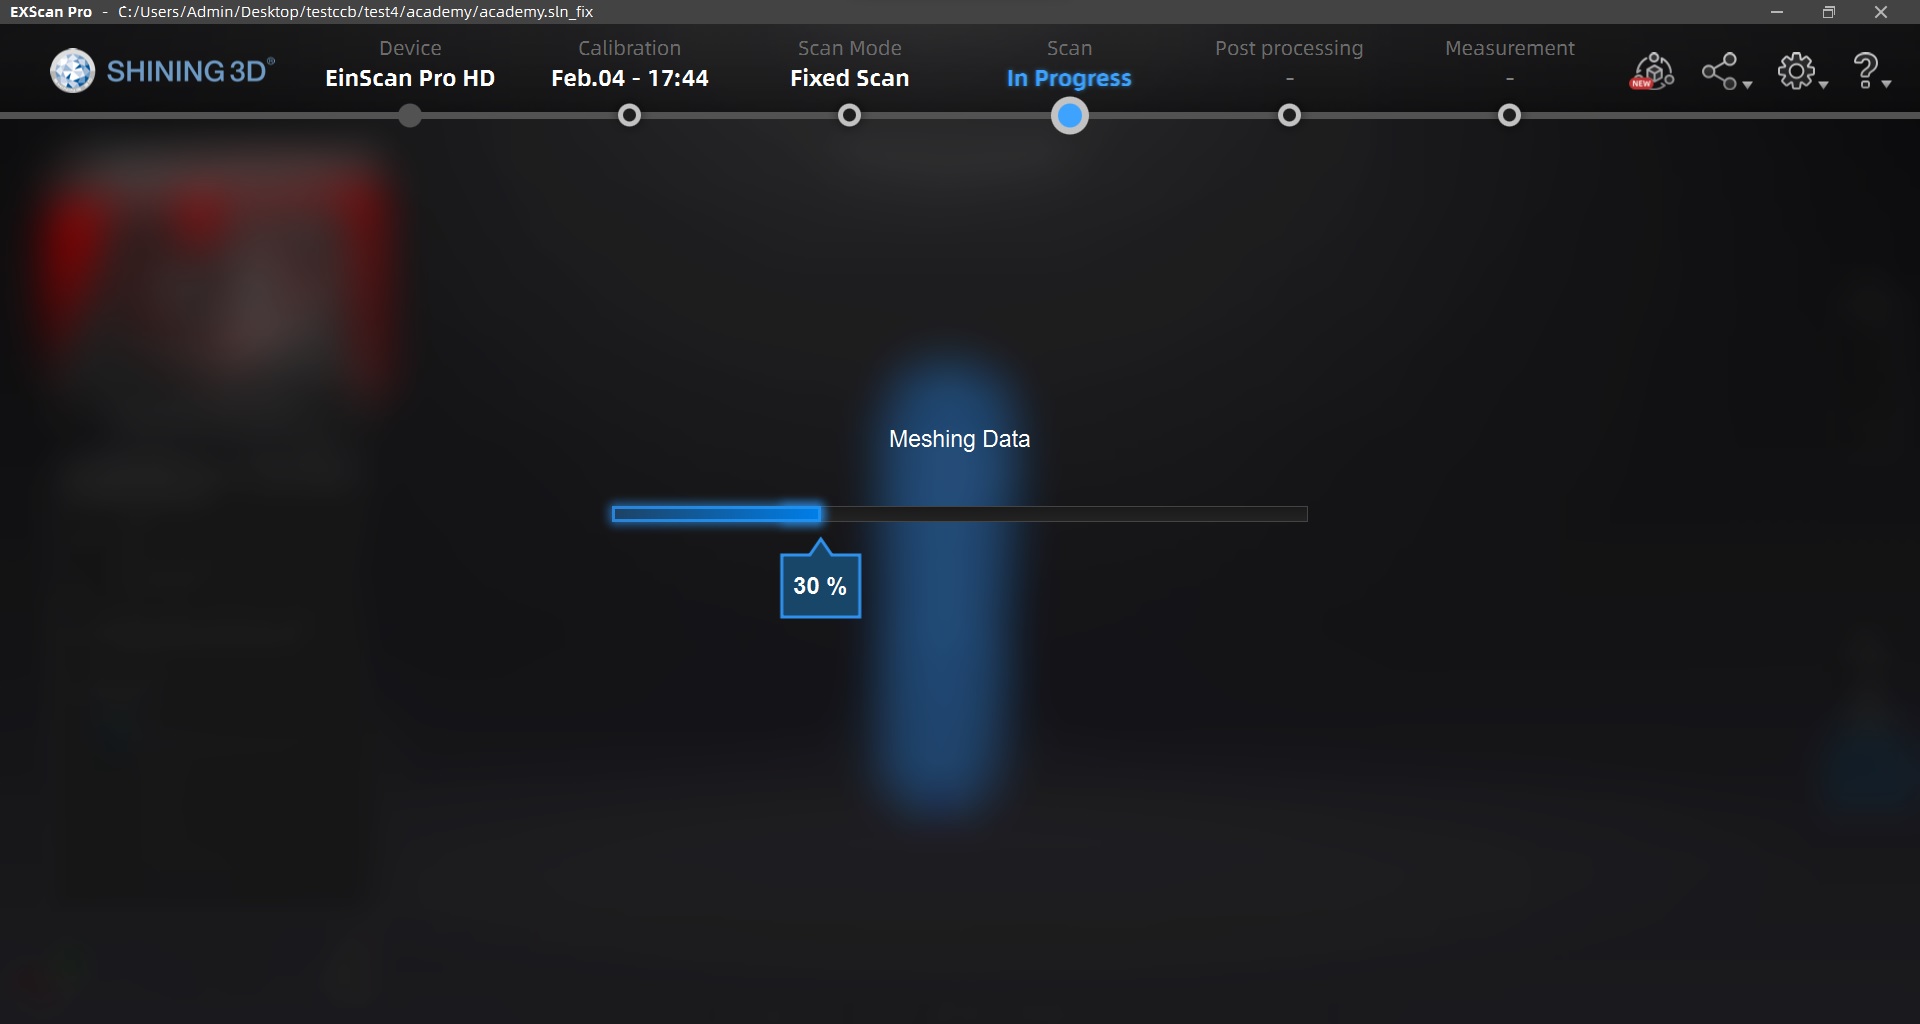
I then ran the scan by clicking the play button.
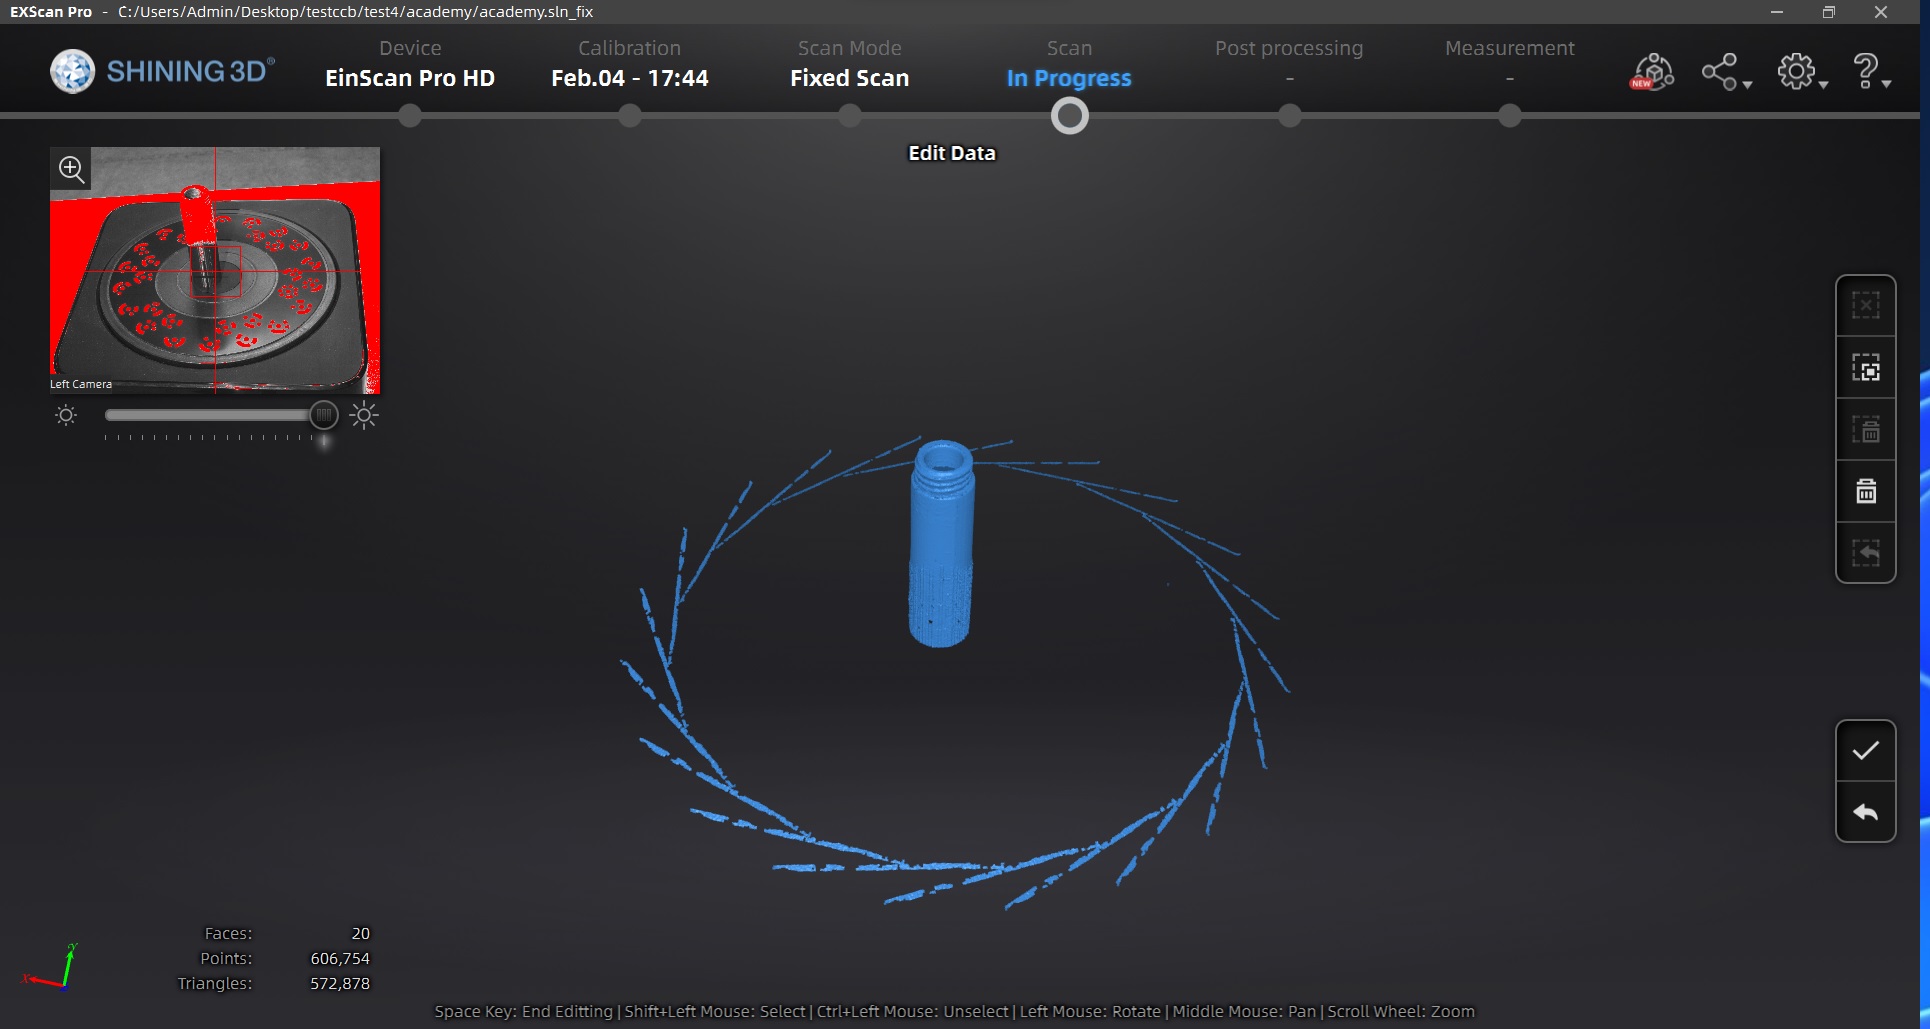
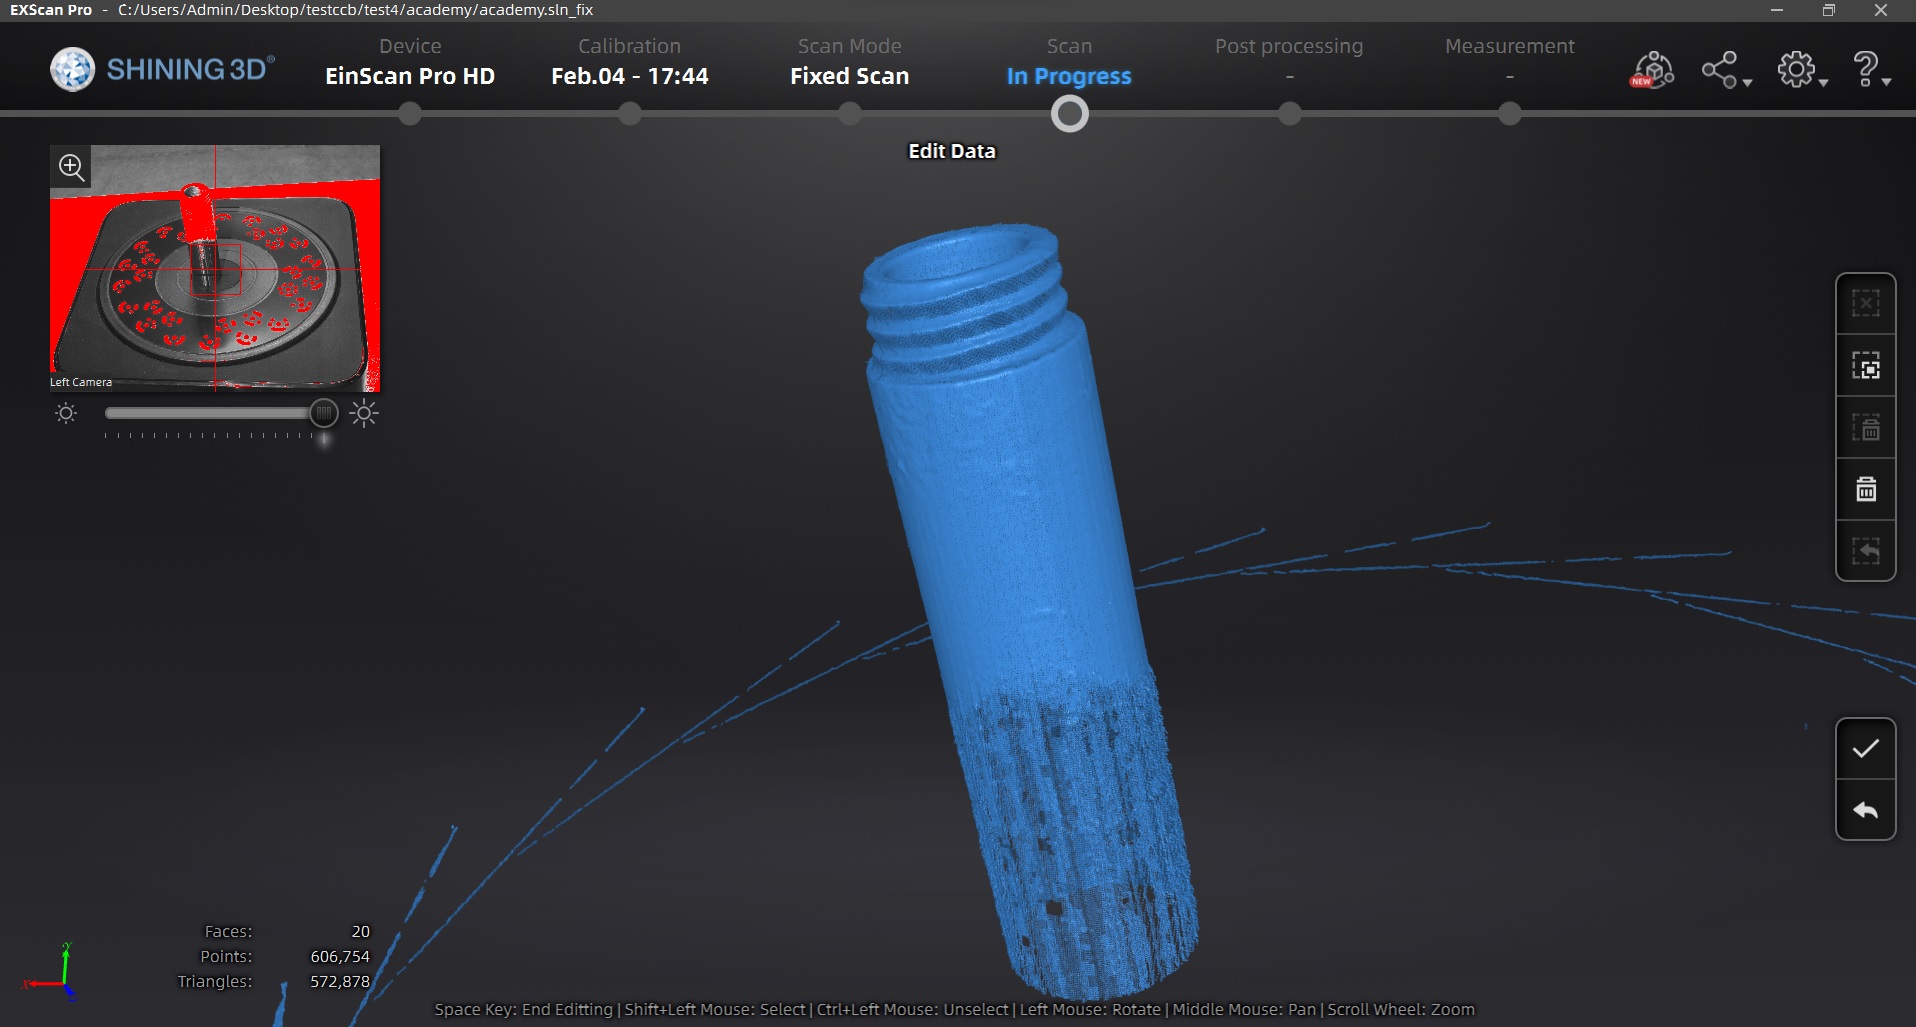
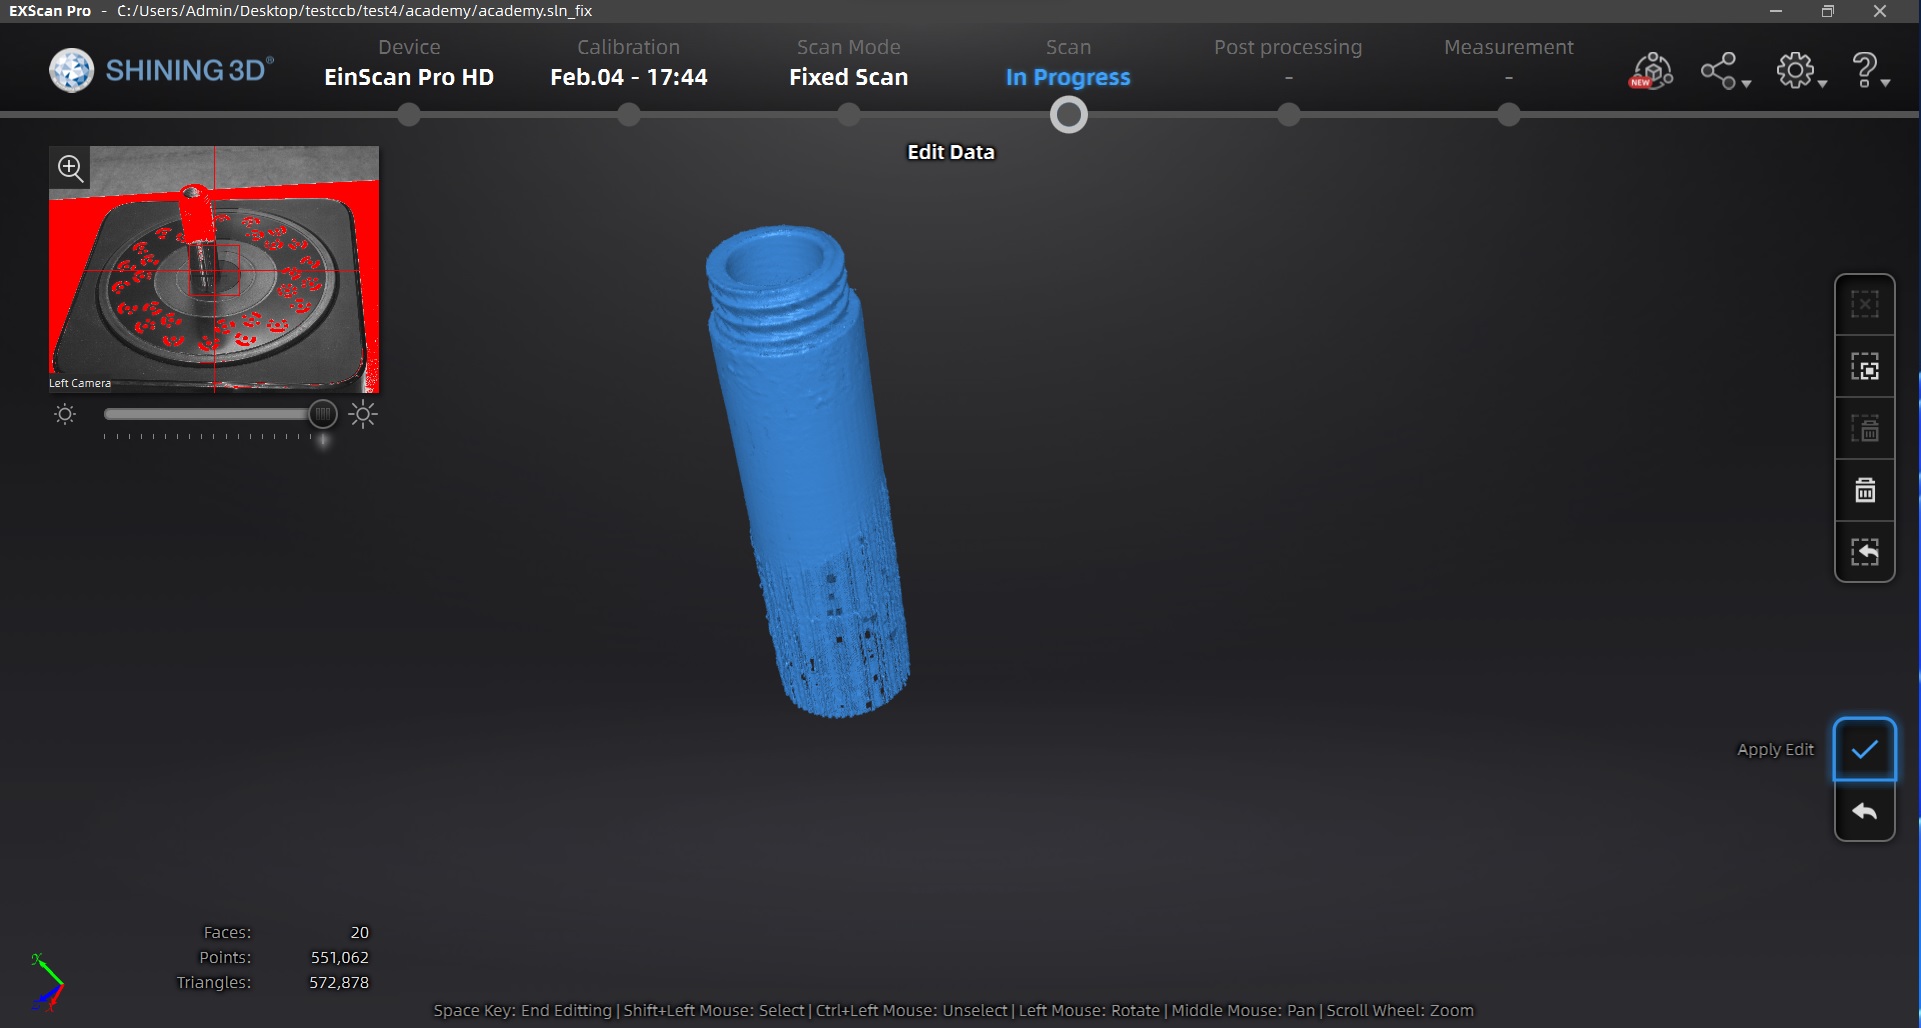
I edited the scan to remove the extra lines around it and clicked the tick button to apply the edits.
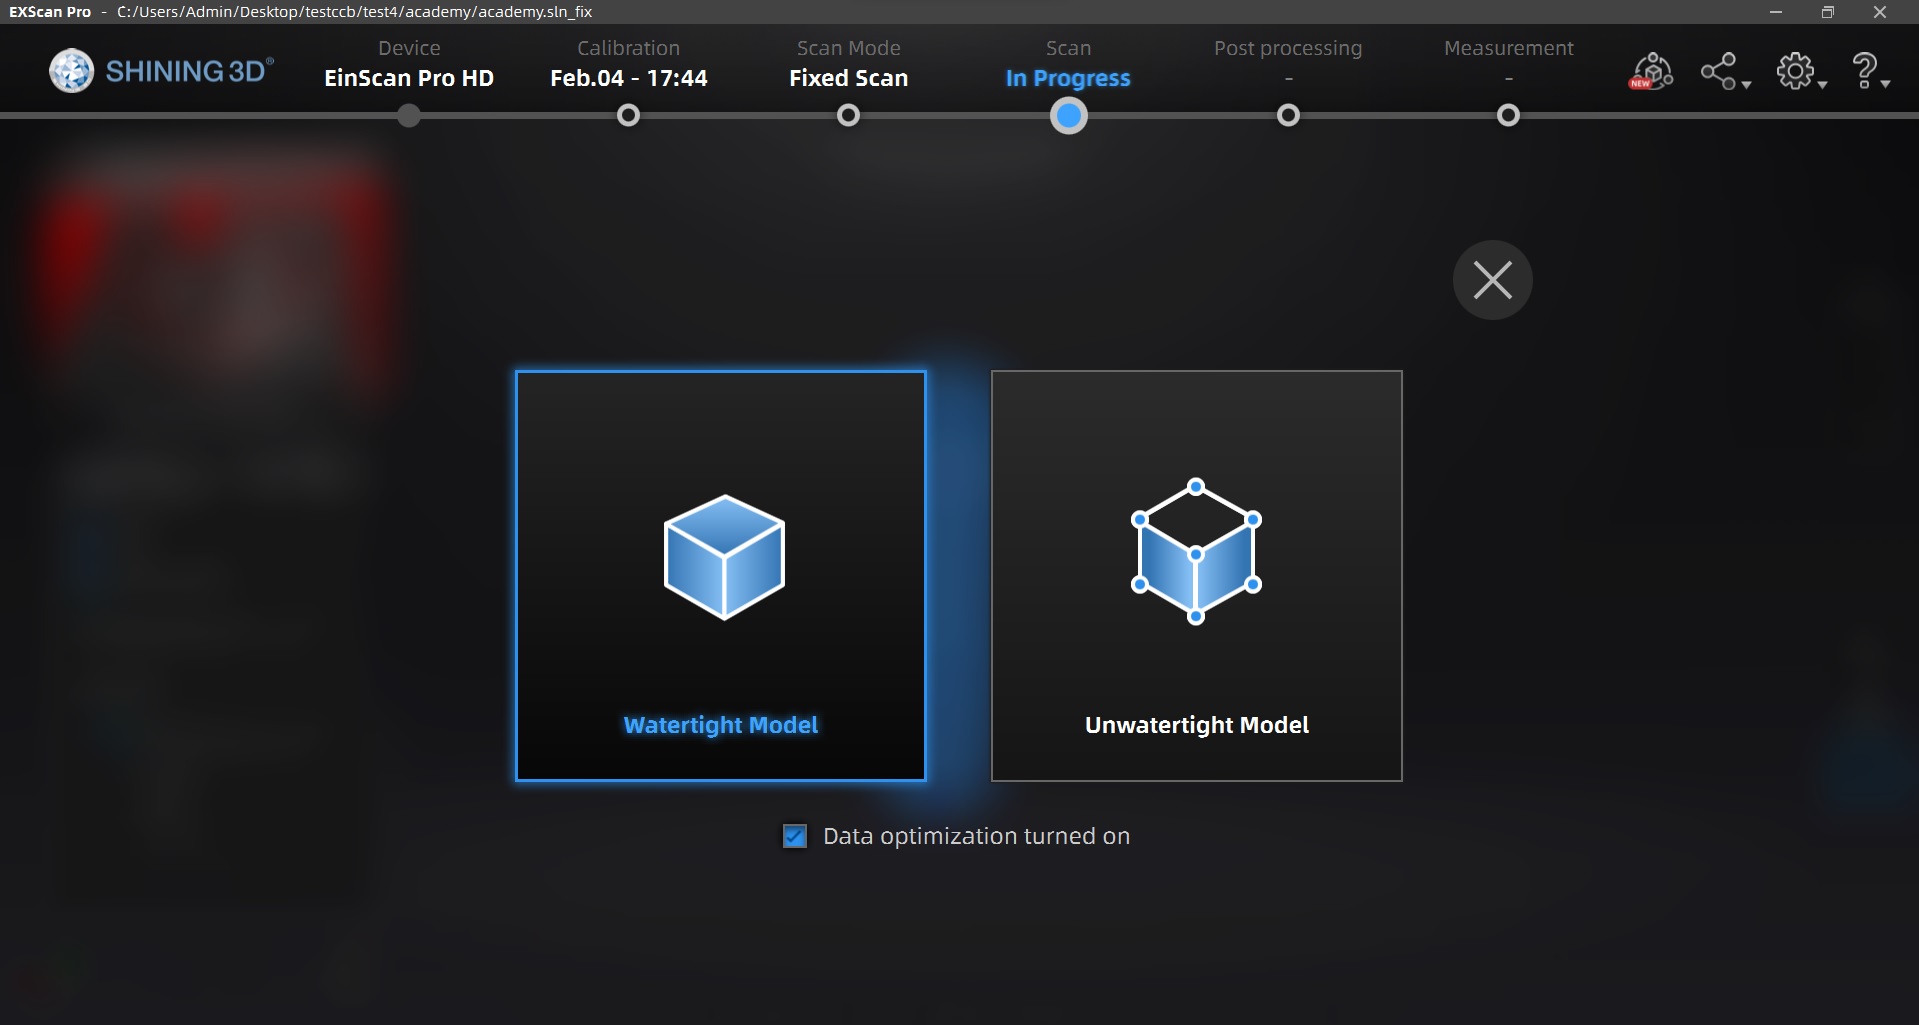
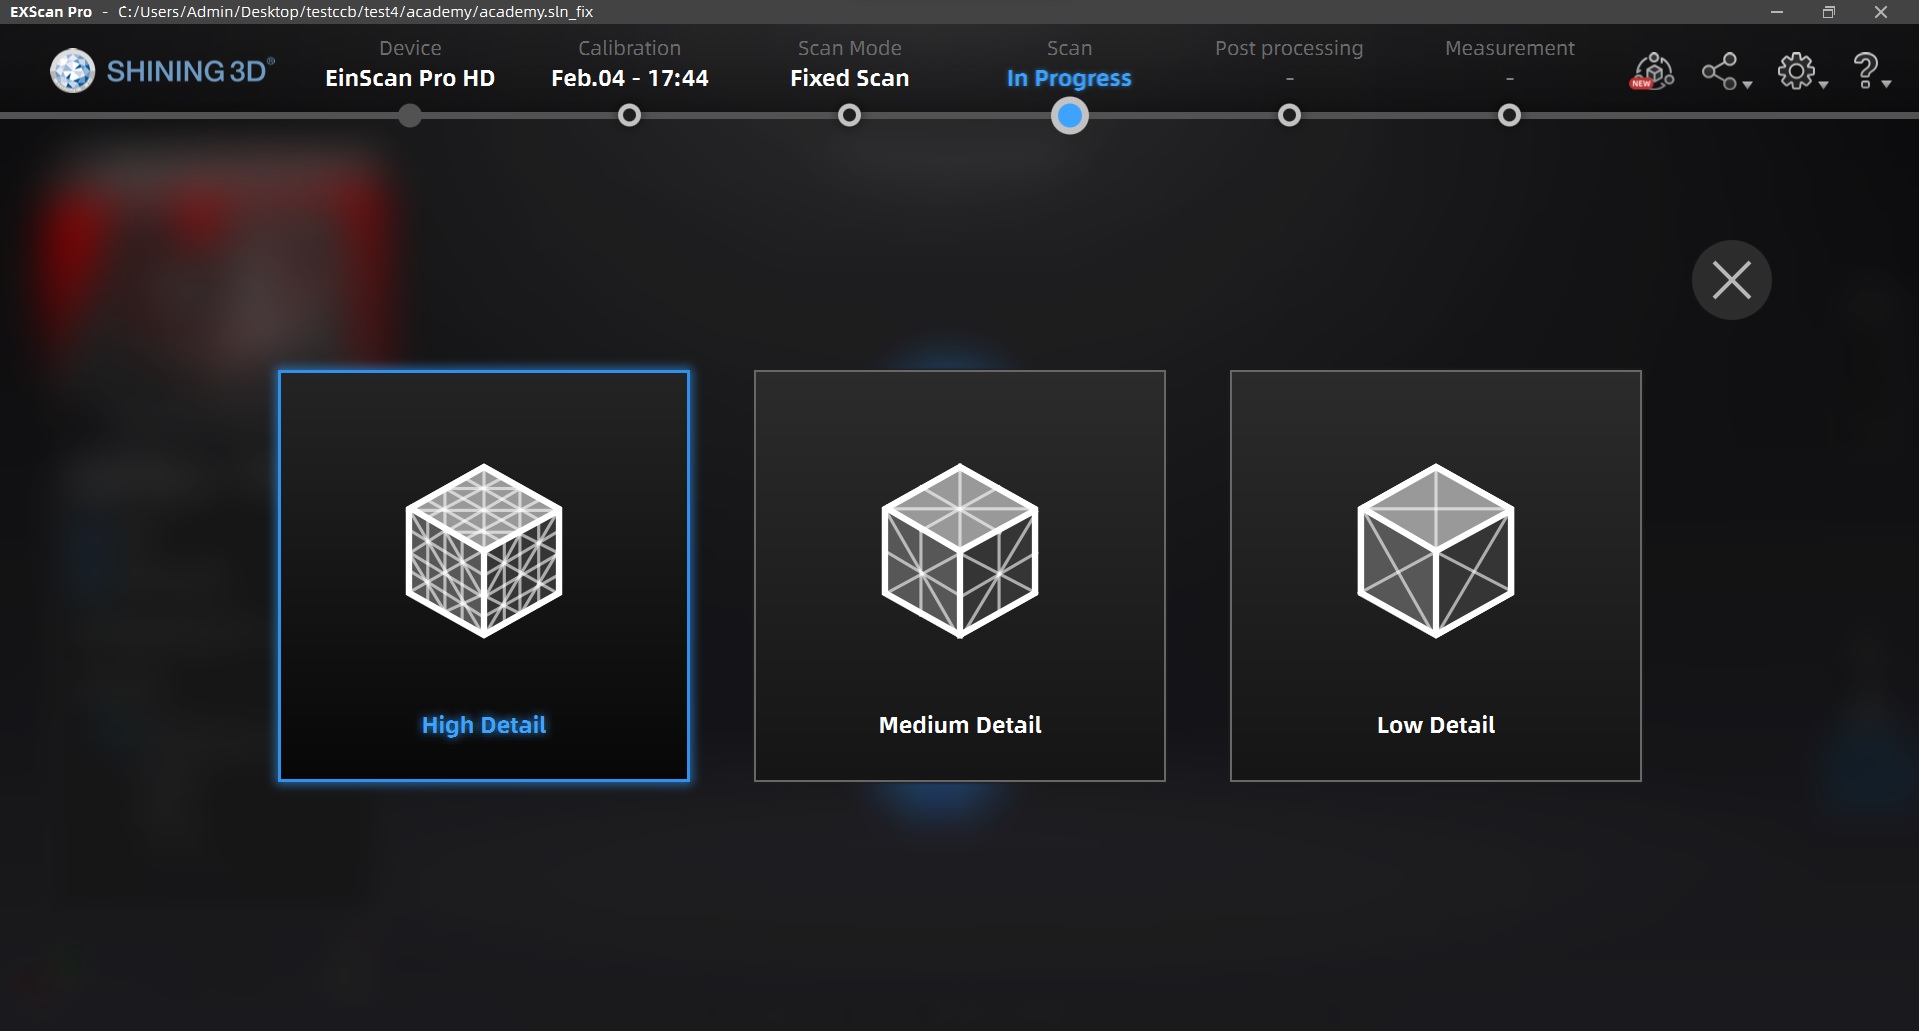
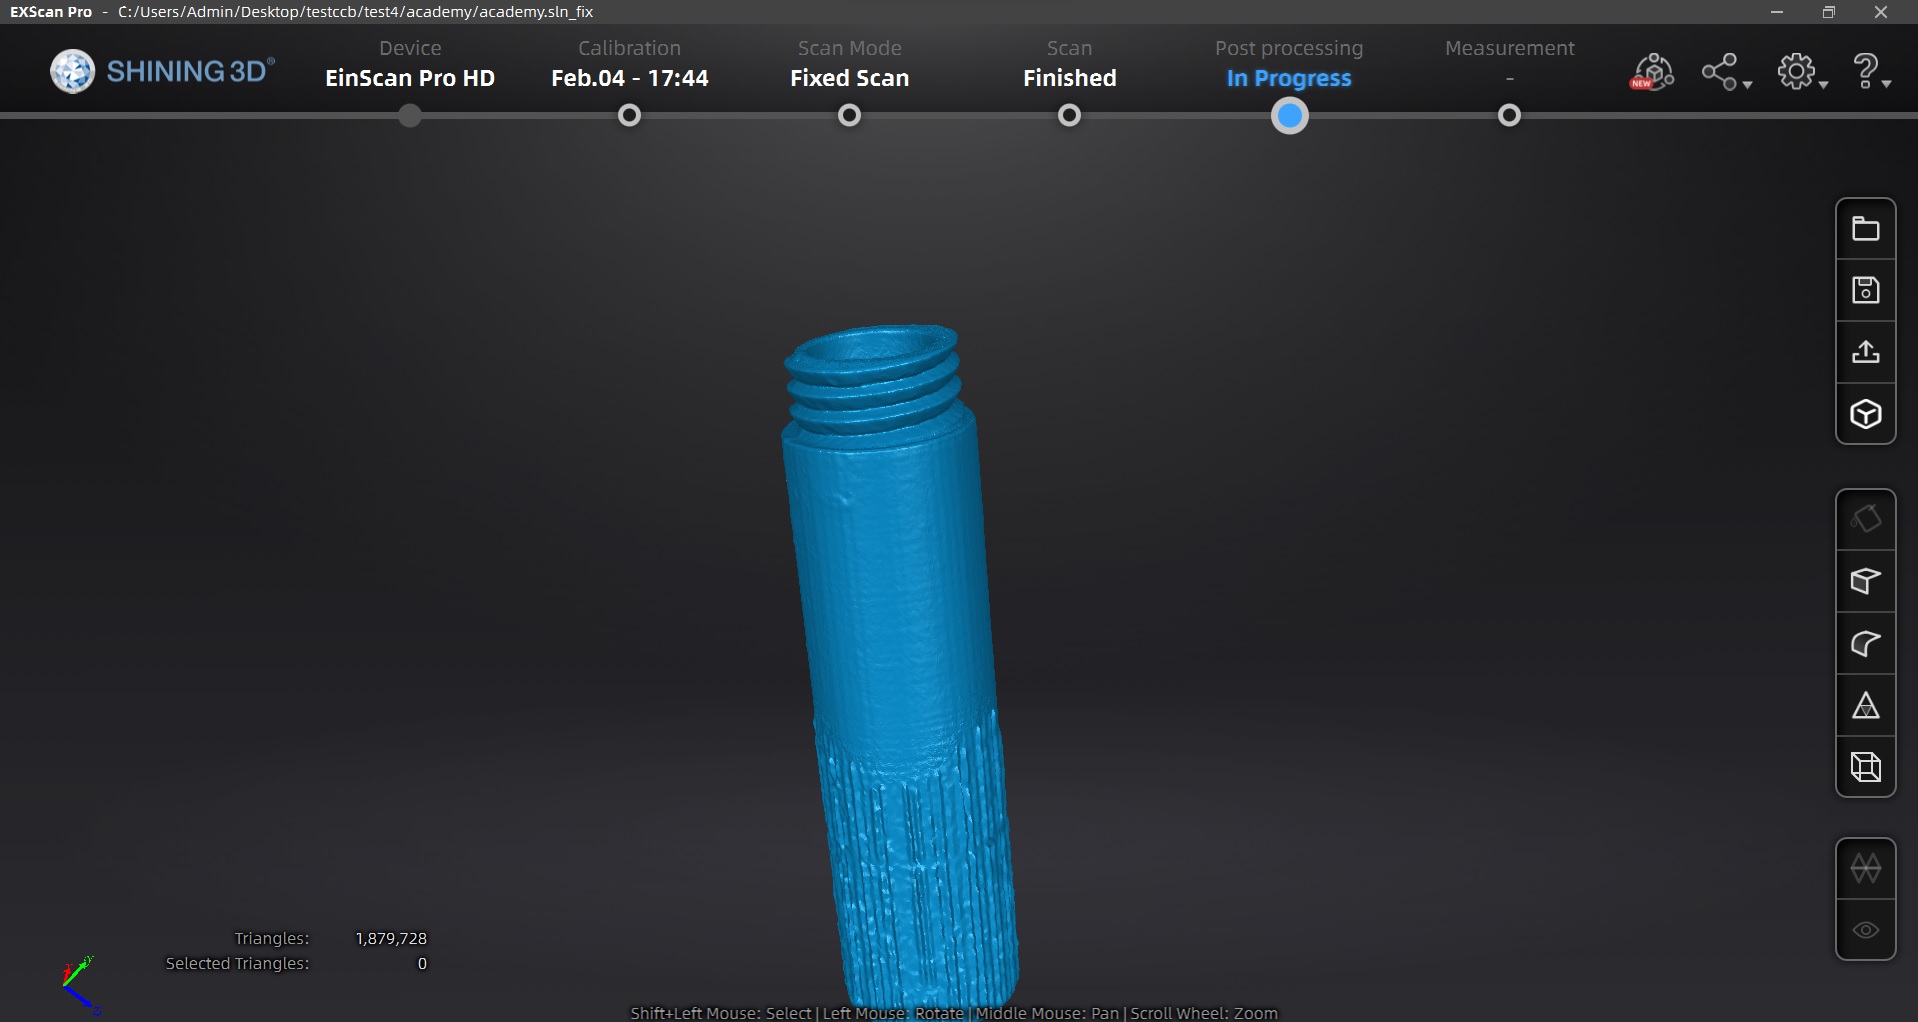
I then moved to post processing by selecting the Mesh Model button. I selected watertight model and high detail as the mesh settings.

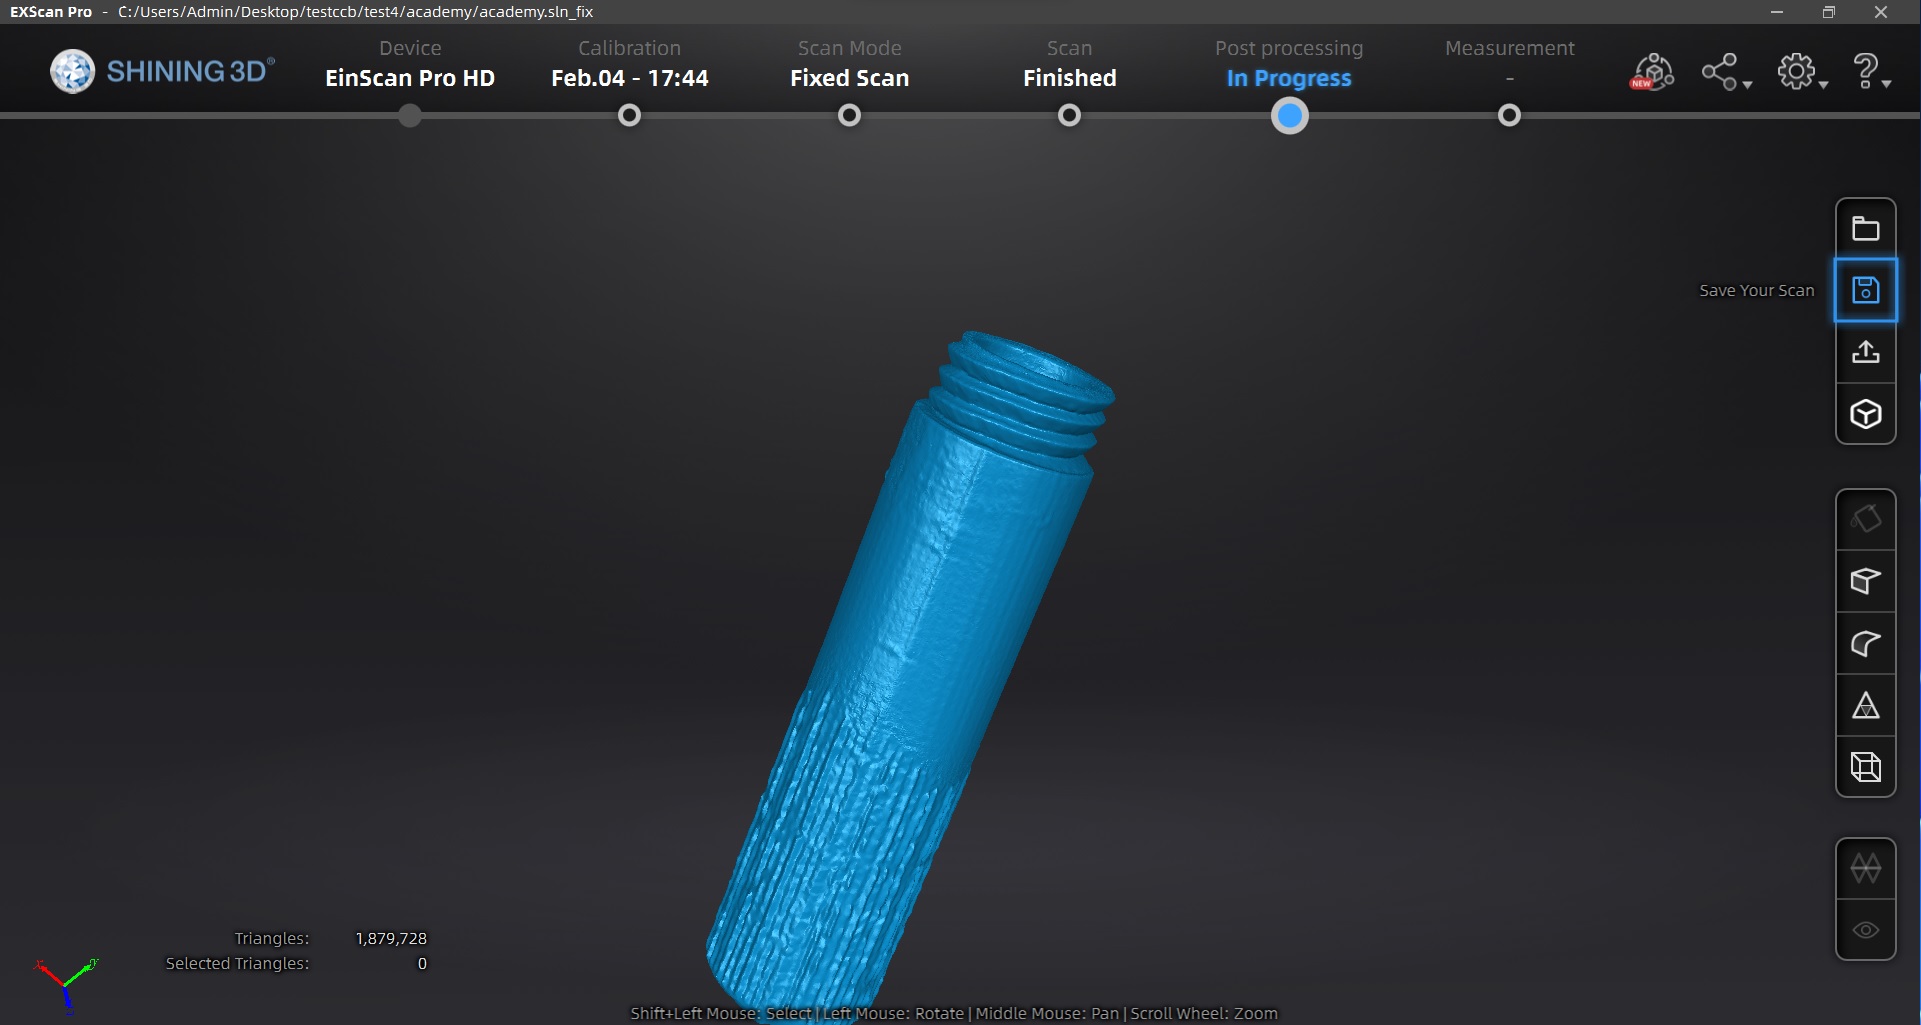
The mesh looked good, but I decided to do some additional smoothing using the smooth tool.

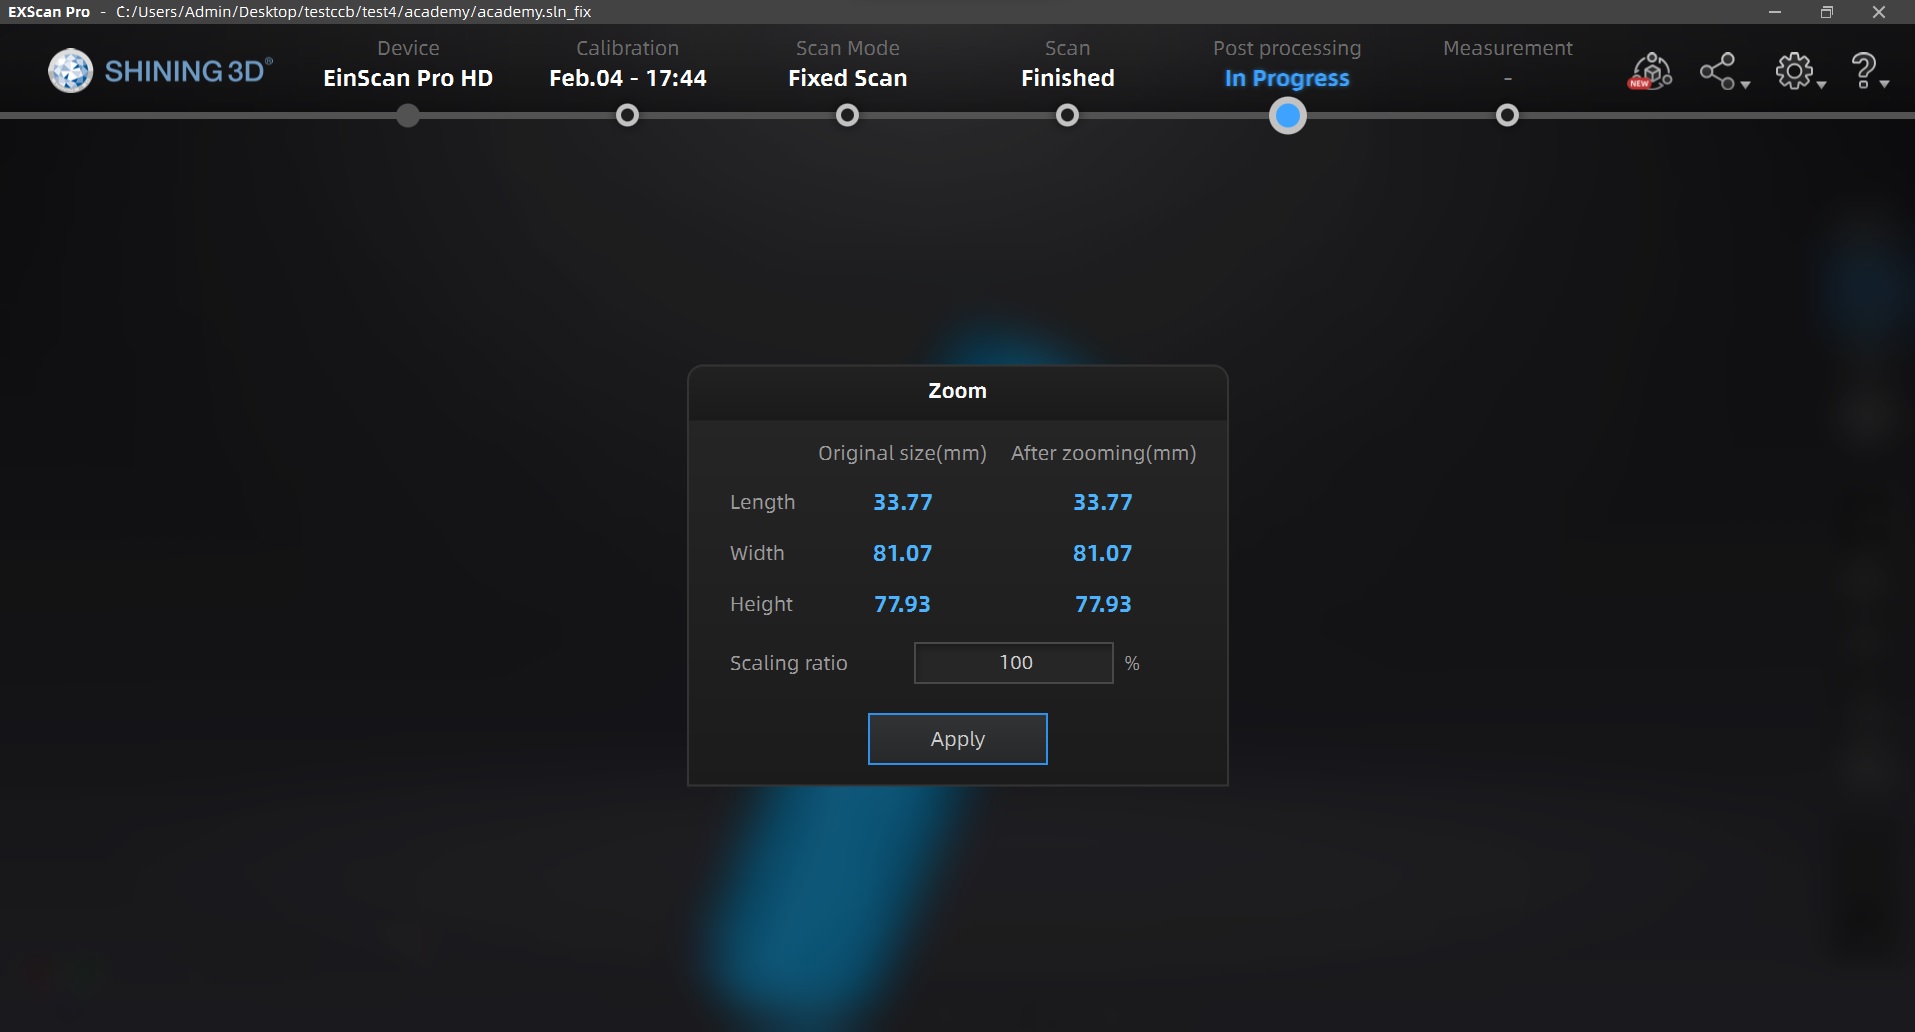
The scan was then ready to export. There are a number of formats to choose from (I chose stl), it also confirms scale before the export is run.

STL model of Scan
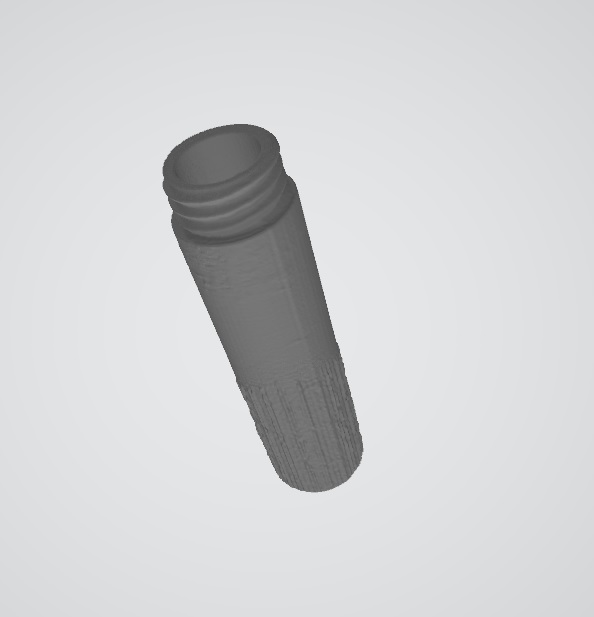
The file size of the STL from the scan is approx. 90MB and is too large to include here.