Week 15: Wildcard
Tasks for This Week
Individual assignment
- Design and produce something with a digital fabrication process (incorporating computer-aided design and manufacturing) not covered in another assignment, documenting the requirements that your assignment meets, and including everything necessary to reproduce it.
Idea
To use the laser cutter for making it easier to cut and sew fabric, in particular fur. This includes cutting and engraving using the laser.
I decided to use this week to design and sew the toy for my final project.
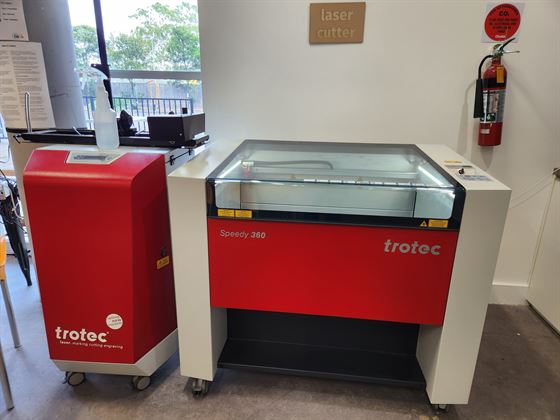
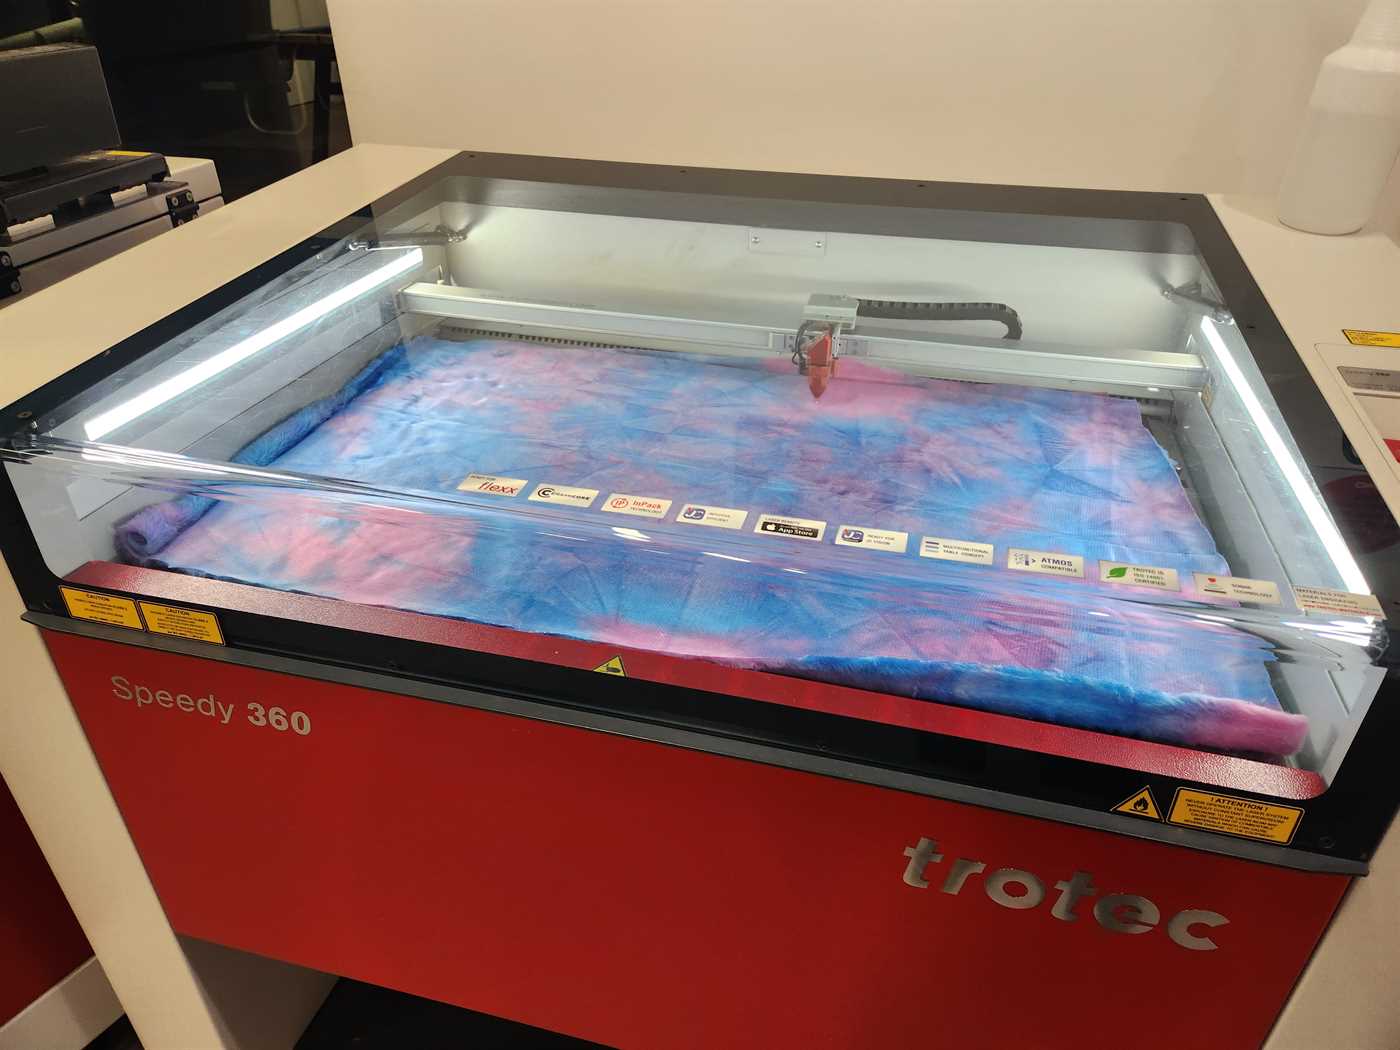
Laser Used
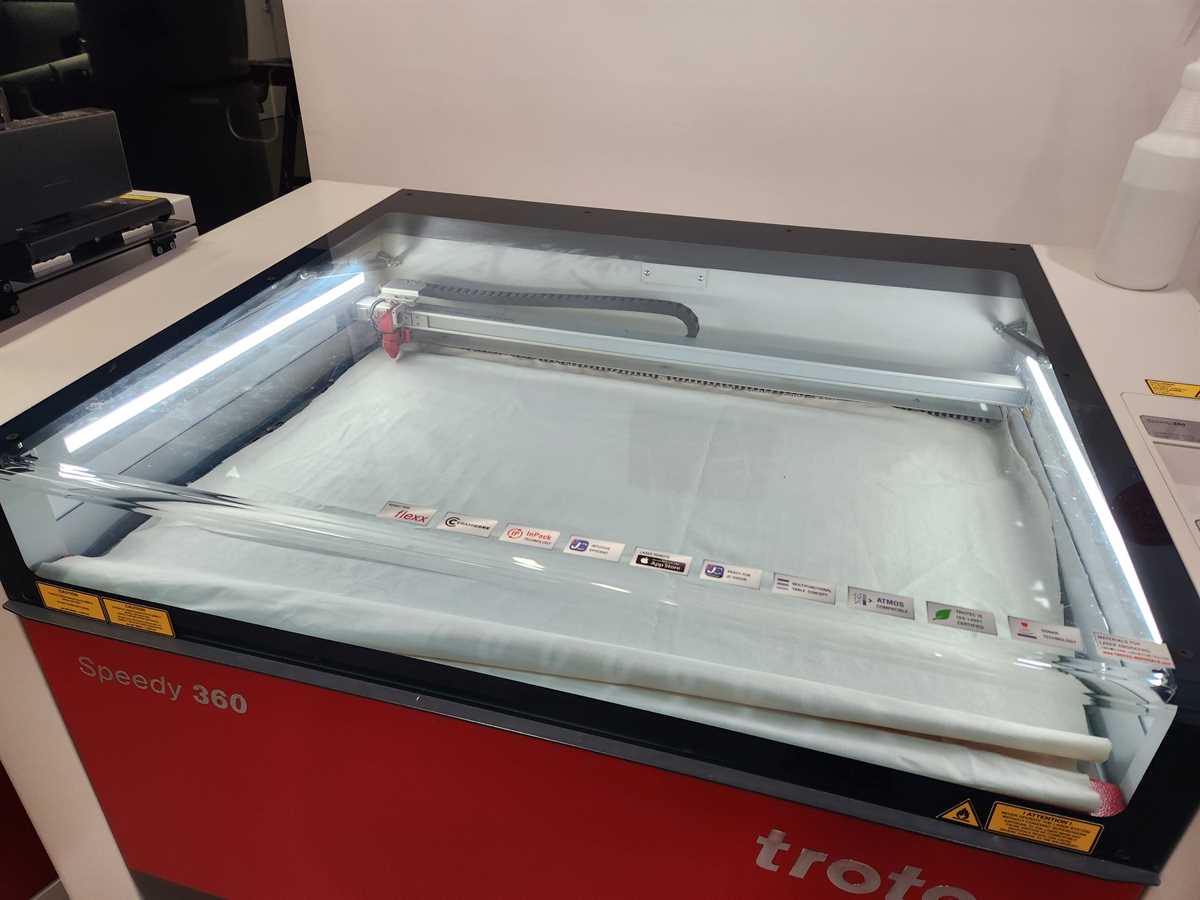
Model is a Trotec Speedy 360 CO2 80W
Software running the Speedy 360 is Trotec Ruby
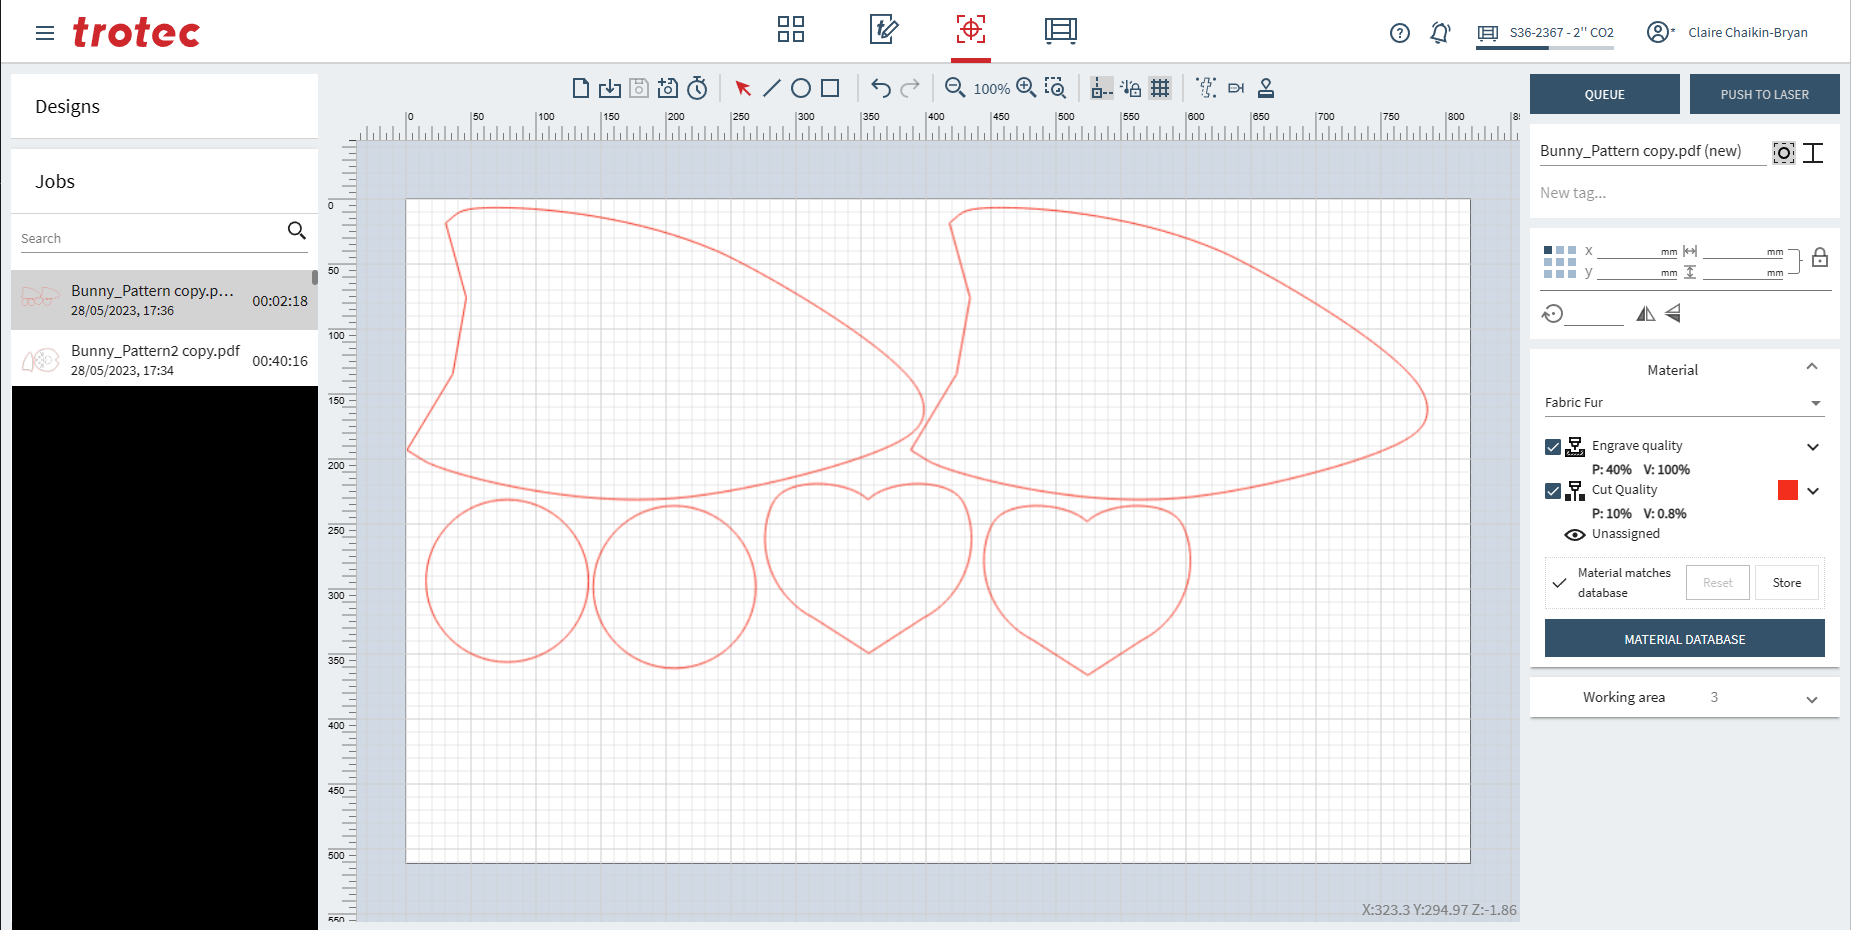
Pattern Design
I am using this to make the design for my final project toy.
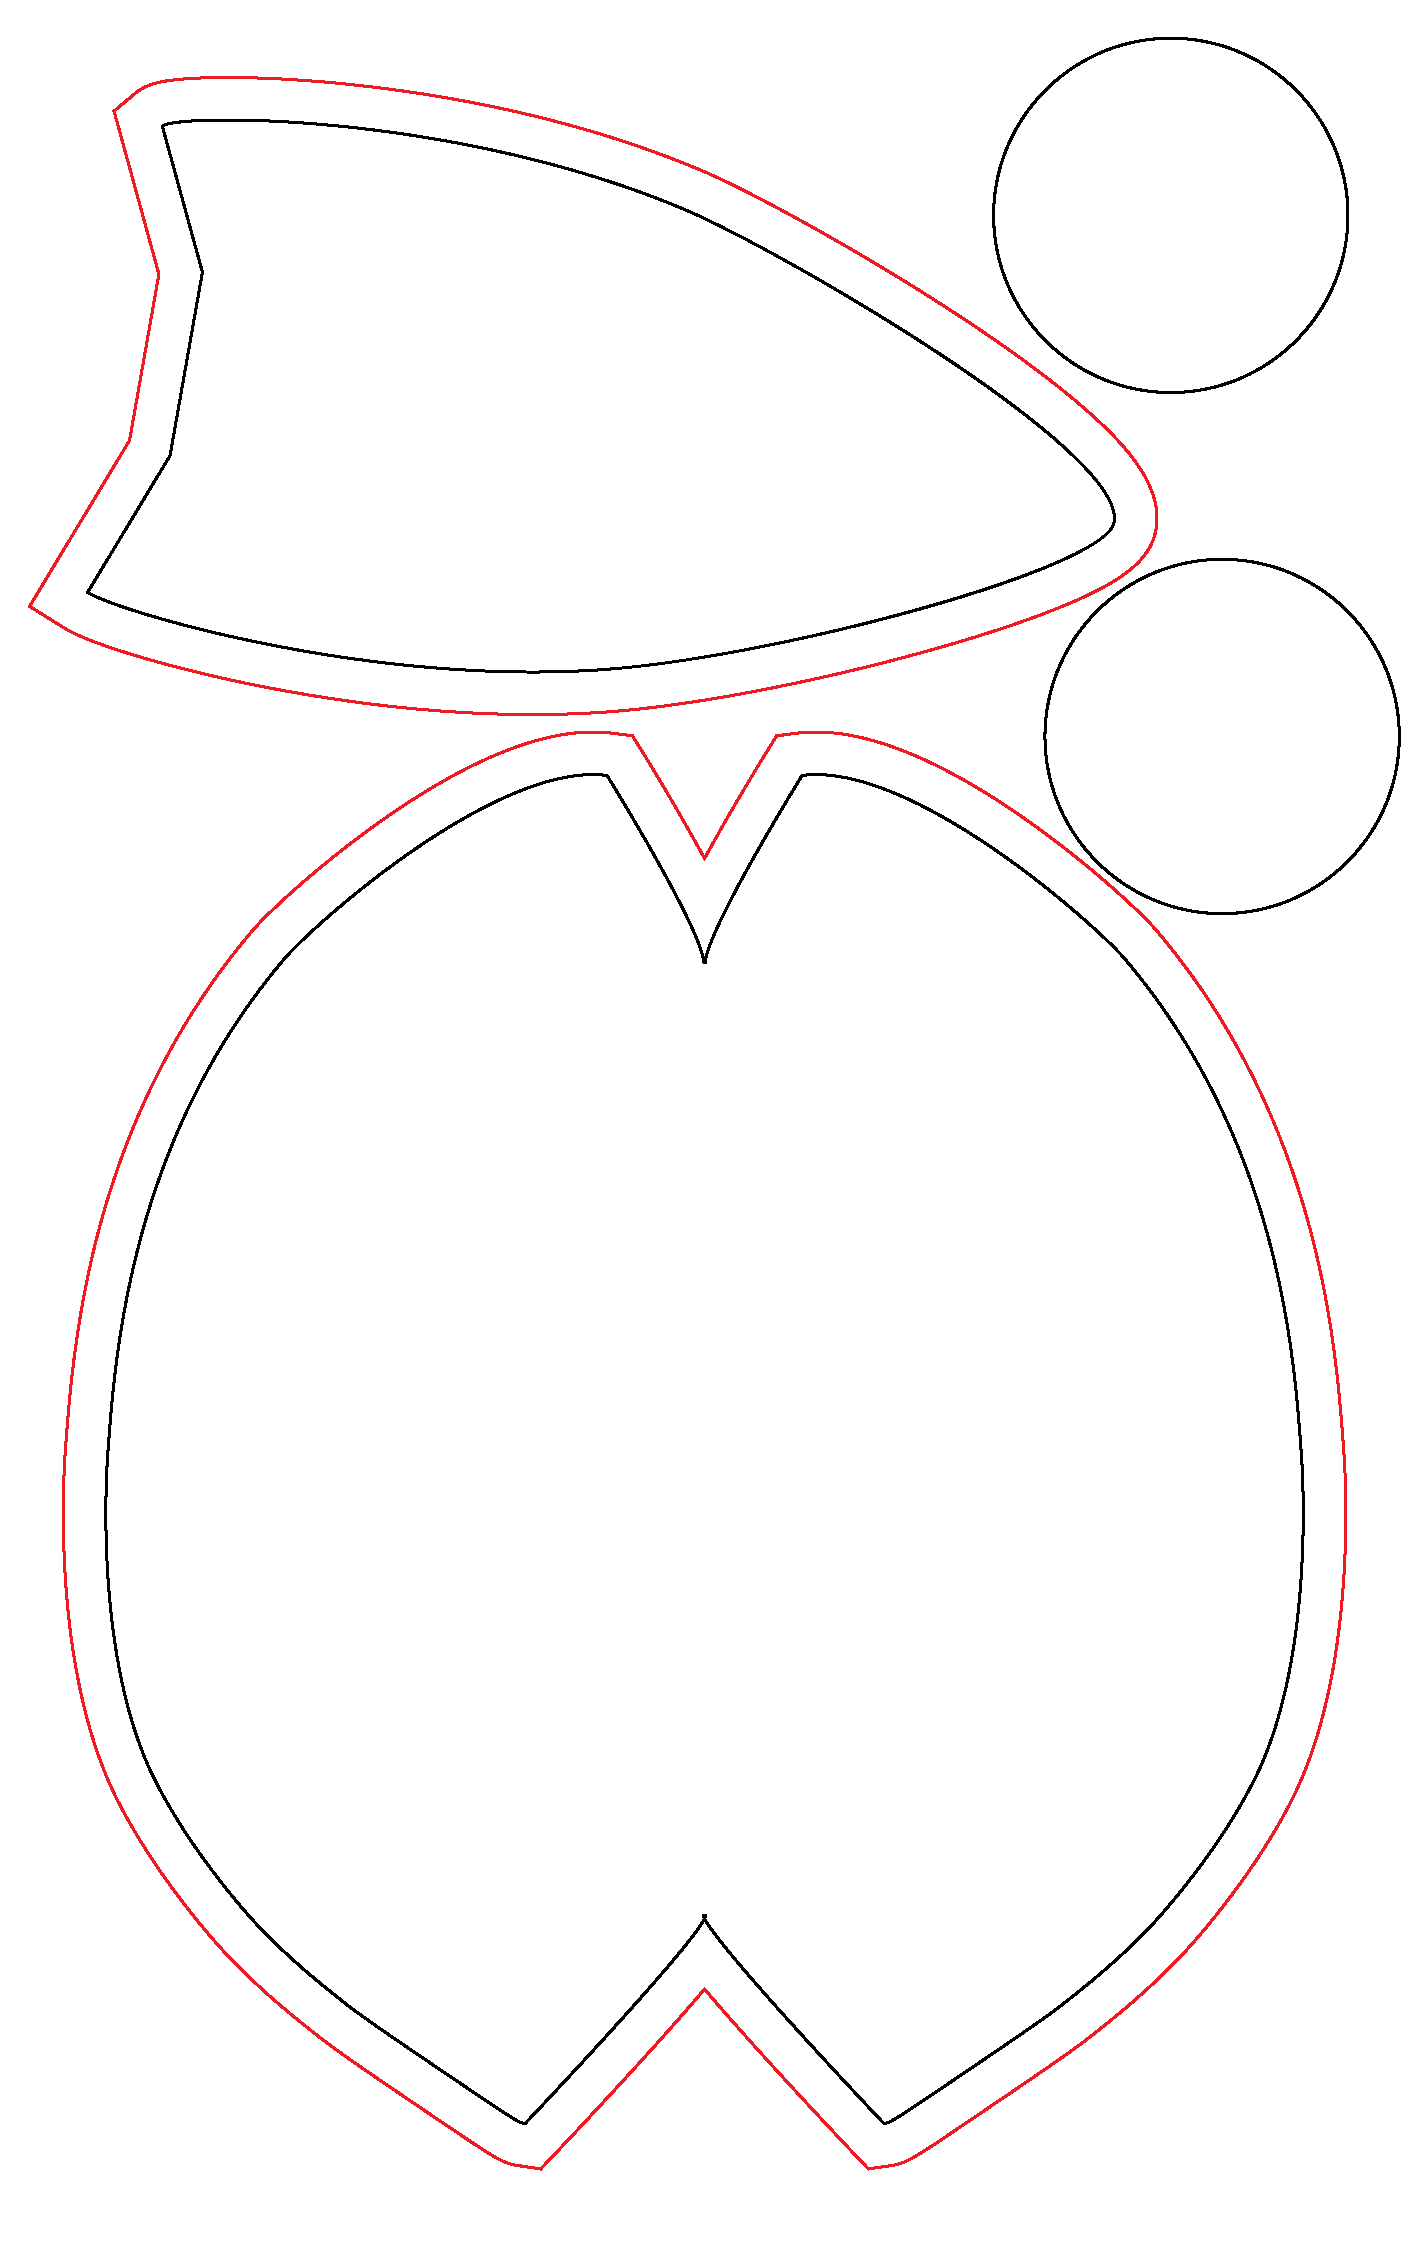
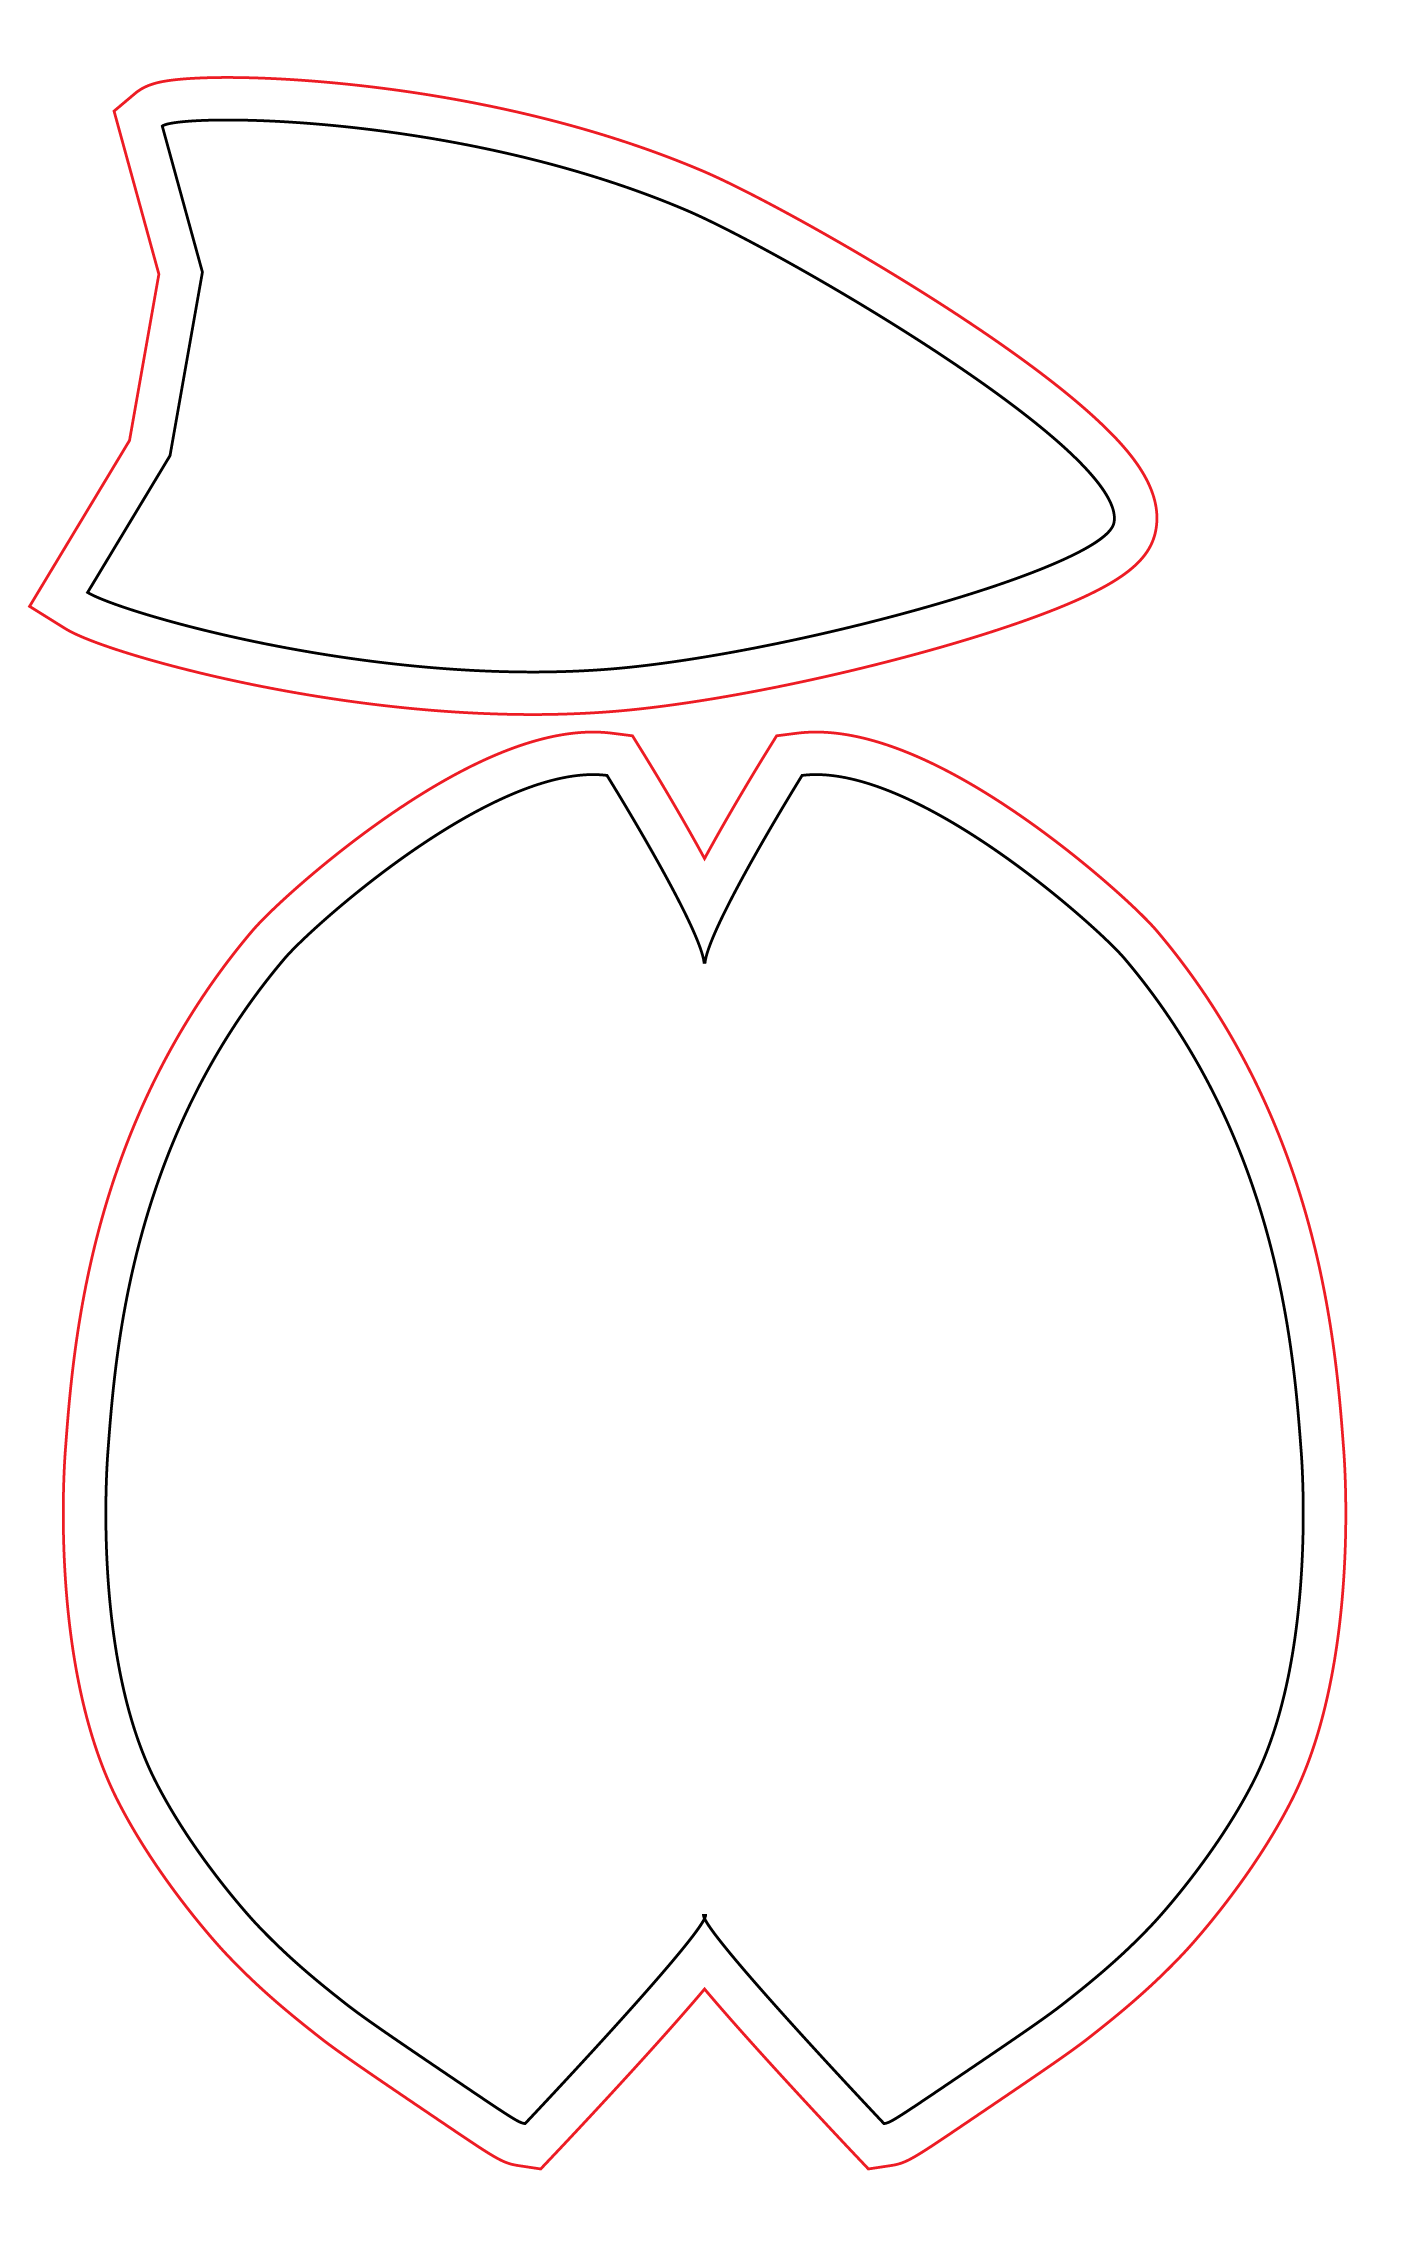
Using Adobe Illustrator I created the design based on a pattern from While She Naps and a pattern from Let's make it together
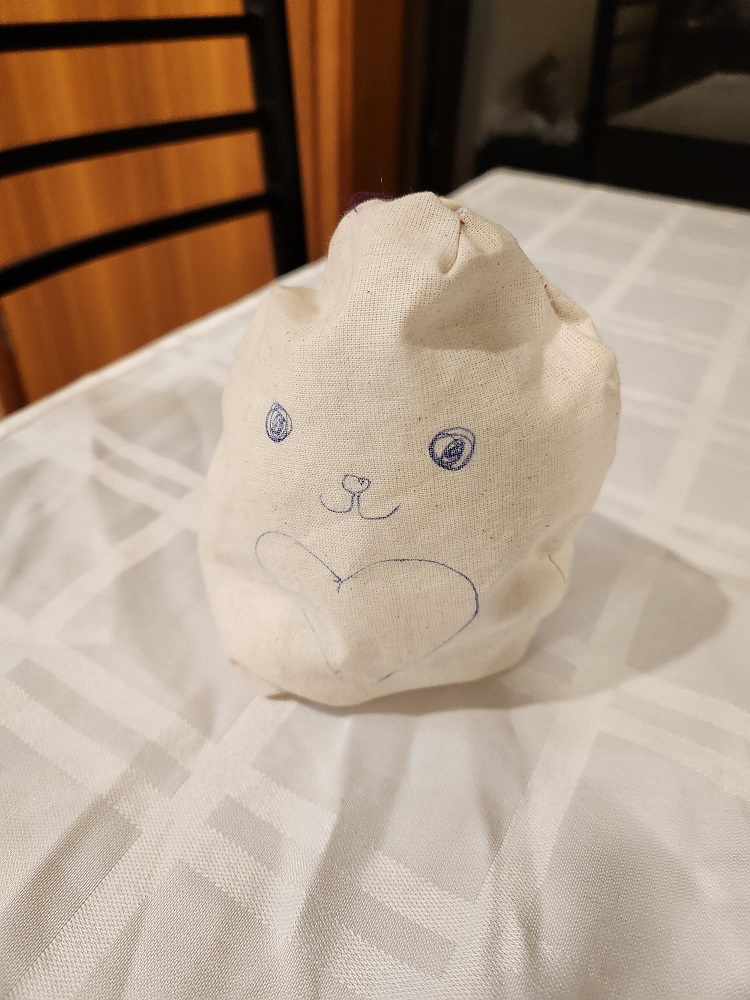
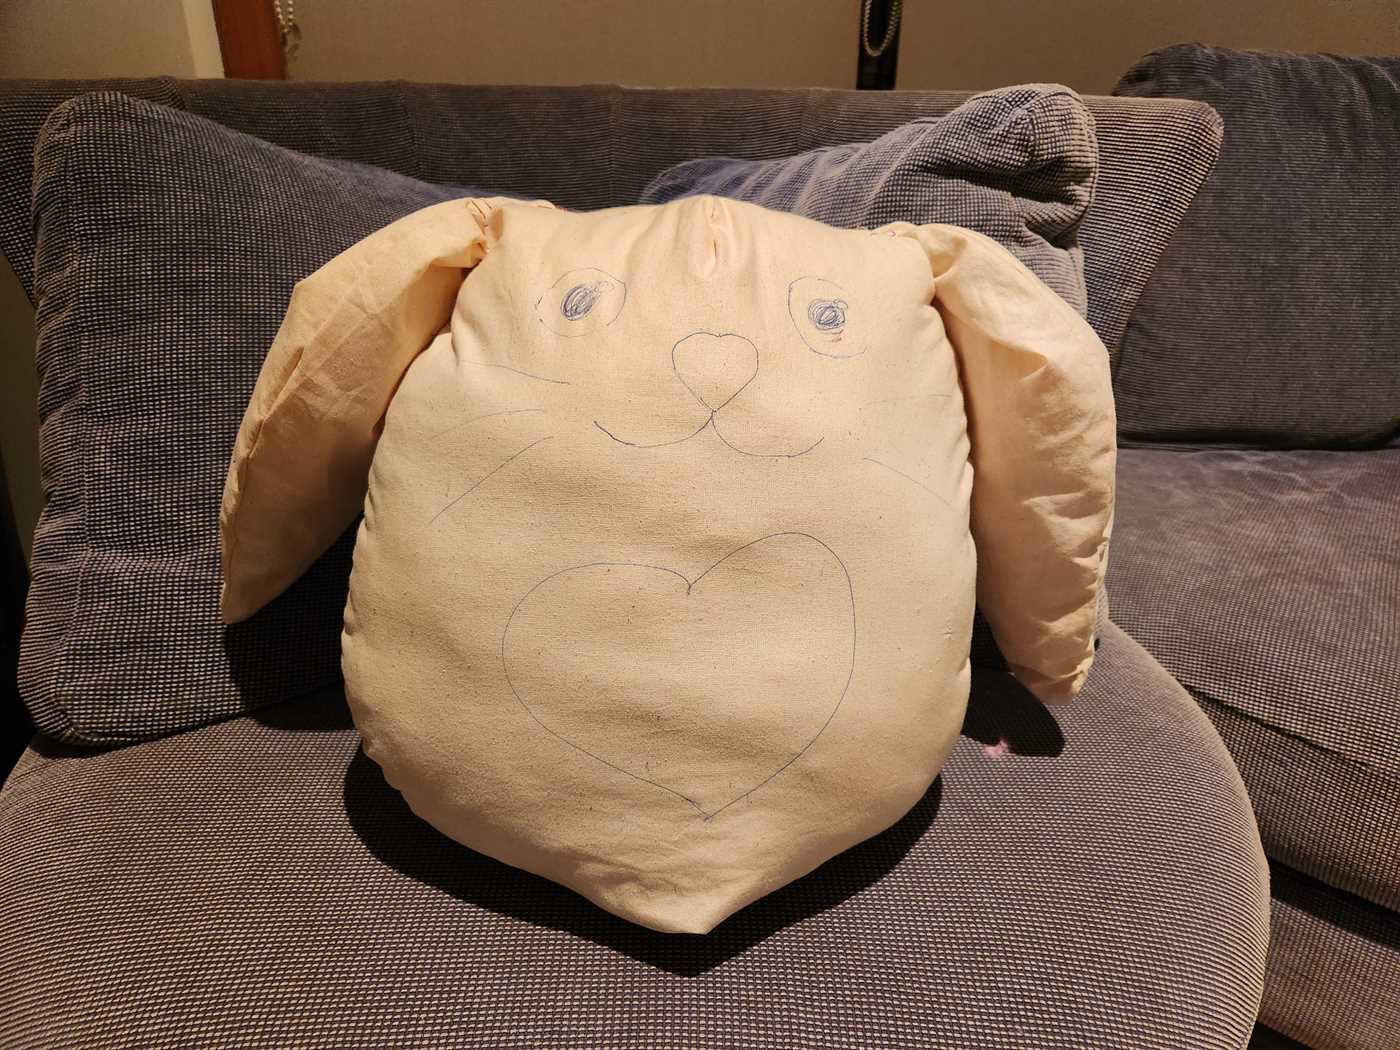
I first sketched the pattern idea out on Calico.
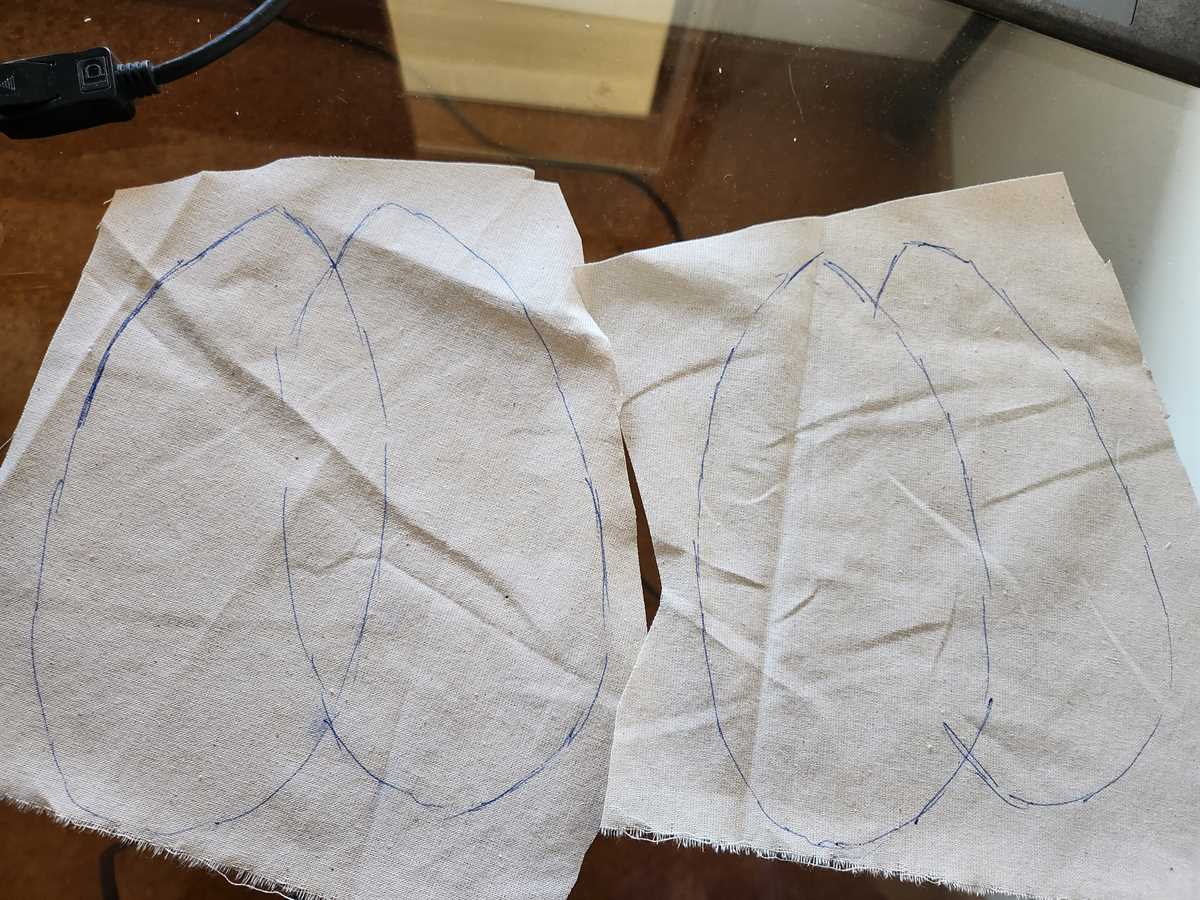
I hand cut this out sewed this to check I was happy before moving into Illustrator to draw the final version
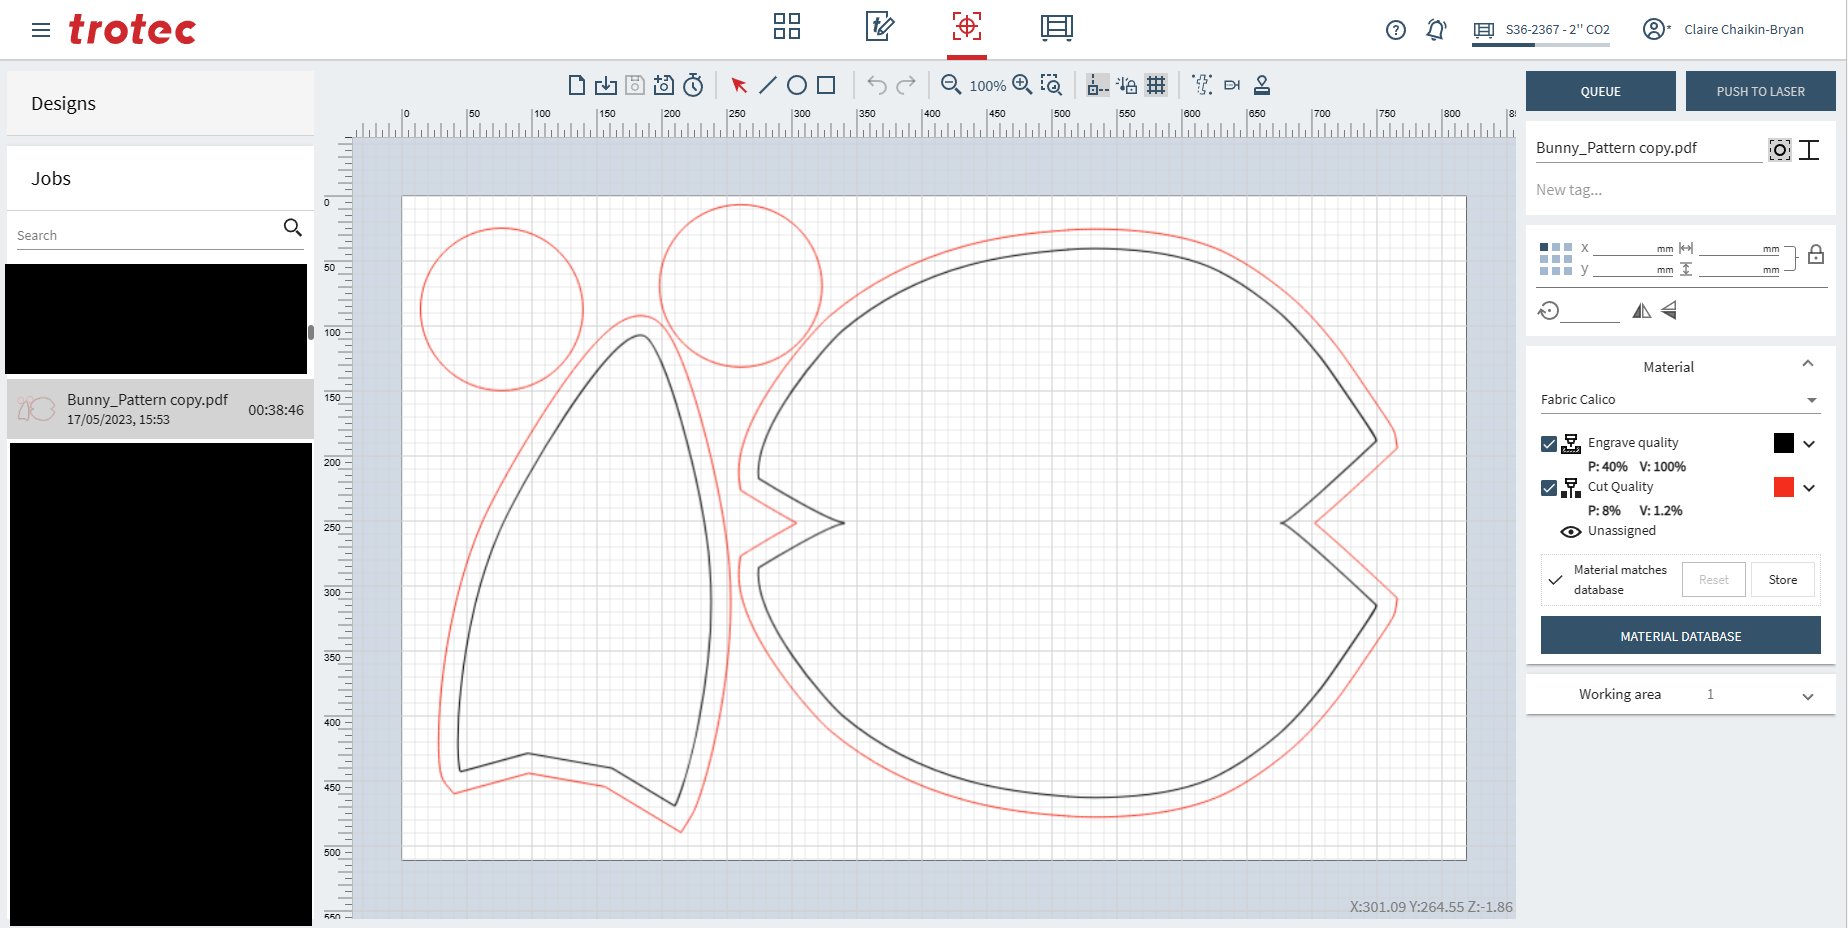
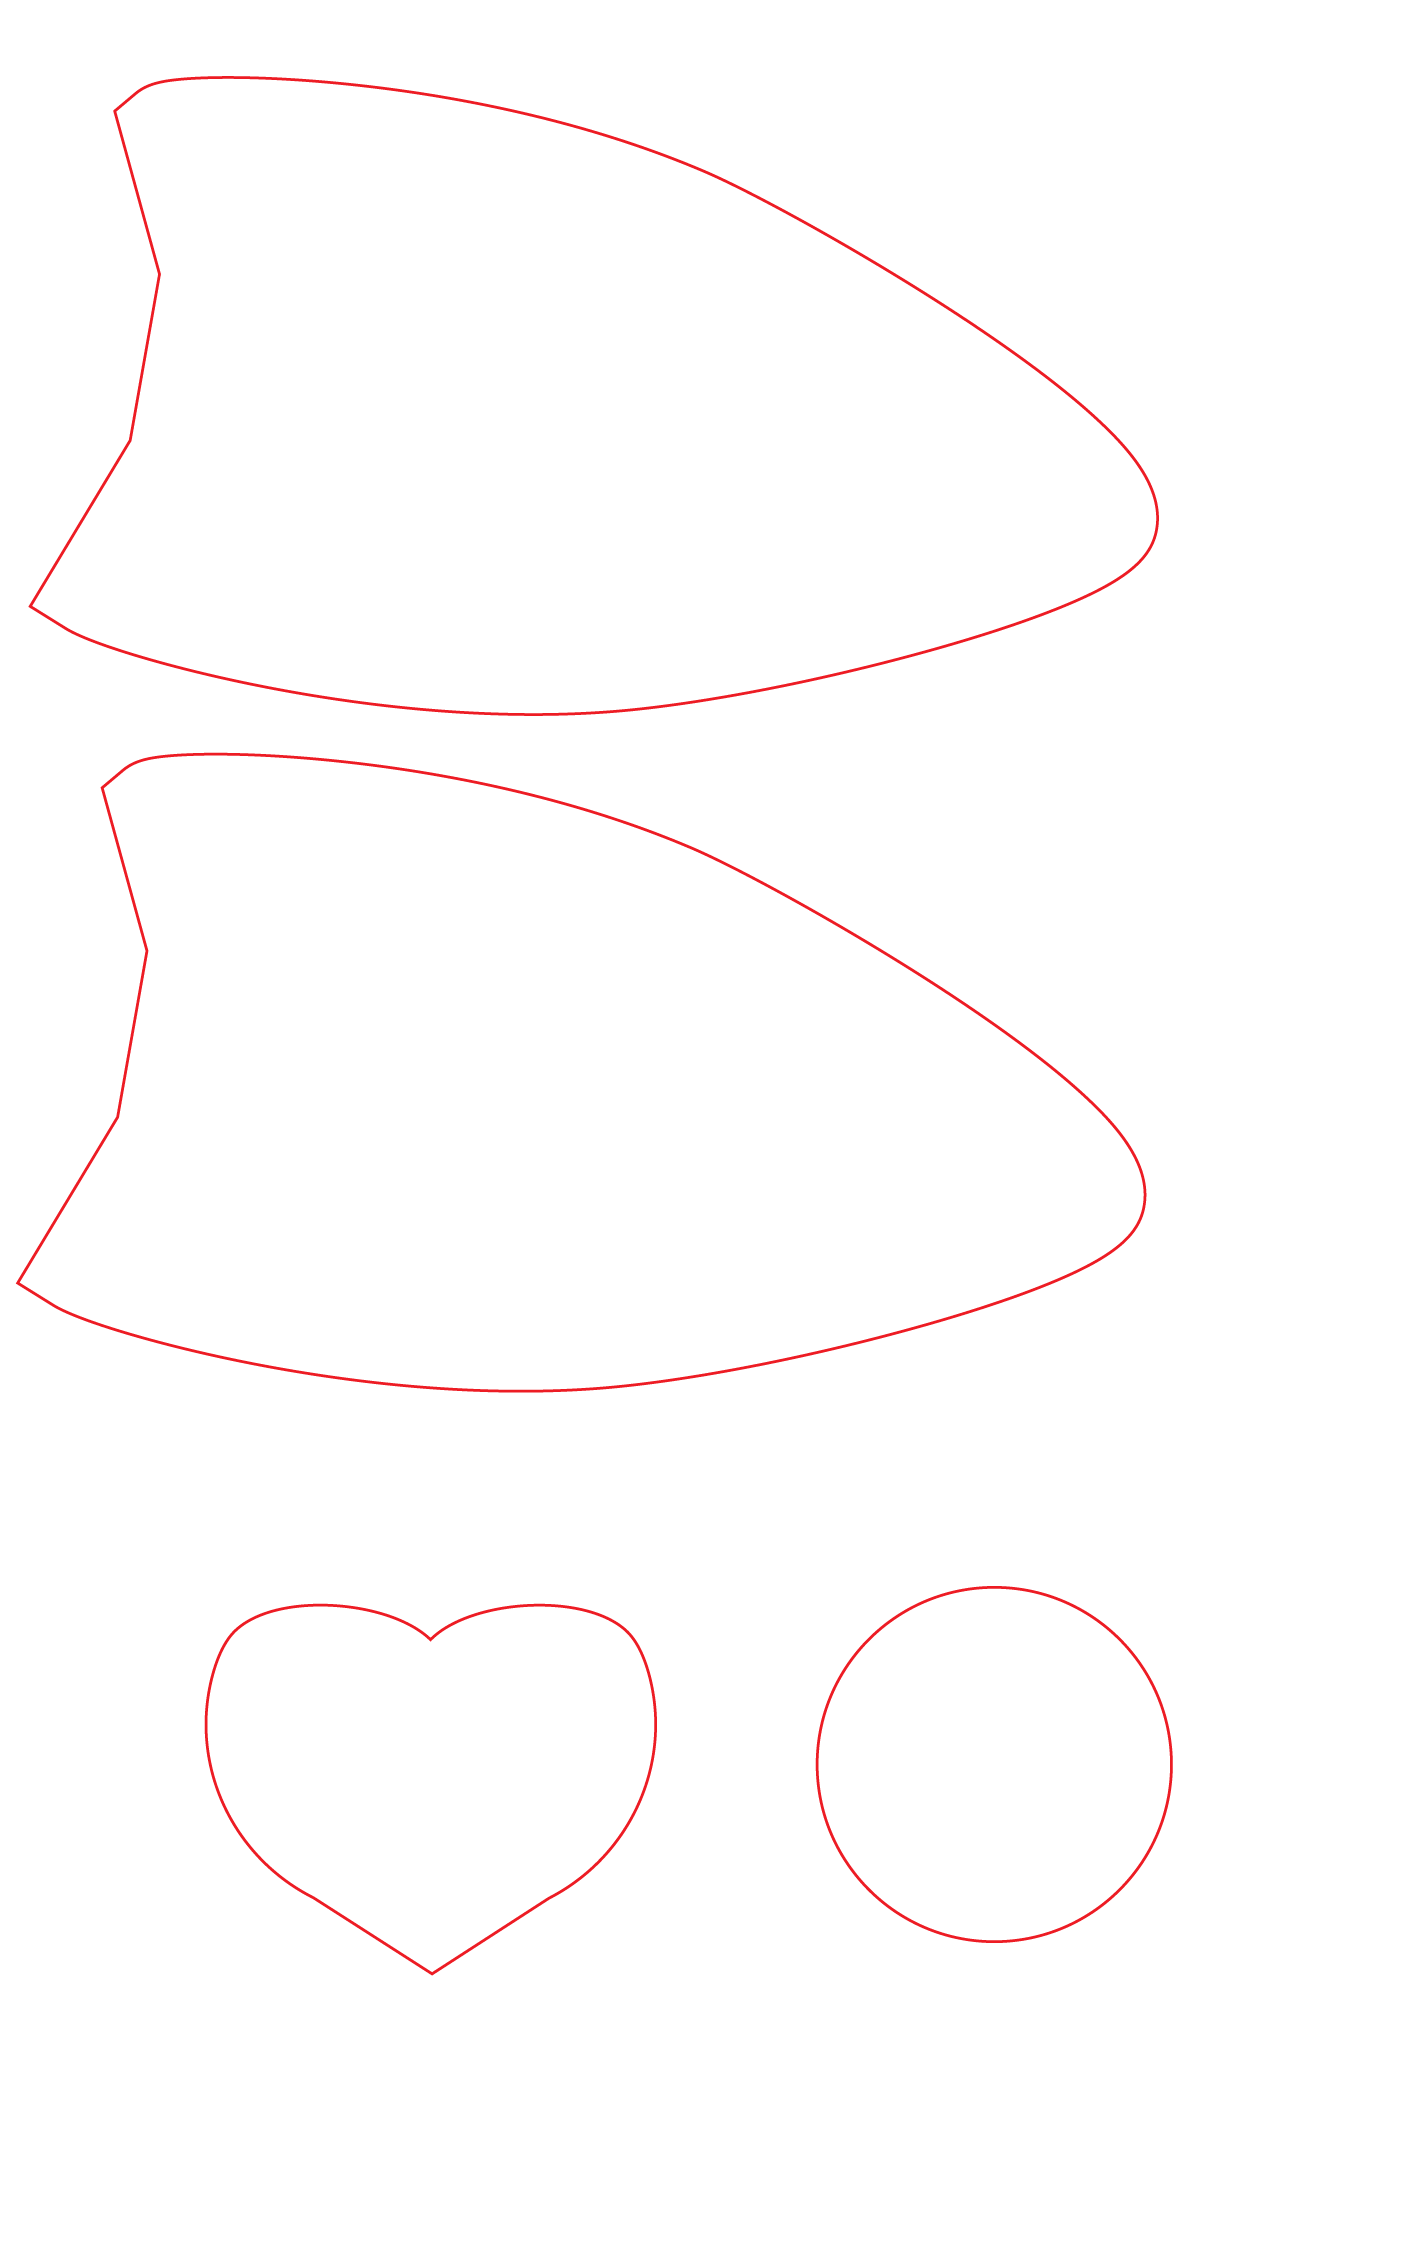
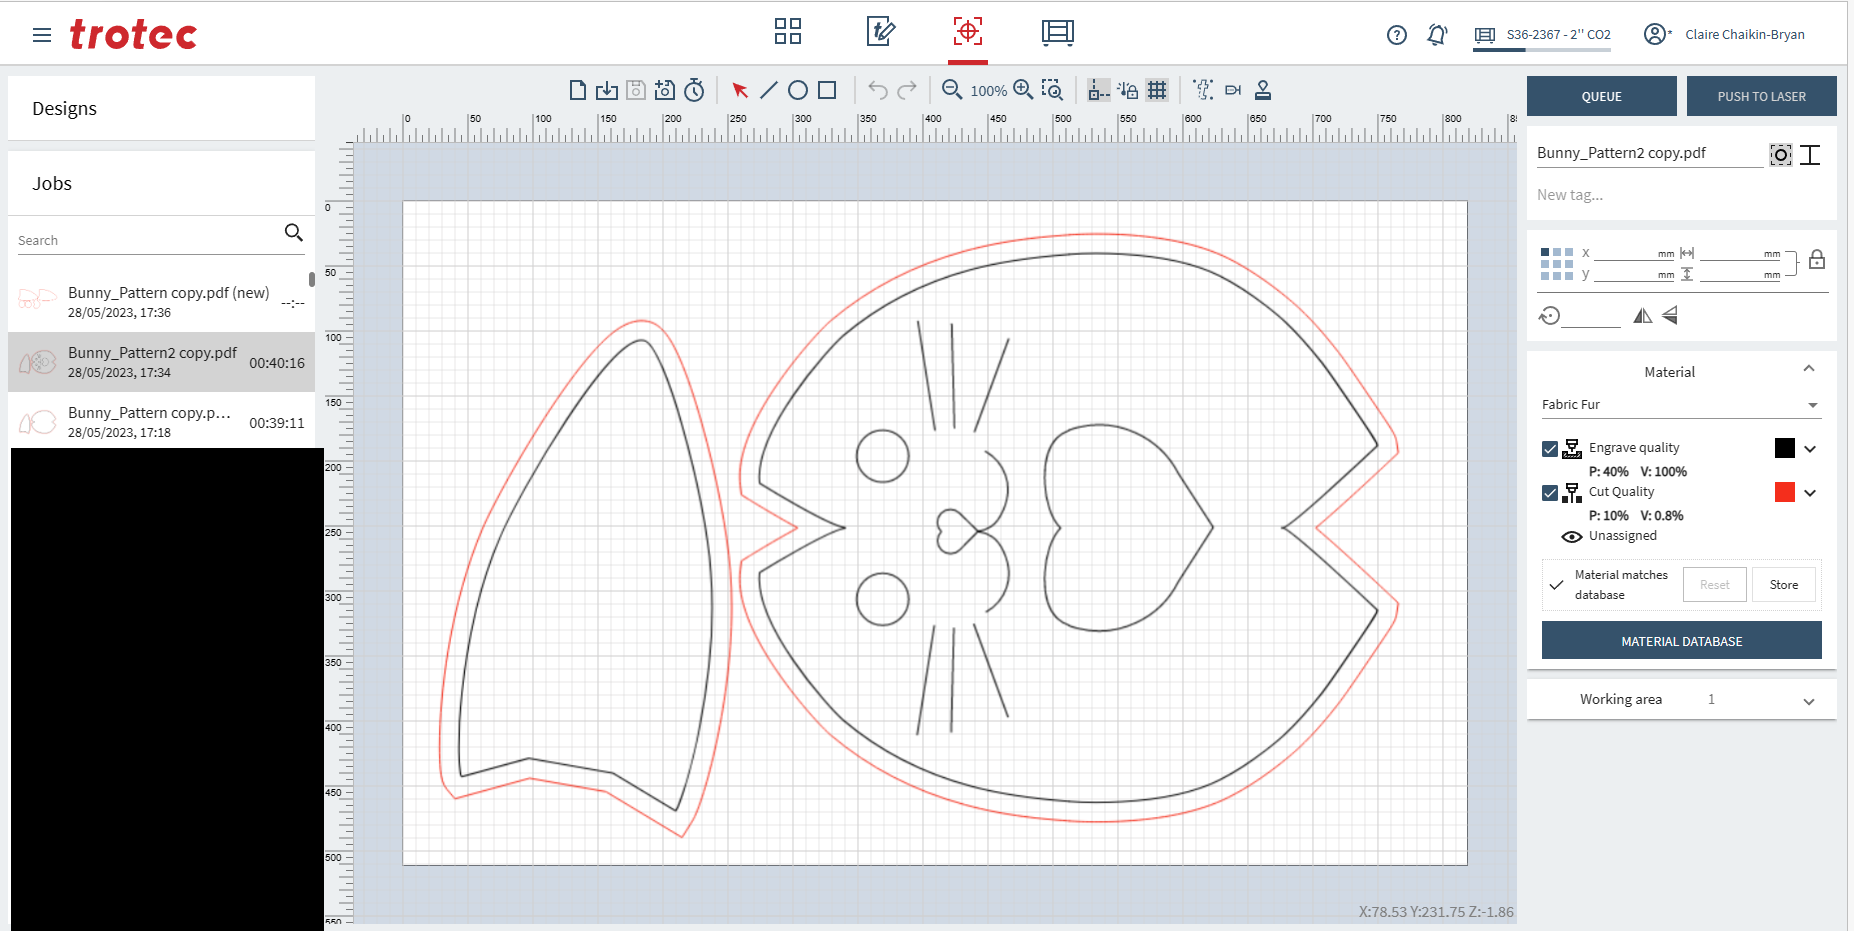
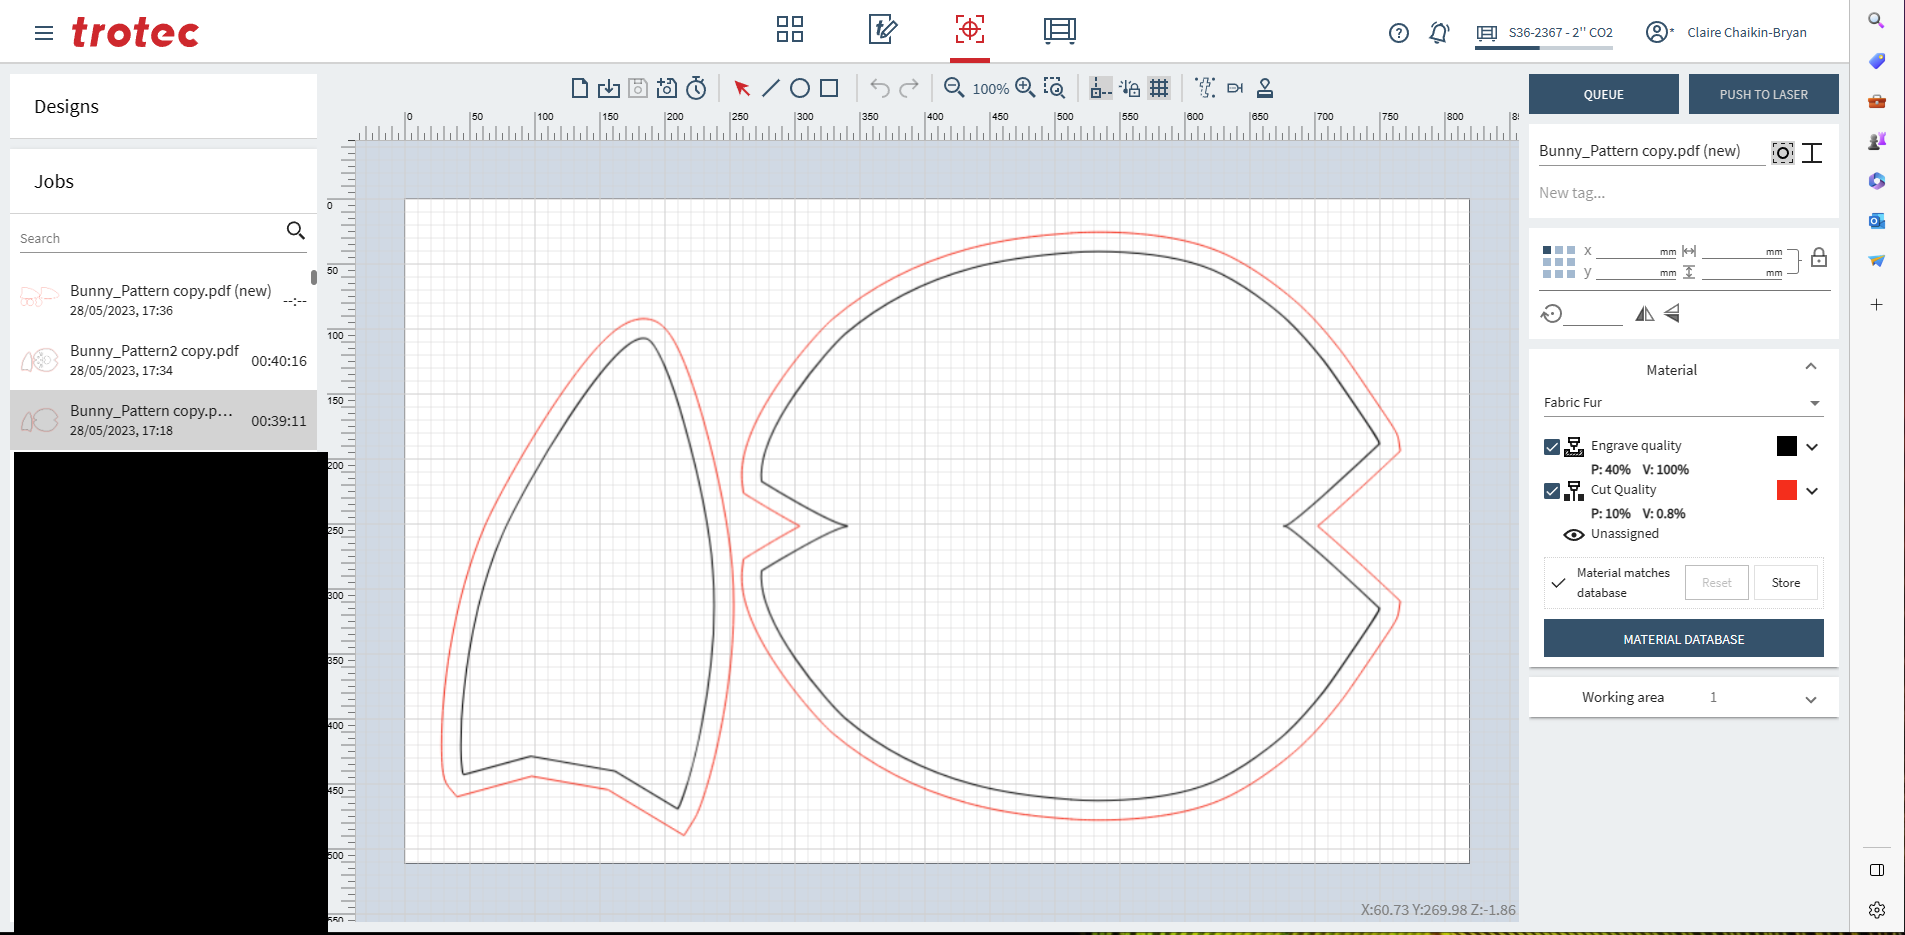
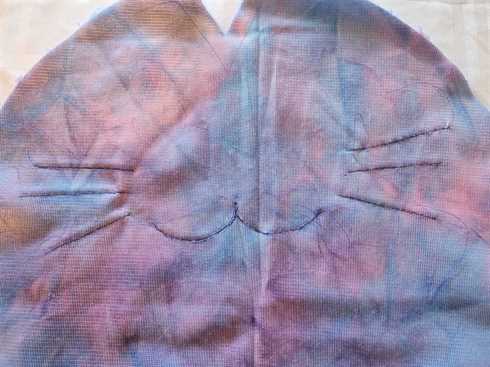
I included both cutting and engraving lines in my design. The engraving lines are important as they provide the guide to sew along, making it easier to line everything up, have a neat sew and is in particular useful for beginners.
The design is required to be double to make the whole toy, each does one ear part, one body part and for testing I included some extra circles to test for making a tail and paws. Two extra ears will also need to be cut out, but as I am able to edit designs on my laser cutter I did not make an extra file at this stage.
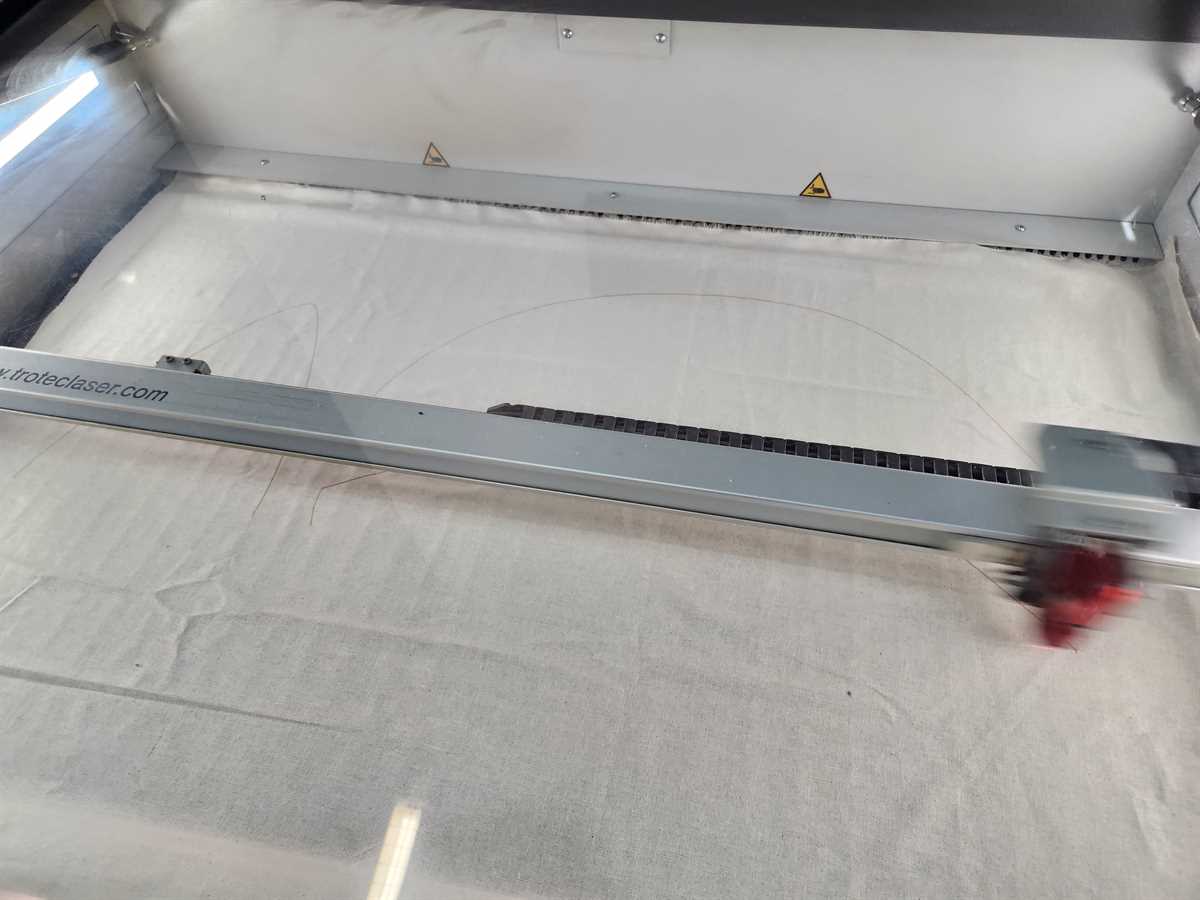
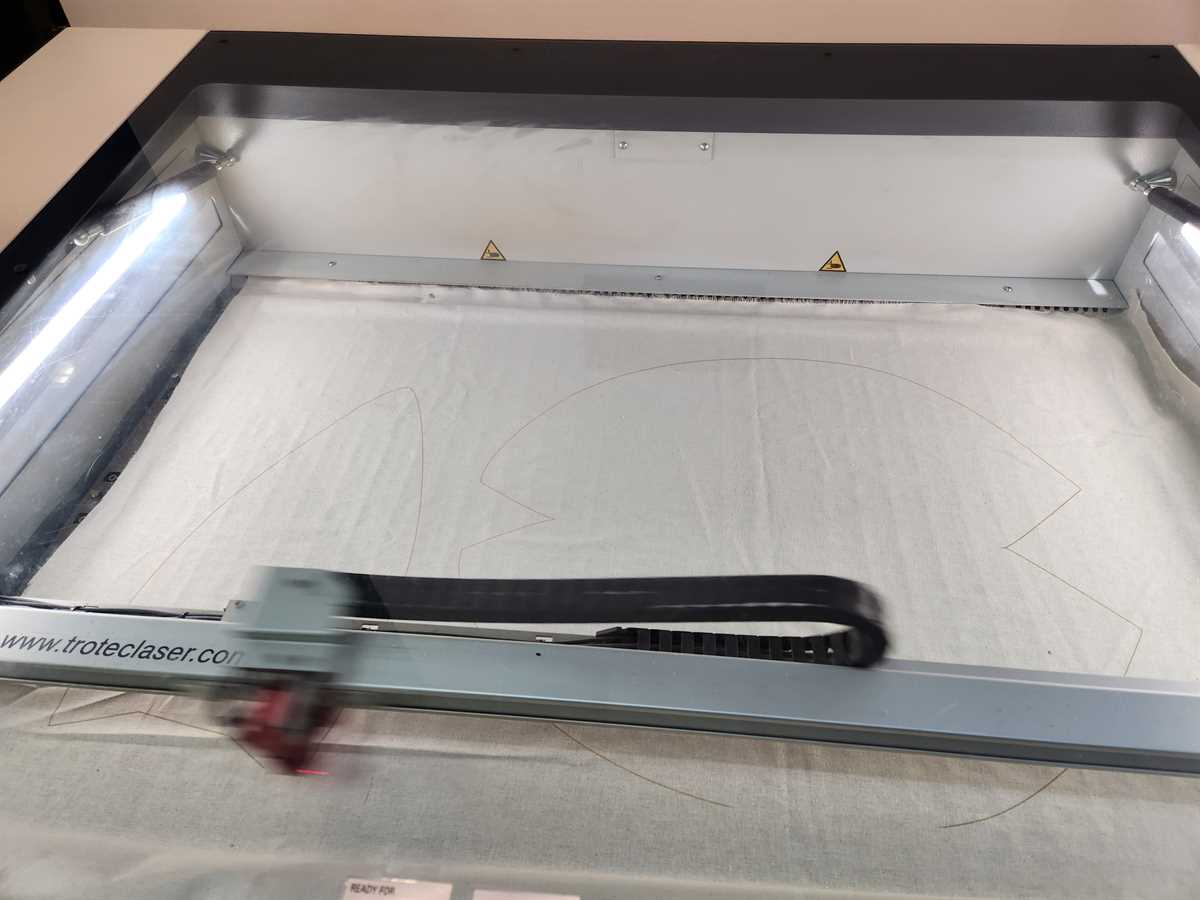
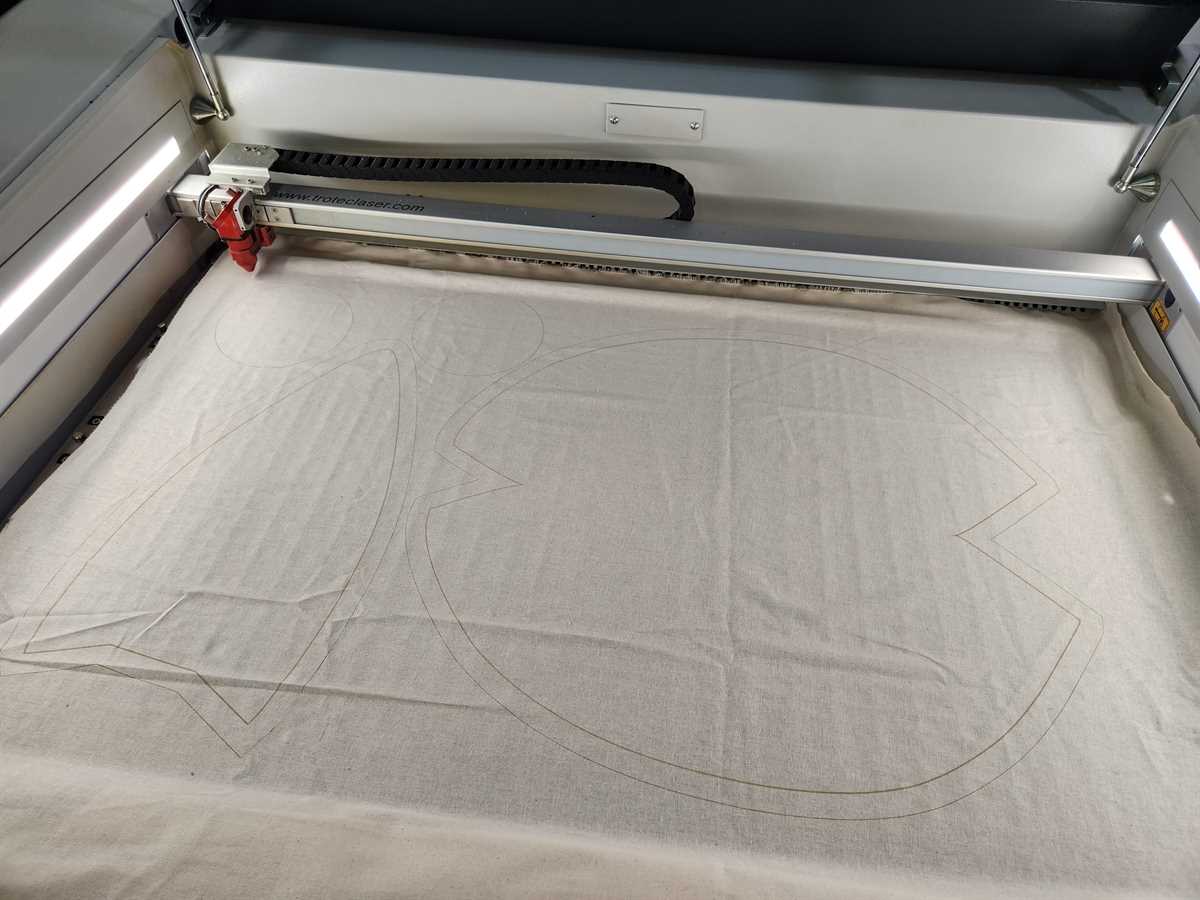
Calico Fabric Laser Cutting and Engraving
Before starting on fur I decided to test Calico as I want sew the toy first in Calico to check the pattern before moving to fur. This is a common methodology for sewing things when you have designed a new pattern.

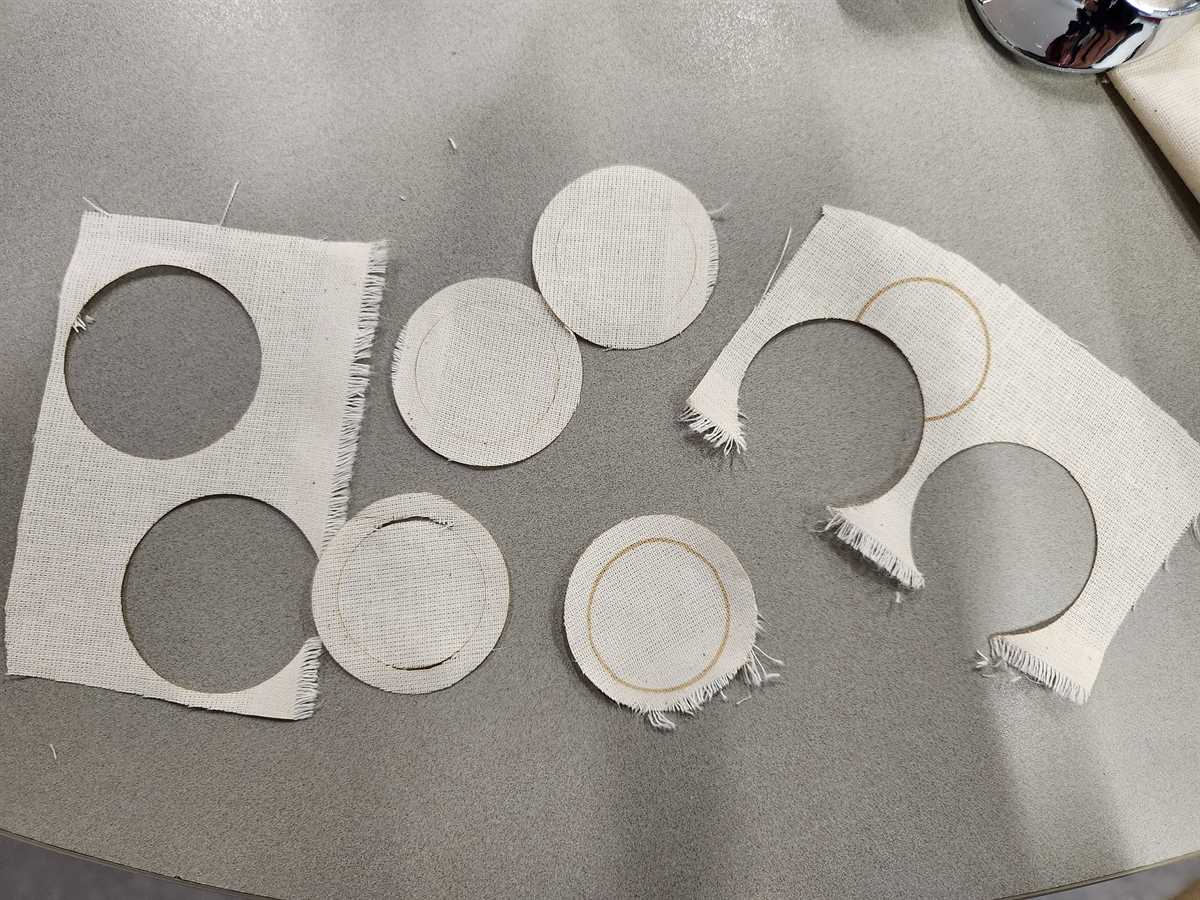
After some trial and error I found the right settings for Calico both to cut and engrave it. One of the challenges is to not burn the edge when cutting and when your engraving setting is too much you can end up cutting the material.
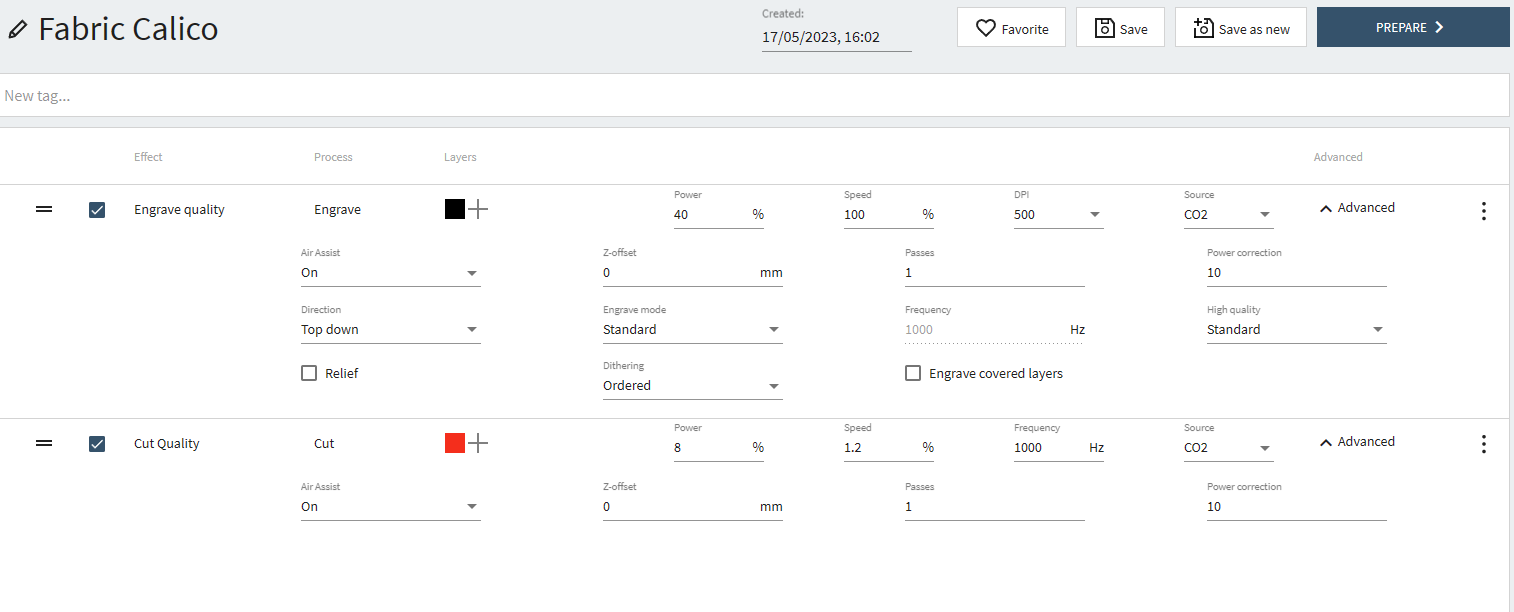
Engraving
Power 40%, Speed 100%, DPI 500, Z-offset 0
Cutting
Power 8%, Speed 1.2%, Frequency 1000HZ, Z-offset 0
I was happy with the sewn test version in Calico so I can move onto fur.
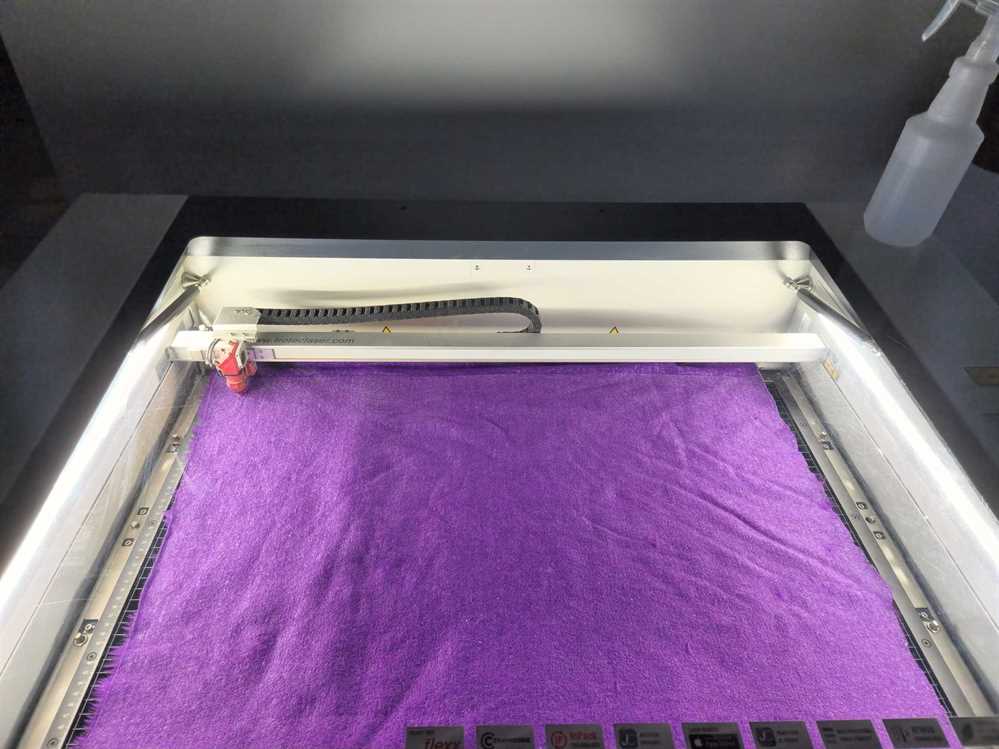
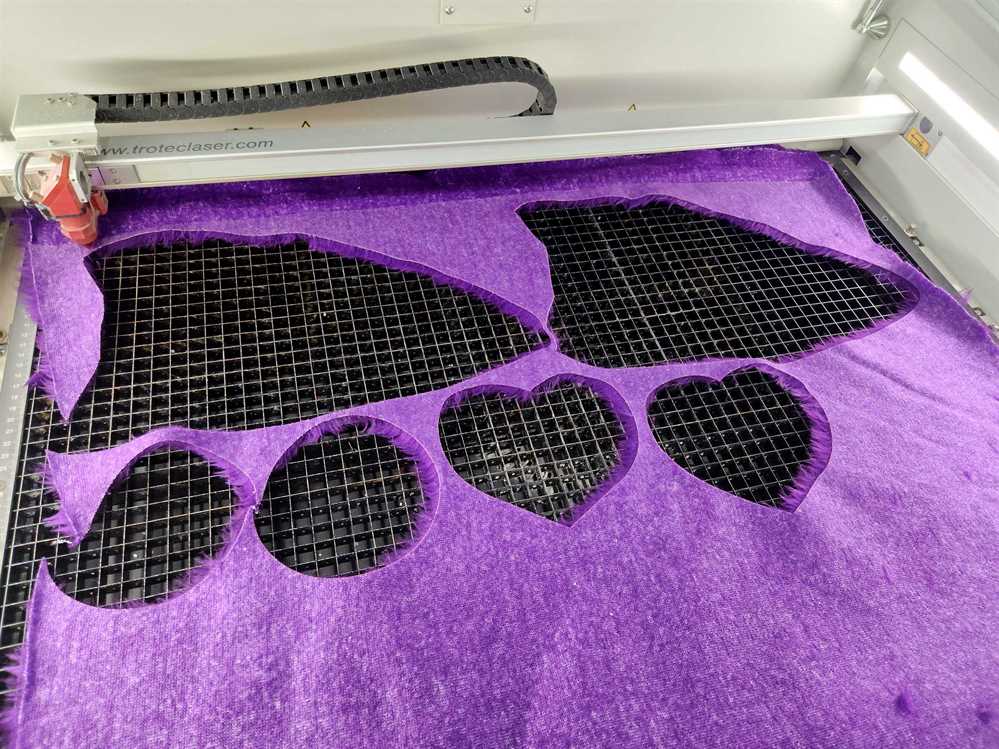
Fur Laser Cutting and Engraving
I made an update to the pattern to show where the whiskers, mouth, eye, nose and heart pocket on the belly were going to go.
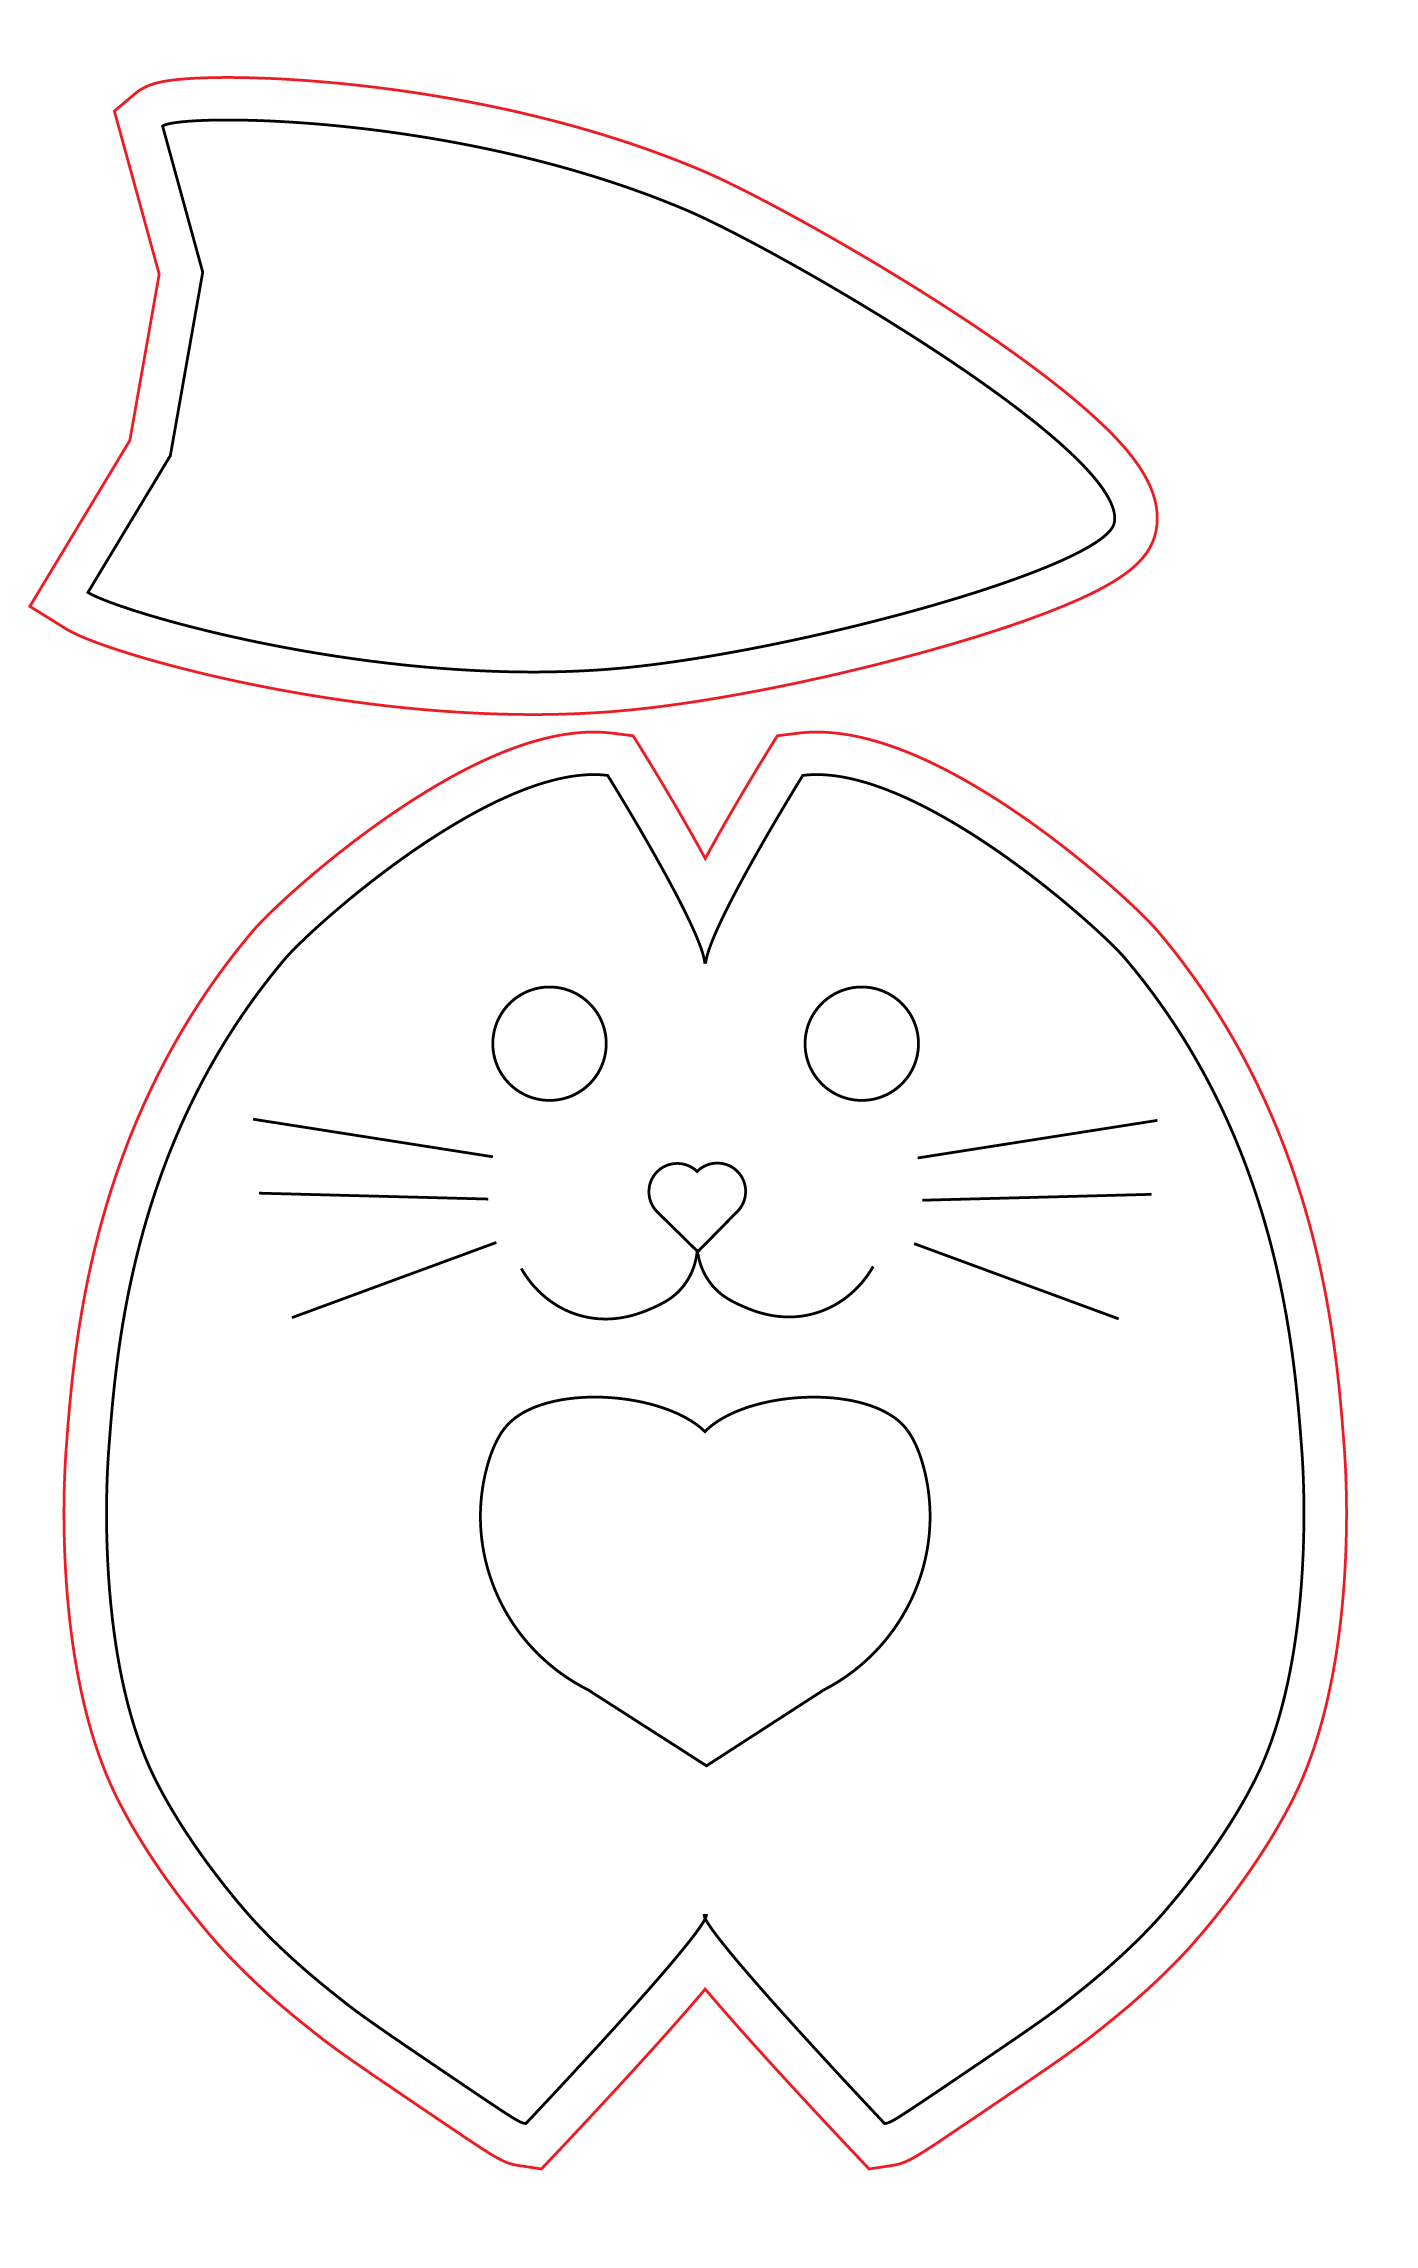
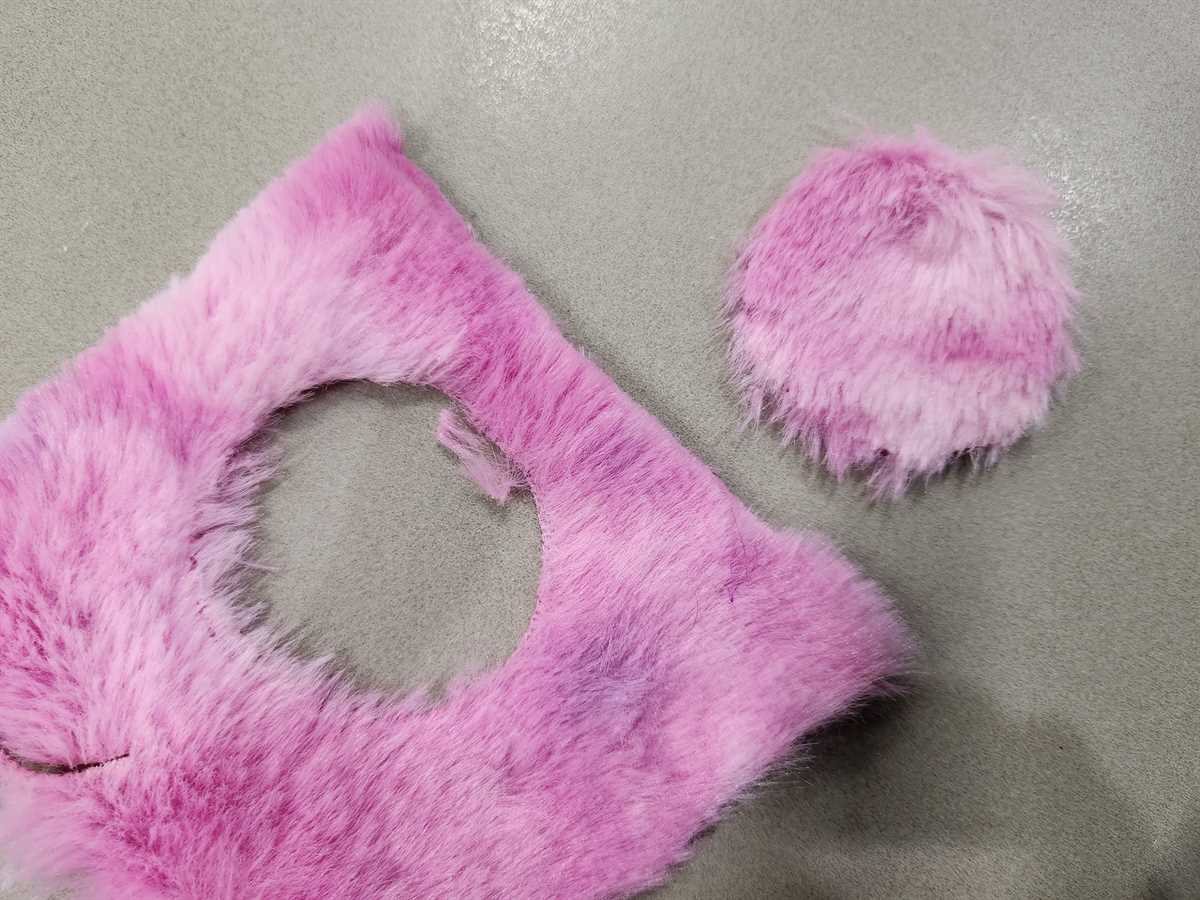
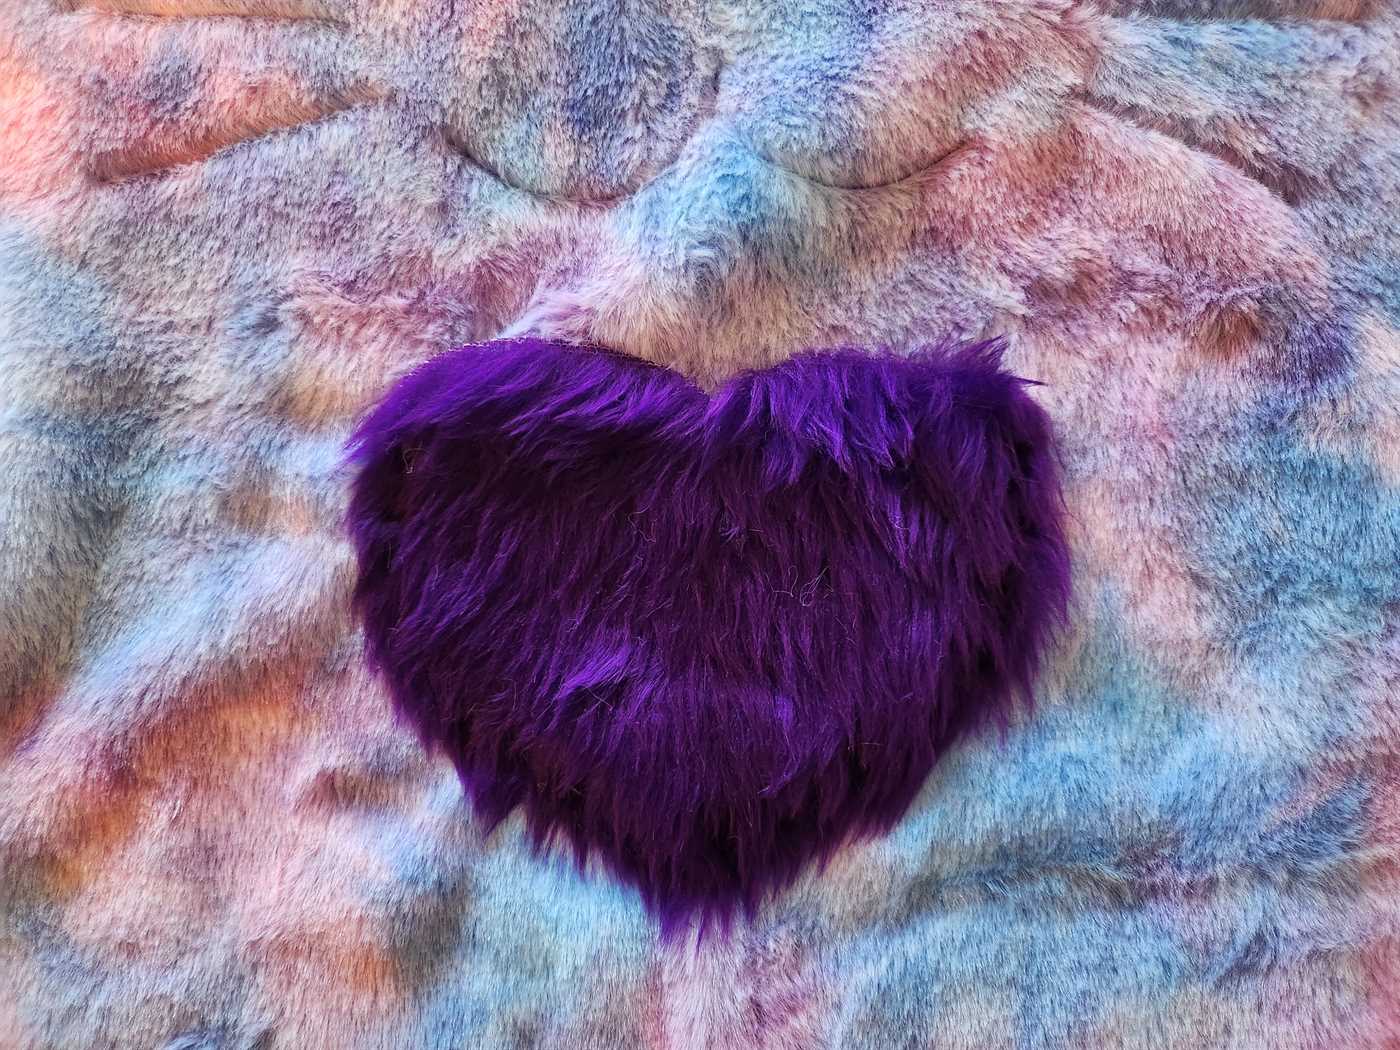
I also made a separate pattern to cut out of different coloured material, which are going to be highlights; the inside of the ears, the heart on the tummy and the tail.
If you do one of the each above you have all the parts to make the toy.
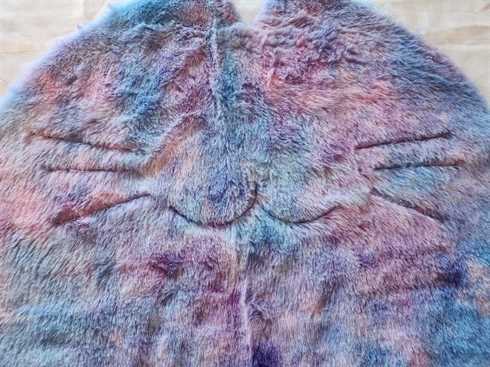
Similar to the Calico I did some tests to work out the best settings for cutting and engraving the fur. The main thing to also do is make sure the backing is facing the laser, that is have the fur side of the fabric face down on the bed.
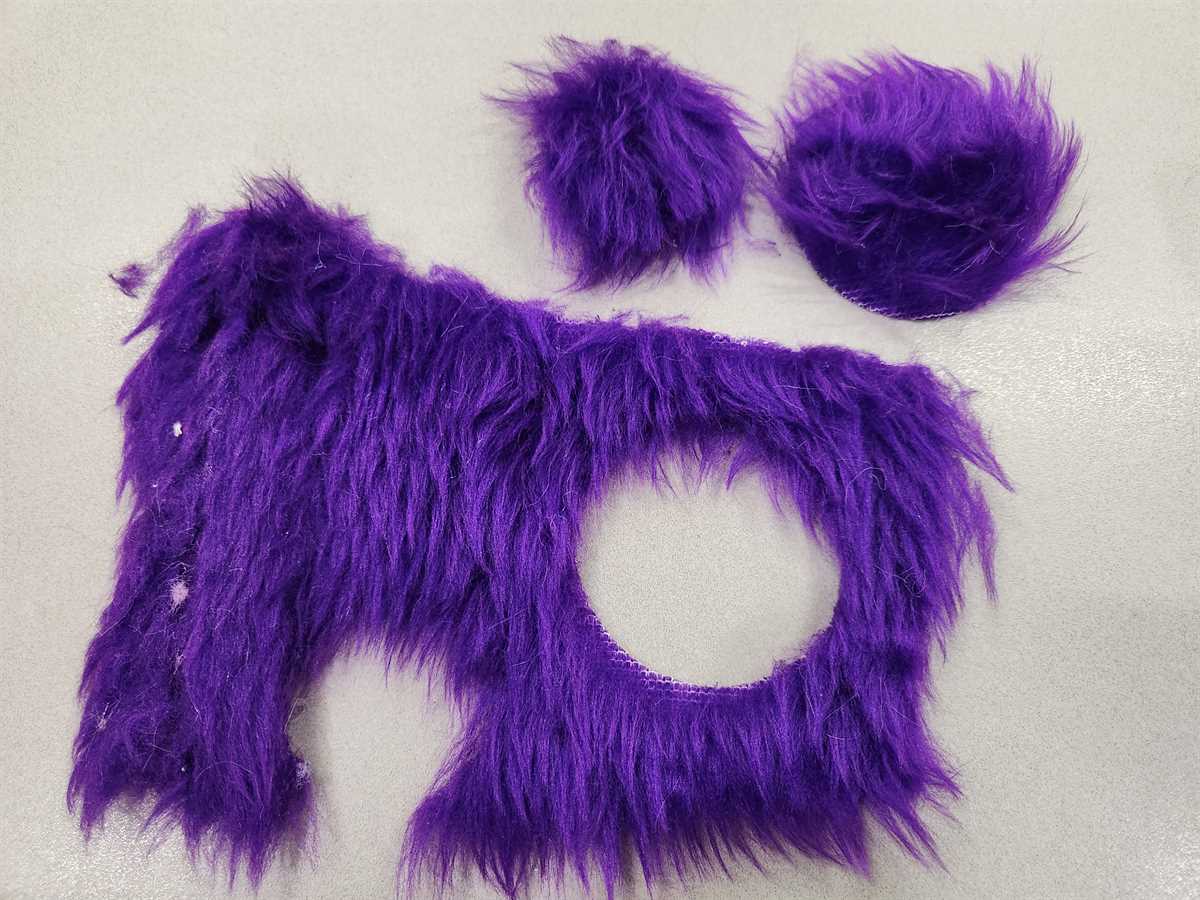
The settings I found worked were
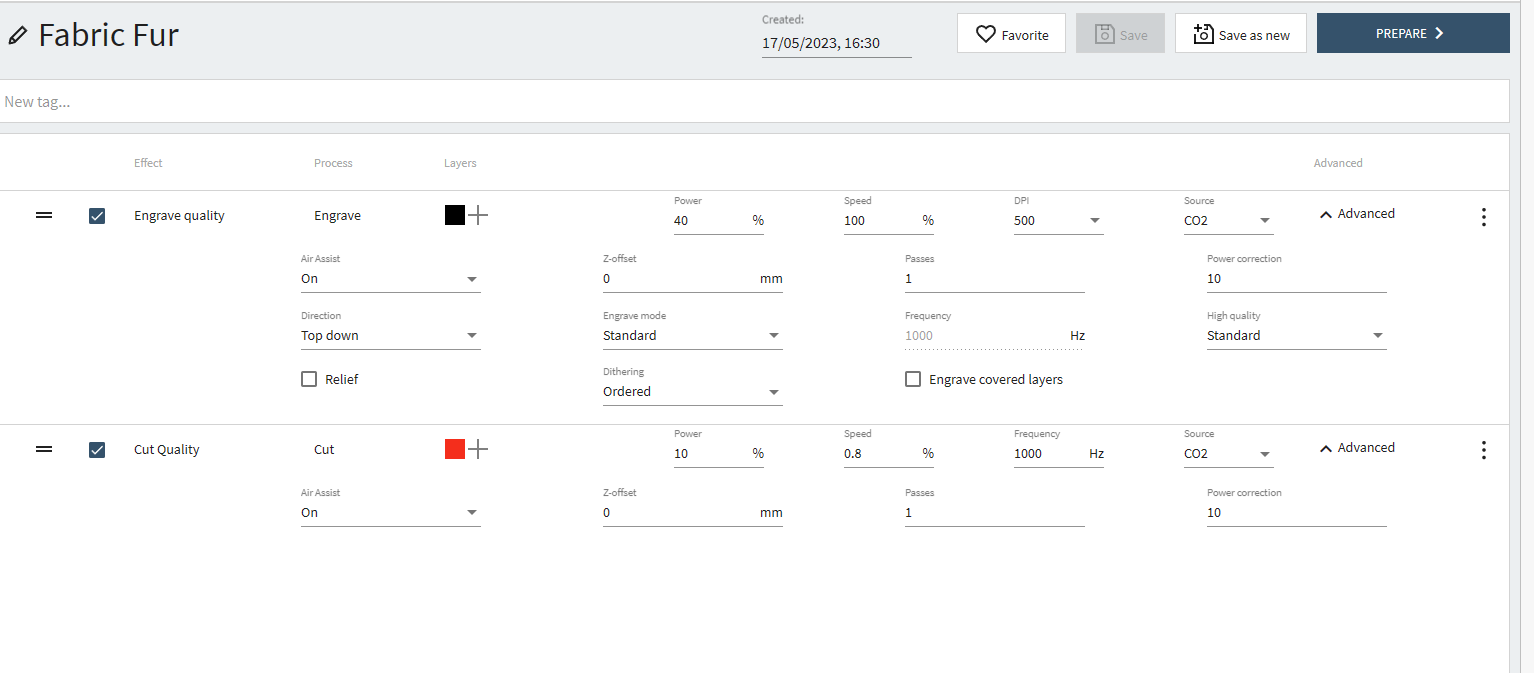
Engraving
Power 40%, Speed 100%, DPI 500, Z-offset 0
Cutting
Power 10%, Speed 0.8%, Frequency 1000HZ, Z-offset 0
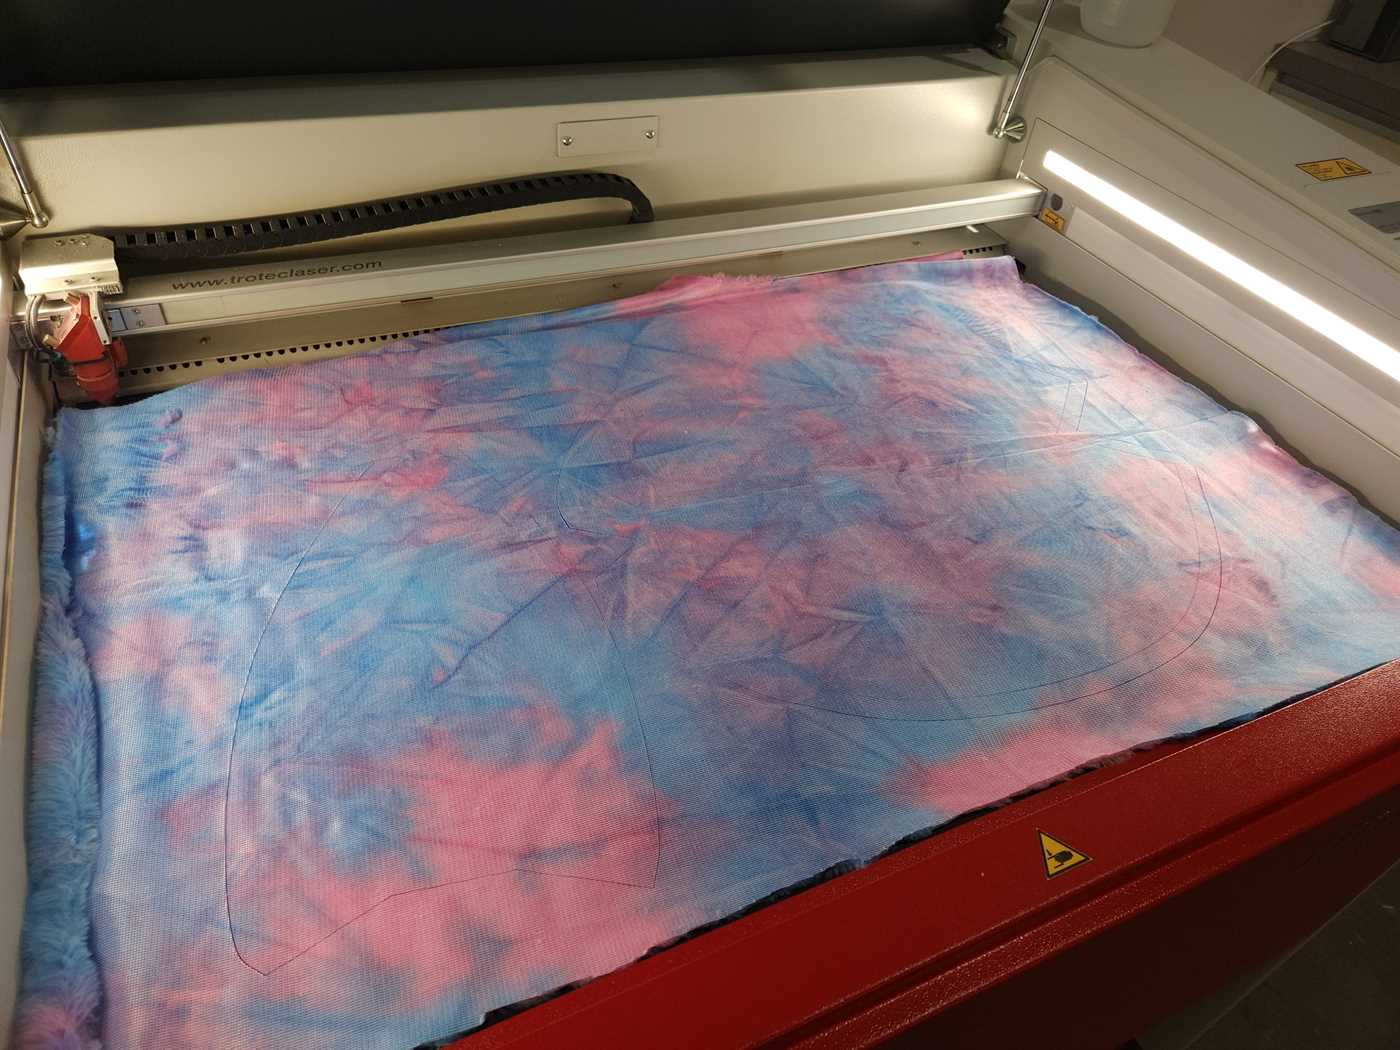
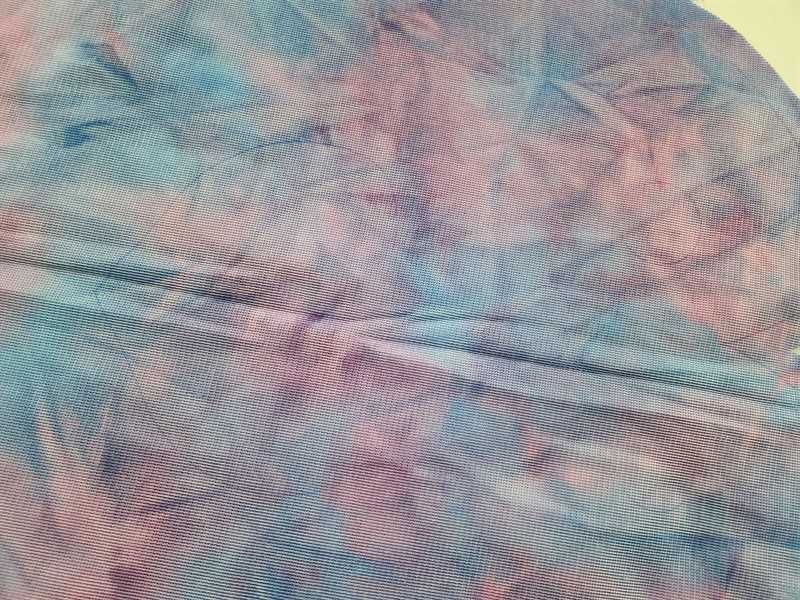
It can be hard to see the engraving lines in the photos, but they are visible in real life.
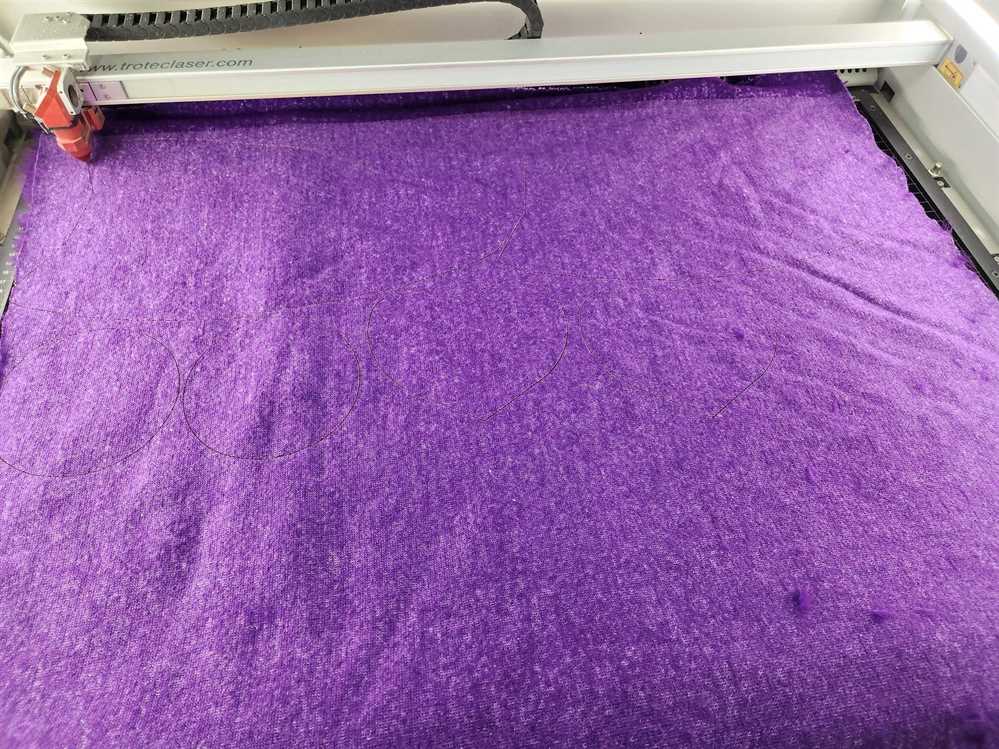
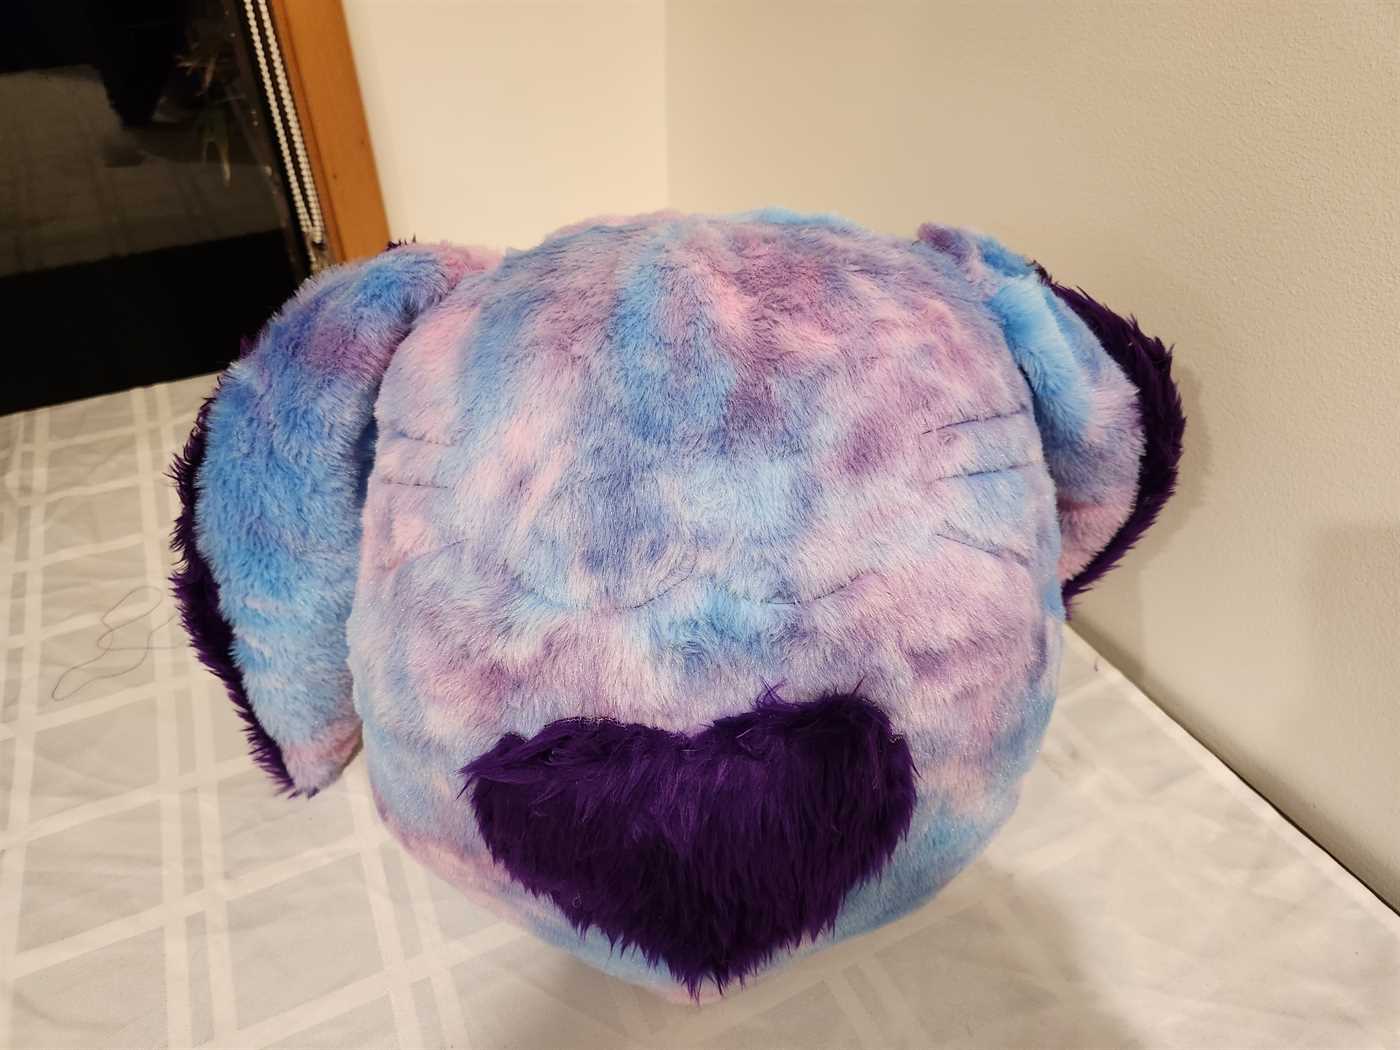
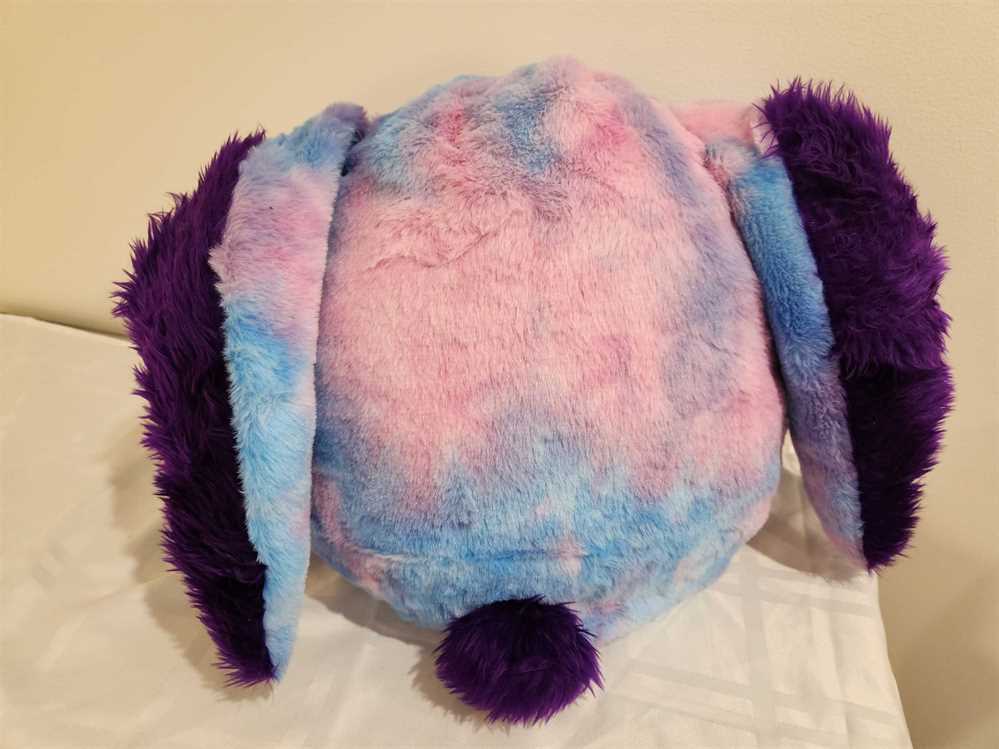
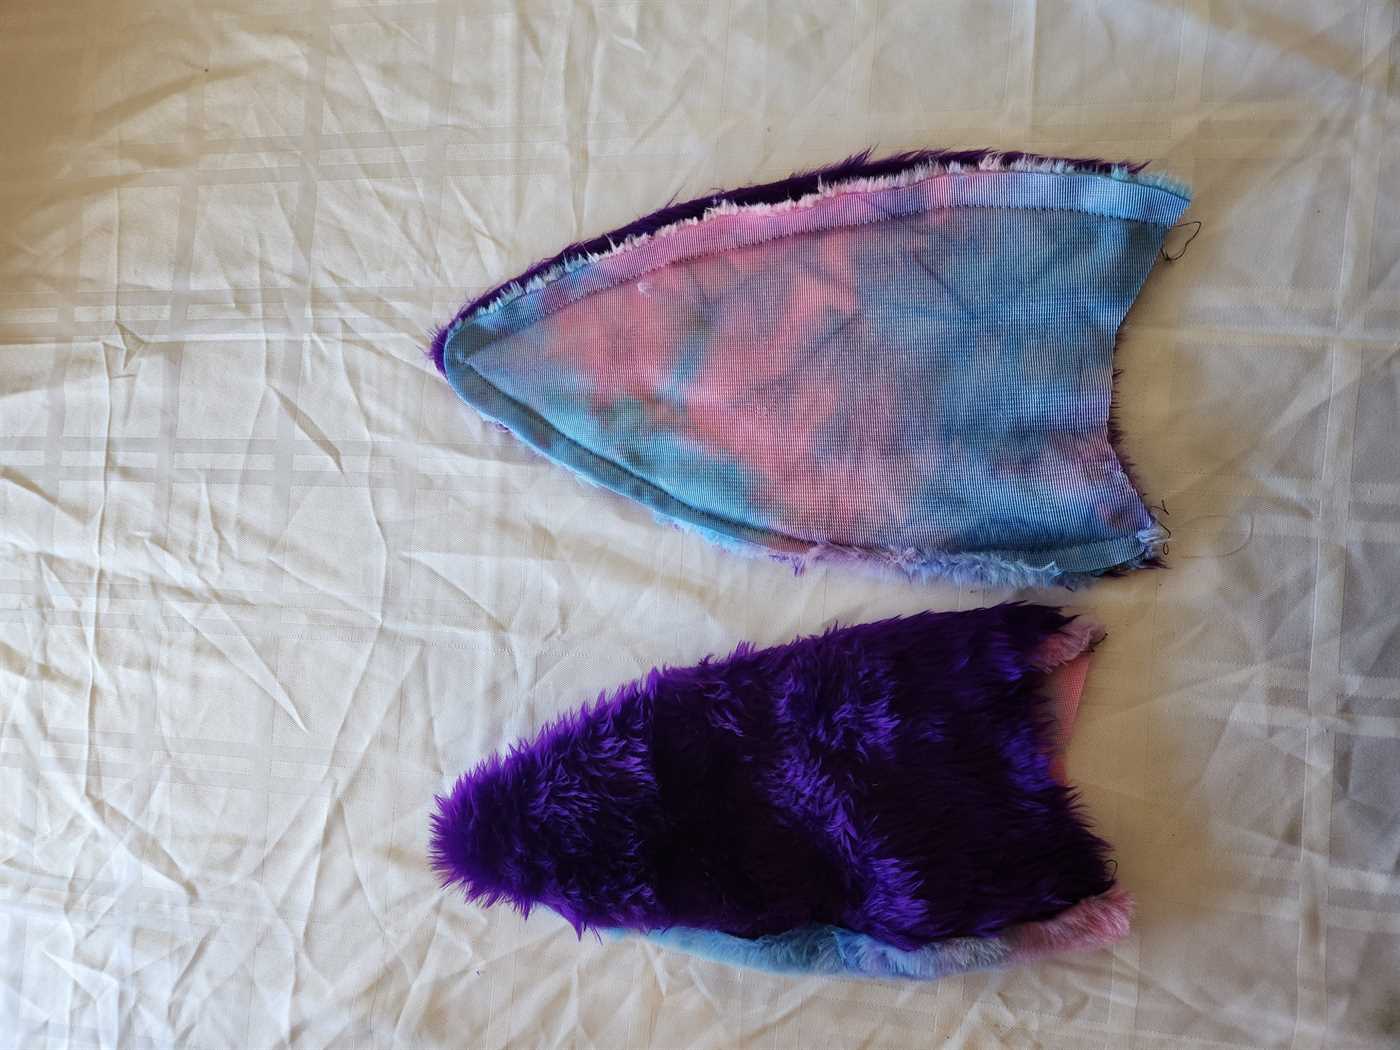
Final set of pieces
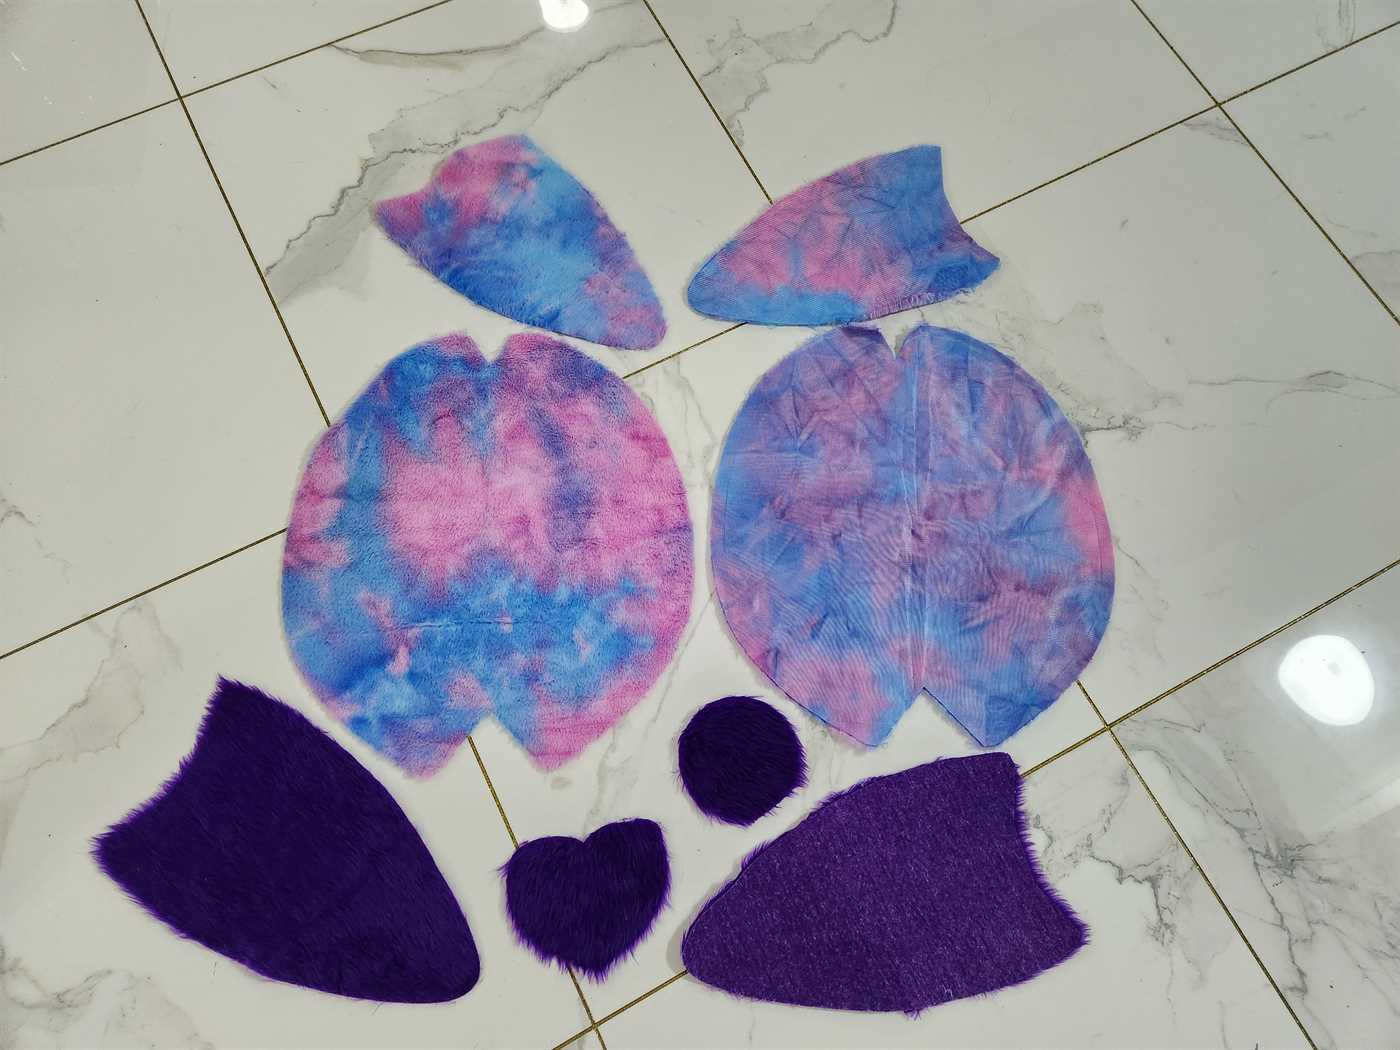
Something to look out for is the direction that the fur sits, you may need to reorient the design to best suit the fur you are using. For example I wanted the fur to be going down the heart. Same with the ears I wanted it to go along the ear and not across.
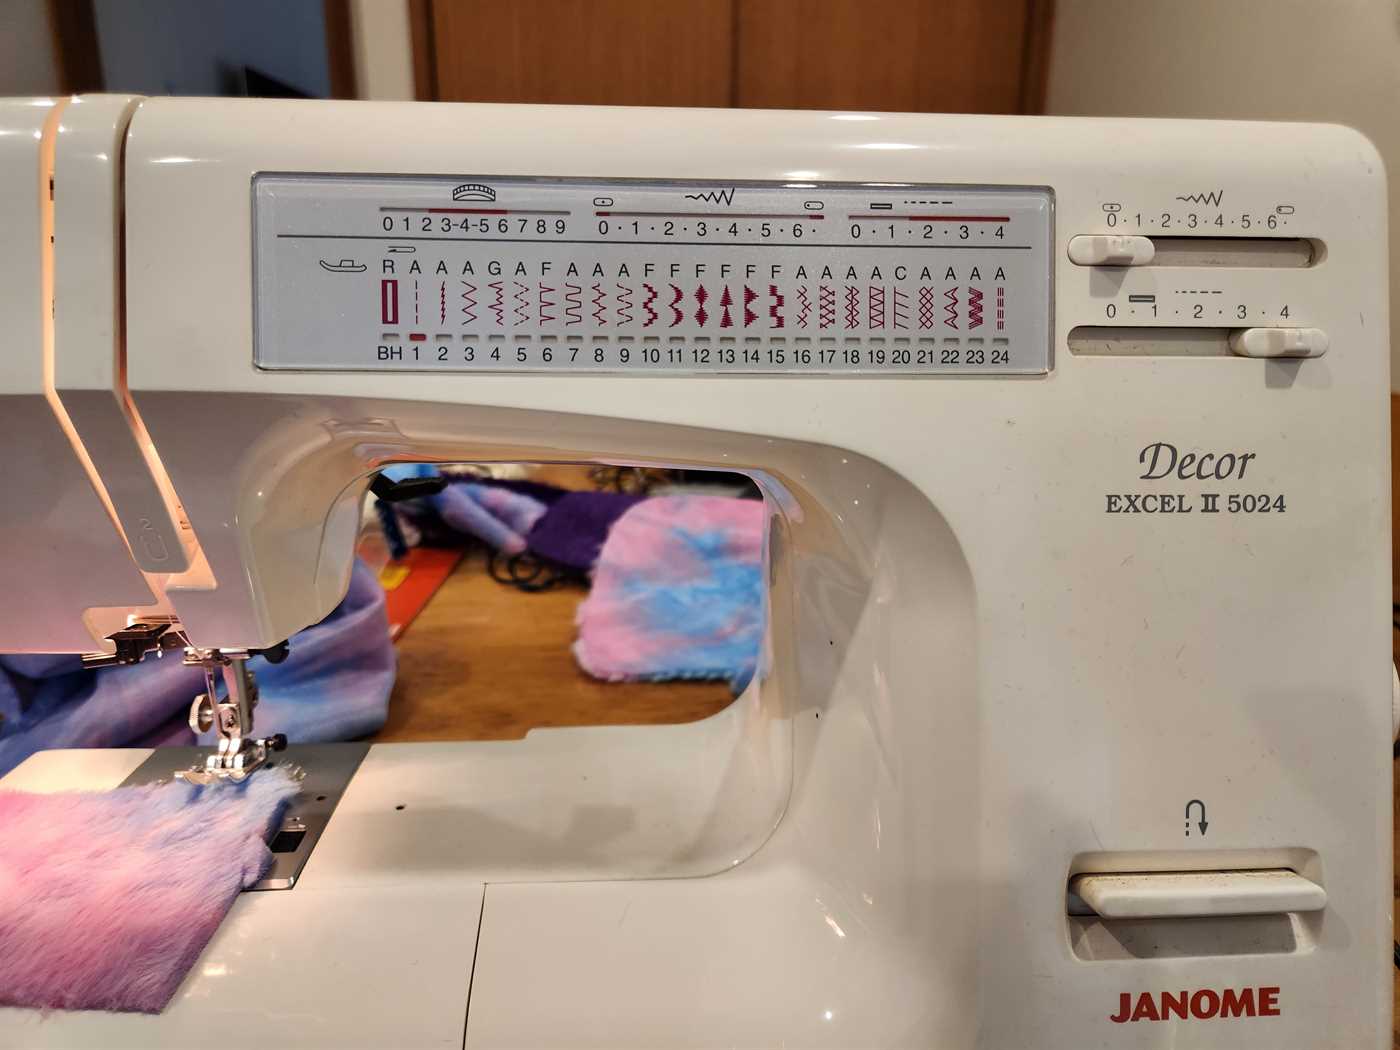
Sewing Instructions
I used a Janome Decor Excel II 5024 sewing machine.
Ears

Pin the two coloured fur pieces together with the backing facing the outside.
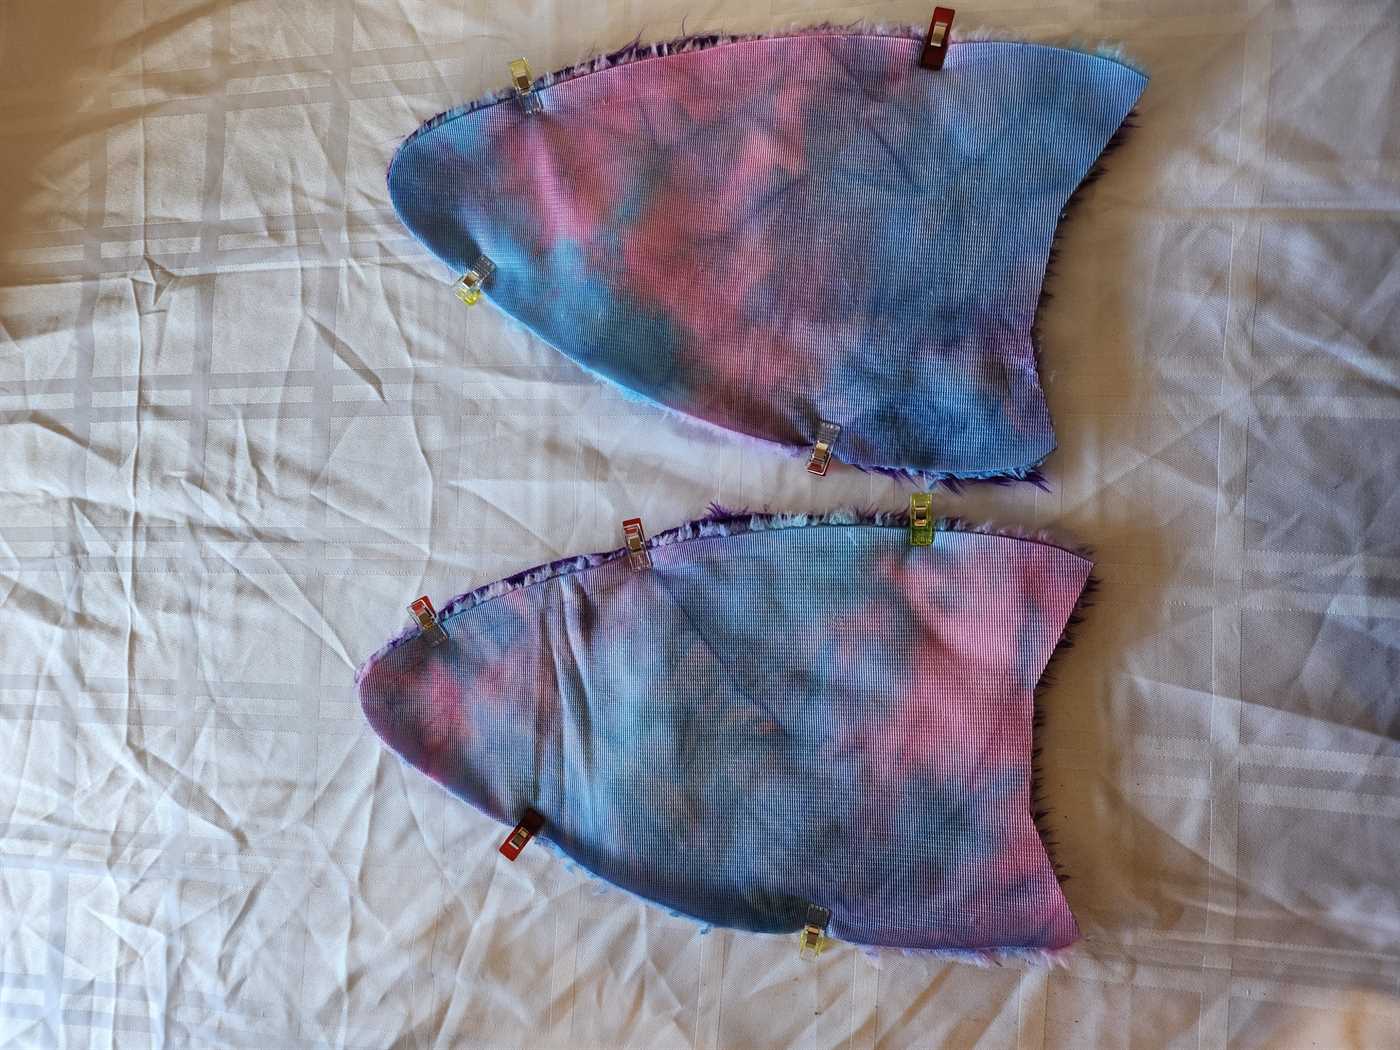
Sew along the engraved line around the ear, leaving the bottom open.
Turn the ear right side out, stuff and then bring the two sides of the bottom of the ear together, overlapping each other and hand sew them together.
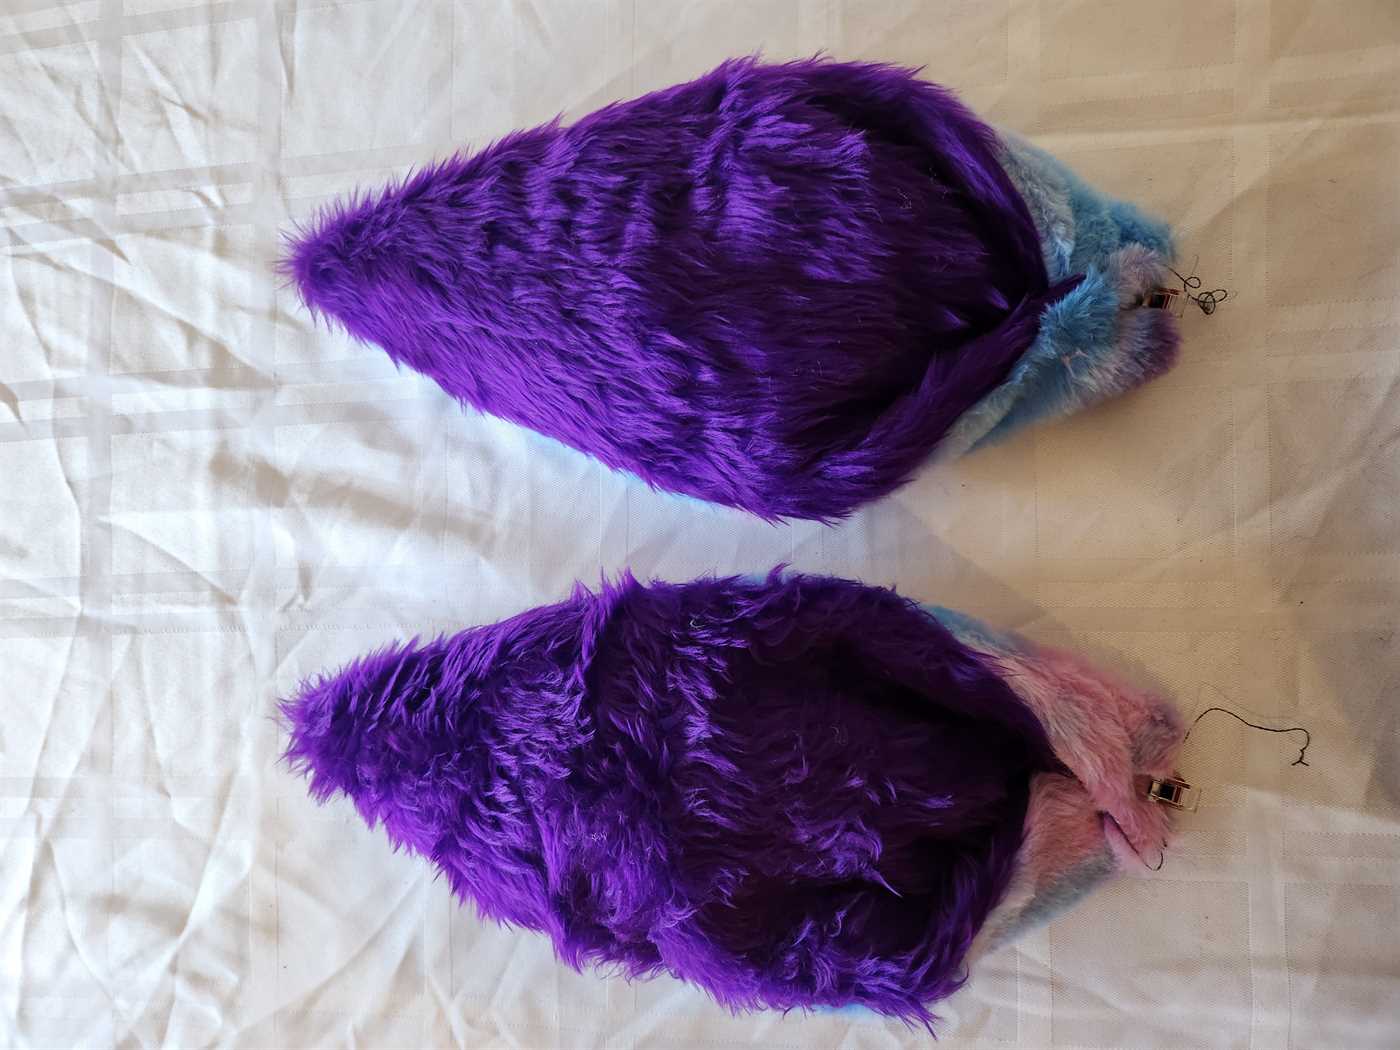
Note: As the ears are going to be used to pick up touch, steel conductive thread was used in the bobbin. With regular polyester thread used in the spool. I was able to use a standard needle and foot that came with the machine. Make sure to leave enough conductive thread on the end so that it can be connected to a wire.
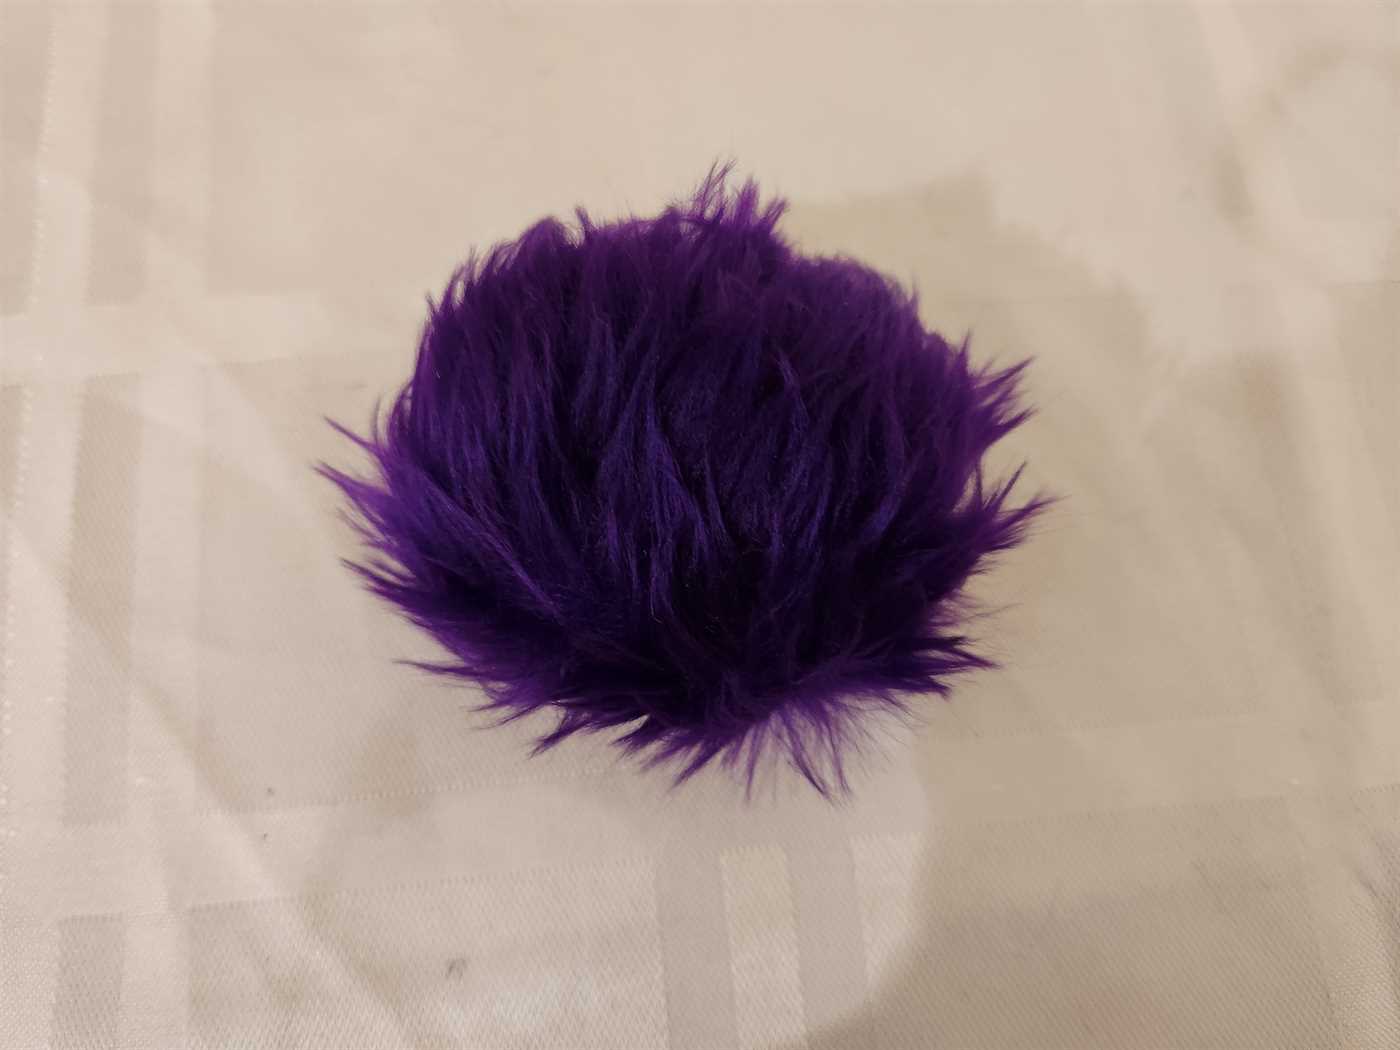
Tail
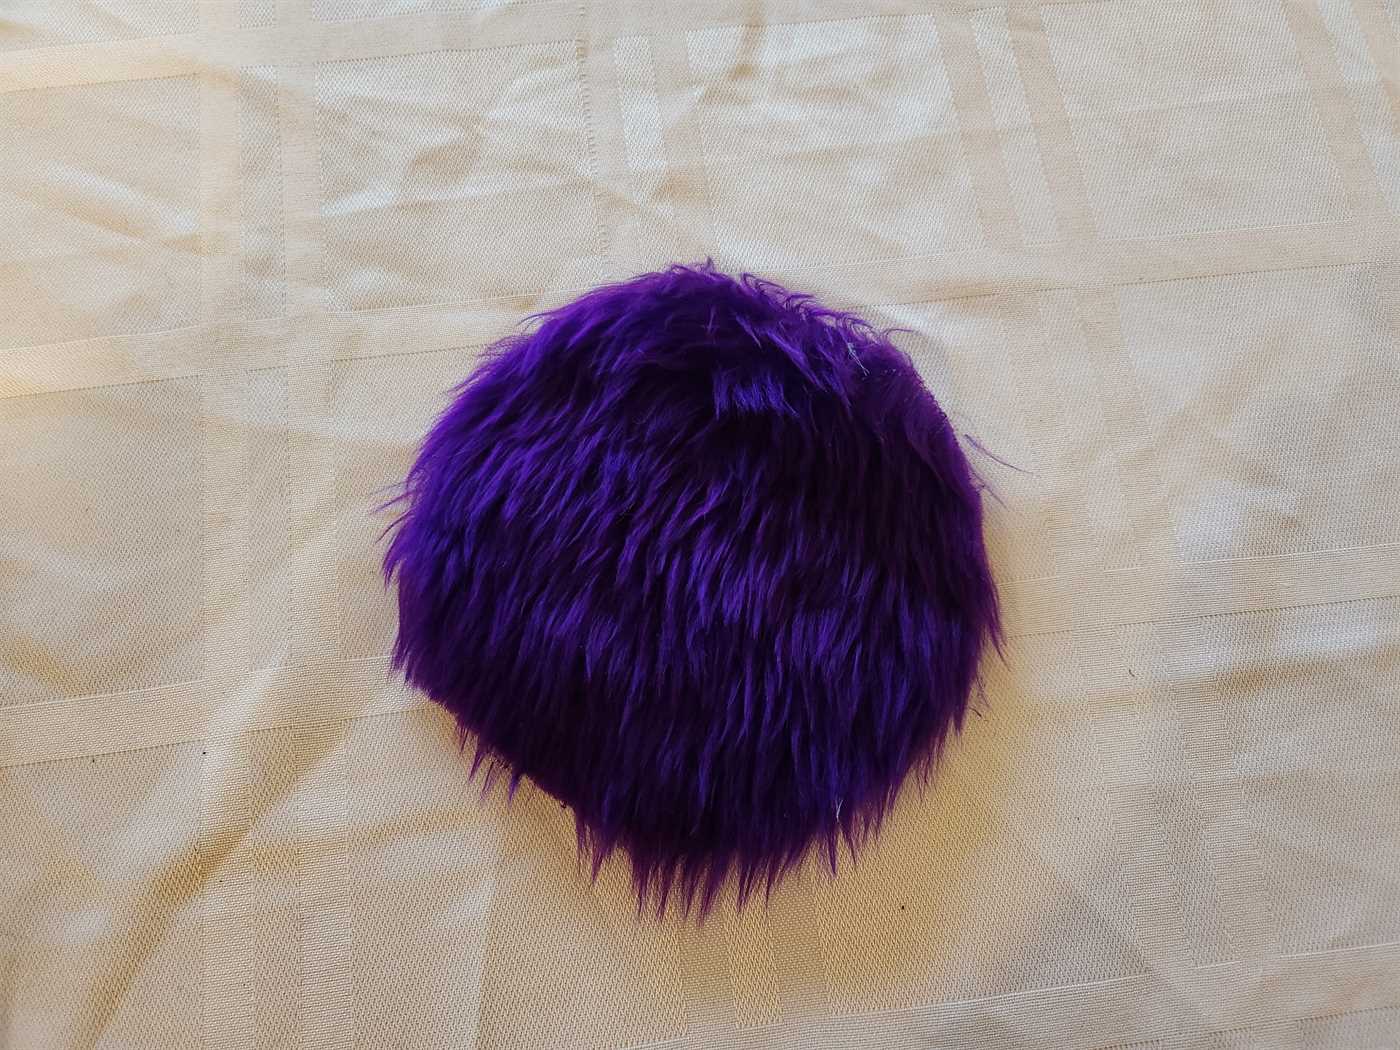
Hand sew around the edge of the circle, gathering it as you go. Add in stuffing before completing the gathering and the sew together into a ball.
Body
Use the sewing machine to sew darker coloured thread along the mouth and whiskers. You will need to play around with the settings on your machine to get the right stitch for your fabric. I went for a very close straight stich to get the density for it to show through the fur.
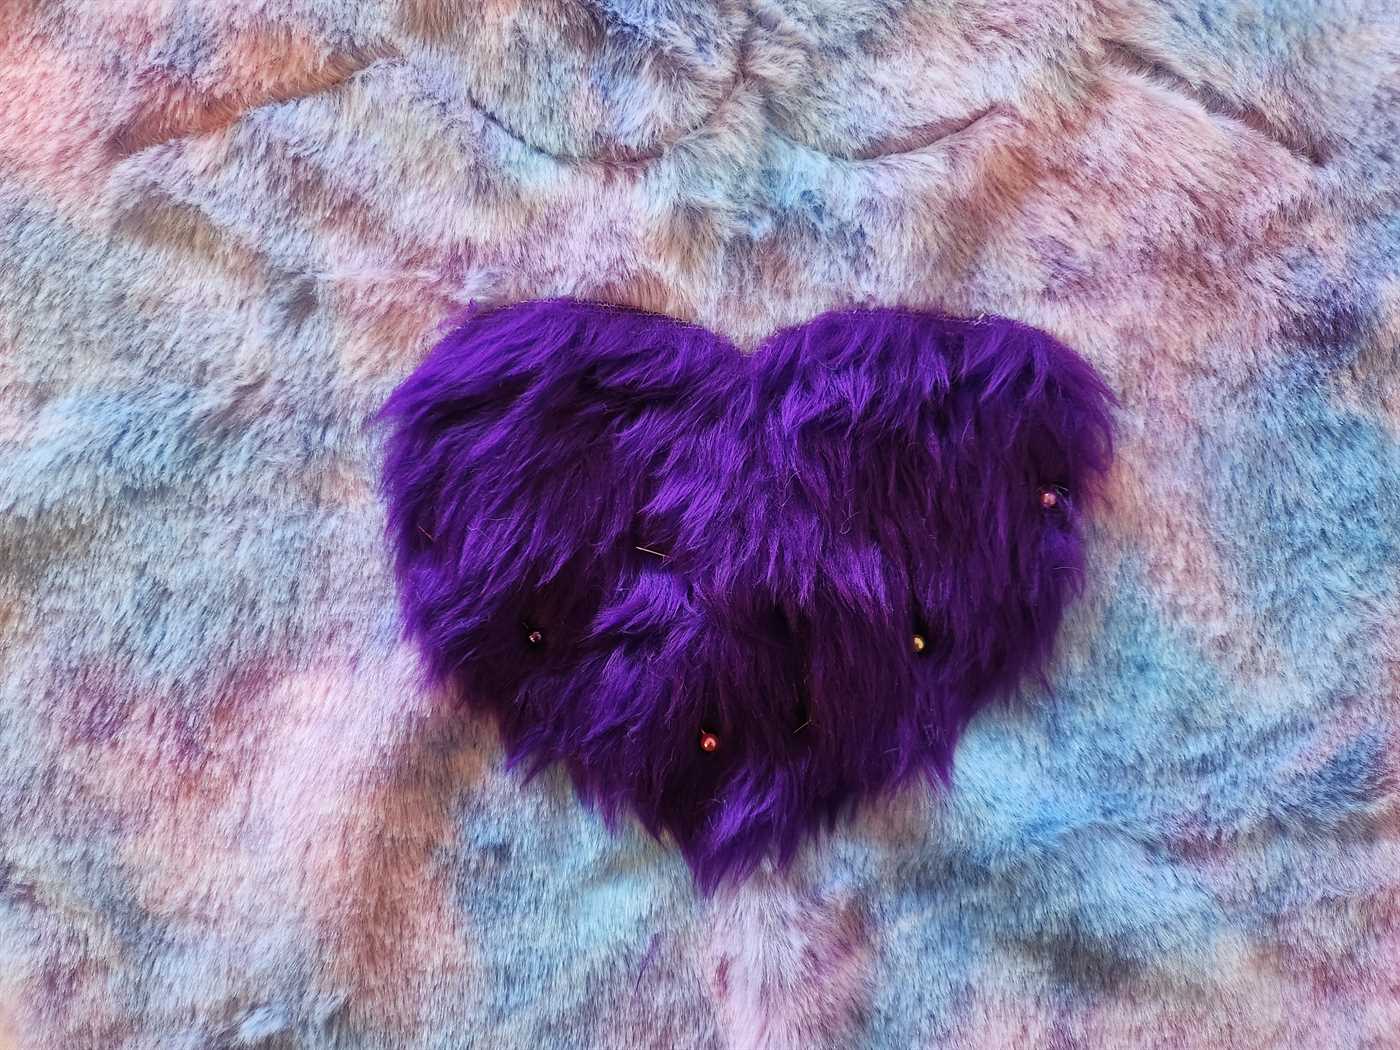
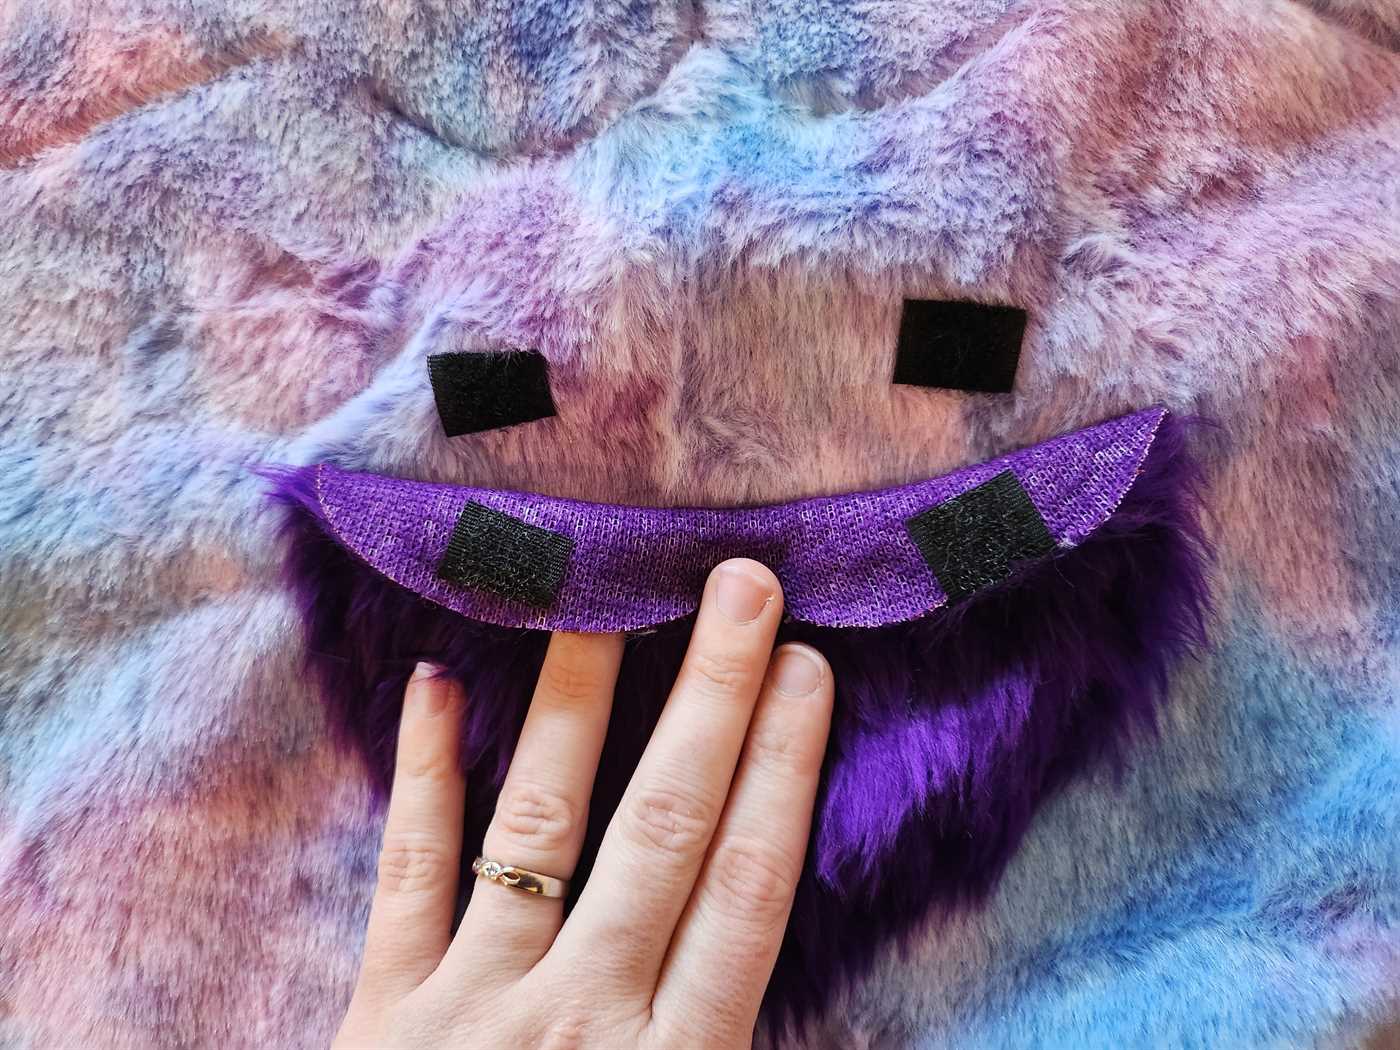
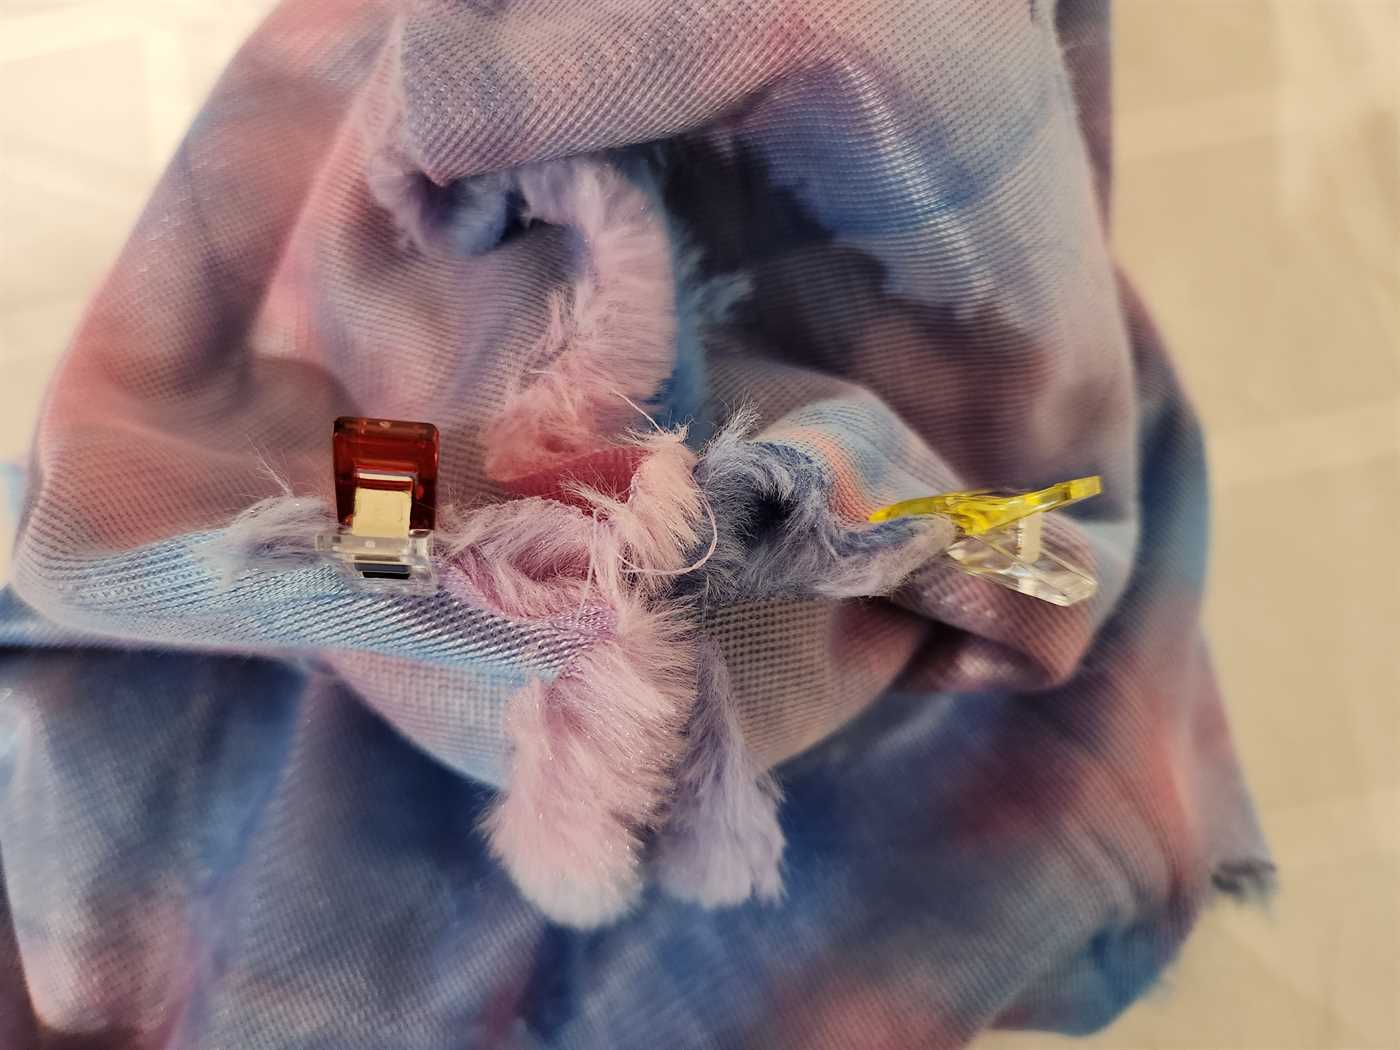
Pin on the heart pocket and then hand sew it on with matching thread. Leave the top open and add some velcro (hand sew on) to finish the pocket.
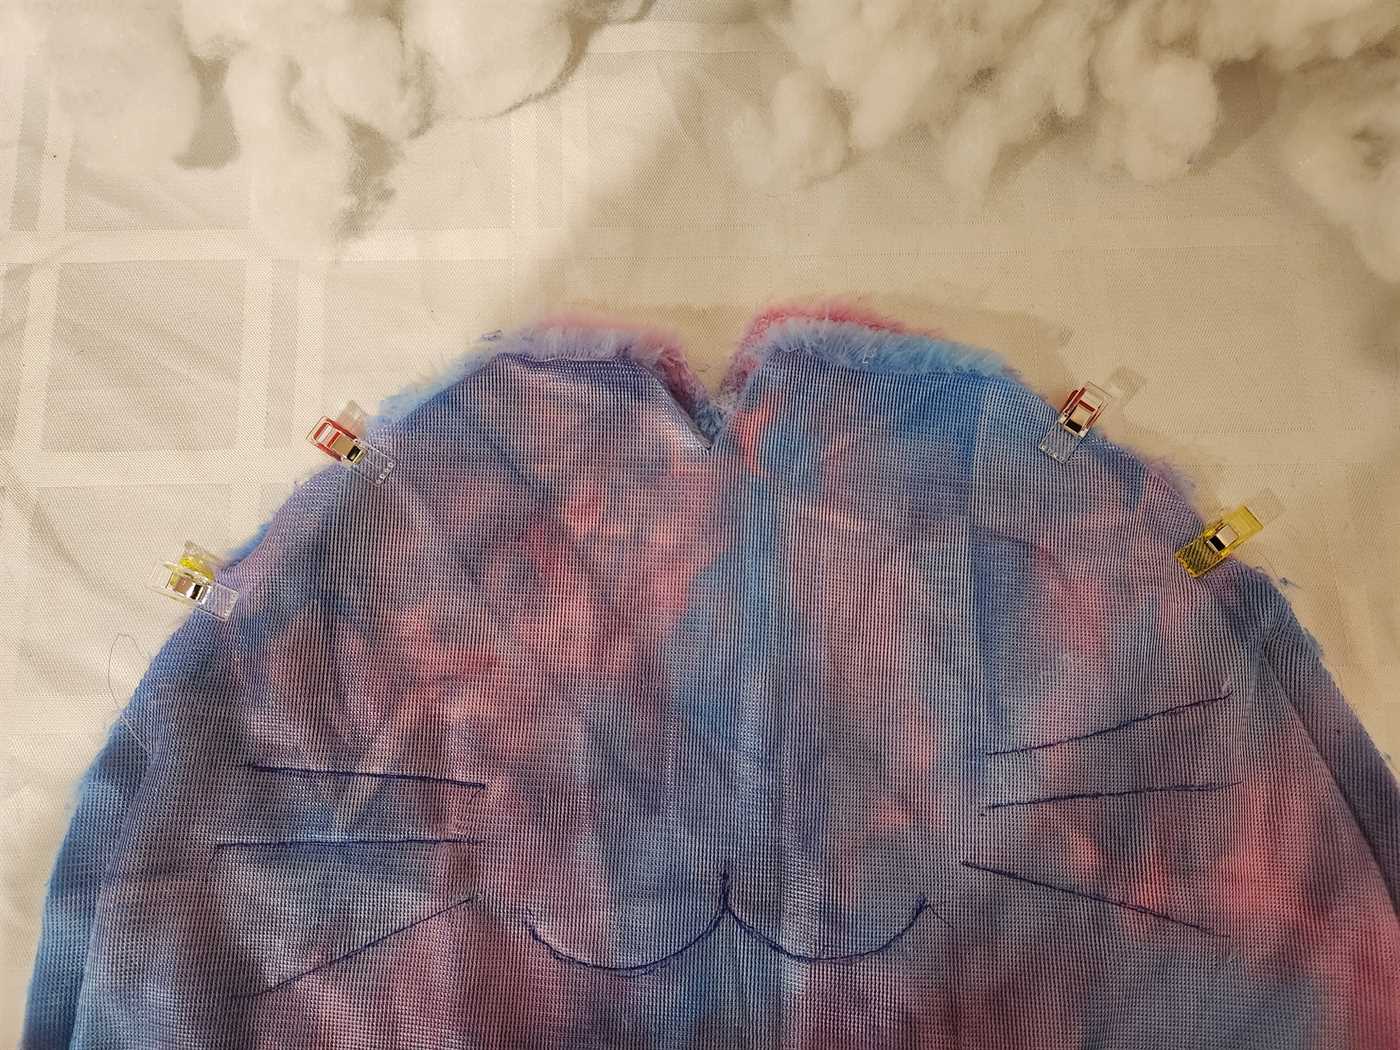
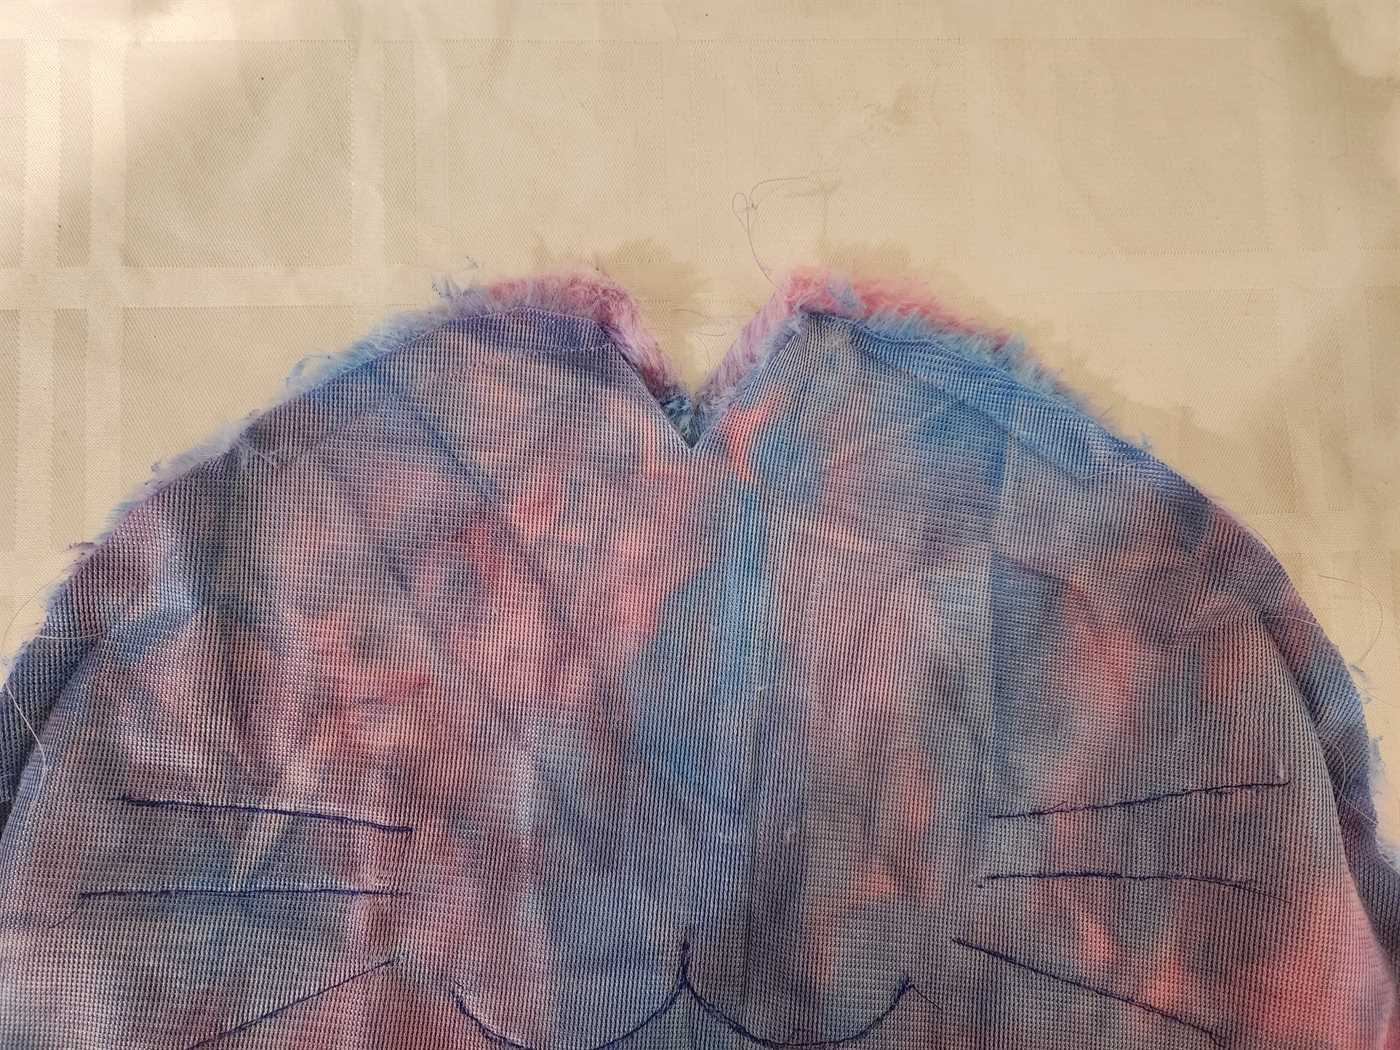
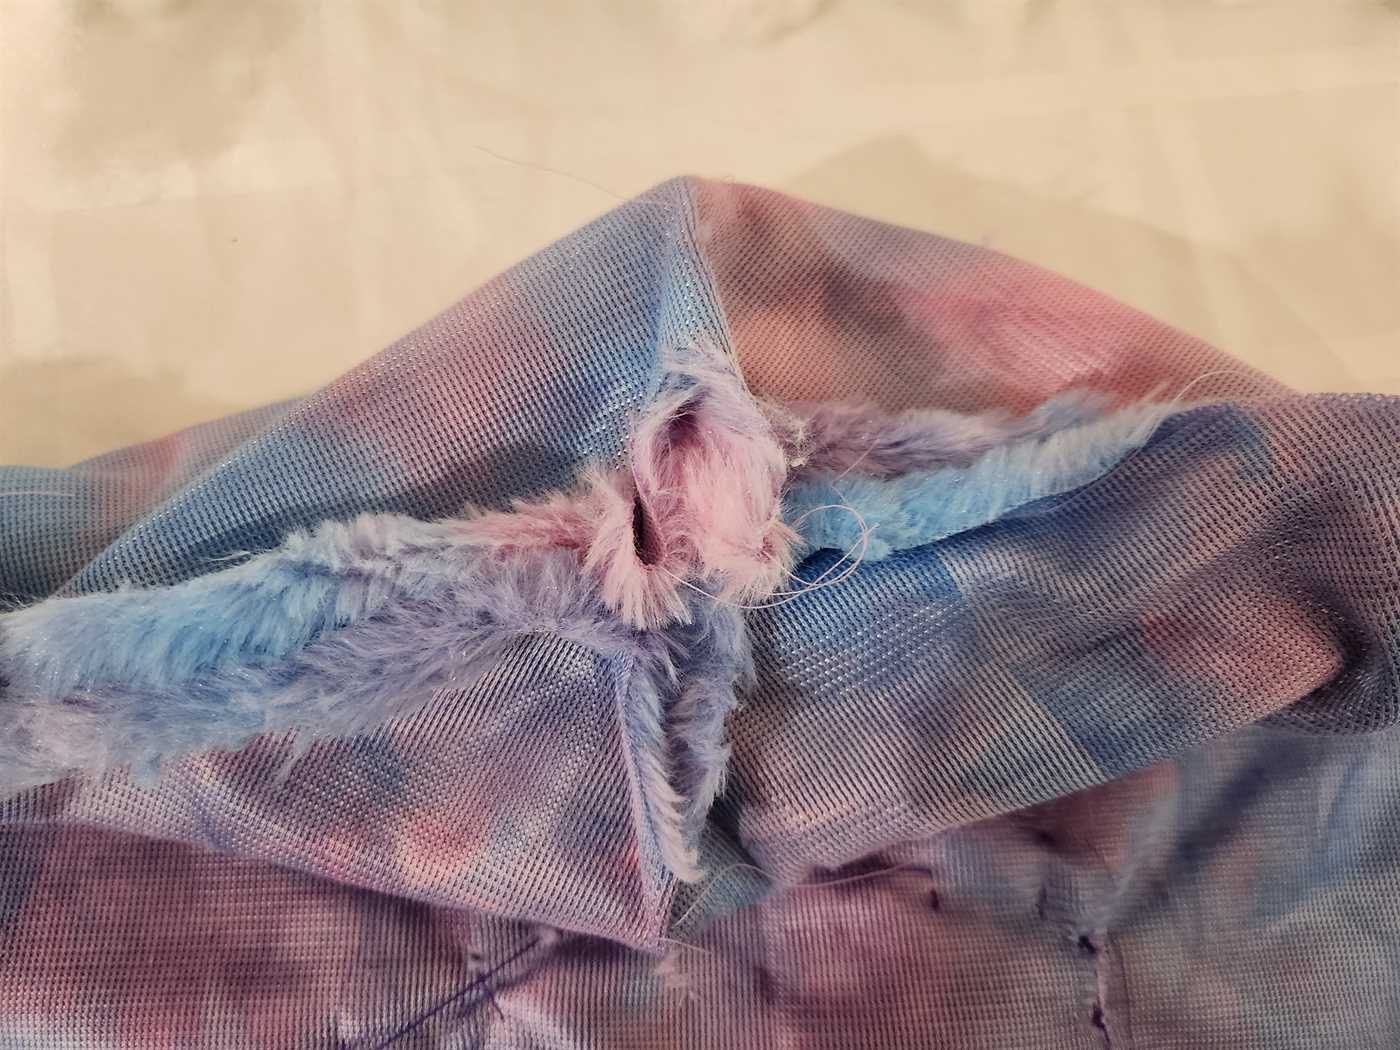
Now we can sew the body together. Pin the two halves, backing facing outward, together. Sew up the sides until about where you want to put your ears.
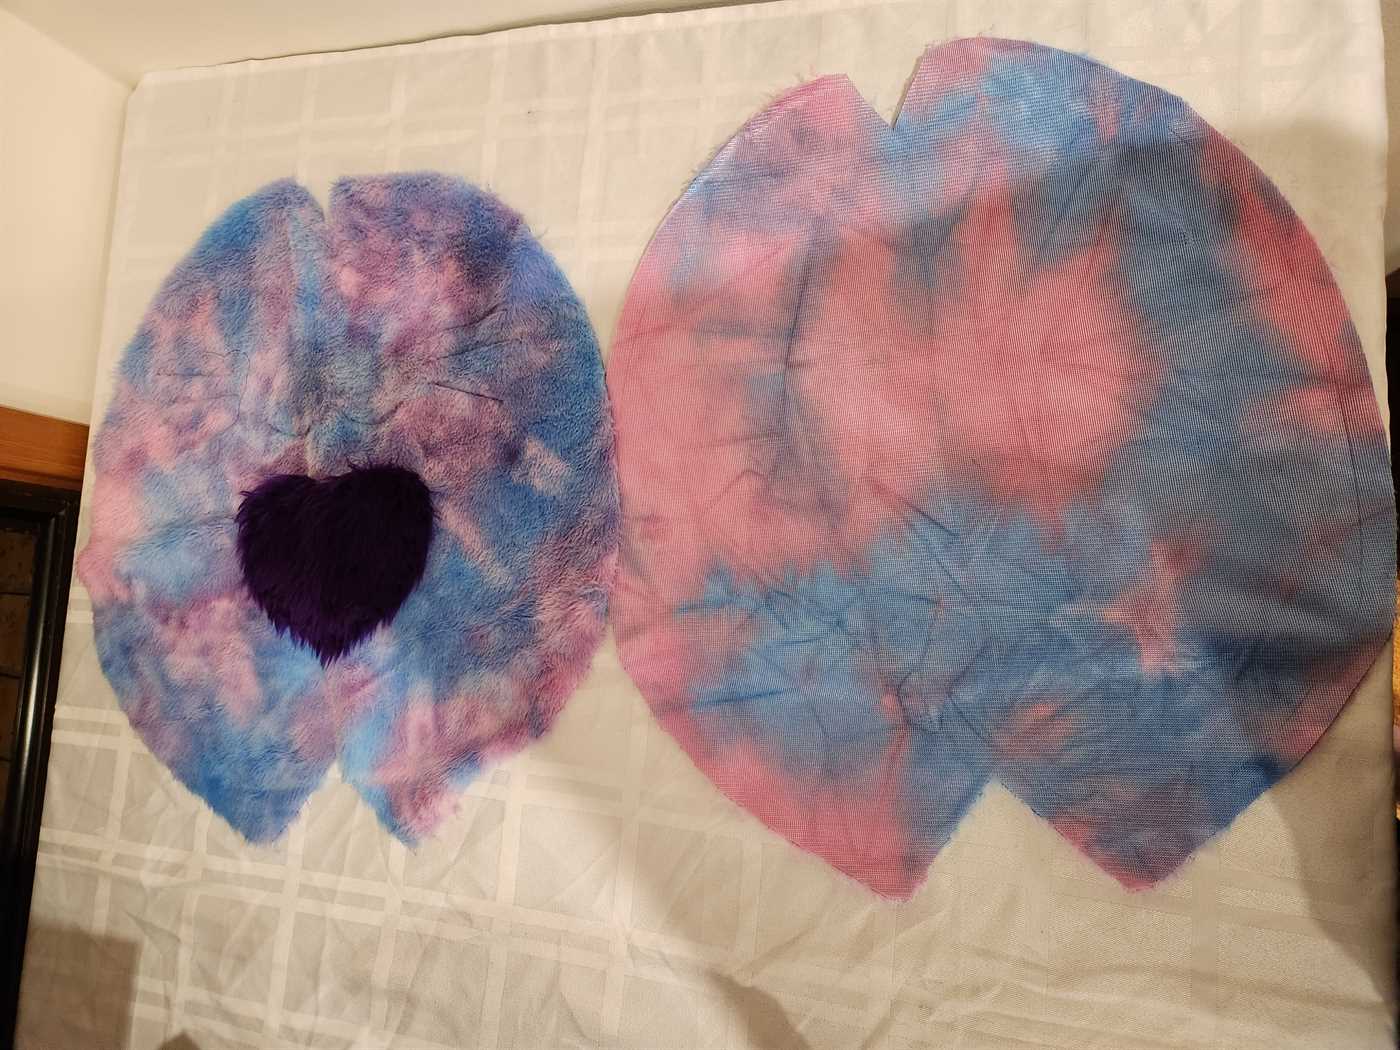
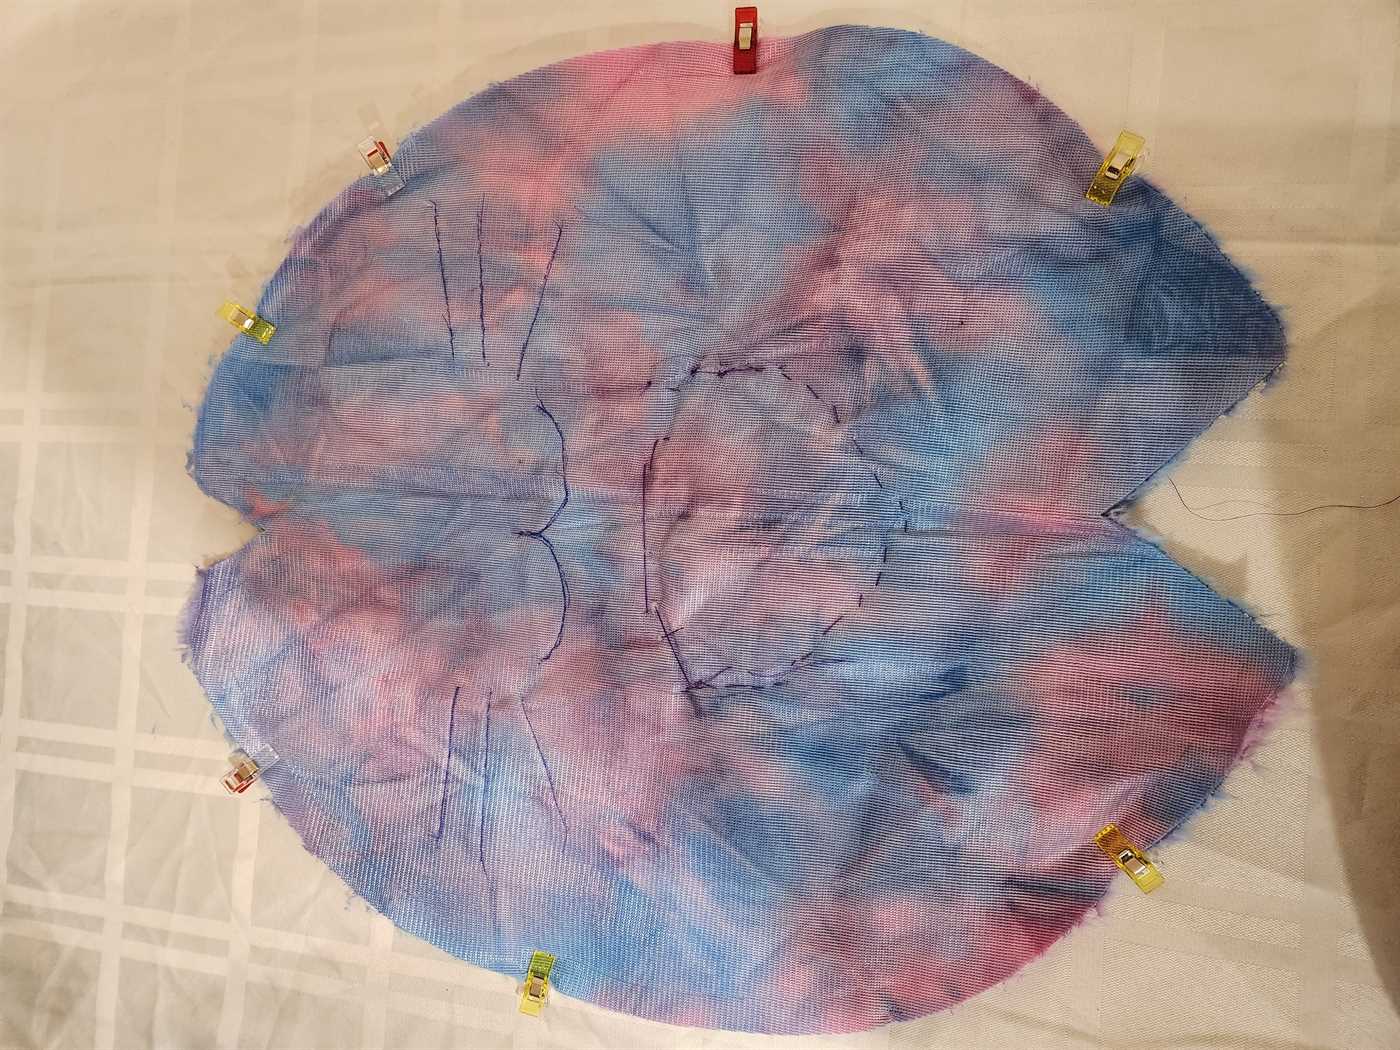
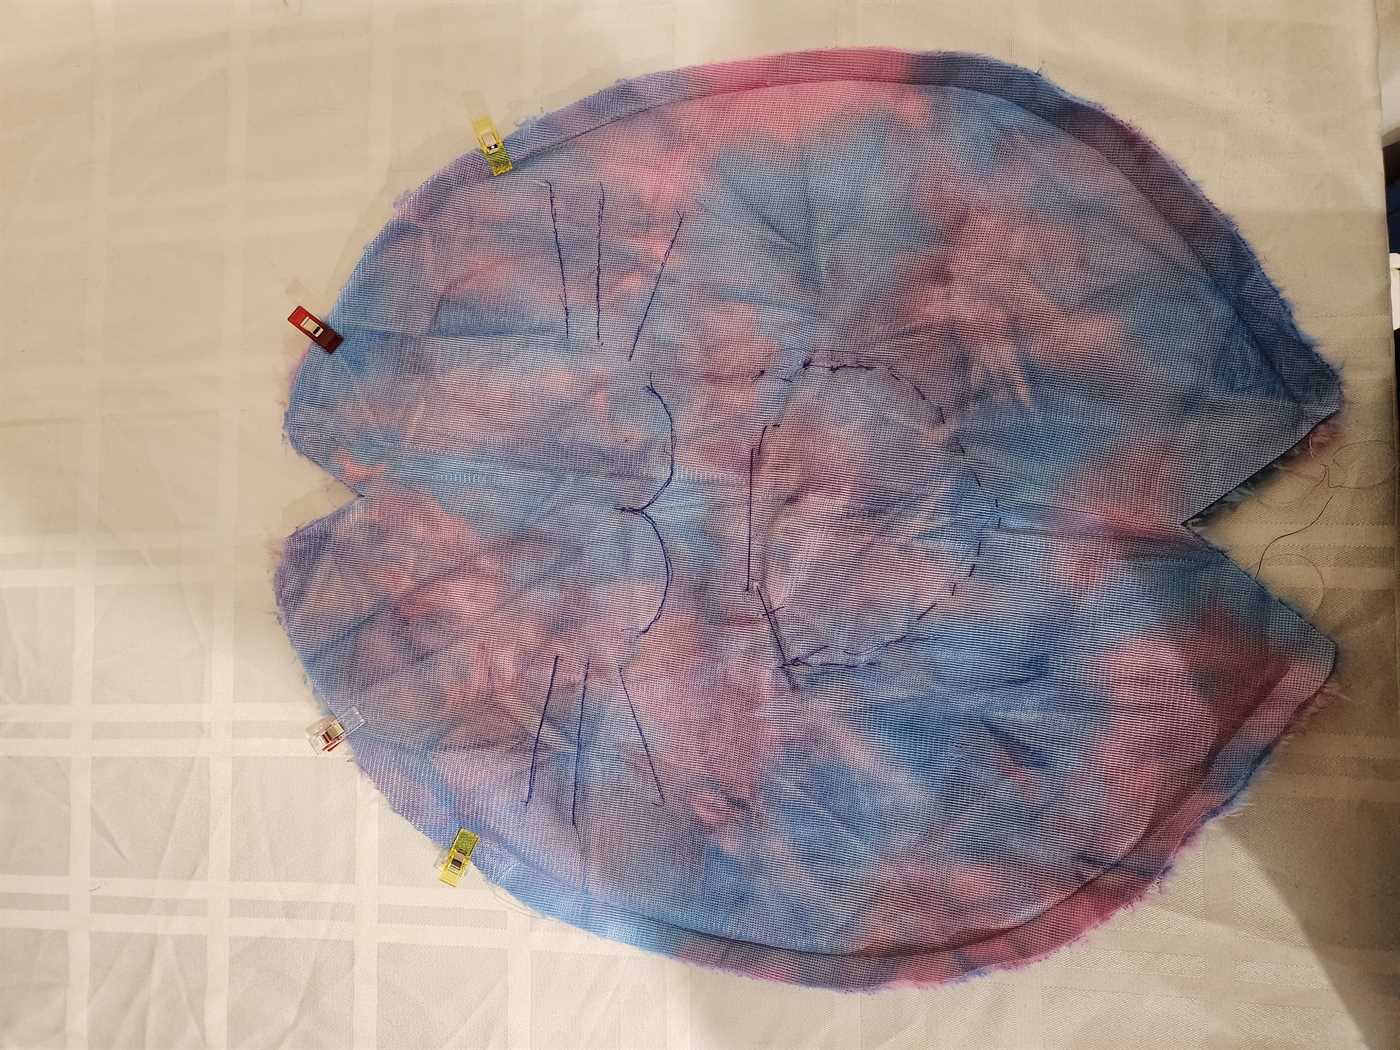
Figure out where you want the ears and then sew the top down to that point. Leaving a gap for where the ears go. Pin and sew on the ears using the sewing machine. Make sure to leave the conductive thread accessible on the inside so it can be connected to a wire.
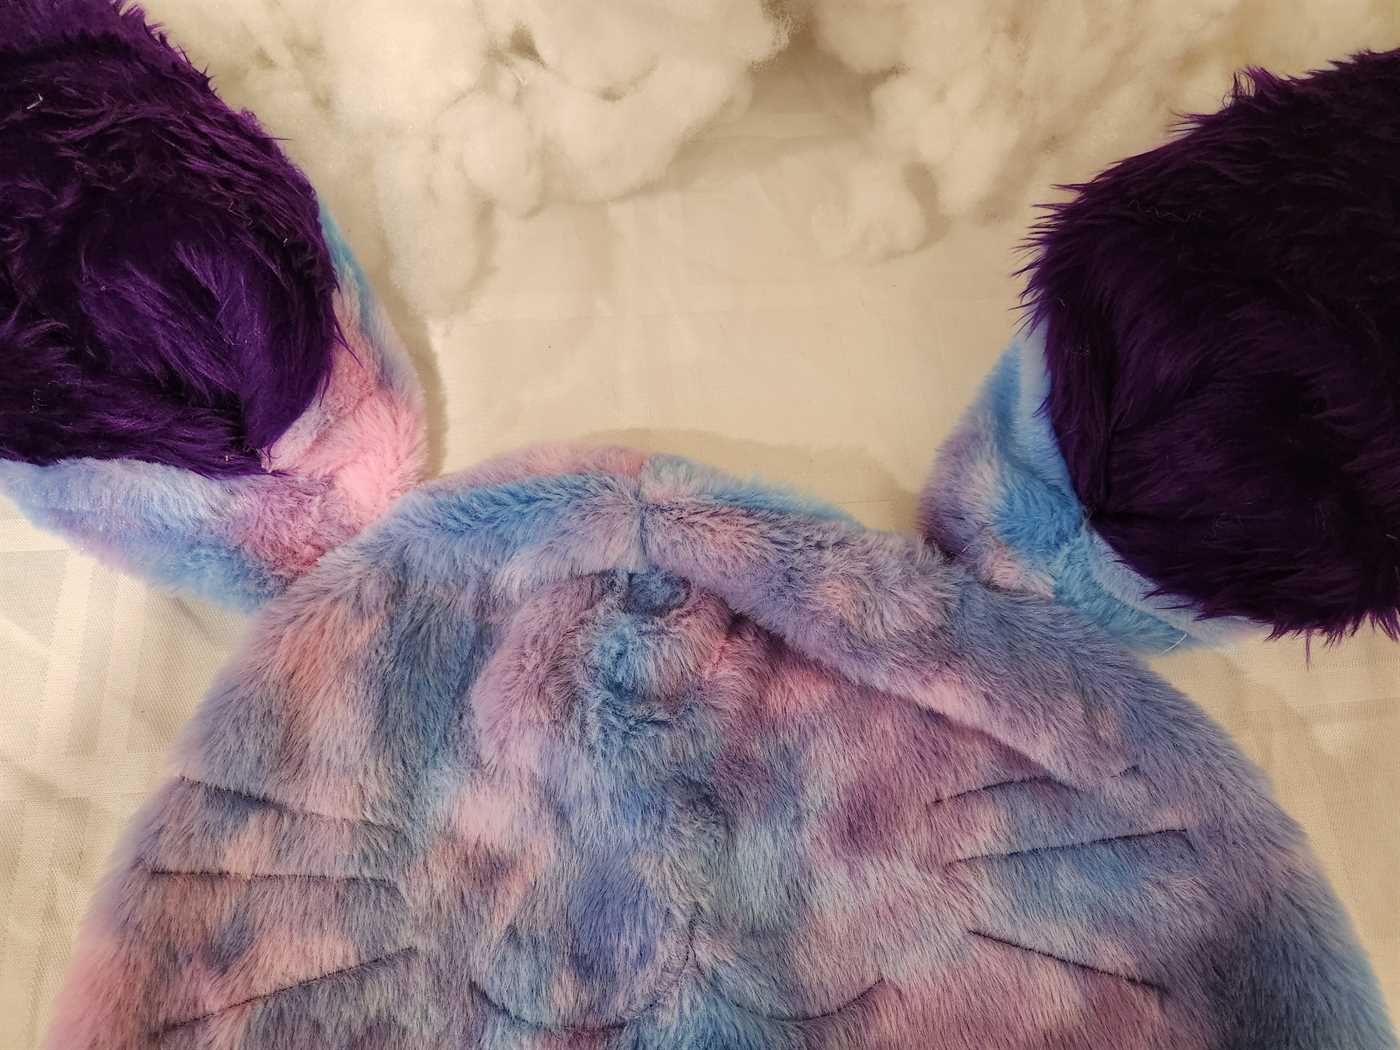
To close the top pin the sides together along the remaining engraved lines, it should look like a plus looking down from the top. Sew this together using the sewing machine.
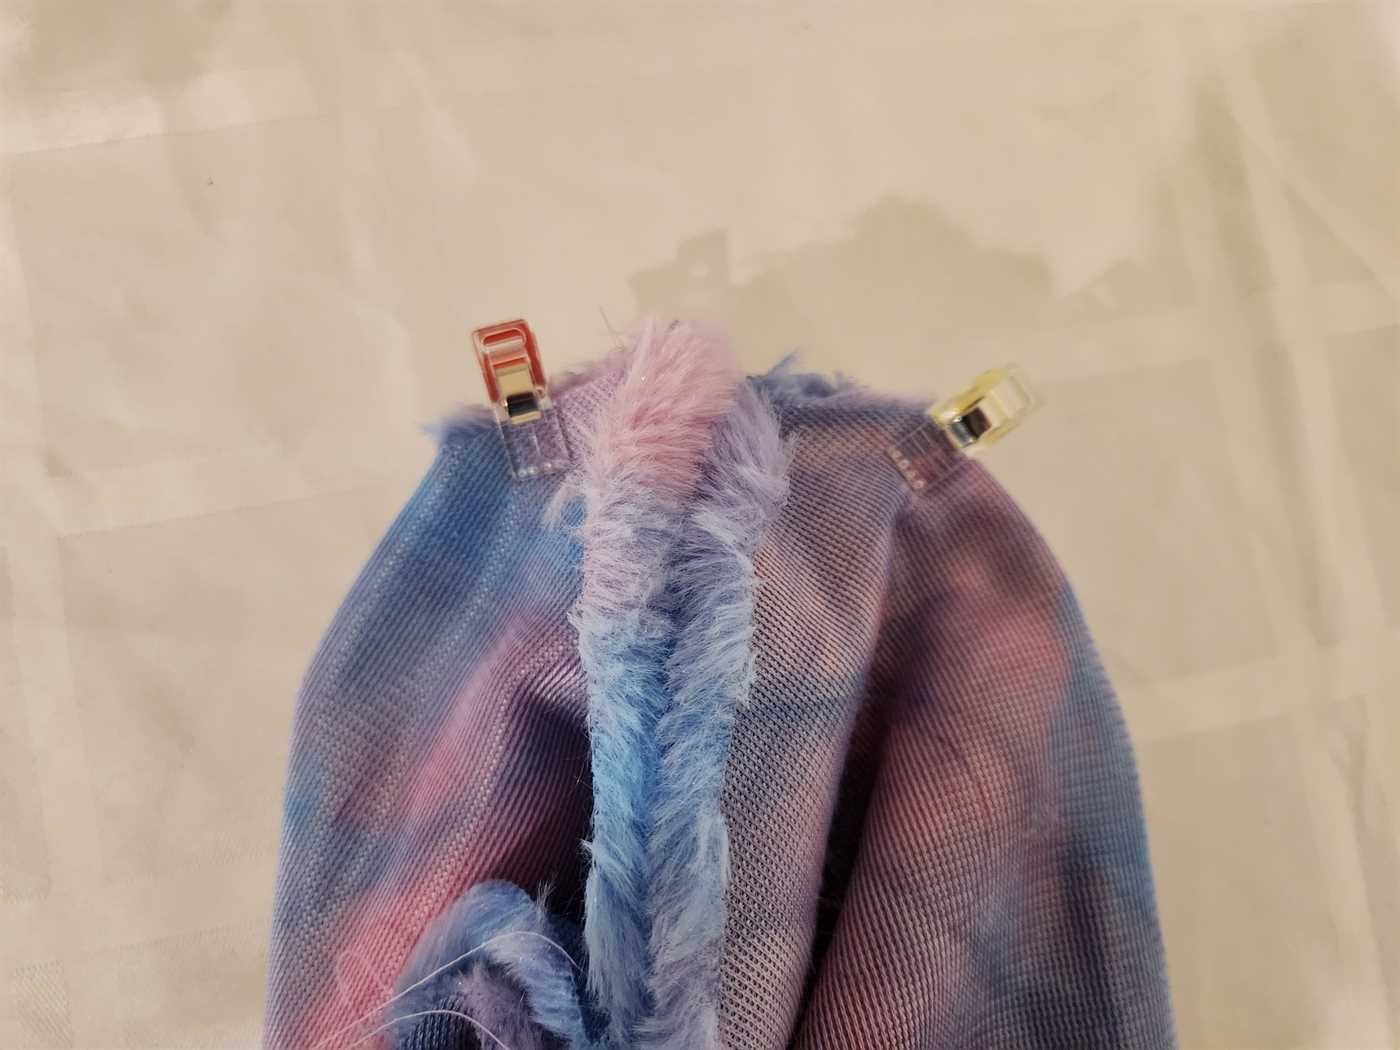
At the bottom, do the same, but, to remain accessible sew on some velcro instead of sewing together.
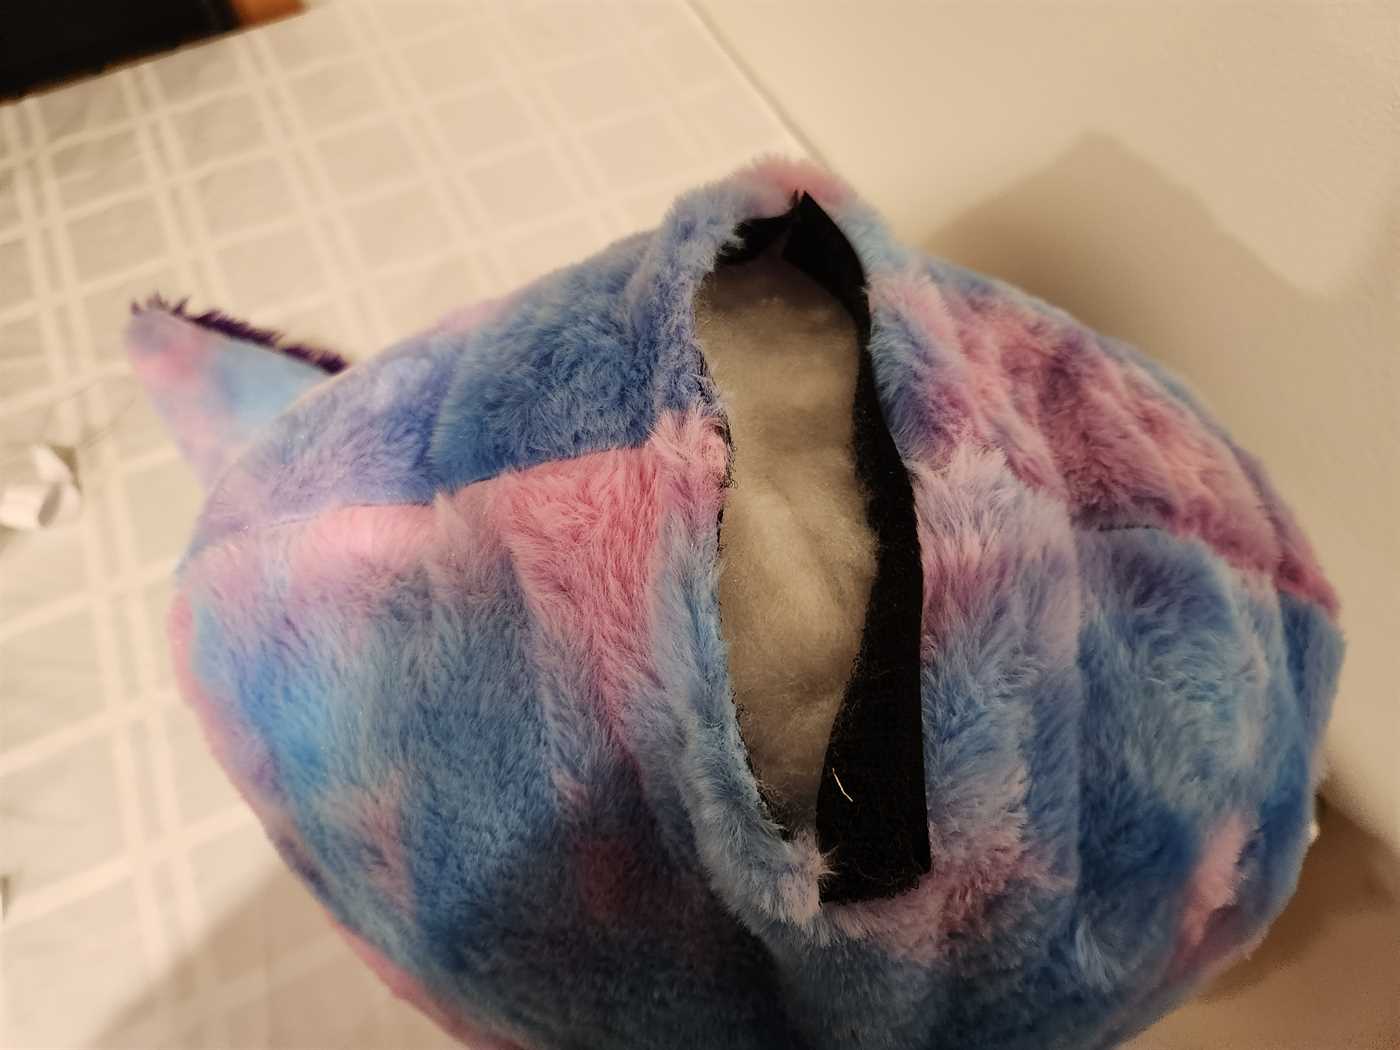
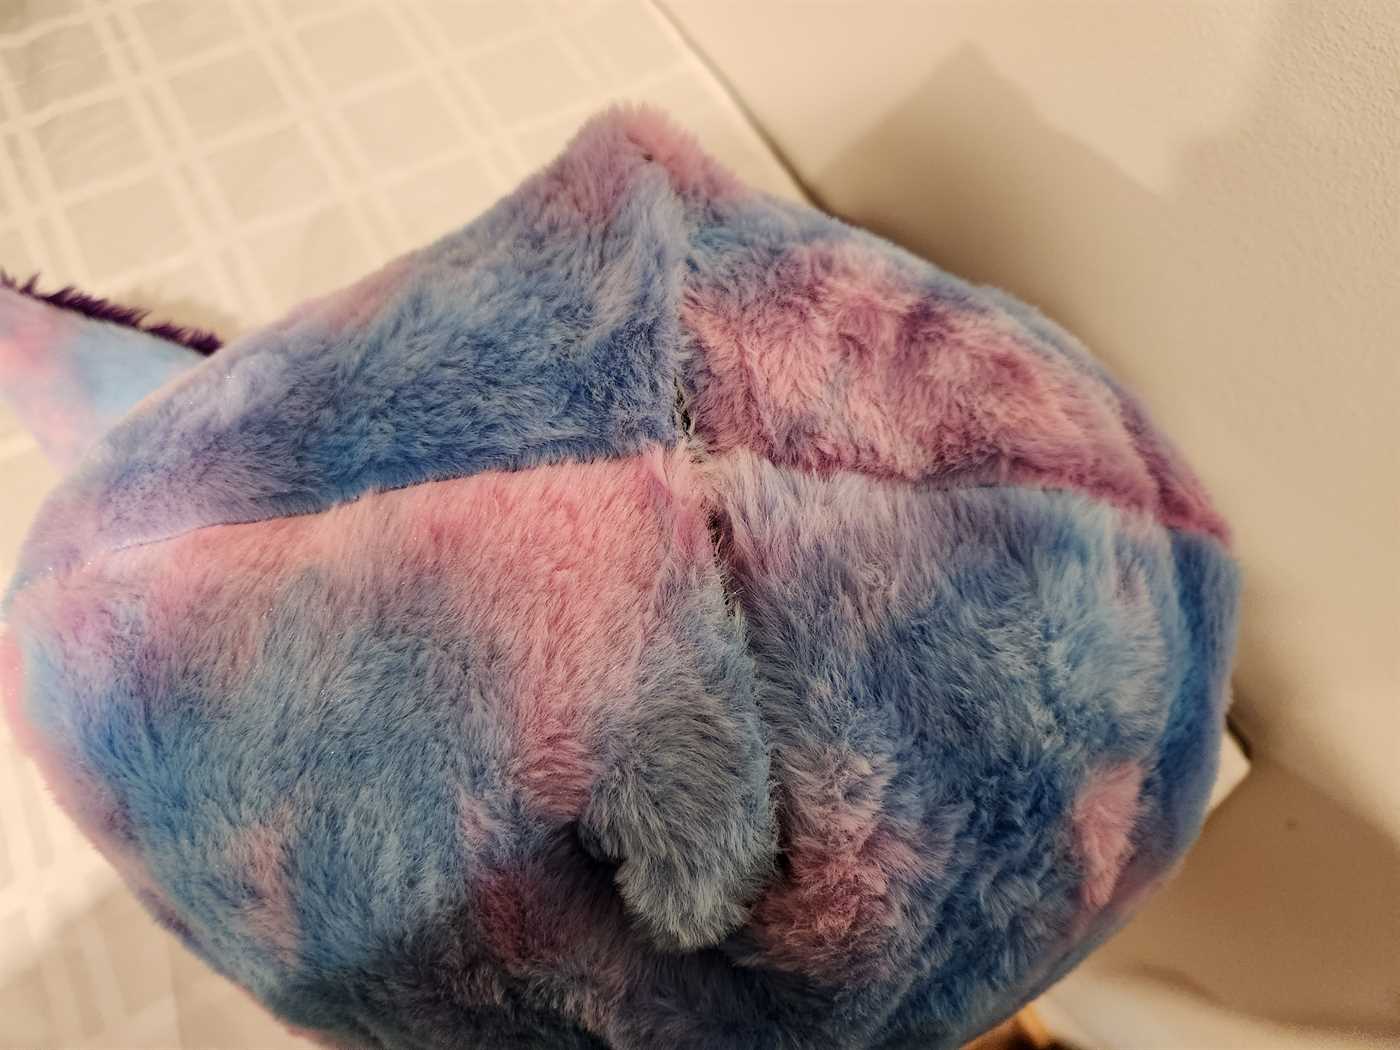
Stuff the toy. Then place and hand sew on the tail.
Now ready for 3D printed nose and UV resin eyes to be added.
Fabric and Stuffing Used
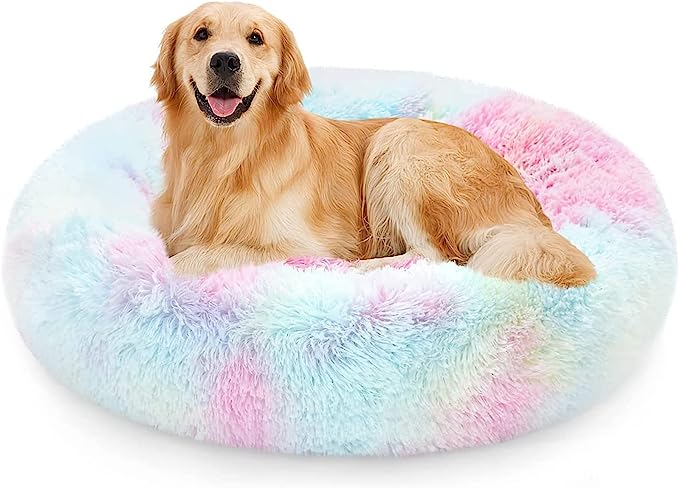
For stuffing I used PP Cotton which makes the toy feel more spongy than regular stuffing, you find it in a lot of japanese and korean soft toys. I was unable to source this stuffing from the local store or even on Amazon. I could have imported it from overseas, but it would have been very expensive. So I decided to see if I could buy something cheaper that was already stuffed with it that I could take the stuffing from. I ended up finding a dog bed on Amazon, I ordered the Rainbow bed in X-Large for $89.99, which was more than I needed. I ended up using about a quarter of the stuffing.
For the Fur material I mainly used 100% Polyester 148cm Printed Cuddle Fur Fabric Pink & Multicoloured from Spotlight, I used about 1m with spare left over.
For the darker purple fur highlights I used 80% Acrylic 20% Polyester 148cm Furtex Plain Faux Fun Fur Fabric from Spotlight (sold in store only in this colour not online), I used about 1/2m with spare left over.