Week 11 Input Devices
Tasks for this Week
Group assignment
- Probe an input device(s)'s analog and digital signals
- Document your work on the group work page and reflect on your individual page what you learned
Individual assignment
- Measure something: add a sensor to a microcontroller board that you have designed and read it.
Group Assignment
We tested a light transistor (aka a light resistor) for the Group Assignment. We measured the change in voltage using the multimeter, I can see this being a useful test for any resistor based input that you are using.
For example I am thinking of using a flex sensor in my final project and this method of using the multimeter to measure the change in voltage and thus resistance, will come in handy when I am trying to calibrate my code to pick up the right amount of flex occurring.
Input Device
This week I decided to use the PiicoDev accelerometer which is made by a local Lake Macquaire/Newcastle company, Core Electronics.
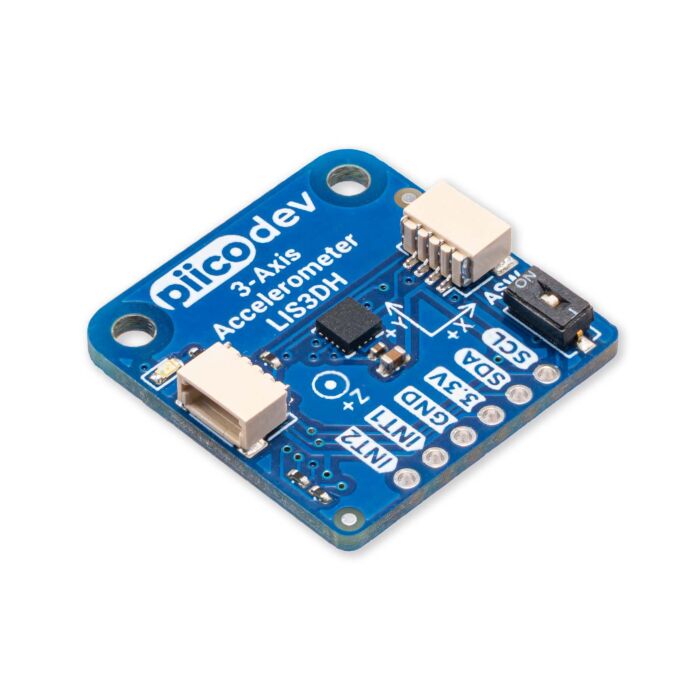
I plan on using this sensor in my final project to measure movement/activity such as a step being taken.
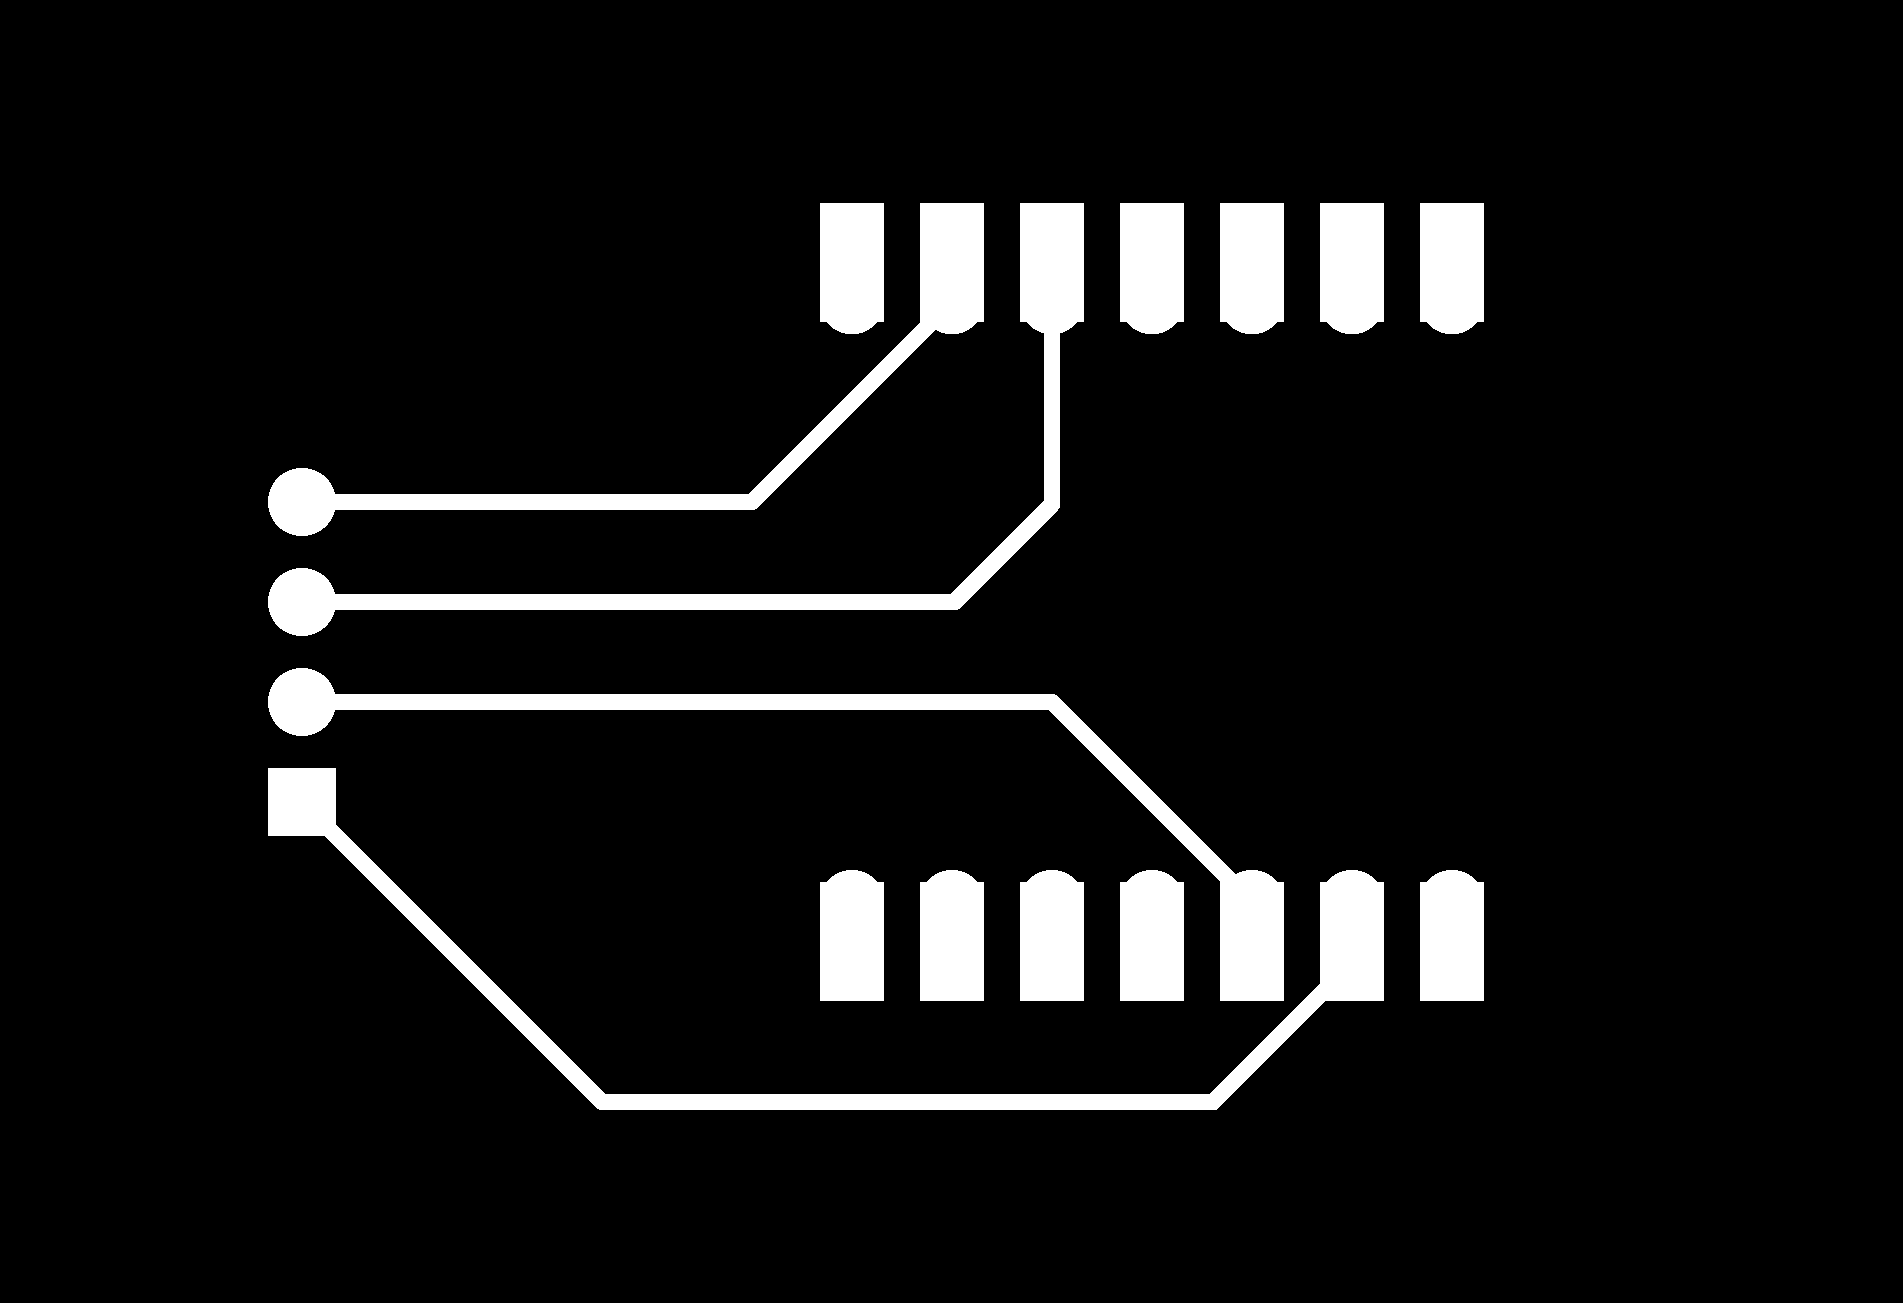
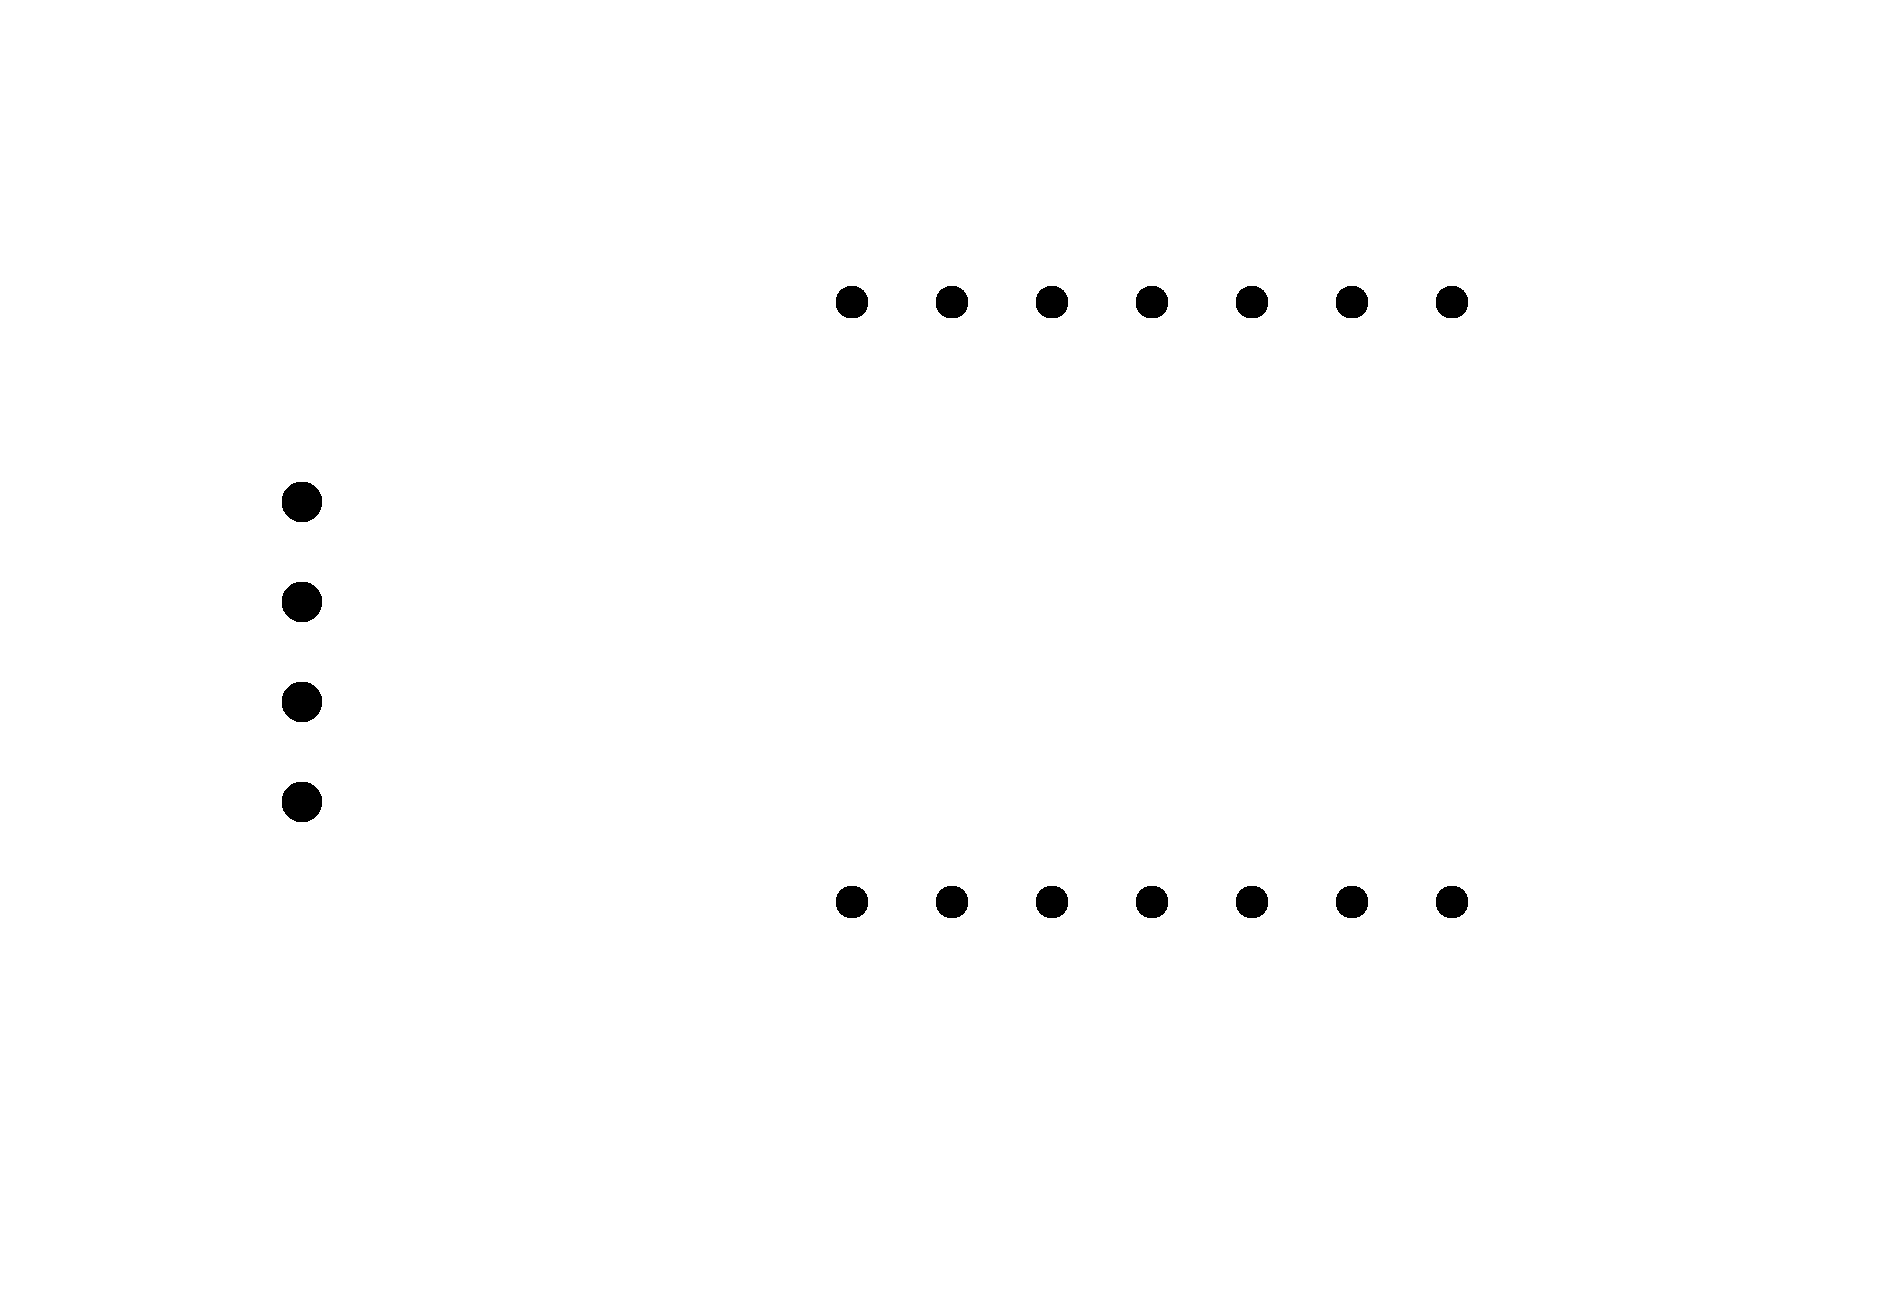
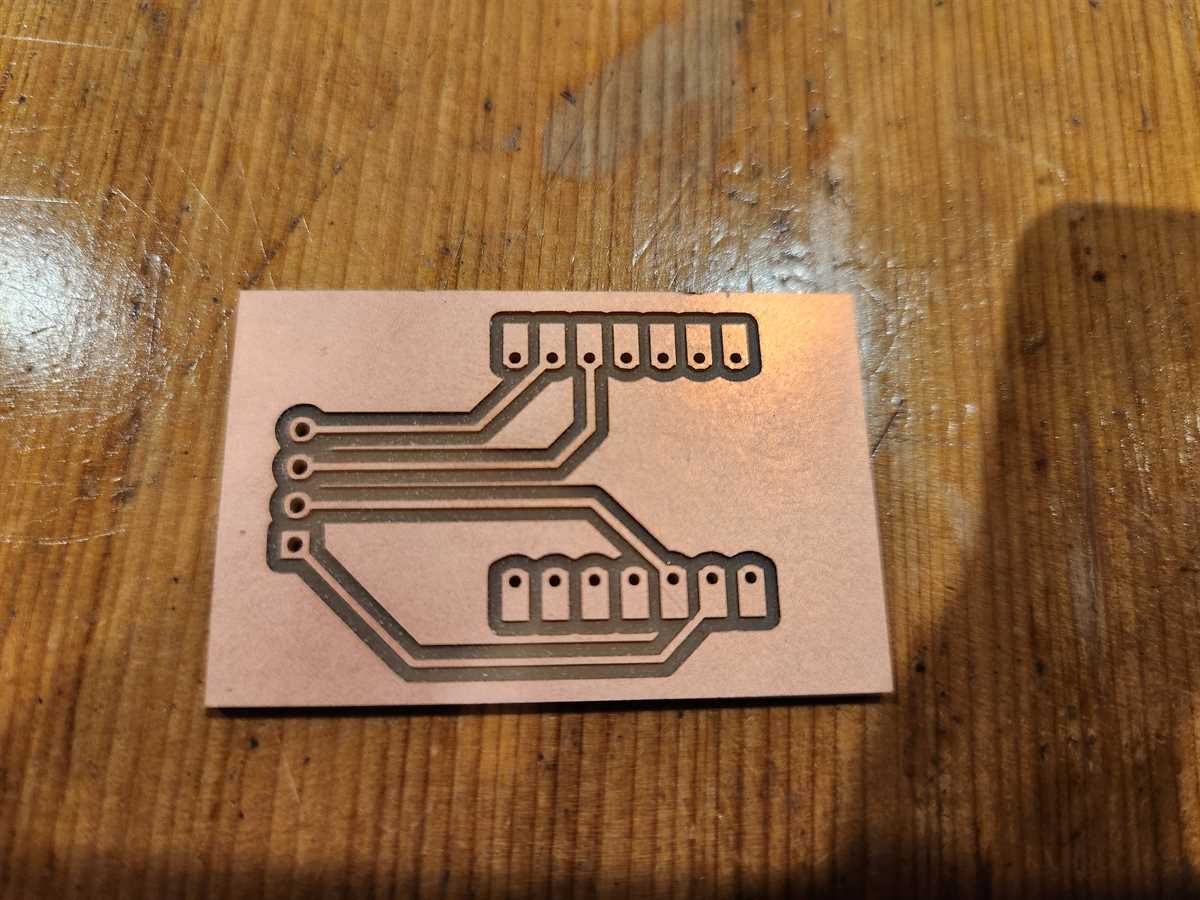
New PCB
I needed to make a PCB to better fit the configuration of the I2C breakout on the PiicoDev accelerometer, which is the reverse of the PiicoDev OLED breakout in Week 9.
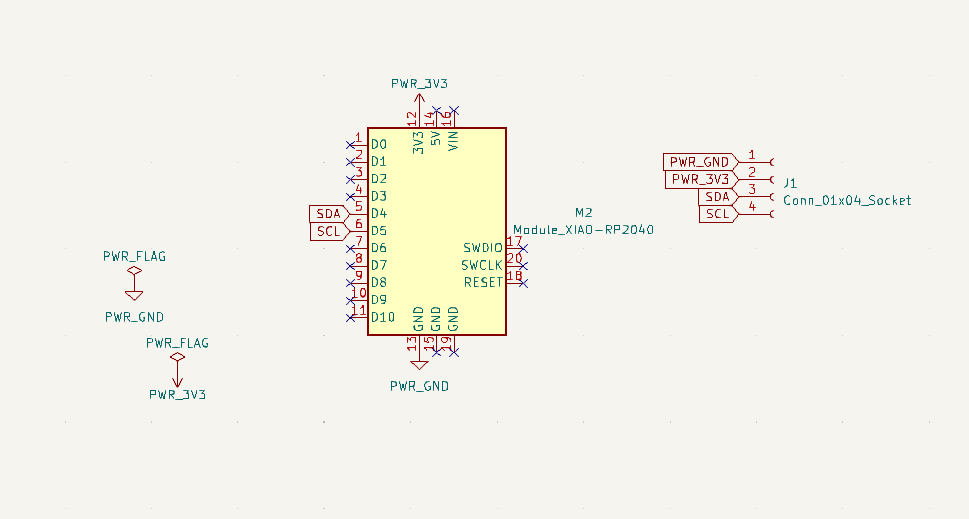
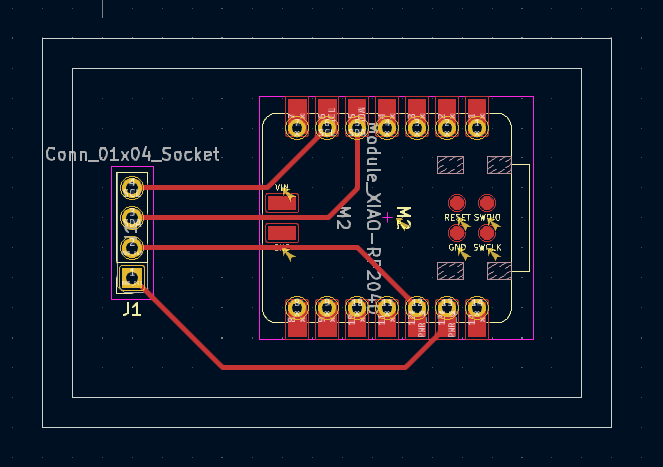
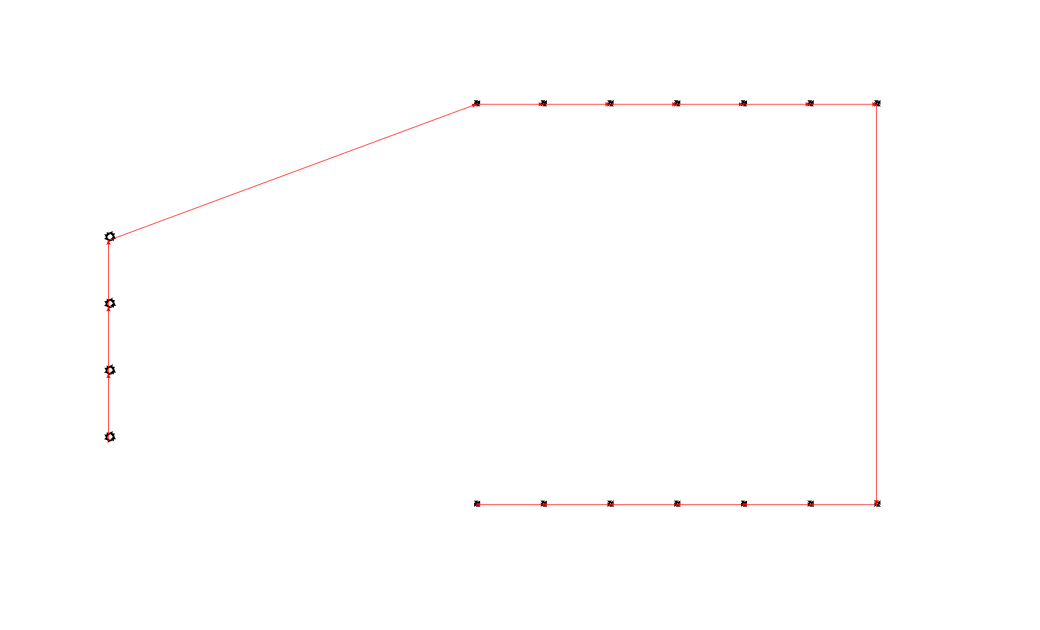
Board Design
I updated the design of the board from Week 9

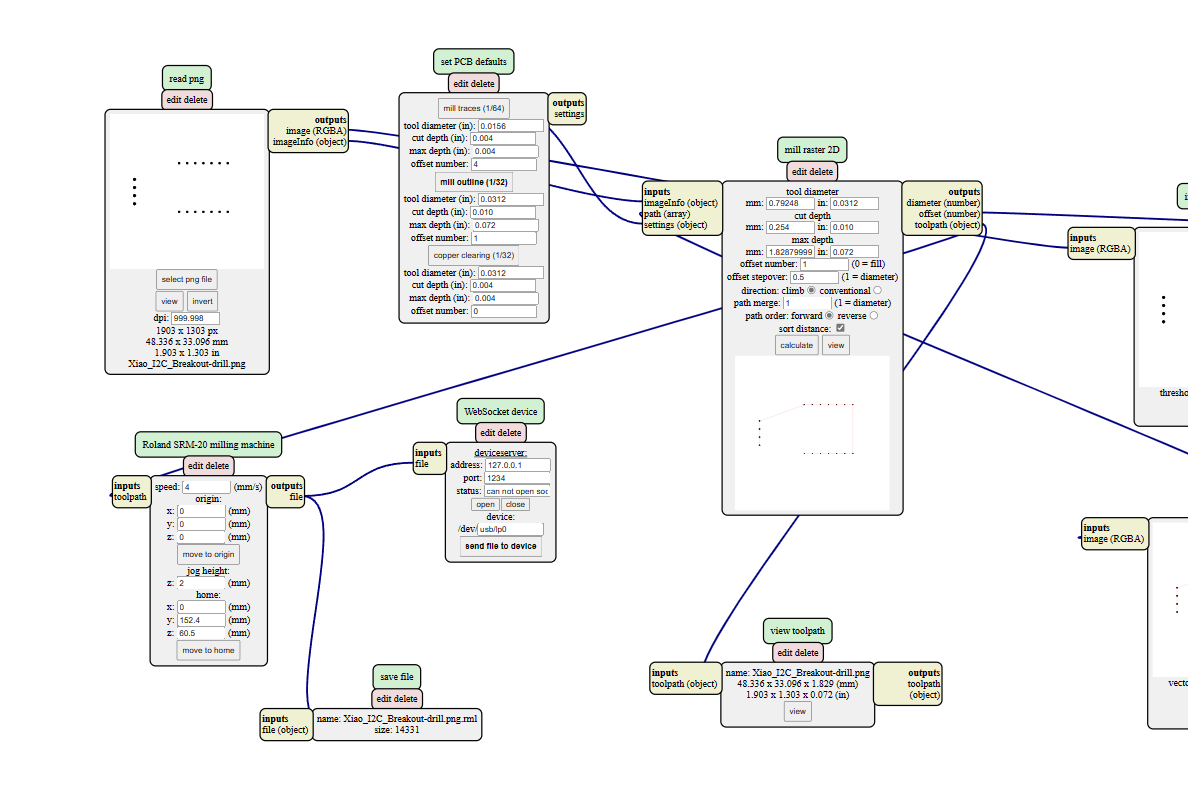
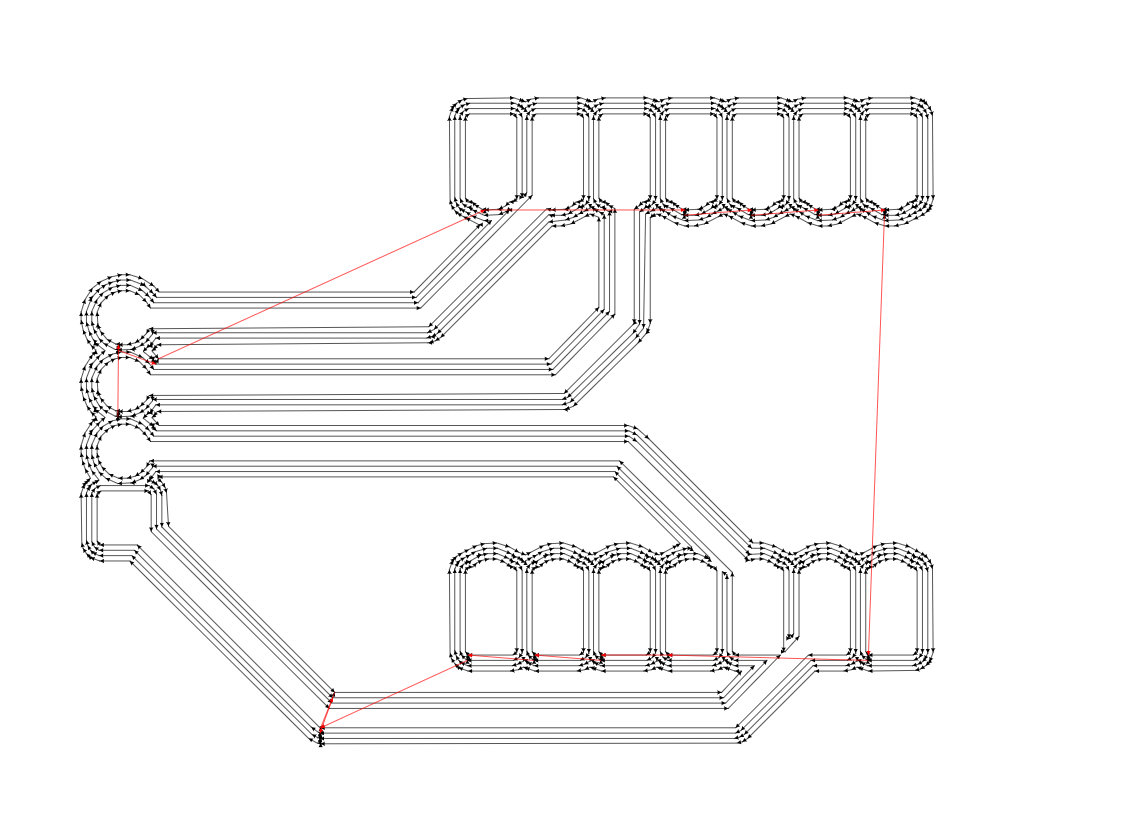
GCode
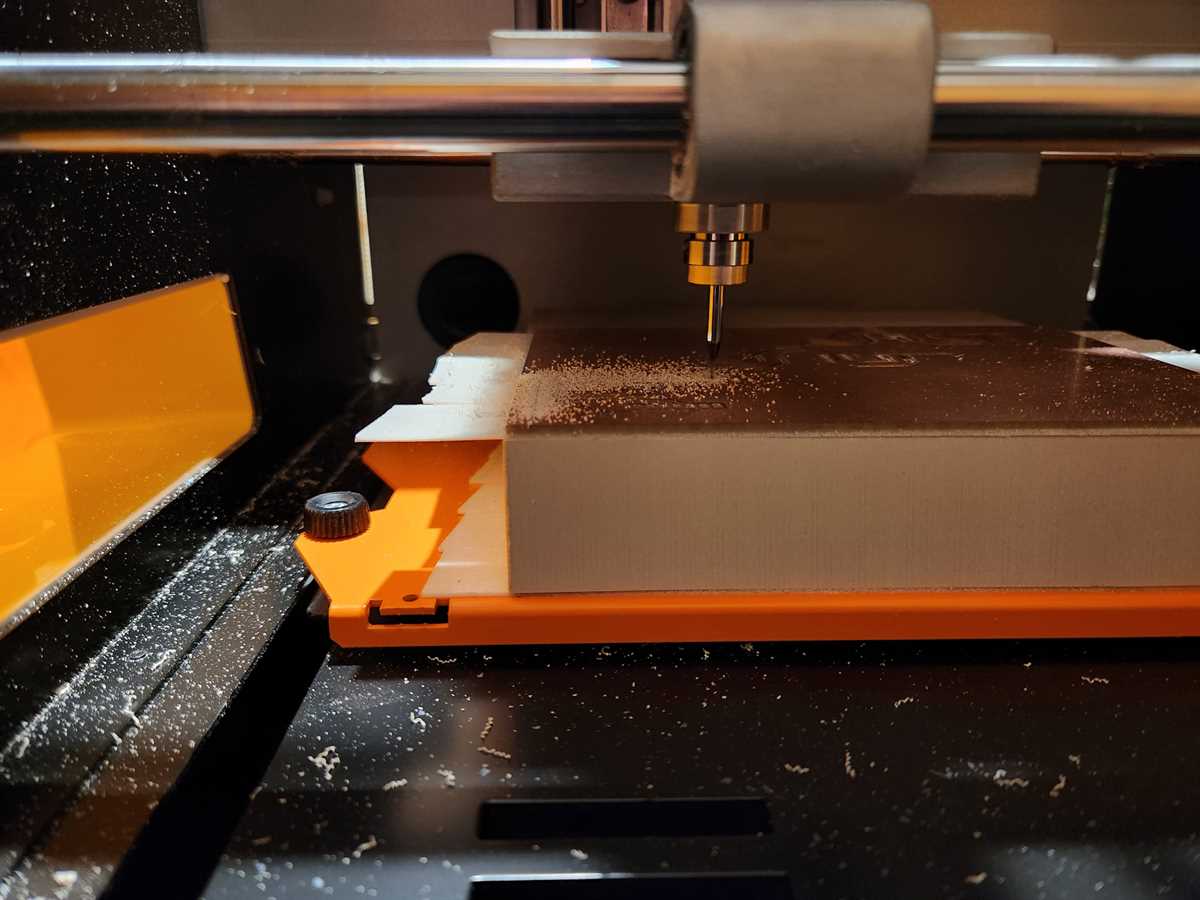
I used Mods to make G-Code to use with the SRM-20 to mill the PCB

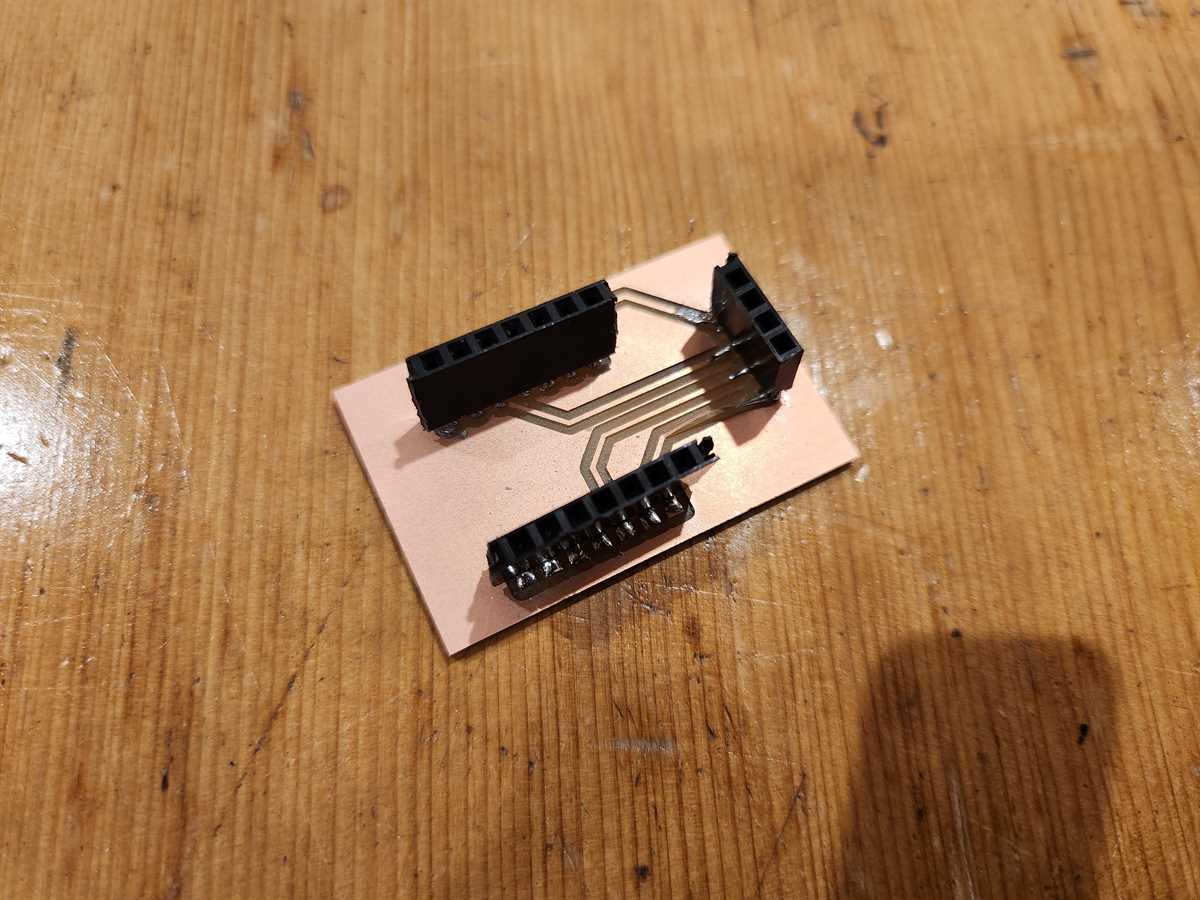
Board Milling
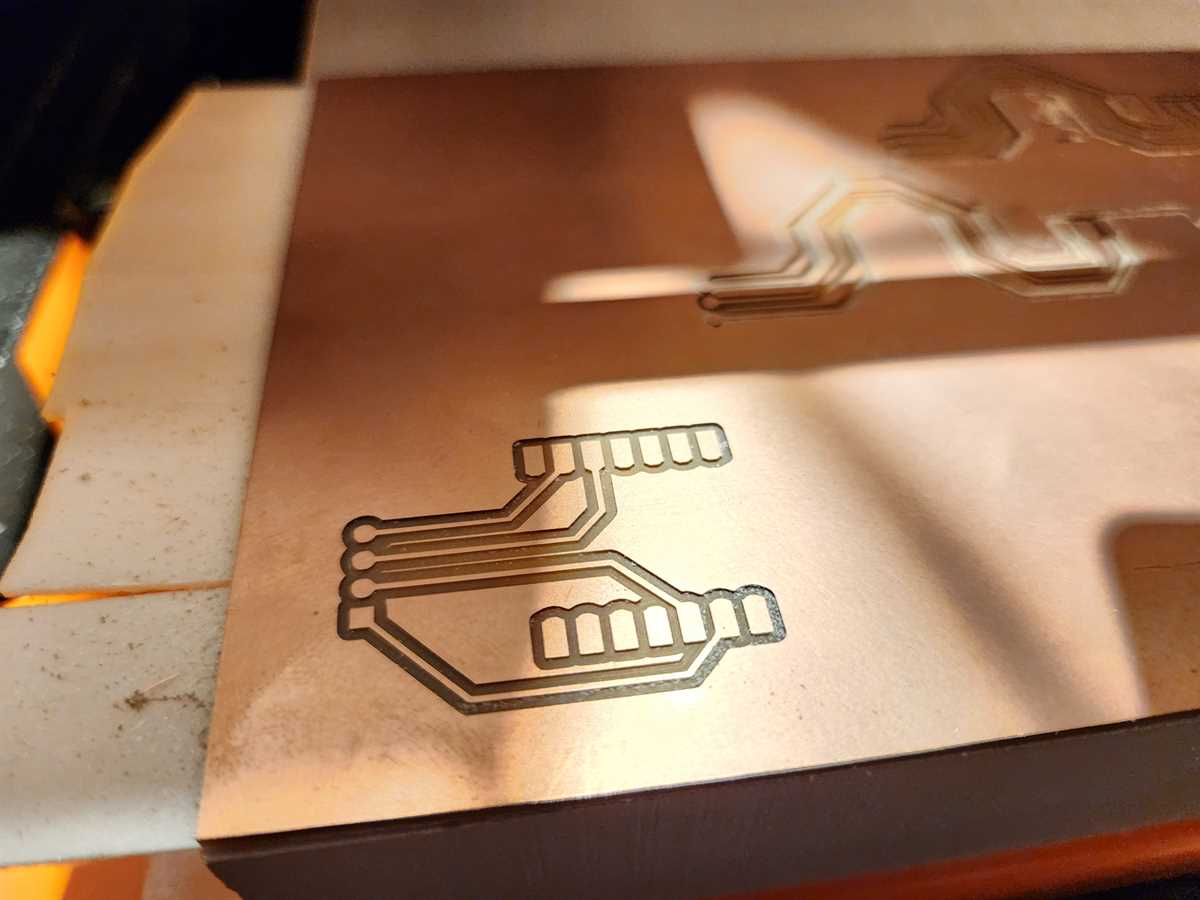
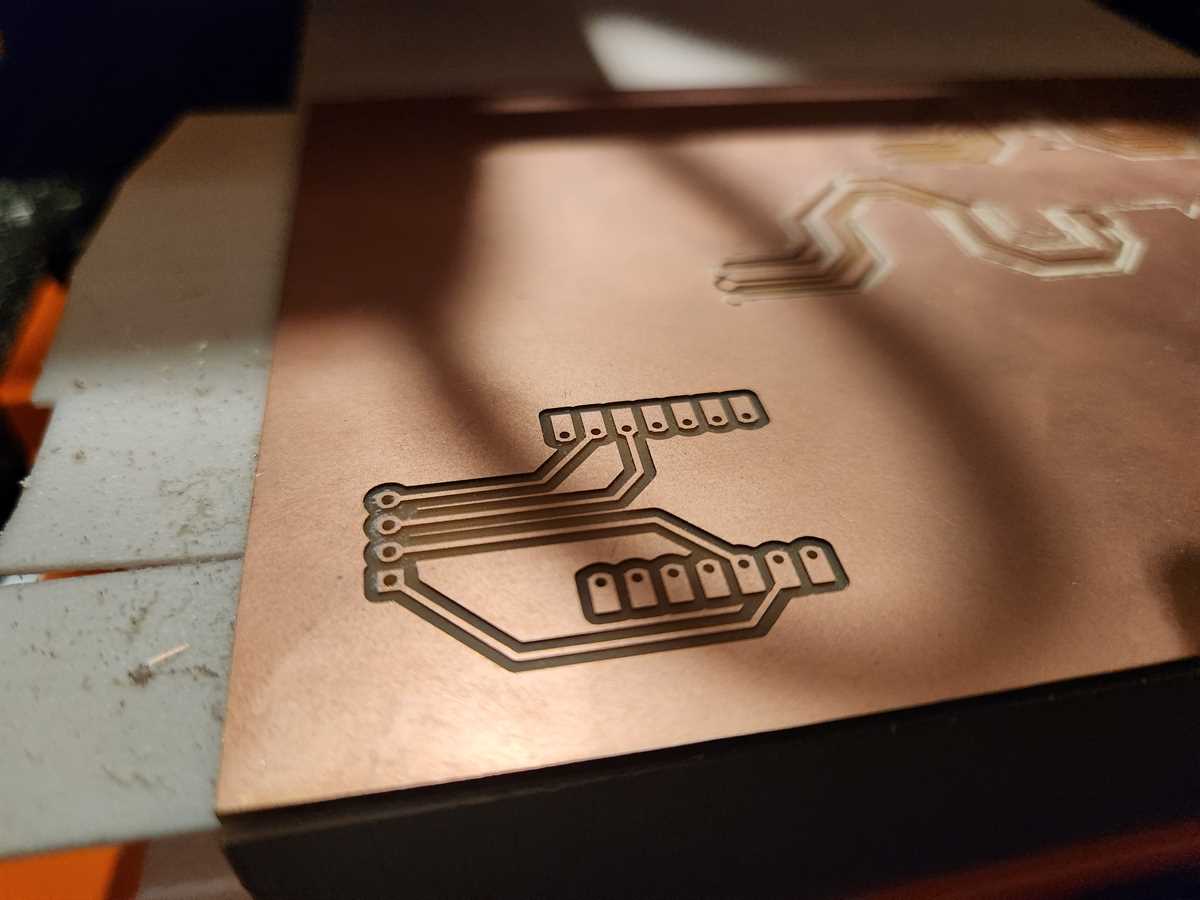
I soldered on the headers and tested them using the multimeter.
Programming (Micropython)
Original Sample Code from Core Electronics for the accelerometer to read when it is shaken, which could be used for a rough equivalent of a step being taken.
"""
Shake-detection example
shake() can be called without any arguments, but has the following parameters should you need them:
    shake_threshold = 15 (default. Should not be less than 10)
    avg_count = 40 (default)
    total_delay = 100 (default)

"""
from PiicoDev_LIS3DH import PiicoDev_LIS3DH
from PiicoDev_Unified import sleep_ms

motion = PiicoDev_LIS3DH() # Initialise the accelerometer

while True:
    if motion.shake(threshold=15):
        print("shaken!")
    else:
        print("")
    # shake() is blocking, so can be used instead of sleep_ms() to delay a loop.
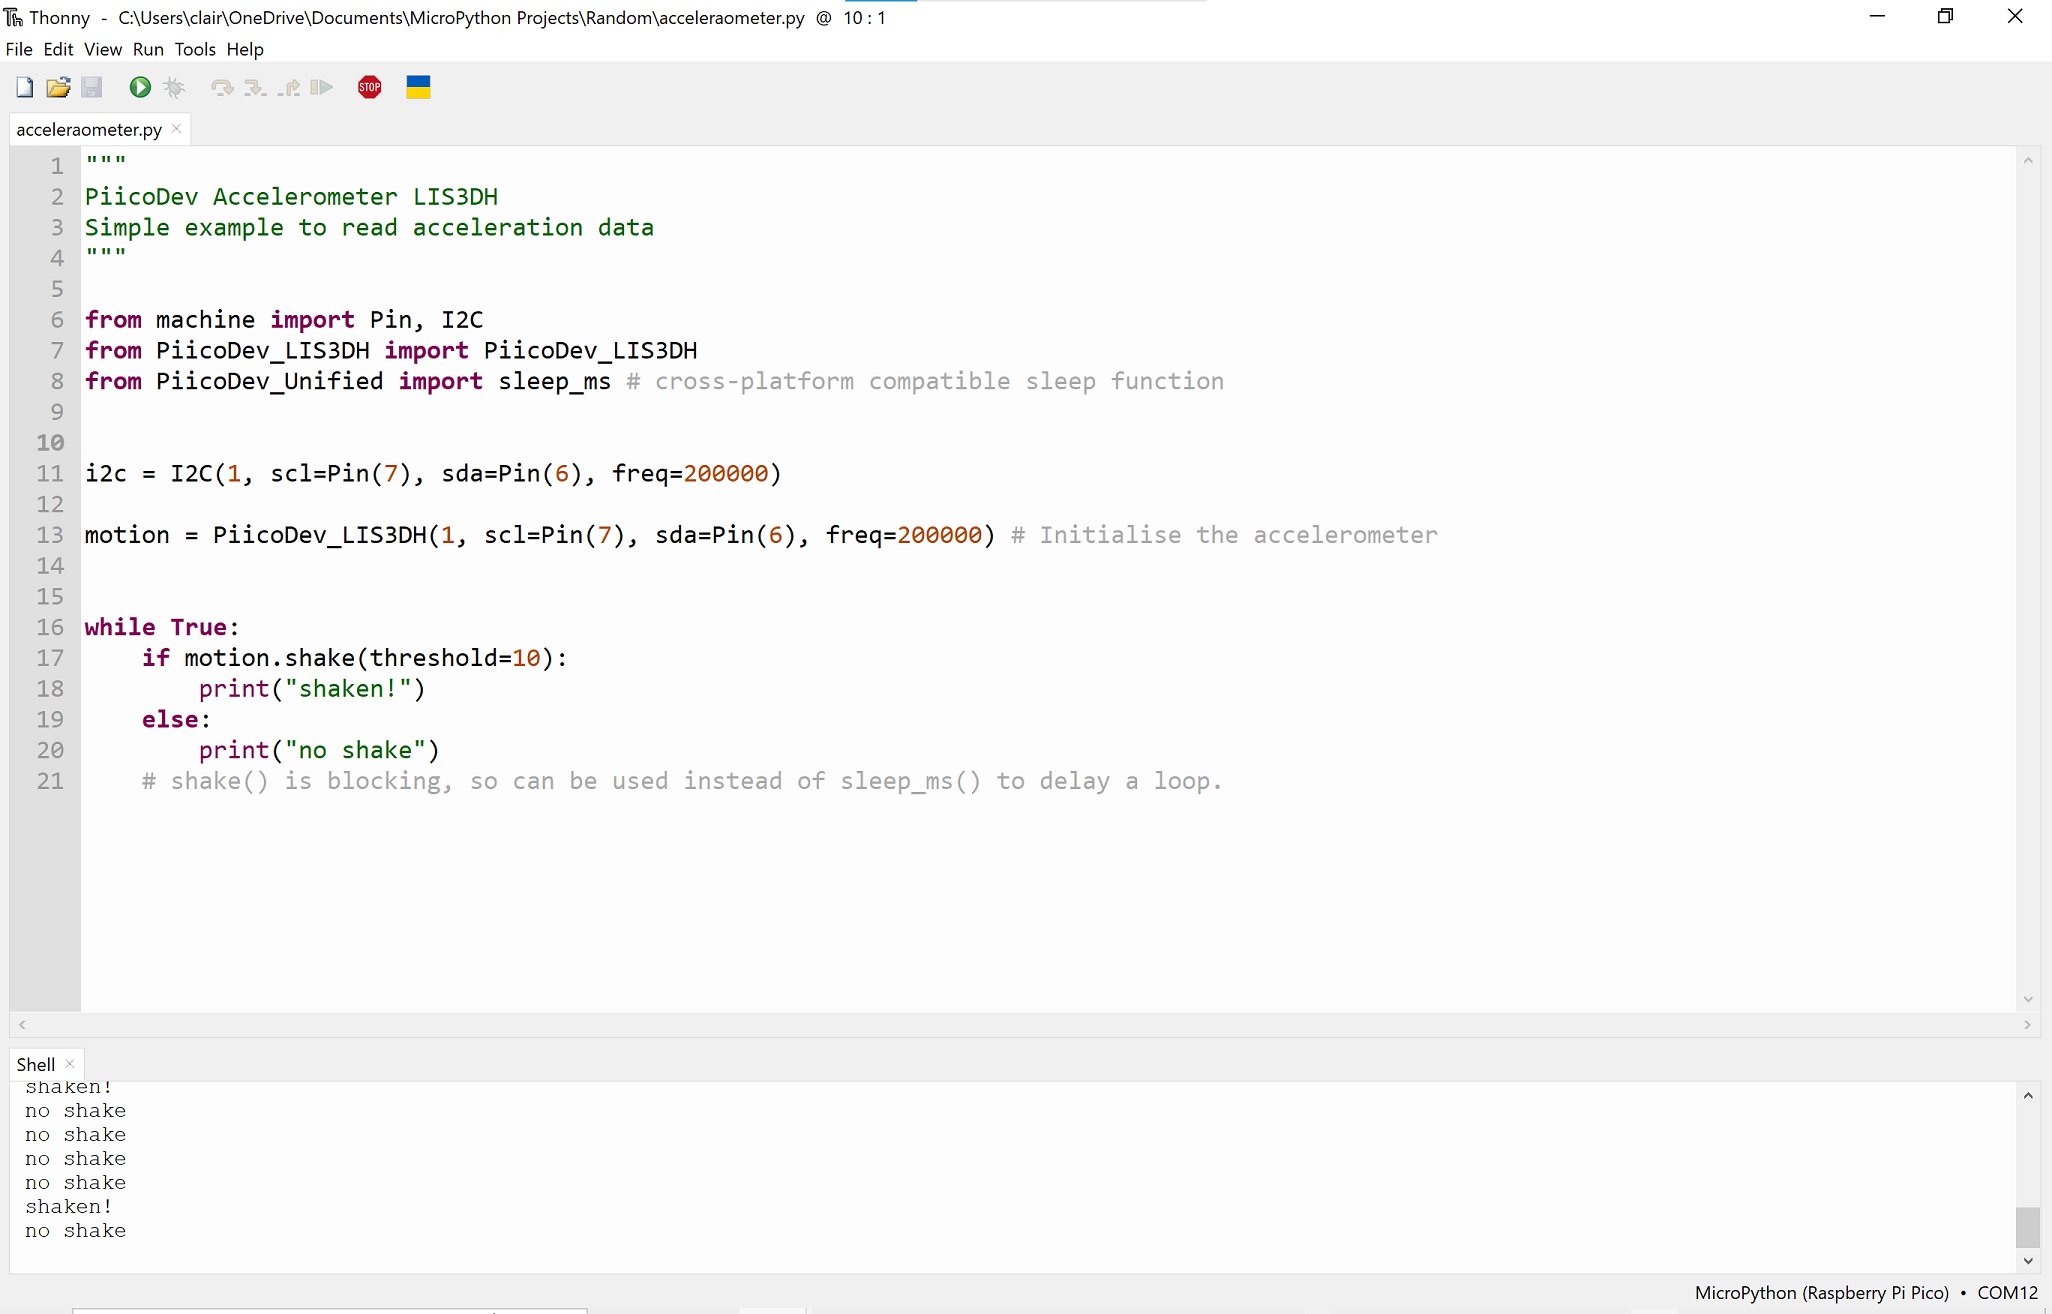
Final code (I added in the I2C reference, changed the threshold to 10 after some experimenting and added a "no shake" comment to print in the Shell)
# Original code by Core Electronics 2023, modified May 2023 by Claire Chaikin-Bryan
"""
PiicoDev Accelerometer LIS3DH
Simple example to read acceleration data
"""

from machine import Pin, I2C
from PiicoDev_LIS3DH import PiicoDev_LIS3DH
from PiicoDev_Unified import sleep_ms # cross-platform compatible sleep function


i2c = I2C(1, scl=Pin(7), sda=Pin(6), freq=200000)

motion = PiicoDev_LIS3DH(1, scl=Pin(7), sda=Pin(6), freq=200000) # Initialise the accelerometer


while True:
    if motion.shake(threshold=10):
        print("shaken!")
    else:
        print("no shake")
    # shake() is blocking, so can be used instead of sleep_ms() to delay a loop.
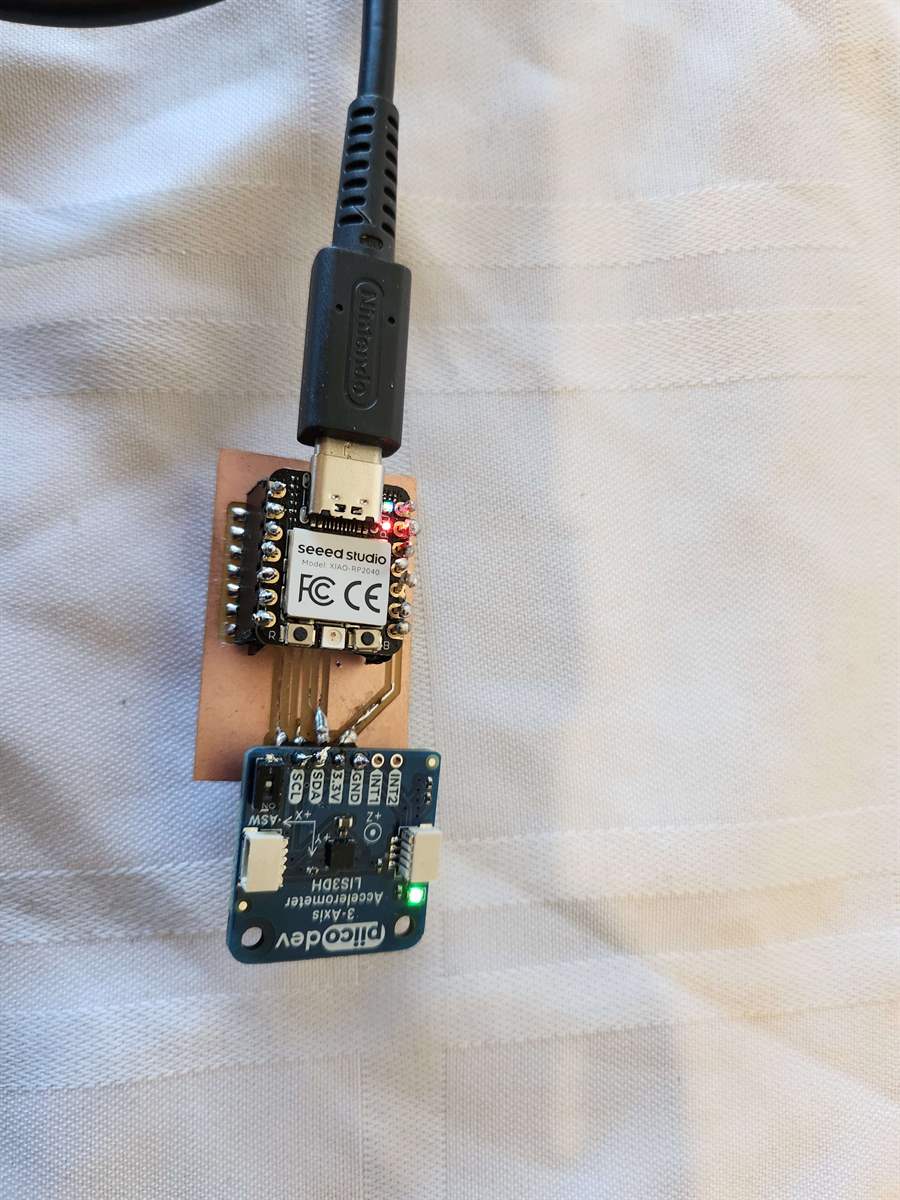
Final Result
I was able to plug in the Xiao and LED into the board and run the code.
Files
KICAD Schematic
KICAD Board
Traces Cutting File
Dill Holes Cutting File
Edge Cuts Cutting File
Code reference files
PiicoDev_Unified.py
PiicoDev_LIS3DH.py