Electronics Production
Assignments of the Week
- 1.Characterize the design rules for your in-house PCB production process: document feeds, speeds, plunge rate, depth of cut (traces and outline) and tooling.
- 2.Document your work to the group work page and reflect on your individual page what you learned.
Group assignment:
Group Assignment:
"PCB fabrication."
1."Import the PCB design you created into the mods."
a."Import the file first."

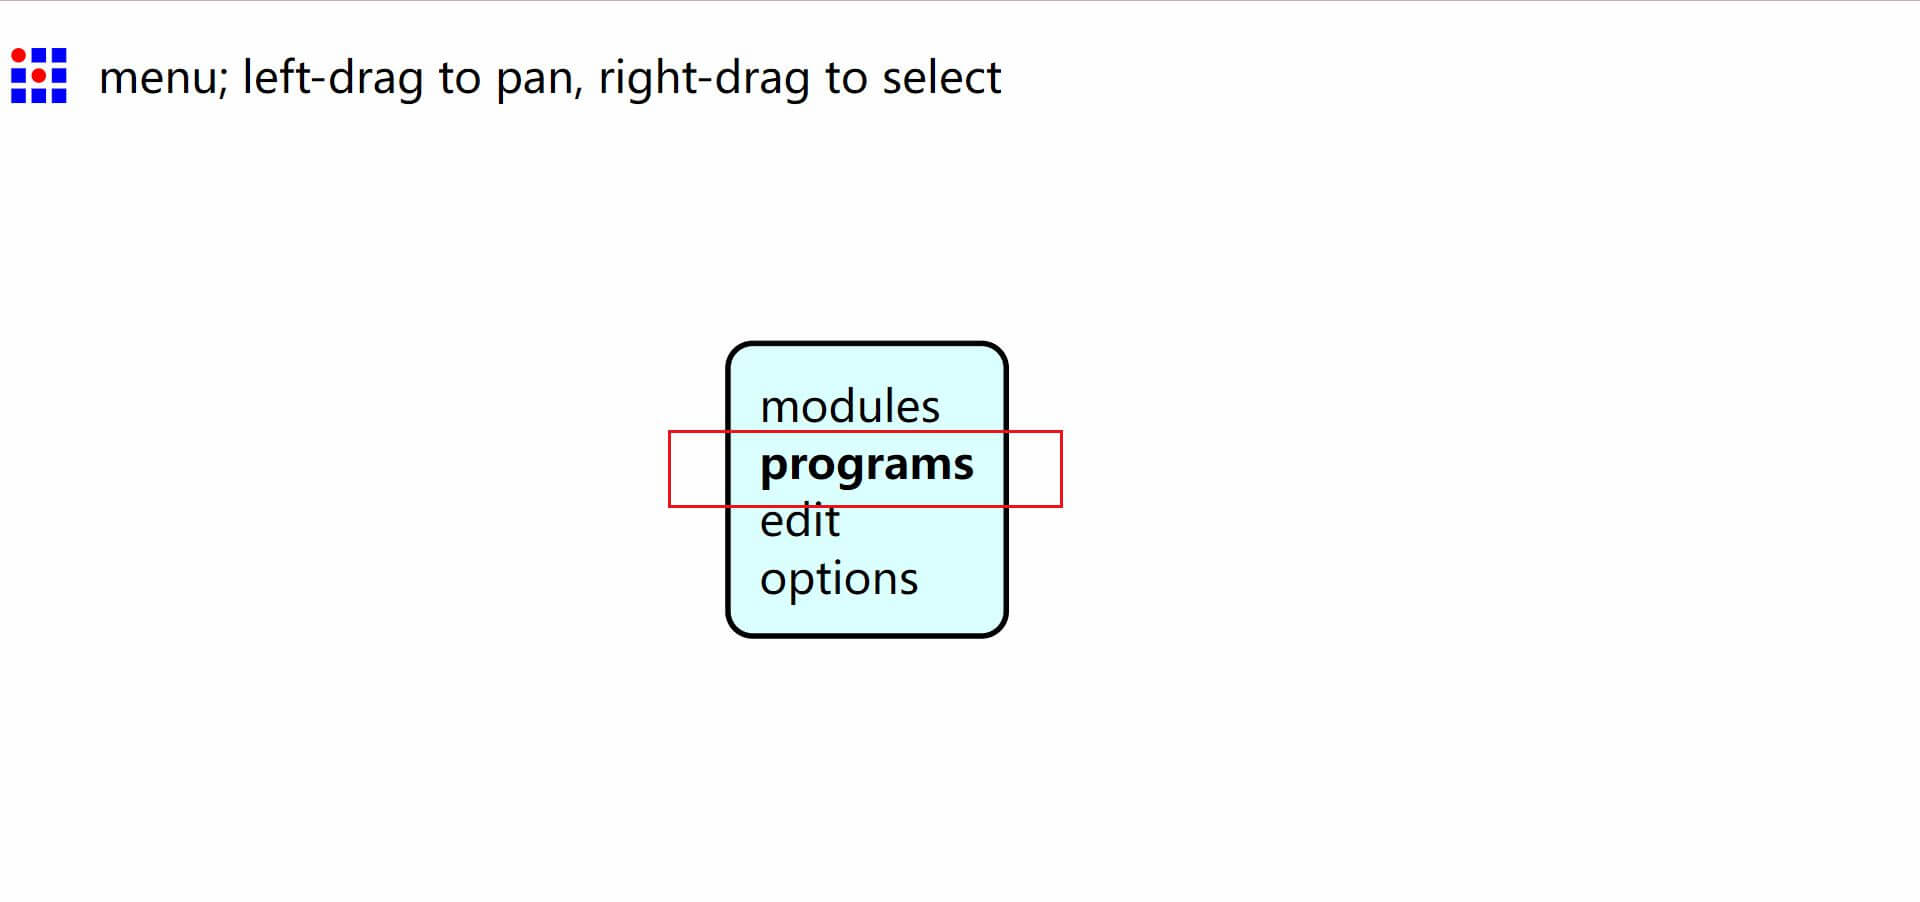
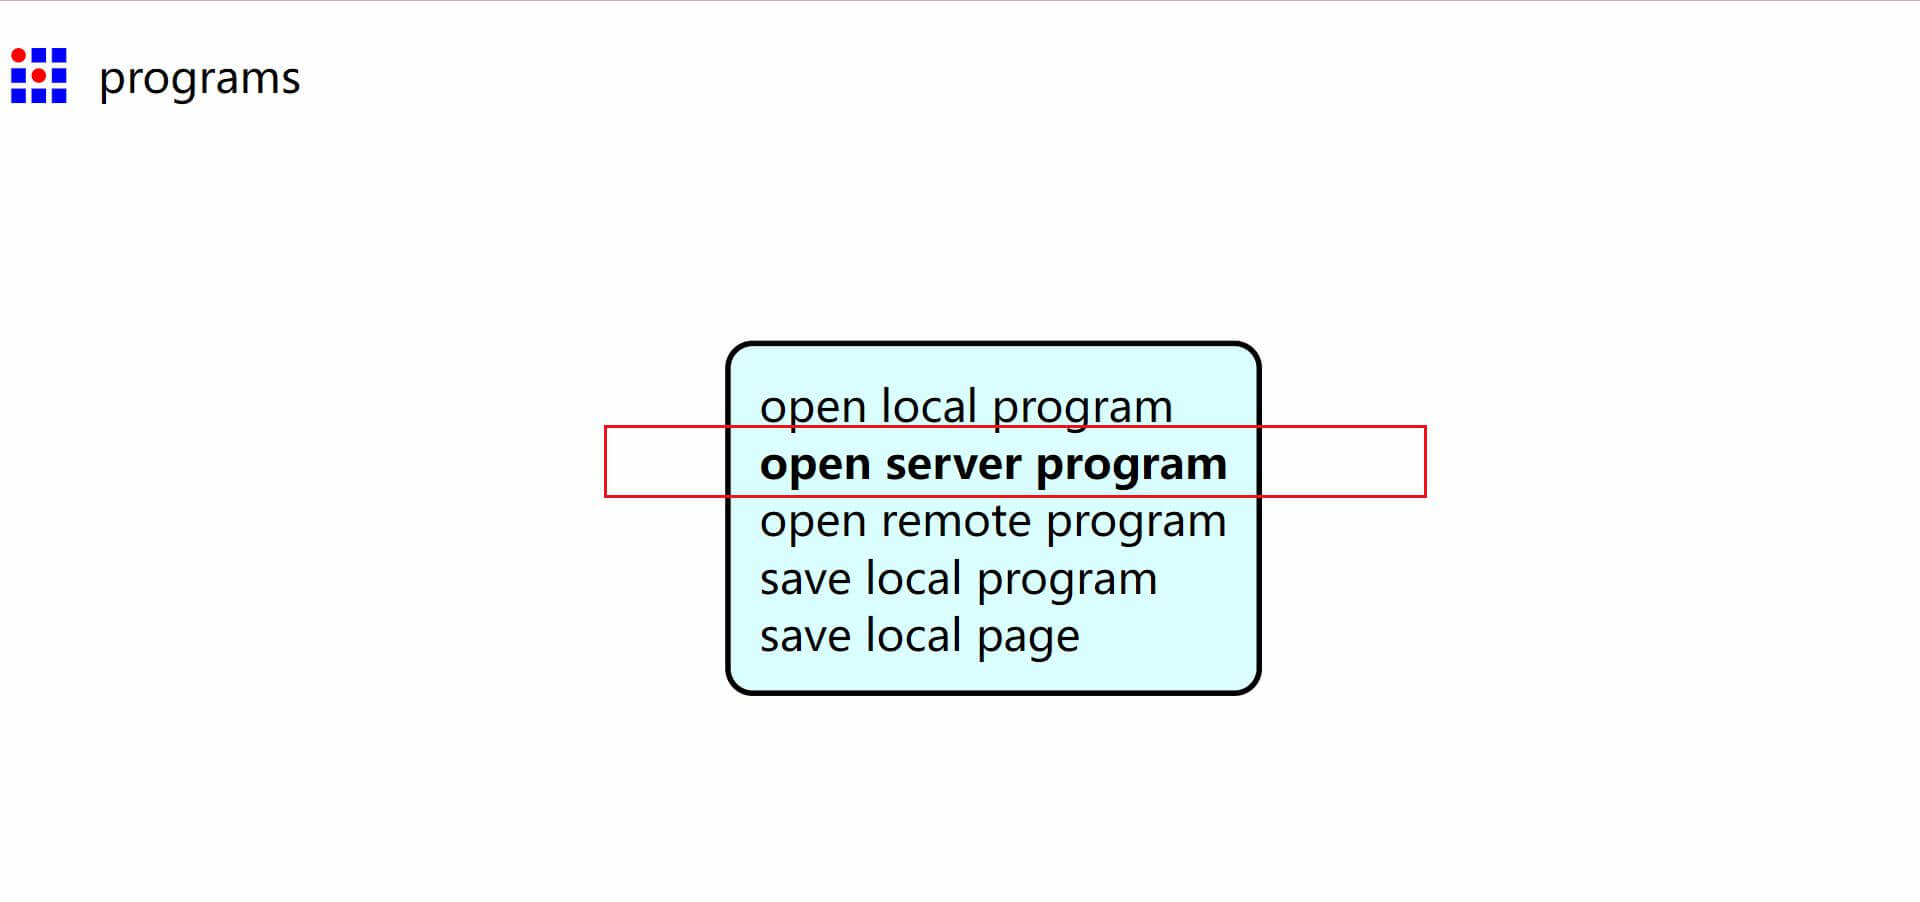
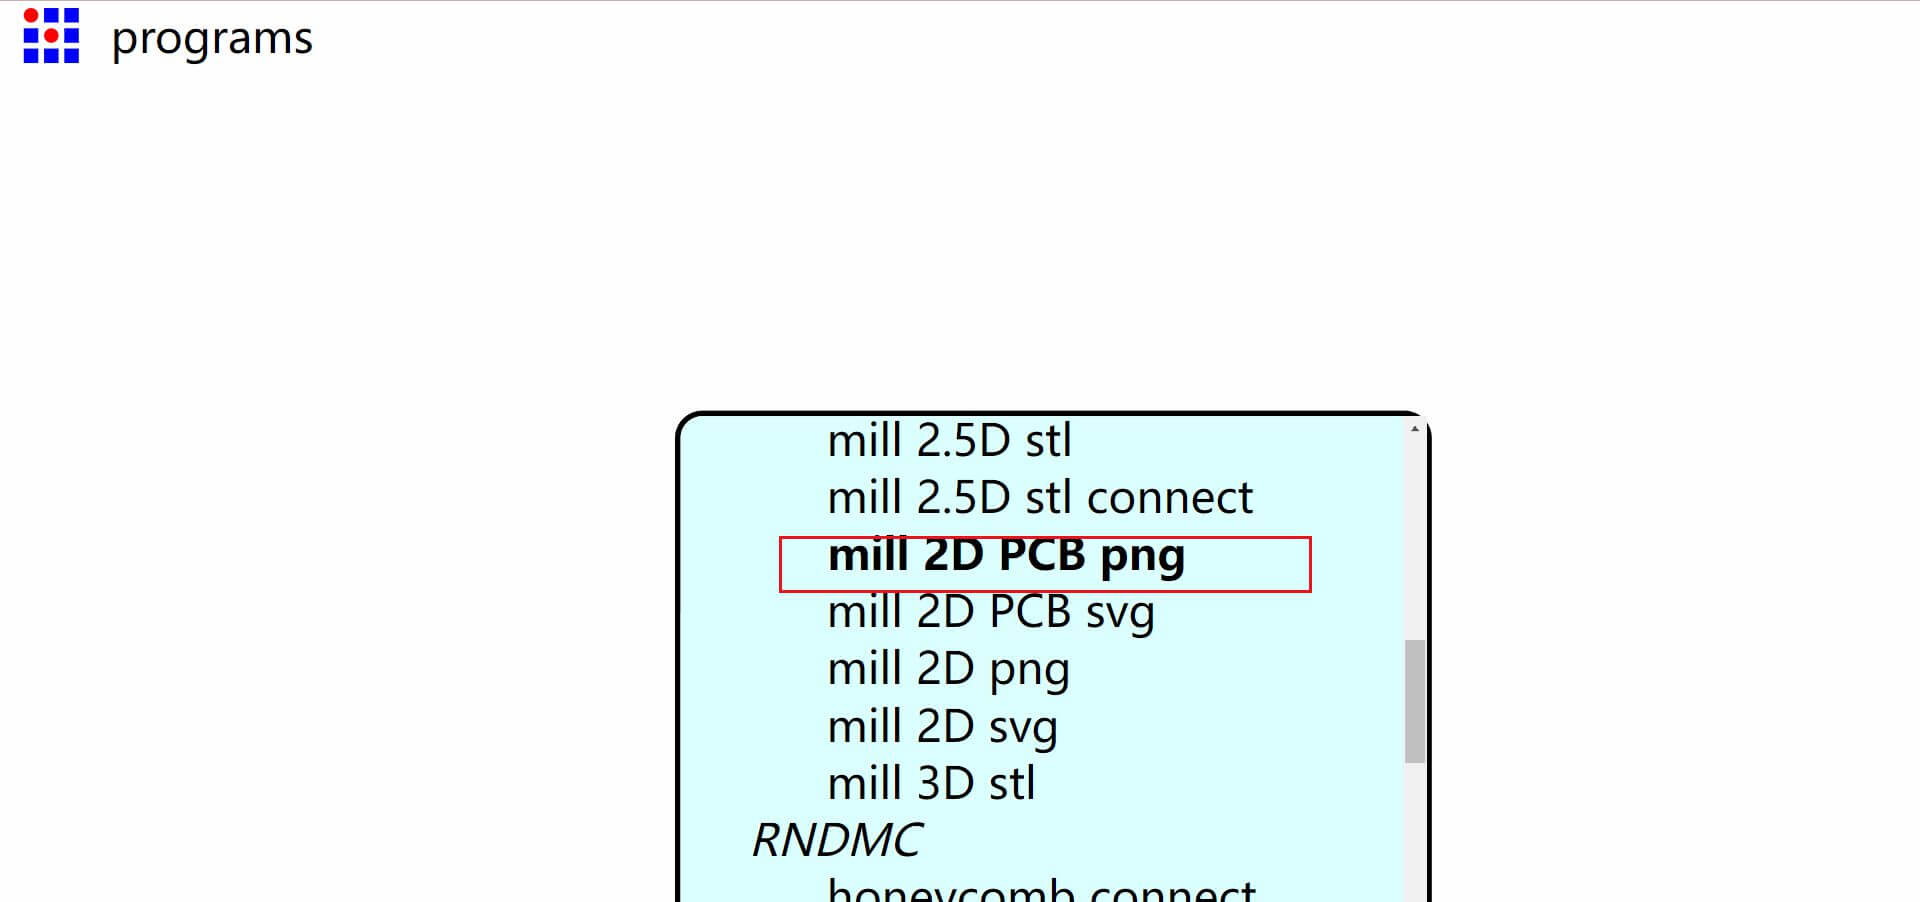
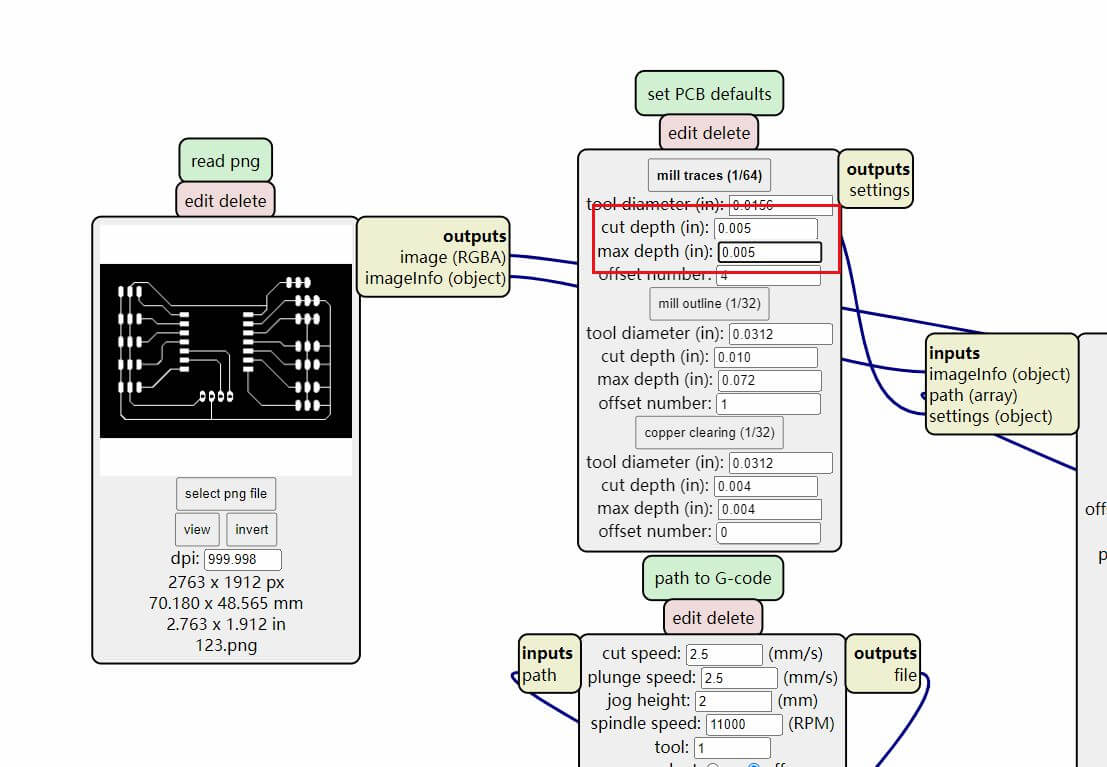
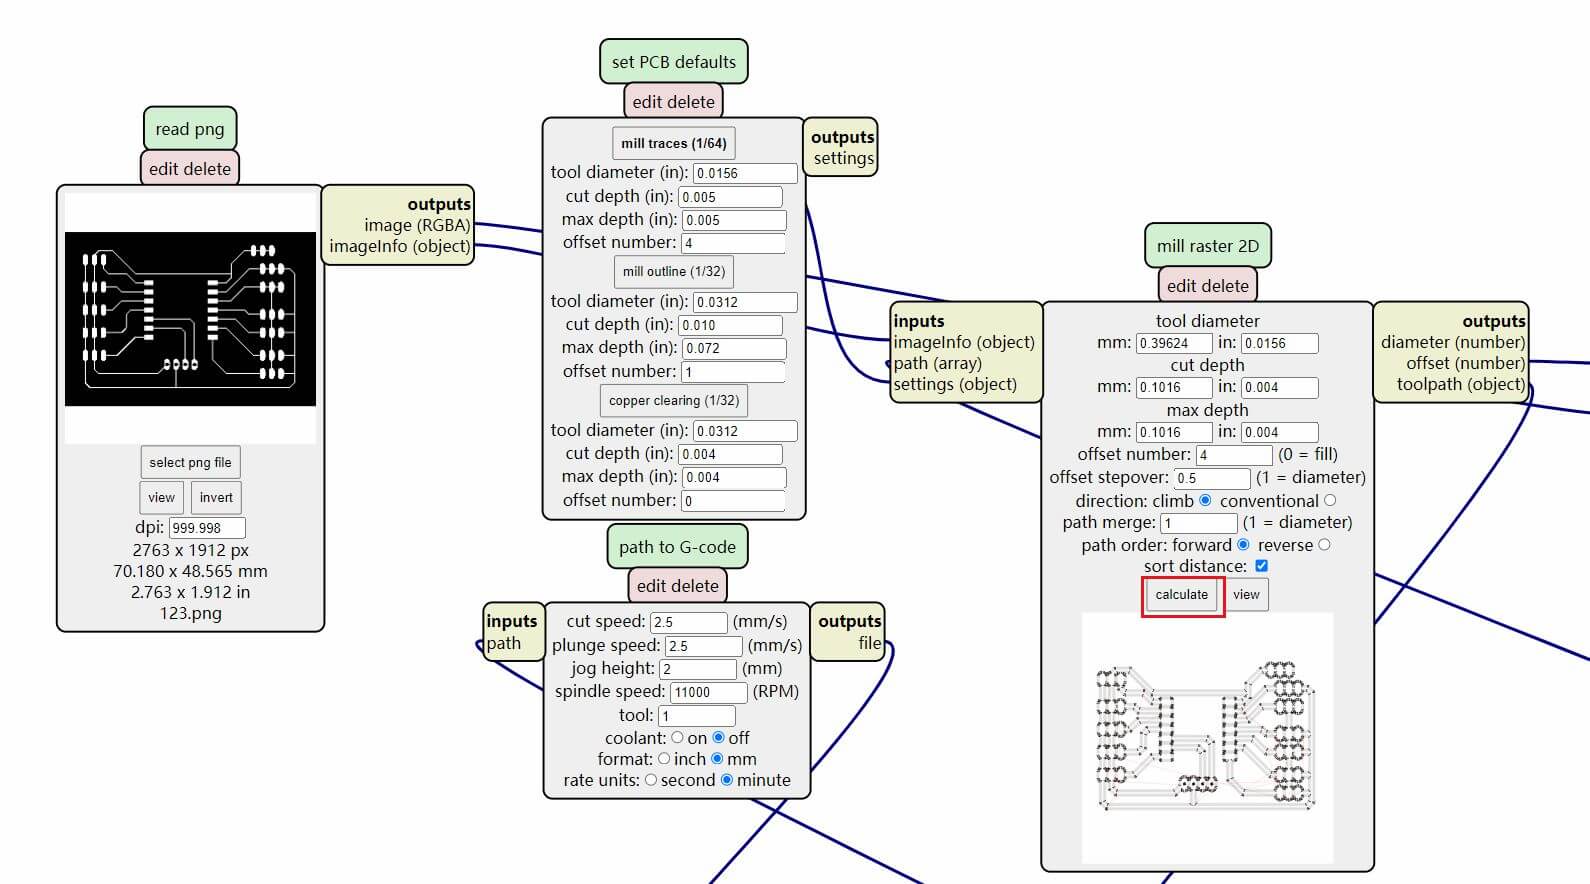
b."Adjust the engraving values (or modify the cutting values)."
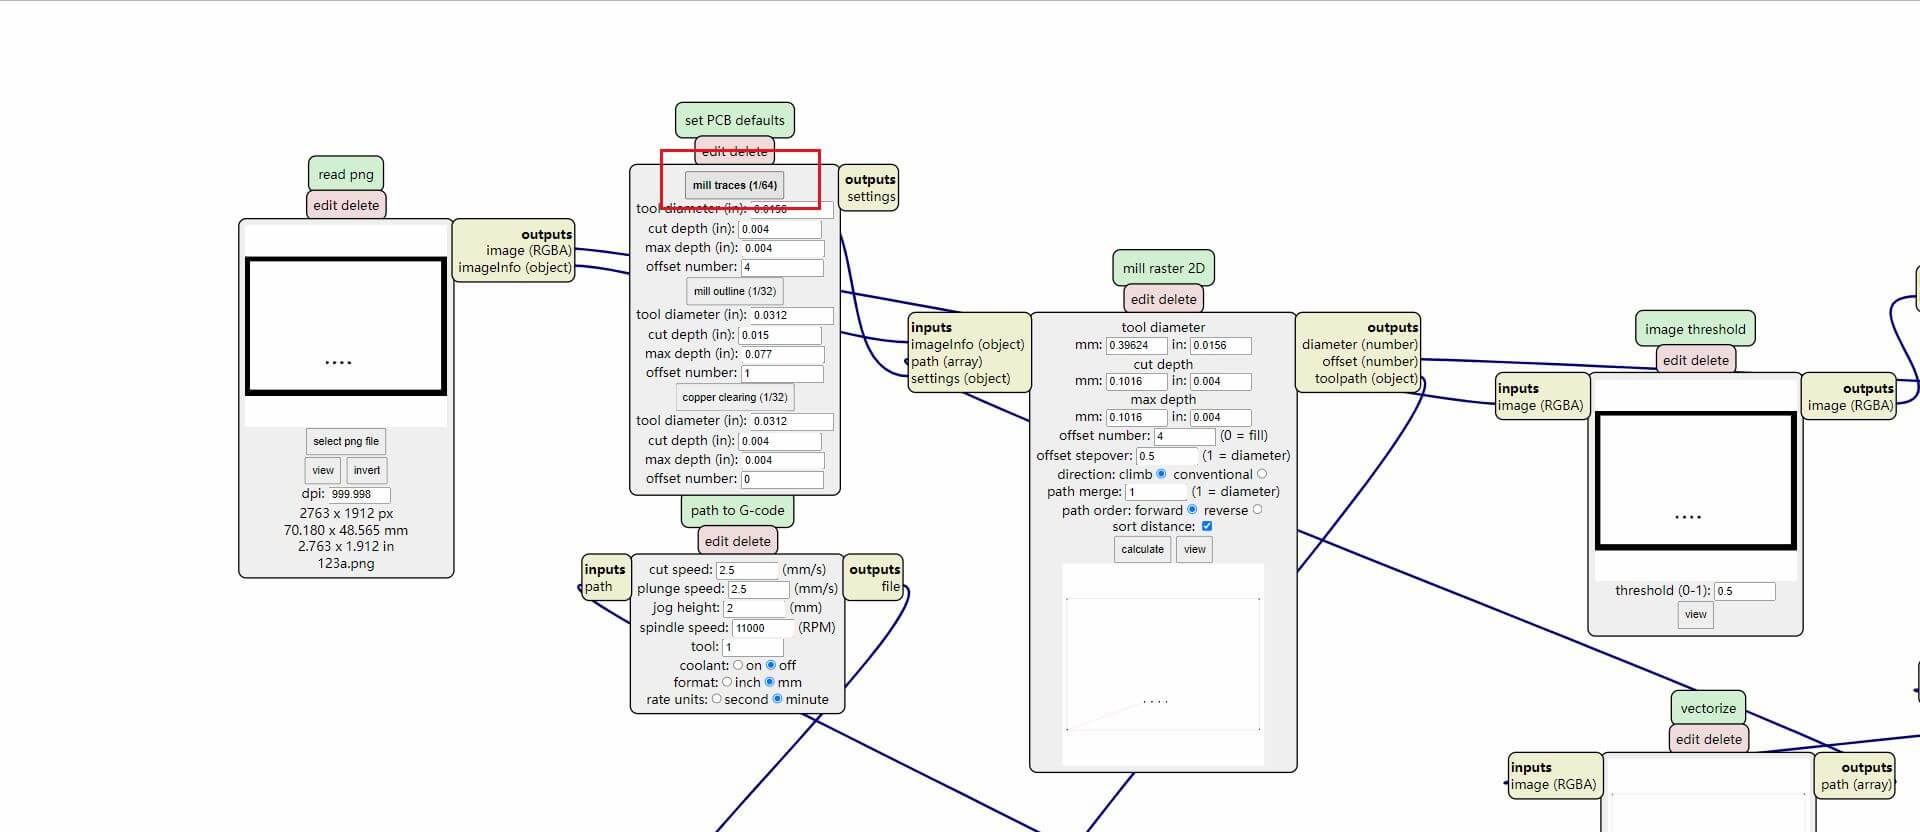
c."Export the file."
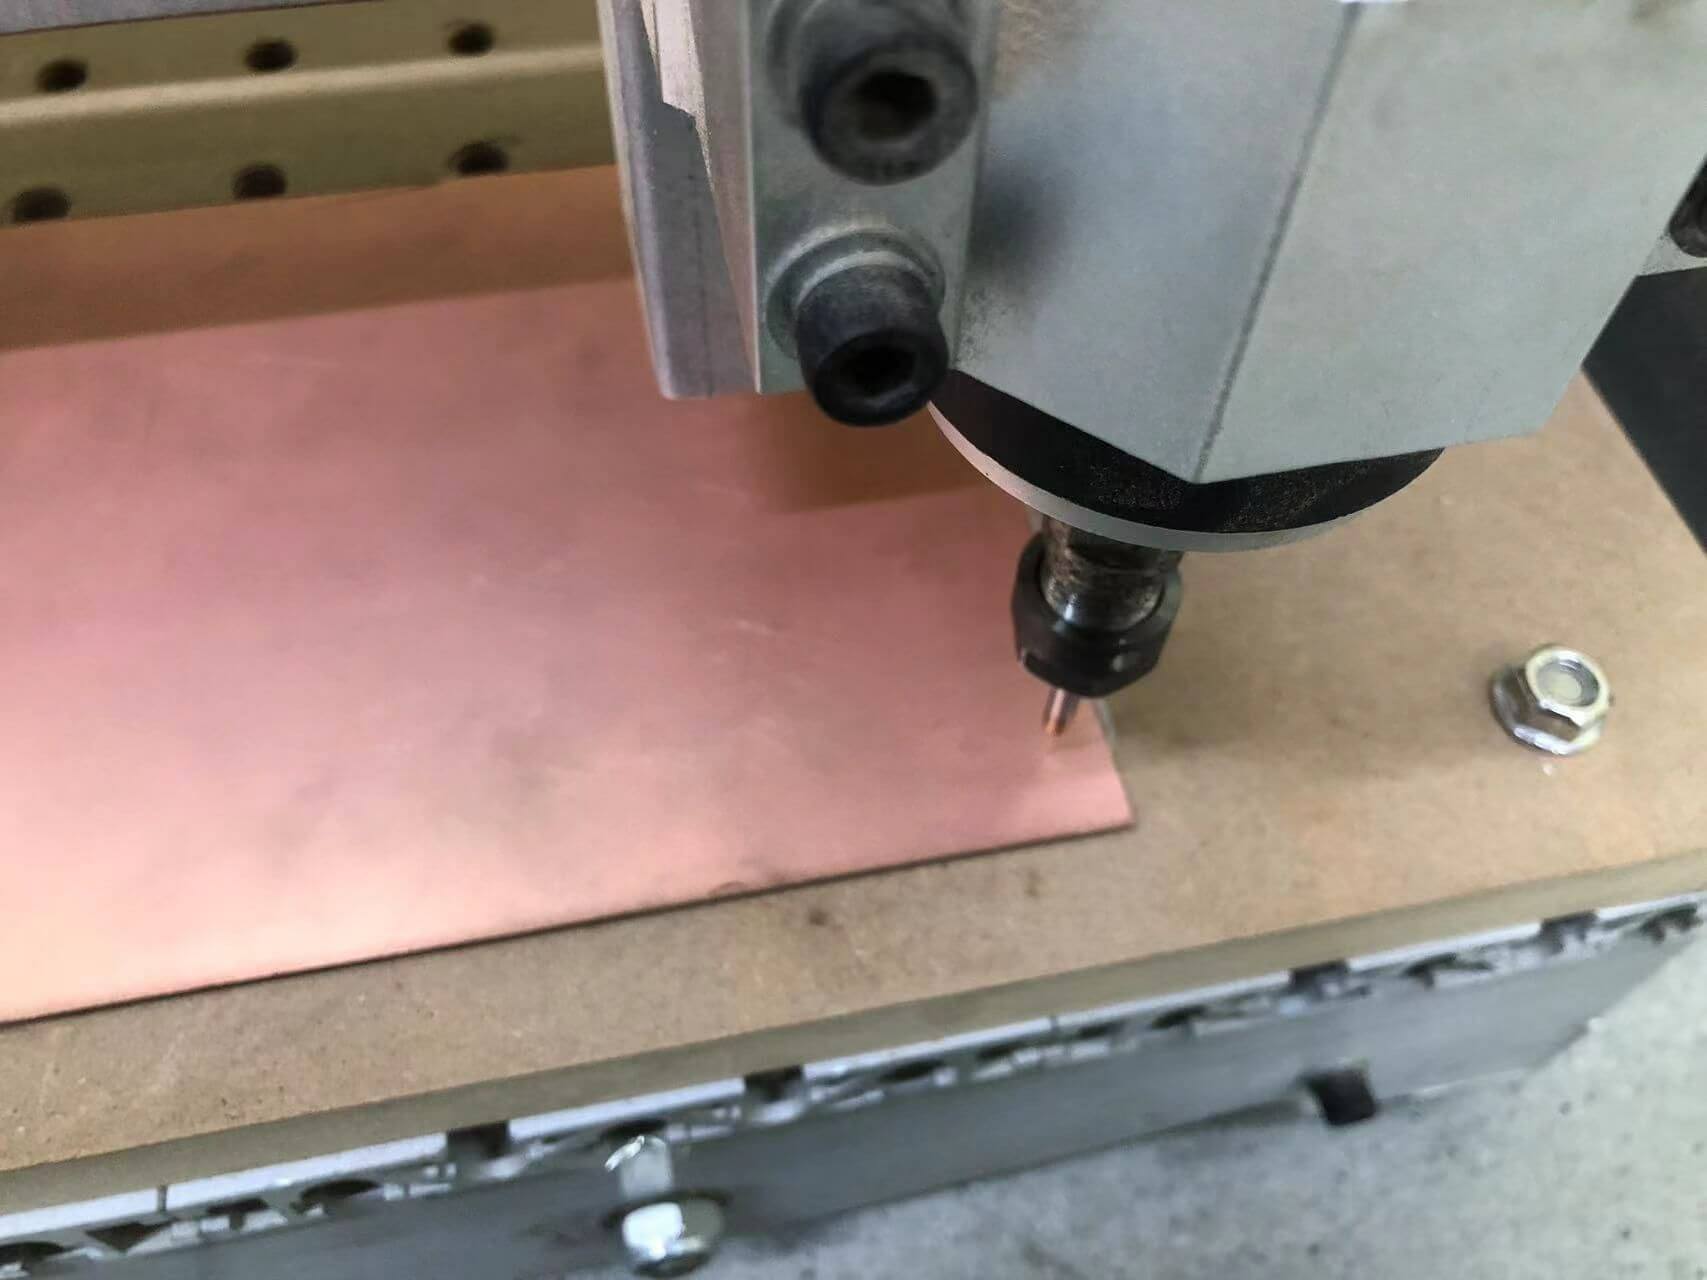
2."Stick the copper board onto the CNC platform."
a."Use double-sided tape to stick it on (make sure to distribute it evenly on the back of the copper board)."
3."Change the drill (0.4mm)."
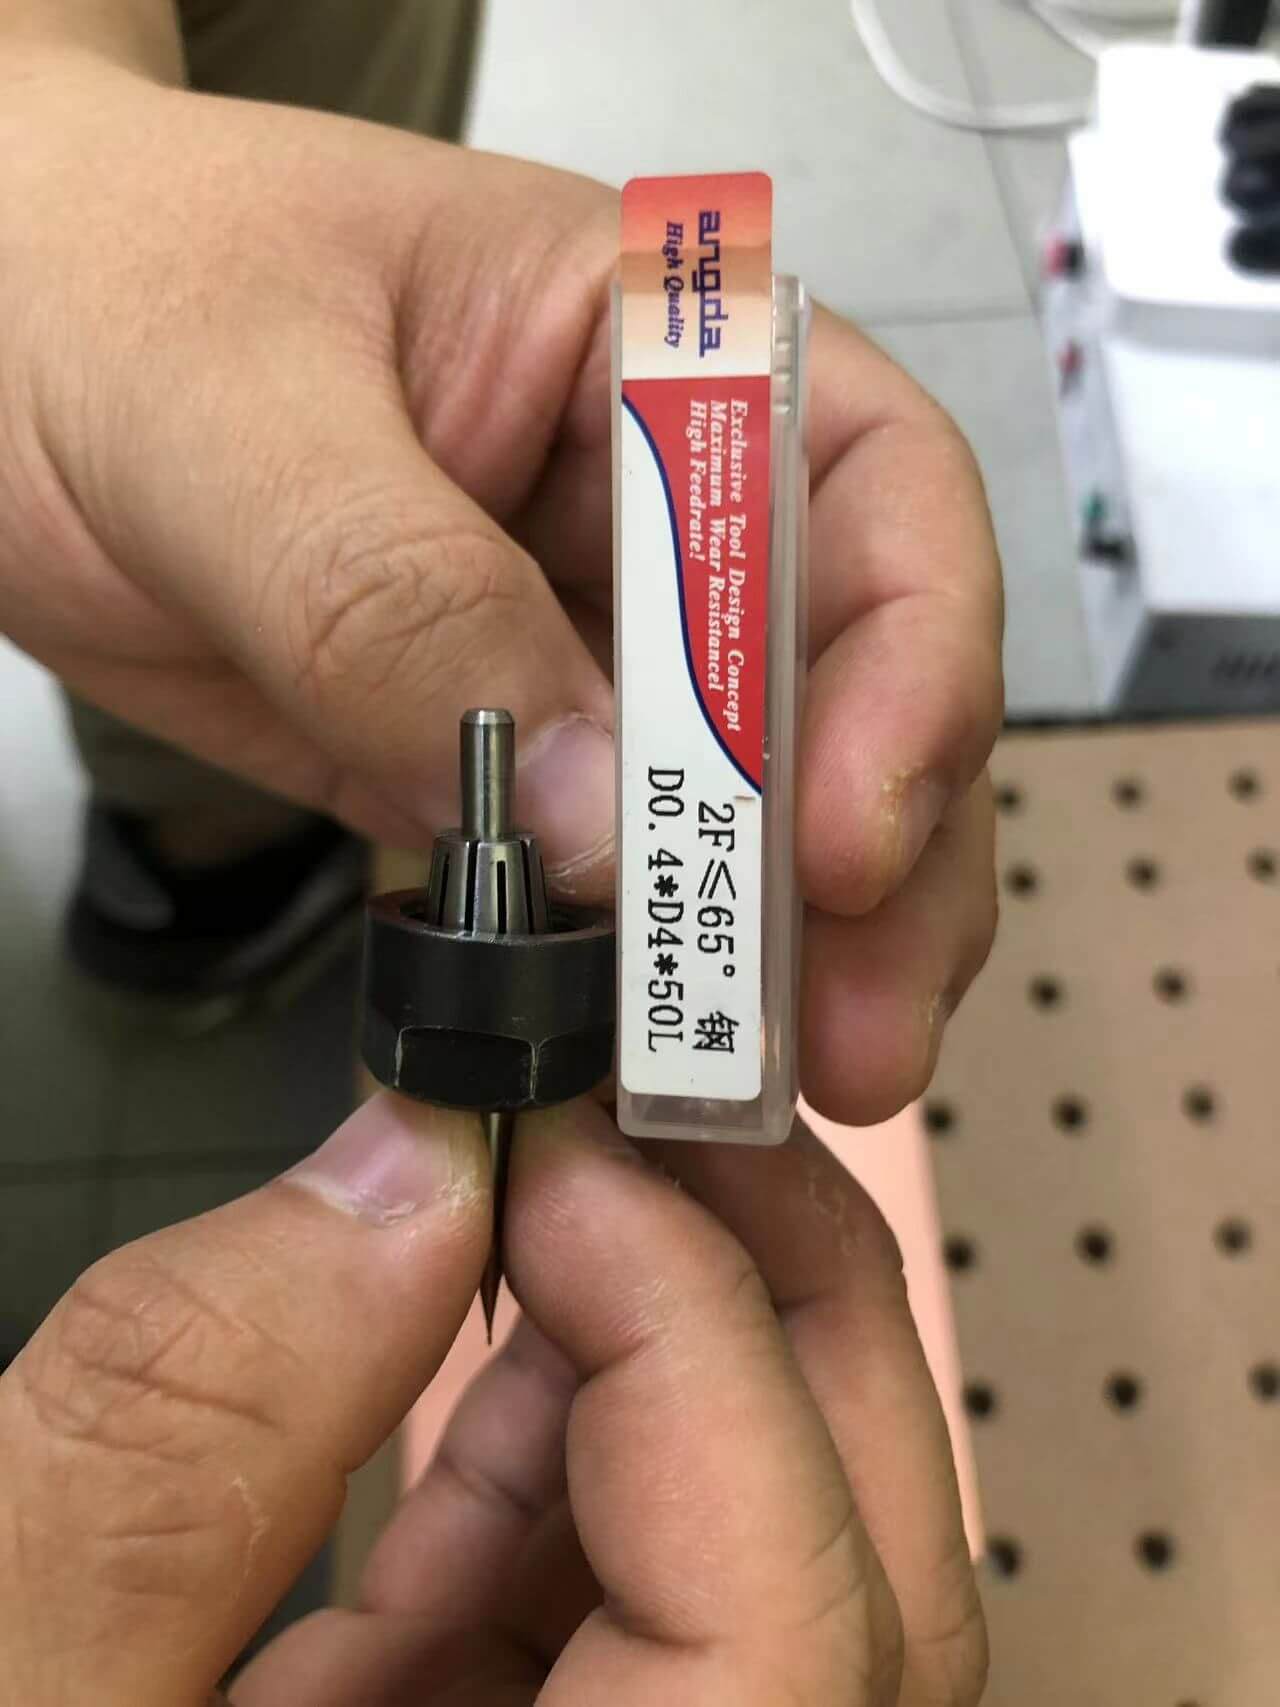
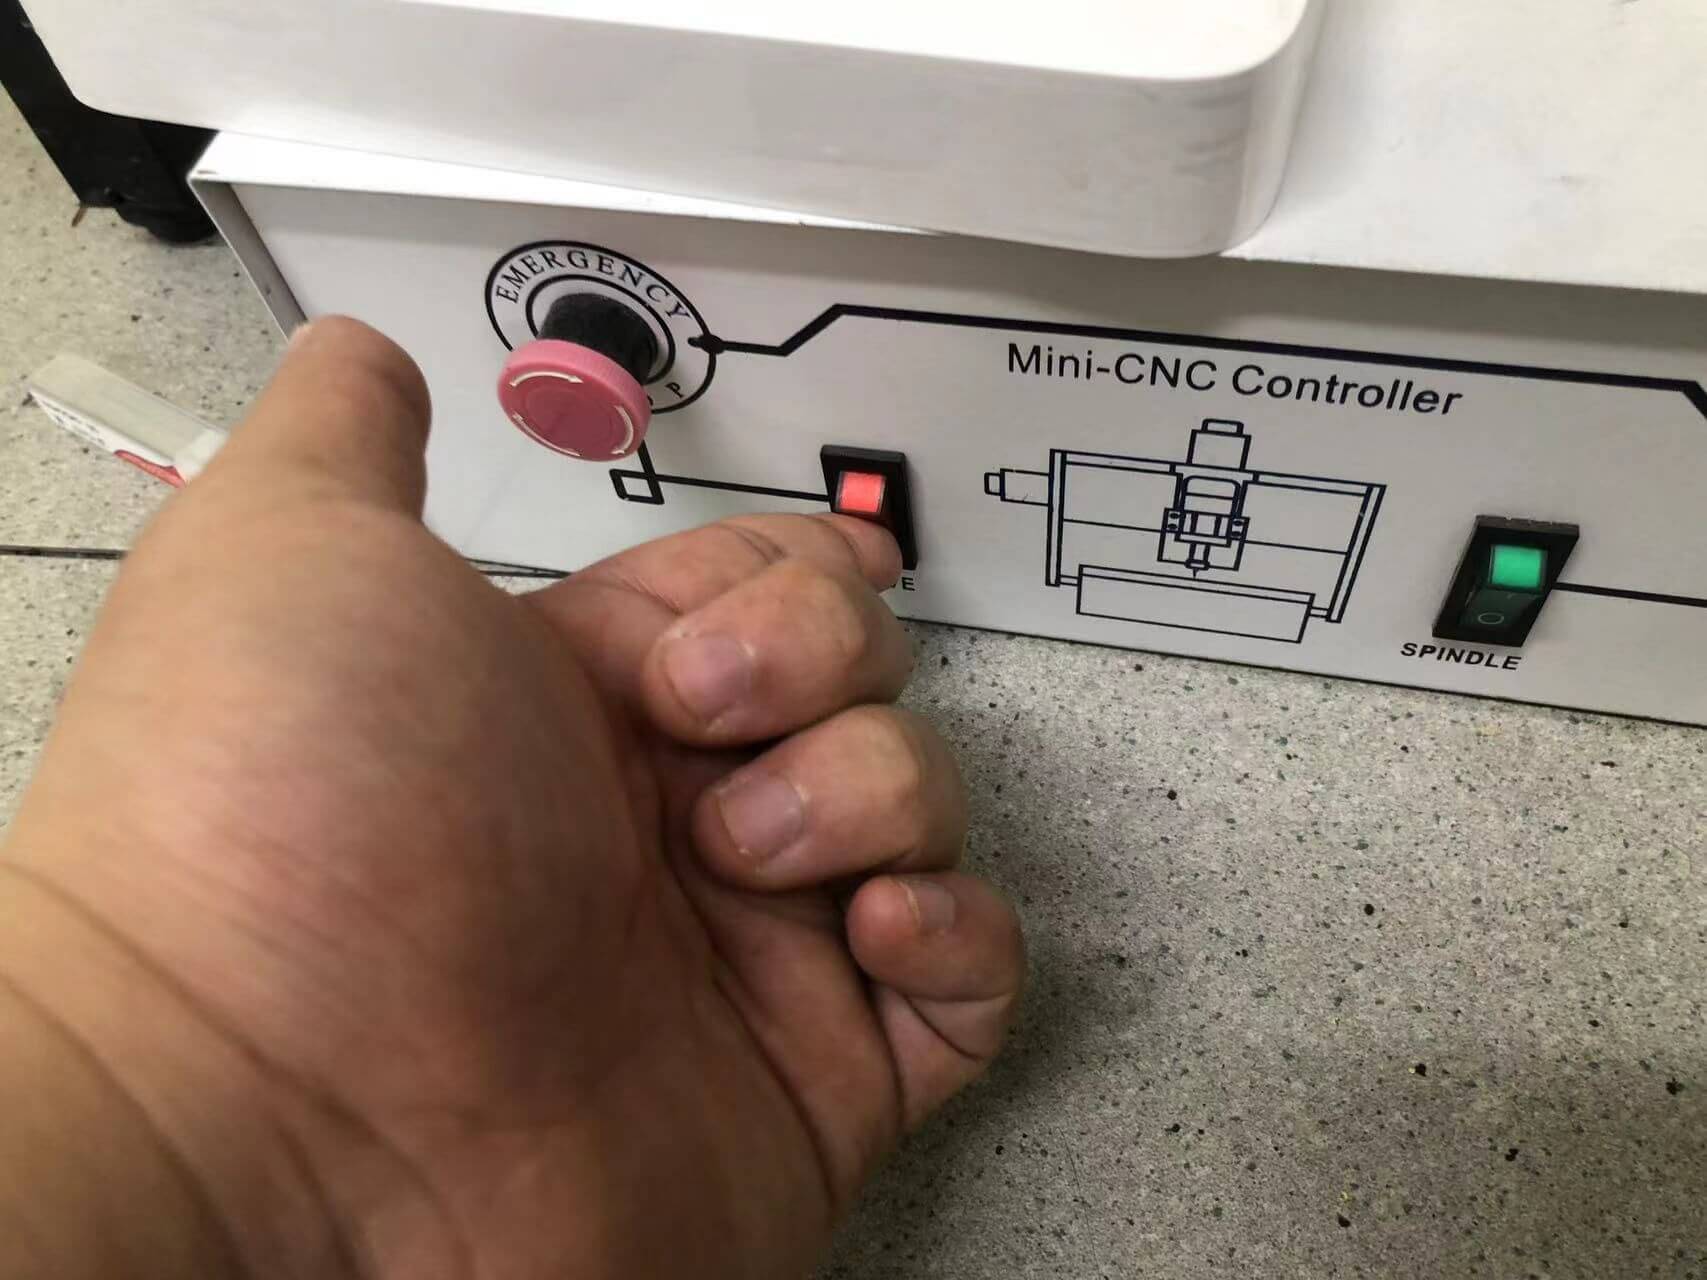
a."Be sure to control the handle of the tool with your fingers to prevent it from falling off and breaking until the screw is tightened."

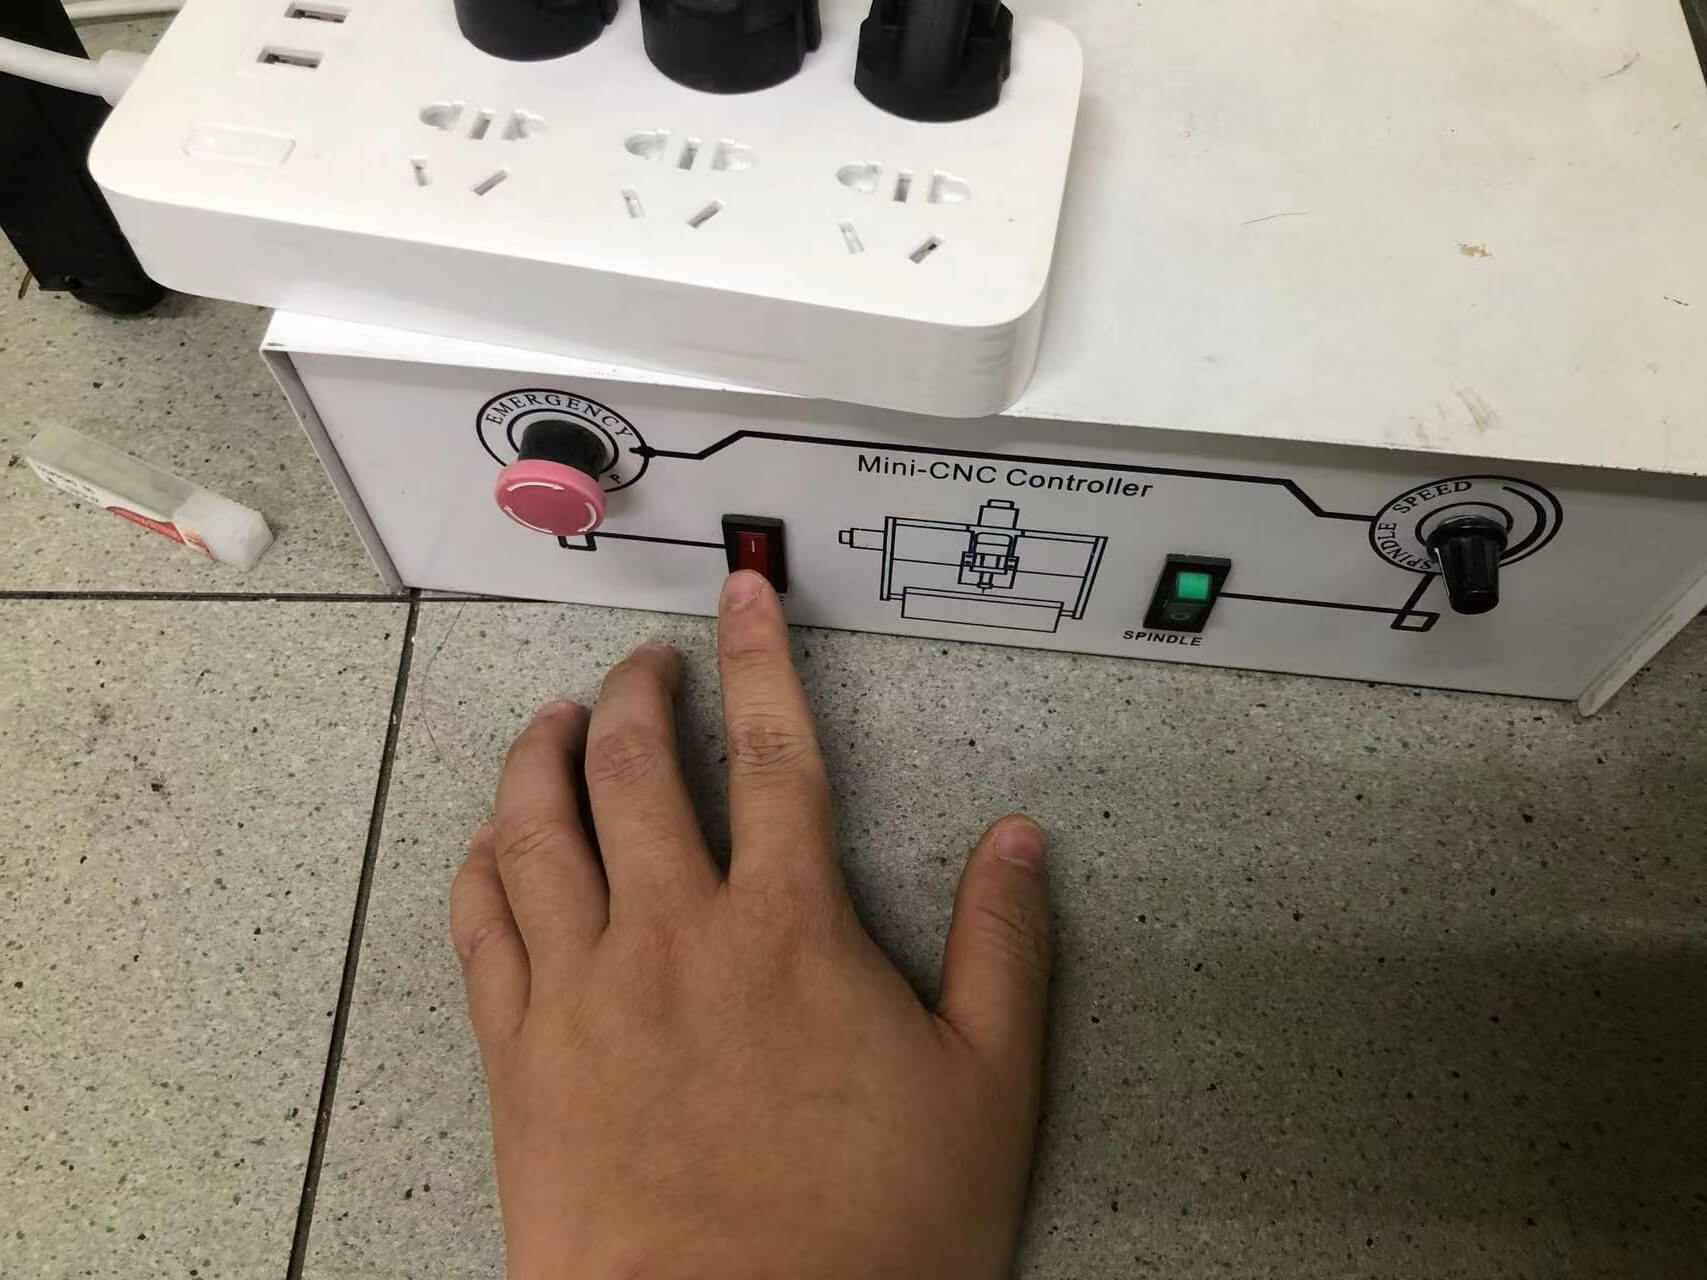
4."Turn on the motor, adjust XYZ, determine the origin in the machine, and zero XY."
 3
3

a."When the tool head approaches the copper board, manually adjust the tool head downwards."
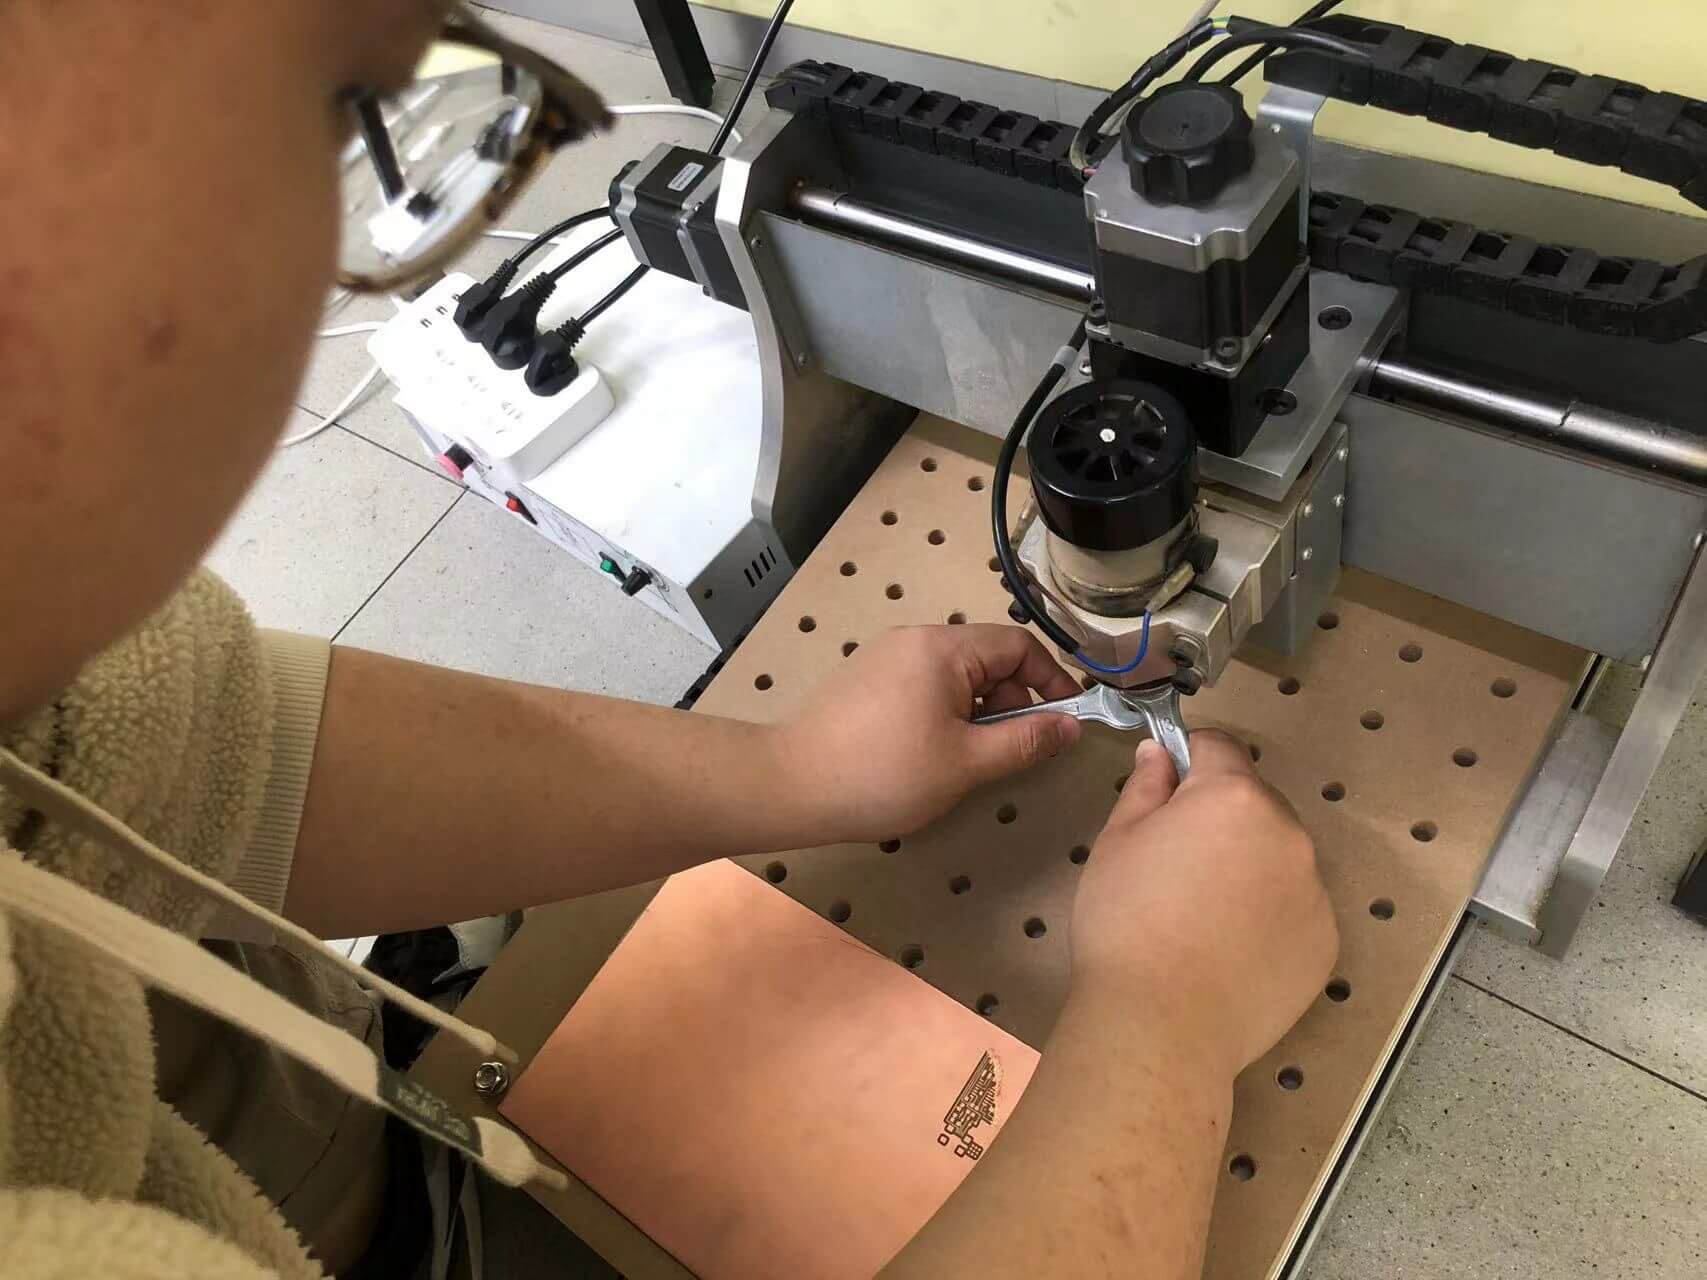
b."Tighten the tool head with a wrench. (Zero Z)"
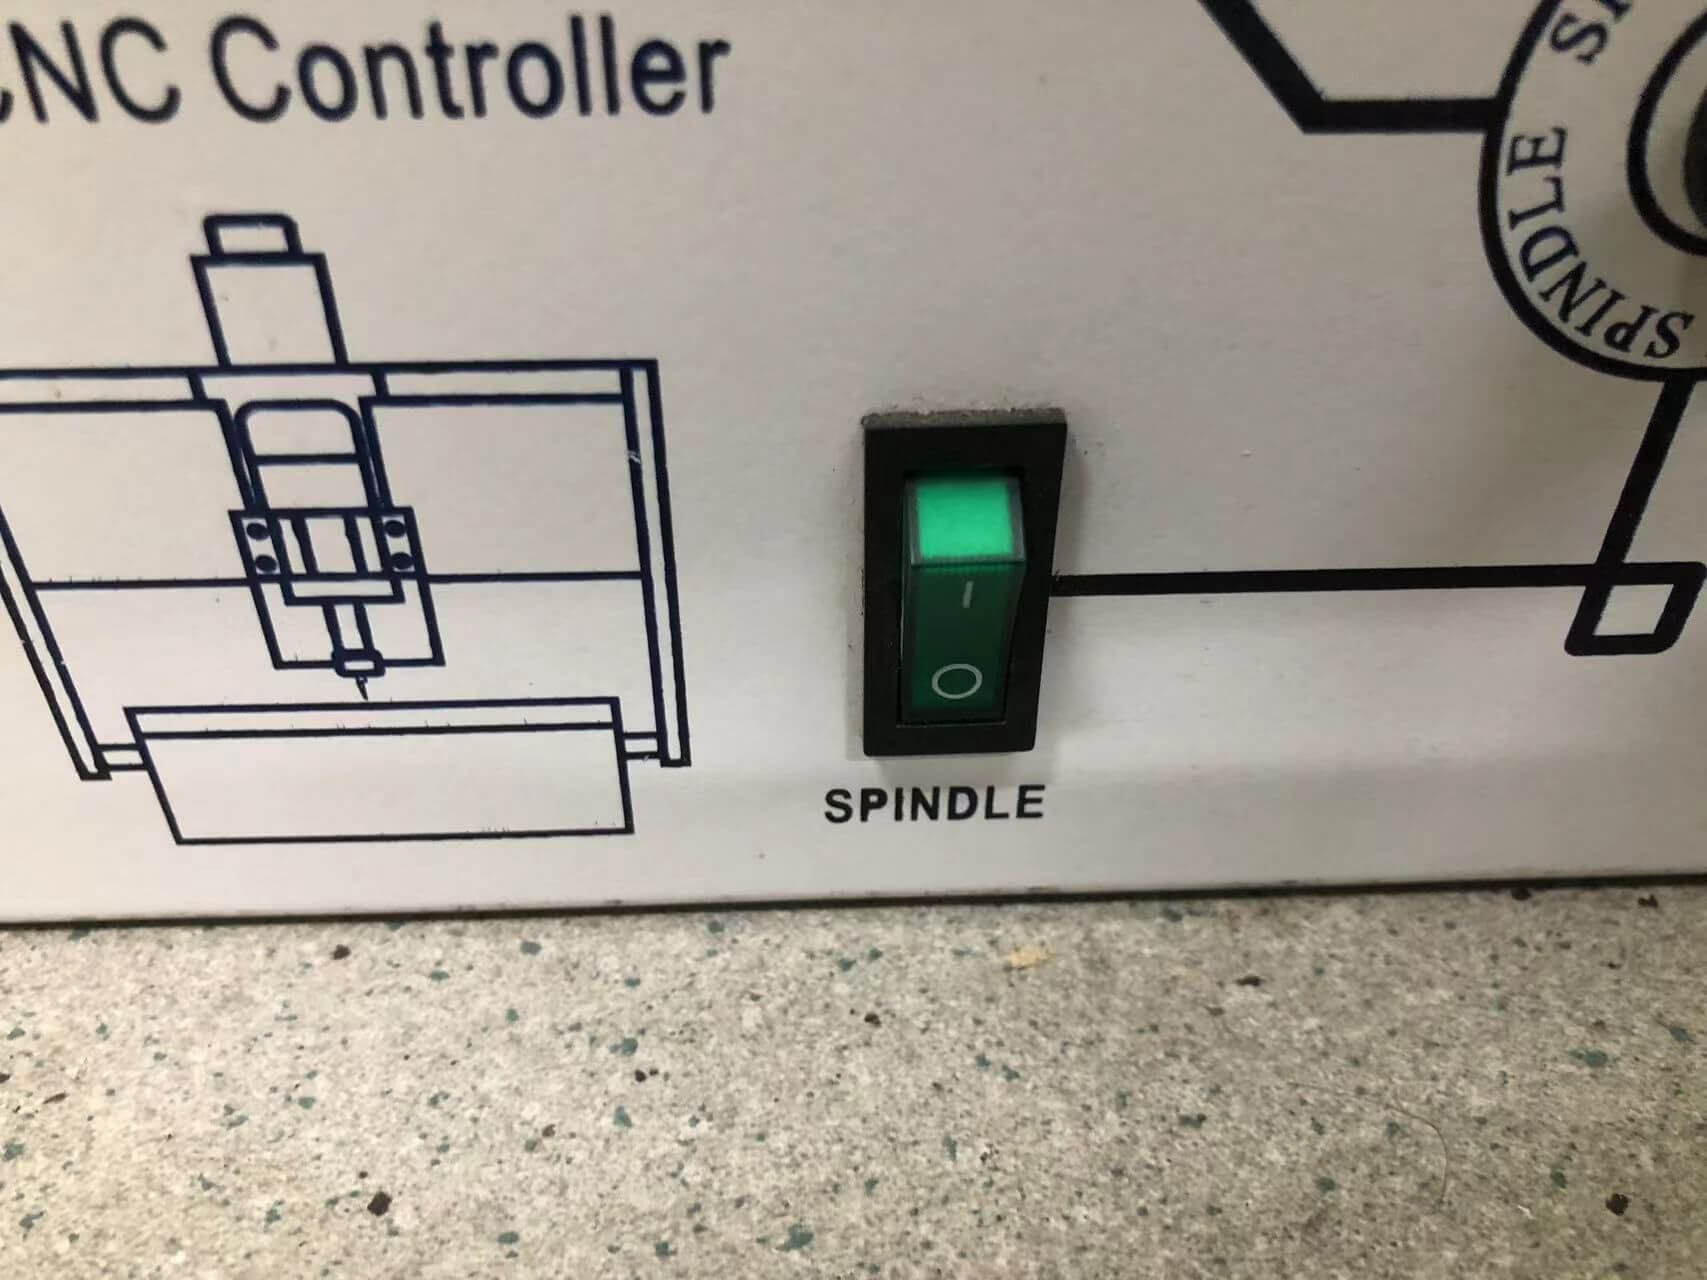
5."Import the engraving G-code, first press cycle start, turn on the power to the tool head, then press cycle start again."


a."If the tool head does not cut close to the copper board, press stop, close the G-code, and re-zero the Z-axis. Repeat the previous step."
6."After the engraving is completed, turn off the power to the tool head, change to a 0.8mm tool head, and repeat the previous steps."
a."When removing the tool head, also be sure to control the handle of the tool with your fingers to prevent it from falling off and breaking until the screw is tightened."
b. "Tighten the tool head with a tool."
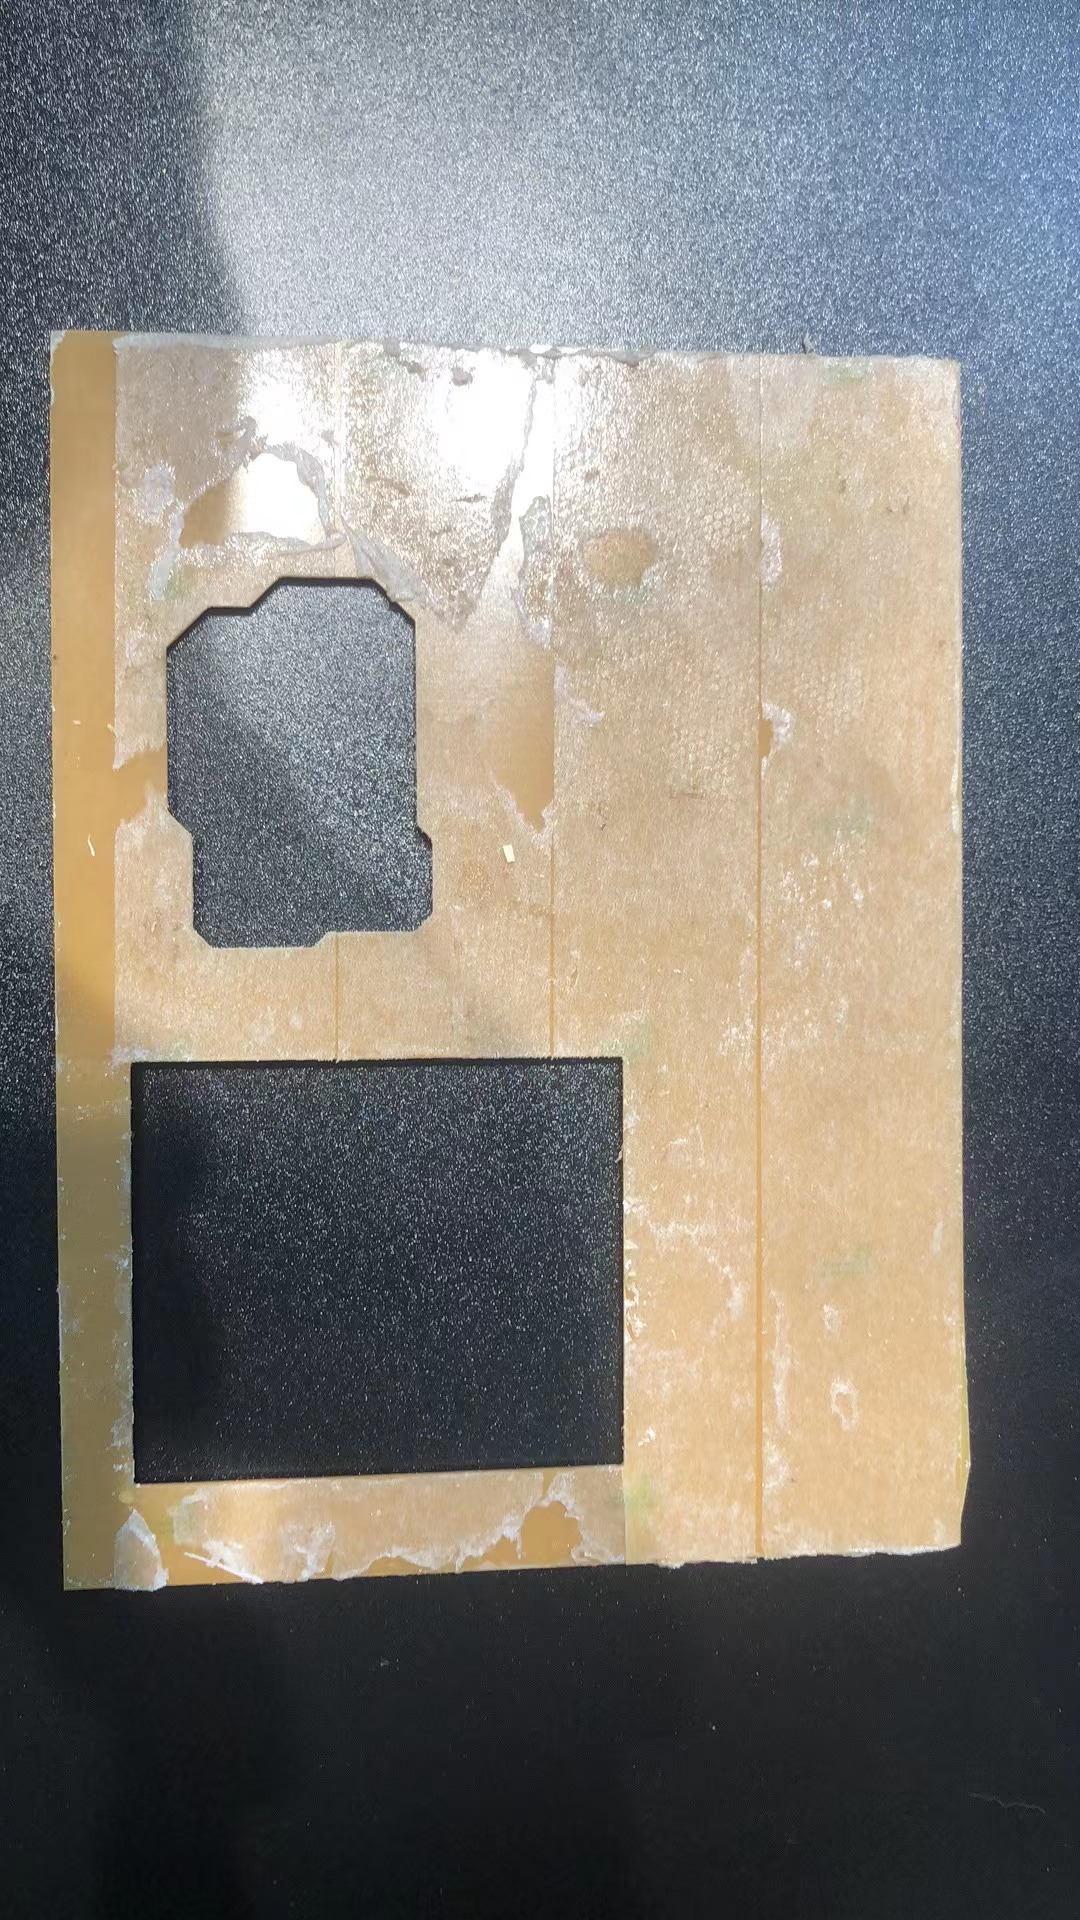
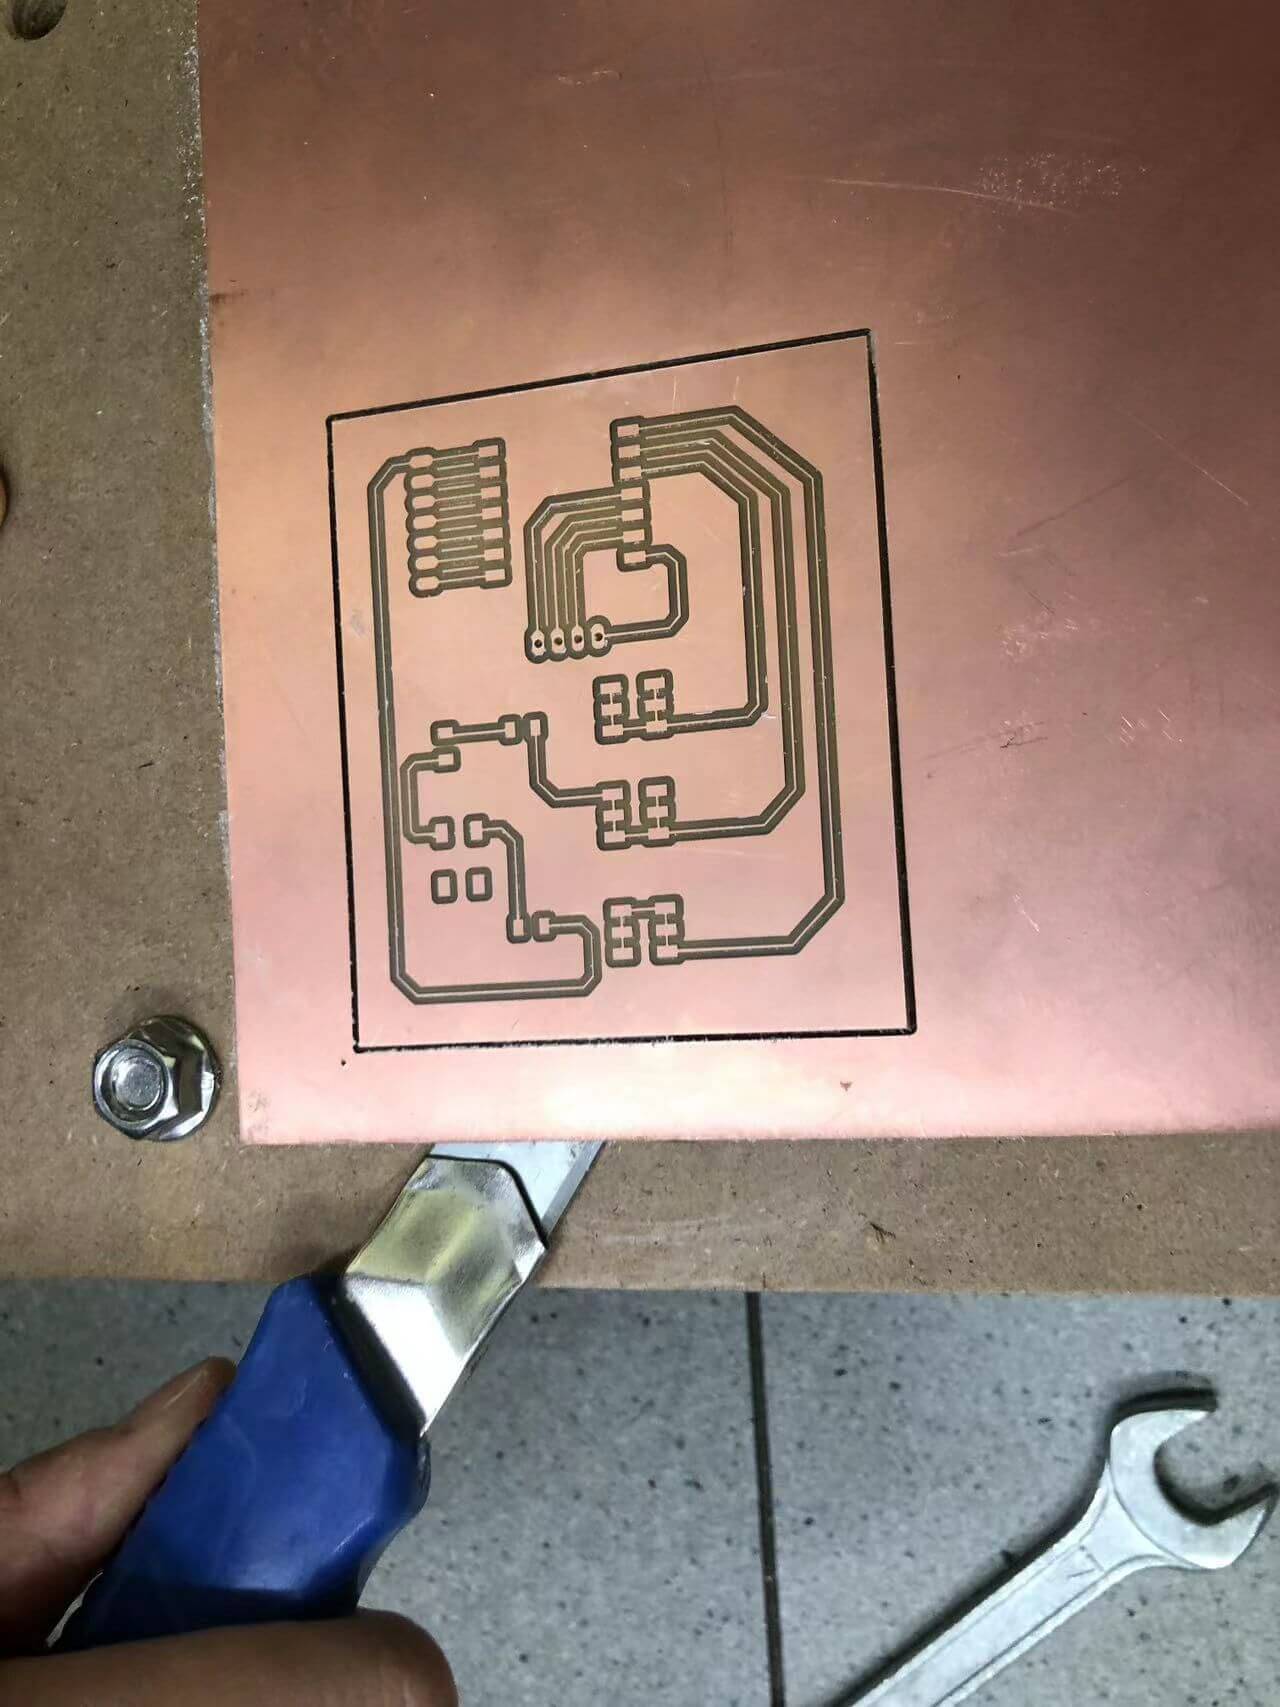
7. Below is the PCB cut by the machine, which belongs to me.
Individual assignments:
1.Make and test the development board that you designed to interact and communicate with an embedded microcontroller
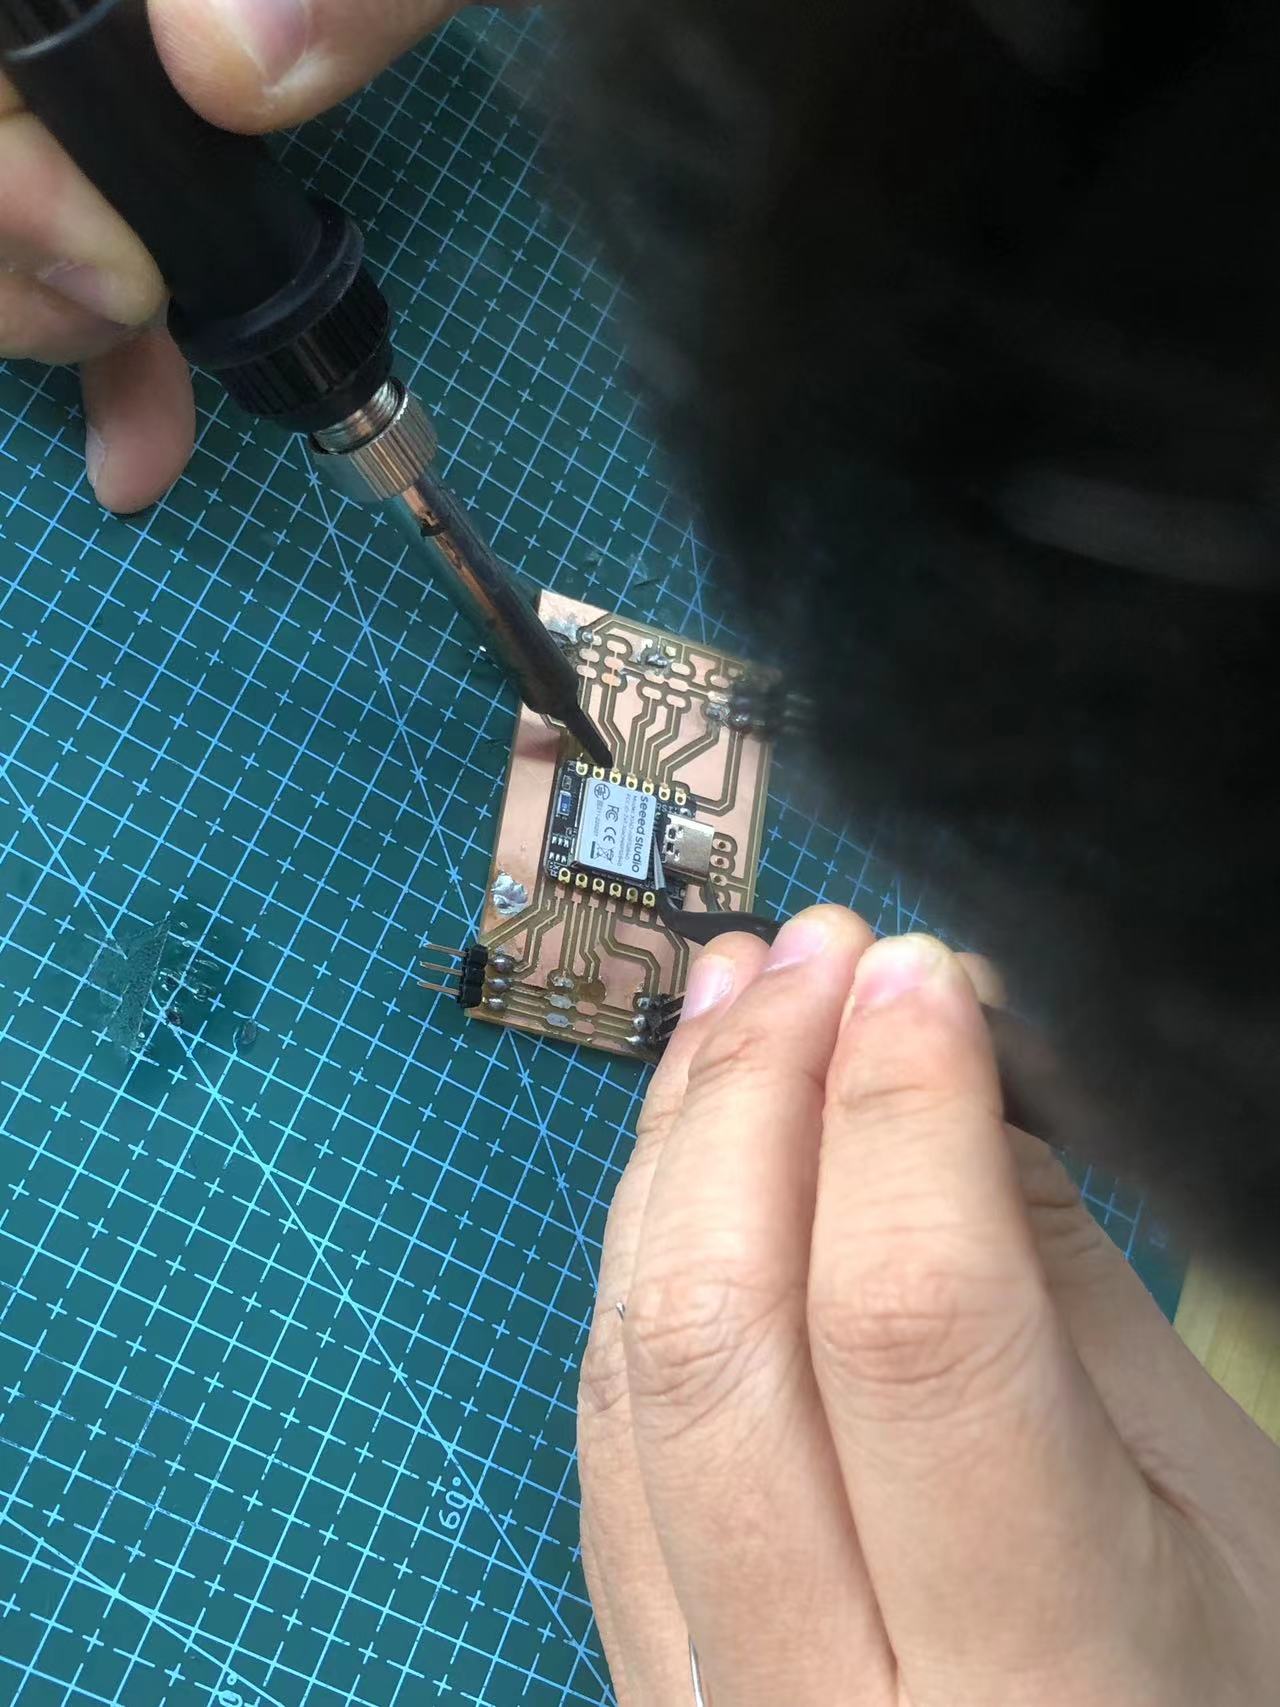
Soldering Microcontrollers
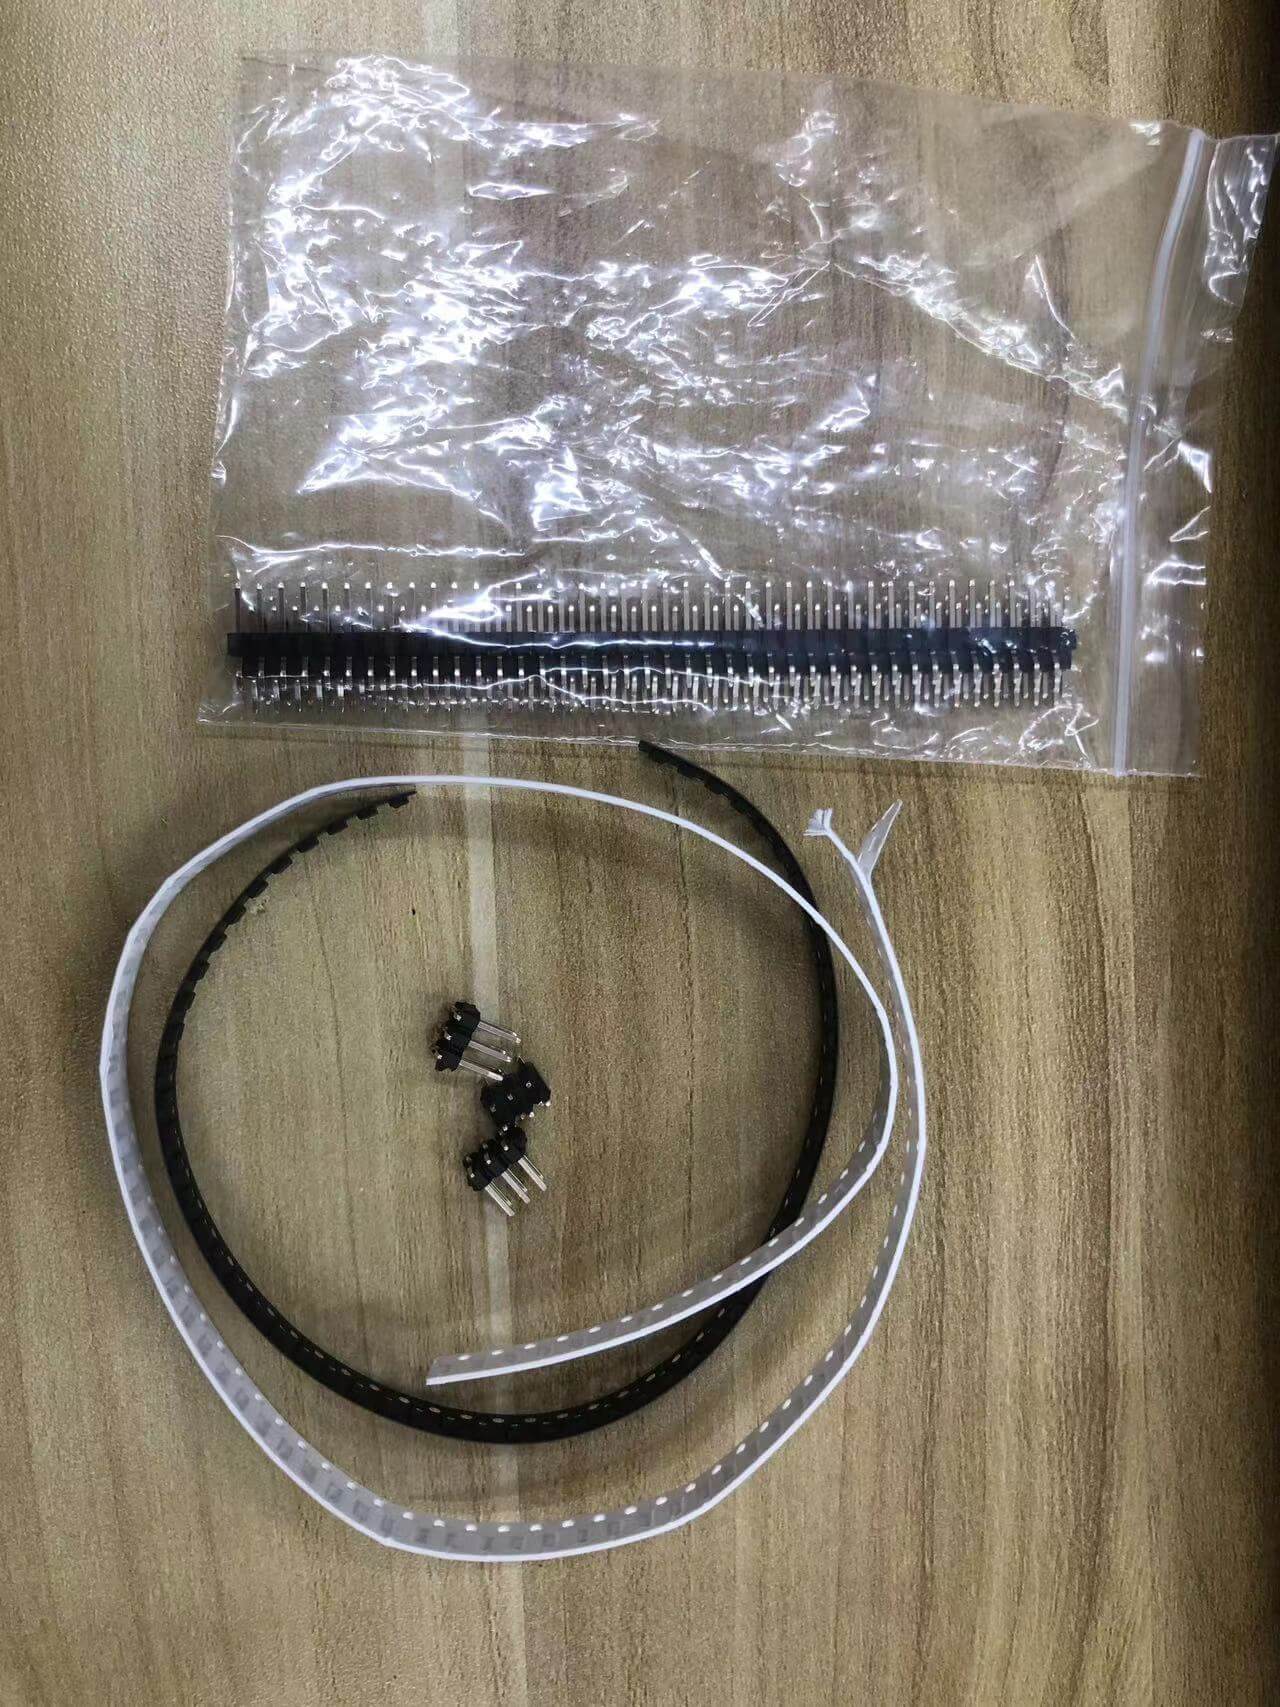
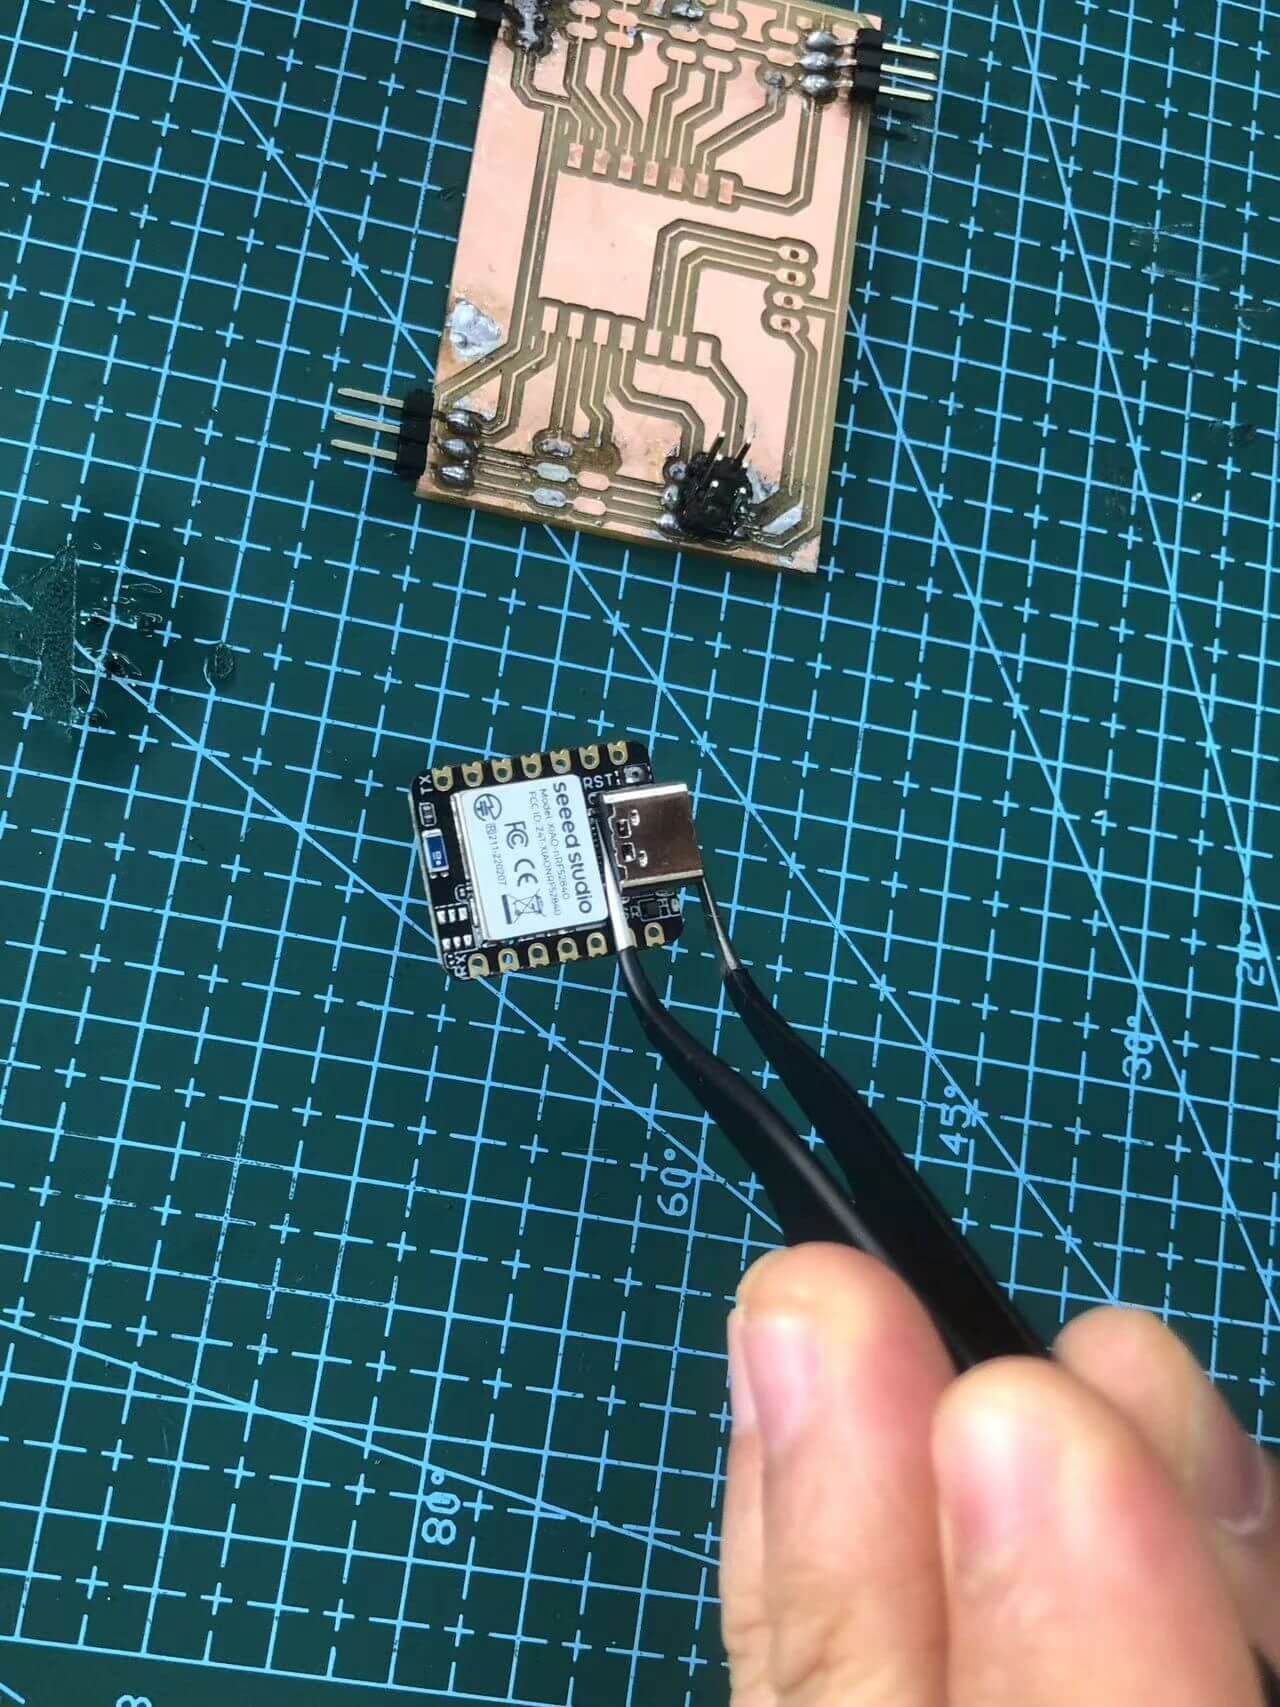
required parts
pinhead smd: 2*3P/x3 1*4P/x1 1*7P/x1, xiao development board x1, SMD switch/x1, LED/x1, Resistor: 1K/x1 0K/x1
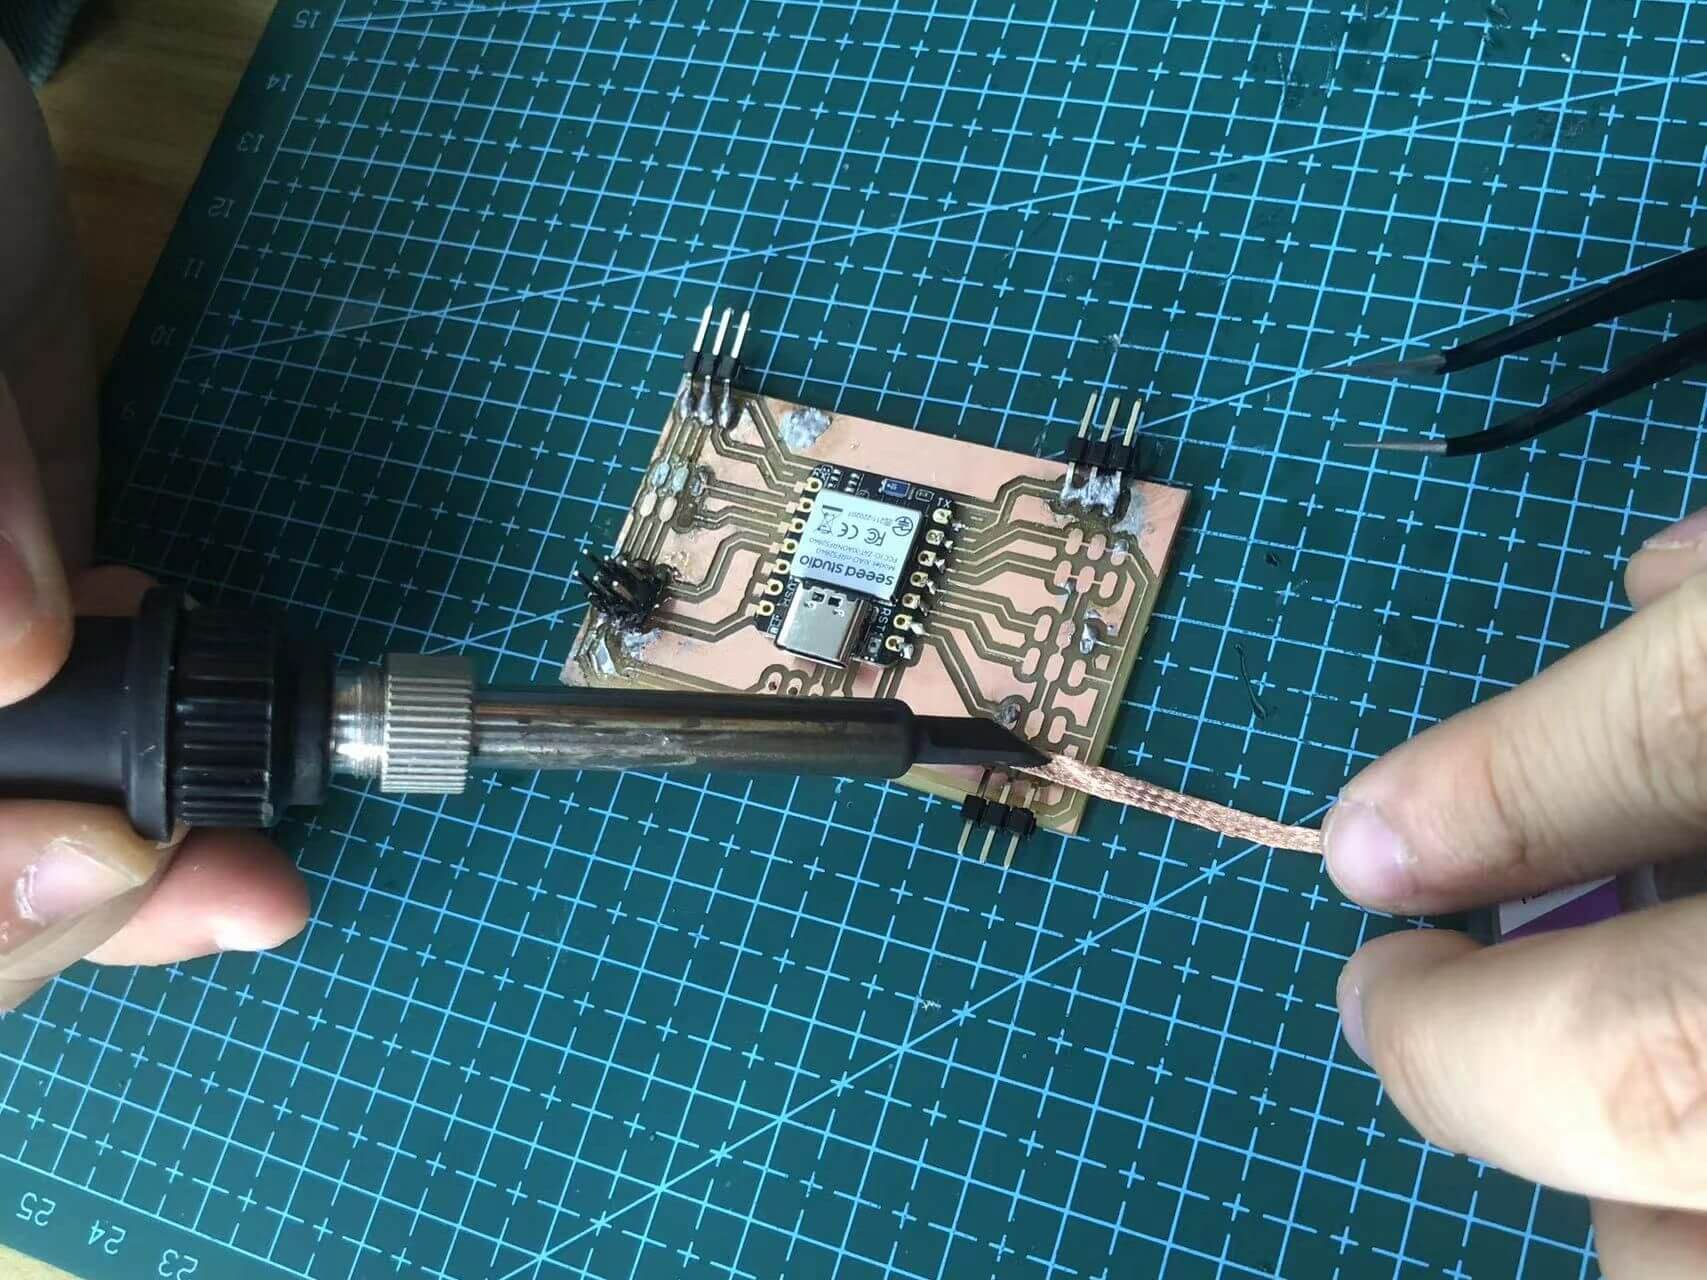
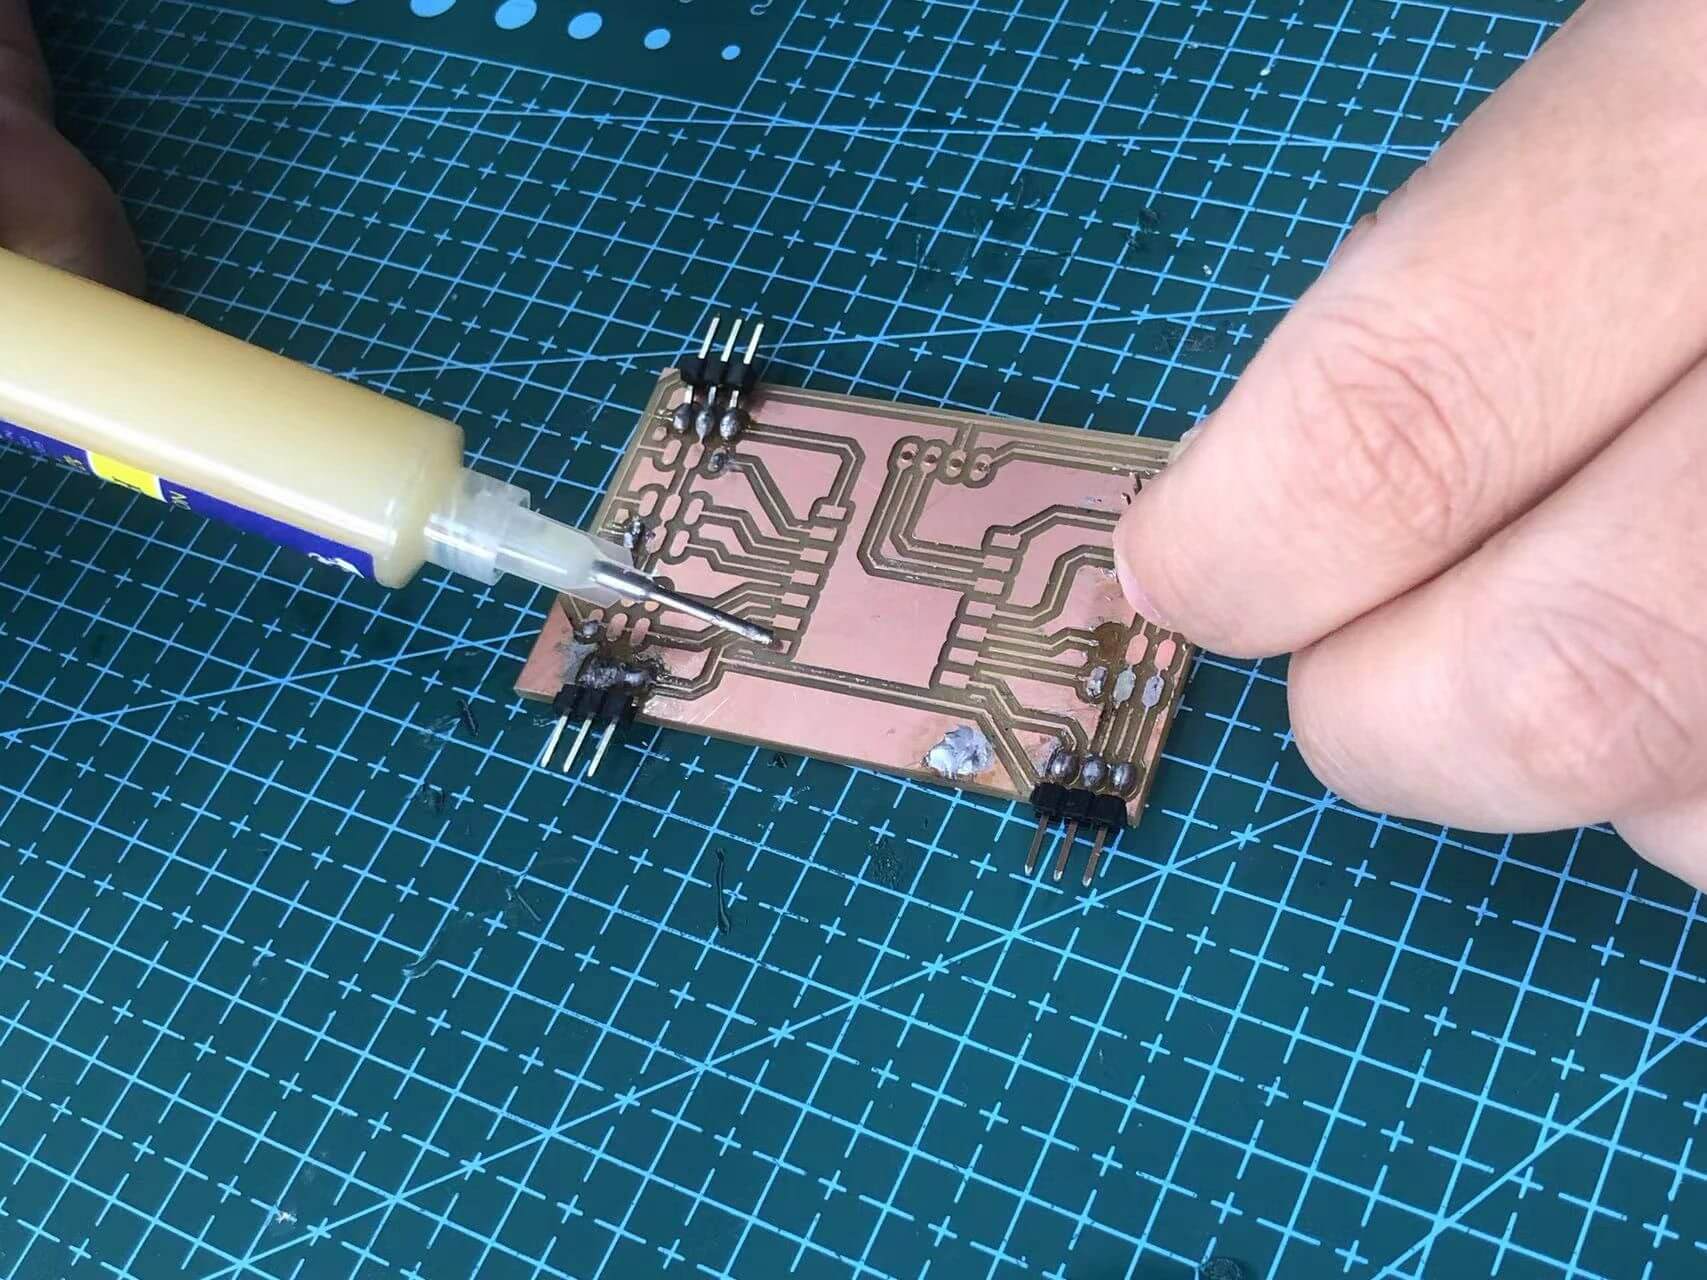
welding
1. Stick a little solder paste on the copper board. (The solder will choose the more viscous one of the copper plate and the welding torch to absorb)
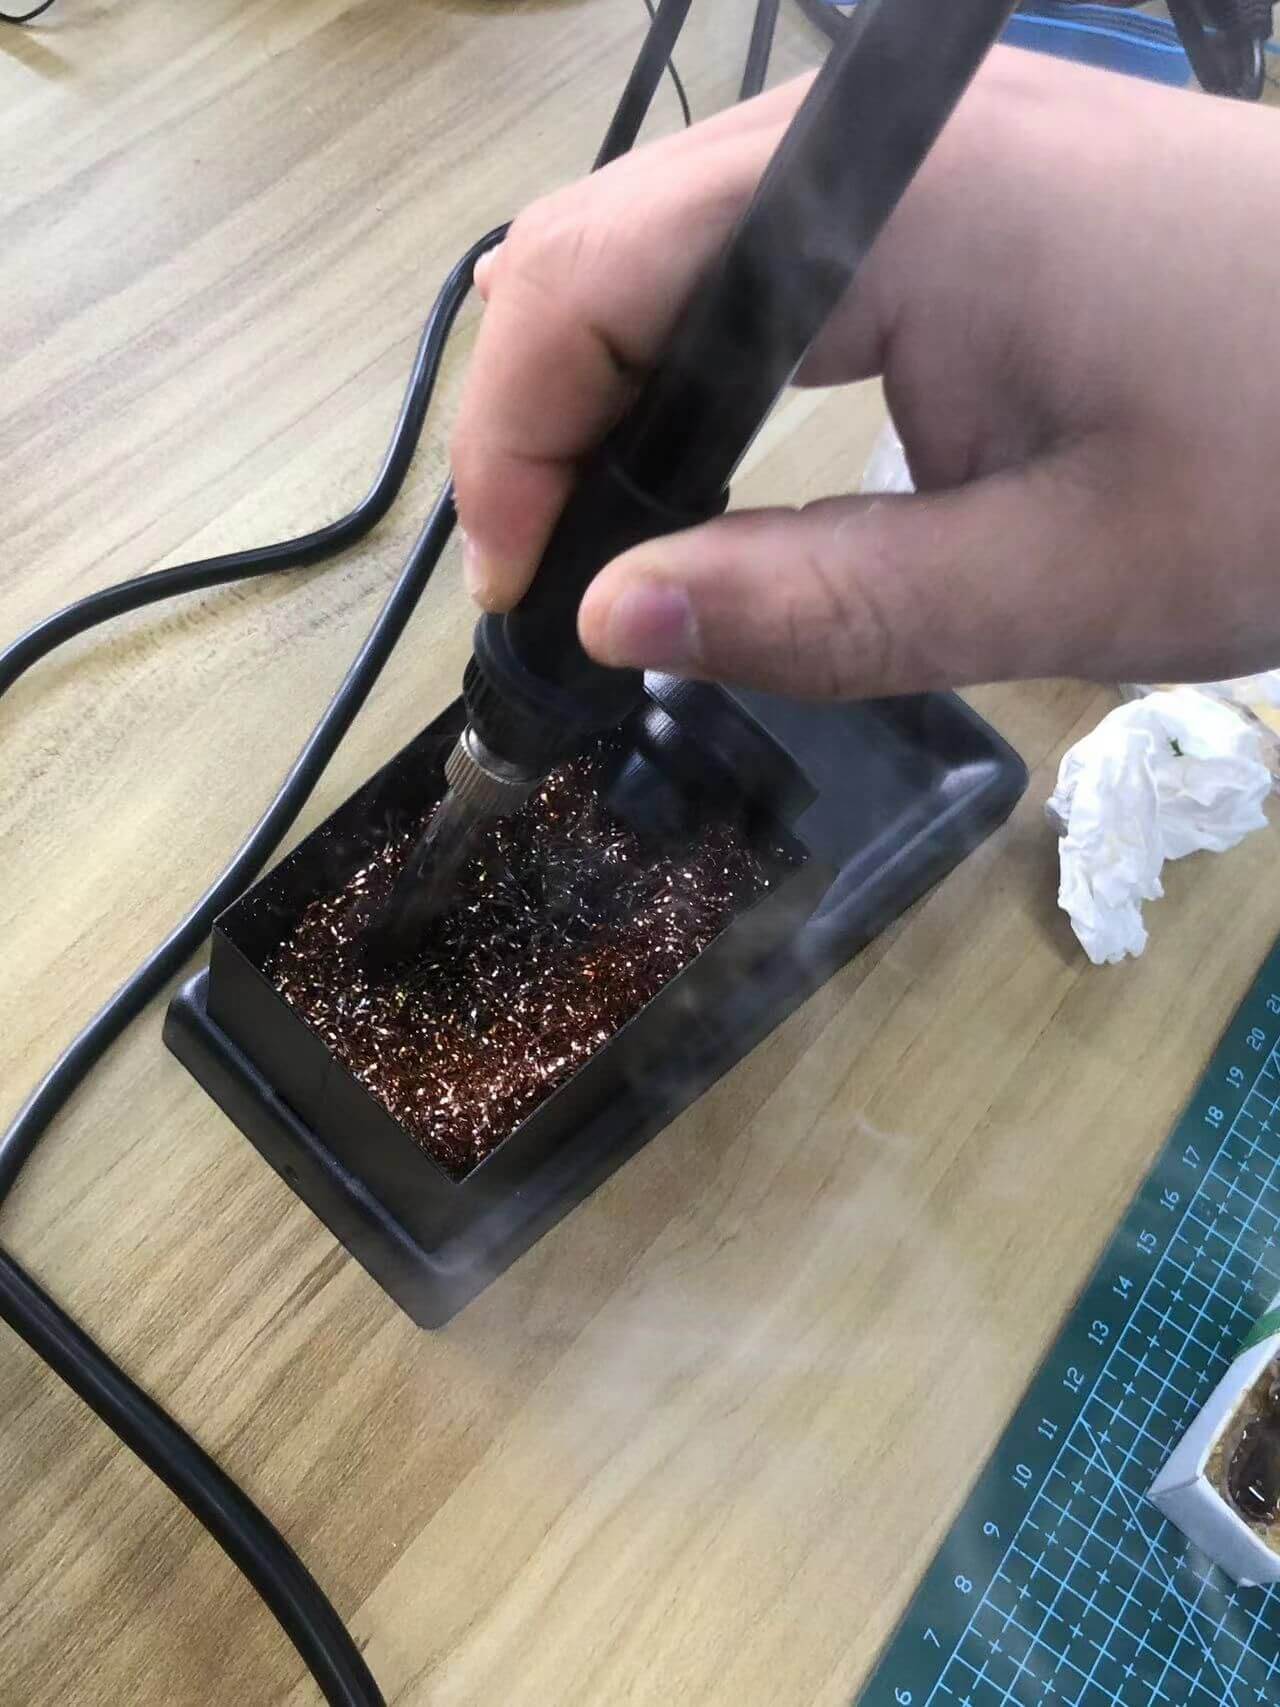
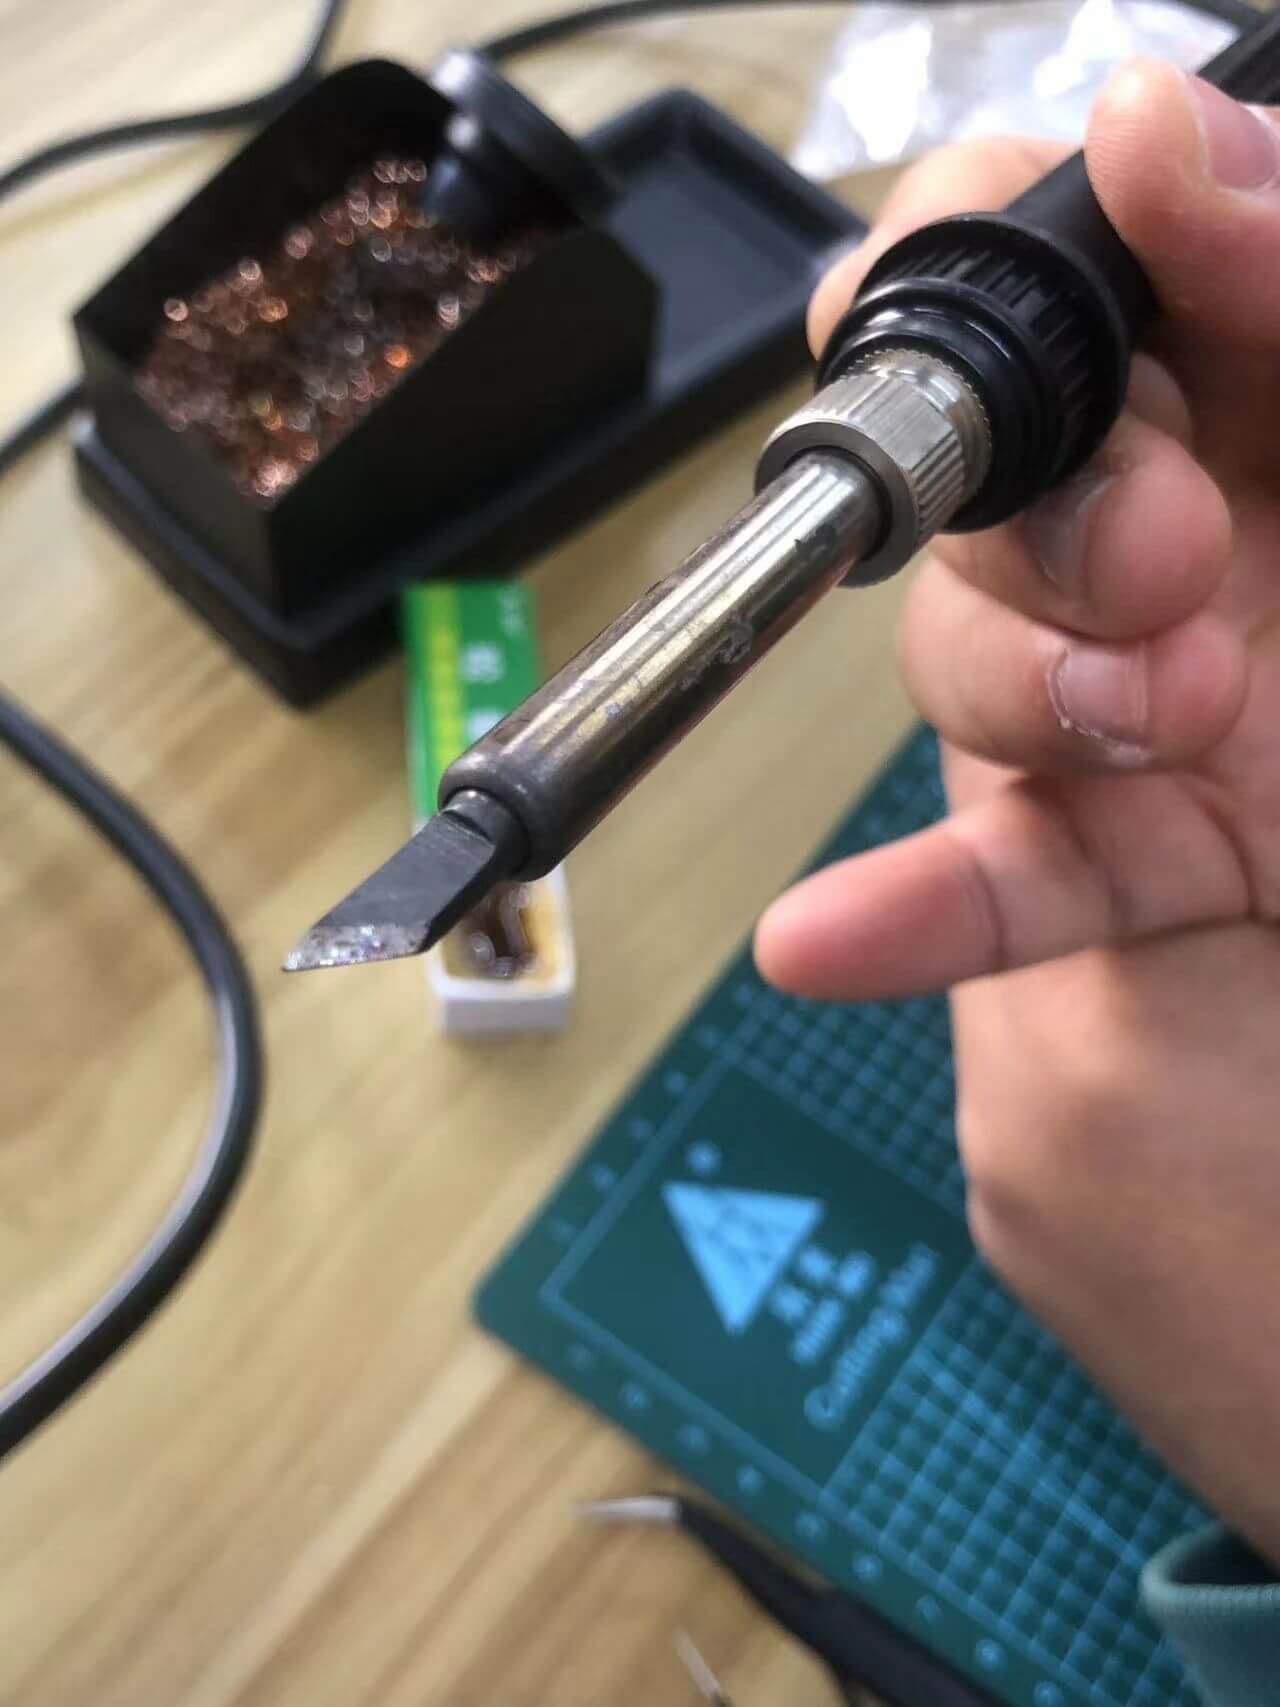
2. Heat up the soldering iron and clean the tip.
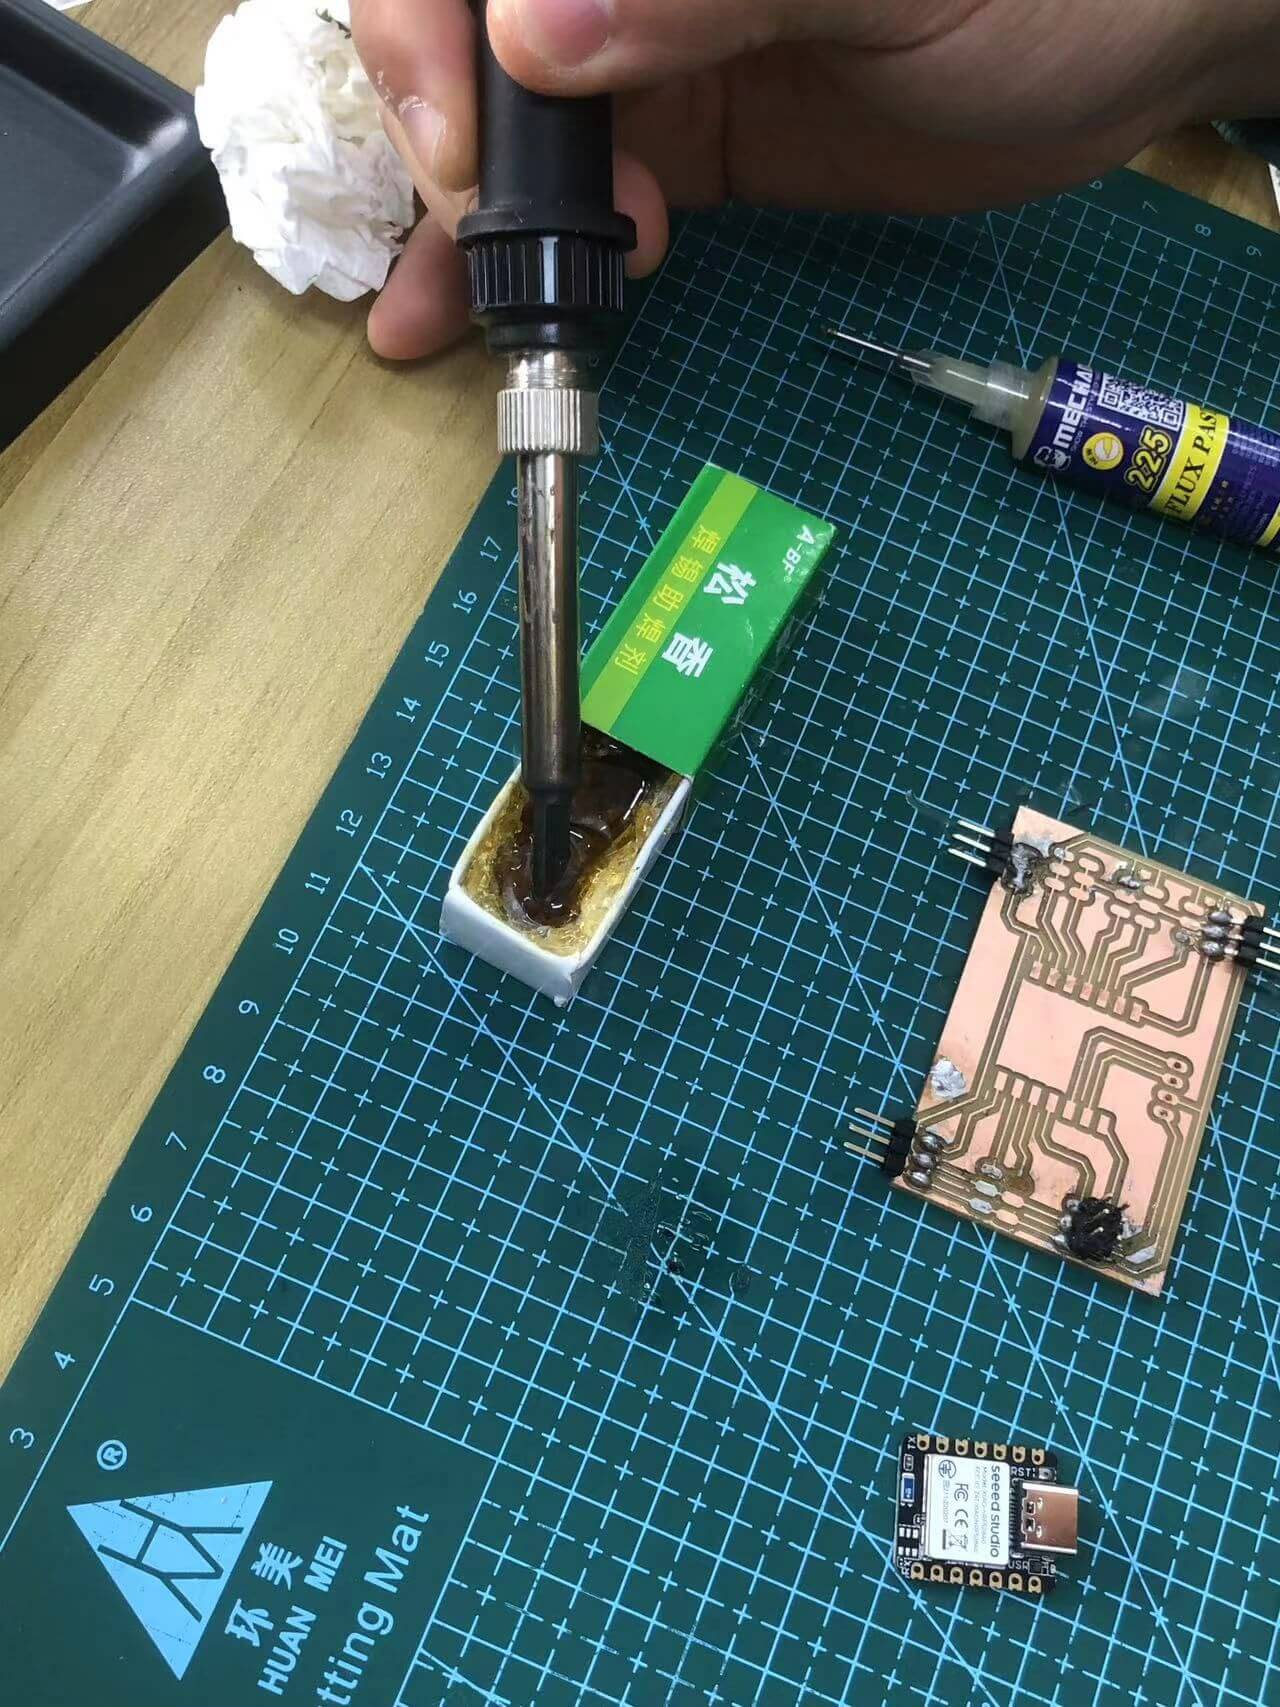
3. Turn the temperature to 350 degrees, and add a little solder on it at the same time,
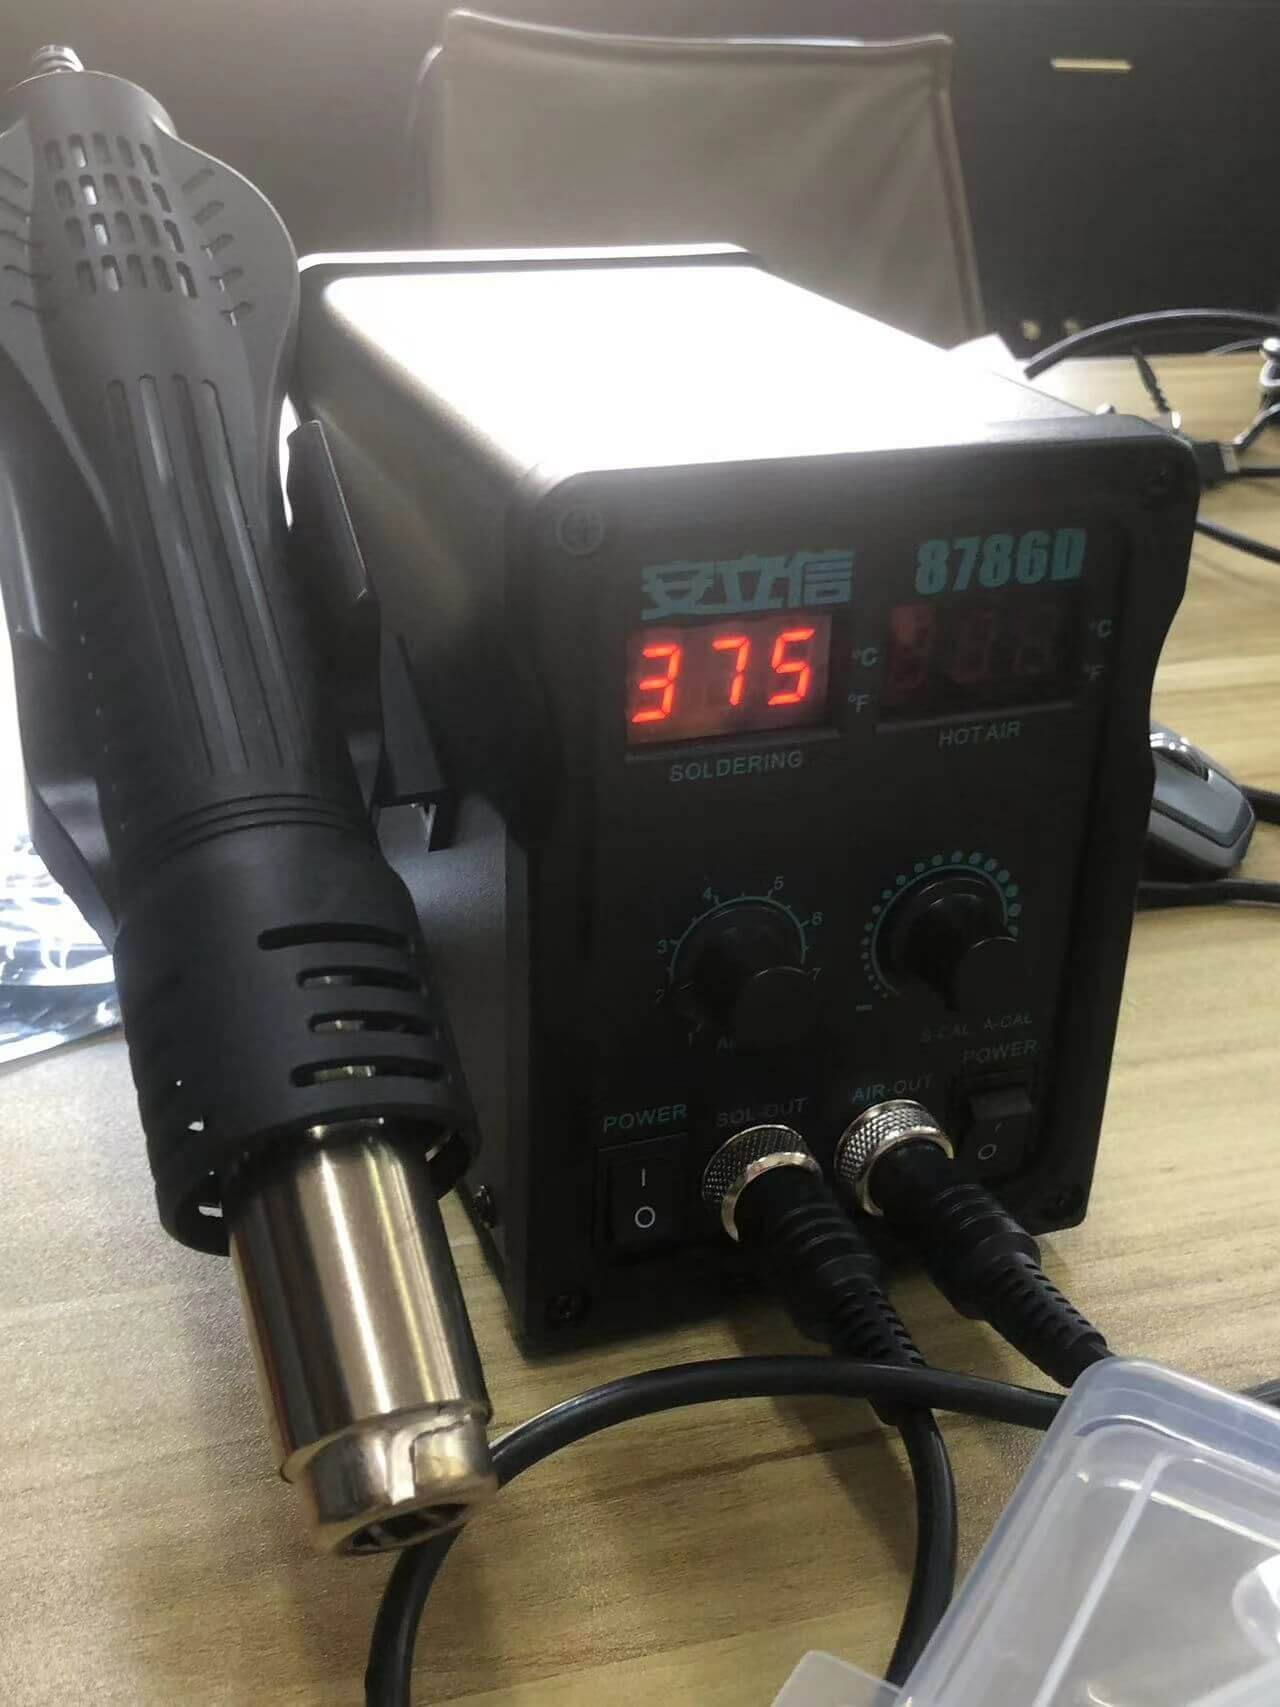
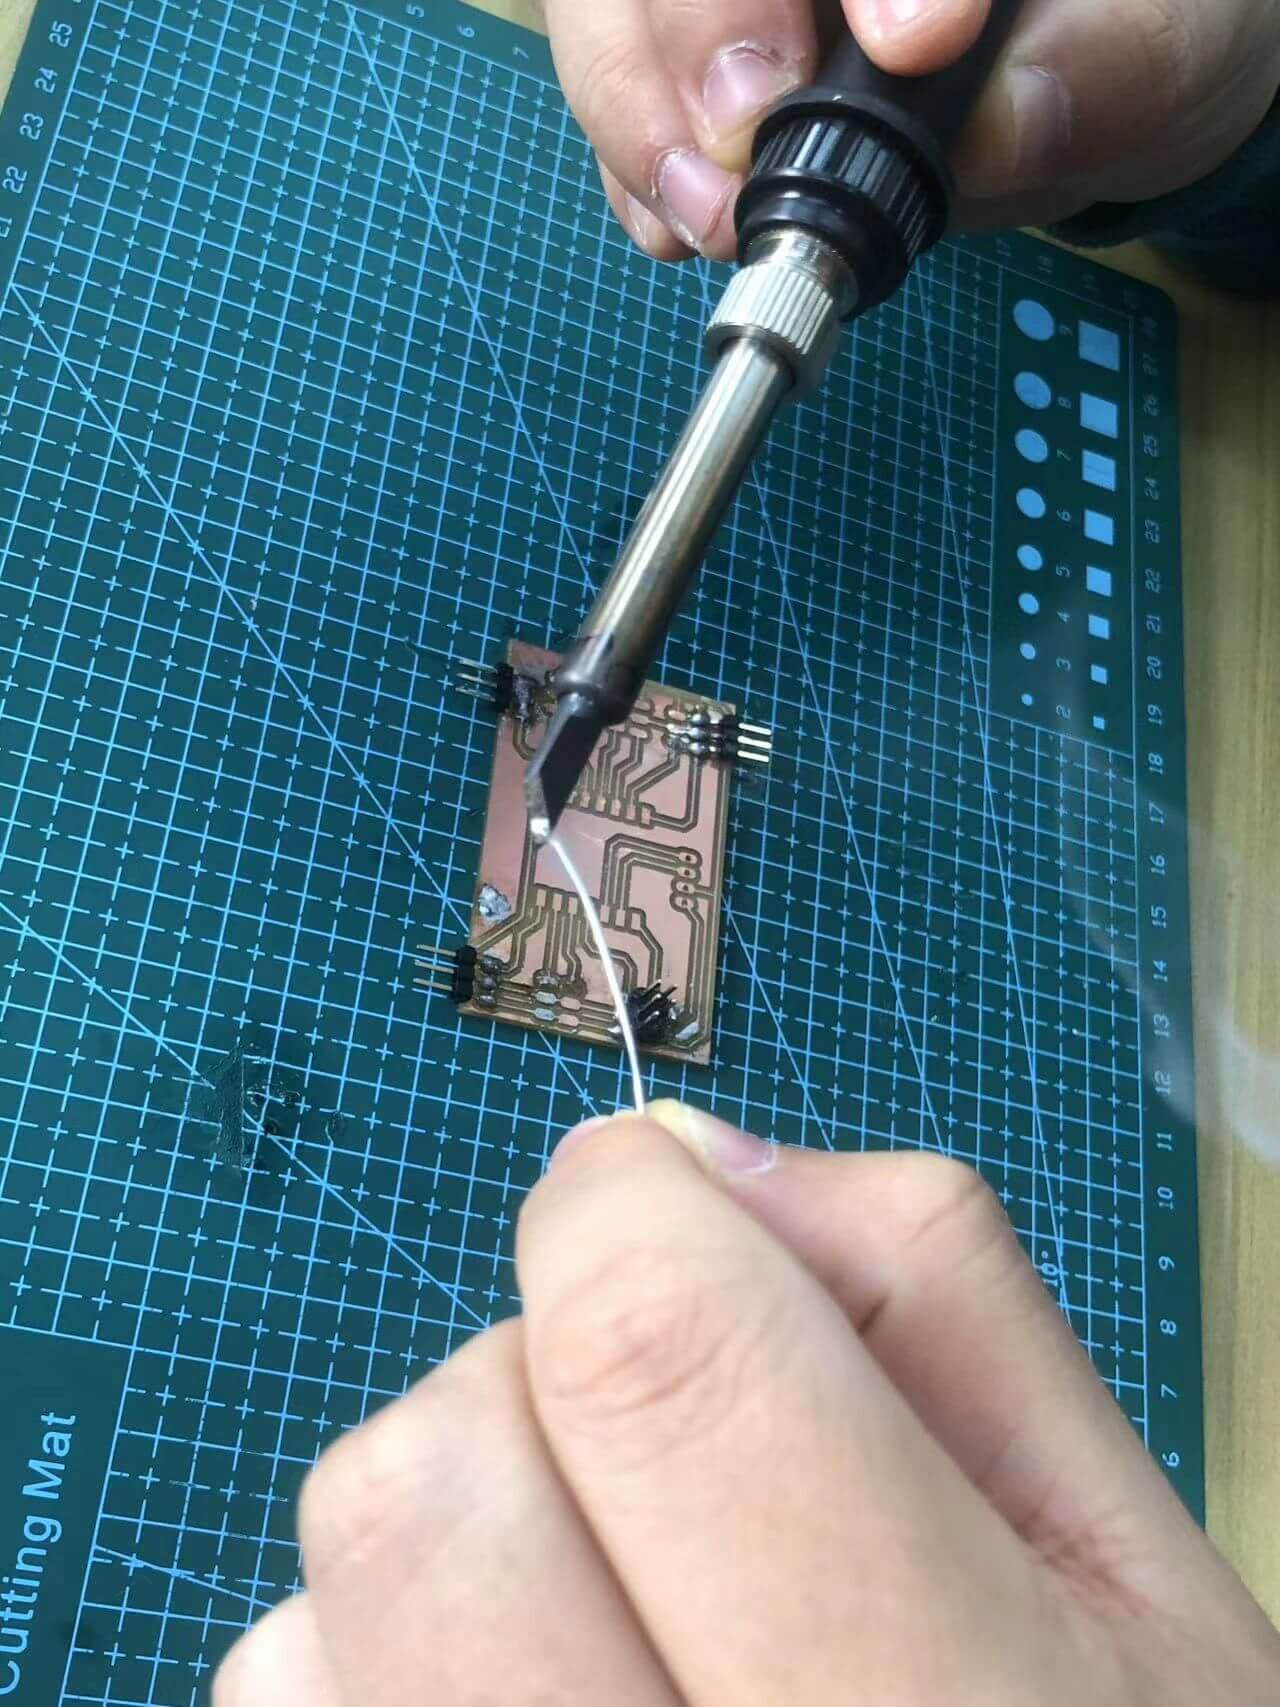
3. Touch the solder tip lightly to the copper plate, it will automatically solder
4.I accidentally damaged my first PCB through soldering, so I proceeded to cut a new PCB.
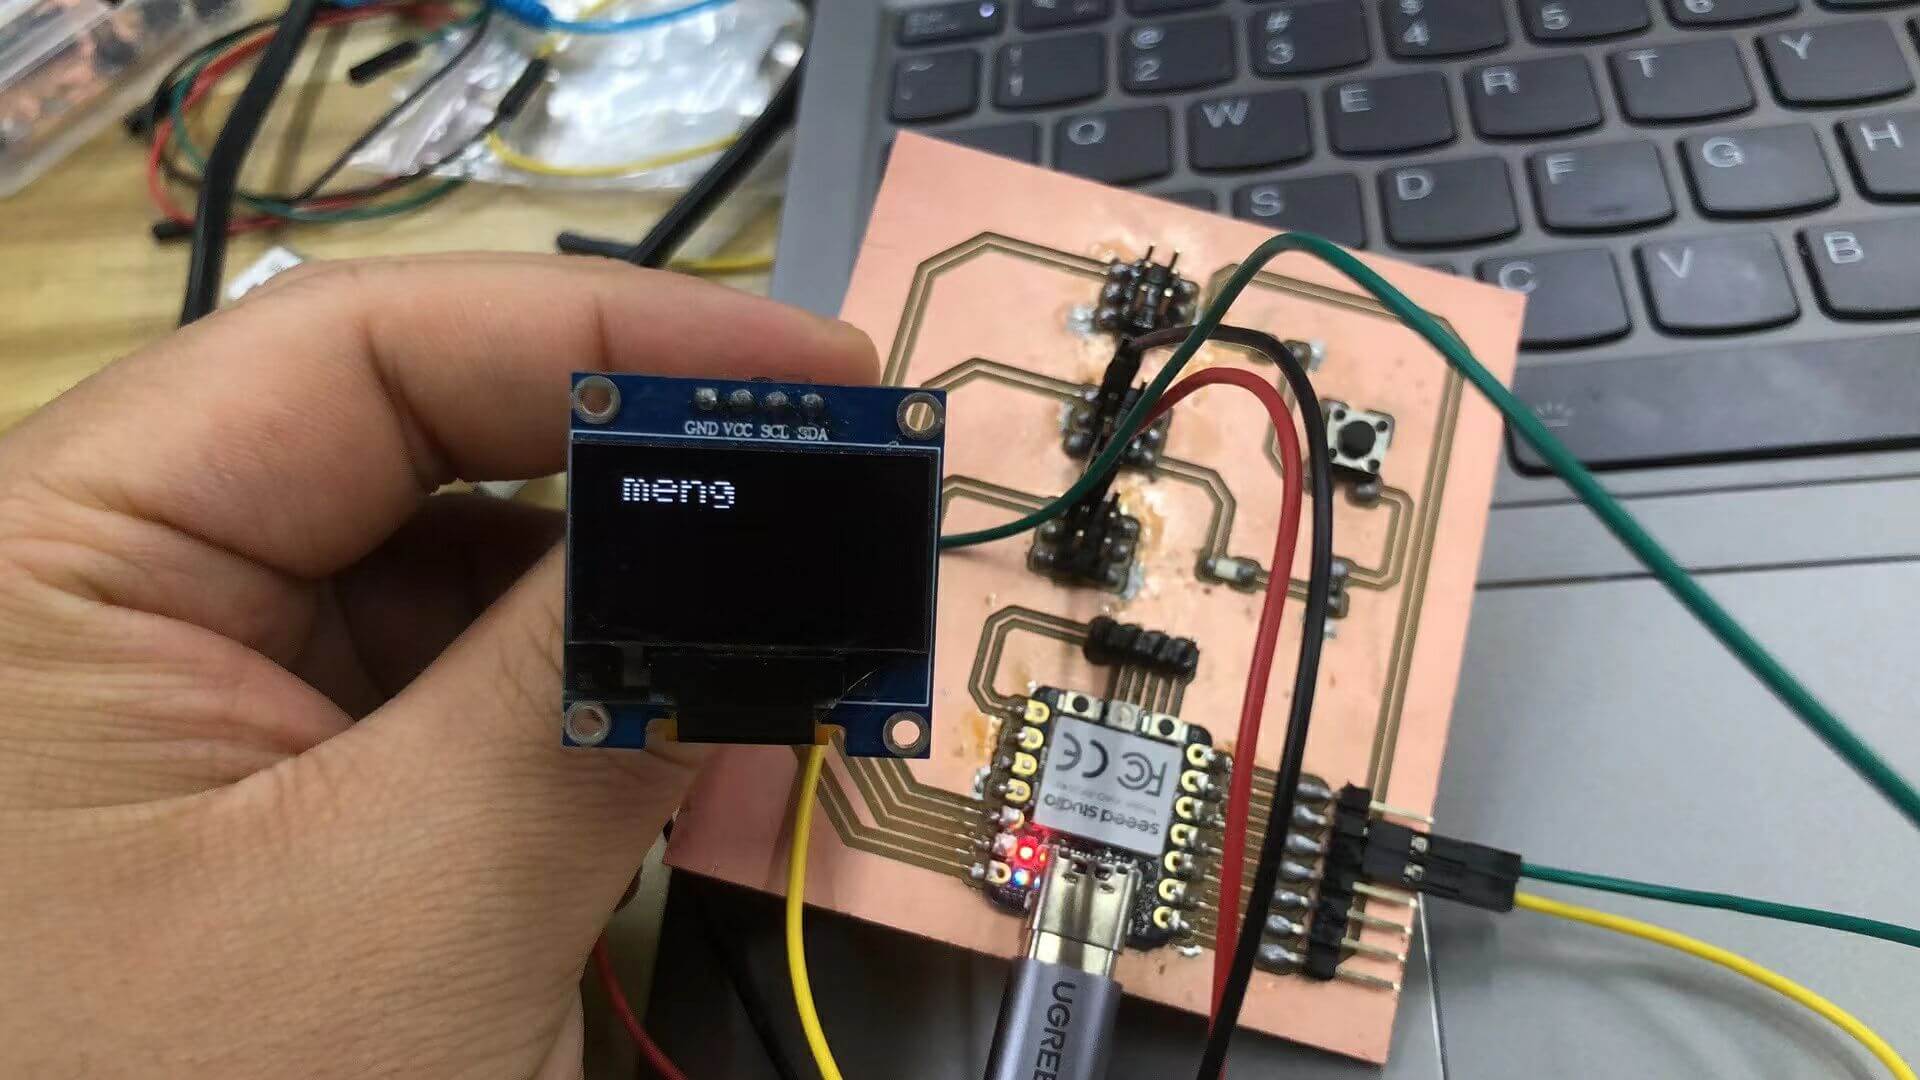
5. I connected a screen to the PCB and displayed my name to demonstrate that the PCB is functioning correctly.
Downlod Links
OLED screen codeExisting problems
1. I desoldered my PCB incorrectry so I broke board.
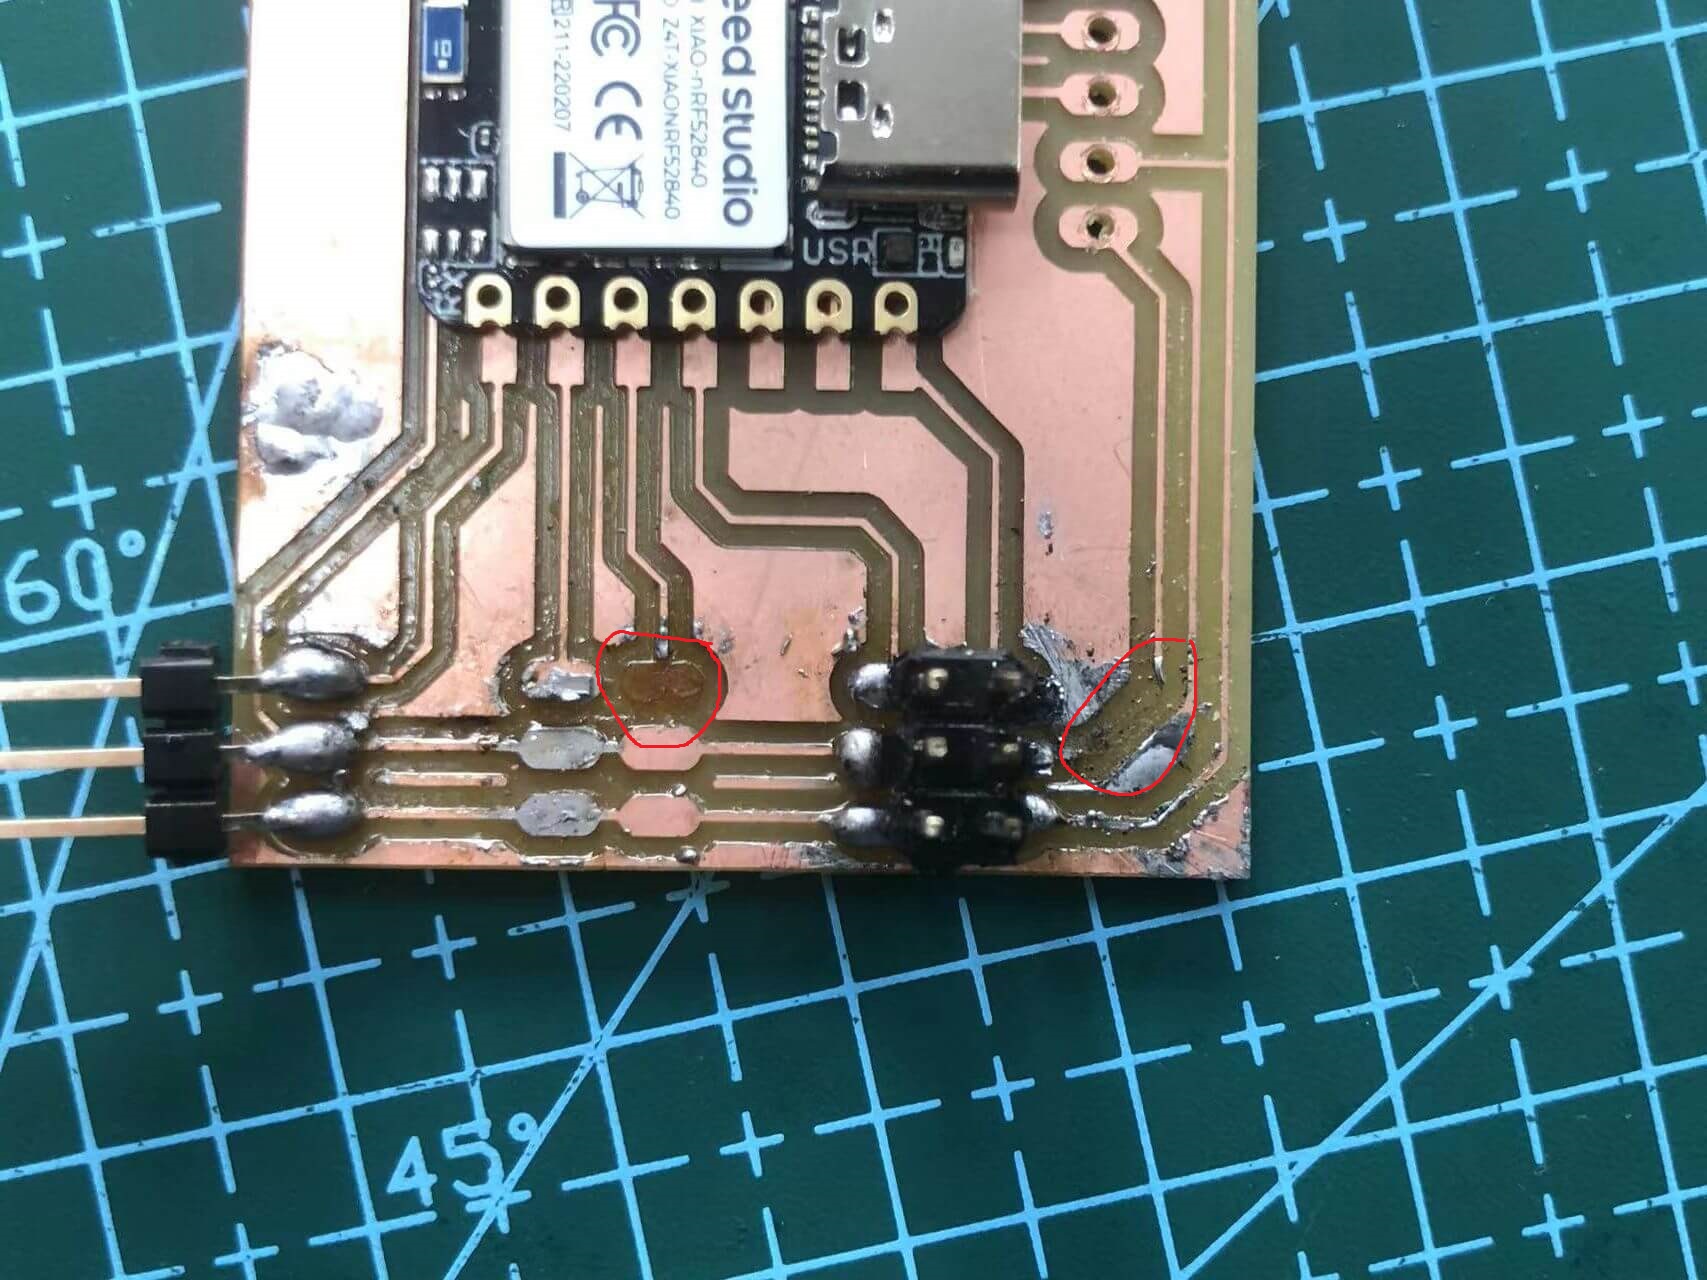
second edition
1. Correct use: tin strip, tin suction device, heat gun.