Computer Aided design
Two weeks of Fab Academy! I studied KeyShot 11, Adobe Illustrator 2020 and Autodesk Fusion 360.
ASSIGNMENTS FOR THIS WEEK
- Evaluate and select 2D and 3D software
- Demonstrate and describe processes used in modelling with 2D and 3D software
Software selection ceremony, Adobe Illustrator 2020 and Autodesk Fusion 360
1. This week I learned KeyShot and tried to use KeyShot for rendering. KeyShot is a product rendering software. It has a lot of built-in material libraries, which will save me a lot of work. At the same time, KeyShot does not require high computer running space and configuration, so I like to use KeyShot
1.1 Below are my results.

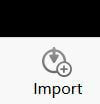
2.1 Import the model you want to render
2.2 After importing the model, you must check keep individual parts in the materials ang structure option, otherwise your sub-layers will be automatically merged together, which will not be conducive to your individual editing of the model.

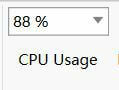
2.3 Set the maximum amount of CPU usage you allow KeyShot to take up on your computer, which can reduce lag on your computer.
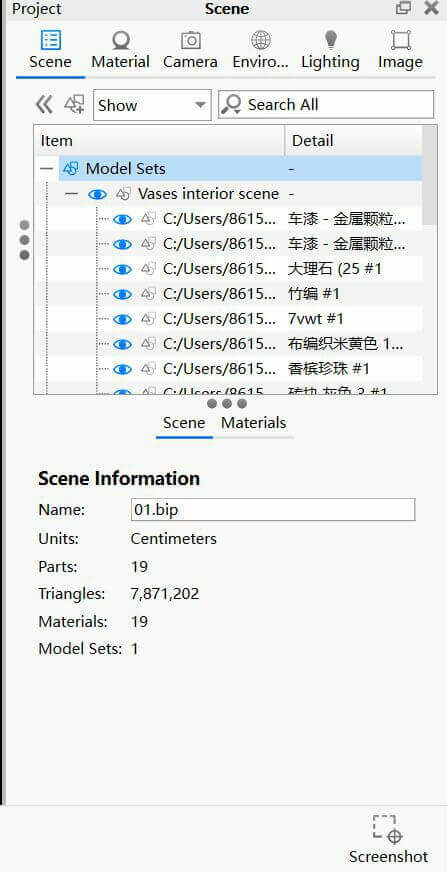
2.4 Here are your model layers, which contain the basic information of the model. At the same time, the order of the model layers is consistent with the order in your modeling software.
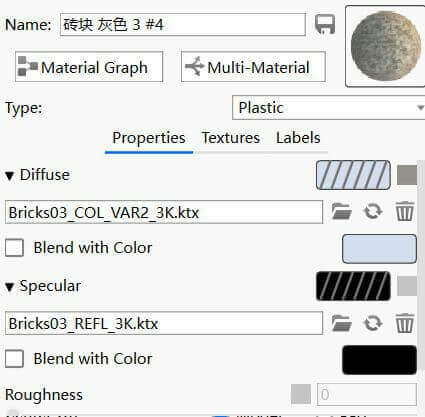
2.5 This is KeyShot's built-in material library. The built-in material library contains most of the materials used for rendering, such as metal materials, colored glass, cloth, wood, lights, ambient light, etc. You can create many renderings through KeyShot's built-in material library. .
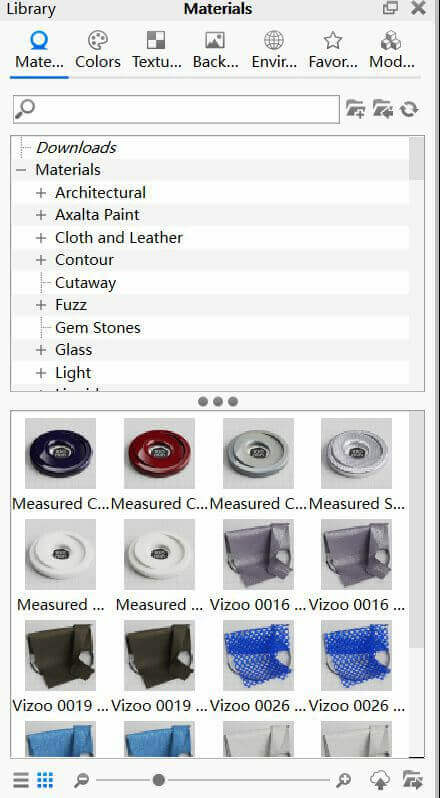
2.6 When you use a material, you can make some basic edits to it, such as color, roughness, reflection, and transparency.
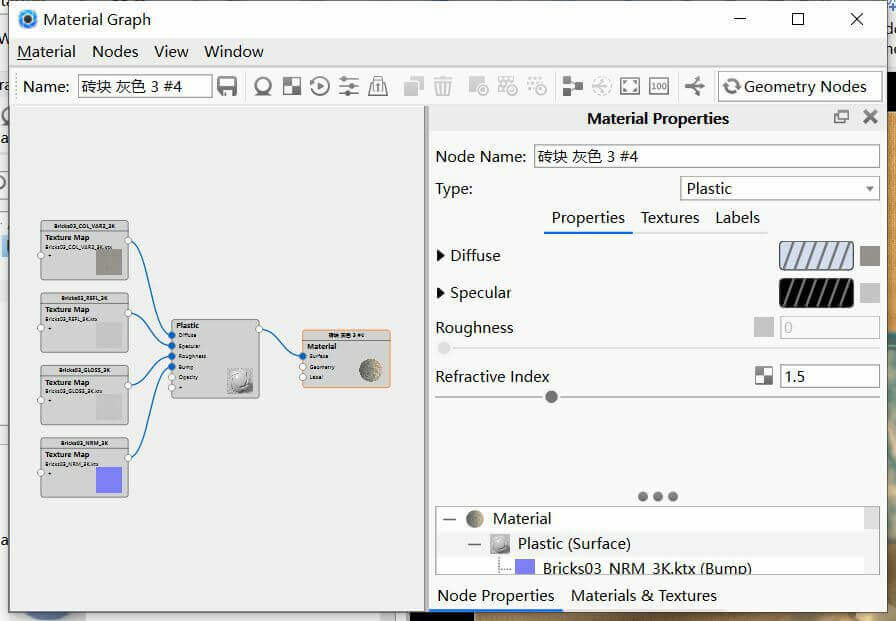
2.7 You can also use KeyShot's node editor to edit materials.
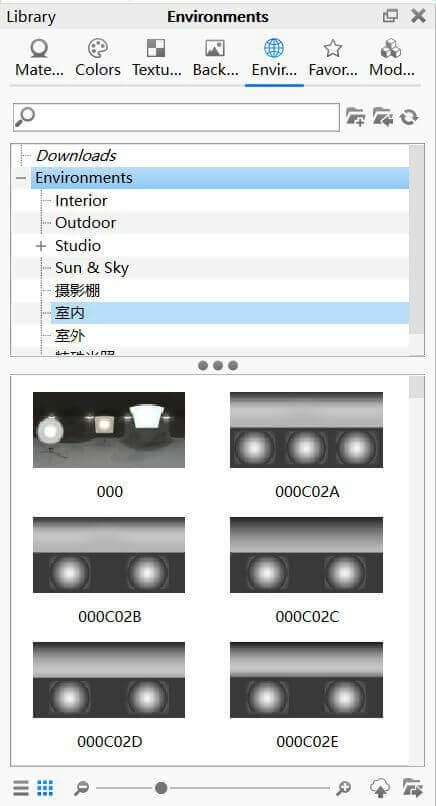
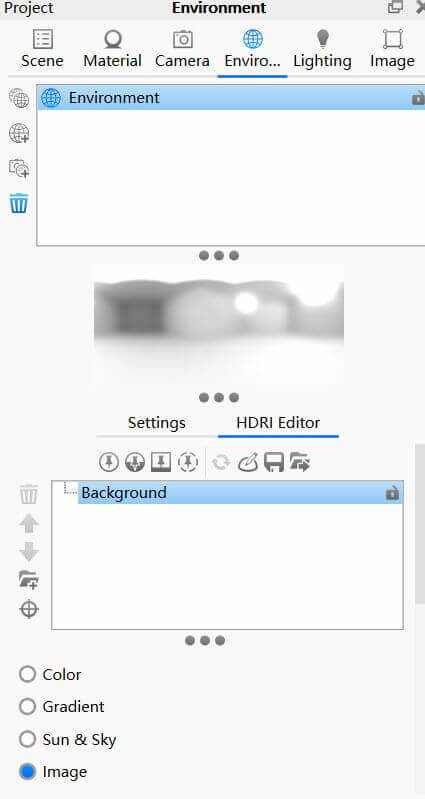
2.8 In the KeyShot ambient light option, you can choose different ambient lights, and you can also add light sources to the ambient light to supplement the lighting for the model.
Autodesk Fusion 360
1. I am learning to use Fusion 360 this week. Fusion 360 is a very useful modeling software.
I compared Cinema 4D, Fusion 360 and Rhino 7. I found that Fusion 360 has features that the other two software don't. These features will reduce a lot of unnecessary work.
For example:
a. Although Cinema 4D can edit free-form surfaces and has many surface editing tools, Cinema 4D does not have the same convenient parametric design and historical records for each step of the model production process as Fusion 360, so when using Cinema 4D You will face a lot of repetitive work, which is the reason why I did not choose Cinema 4D.
b.Rhino 7 is indeed very useful for making surfaces, but Rhino 7 requires you to manually copy and save the model, otherwise you will lose the previously changed model forever, and at the same time, it will also take up a lot of computer time in the process of manually copying and saving the model. memory, so I ultimately chose to use Fusion 360.
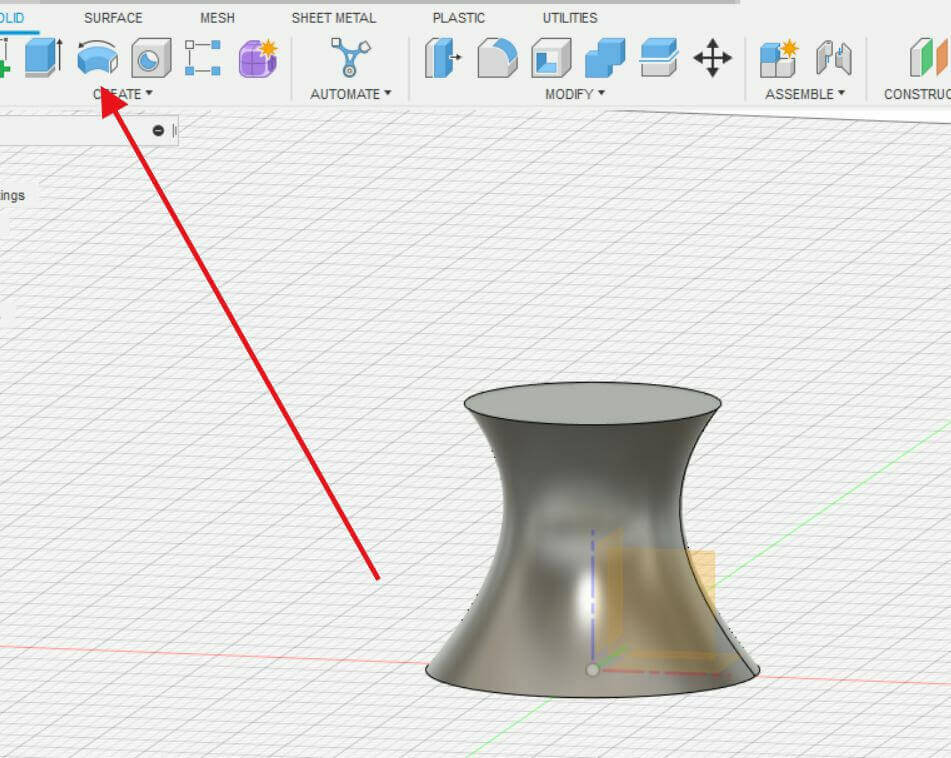
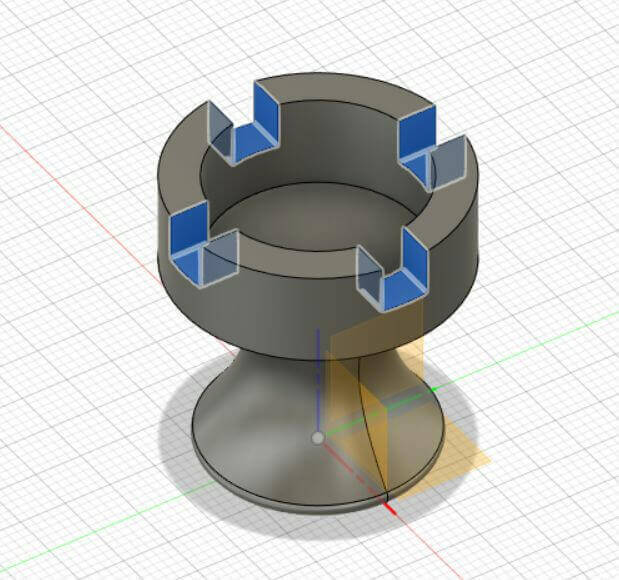
1.I created a chess piece using Fusion 360. Here is my result.
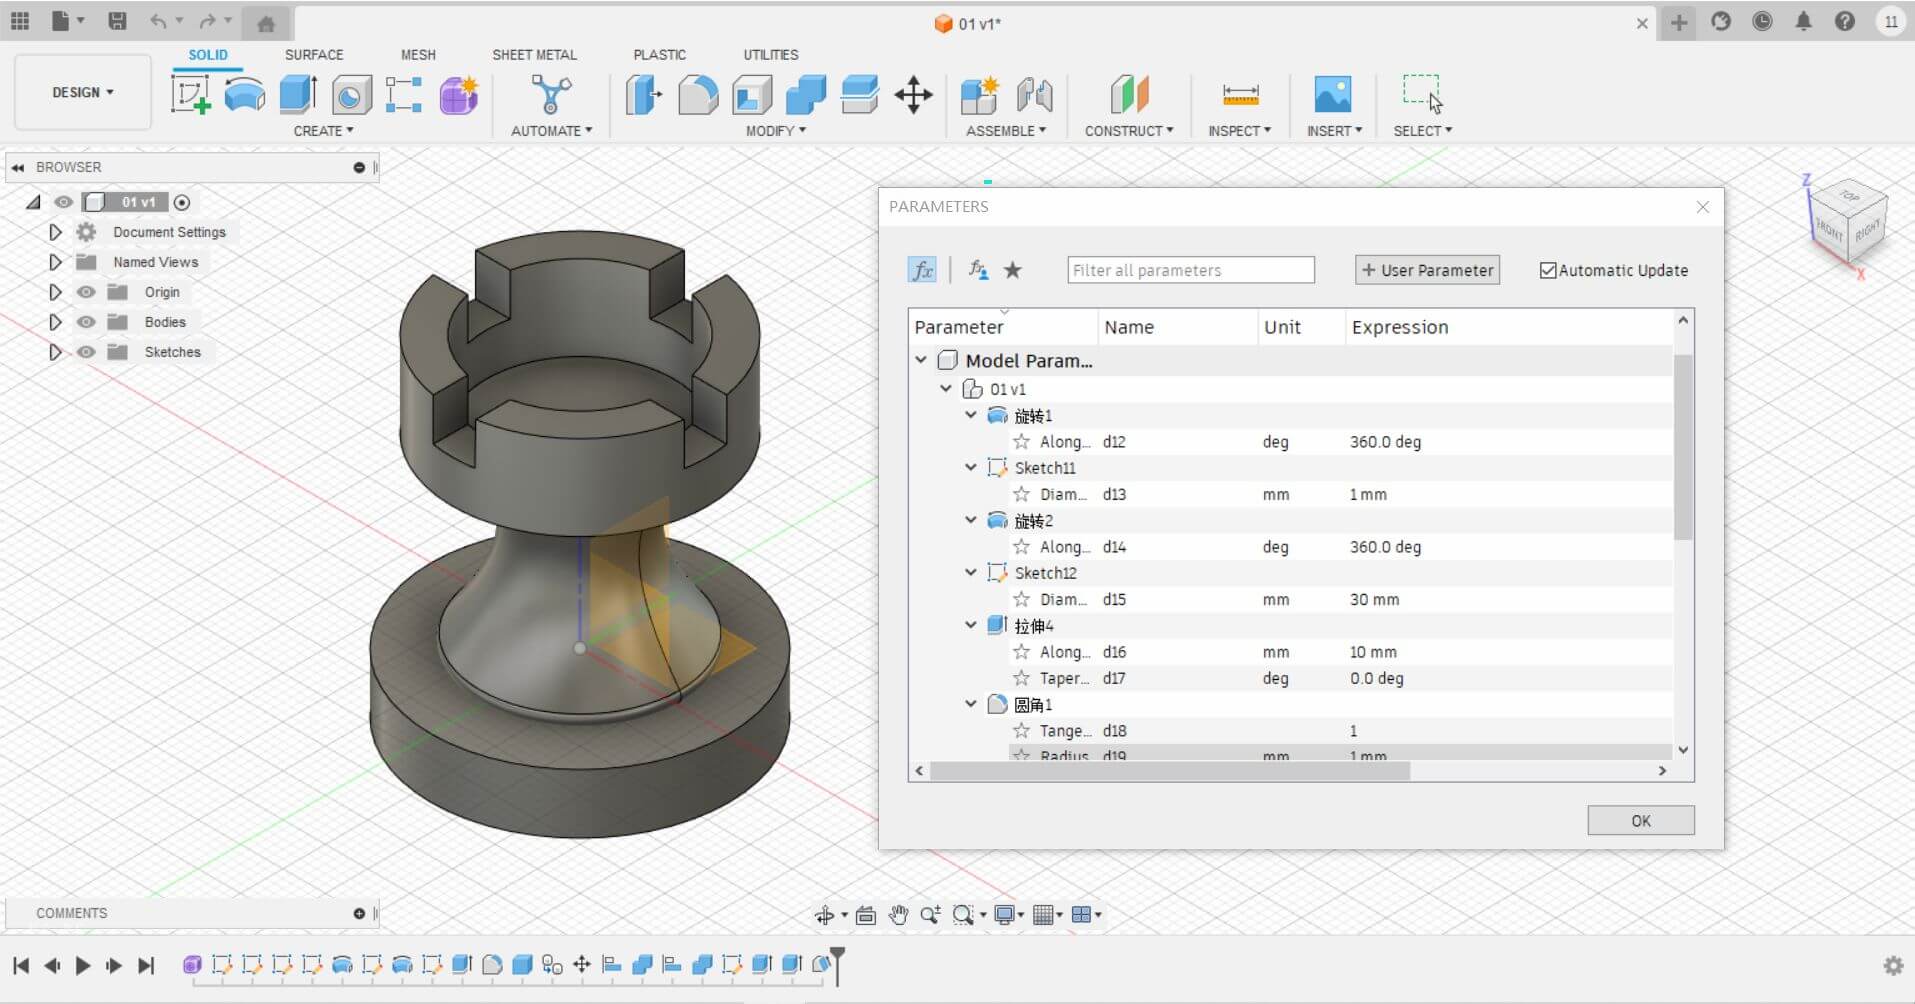
2. Below is my modeling process
2.1 I used the 'Create Sketch' tool to make a sketch, which helps in managing each item I created.
2.2 I utilized the 'Freeform' tool to draw the body of the chess piece.
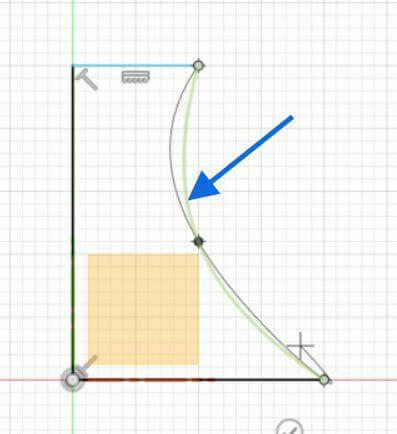
2.3 I used the 'Revolve' tool to transform the 2D spline into a 3D body, completing the body of the chess piece.
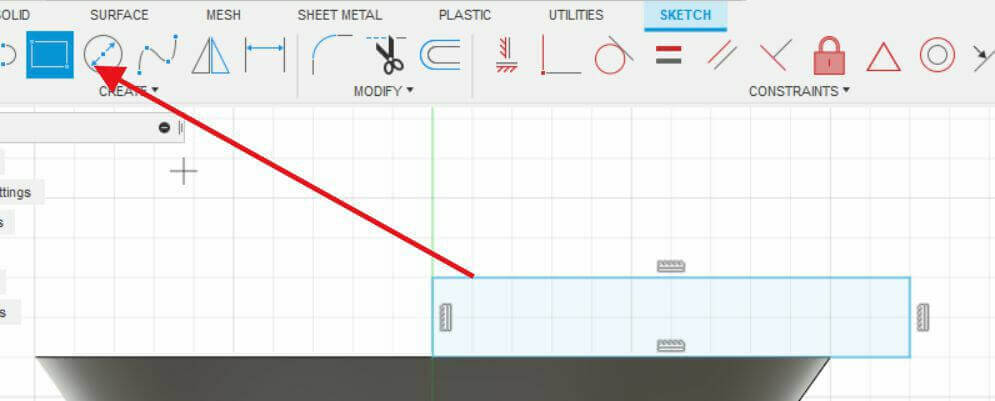
2.4Next, to create the head of the chess piece, I used the 'Create Sketch' tool to draw a rectangle with appropriate dimensions.
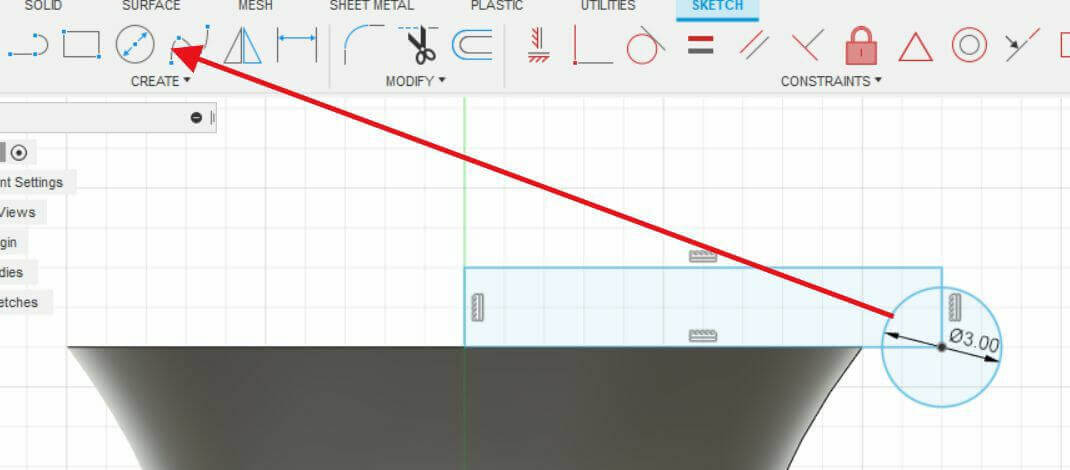
2.5 By using the 'Create Circle' tool and making it tangent to the rectangle, I created a notched rectangle. Then, using the 'Revolve' tool, I turned the 2D shape into a 3D entity, completing the connection part of the head.
2.6 Once again, I used the 'Create Circle' tool to make the circular part of the head. Then, using the 'Extrude' tool, I extruded the circle to create a cylindrical shape, forming the base of the head. Next, I will make some modifications to it.
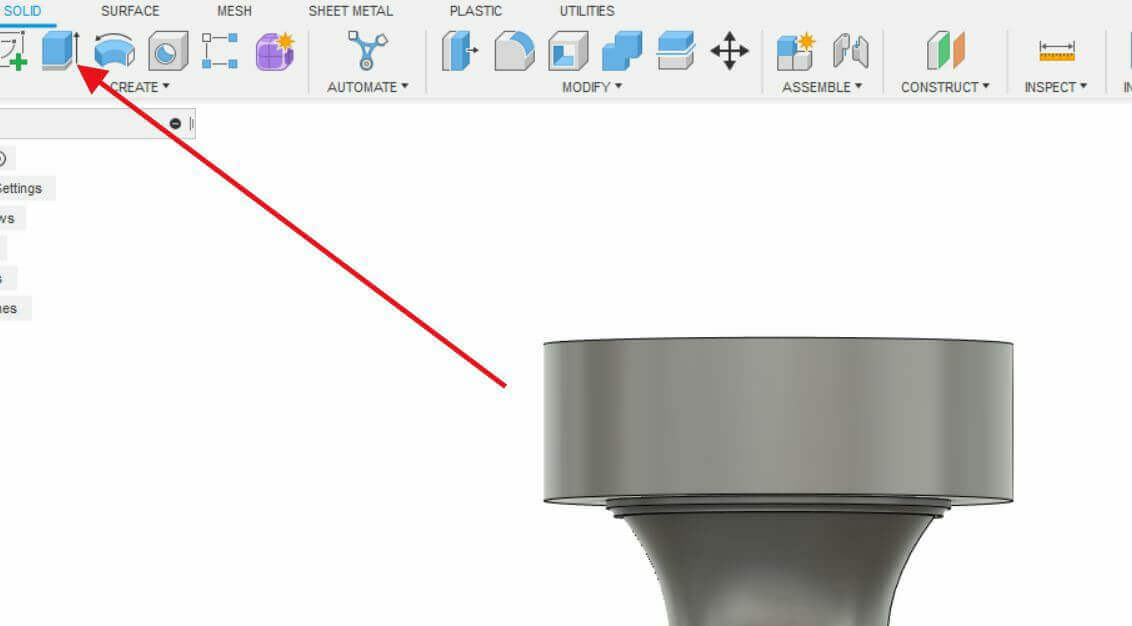
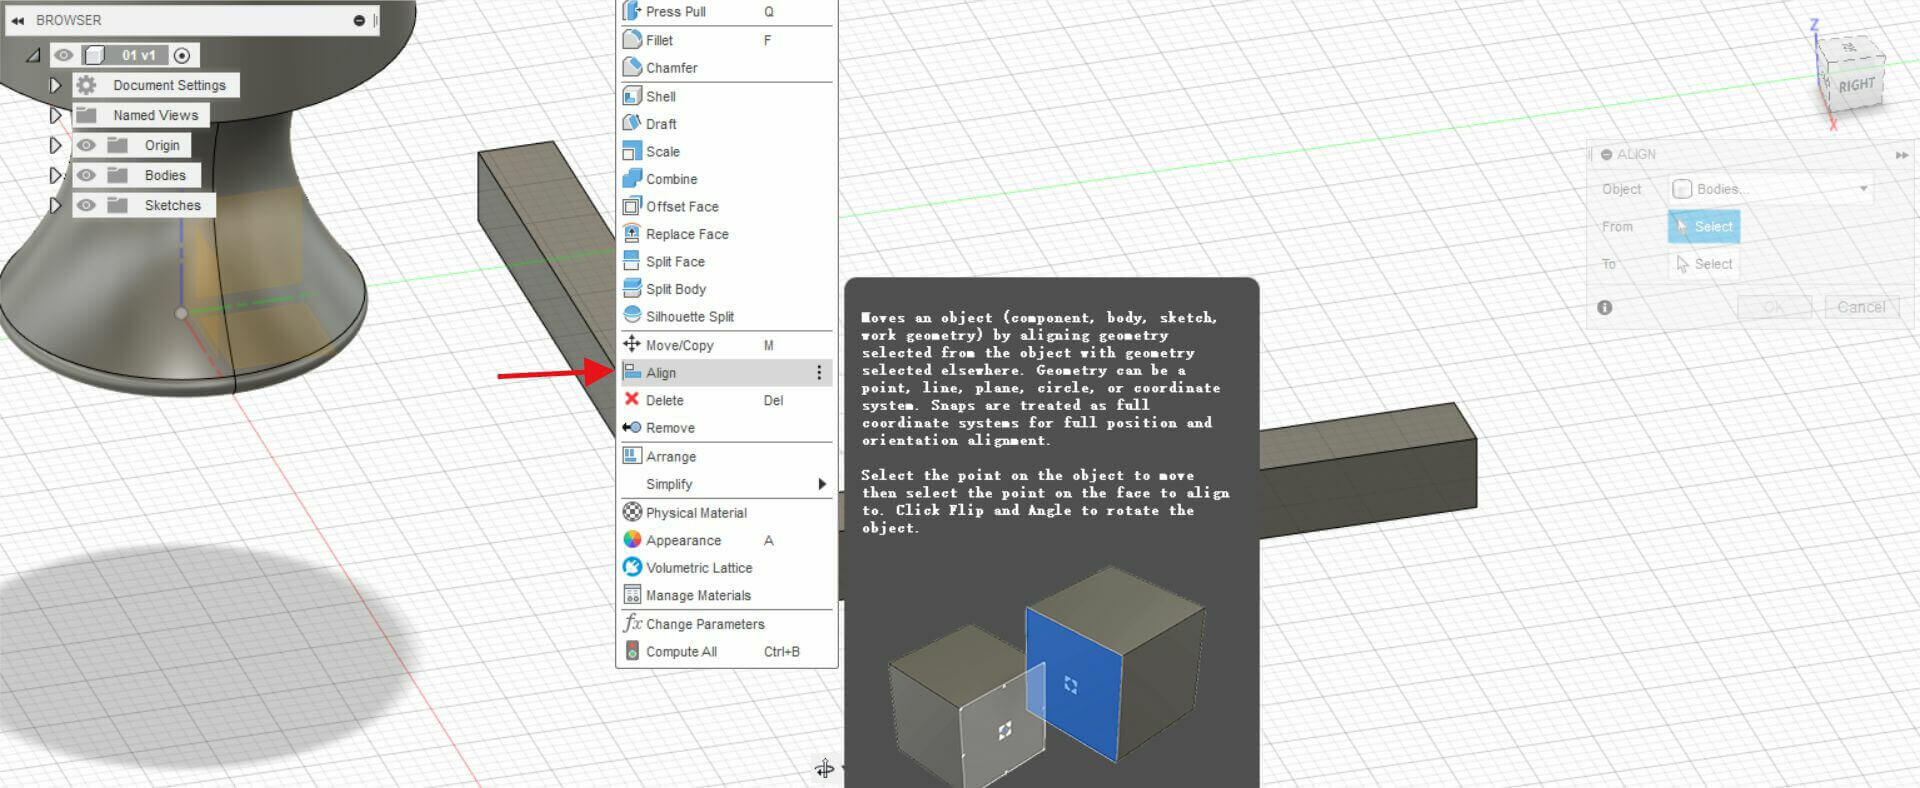
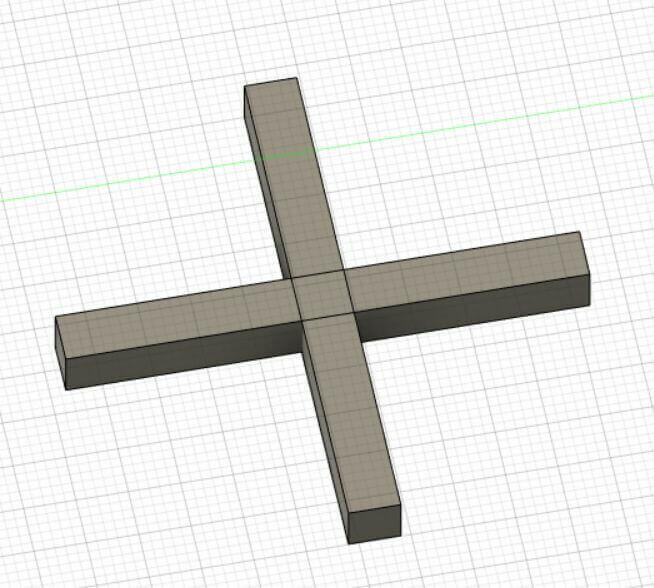
2.7 First, following the previous step's method of drawing a circle, create two rectangles. Then, use the alignment tool to align the middle parts of the two rectangles.
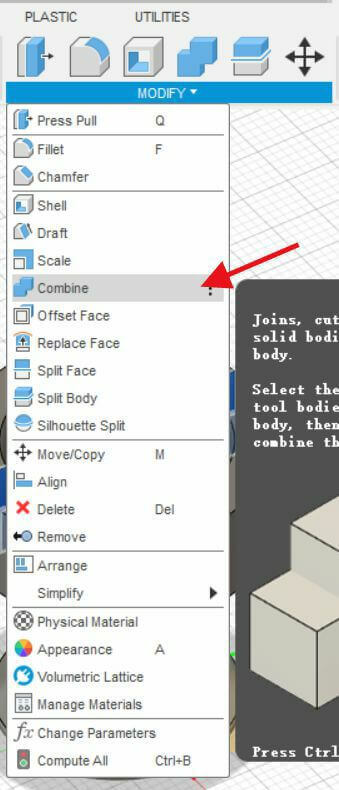
2.8 Use the merge tool to trim the chess piece's head. This completes the head of the chess piece.
Adobe Illustrator 2020
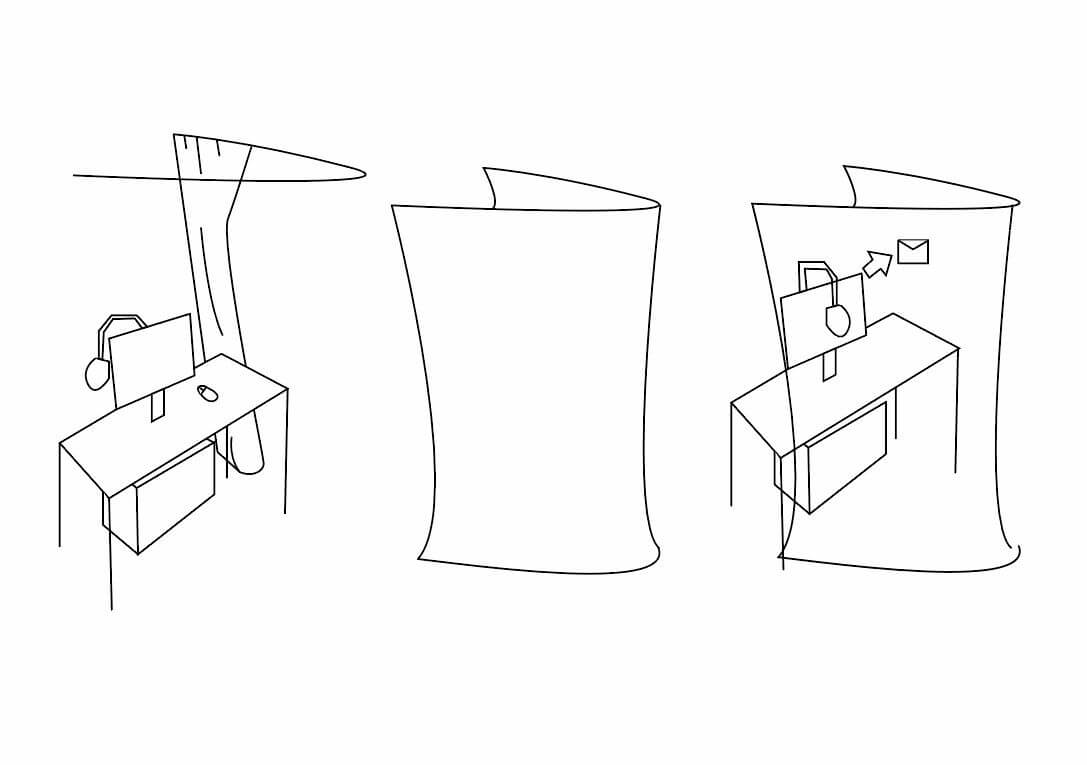
1.I tried to learn Adobe Illustrator 2020 and used Adobe Illustrator 2020 to make a sketch of my final work.
2. Below is my drawing process.
2.1pen tool.

2.2 My final project