Moulding and Casting
Assignment
- Group Assignment:
- Review the safety data sheets for each of your molding and casting materials.
- Make and compare test casts with each of them.
- Individual Assignment:
- Design a mold around the stock and tooling that you'll be using, mill it (rough cut + (at least) three-axis finish cut), and use it to cast parts.
Evaluation Standards
- Linked to the group assignment page and reflected on your individual page what you have learned.
- Reviewed the safety data sheets for each of your molding and casting materials, then made and compared test casts with each of them.
- Documented how you designed your 3D mold and created your rough and finish toolpaths for machining, including machine settings.
- Shown how you made your mold and cast the parts.
- Described problems and how you fixed them.
- Included your design files and 'hero shot' of the mold and the final object.
Output Preview
Group Assignment
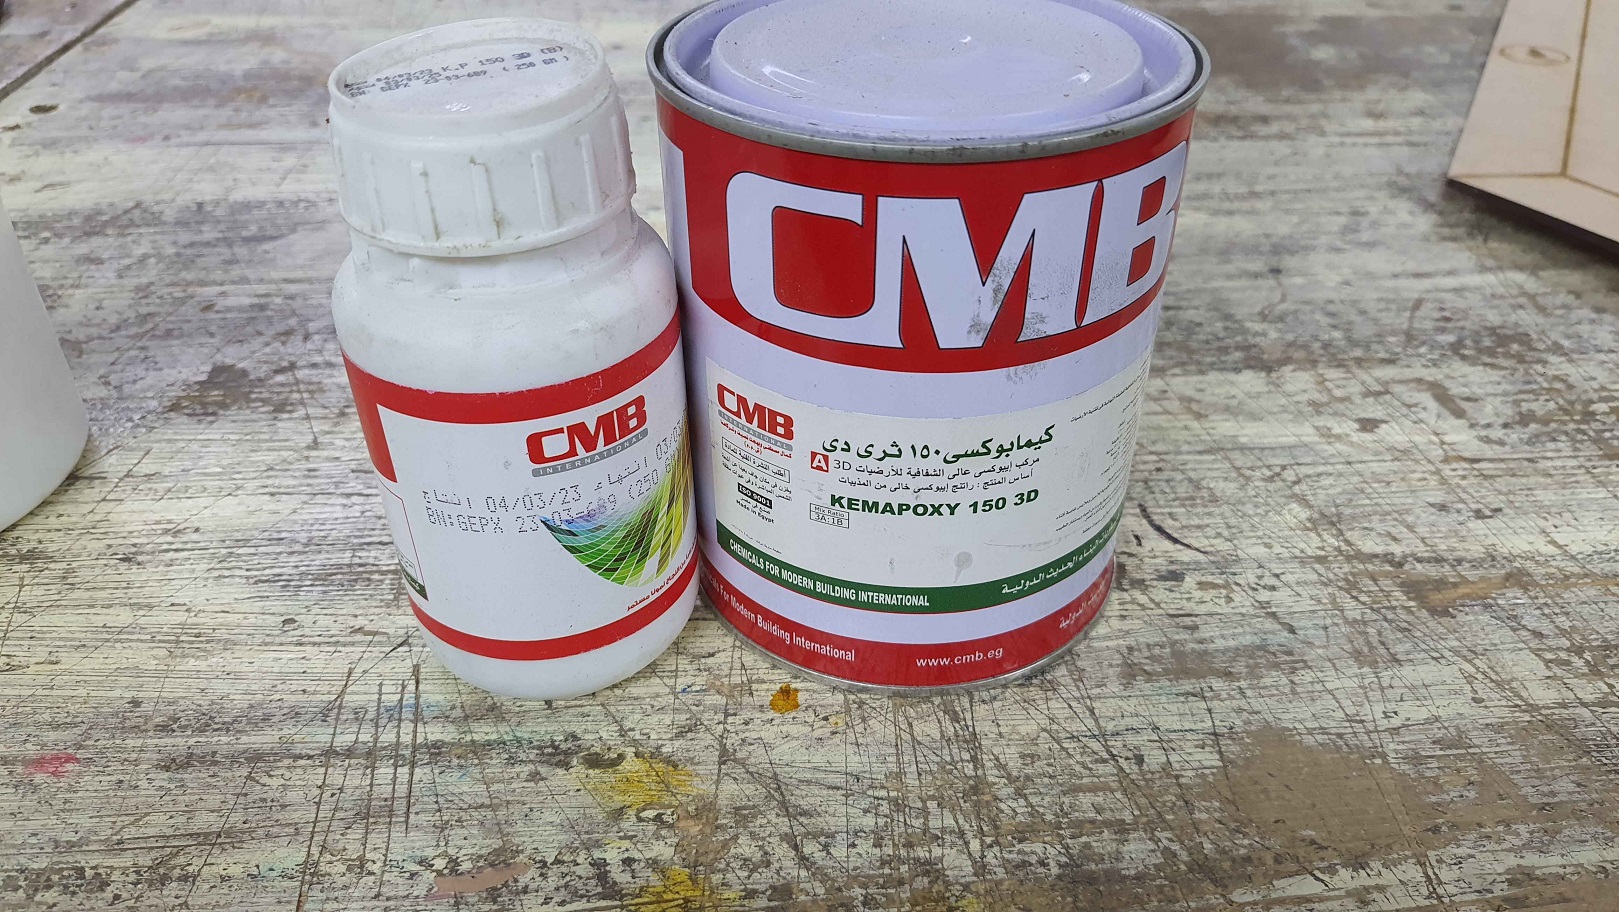
We start by going through CMB Kemapoxy 150 3D Technical Data Sheet
Then we try to make a mold from Amany's
mold to get familiar with the mixing ratio and safety precautions.
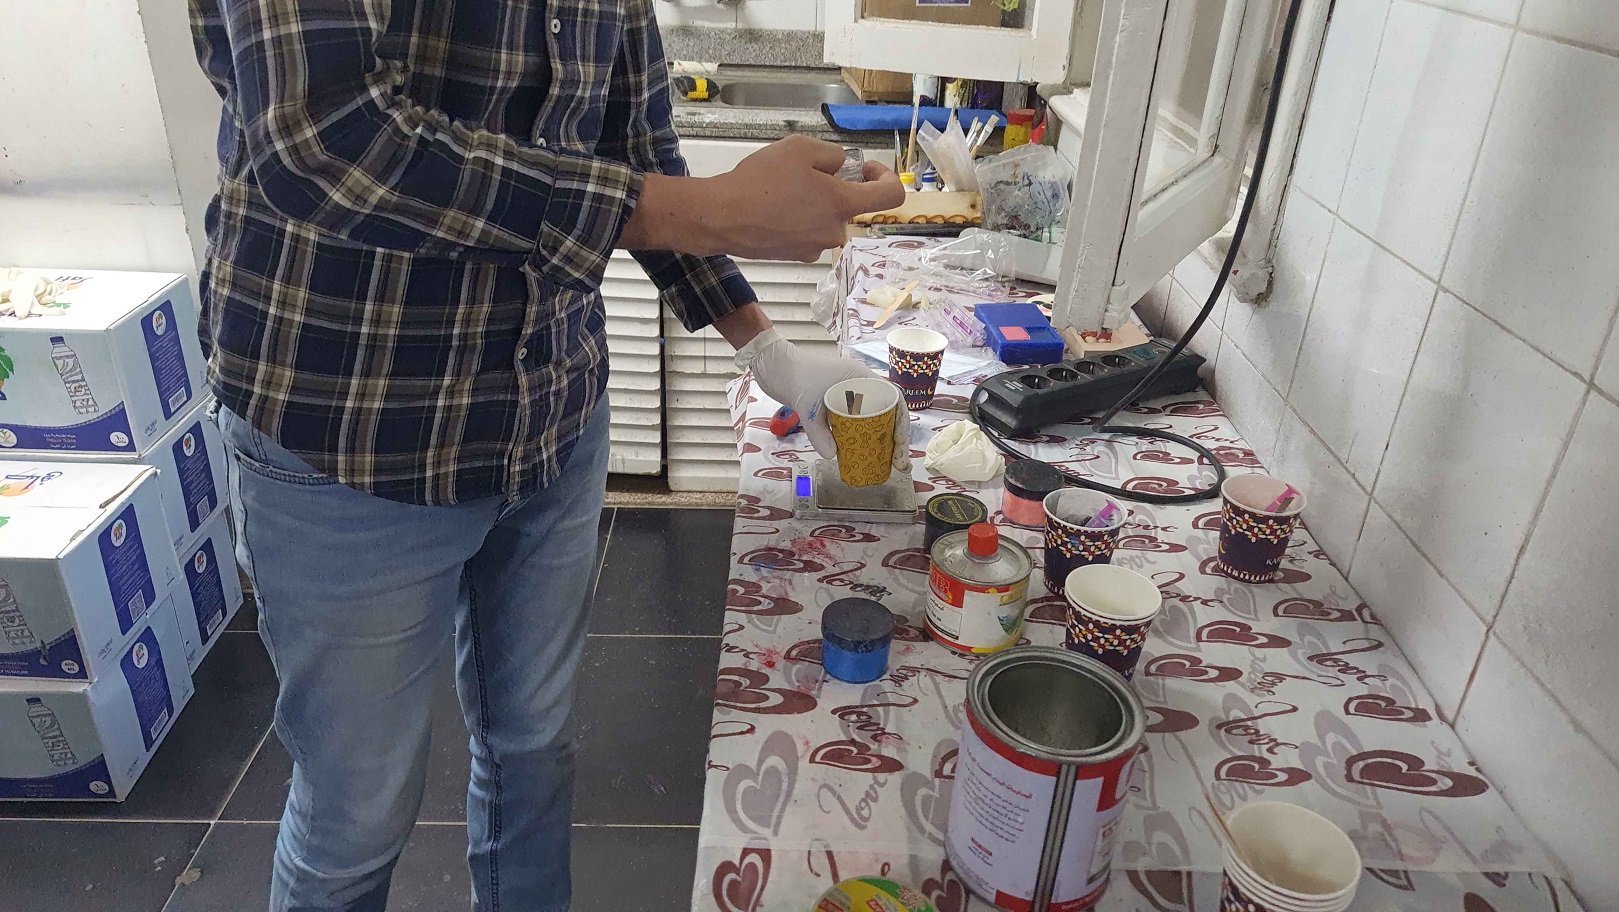
One of the most imported thing is to follow proper safety guidelines:
- Using a proper glove to handle chemicals.
- The use of eye protection.
- The use of respirator if not then to be in a well ventilated area.
- Stay away from any fire source.
- Proper disposal of chemicals after use.
We used chinese silicon rubber & CMB Kemapoxy 150 3D.
Check our
Group assignment page to see more of our assignment.
CAD
I start by designing my mold using Fusion 360.
- I start by sketching a 2D half Pawn
- Then I used revolve to turn it into 3D object.
- Then I split it in 2 halves.
- Then I sketch the 2 side of the mold.
- Then I added the alignment pins.
- Then I added the pouring and the air vent opening.
Milling
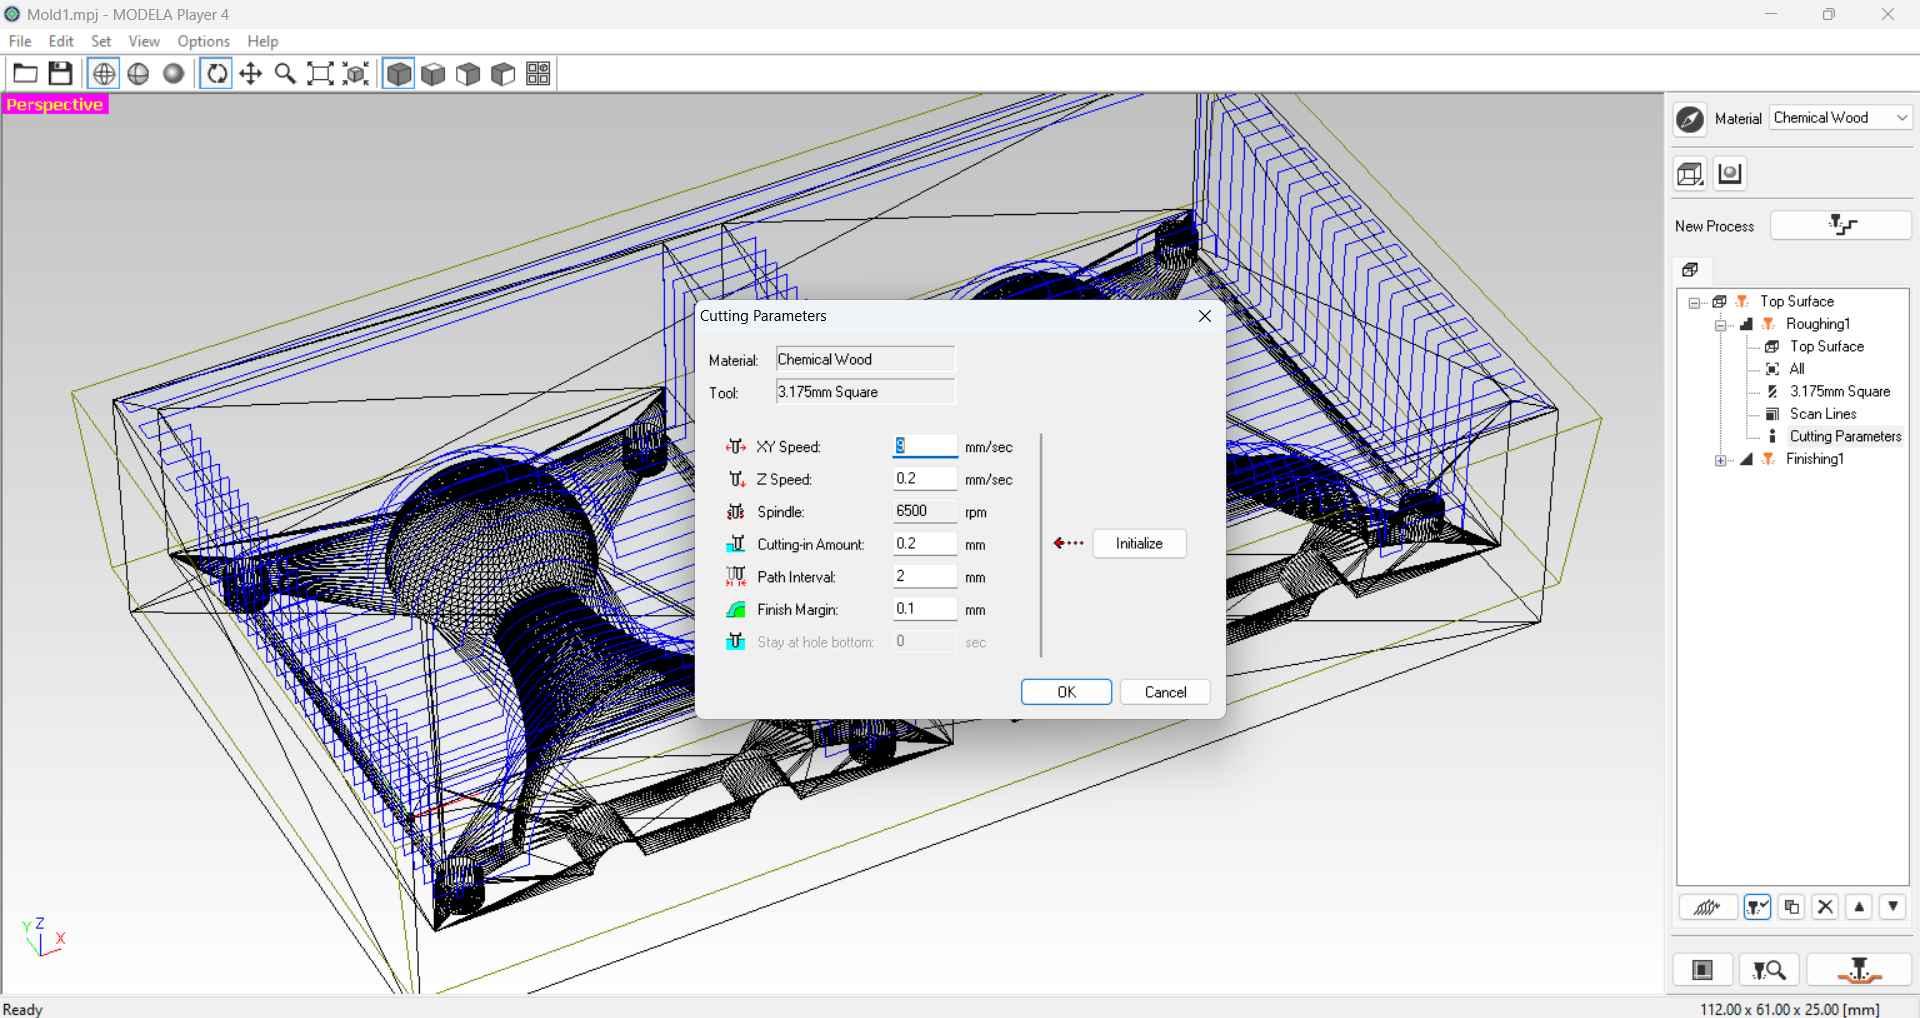
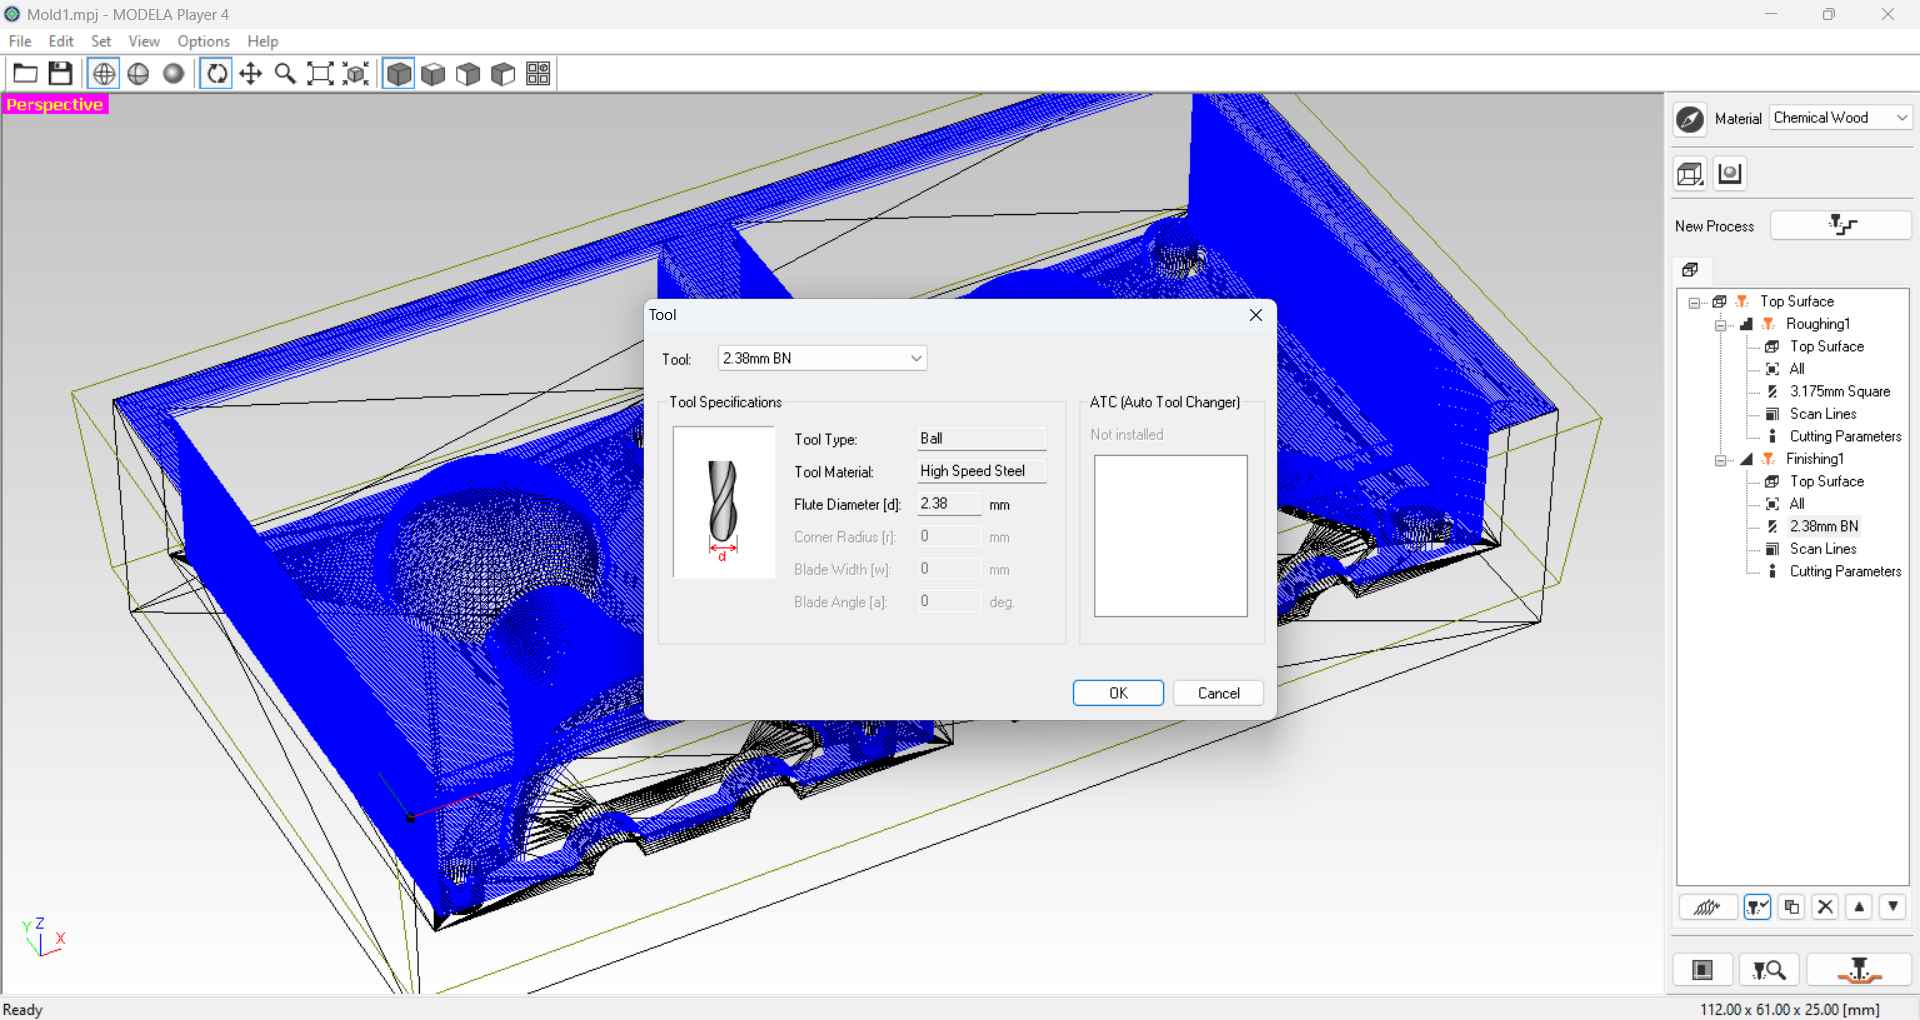
- I start by choosing my endmills. I used 3.175mm square endmill for roughing & 2.38mm bullnose endmill for finishing.
- Then I used Chip Load Calculator to get the right feed rate for the chemical wood that I used to mill my mold. I found that 1 m/min is good for hardwood which is more harder then the chemical wood also the modela player didn't accept more than 15mm/sec so I used 15mm/sec.
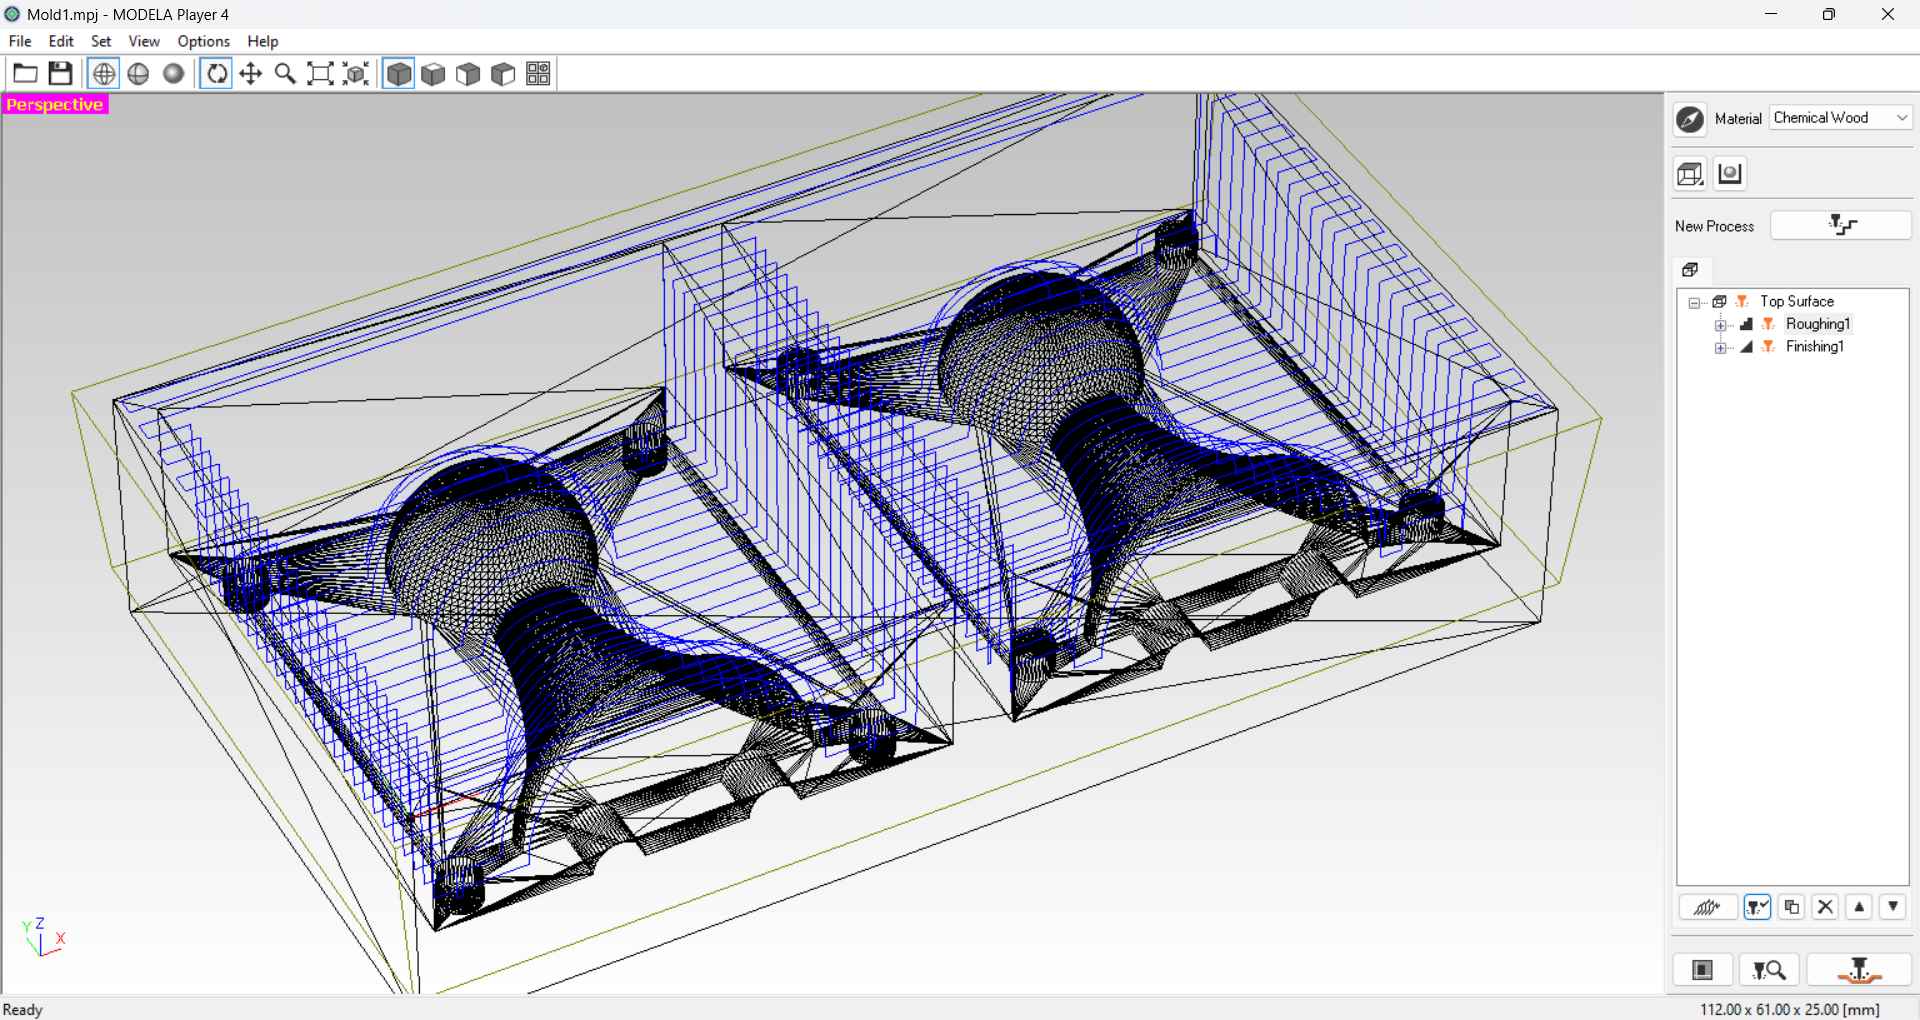
- Then I used Roland MDX 20. So I used modela player to generate my toolpath .
- Then I used double face to fix the chemical wood to the machine bed
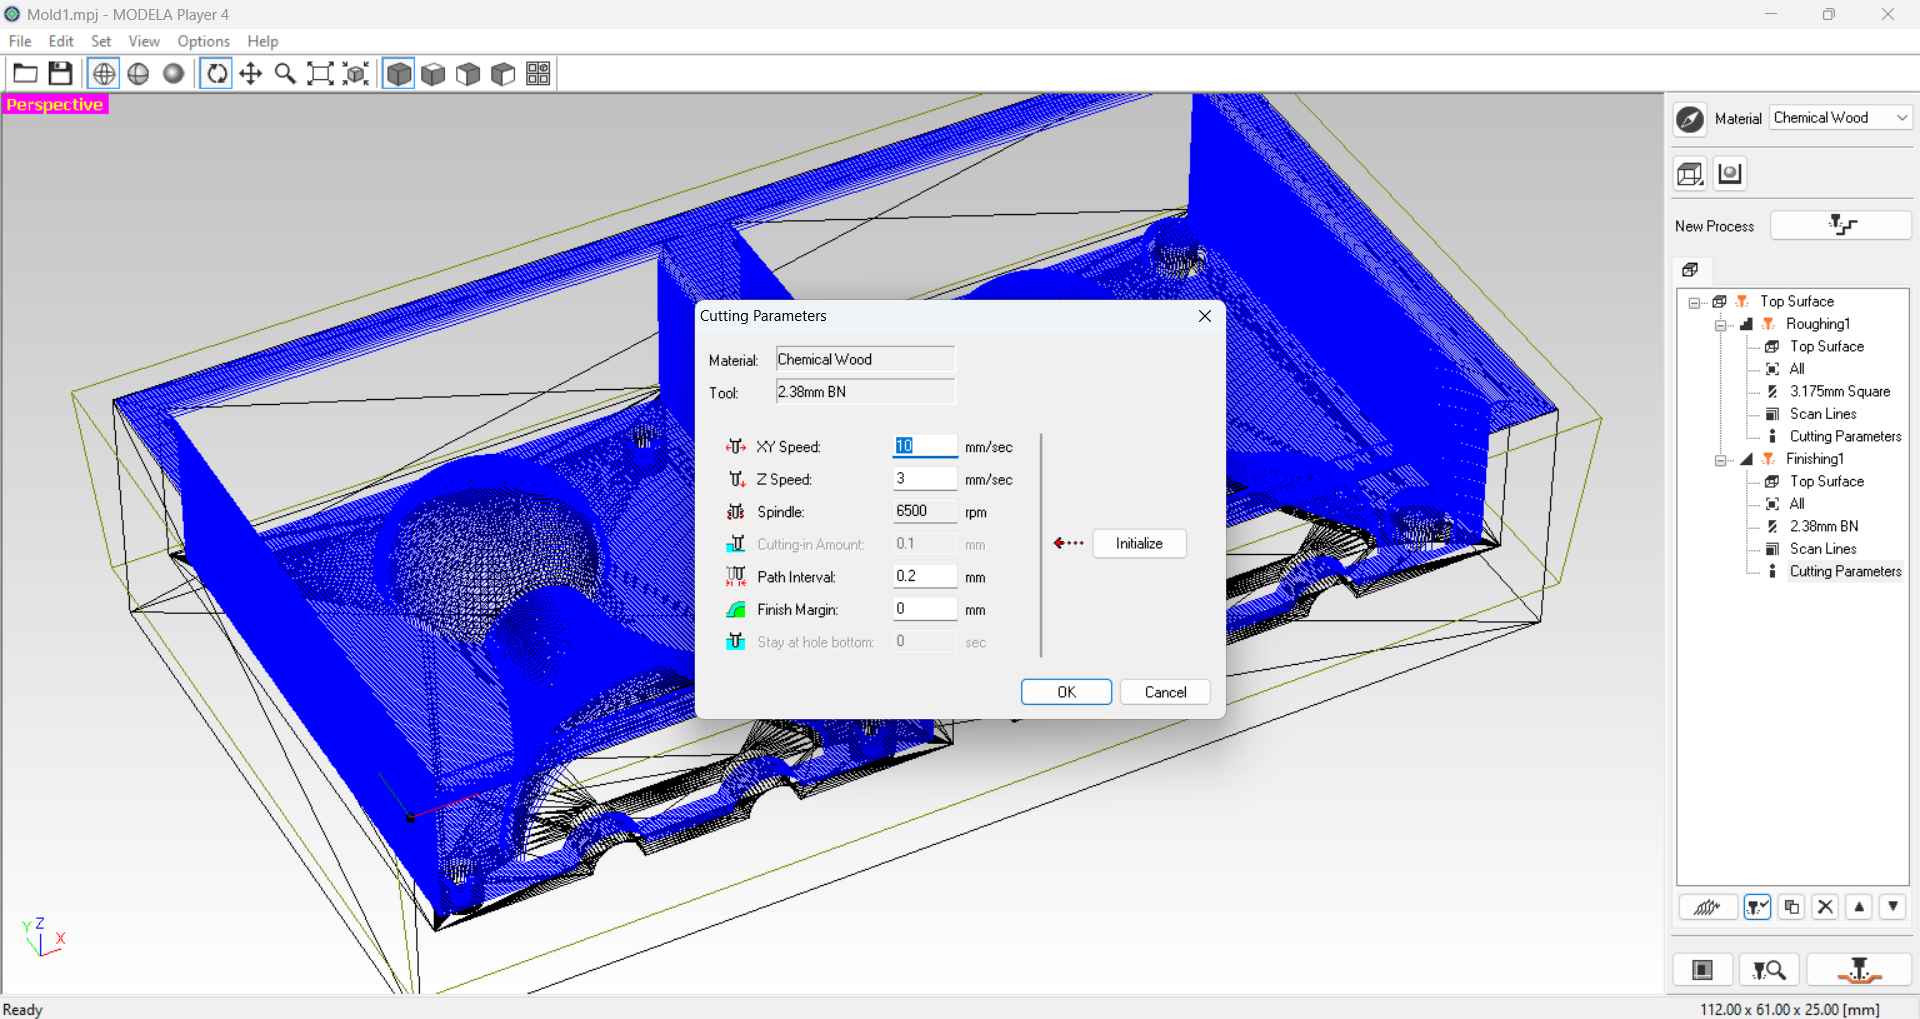
- Then I imported my stl into Modela Player and set my parameters
- Then I set my oragin and I start by roughing followed by finishing.
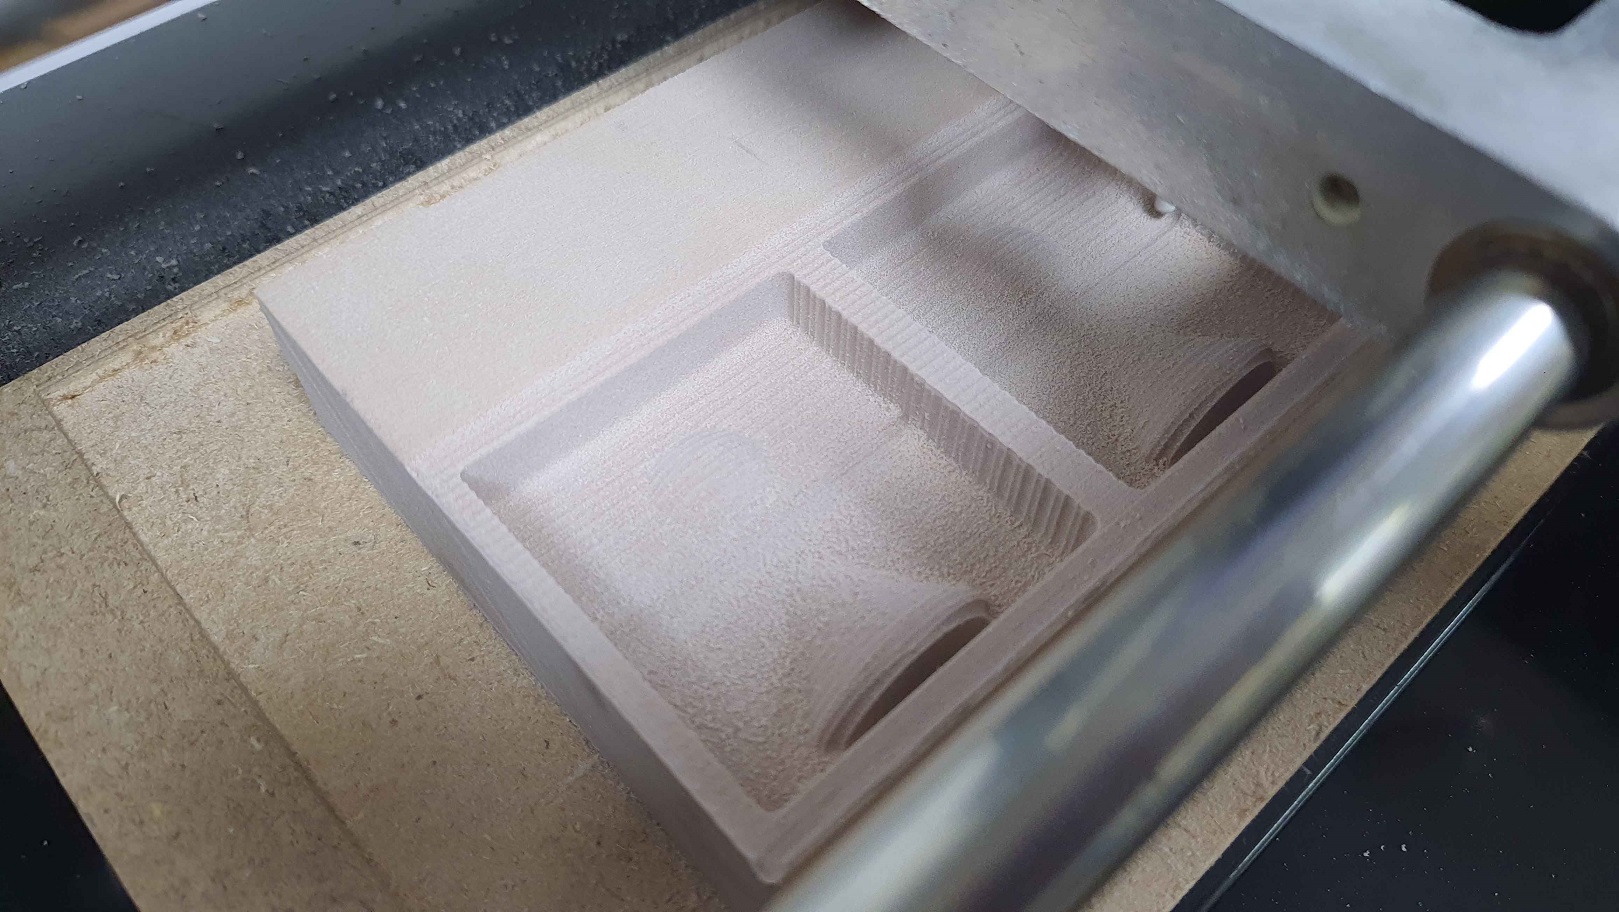
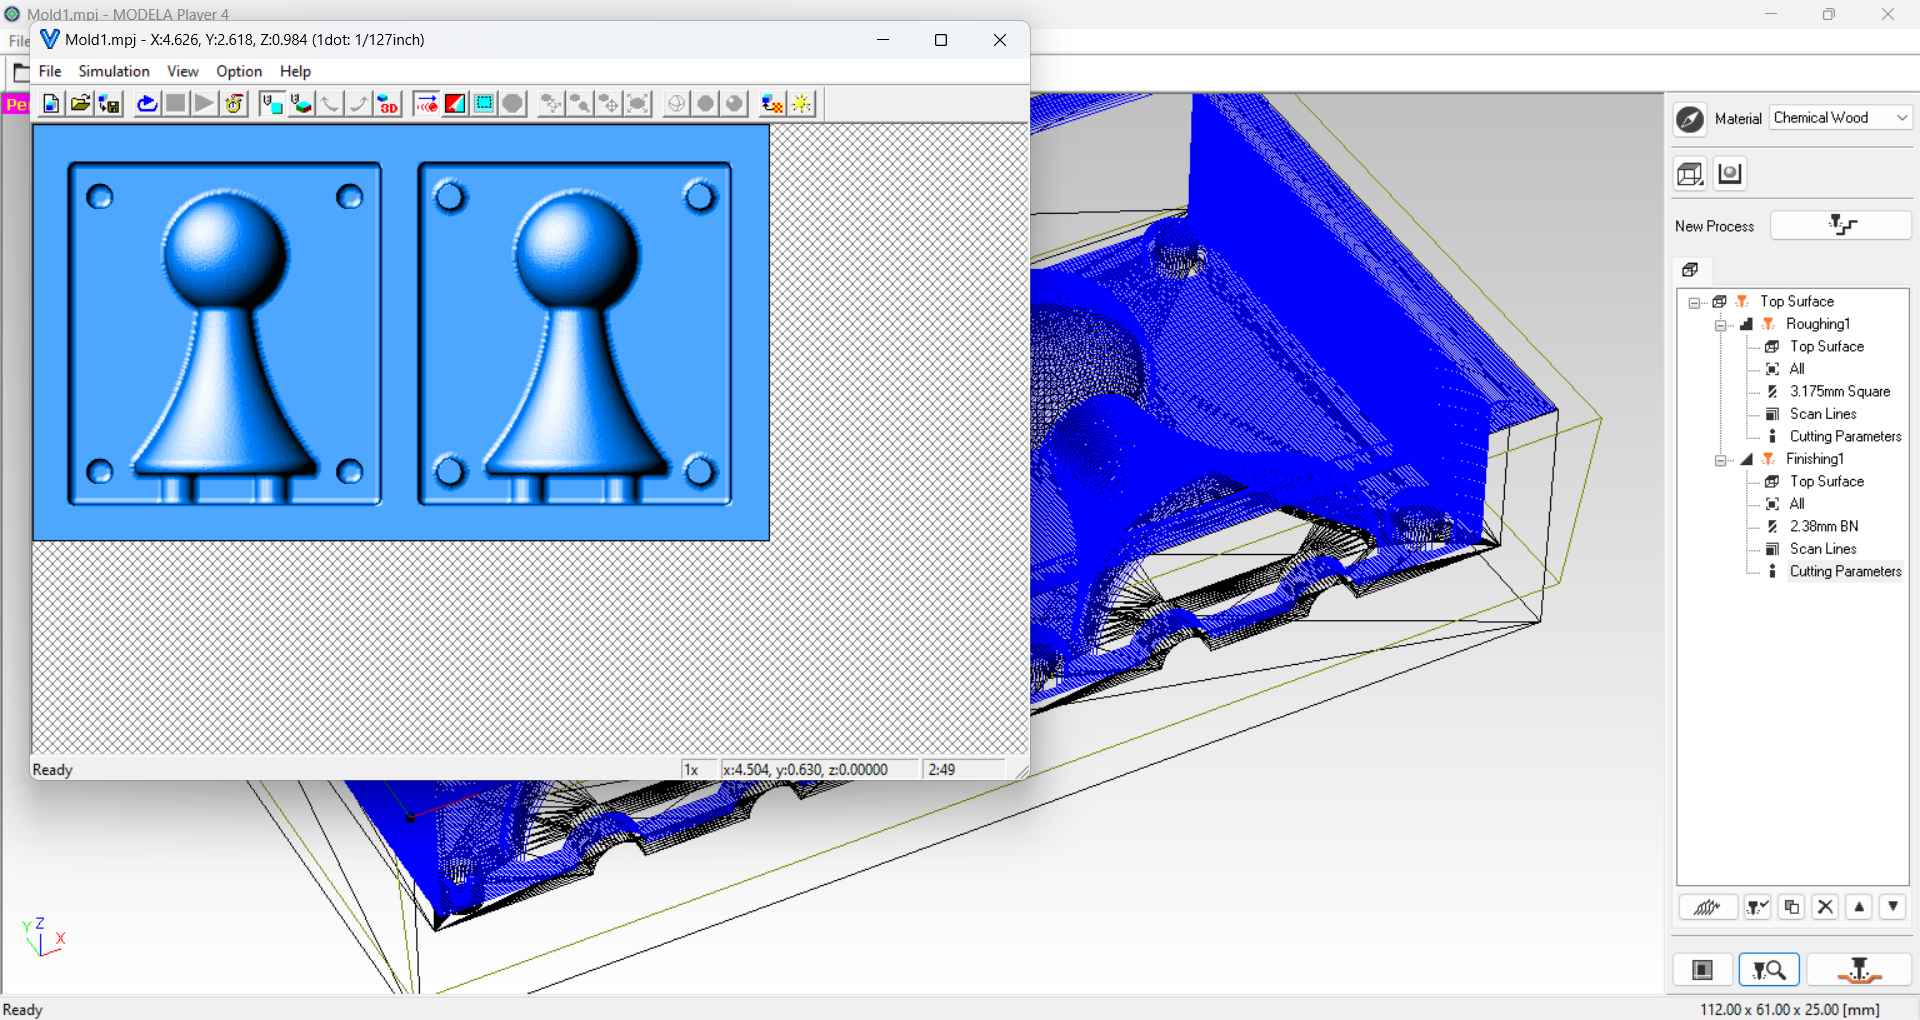
Roughing


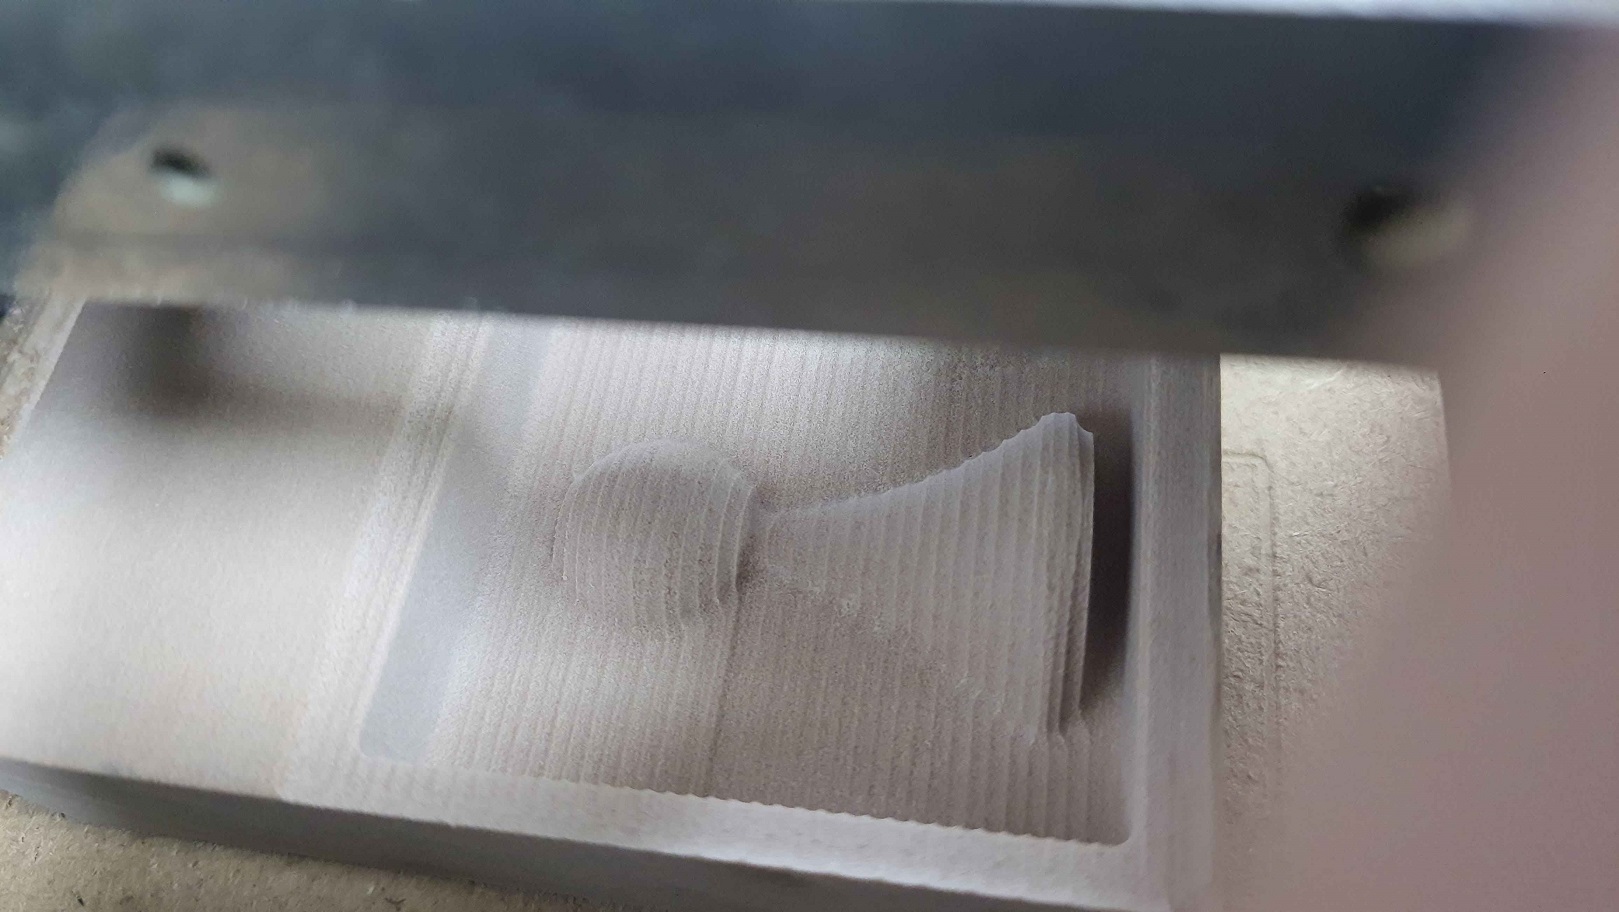
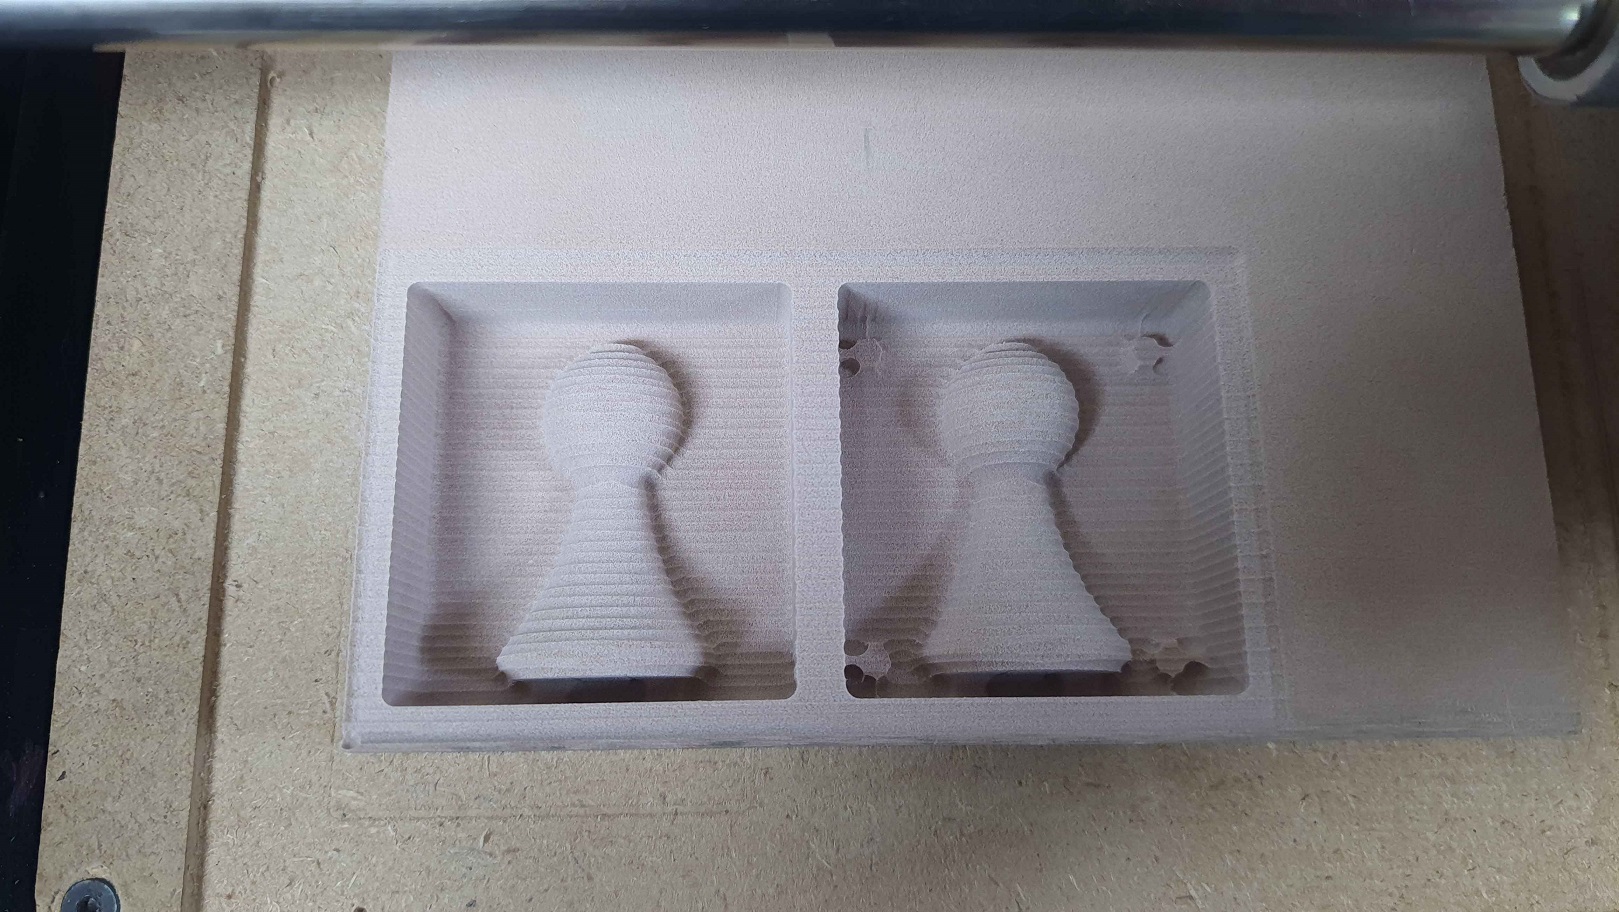
Finishing

Molding
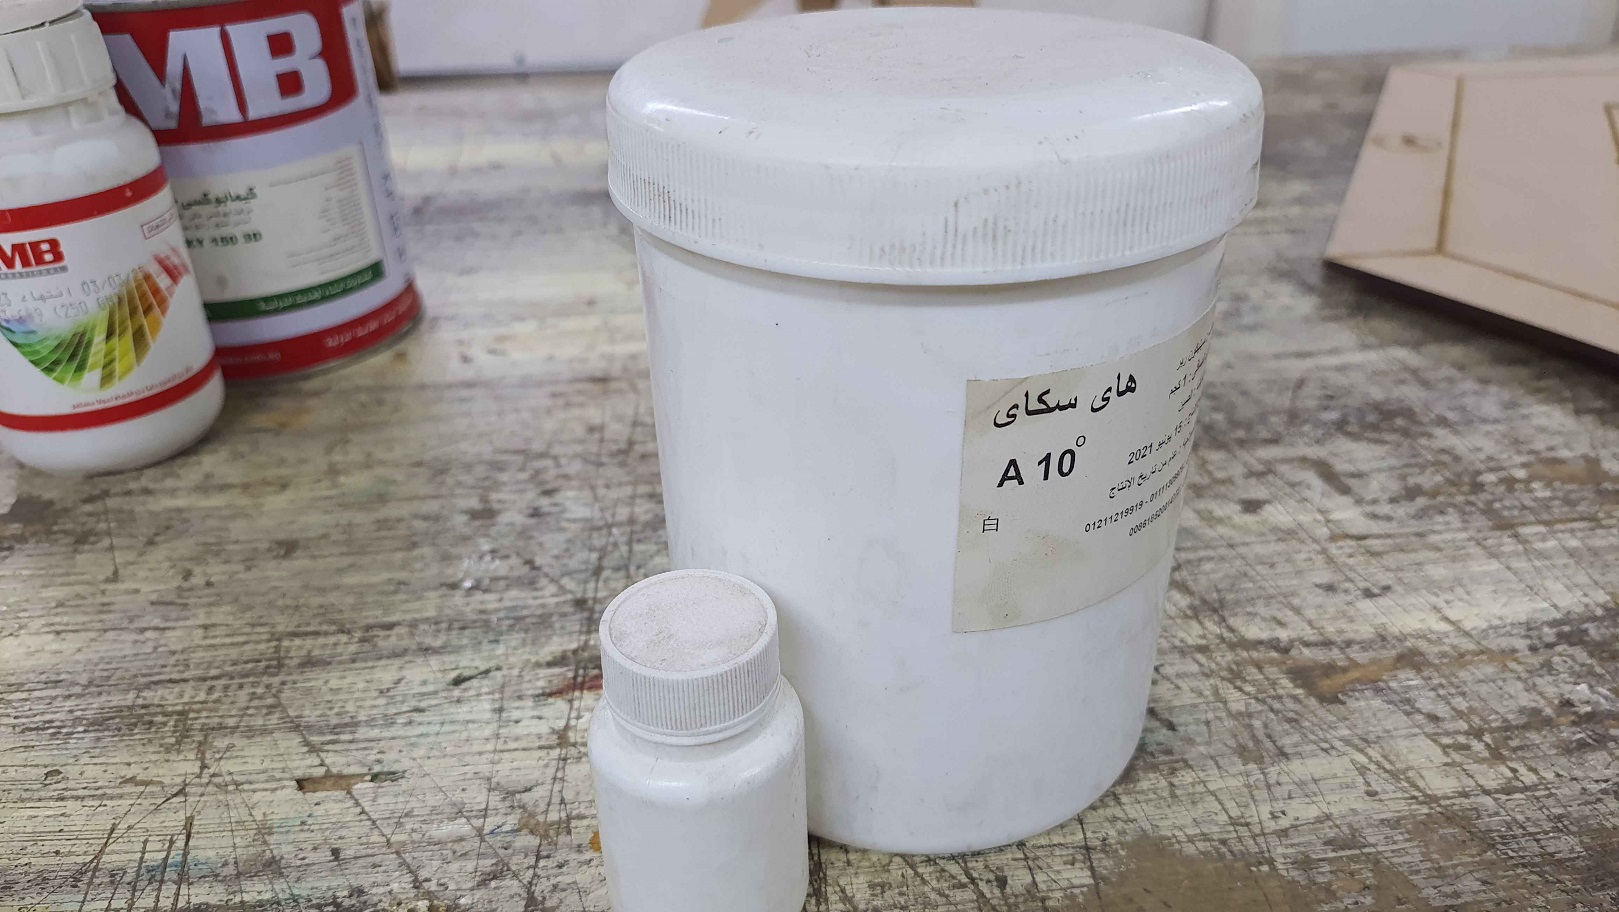
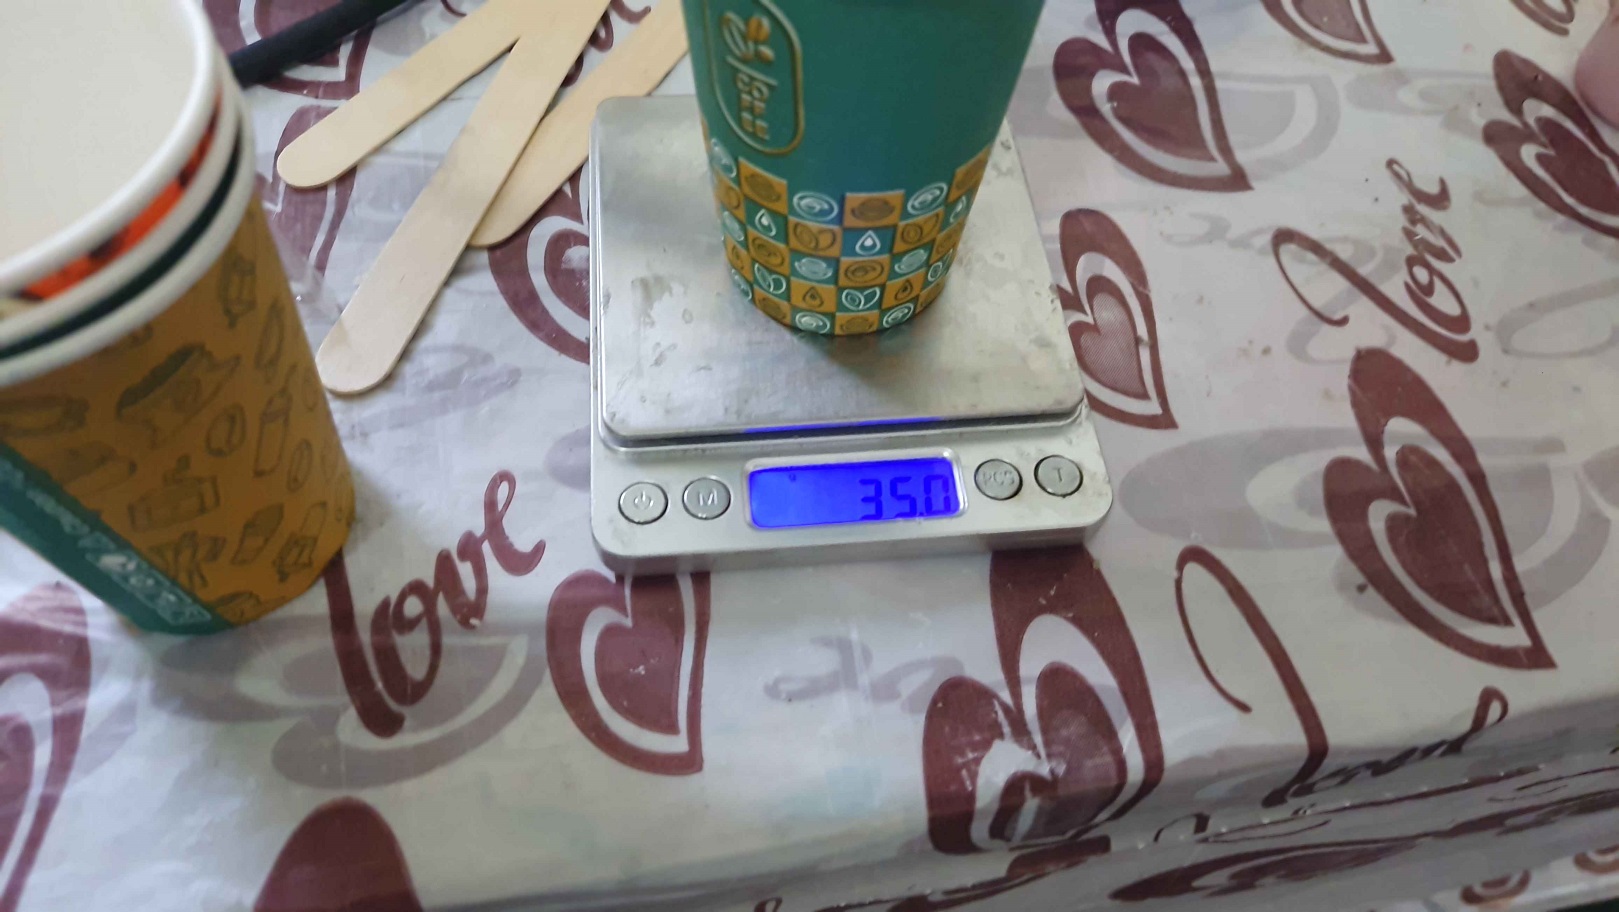
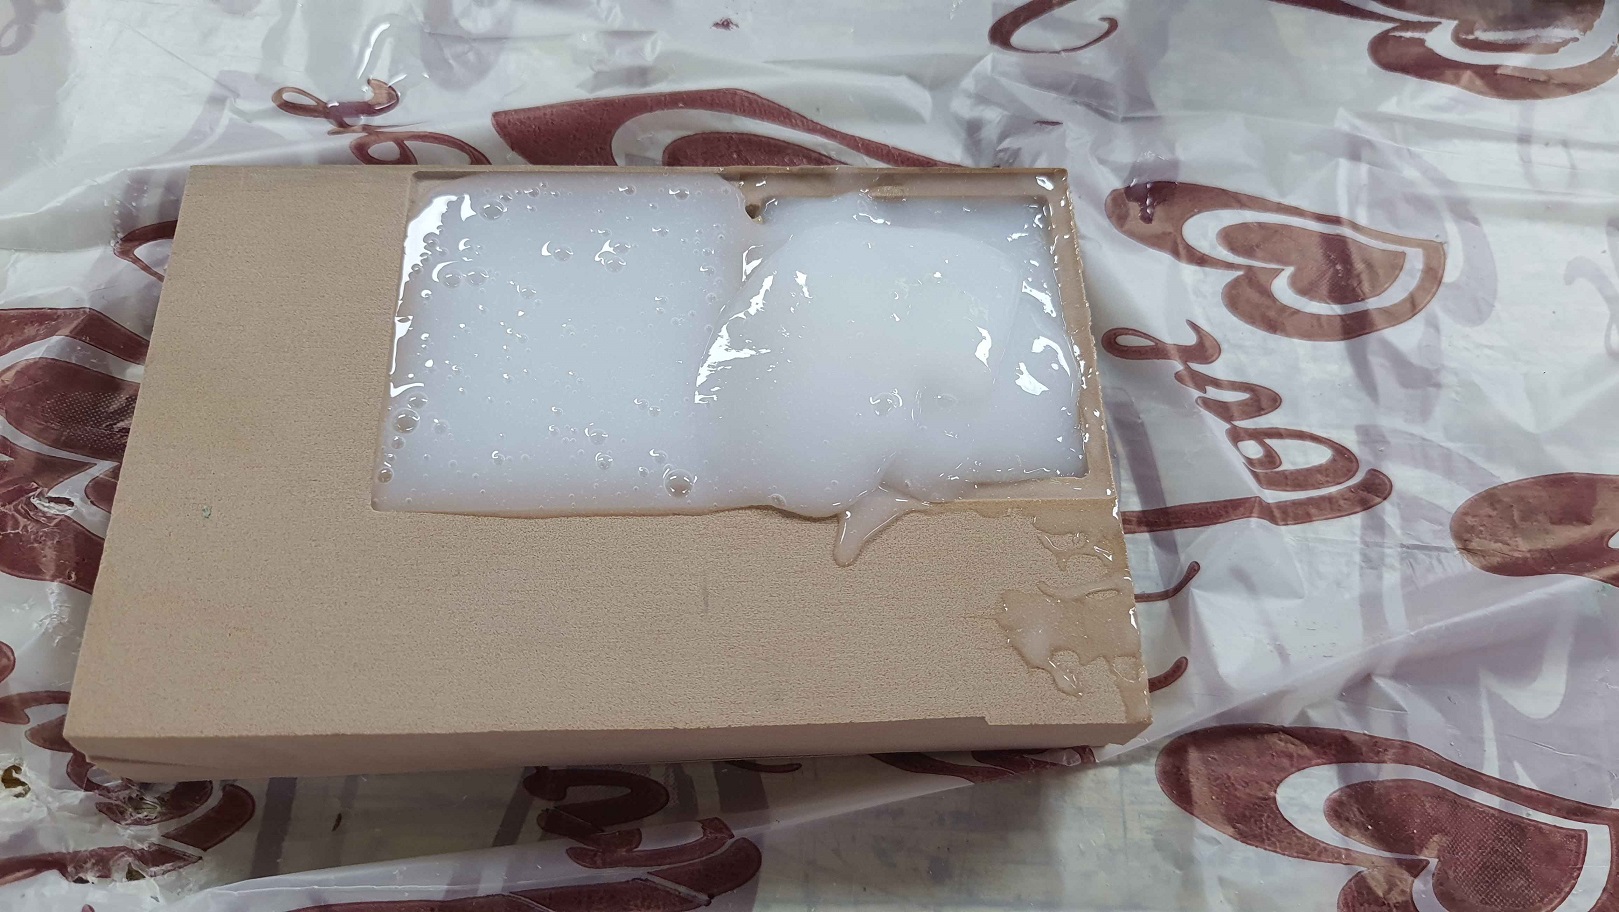
- After I finished milling my mold I start by mixing the silicone.
- Then I made 150 gm of silicone & 7.5 gm of the hardener to satisfy the 20:1 ratio by weight
- Then I mix it and pour it into the wooden mold & leave it to harden for 12 hour.
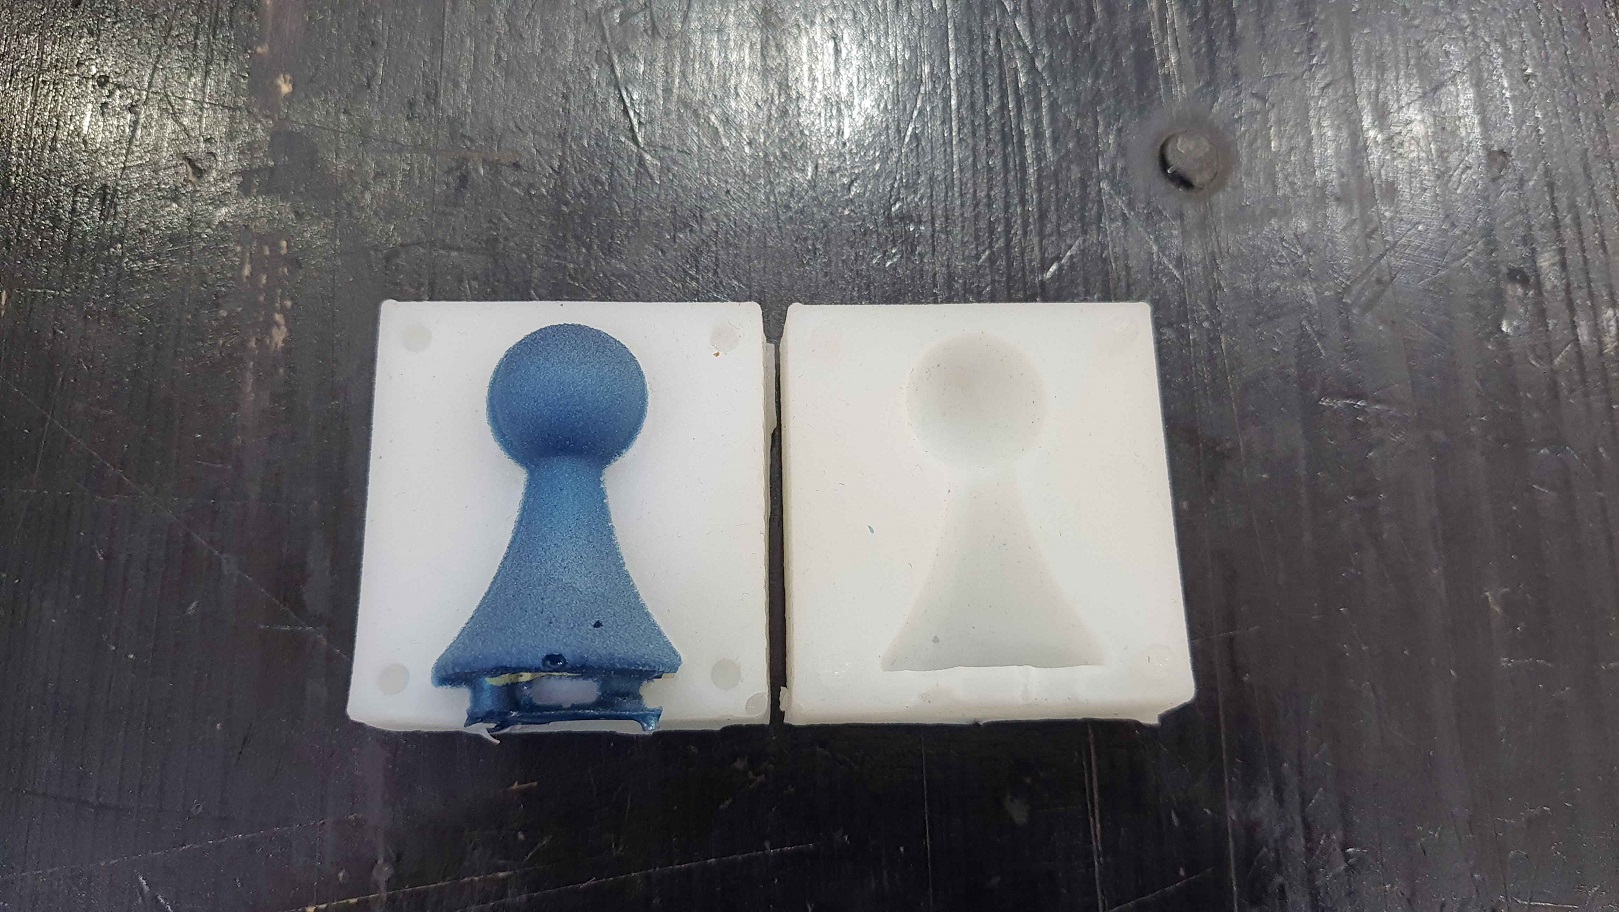
- Then I removed the silicon mold out of the wooden one.
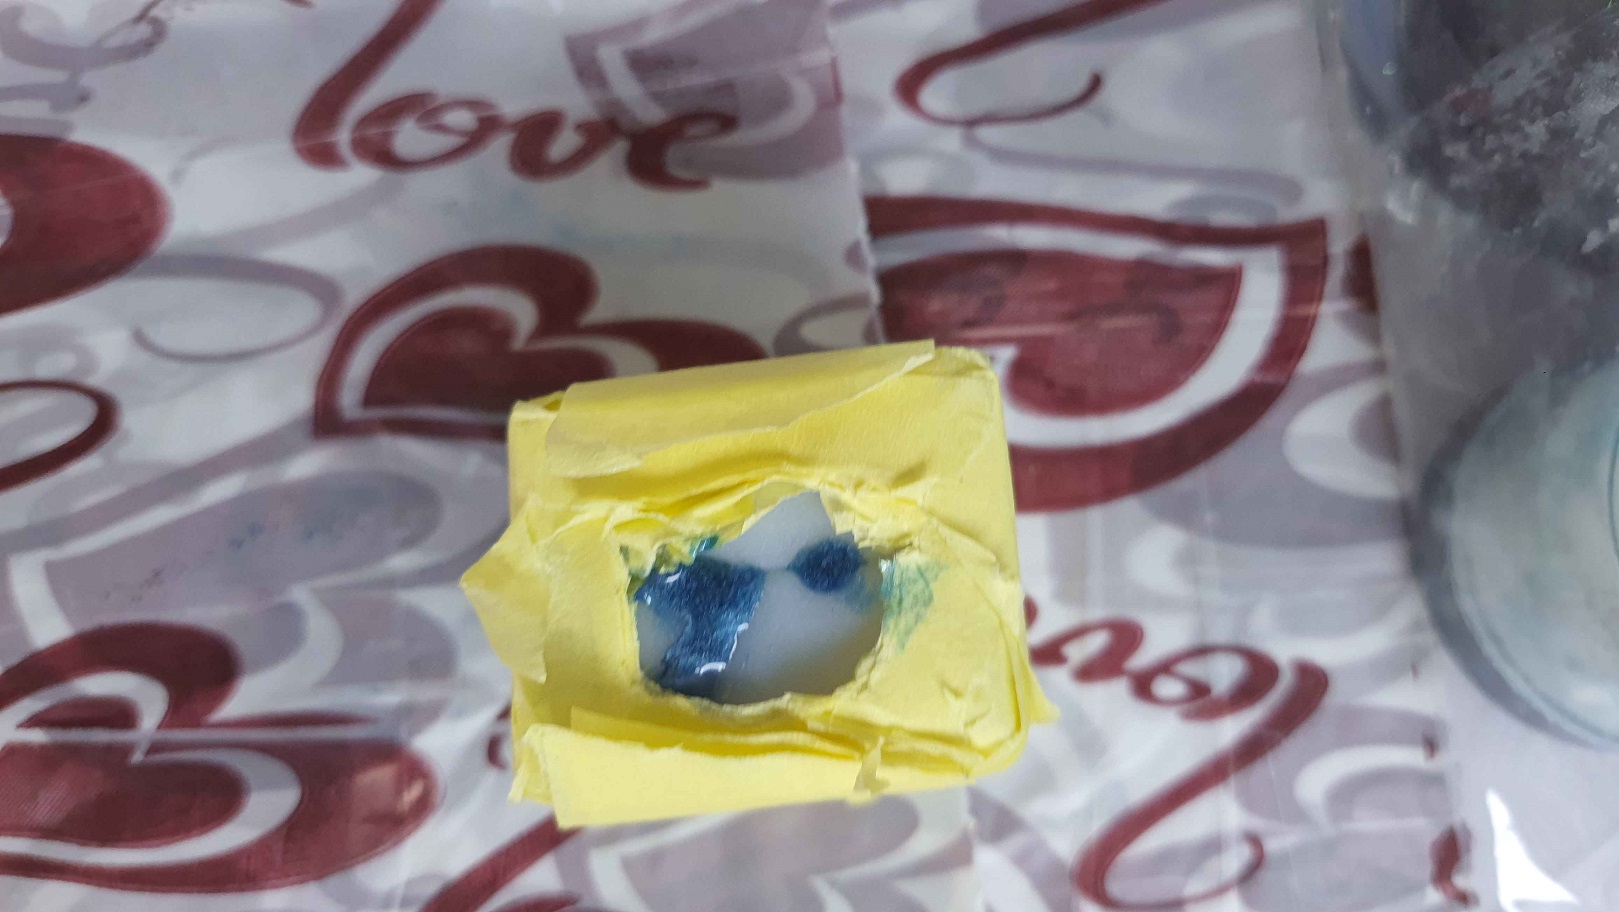
- Then I put my silicon mold together and wrap it up using paint tape and just leave an opening over the pour & vent opening of the mold
- Then I mixed the epoxy I used 15 gm of epoxy & 5 gm of the hardener to satisfy the 3:1 ratio by weight
- Then I pour it into the silicon mold and leave it for 24 hour to harden


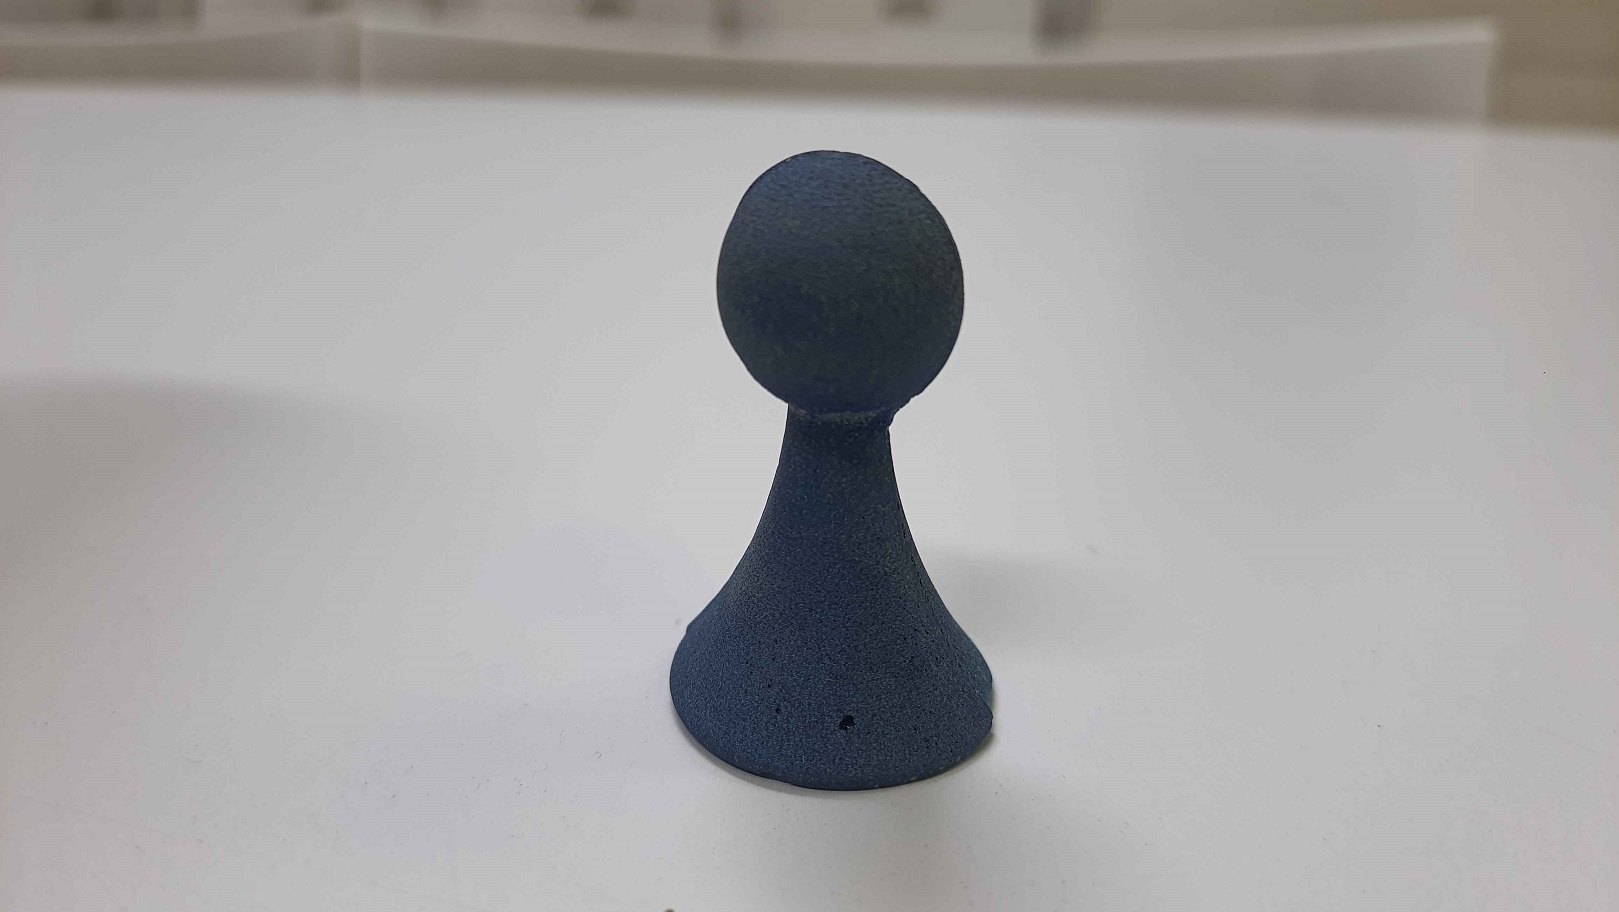
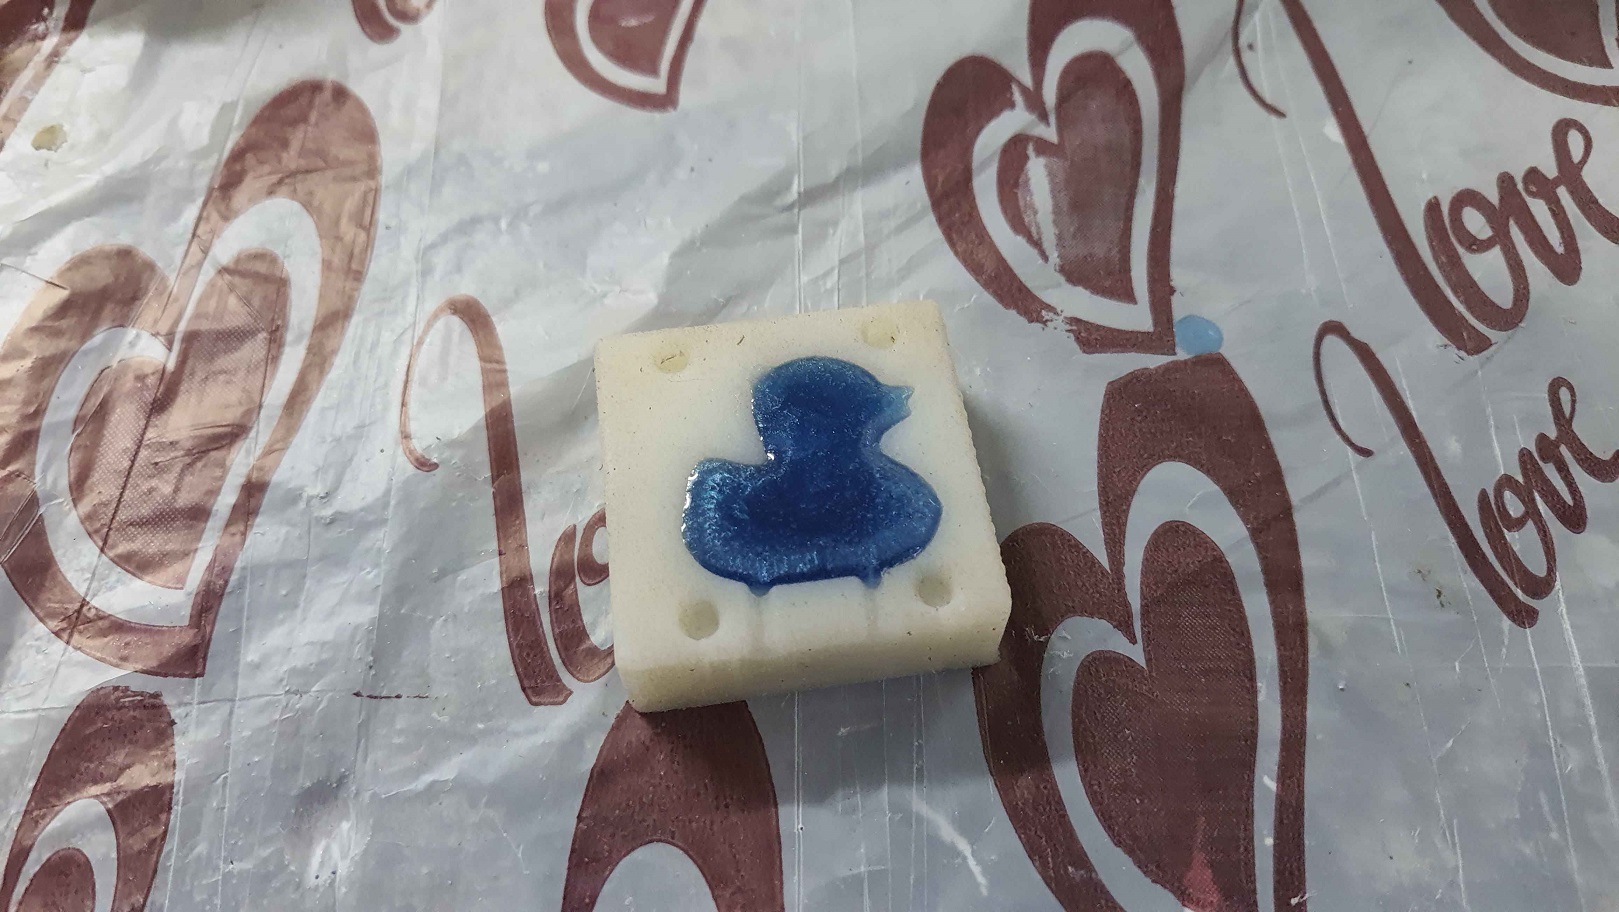
Output
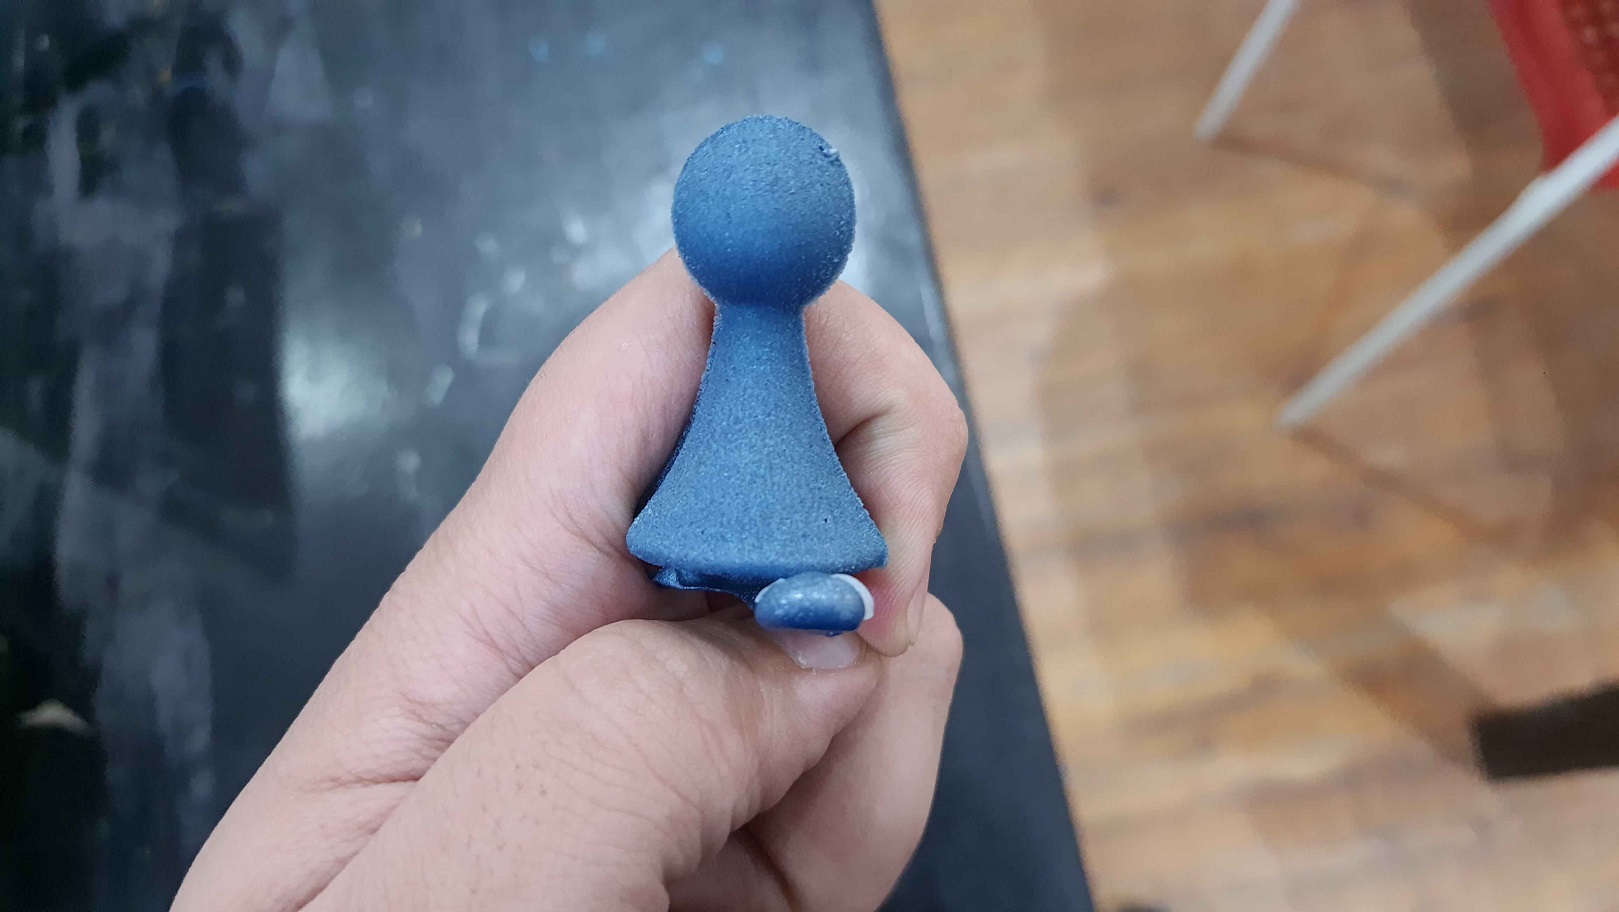

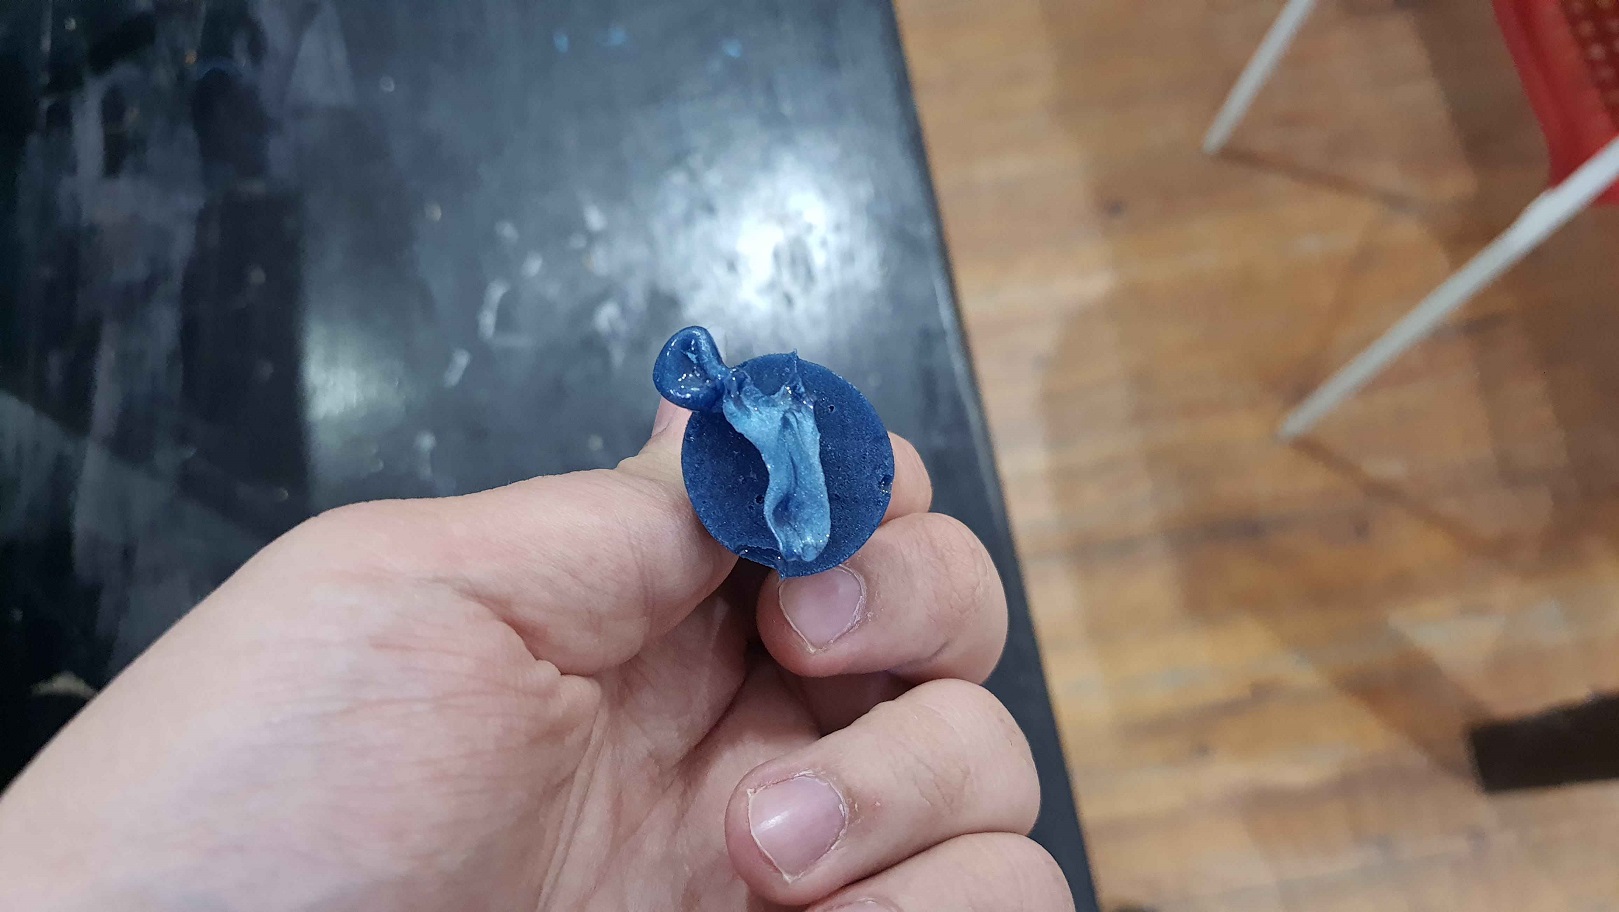
Challange
- First, During the milling process the Modela had stopped in the middle of the roughing process multiple time so I had to start the process over and over
- Second, The silicon mold had a cavity near the pour opening which doesn't effect the main design but when I poar epoxy in the mold it form an extra part but it easy to be removed and with a little bit of sanding at the base of the model it becomes perfect.