3D Scanning and Printing
Assignment
- Group Assignment:
- Test the design rules for your 3D printer(s).
- Document your work on the group work page and reflect on your individual page what you learned about characteristics of your printer(s).
- Individual Assignment:
- Design and 3D print an object (small, few cm3, limited by printer time) that could not be easily made subtractively.
- 3D scan an object (and optionally print it).
Evaluation Standards
- Linked to the group assignment page.
- Explained what you learned from testing the 3D printers.
- Documented how you designed and 3D printed your object and explained why it could not be easily made subtractively.
- Documented how you scanned an object.
- Included your original design files for 3D printing.
- Included your hero shots.
Output Preview

Group Assignment
This week we want to test the design rules for our 3D printers.
We Have Prusa 3D printers MK3, Esun PLA+ filament & Prusa Slicer for slicing

Overhang
Overhang it gave acceptable result at 4mm overhange distance, others were messy from my point of view.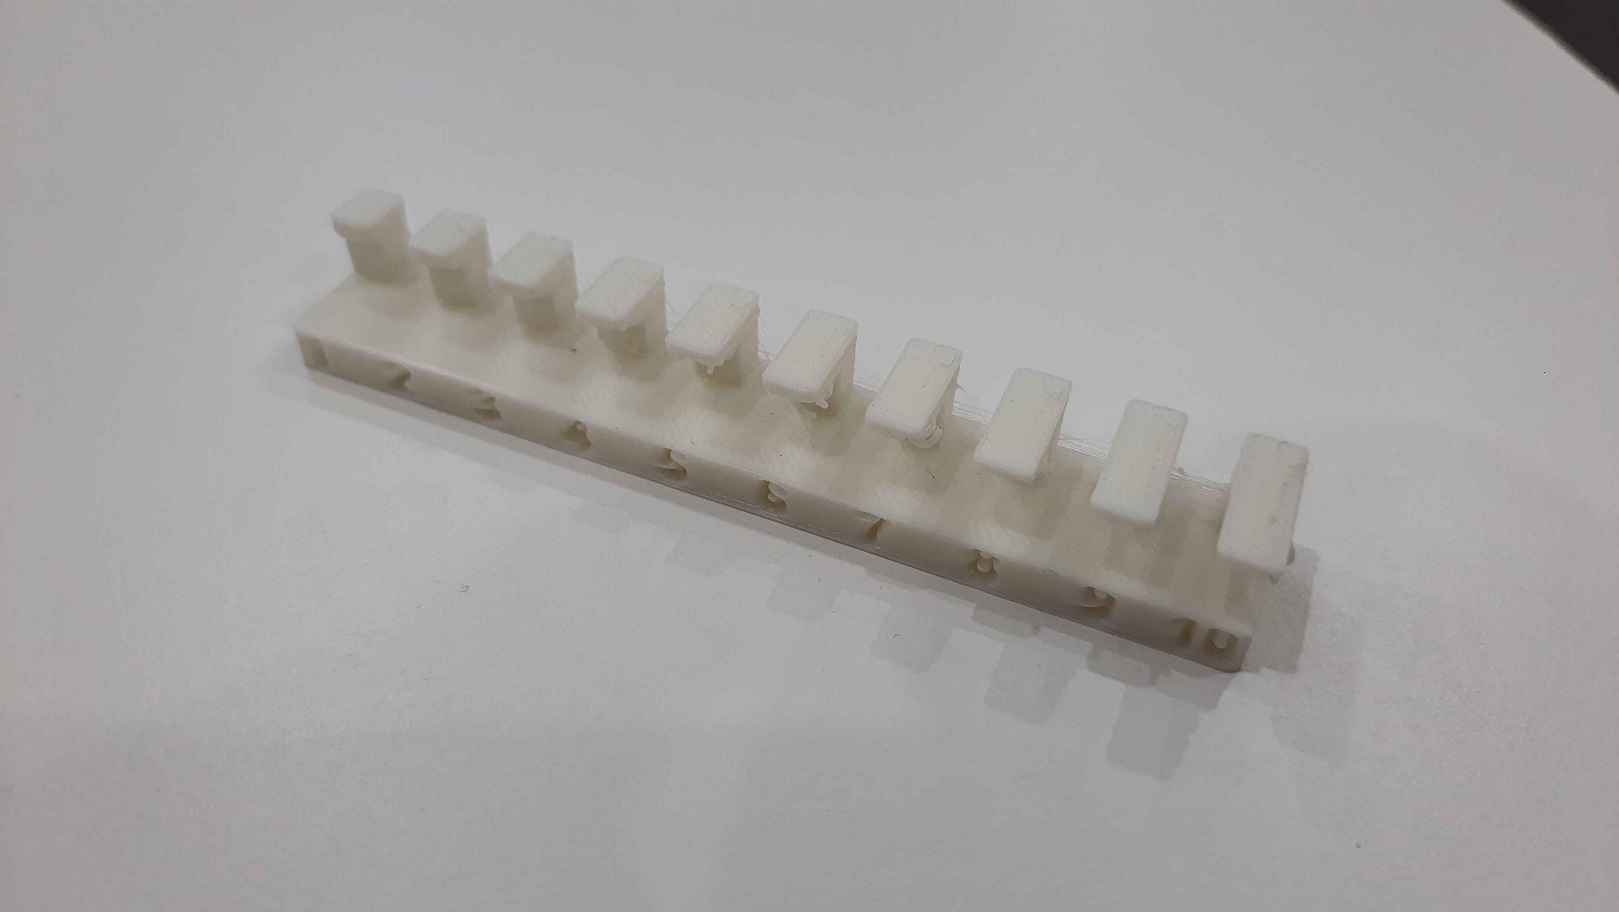
Clearance
In clearance test, 0.1mm didn't move at then all, starting from 0.2mm to 1mm moves freely but my personal preference are 0.2mm and 0.3mm
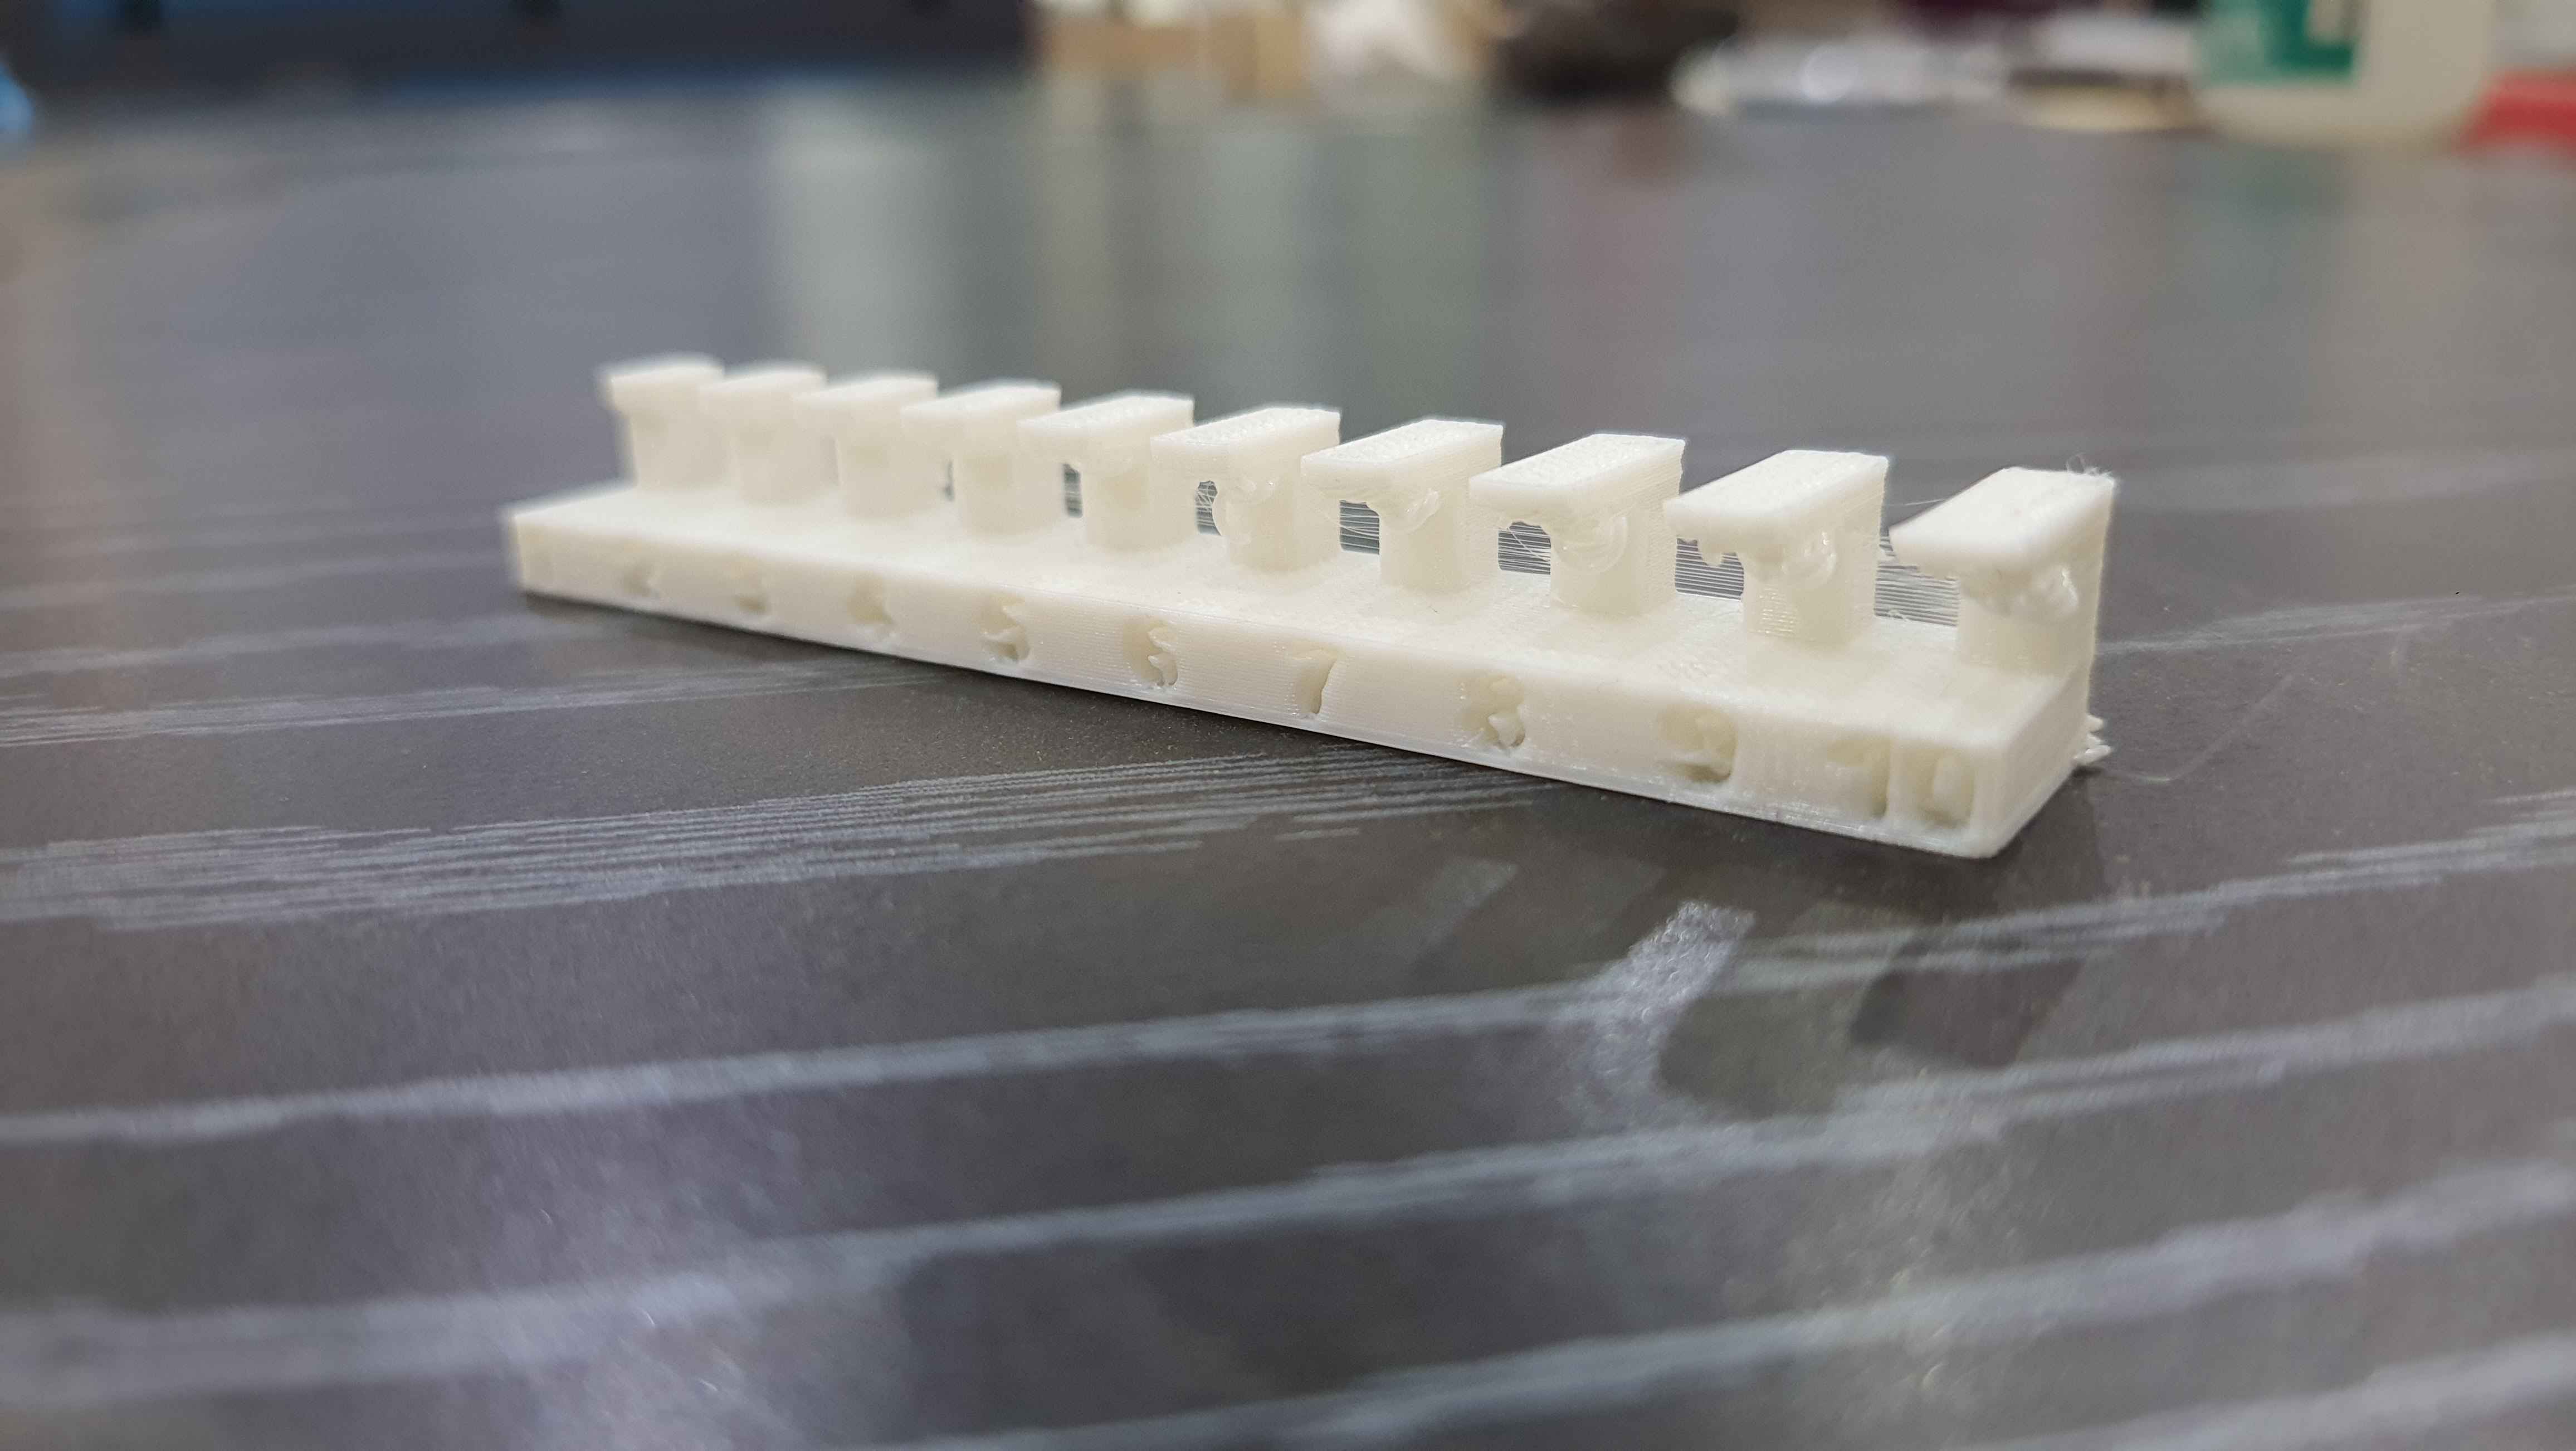
Bridging
It came our perfect as our printer bridging up to 20mm is totally fine.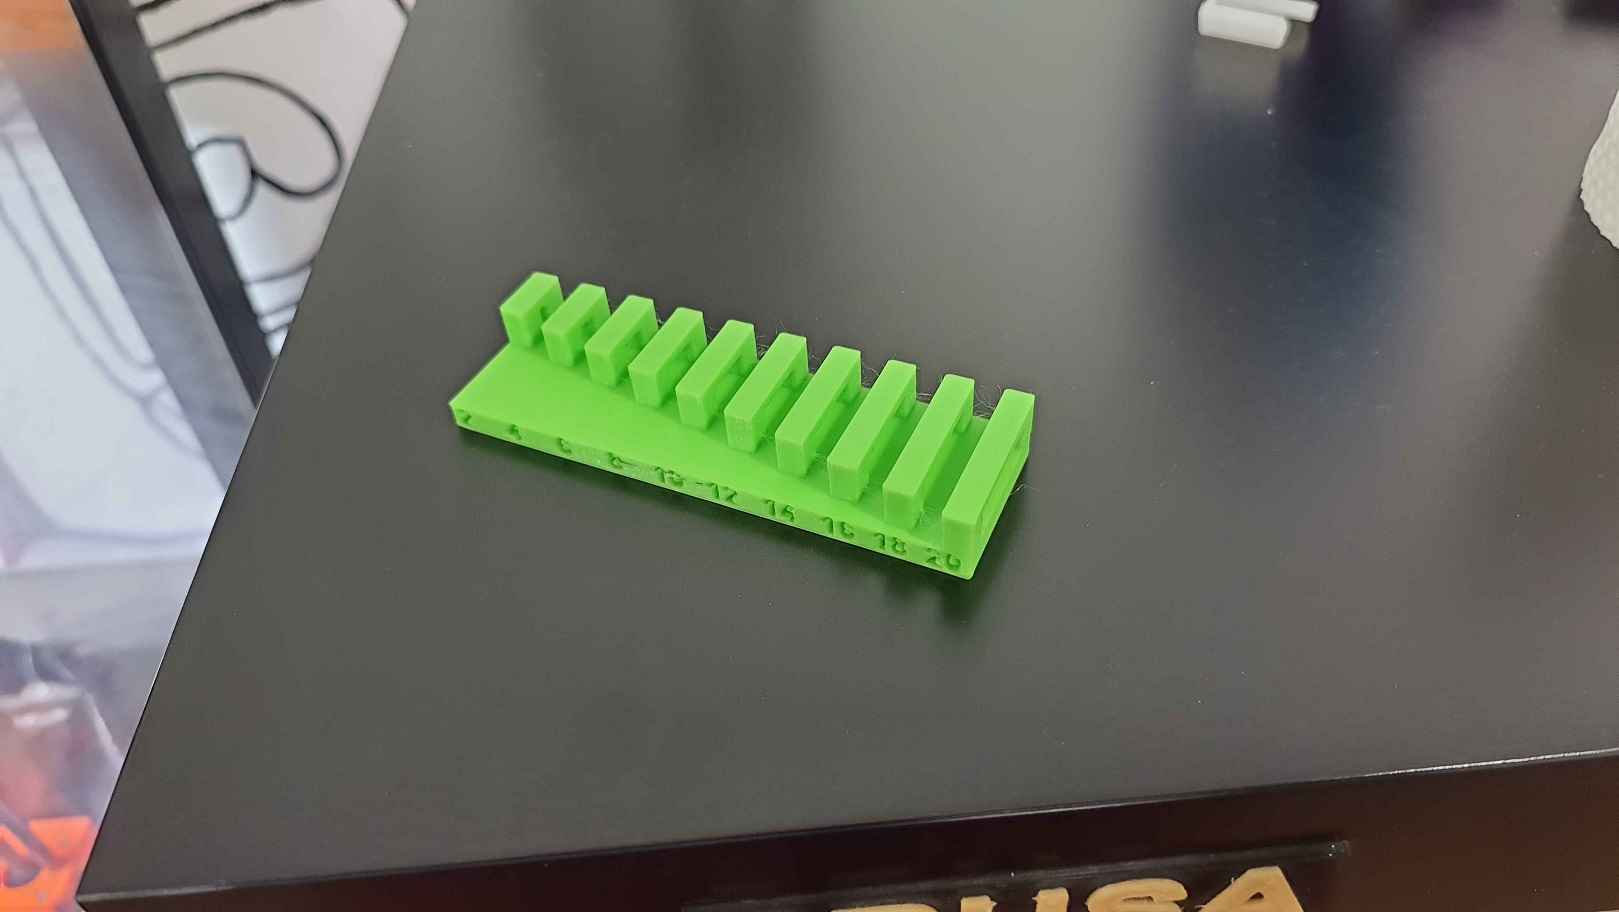

Surface Finish
Exaplore how layer height affects the part the left part was printed with 0.3mm layer height and the right smooth nice one is 0.1mm layer height.
Check our
Group assignment page to see more of our assignment.
3D Printing
3D printing is an additive manufacturing process that creates a physical 3D object from
a digital design.
The 3D printing had a lot of advantages such reducing costs, less waste, reduce time,
reduce errors, production on demand.
I start to practice to design print in place following this tutorial
Also I print it
For my assignment I wanted to try print in place hinge so I watch this tutorial and start to design
After I was done with the design. I export it as STL file and I slice it using Prusa Slicer
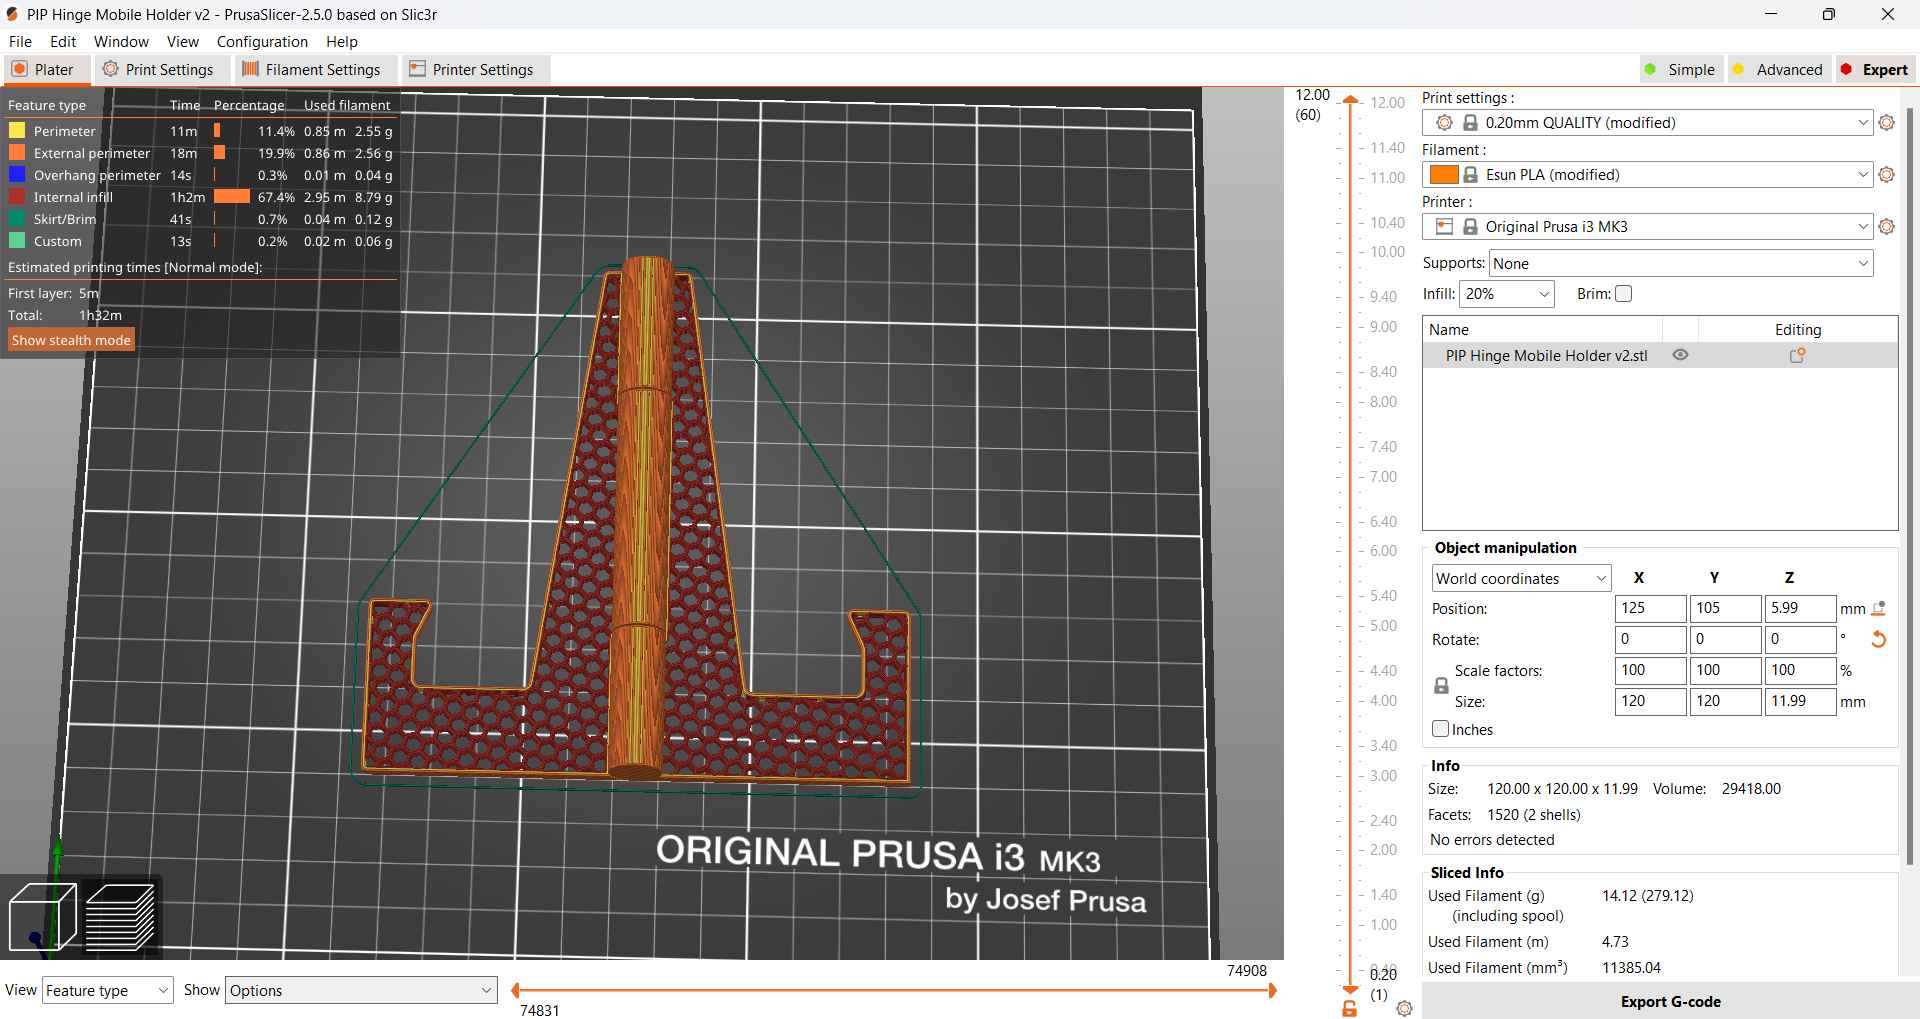
In Prusa Slicer I set the infell to honeycomb pattern then I set top and bottom layers to 0 so It expose the infill pattern
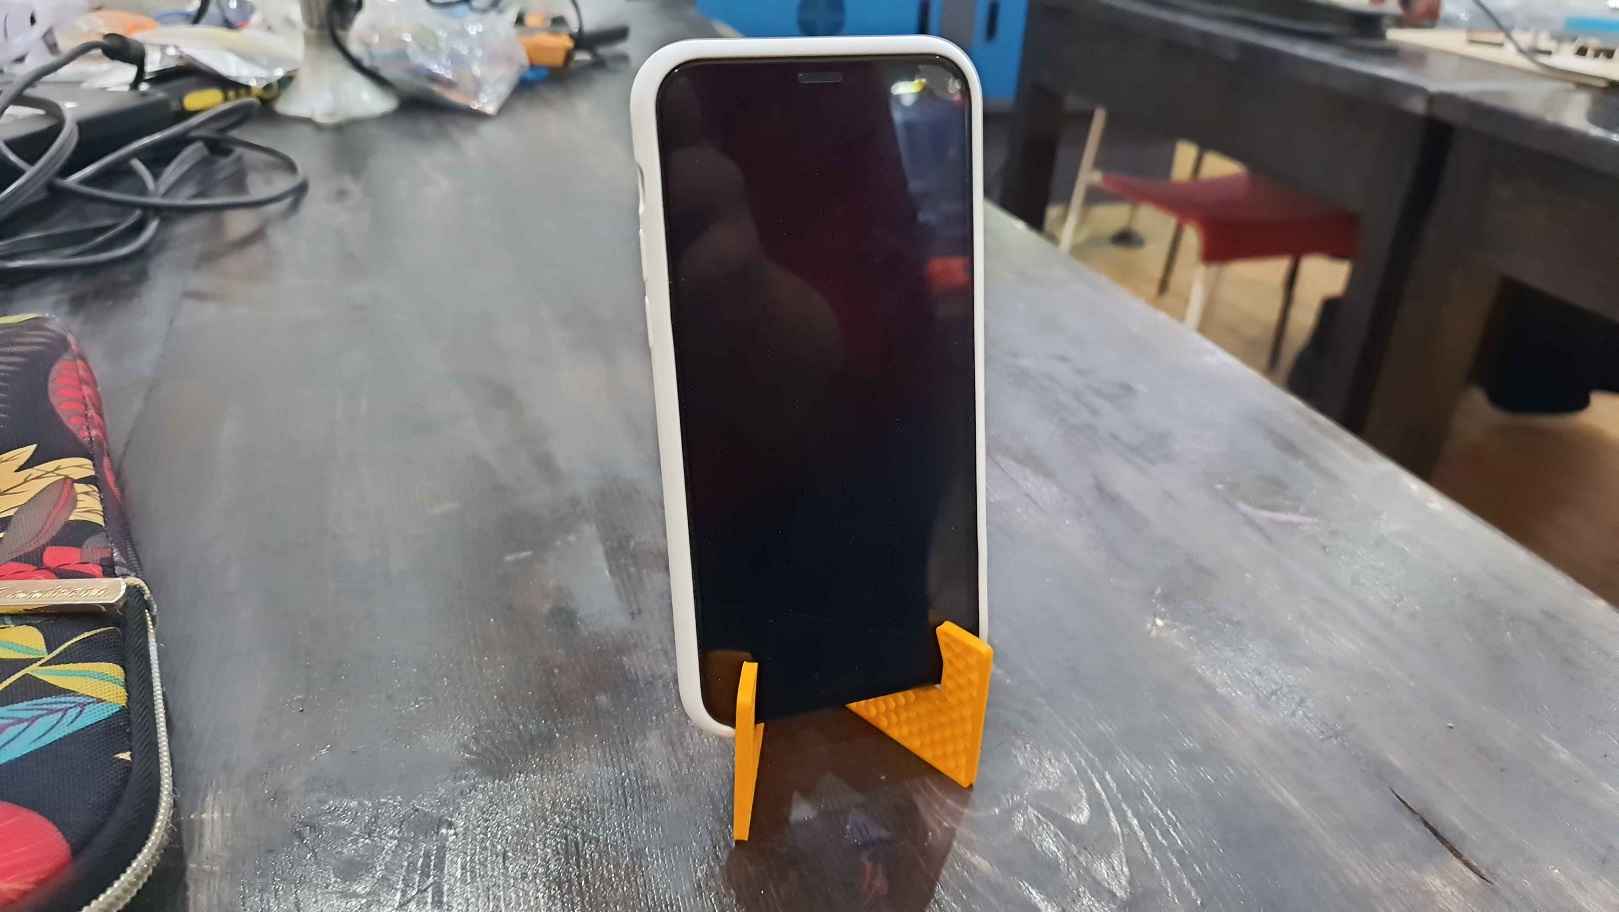

Both of the designs I print couldn't be made using subtractive manufacturing as they both have interlocking parts which is difficult to made using subtractive manufacturing
3D Scanning
I used Revopoint POP 2 3D
scanner to scan my favourite rubber duck.
The scanner was easy to setup and use.

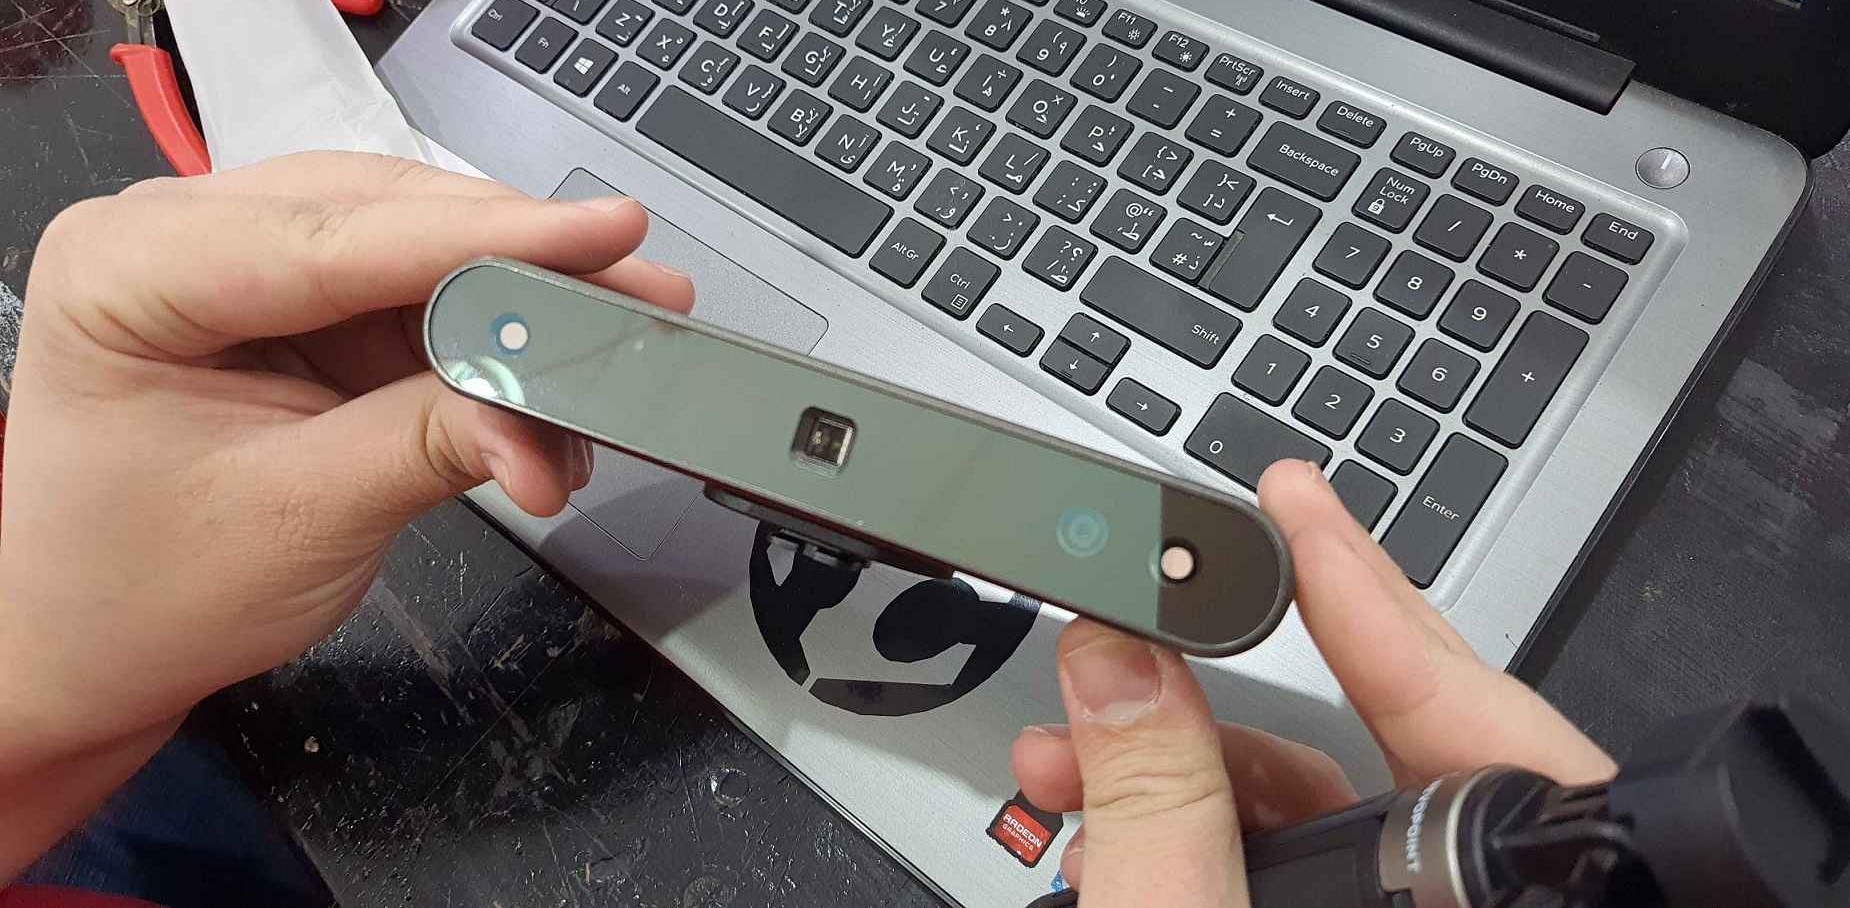
The GUI of the scanner was simple and easy to use


After I scan my rubber duck the scanning was good but the output needed some post prossing due to the extra part that sticks to the object. I export my scan as STL file and imported in Prusa Slicer then I used the Cut tool to remove the unwanted part from the model.

 Then I printed it with yellow PLA.
 And then I print it in yellow TPU.
In my opinion 3D scanner is greate tool as it help get an accurate replica of the object you scanned and also easy to use in a few seconds of scanning you get the stl of the object needed instead of taking more time to design it from scratch.