Computer-Controlled Cutting
Assignment
- Group Assignment:
- Characterize your laser cutter's focus, power, speed, rate, kerf, and joint clearance.
- Individual Assignment:
- Design, lasercut, and document a parametric press-fit construction kit, which
can be assembled in multiple ways.
Account for the laser cutter kerf. - Cut something on the vinyl cutter.
Evaluation Standards
- Linked to the group assignment page.
- Explained how you created your parametric design.
- Documented how you made your press-fit kit.
- Documented how you made something with the vinyl cutter..
- Included your original design files.
- Included hero shots of your results.
Output Preview
Group Assignment
Laser Cutting
Laser cutting is mainly a thermal process in which a focused laser beam is used to cut material in a localised area. A continuous cut is produced by moving the laser beam or workpiece under CNC control.
We start to characterize our lasercutter machine by checking it's focus

We started experimenting and adjusting the height of the laser head up & down until we got the smallest dot. It was at 5mm above the material surface.
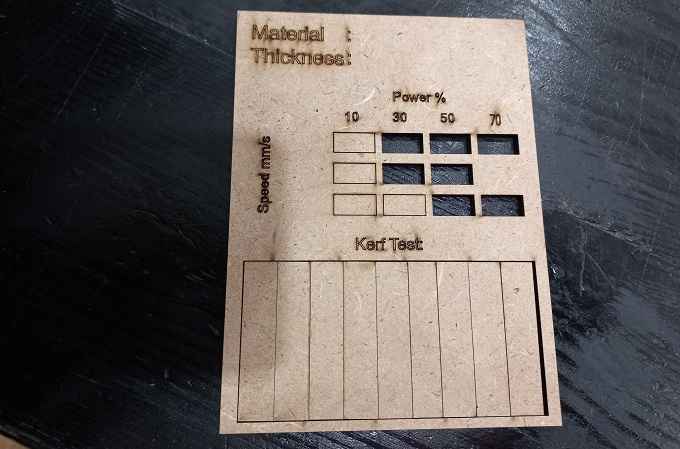
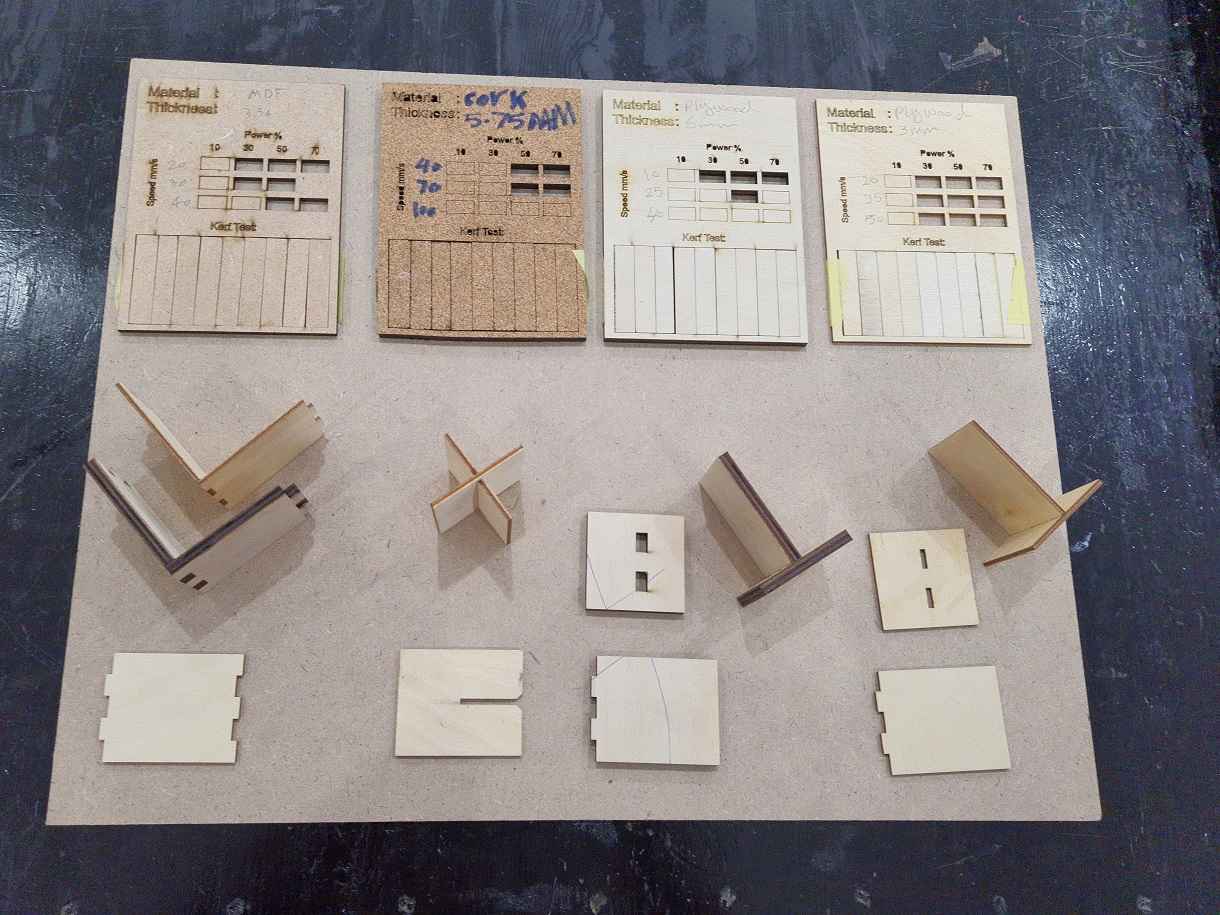
Then I start by testing the different operations (Cut, Engrave, Dot & Speed cut(score)).


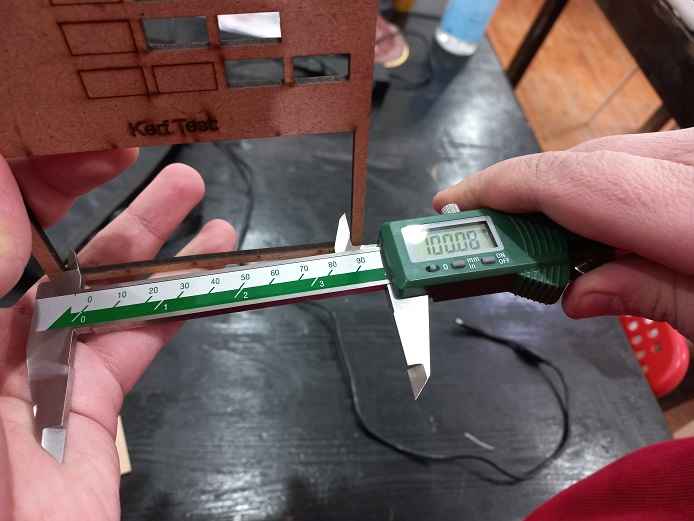
Then we start to cut and measure kerf on different materials
But what is kerf?
Kerf is the burns away portion of material when it cuts through using the laser.
I tested on MDF 3.5mm and on Acrylic 3mm
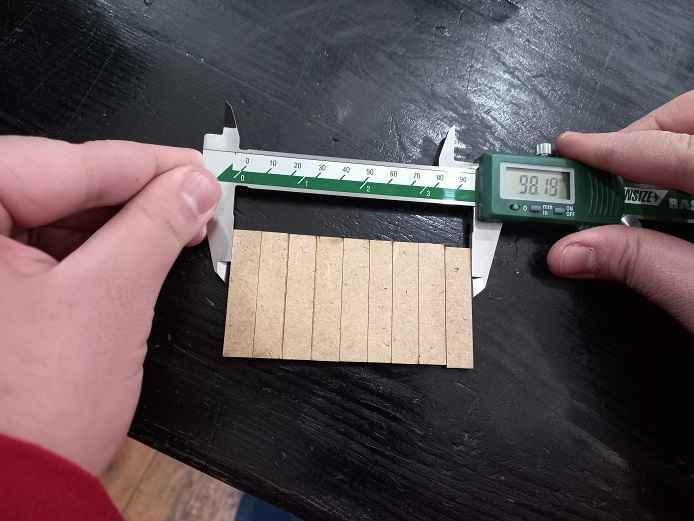
To calculate the kerf in our test we used the following formula A-B/10 = K
| Material | A | B | K |
|---|---|---|---|
| Plywood 3mm | 100.42mm | 98.46mm | 0.196mm |
| Plywood 6mm | 100.01mm | 99.05mm | 0.105mm |
| Cork 5.75mm | 101.03mm | 98.98mm | 0.205mm |
| MDF 3.5mm | 100.08mm | 98.19mm | 0.189mm |
| Acrylic 3mm | 100.00mm | 98.19mm | 0.181mm |
Then I designed and fabricated finger joints

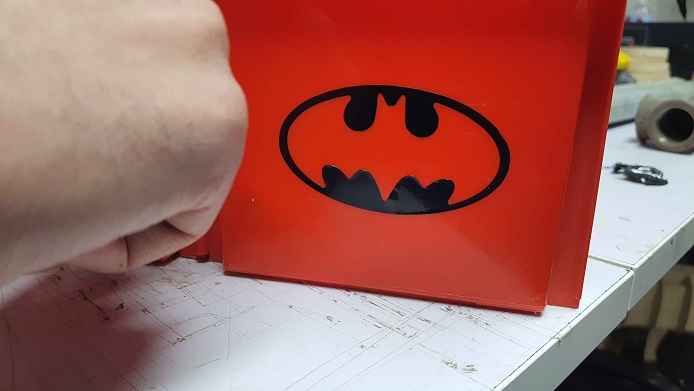
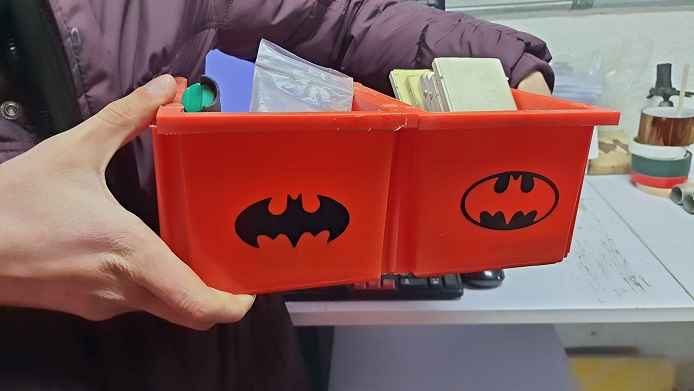
Then we cut Batman logo on the Vinyl Cutter.
You check our Lab page for more on our group assignment.
Construction Kit
I start to sketch up my construction kit. I set my parameters for my design.
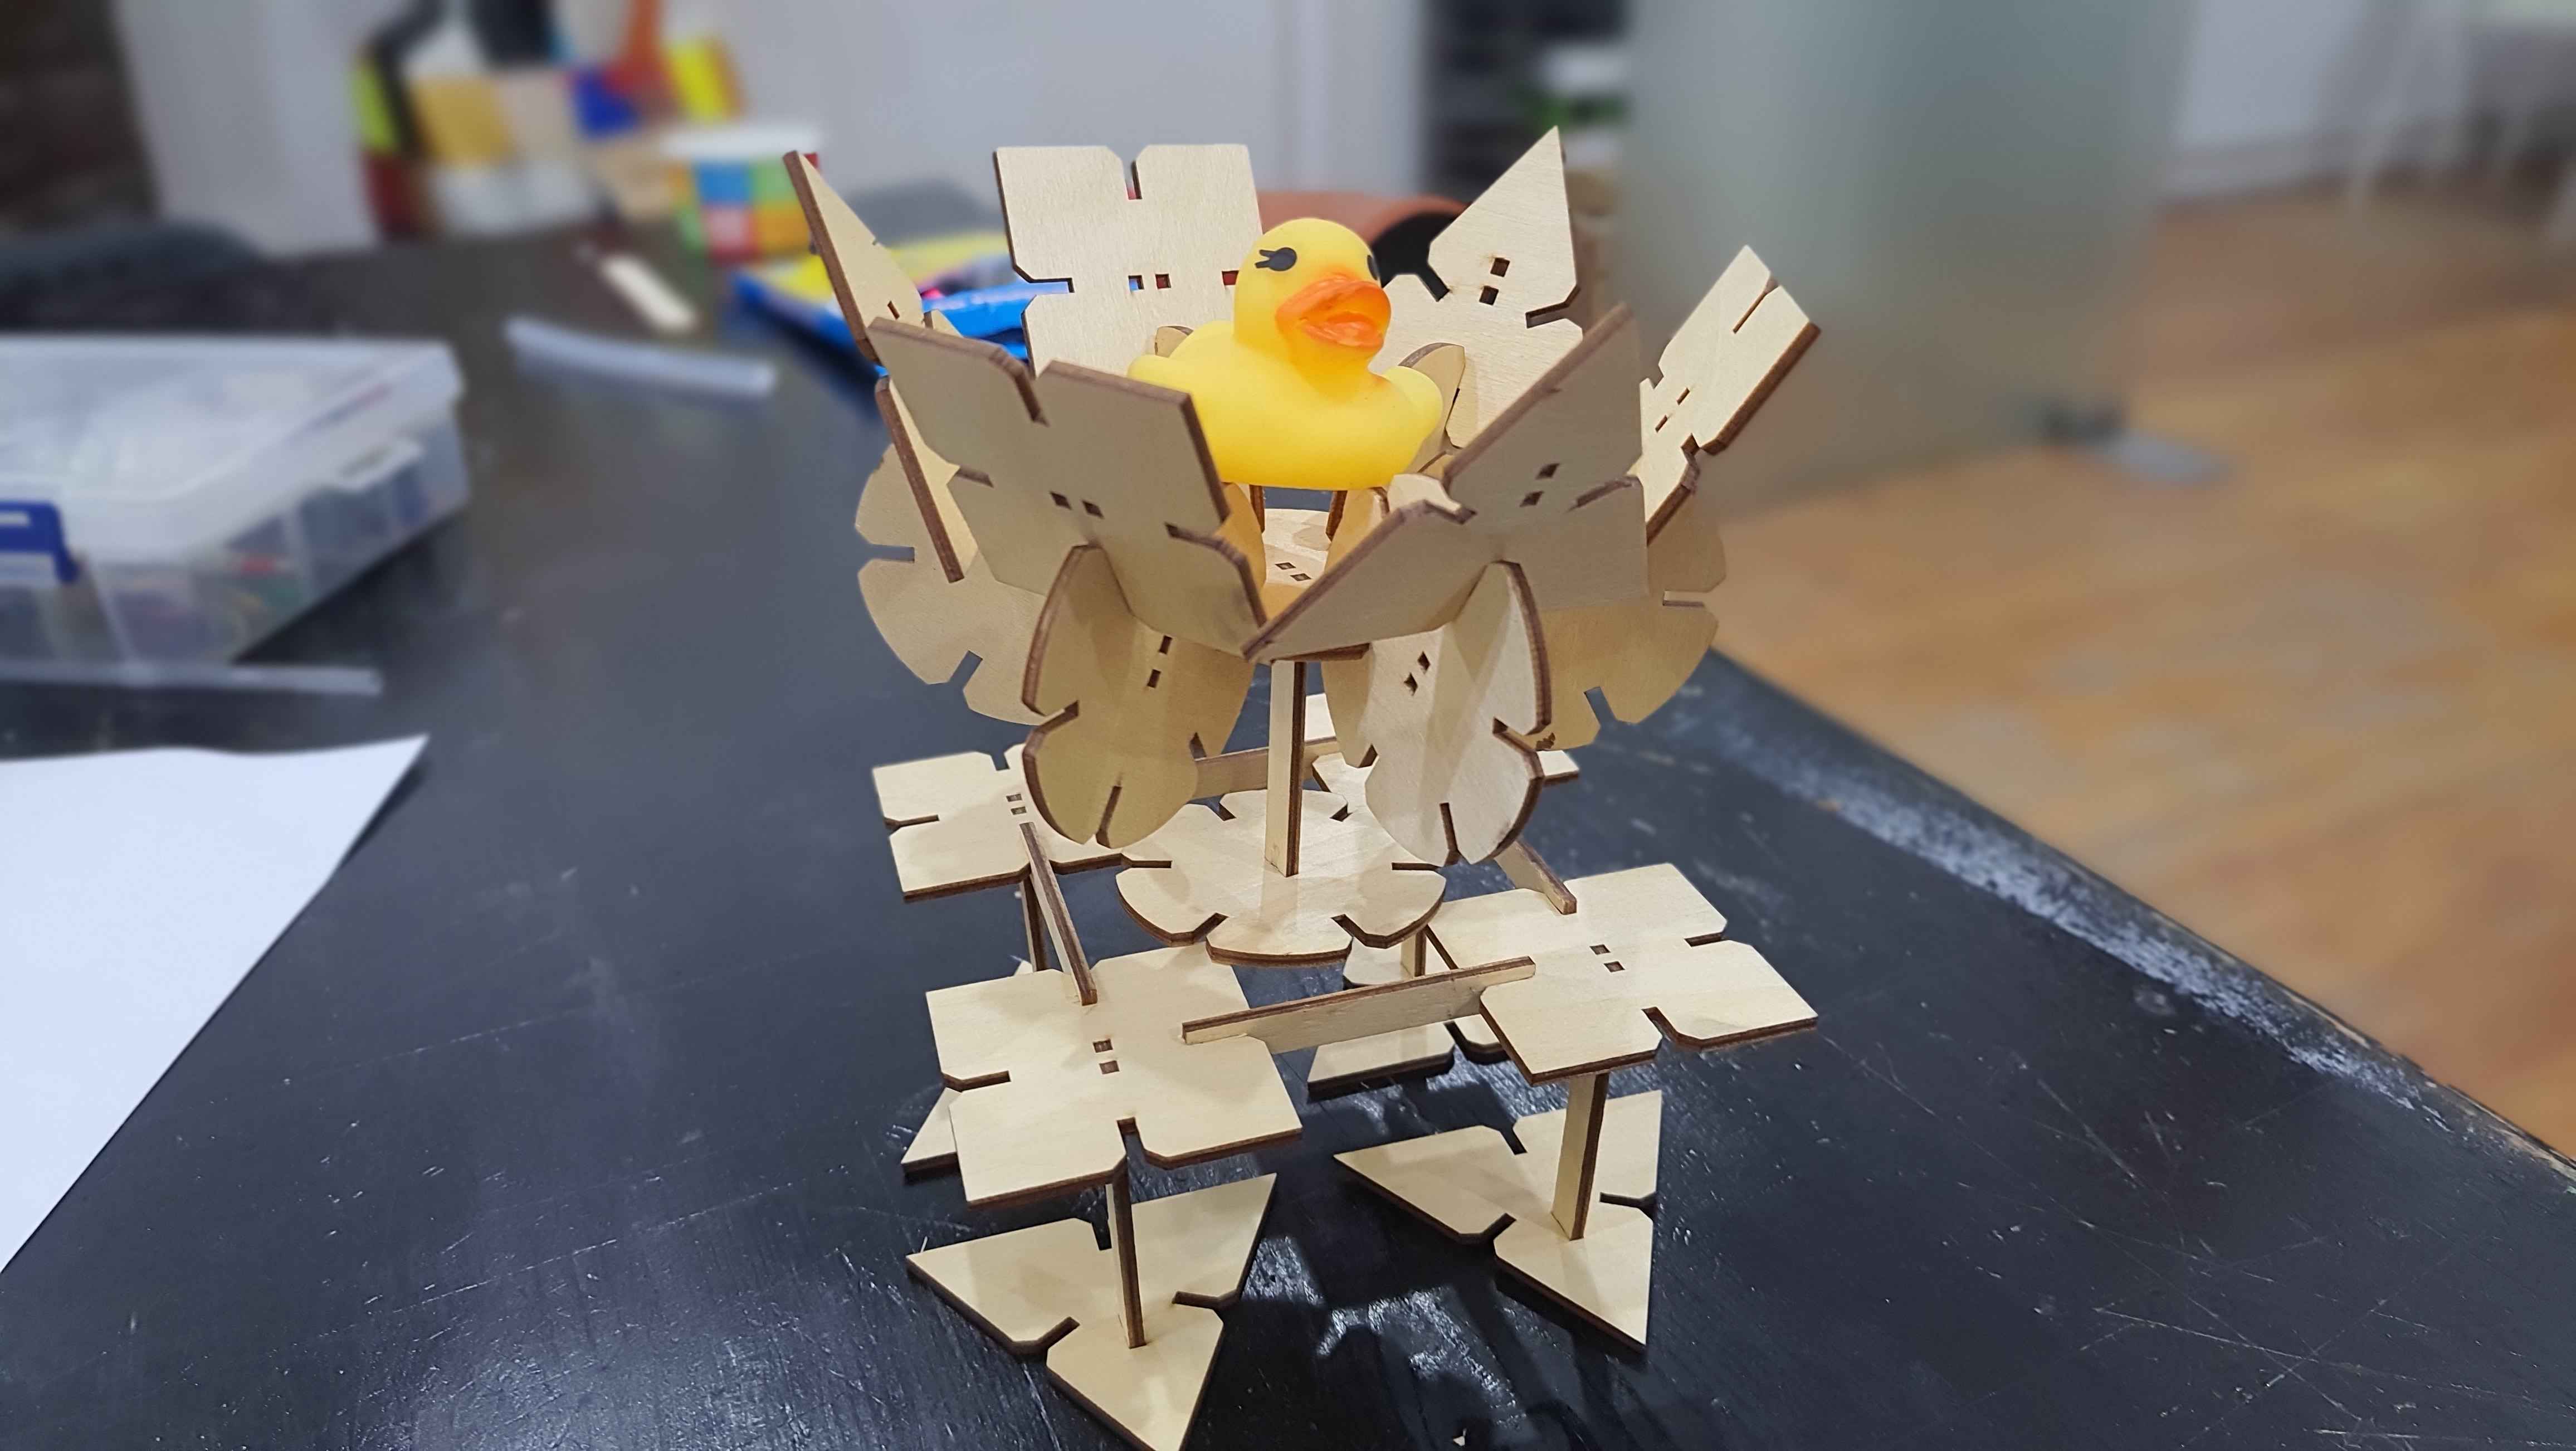
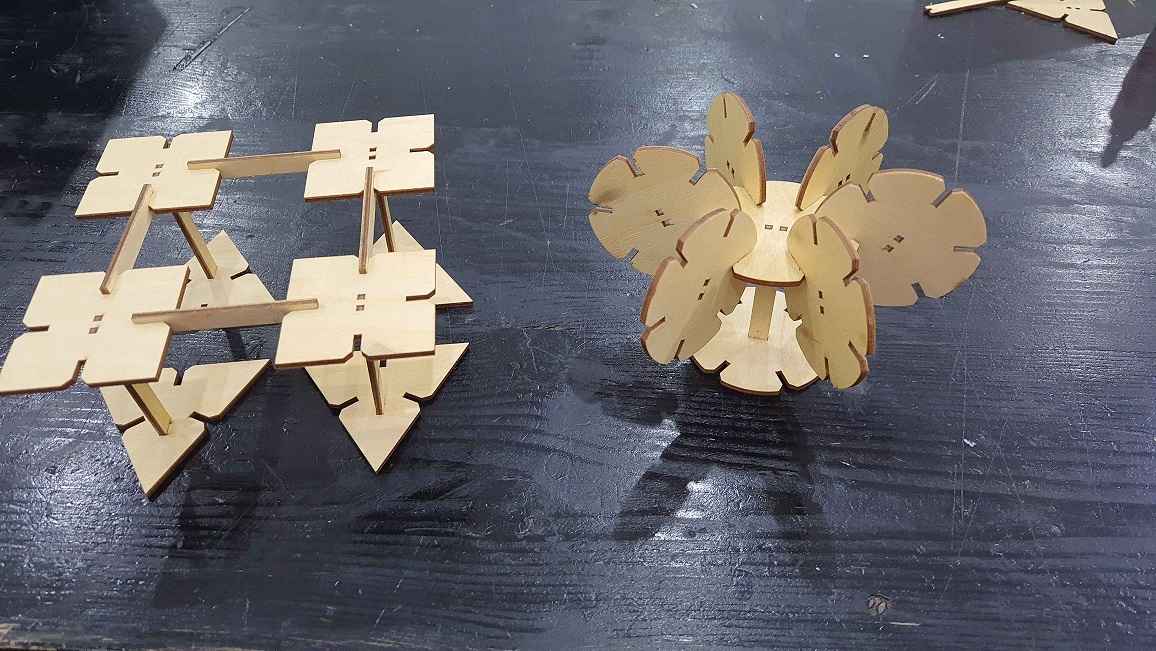
I decided to keep it simple. I sketch 4 parts (circle, connector, rectangle, triangle)

Start by sketching rectangle and set it's parameters

Then for the kerf compensation I make offset of the sketch with half the value of the kerf.

Then I sketched the rest of the parts the same way.

Then I exported DXFs of the sketch I draw then I nested them in RD Works to cut them using laser cutter.

Then I start to connect and play with the kit.

Vinyl Cutting
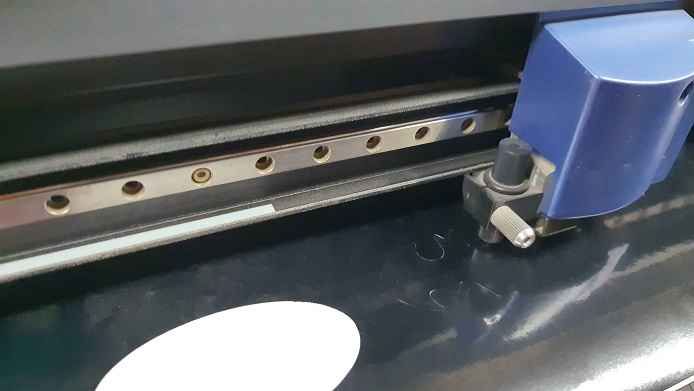
I used Mods to control the vinyl
cutter machine Roland GX-24
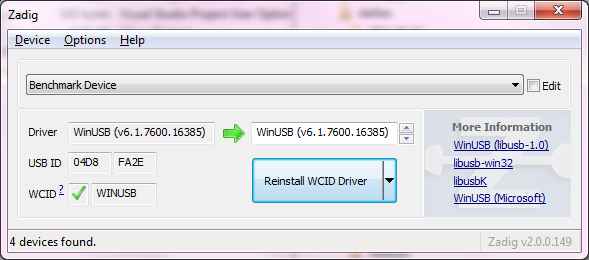
I used Zagid utility to use WebUSB
in mods
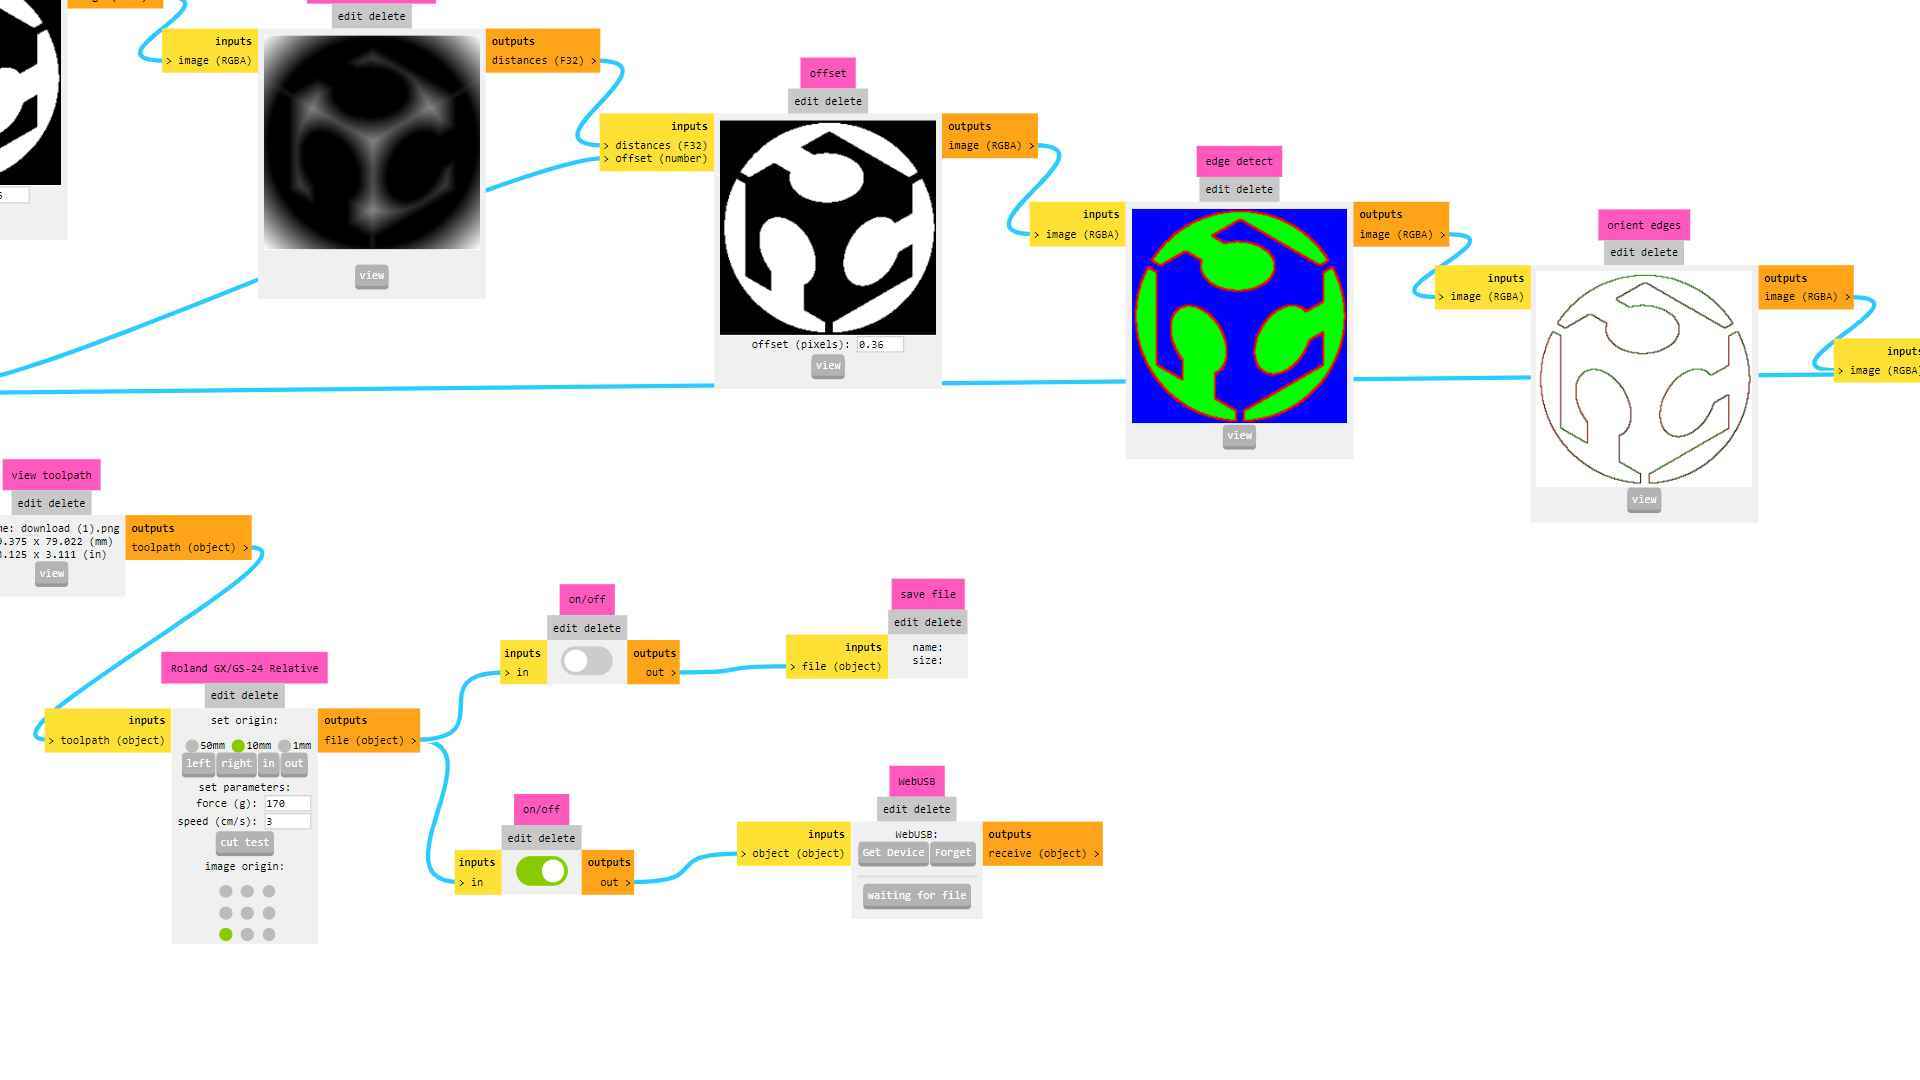
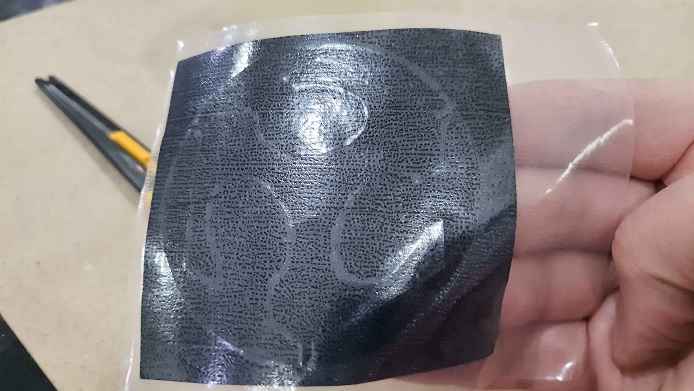
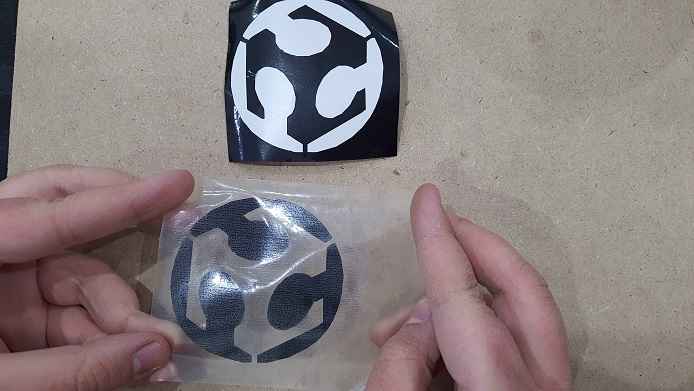
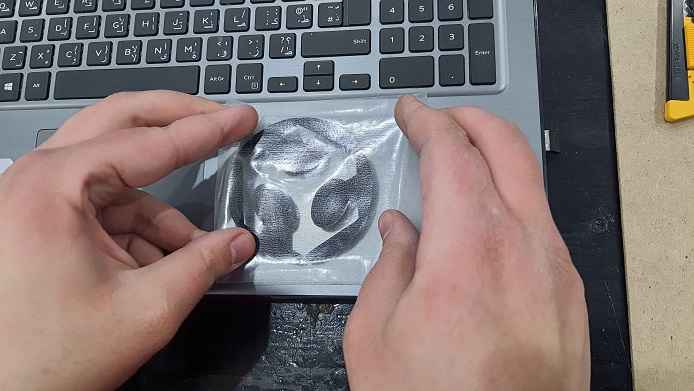
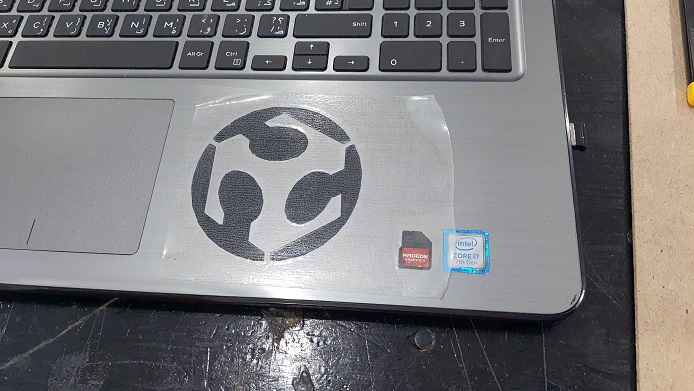
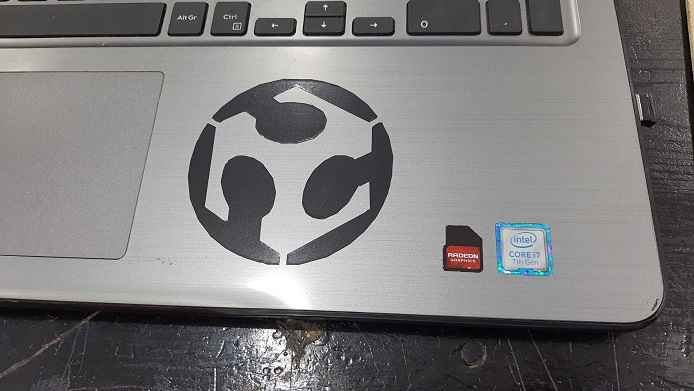
I cut the vinyl and transfer it to my laptop.
