Requierements for Week 2
Assessments book for this week:
Computer-Aided Design · GitBook (fabacademy.org)
Learning outcomes
- Evaluate and select 2D and 3D software
- Demonstrate and describe processes used in modelling with 2D and 3D software
Have you answered these questions?
- Modeled experimental objects/part of a possible project in 2D and 3D software
- Shown how you did it with words/images/screenshots
- Included your original design files
My files
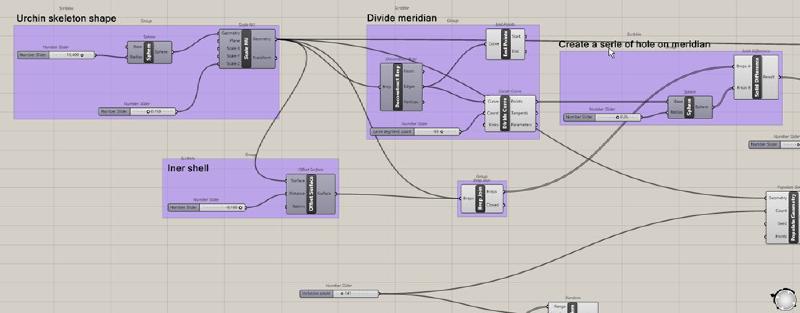
Grasshopper script to generate a sea urchin shell: grasshopper
Fusion360 file for my final project: https://a360.co/3Y7FoYC
3D Modeling
To model my final project I will use Fusion 360. This commercial software is edited by Autodesk and offer free licences, for educational or personal use.
Wood base
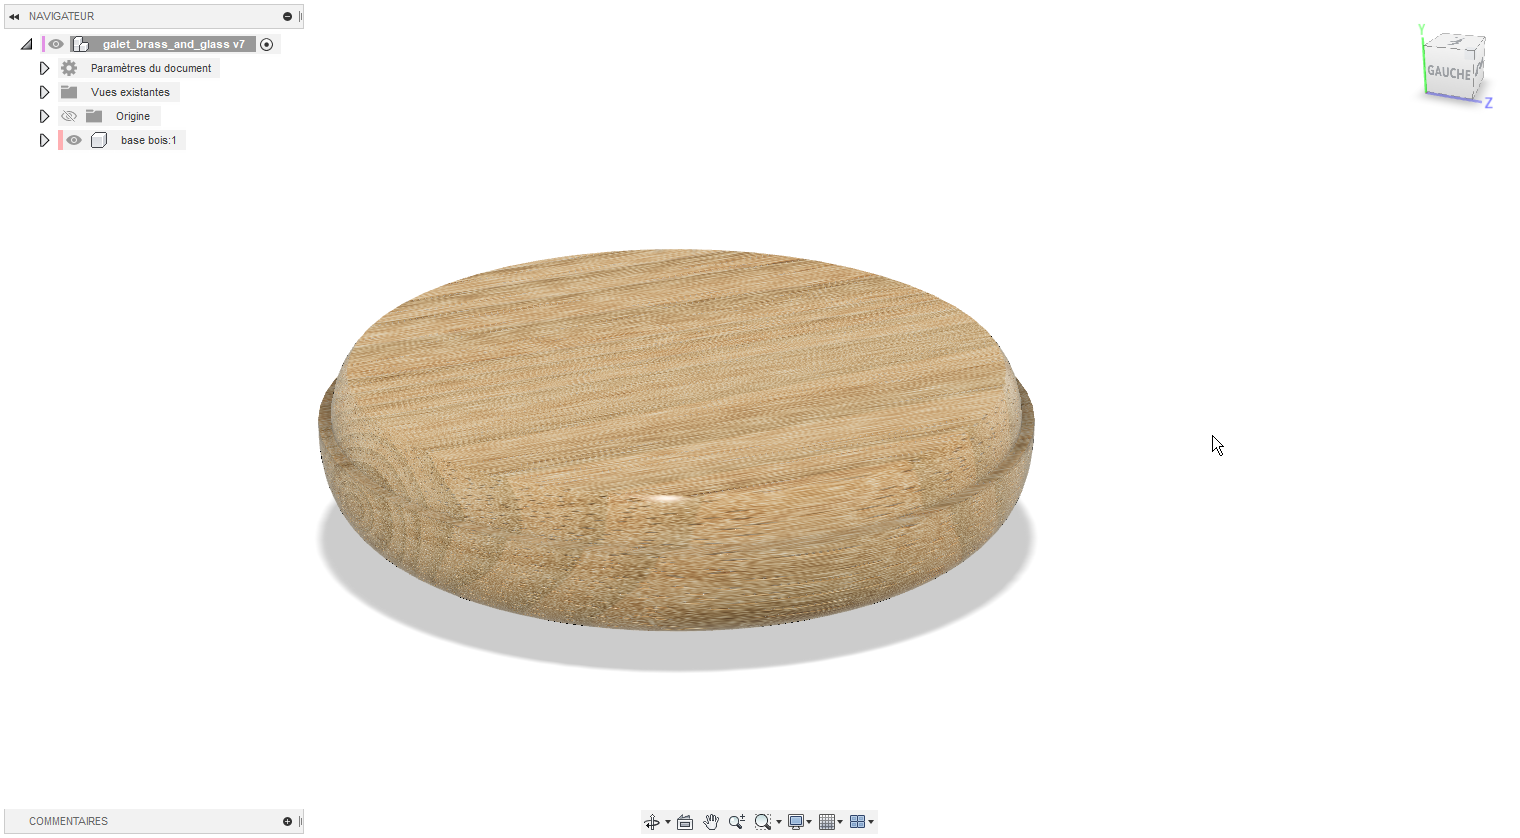
First, we create a new component for the base of the object. We first draw the profile of the pebble and extrude with a revolve
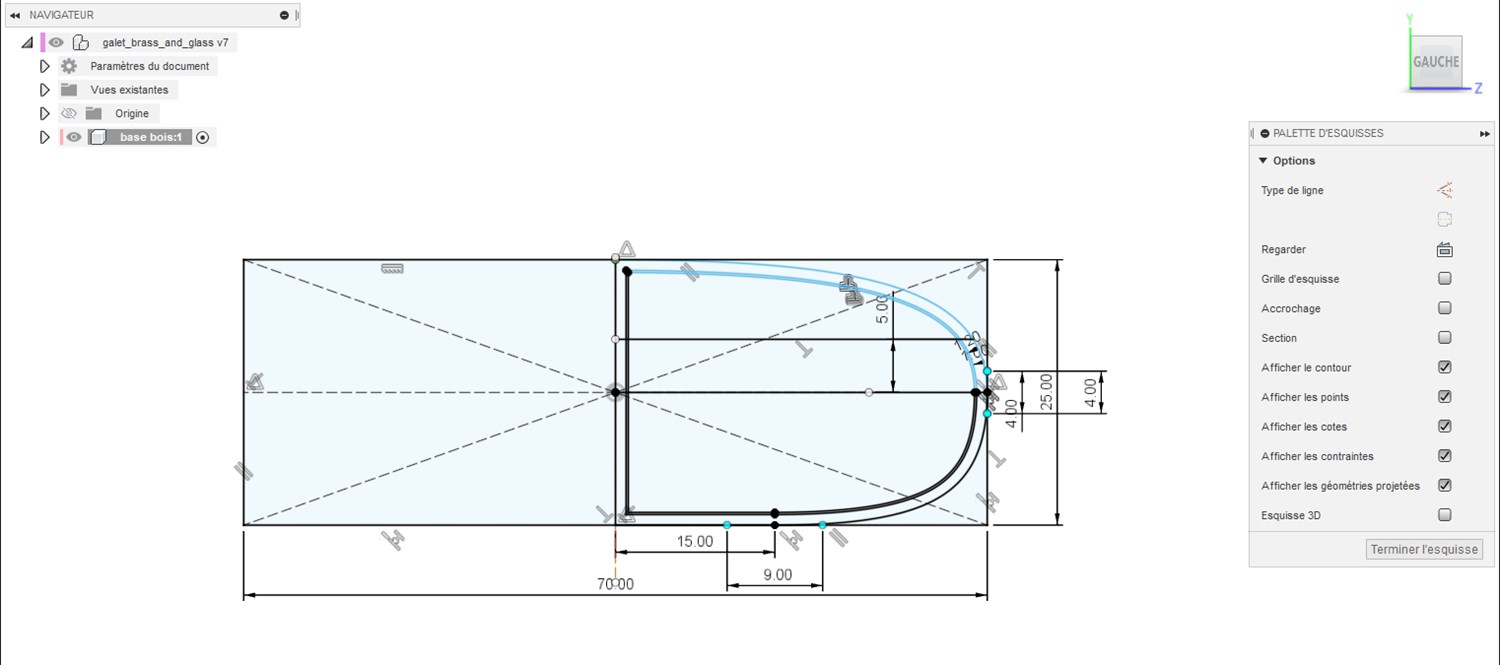
The result of the revolve tool
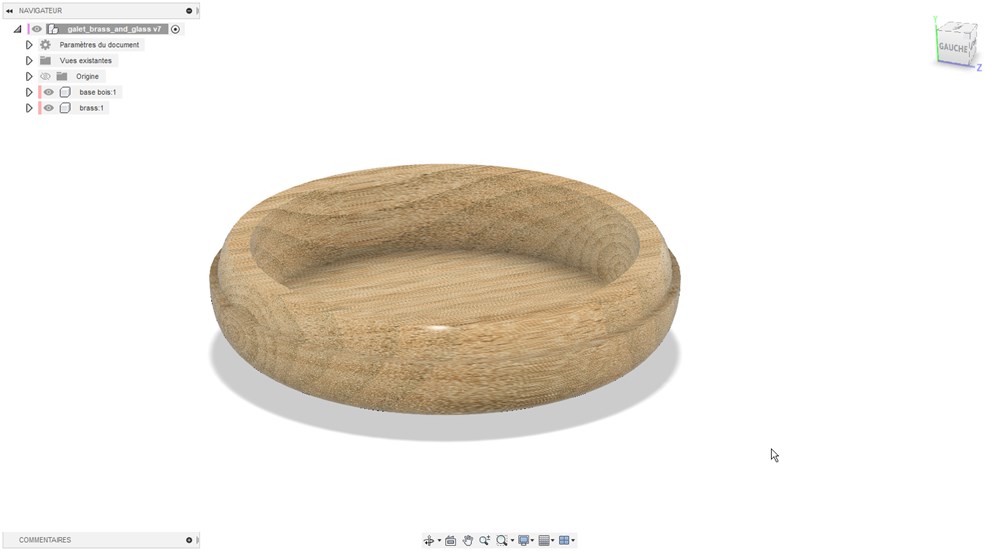
Then we create a sketch on the top surface to create a pocket by extrusion:
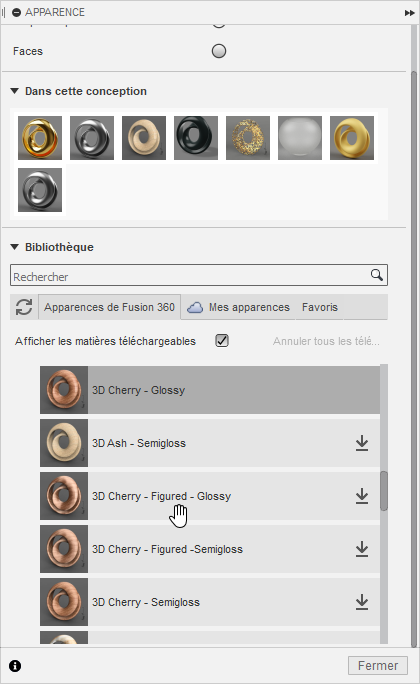
The material can be choosen doing right click on the component. I choose “3D Ash Glossy” under finished wood section of the material library.
Ring
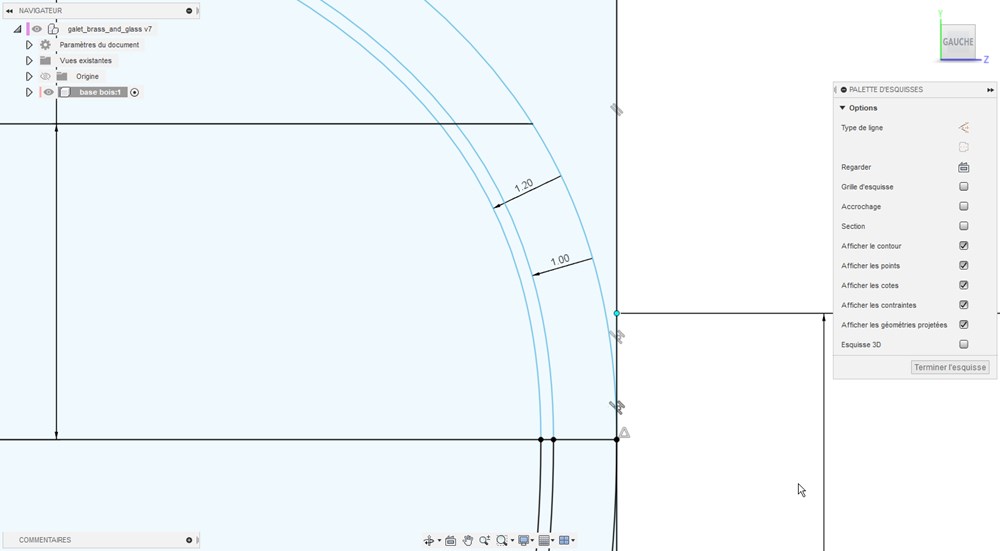
We create another component for the ring. We add a small offset of 0.2mm to allow a best fit of the 2 part in the real world.
Top part and image mapping
Finaly we create the top part of the pebble:
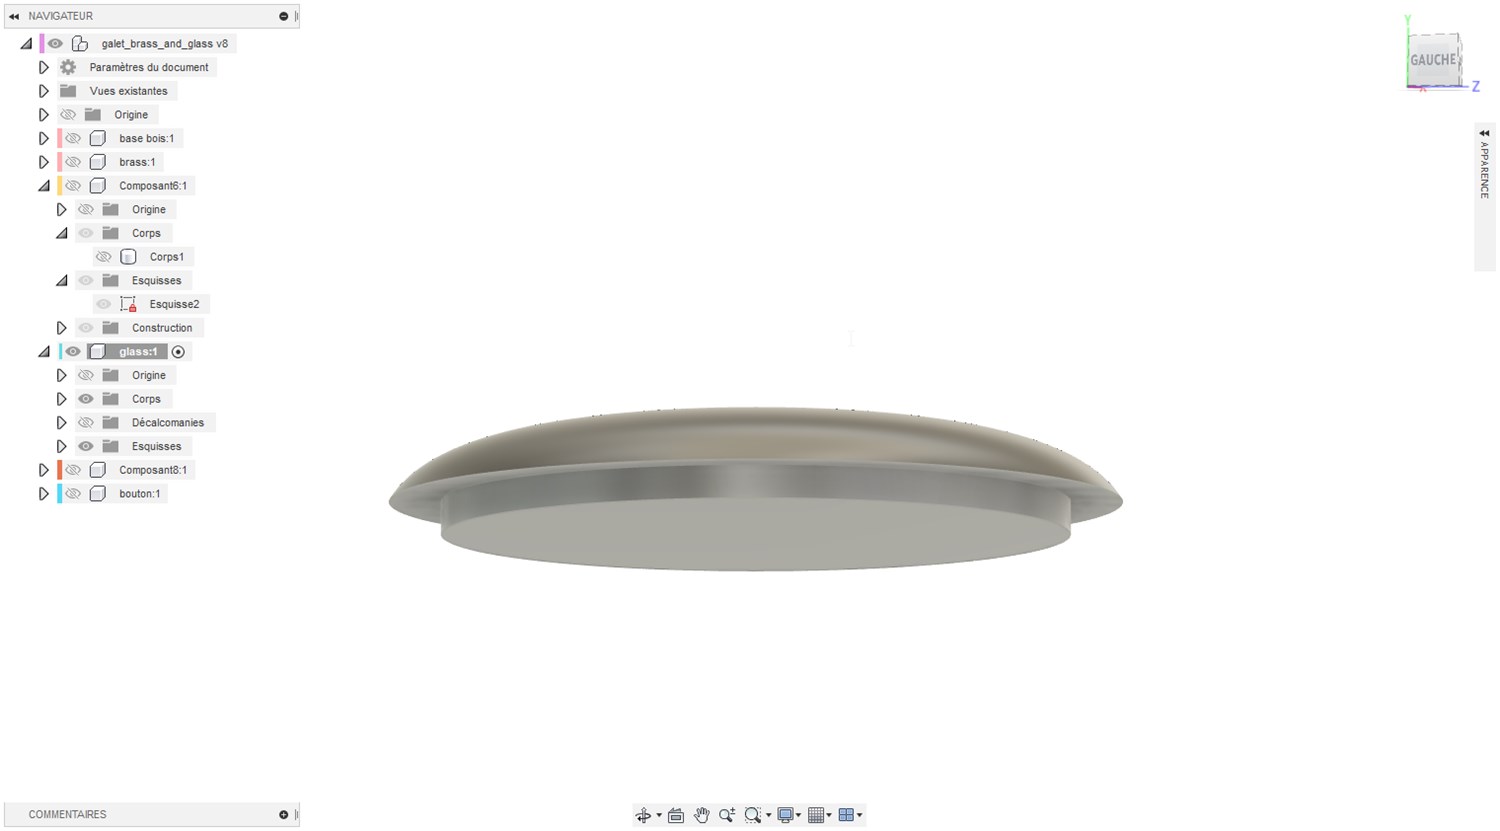
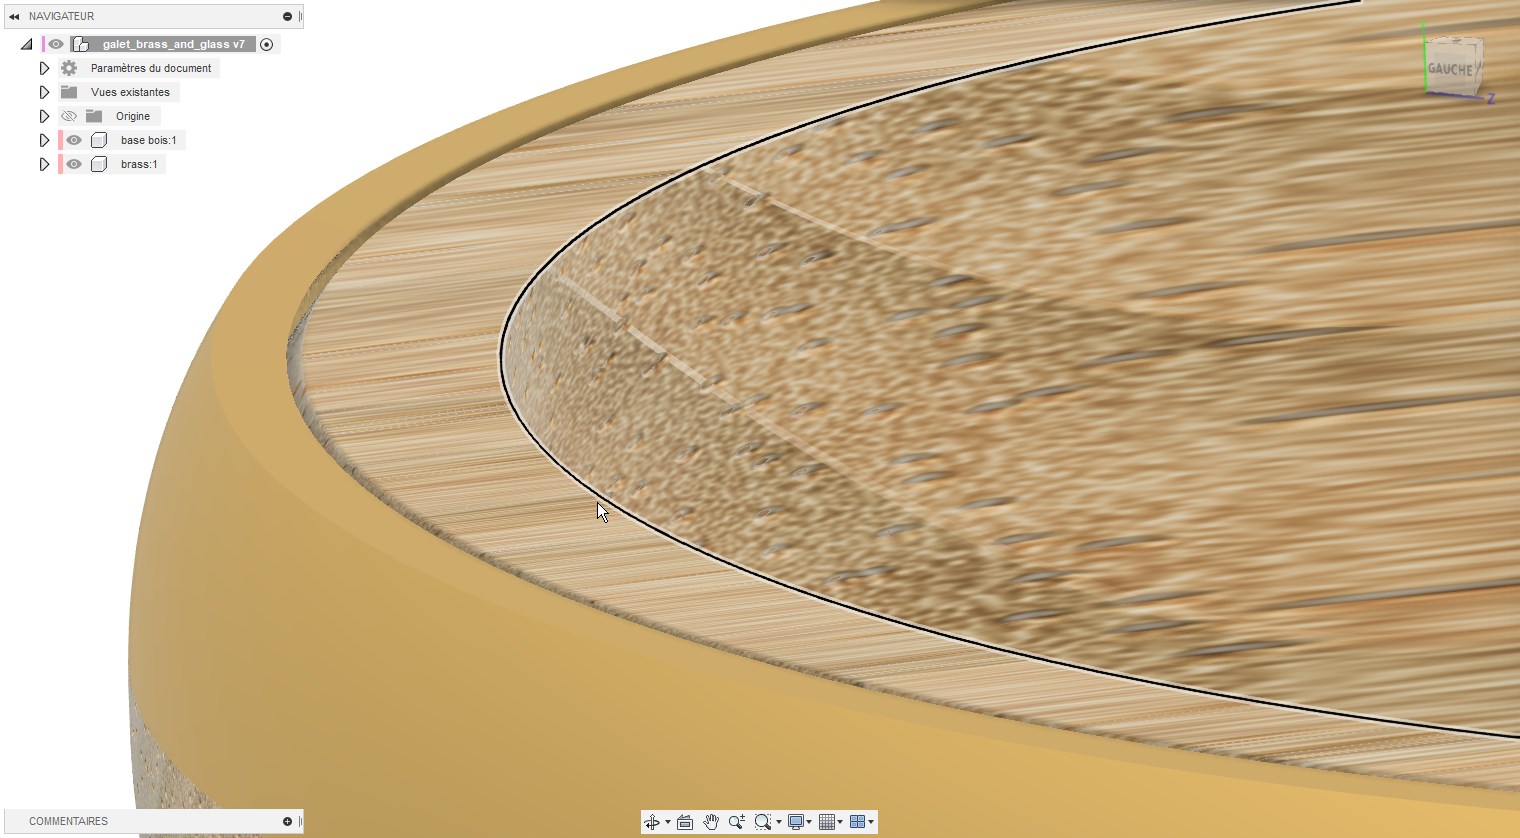
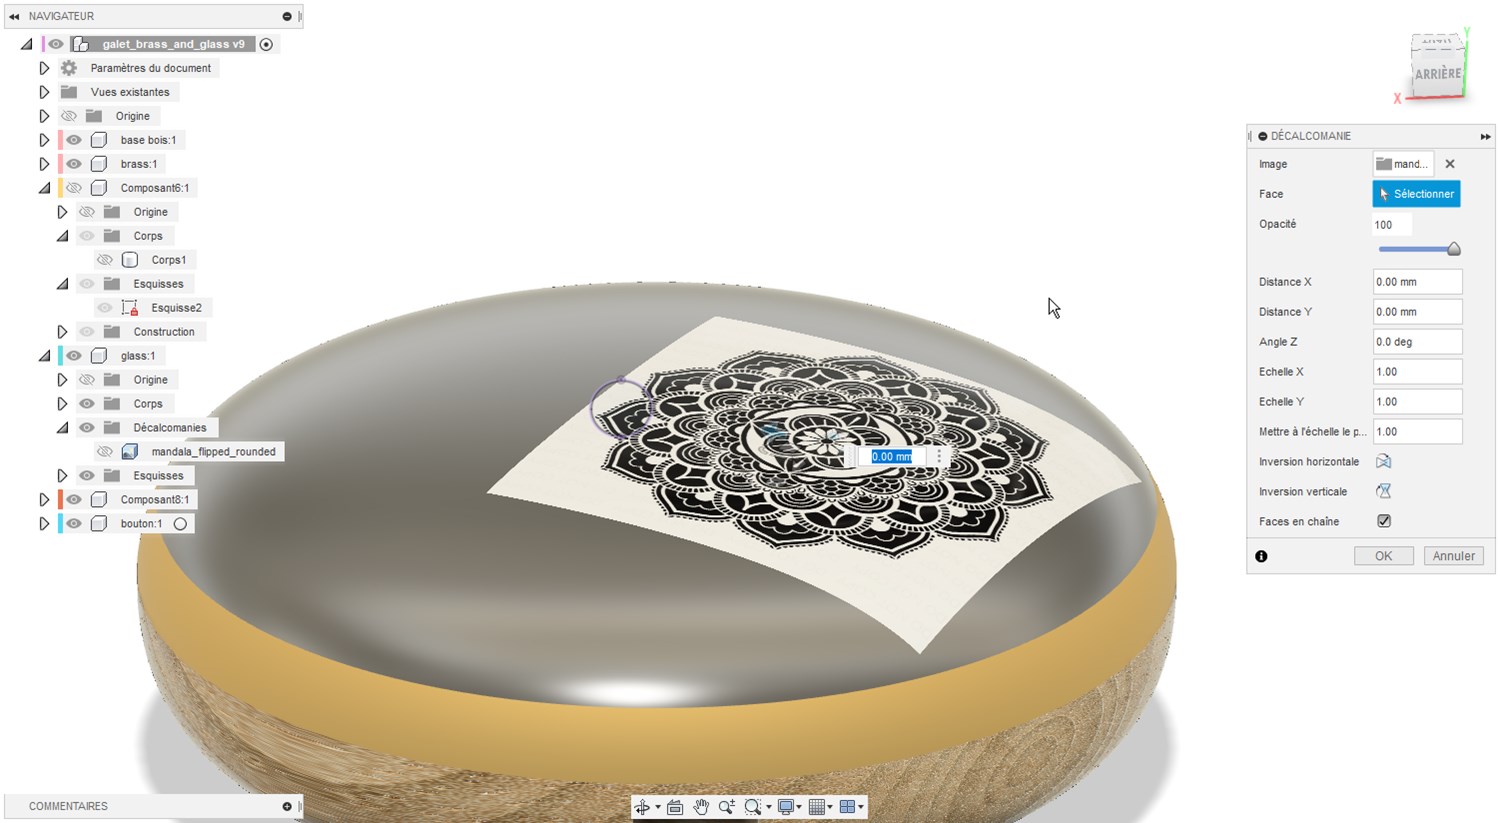
To add the mandala, I go in “Insérer” and “decalcomanie”. I choose an image file and select the face to apply it.
To finish we just have to adjust position and rescale the image.
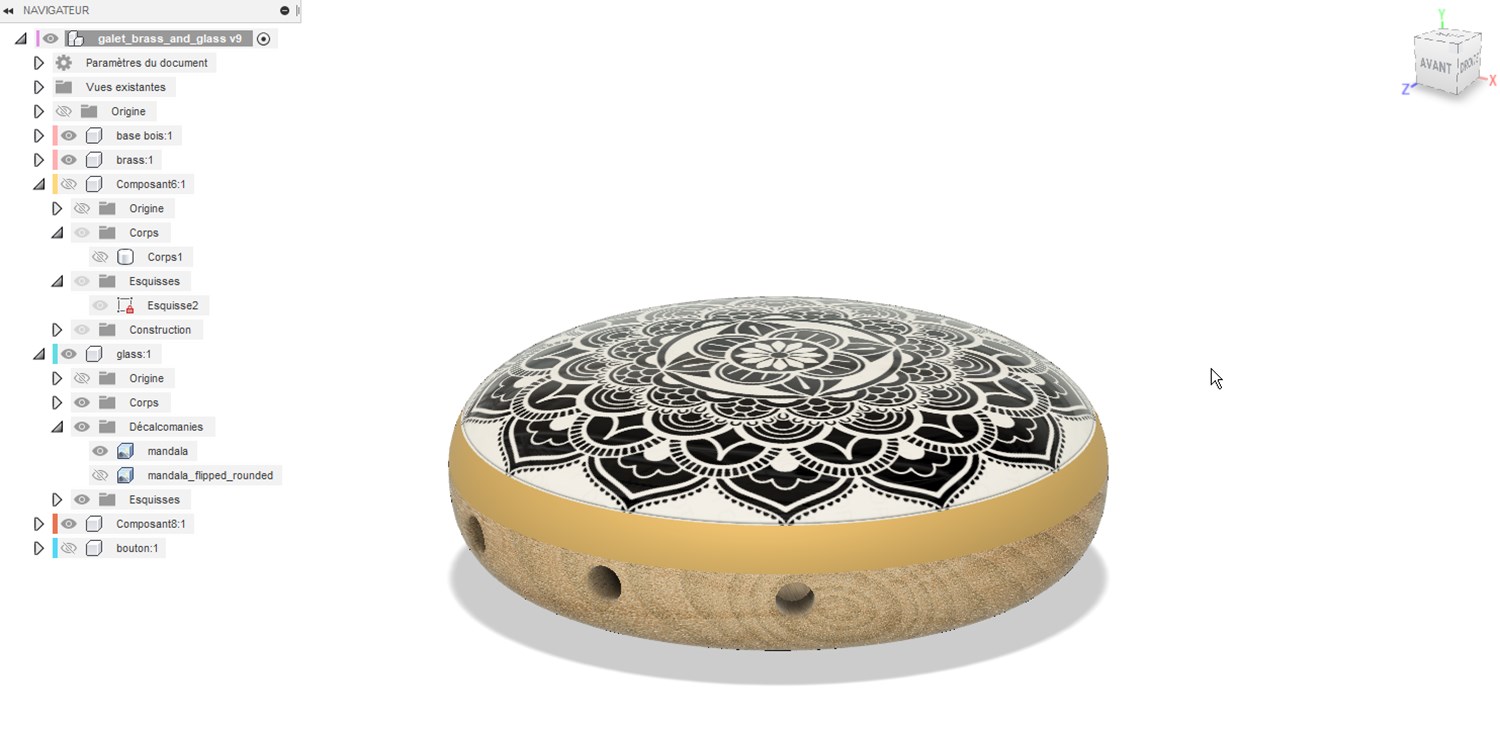
 We can switch beetween image under “decalcomanies” subfolder of the component.
Adding buttons
First, I create a new component inside hole, using the same plan as used for making holes. I extrude in both direction. I create a new skectch on the plan cutting this new component. I project the pebble geometry and add a first offsetted curve at 5mm and another one at 2mm. I add a line in the center. I can now revolve around this line using the space beetween the 2 offseted curve as a cutting tool.
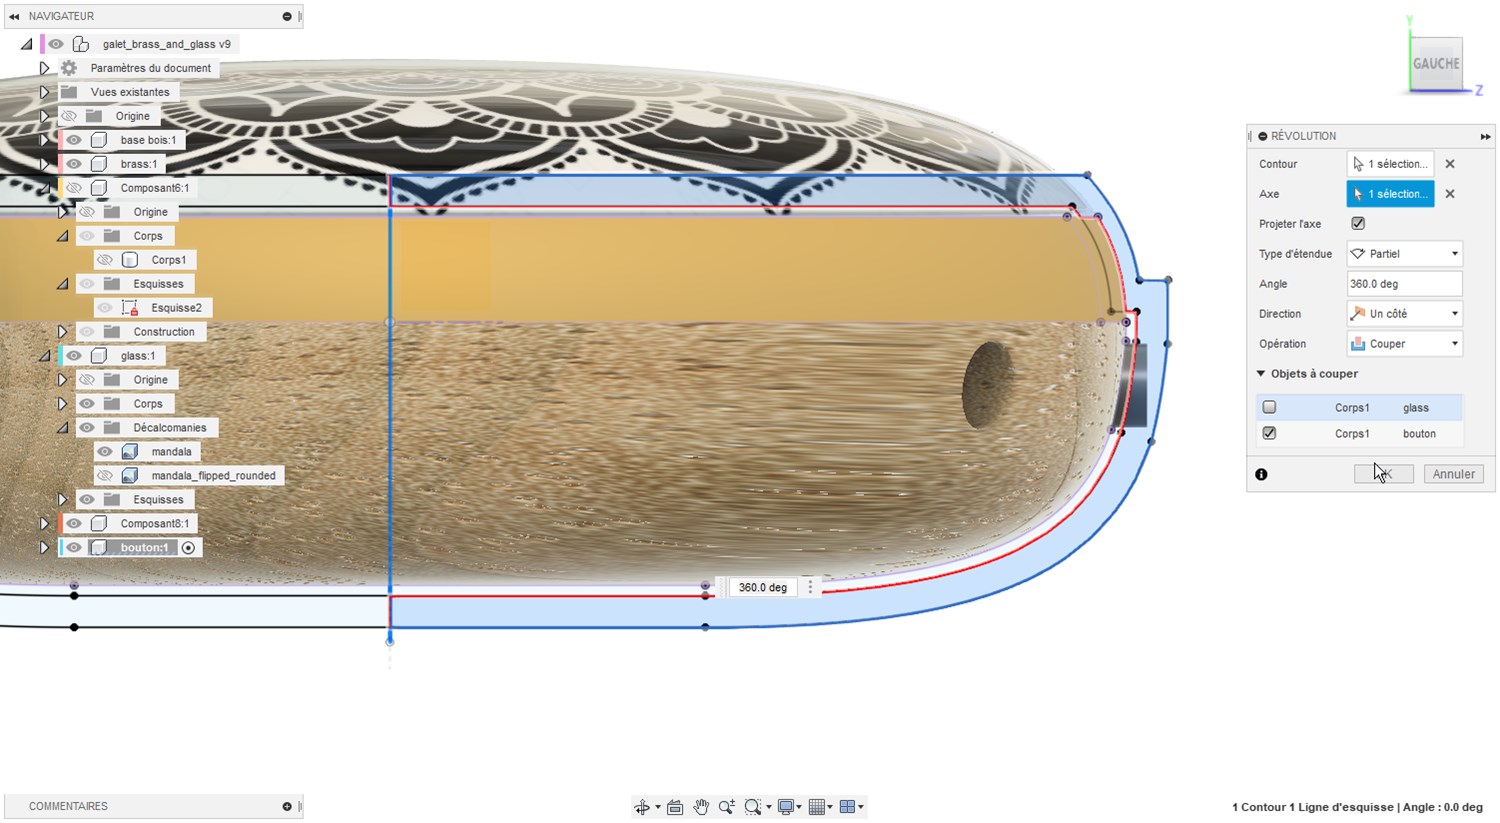
Cutting is done. I will adjust a little bit to be less outside of the pebble.
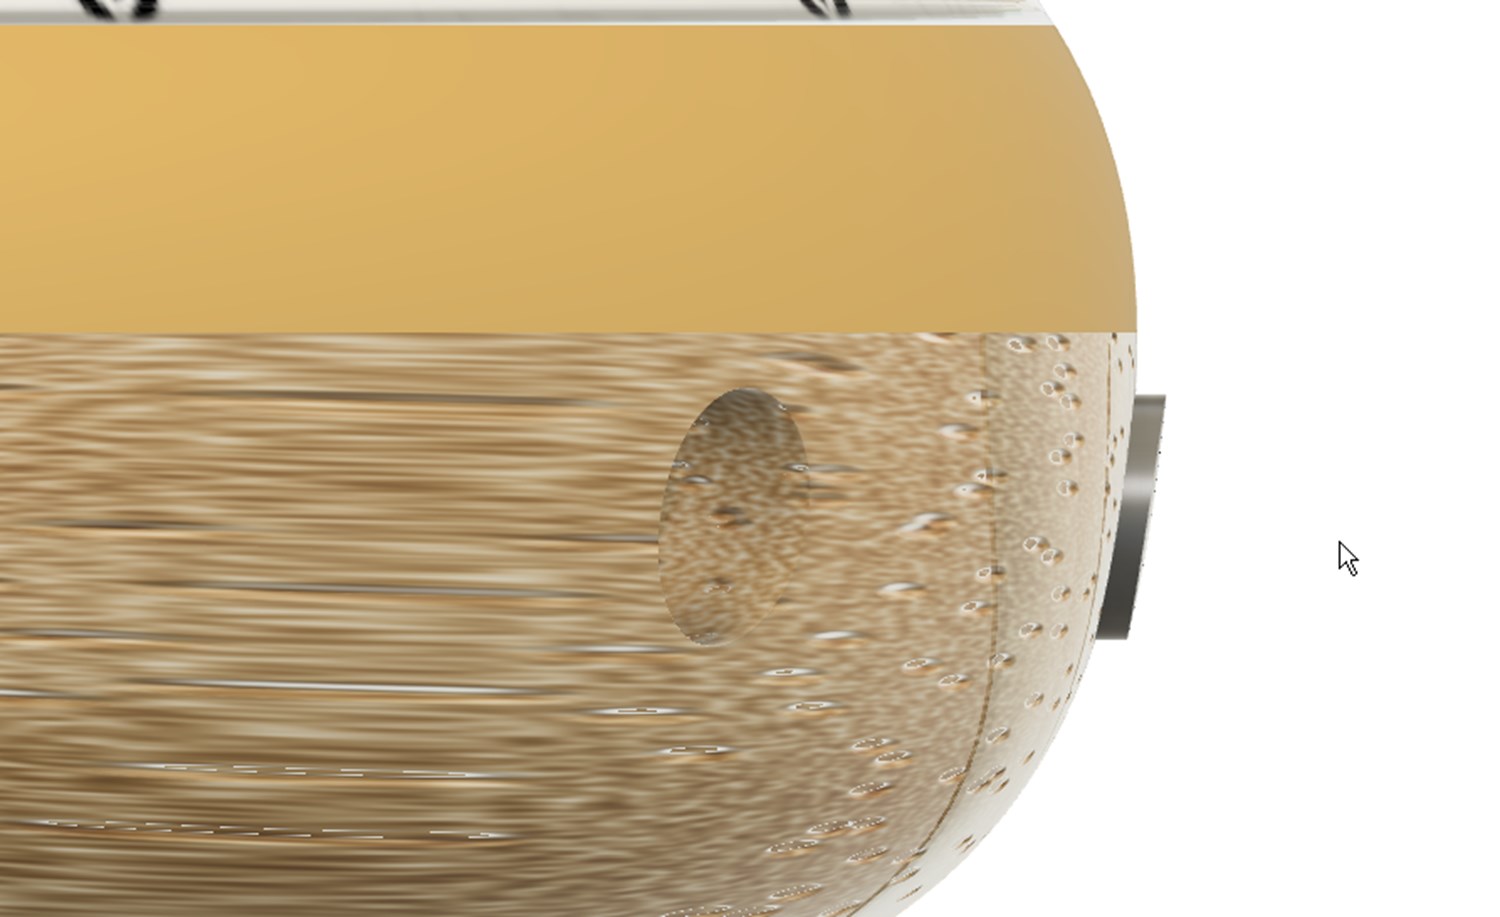
First offset is now 0.1mm
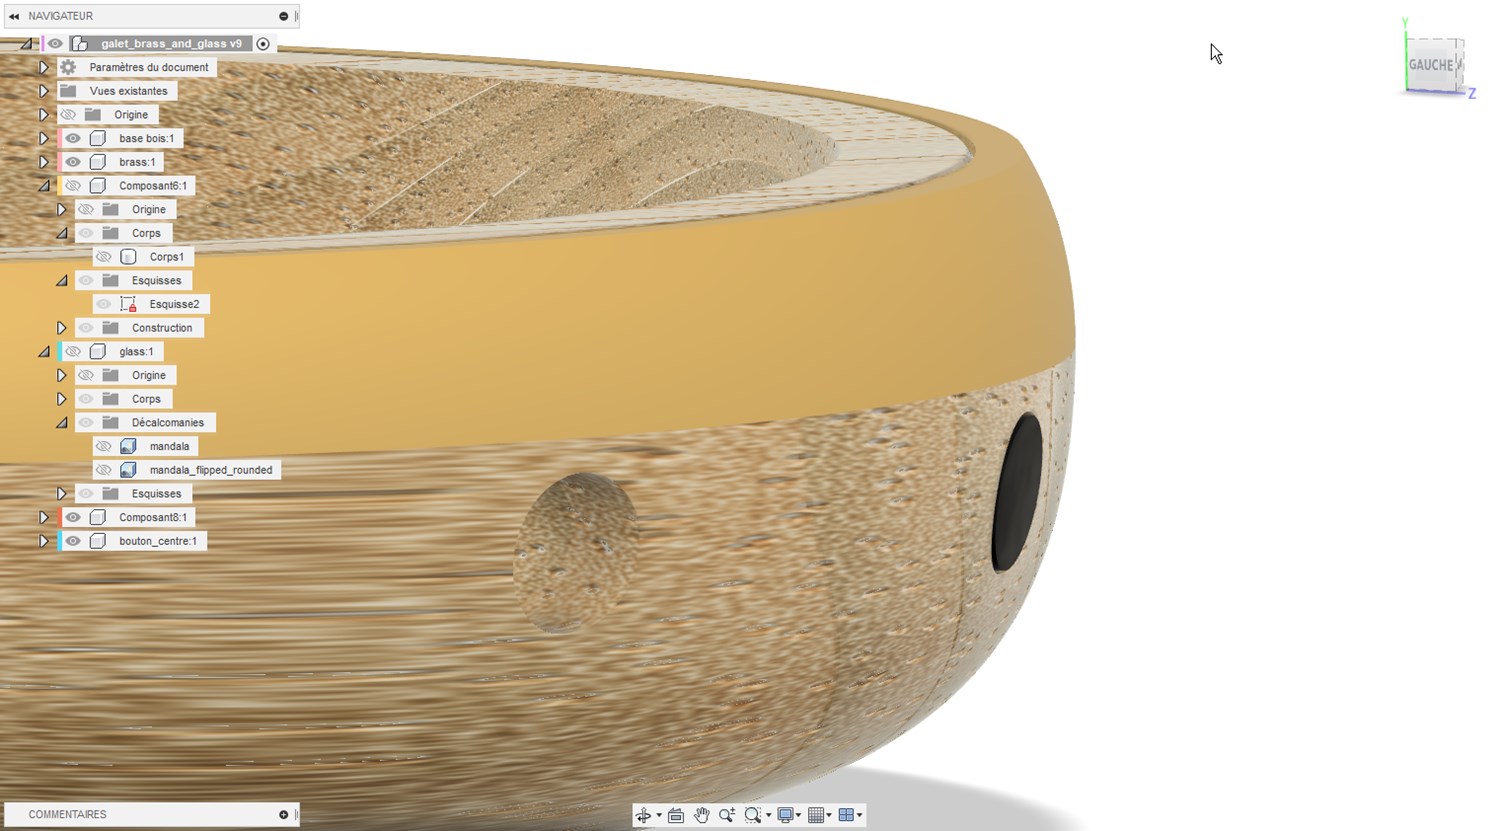
The problem now is that the in this configuration, the button can move around his main axis. Has it is not symetric, it will not remain aligned with the pebble surface.
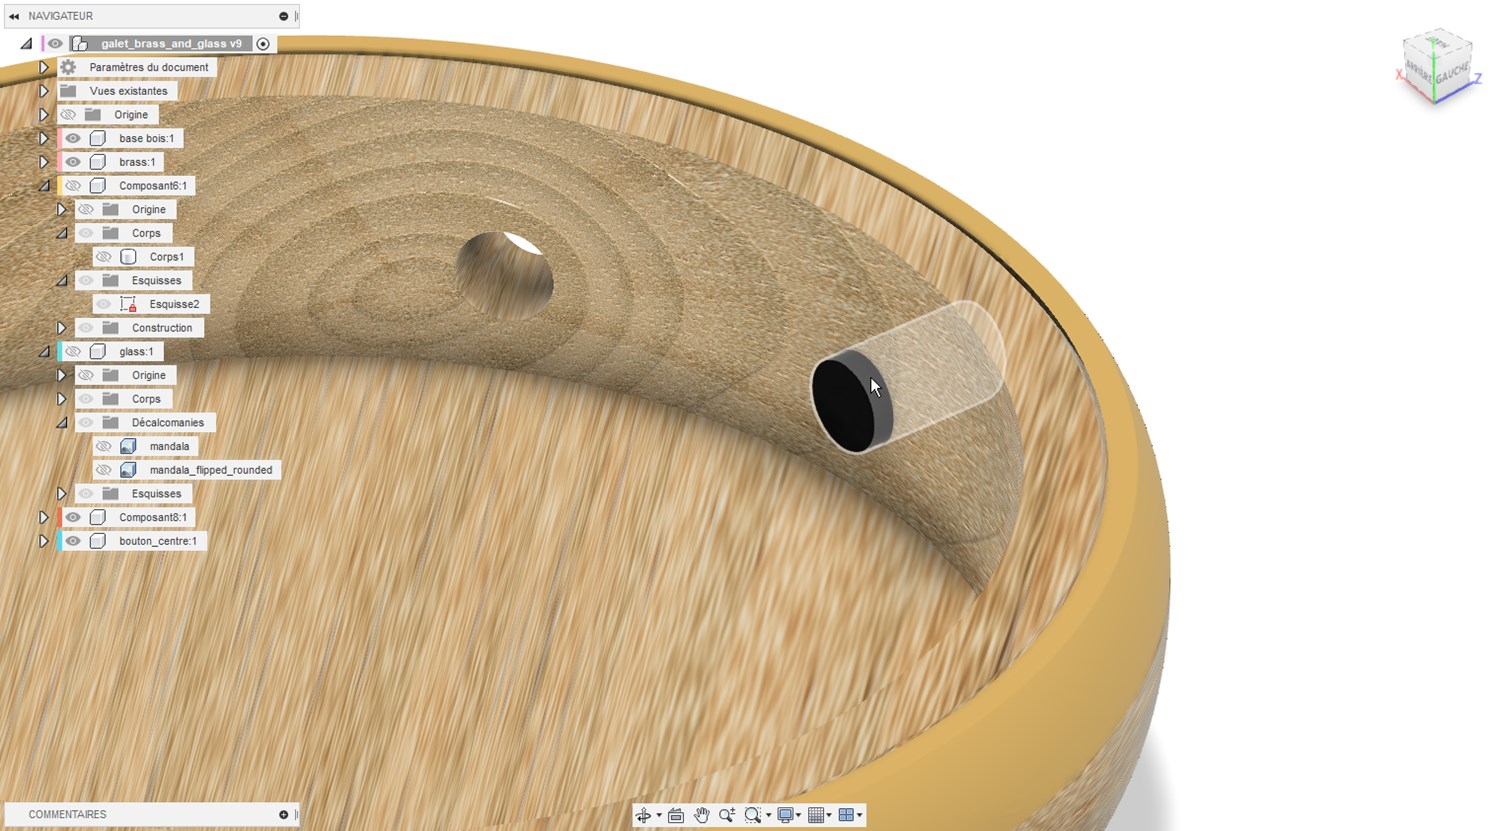 We will create a notche in the inner part of the wood to contrain the button. We have to think about how the pebble will be machined. we choose a simple 4mm round notch that can be make by CNC machine. The button will be 3D printed or casted with hard caoutchouc-syle material.
First attempt: The problem is that we will have a thickness of only 1.2 mm of wood at this point wich may be too low for the solidity of the wall.
 Now the notch has a depth of only 1mm.
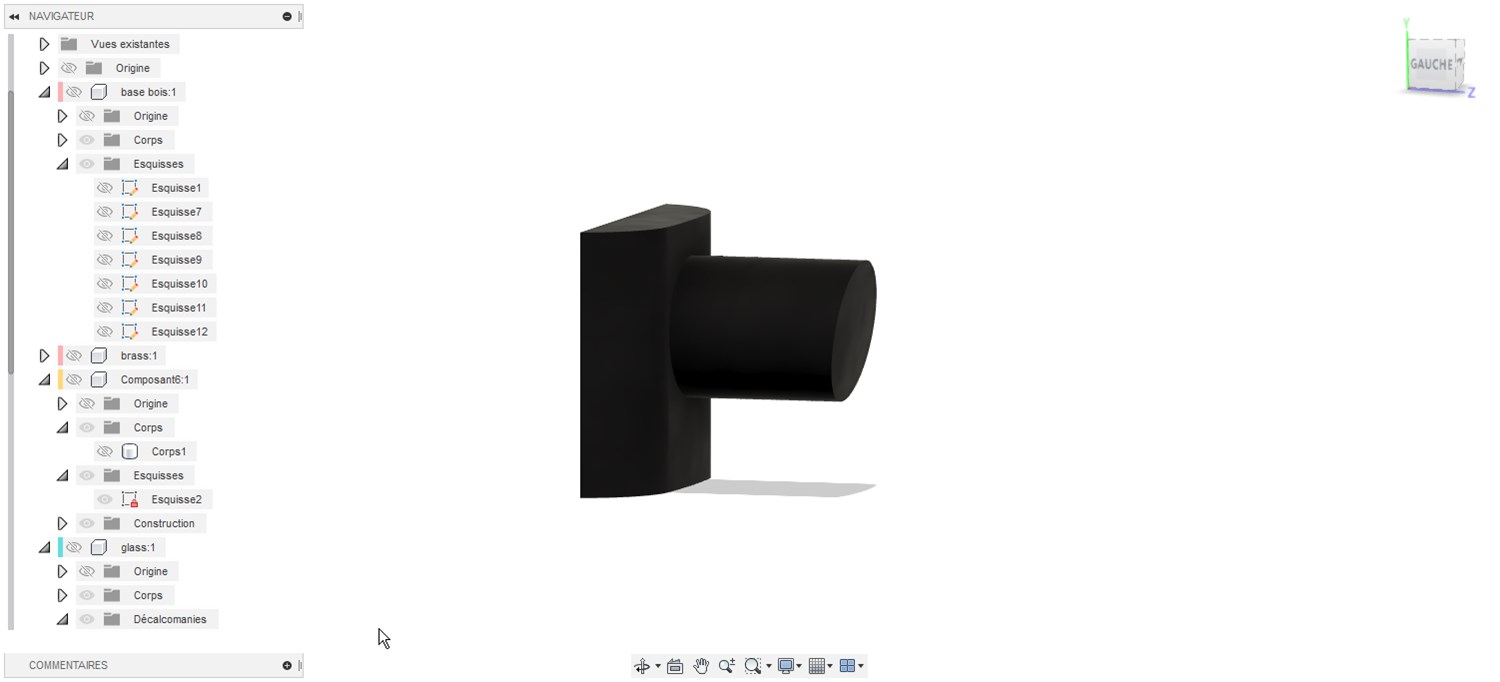
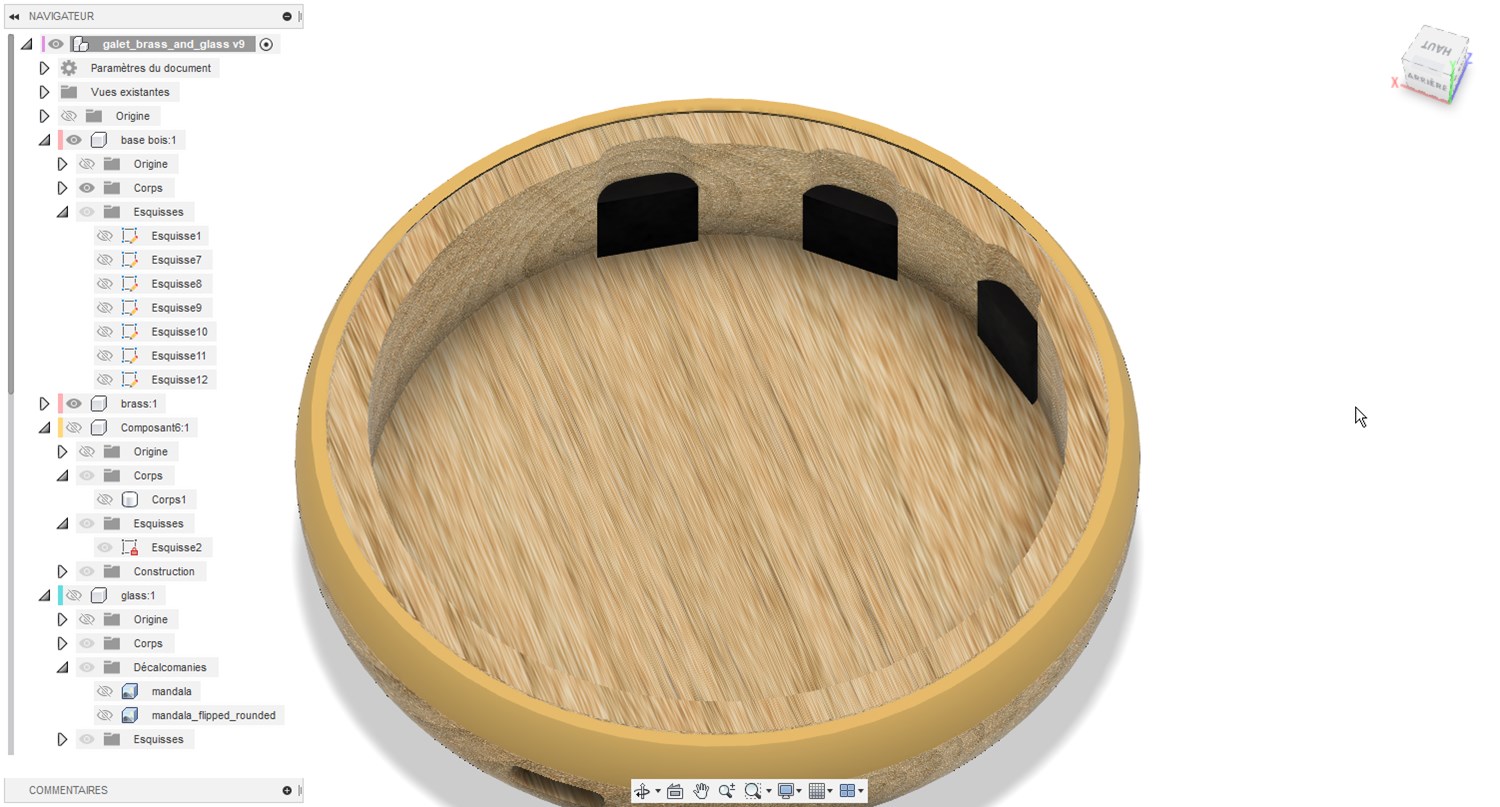
We create a circular patern to replicate this button and notche to the other button
Rendering
Launching raytracing
With all materials defined in the modeling section, we can quickly create a realistic rendering of the pebble.
Saving result
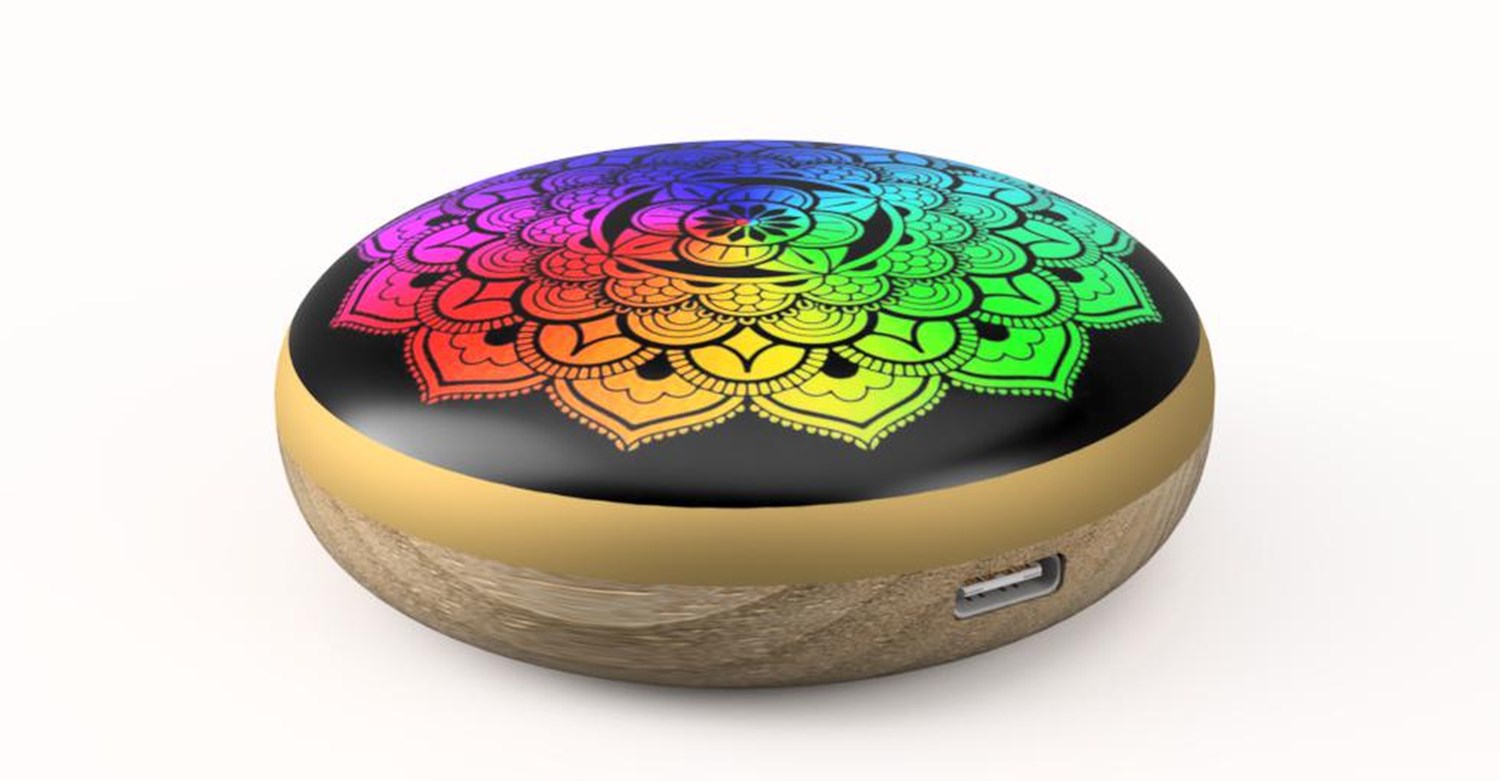
When rendering reach the desired level of details, we can save it as an image.
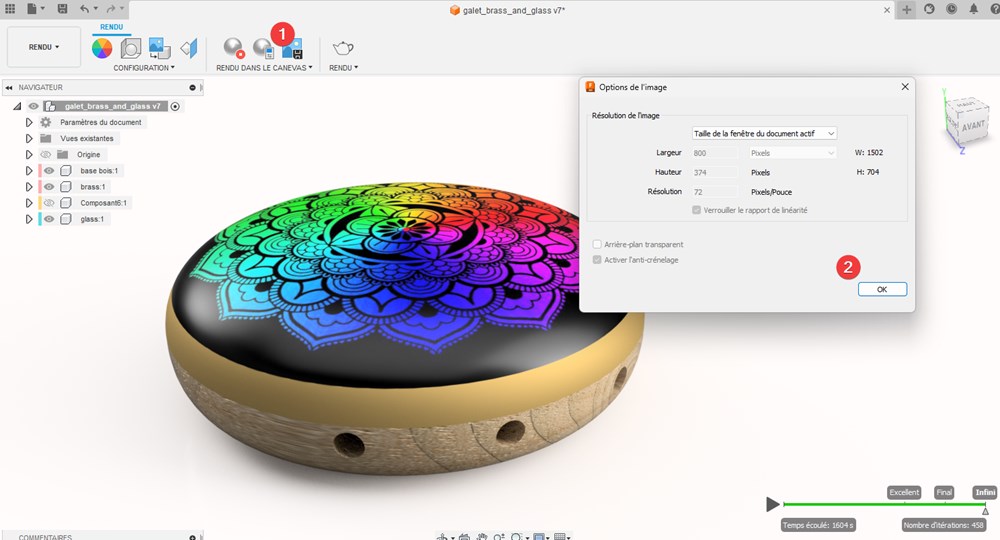
Rendering result
Embeded 3D design on html
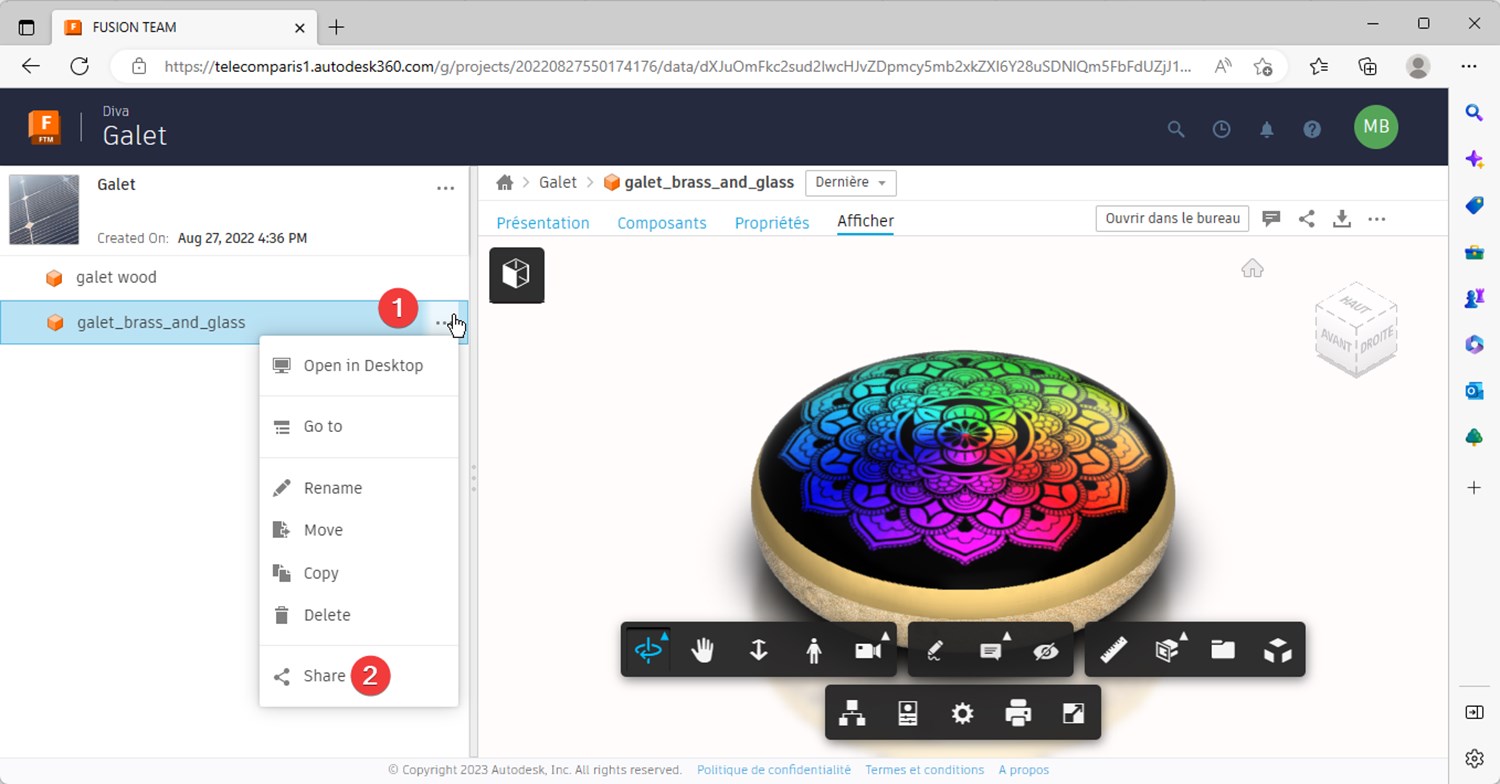
To visualize the STL file online, I could use a platform like like Sketchfab but I rather choose the option offer by Fusion360:
- On Fusion 360, go to Data panel, then “View details on Web”

It open a webpage, navigate to the model, click on “…” then “Share”
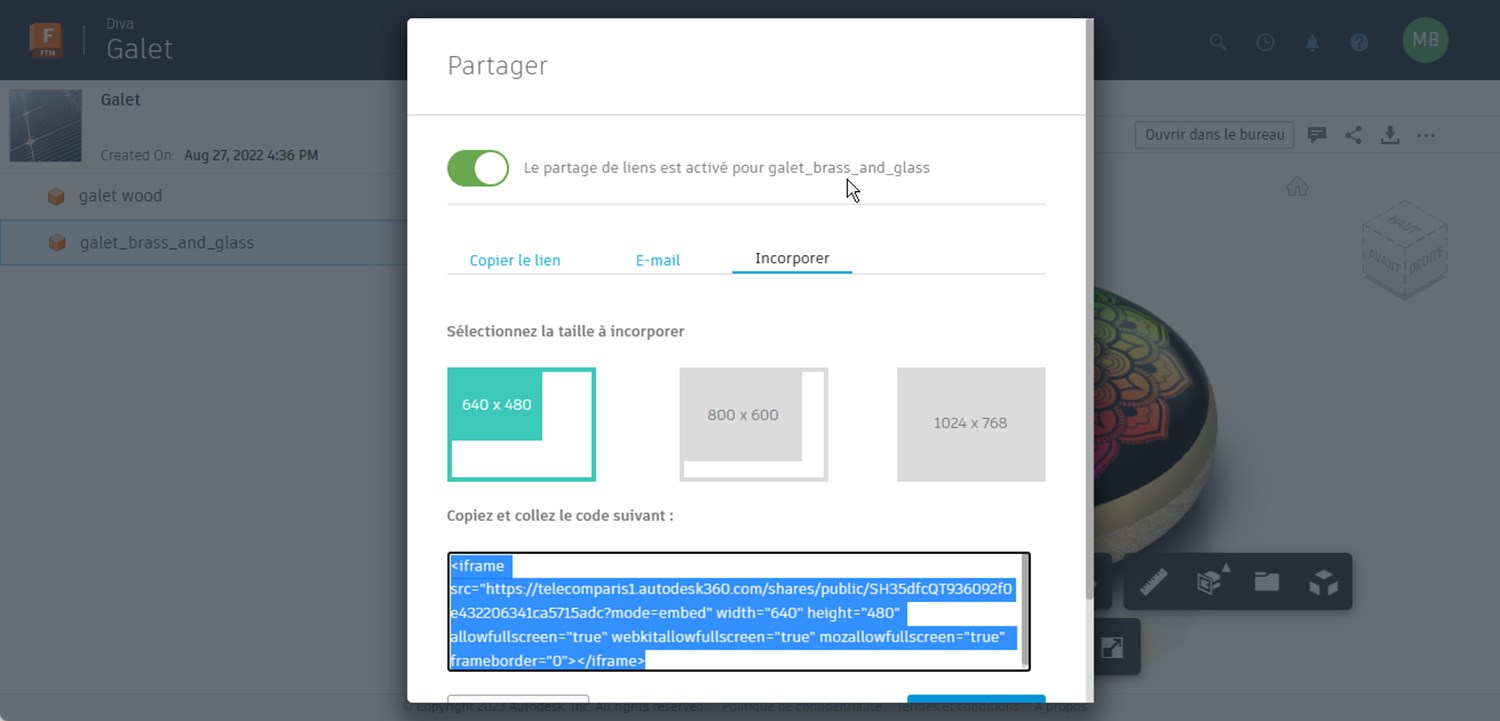
Finaly, click on “Embed” select the size and copy html code to yout html or markdown page (in hugo parsing of html must be switch on). Note that size can be customized by editing html code.
Result: Embed interactive 3D design
Rhino and Grasshoper
During this week decided to give a try to Grasshoper for parametric design. Even if I don’t have a use of it for my final project, I want to learn how to create “organic” shape with grasshoper. For my test, I would like to try to create an urchin skeleton like this:
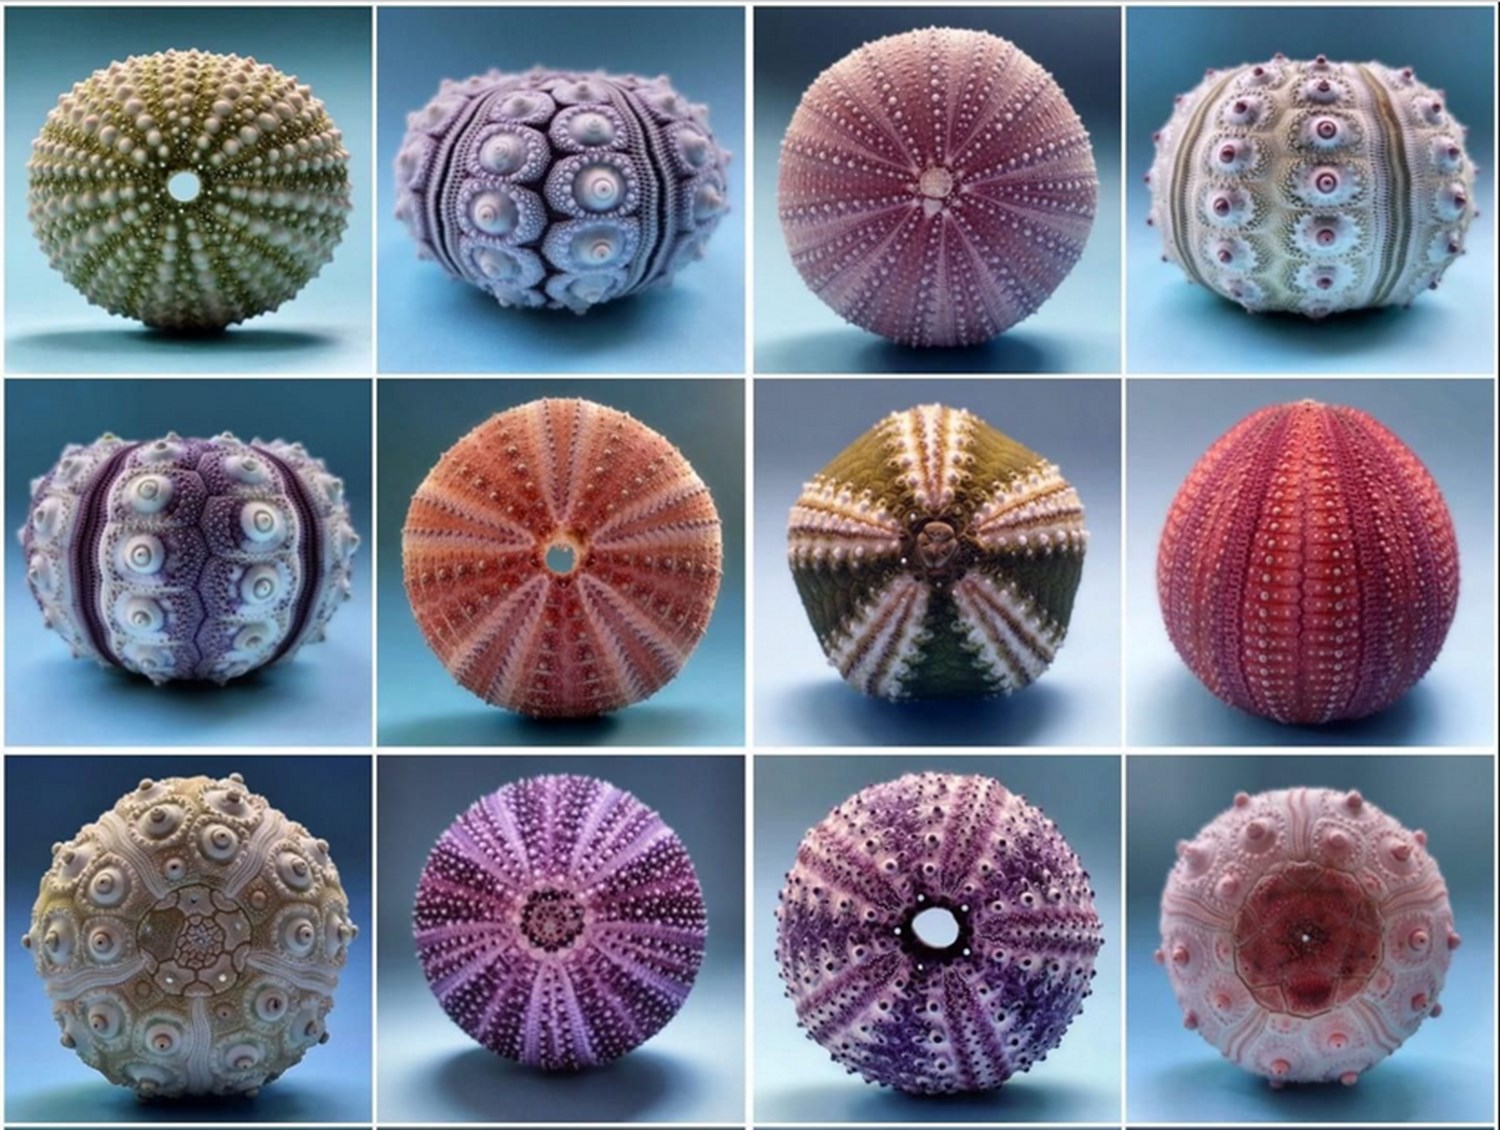 image found on pinterest: https://www.pinterest.fr/pin/504543964513800660/
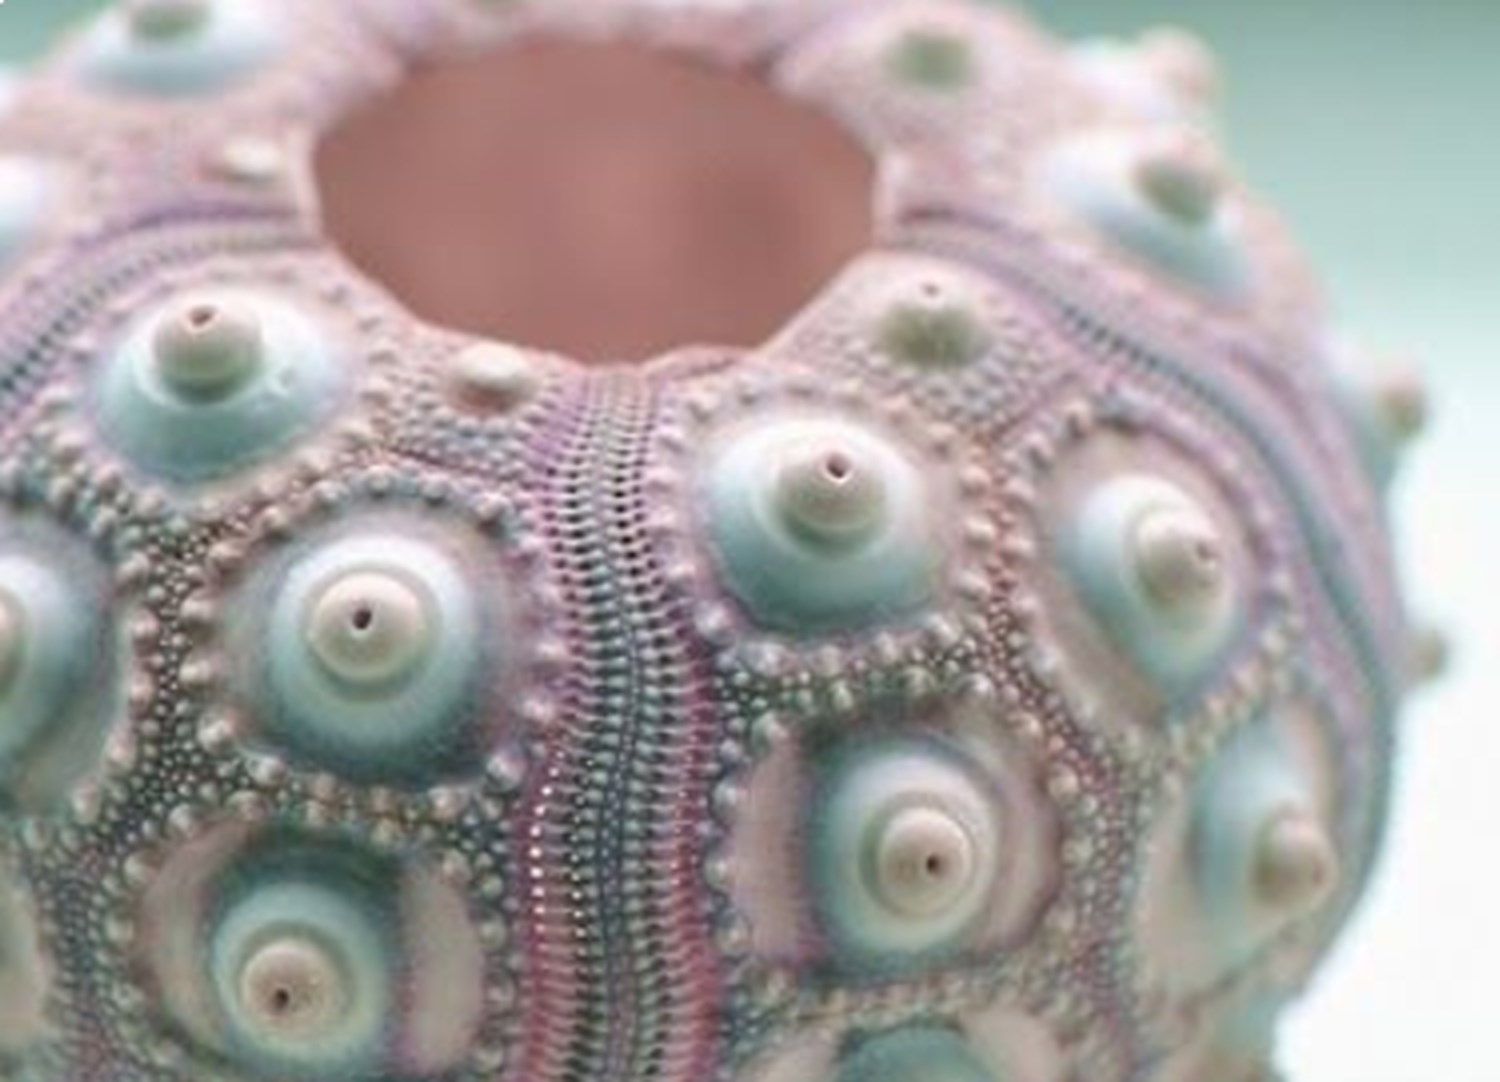 closup
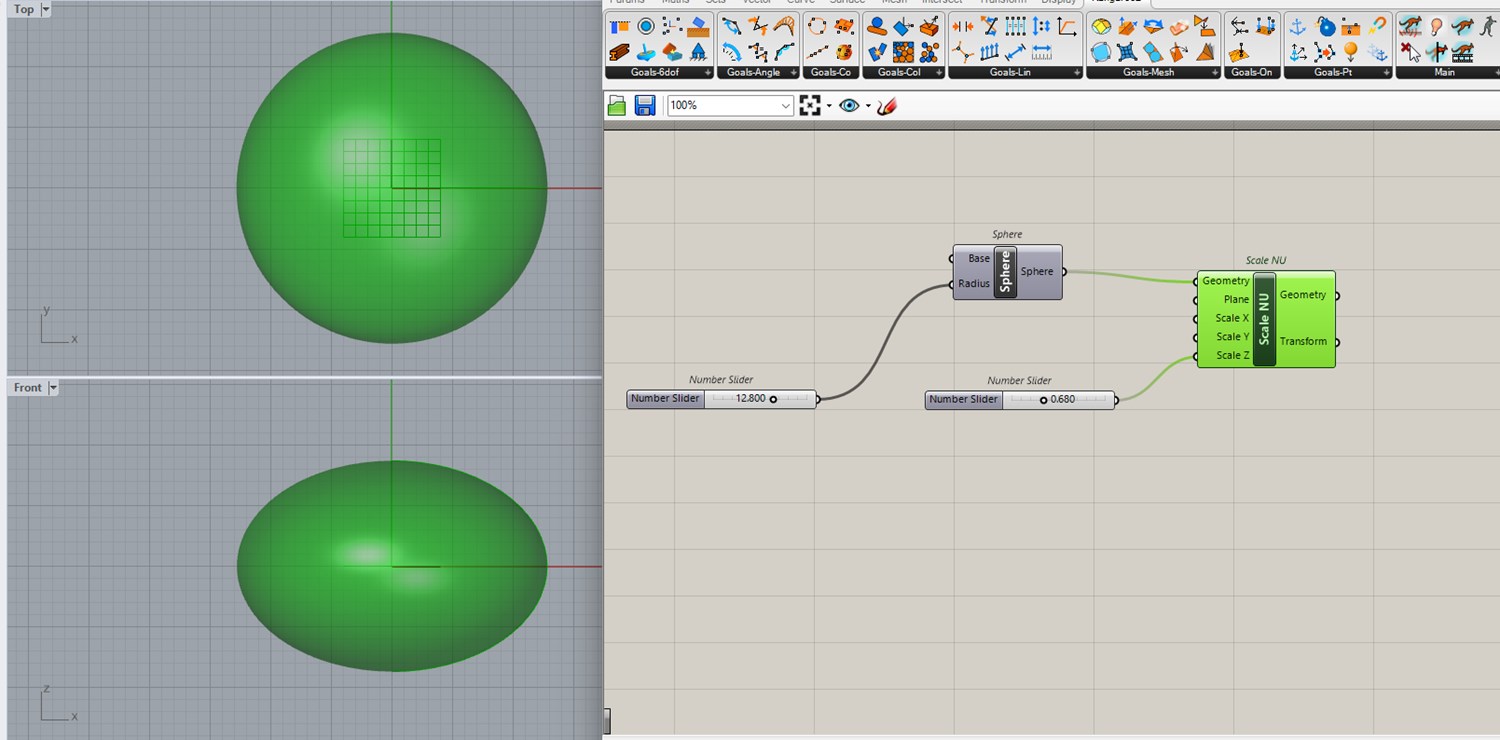
First, I create a sphere, then I rescale it along z axis with “Scale NU” component
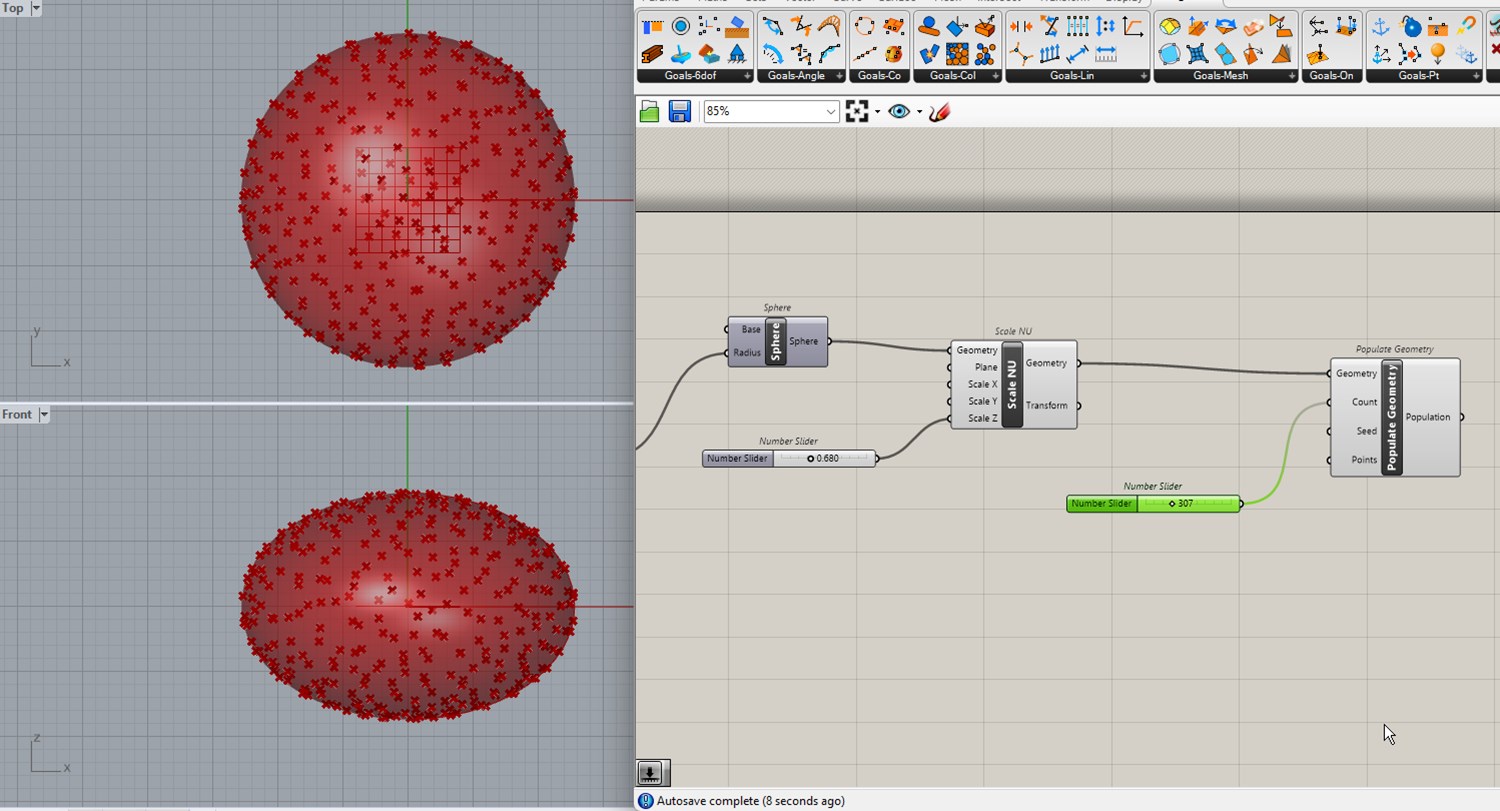
Then I populate the whole surface with random points using “Populate geometry” component
Next step is to create spheres centered on those points. I choose a base size for those spheres and I add some randomness around this mean value.
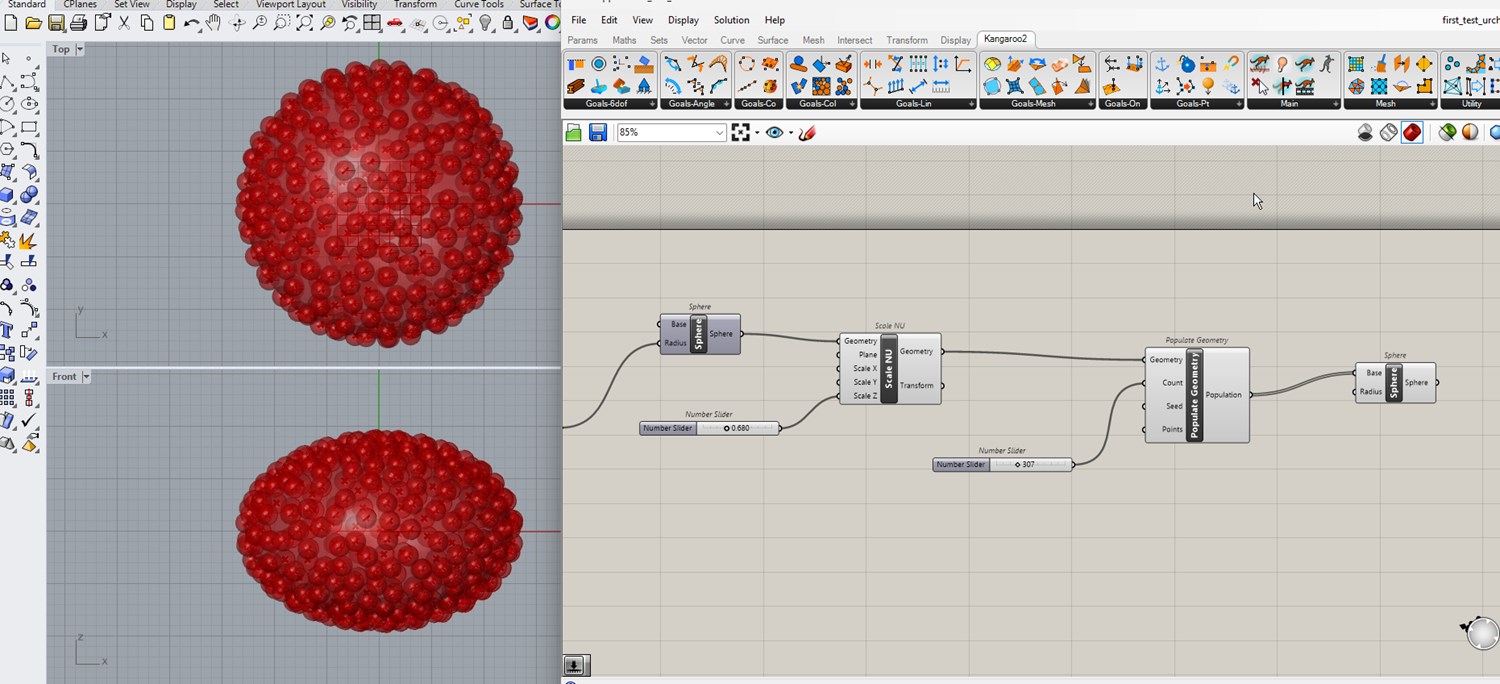
Unfortunatly I have a performance issue on my laptop: Adding to much spheres on points and making solid union try to kill my computer. I will come back to this later but next steps could be:
for each random points:
- create a circle around it, project it on the spheroid surface
- along this circle create N new points regularly spaces
- add a new sphere on each of those points with a radius « radius of the main spheres
Around the spheroid:
- to create a line going from bottom to top: use “Deconstruct Brep” and take Edges output
- randomly wobble this line: todo
- add a pattern regulary along the line: create N point along the curve with “Divide curve”, then create spheres on those points and use “Solid Difference” to make holes in the shell.
- repeat this line several time around the spheroid with different wobble coefficient: use polar array
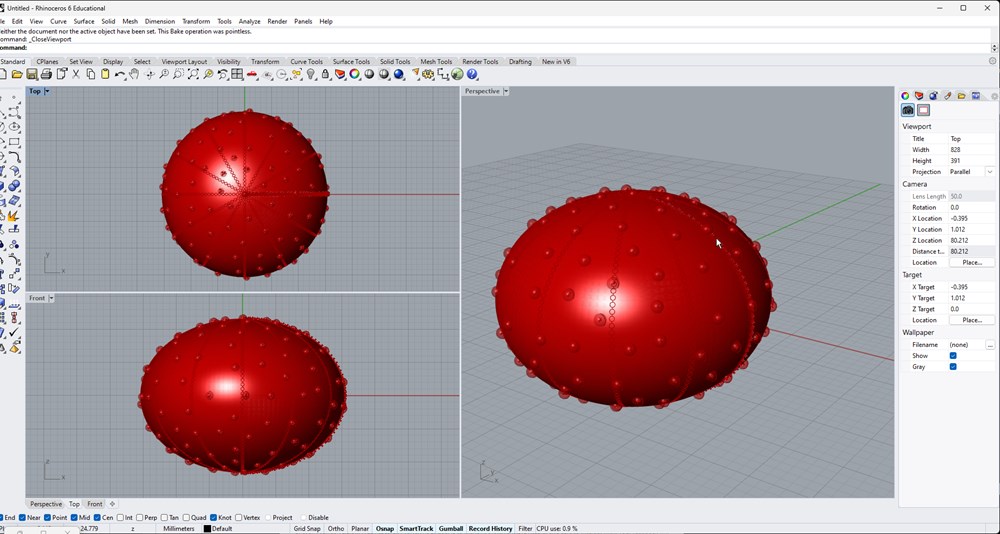
About performance issues
I activate the profiling option under Display > Canvas widgets > Profiler It seems that “Solid different” component is taking too much time to process.
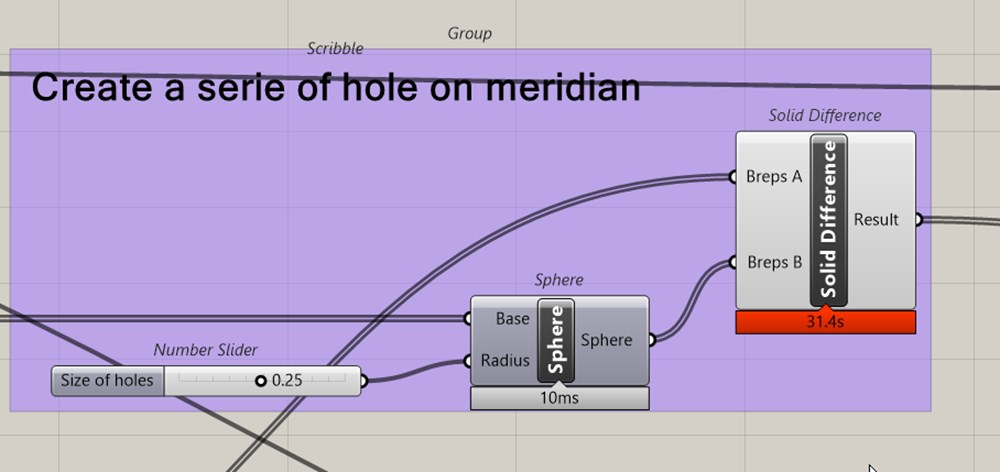
On a forum, someone suggest to use a python script to perform this operation. Indeed, it is more than 3 times faster!
2D design
Inkscape
I want to explore how to create my own mandalas. For this I will give a try to Inkscape, an opensource vectorial image software. First I create a simple shape

I copy paste this shape and rotate it to make a simple patern.
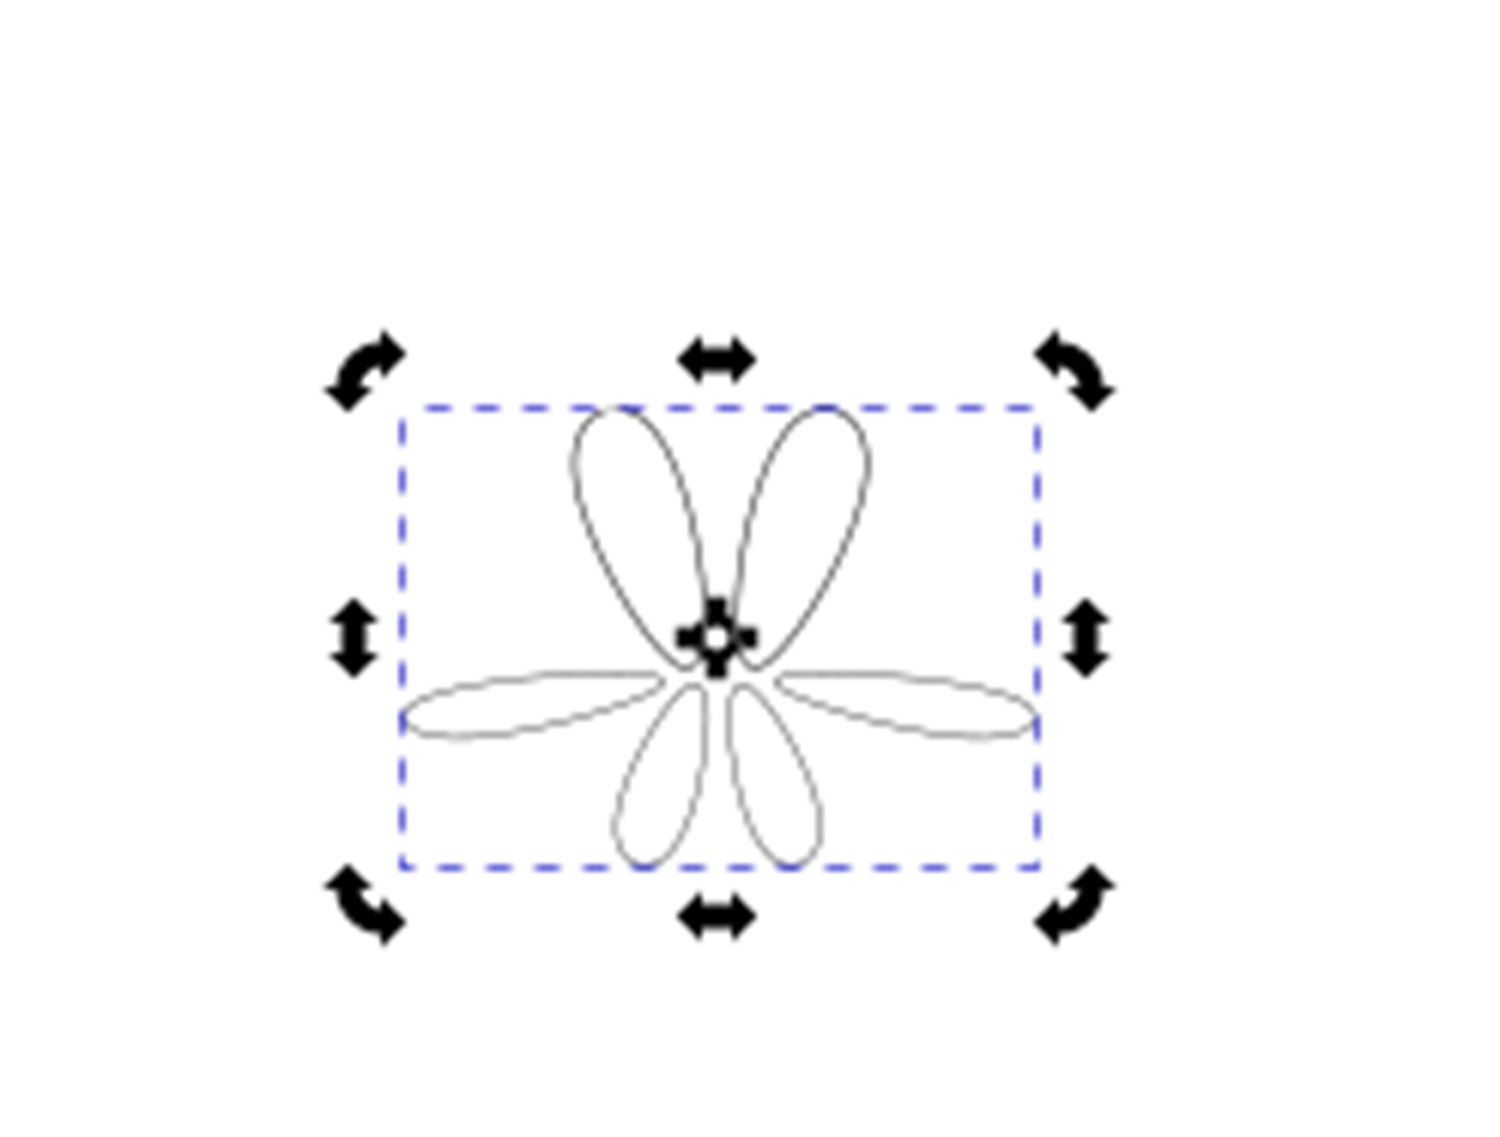
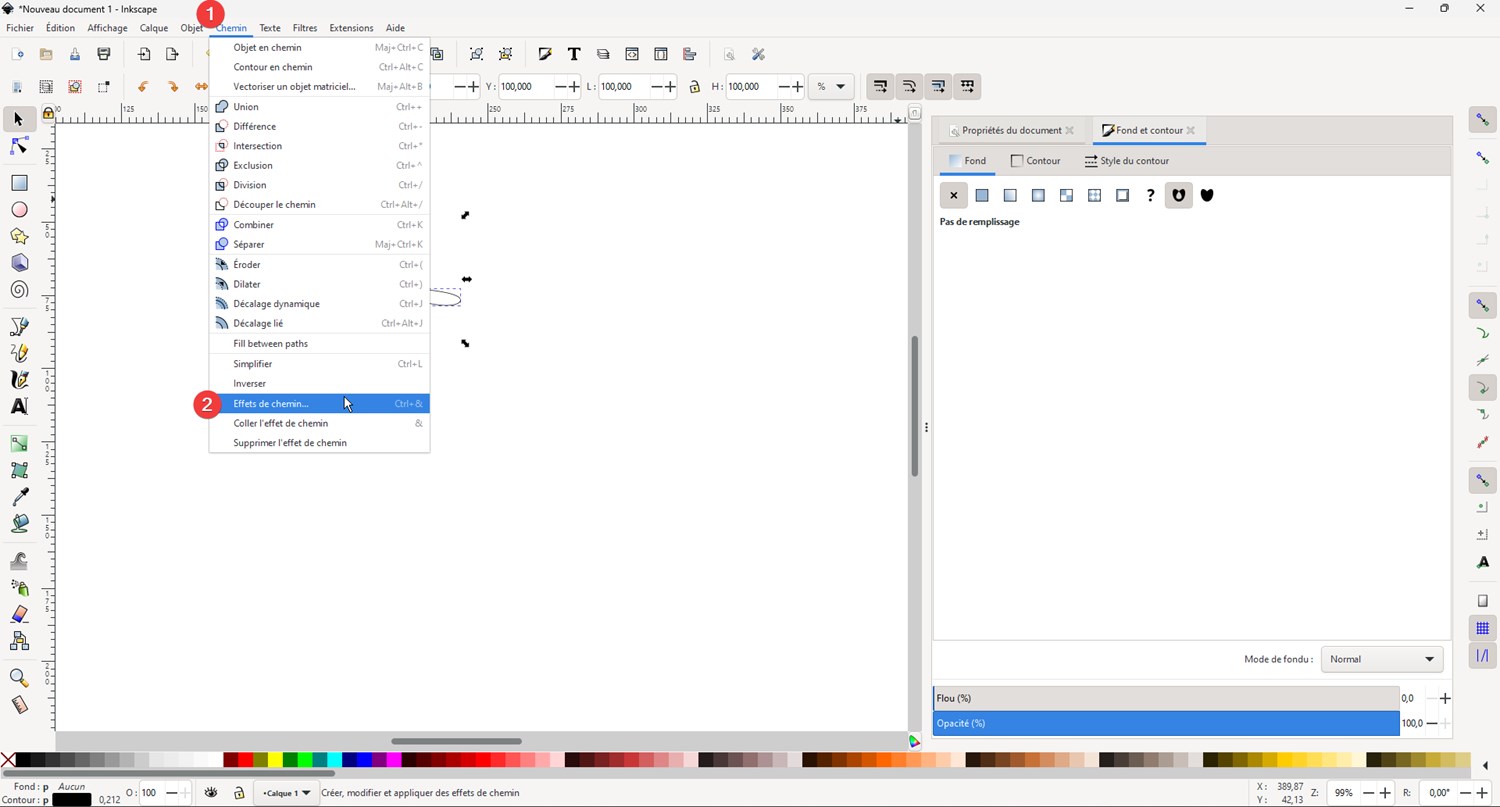
Then I use “Path effect” command
I make a circular repetition
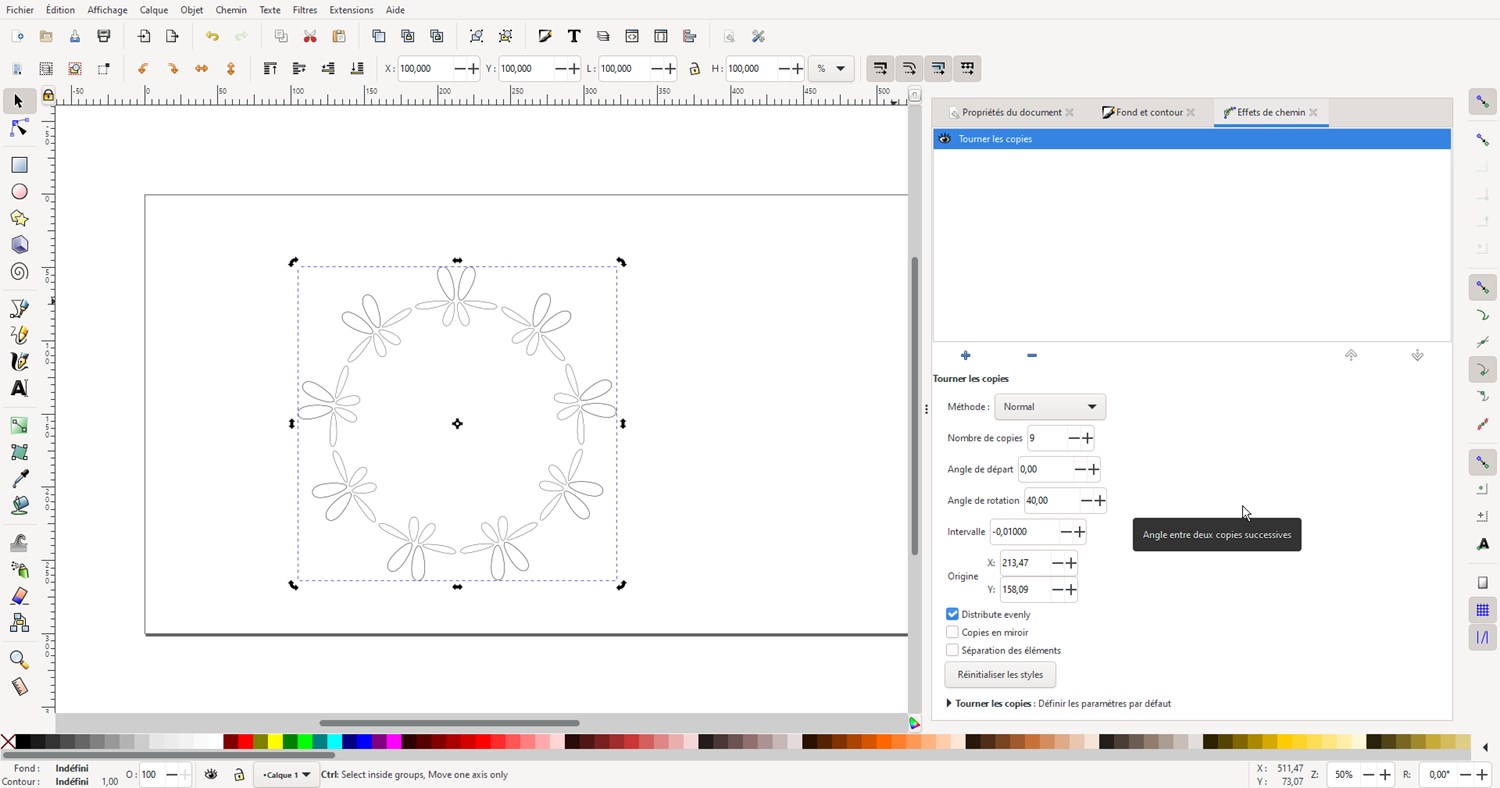
I am clearly not an artist! But The principle seems good to create mandalas…
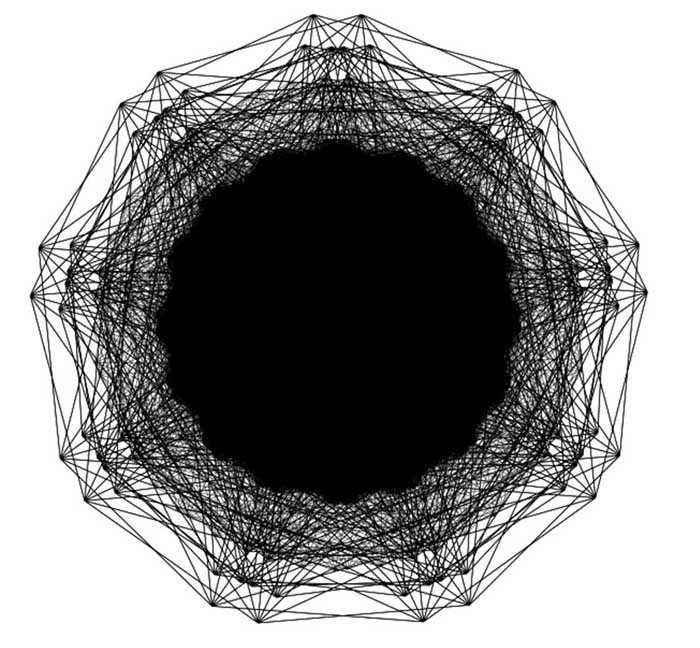 Random result, playing with differents “path effects”
Inkscape crash during my exploration… I will start again later with another base shape. I make a first circular repetition, then I group the result, then make a circular repetition on it, each time, I change the center of the patern using node editor.
TODO: add a better example
