Recitation: https://vimeo.com/825611397 Review: https://vimeo.com/827802930 Slides: http://academy.cba.mit.edu/classes/wildcard/index.html
Task
Design and produce something with a digital fabrication process (incorporating computer-aided design and manufacturing) not covered in another assignment, documenting the requirements that your assignment meets, and including everything necessary to reproduce it. Possibilities include but are not limited to wildcard week examples.
For this wildcard week, I will make some experiments on backprojection to create projected talking heads.
Simulated expected result
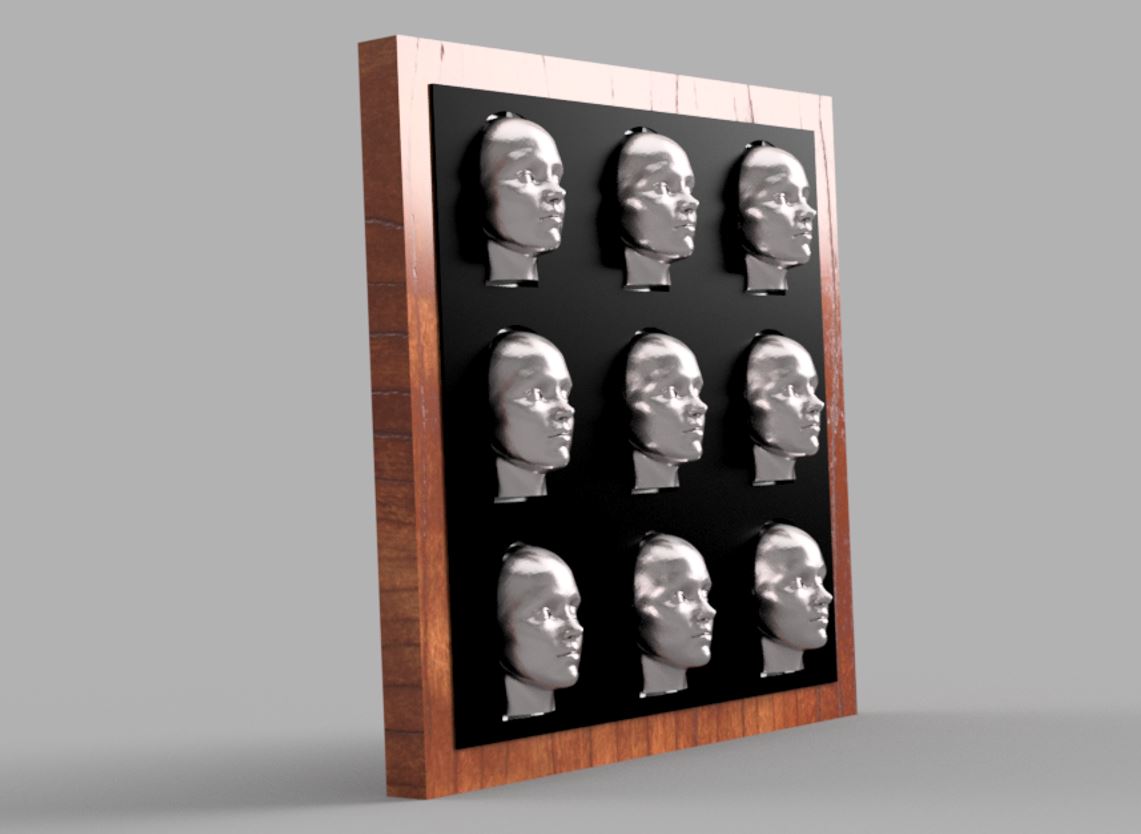
3D modeling
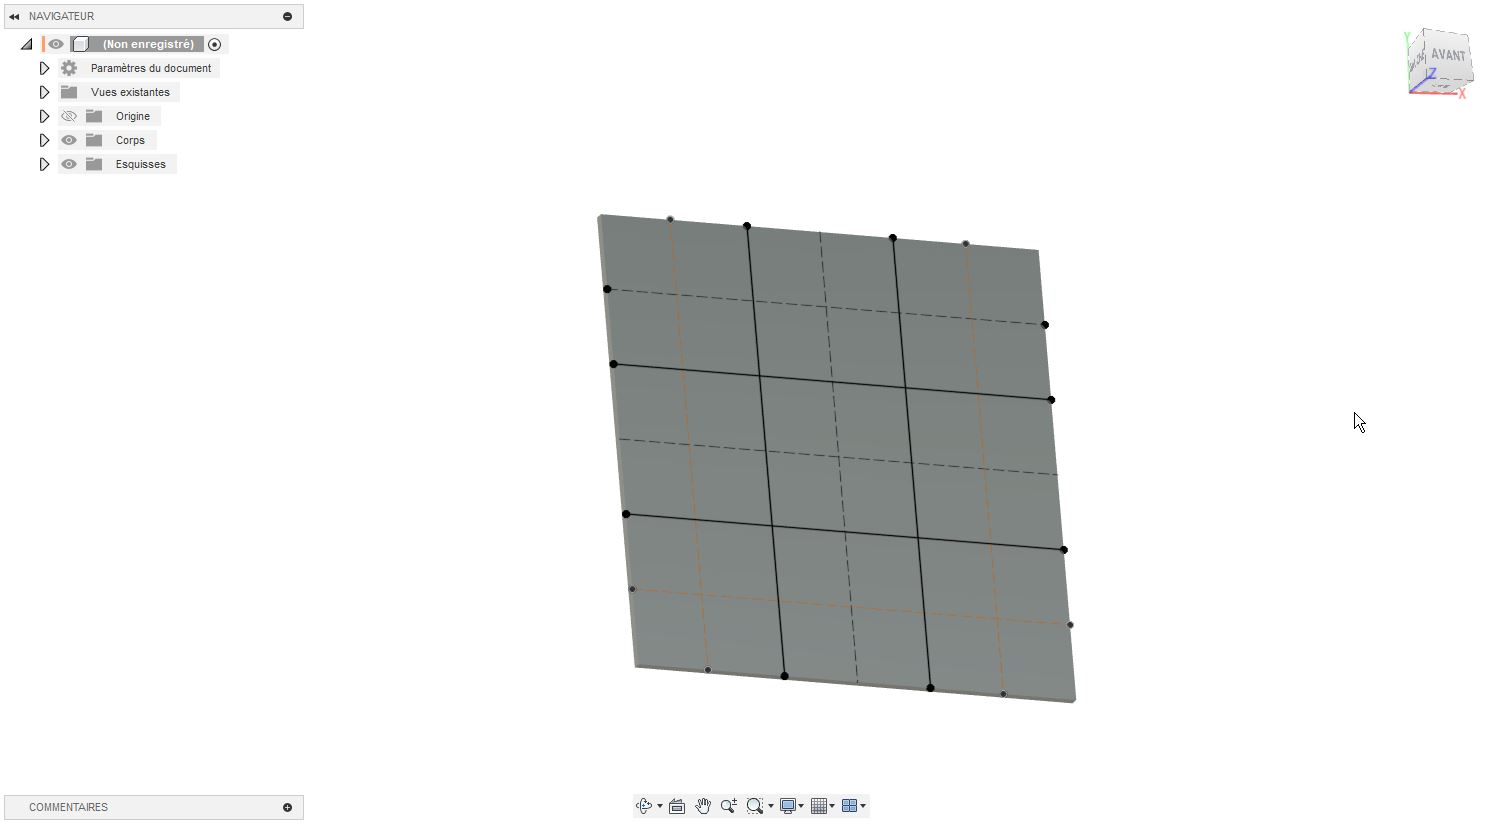
For simplification, I will use the same head model for every occurence, but I will have to modify it to add some diversity!
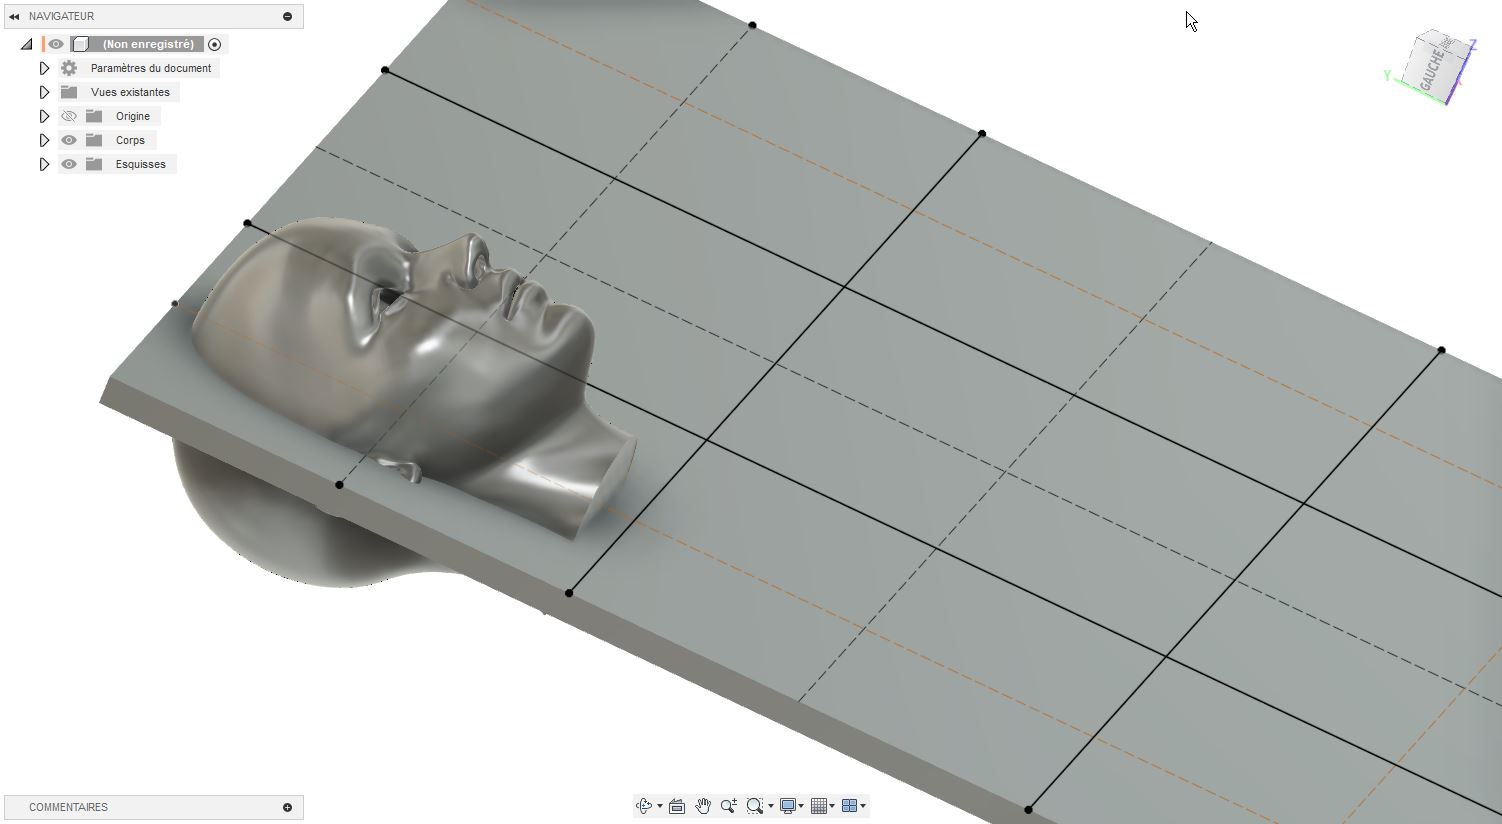
Mesh > Modify > Convert mesh

Preprocesing head model
To simplify the use of the head model into Fusion, we will reduce the mesh quality before using it.
Import into MeshLab Software, then Filters>Remeshing Simplification and Reconstruction>Simplification Quadratic Edge Collapse Decimation
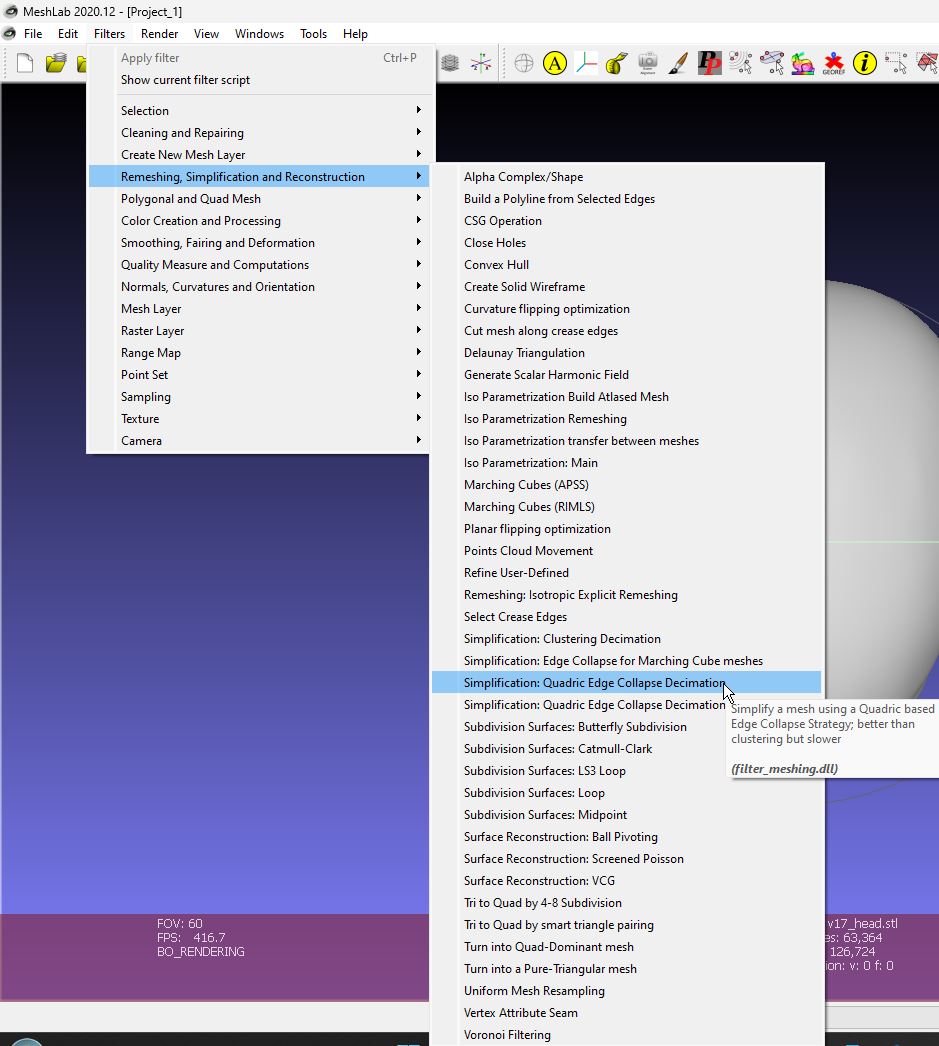
Reduce the face count and apply, you can proceed several time.
Export the remeshed stl in File > Export Mesh
3D print
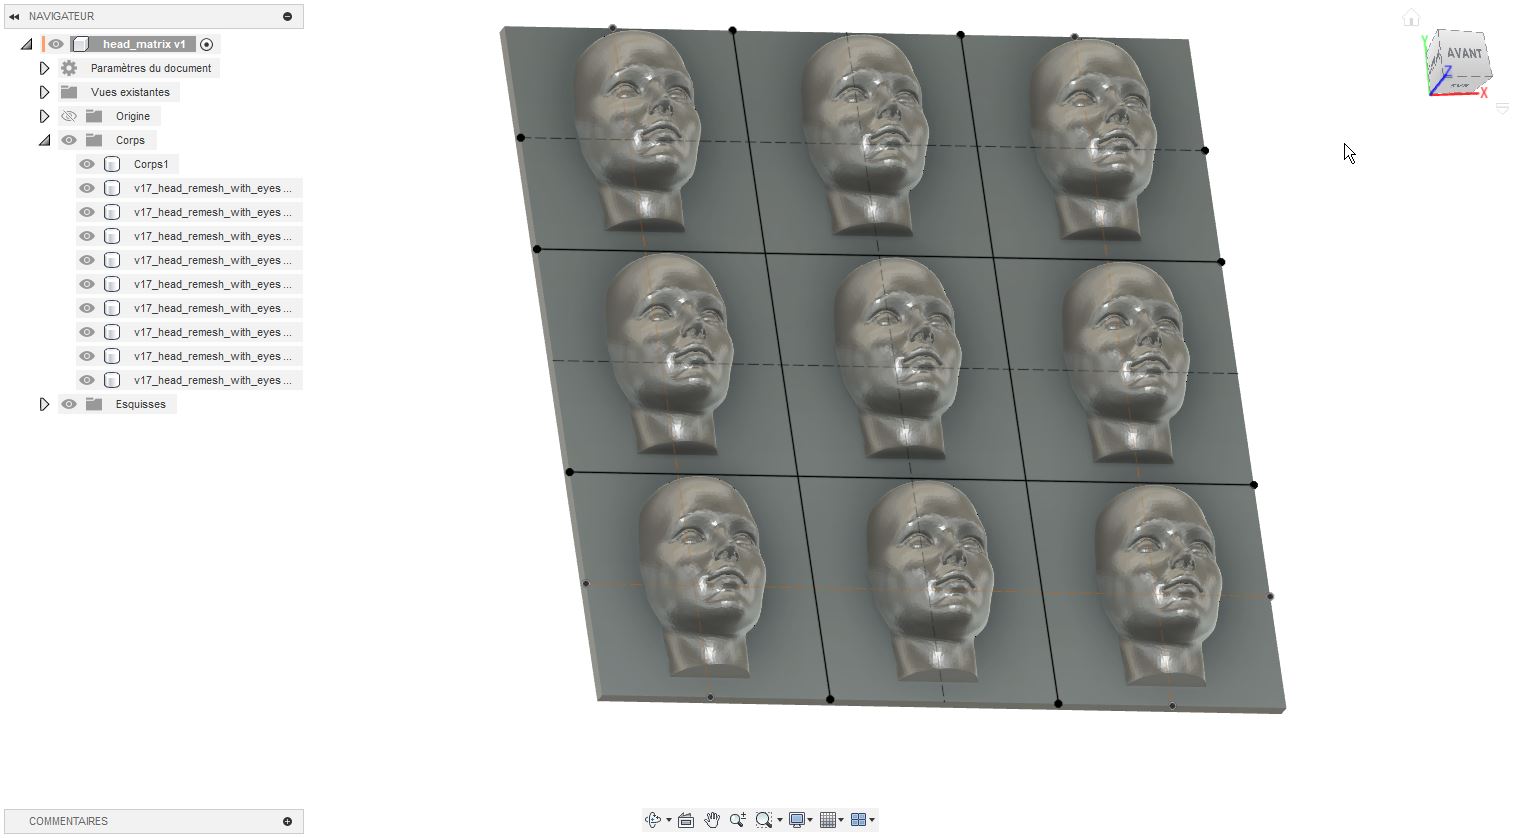
I forgot to design holes to properly extract air.
First Projection test
First front projection test on the 3D printed model. I found a “talking head” video on internet and just play and project it. The result seems a little bit “extraterrestrial” but interesting anyway.
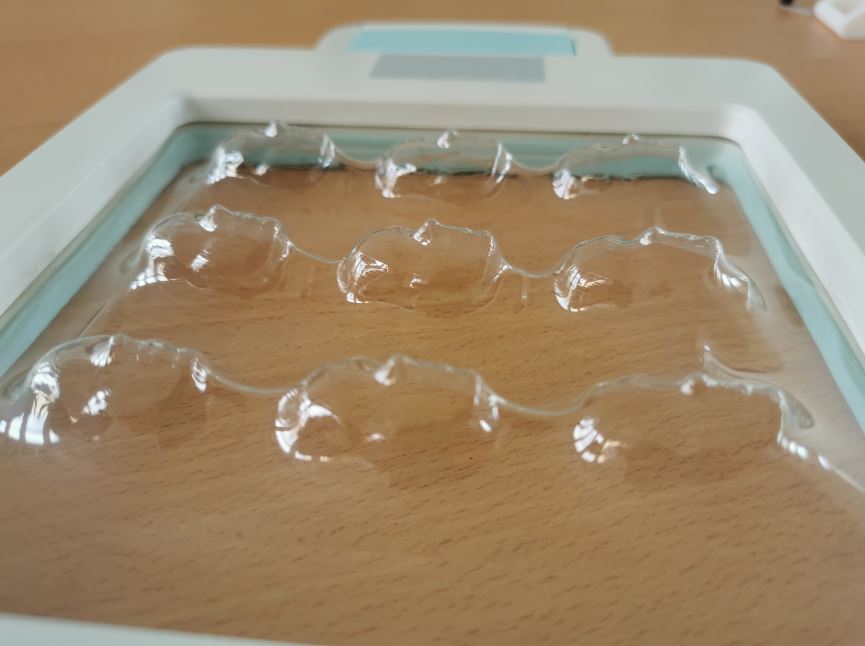
Vacuum forming
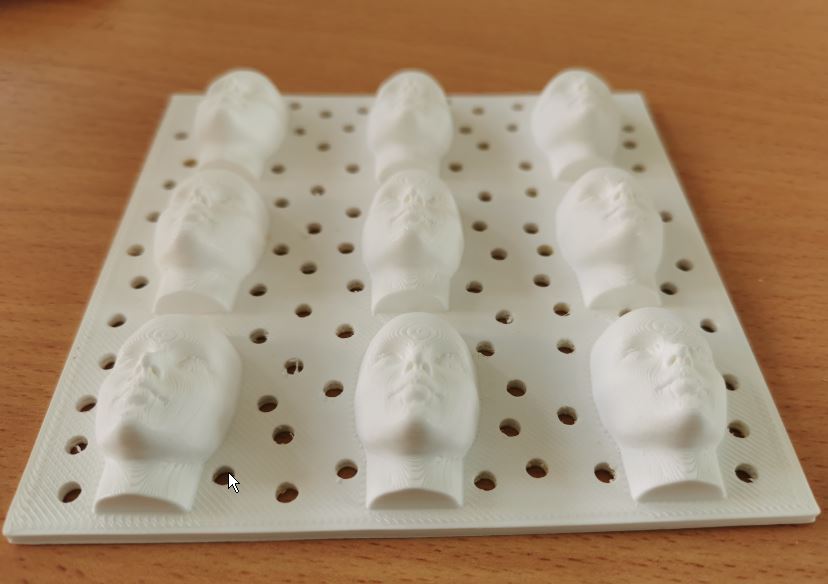
Second Projection test
AI generated portraits and videos
I need lot of speaking head video for this project but I found only few on internet. I decided to create my own videos using AI to turn simple portrait images into speaking visages.
I found a database of AI generated faces here ( AI generated human faces faces database )
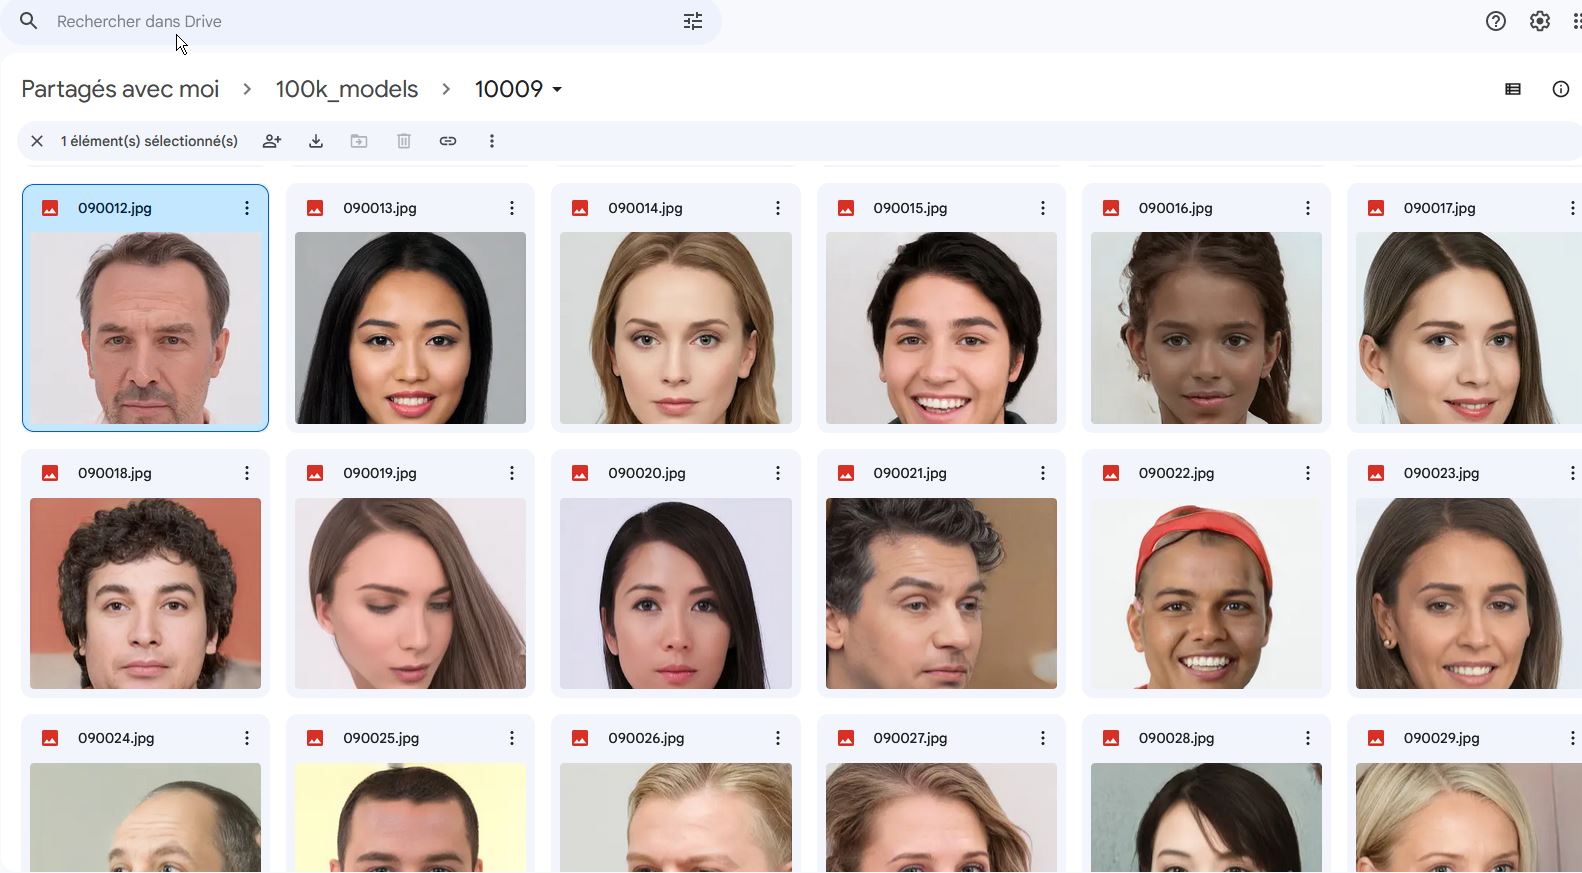
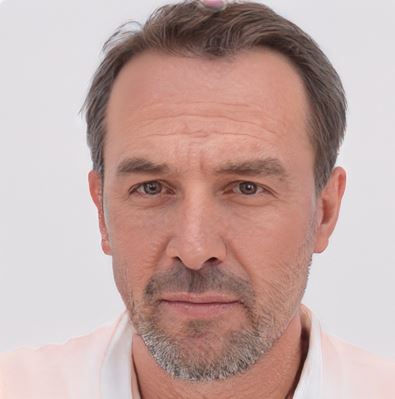
I found the above database after my first experiments, my first tests was done on random portraits found on internet. I then convert them into videos thanks to free demo on this site studio d-id
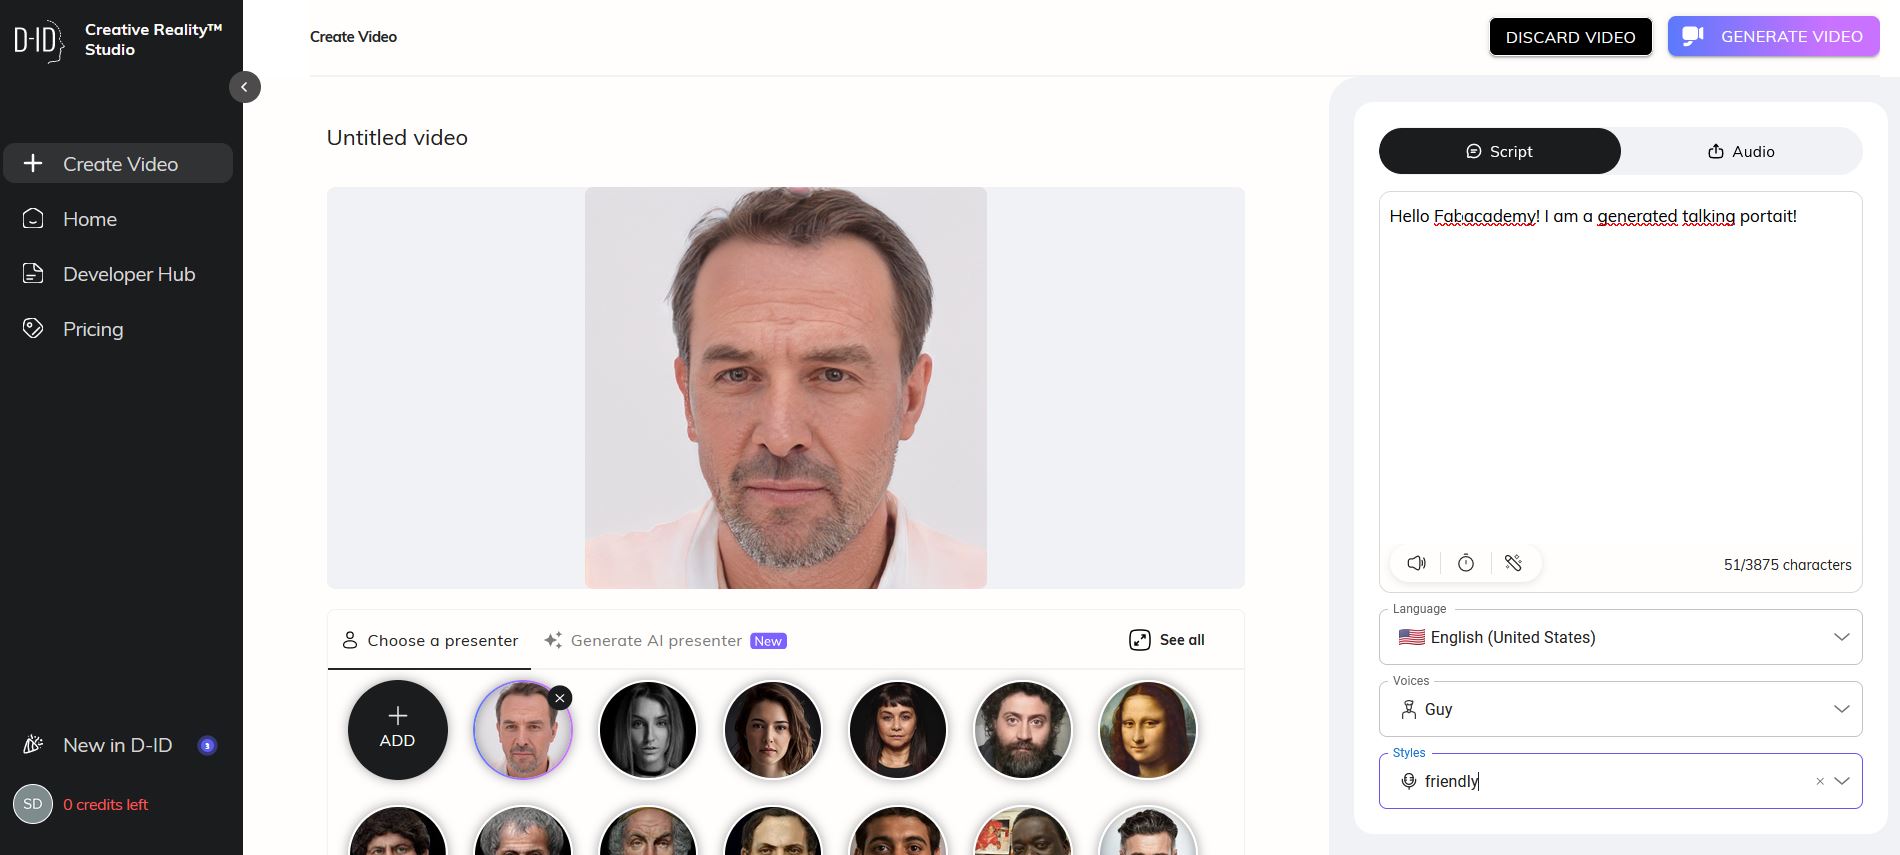
| portrait | generated video |
|---|---|
 |
Front projection
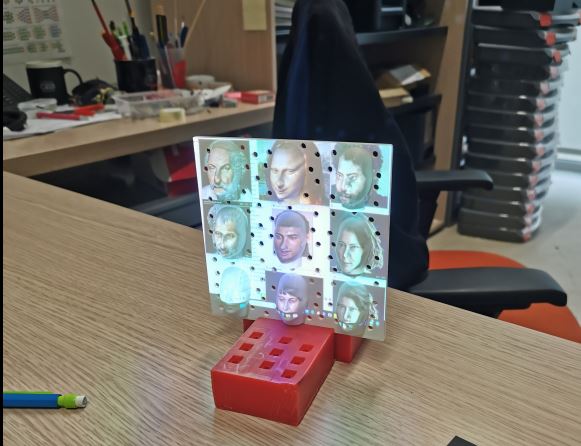
Back projection on hand painted mold
Unfortunatly, I put too much paint on the noses!
I should have use paint spray on the front and not on the back of the plastic sheet to avoid paint accumulation.
I create a black mask using laser-cutted black carboard.
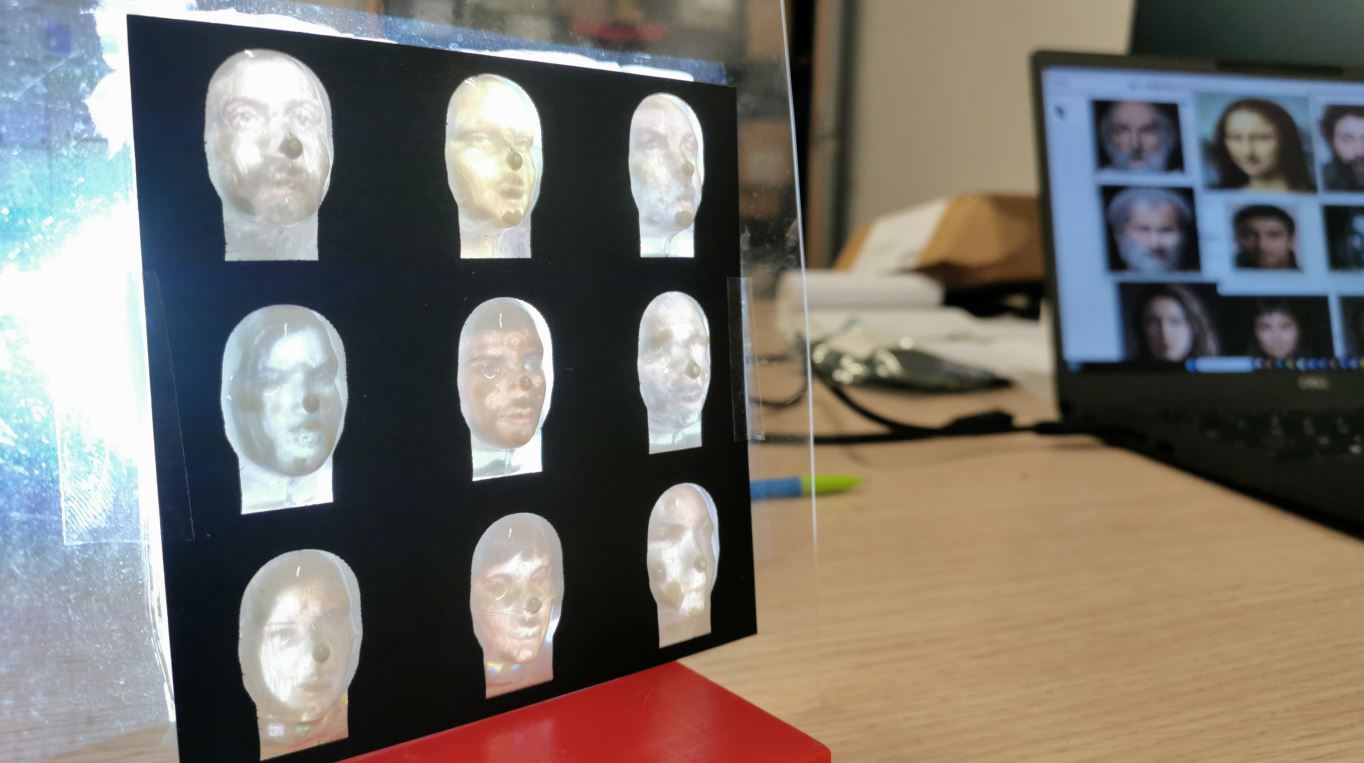
One head version
To give a more natural look to the head projection, I will try to use silicone. I use DragonSkin 20 and add mix it with clay powder to enhance translicidity.
One molding will be used as a support and will have silicone “mask” on it. Another face mold with the same head, enlarge of a few millimeter will be overlaped during molding to create a thin layer of skin over the plastic head.
Molds 3D modeling
I will create 2 molds with a small size difference corresponding to a 1mm gap
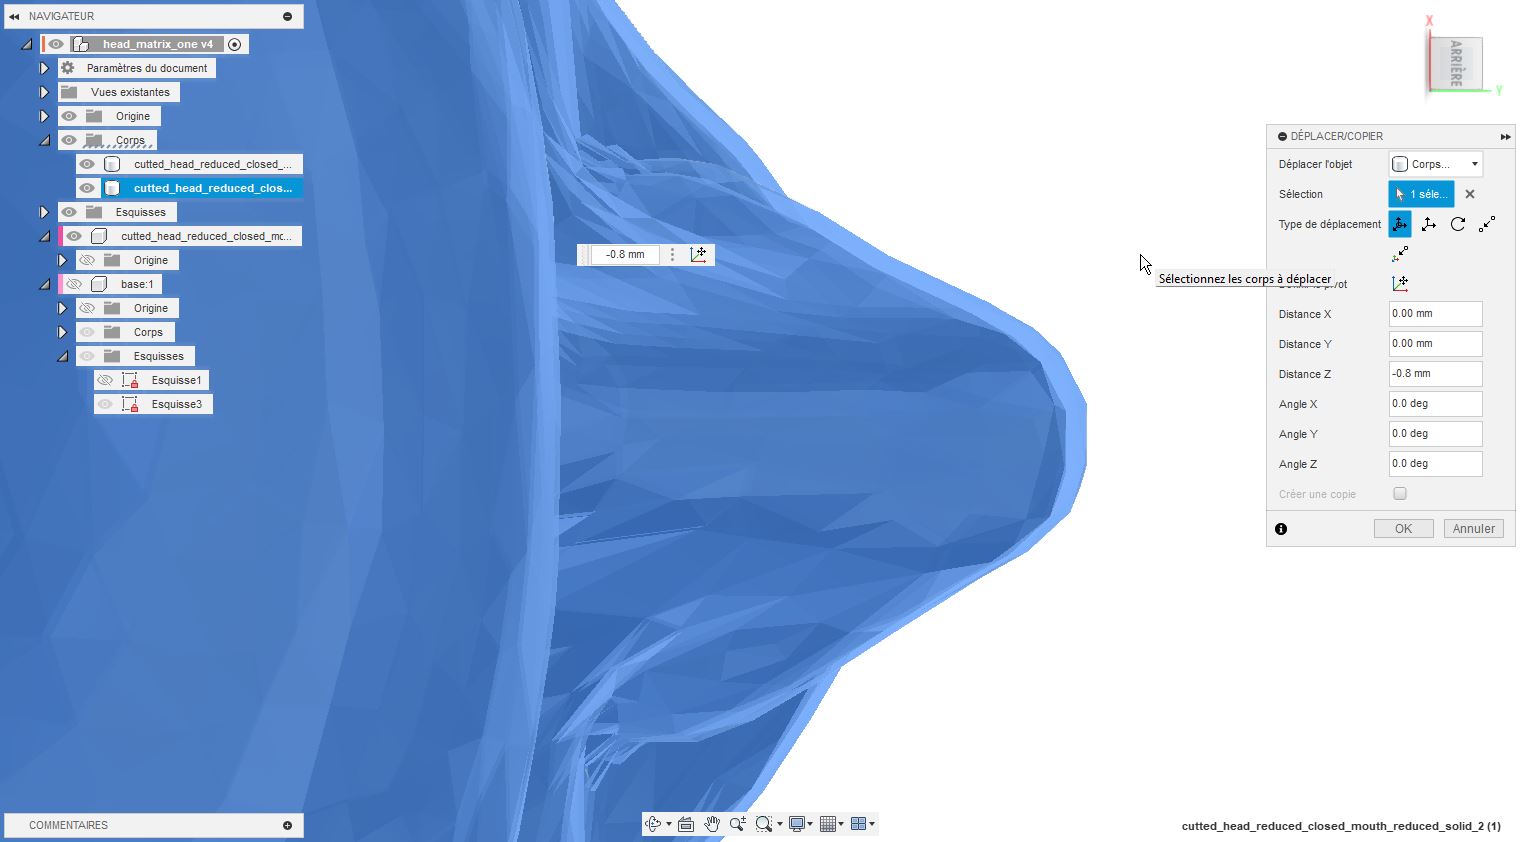
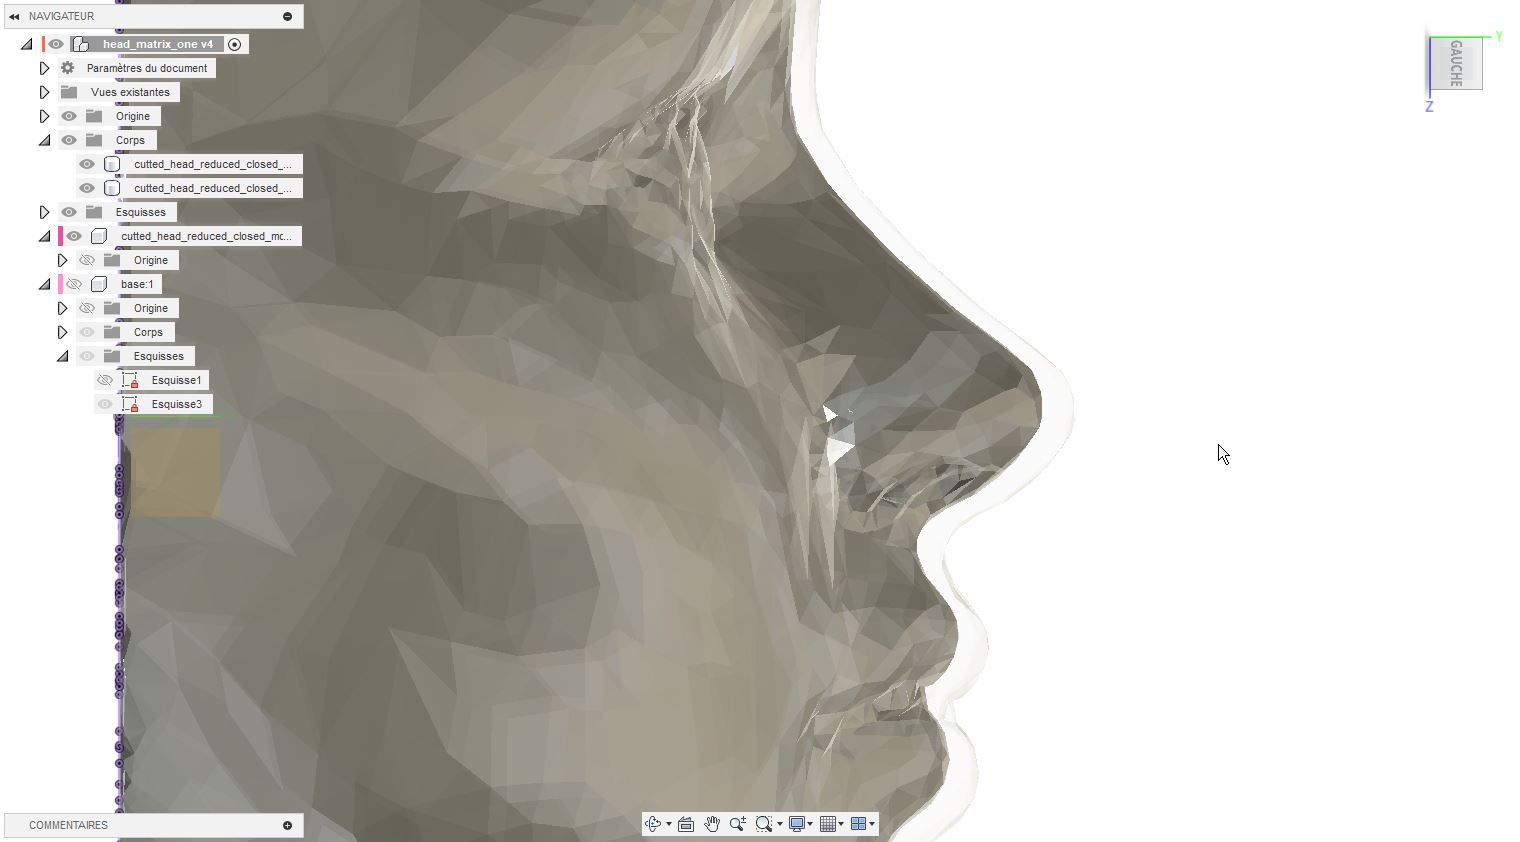
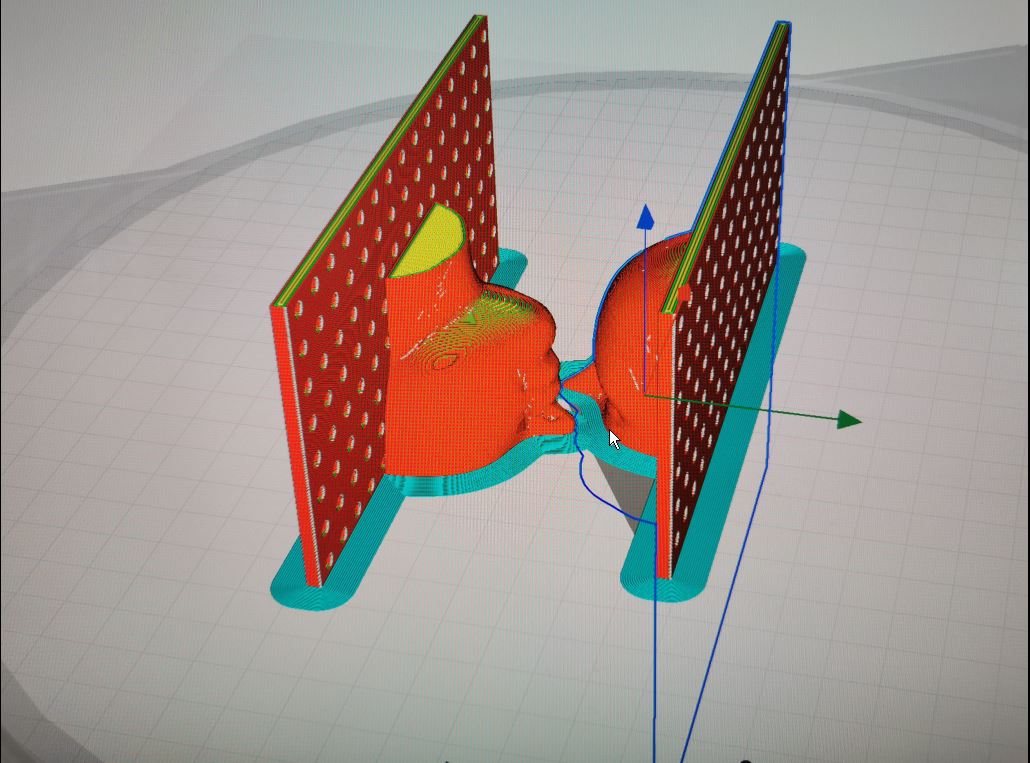
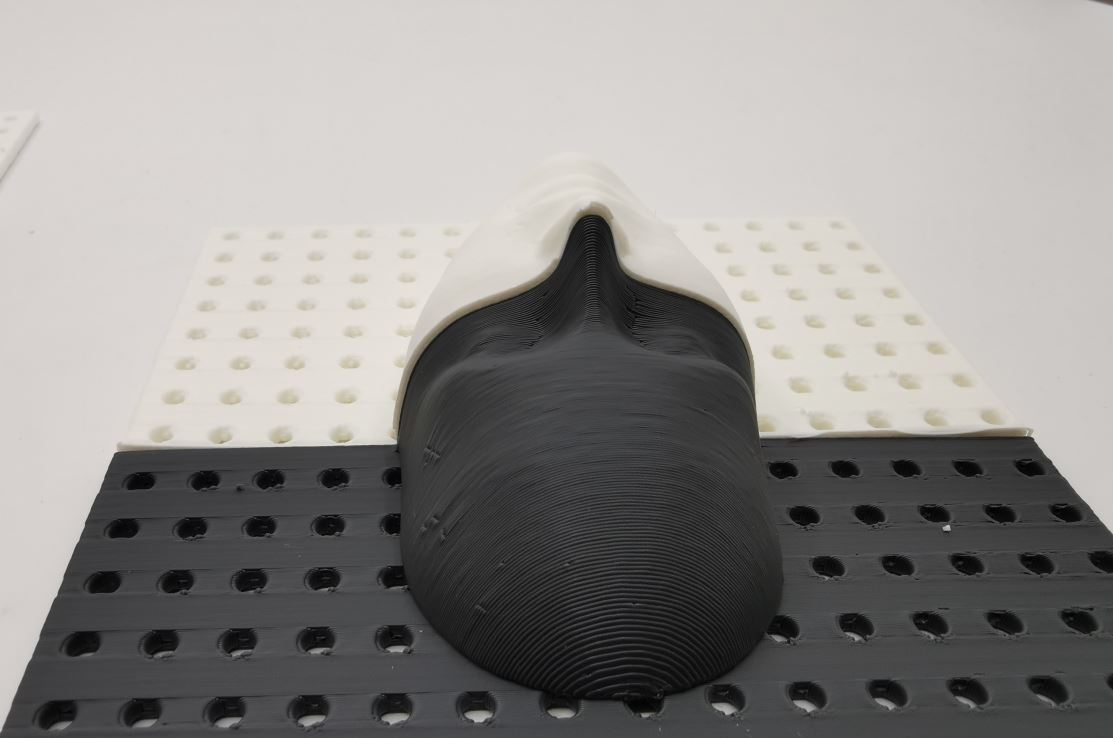
To print those model, I choose to 3D print them verticaly. To avoid support, I split the model in two half. I will then glue them together.
Here, we can see the size offset between the two models.
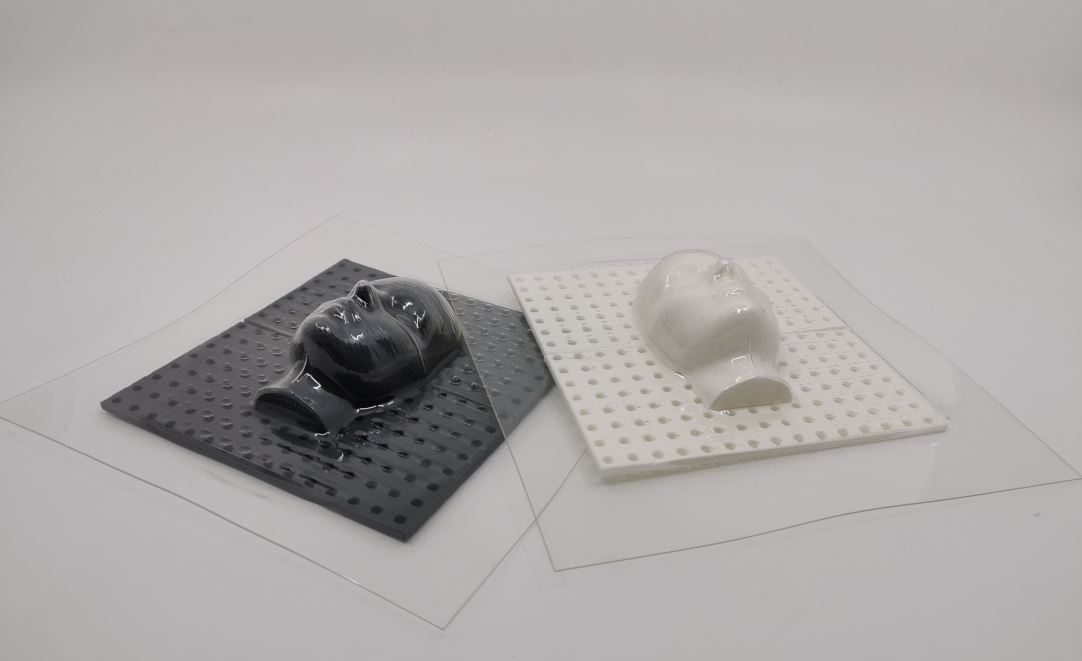
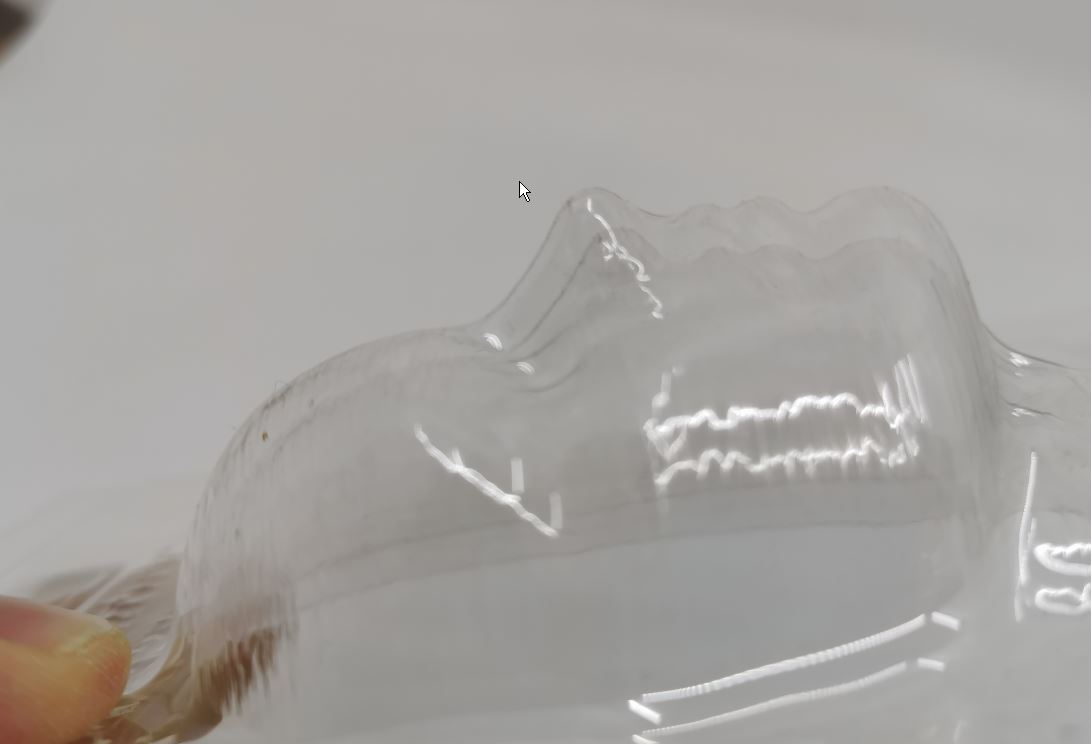
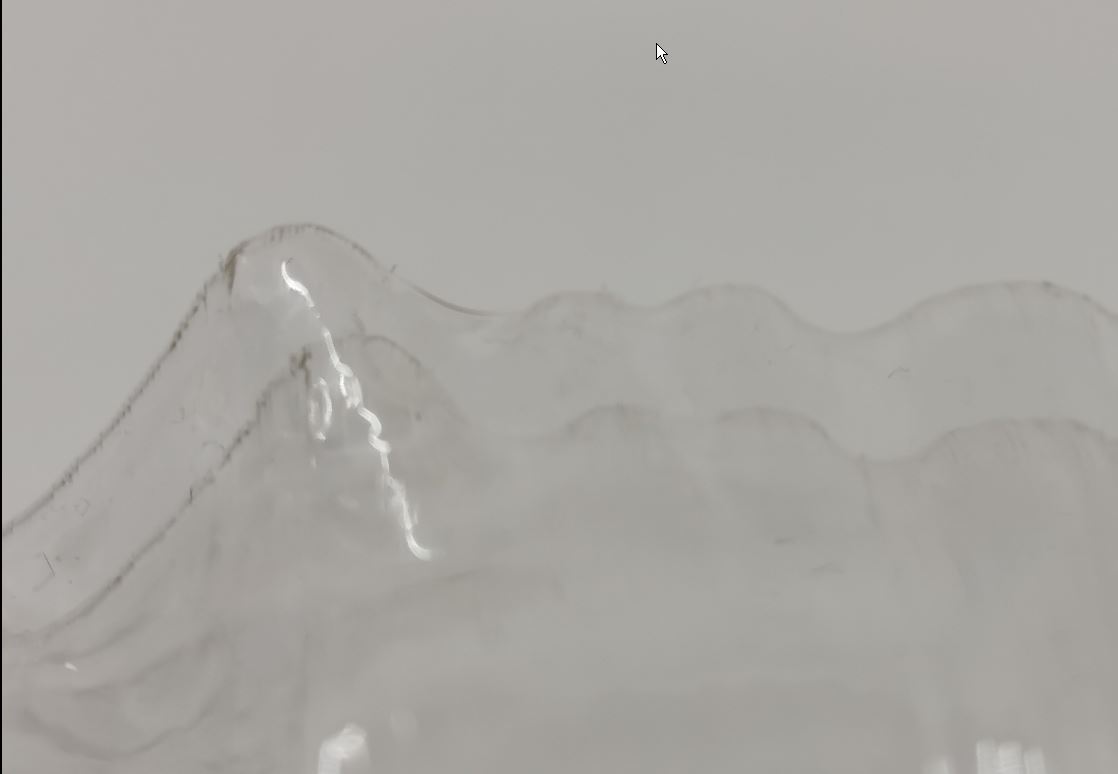
Here we overlayed the two molded transparent plastic sheet.
| 1 | Closup |
|---|---|
 |
 |
Silicone skin
I put silicone on both “male” and “female” part of our mold.
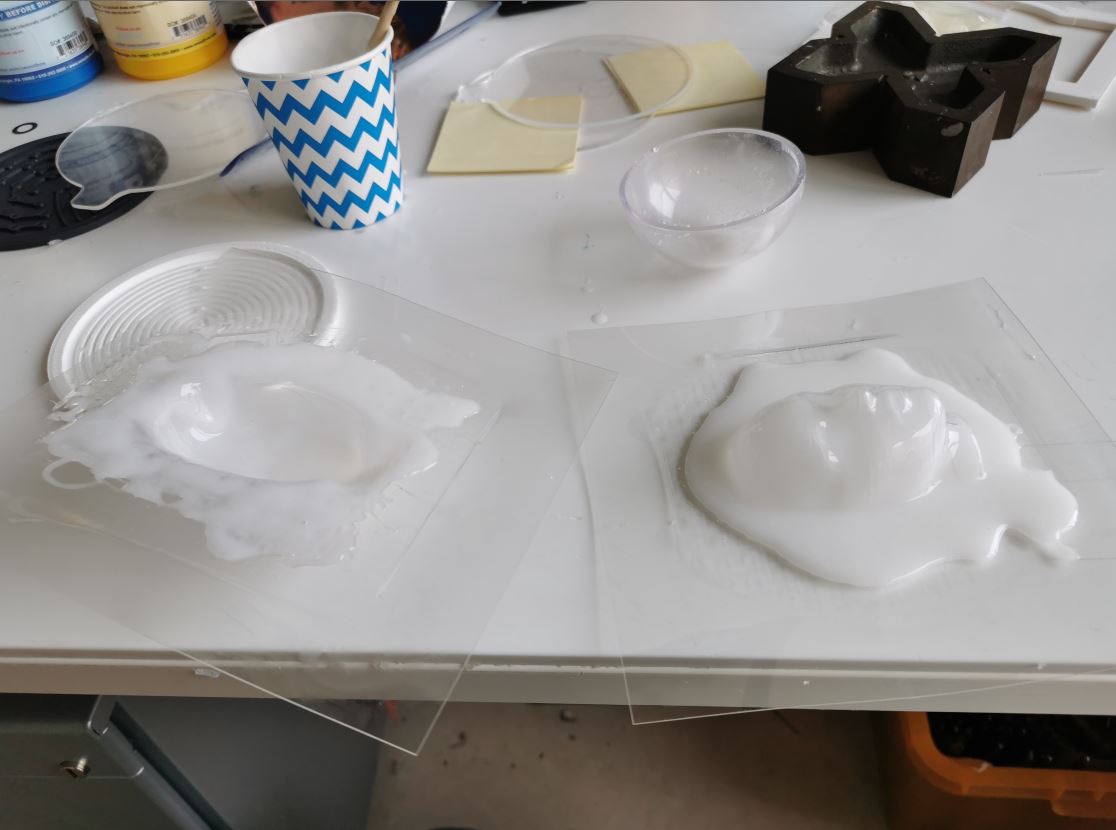
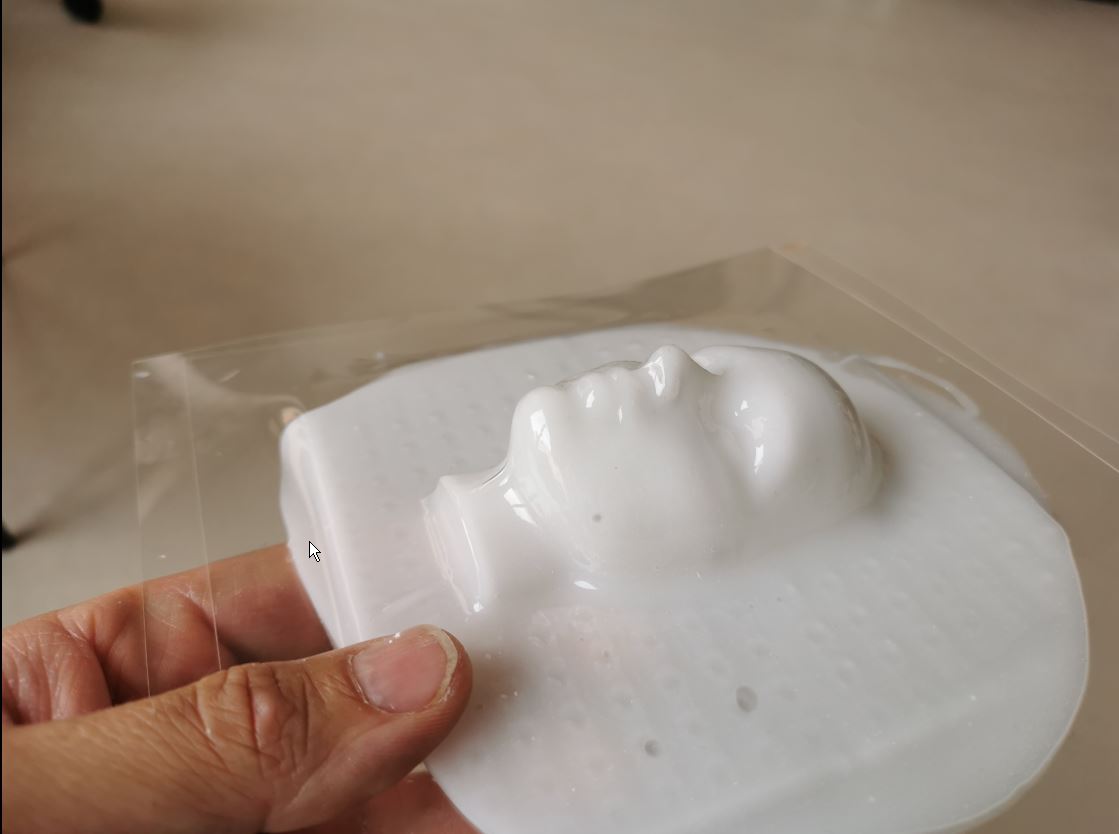
Result
There is some bubbles on the face surface, I should have ungaz the mixture before molding but it is usable anyway.
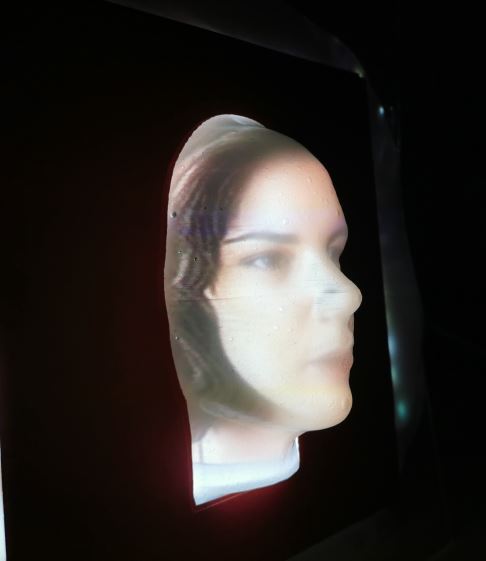
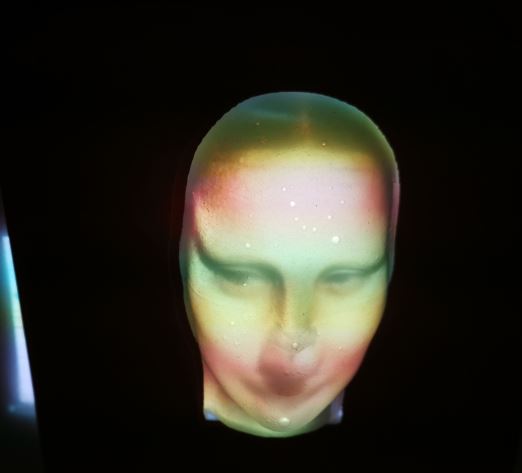
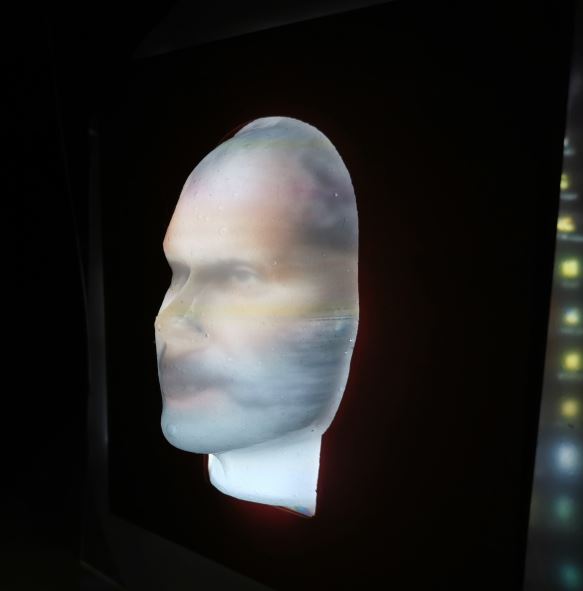
Back projection test
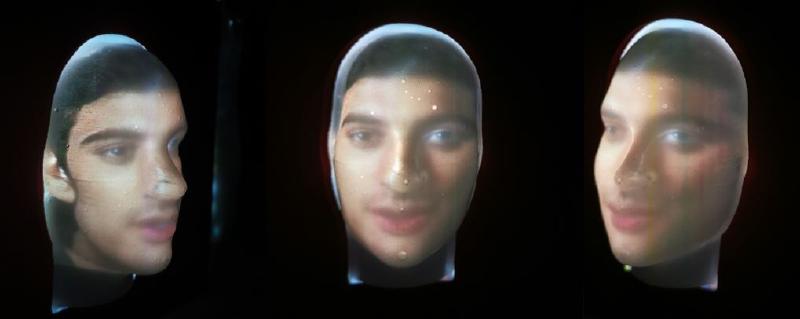
Montage of a projected portrait from 3 different points of view.
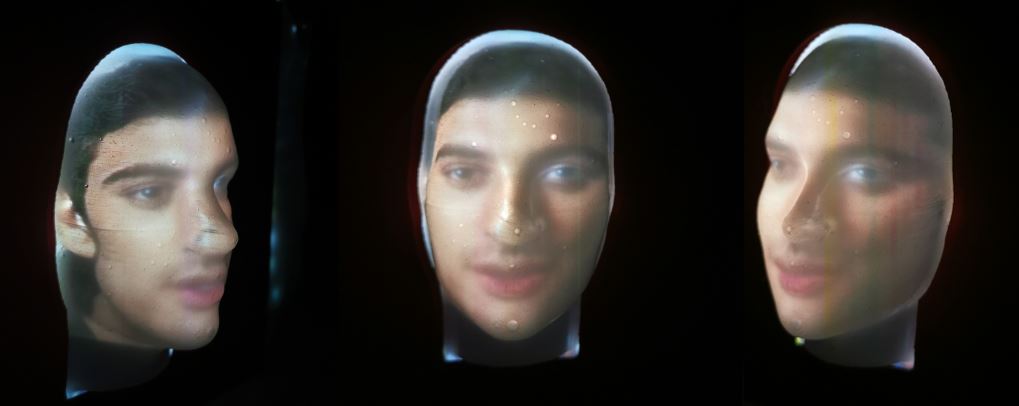
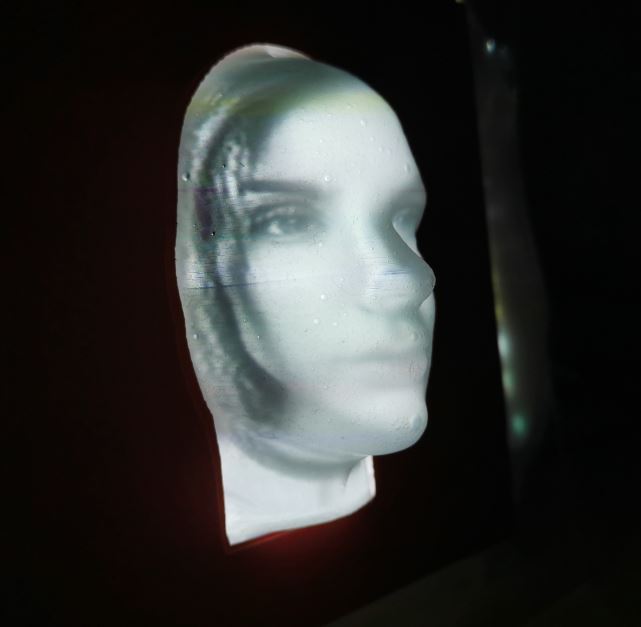
Some faces:
| 1 | 2 | 3 | 4 |
|---|---|---|---|
 |
 |
 |
 |
What next?
There is a lot of work remaining!
For example , I could explore:
- Correpondence beetween mold face morphology vs projected face morphology, I could use several 3D model of faces and projects only similar faces on it.
- Testing of different facial expressions and get user feedback on their perception. How much eyes and other facial expression are realistic on this molded face?
- Make the matrix of head interactive: Launch talking animation only when user look or touch a specific face. We could also launch it following a predefined sequence.
- Change coating of the mold (tinted plastic, thiner silicon skin, paint coating…) How would it enhance resolution and how it would enhance realism?
