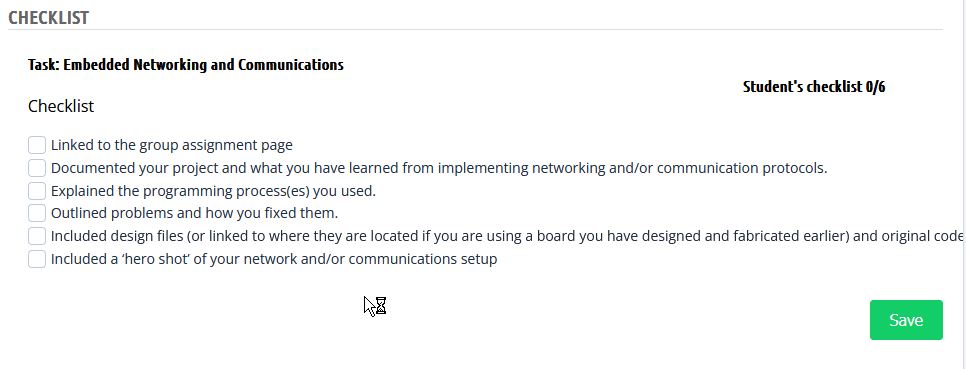
Document your work to the group work page and reflect on your individual page what you learned
Individual assignment:
design, build, and connect wired or wireless node(s) with network or bus addresse
Implement a web server on esp32c3
Connect to wifi
Hardcoded version
A quick way to connect esp to wifi is to write on arduino code ssid and wifi password. Here is a piece of code based on ESP32Webserver library example esp32webserver1. This shortened code simply connect the esp to wifi network “myWifi”. It display dots on Serial monitor until concction, then display a message aknolewedging the connection and displaying the IP adress given to the esp by the router.
#include<WiFiClient.h>#include<ESP32WebServer.h>#include<WiFi.h>constchar*ssid="myWifi";constchar*password="myPassword";voidsetup(void){Serial.begin(9600);WiFi.begin(ssid,password);// Wait for connection
while(WiFi.status()!=WL_CONNECTED){delay(500);Serial.print(".");}Serial.println("");Serial.print("Connected to ");Serial.println(ssid);Serial.print("IP address: ");Serial.println(WiFi.localIP());}loop(){}
WifiManager utility
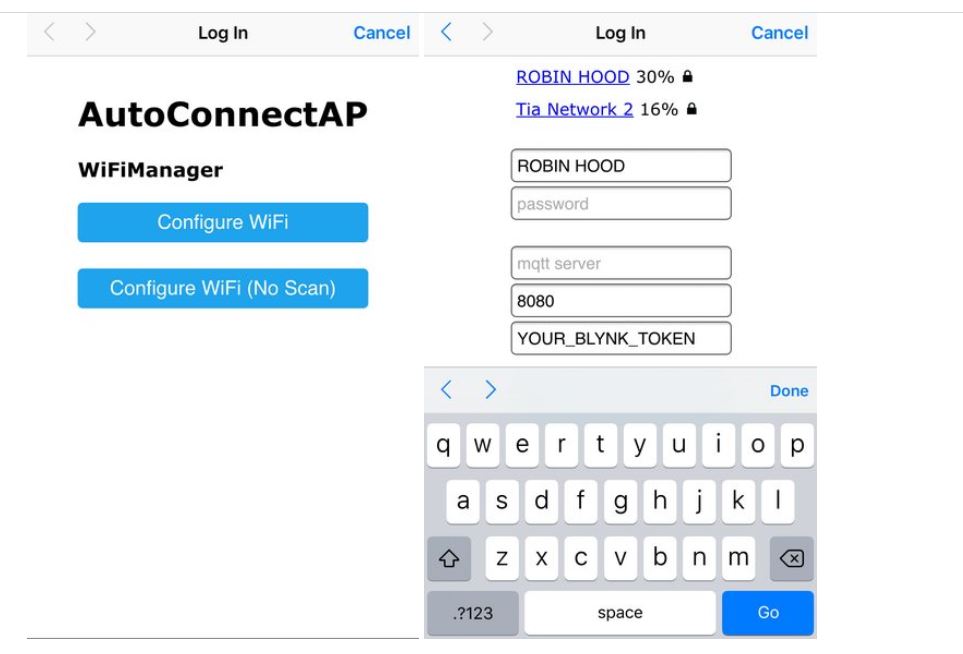
If found that it can be more versatile to use the “WiFiManager” library (https://github.com/tzapu/WiFiManager). This librarie is very handy to connect to different wifi networks. On the first launch, or when the board has no known Wifi networks to connect, it act as a wifi Access Point. We connect to this access point with a computer or mobile phone. We now have access to a webpage where we can choose our network and set it password.
If given informations are correct, the esp is now connected to wifi and doesn’t act anymore as an Access Point.
We can like this save automatically into esp memory the connection information of several Wifi networks.
Bellow is the code from WifiManager library, example Basic. All comments describing options are already included in the example.
#include<WiFiManager.h>voidsetup(){// WiFi.mode(WIFI_STA); // explicitly set mode, esp defaults to STA+AP
// it is a good practice to make sure your code sets wifi mode how you want it.
// put your setup code here, to run once:
Serial.begin(115200);//WiFiManager, Local intialization. Once its business is done, there is no need to keep it around
WiFiManagerwm;// reset settings - wipe stored credentials for testing
// these are stored by the esp library
// wm.resetSettings();
// Automatically connect using saved credentials,
// if connection fails, it starts an access point with the specified name ( "AutoConnectAP"),
// if empty will auto generate SSID, if password is blank it will be anonymous AP (wm.autoConnect())
// then goes into a blocking loop awaiting configuration and will return success result
boolres;// res = wm.autoConnect(); // auto generated AP name from chipid
res=wm.autoConnect("AutoConnectAP");// anonymous ap
//res = wm.autoConnect("AutoConnectAP","password"); // password protected ap
if(!res){Serial.println("Failed to connect");// ESP.restart();
}else{//if you get here you have connected to the WiFi
Serial.println("connected...yeey :)");}}voidloop(){// put your main code here, to run repeatedly:
}
Run a webserver
ESP32 can be used as a web server to serve web pages and handle HTTP requests. Used as a webserver, the esp can perform tasks such as:
Serve web pages: the internal ESP file system can store and serve files as HTML, CSS, Javascript…
Handle HTTP requests: It can respond to requests such as GET and POST from client devices (typically a computer, tablet, mobile phone or another web enabled microcontroler)
WebSocket support: with webSocket connections, we can enable real-time, two-way communication beetween the server and the clients.
Now let’s combine the previous wifi connection code with webserver setup.
In the code bellow, esp act as a webserver . If we load the adress http://ESP_IP_ADRESS/message on the web navigator of a device connected to the same network, it will call the method handleMessageReceived.
#include<WiFiClient.h>#include<DNSServer.h>#include<WebServer.h>#include<WebSocketsServer.h>#include<WiFiManager.h>#include<ESPmDNS.h>#include<time.h>#include<Math.h>//=============================================================
// DEFINITIONS
//=============================================================
WebServerserver(80);//=============================================================
// HTTP HANDLERS
//=============================================================
voidhandleMessageReceived(){intarg1=server.arg("arg1").toInt();intarg2=server.arg("arg2").toInt();intarg3=server.arg("arg3").toInt();Serial.println("message received");server.send(200,"text/plain","Message received OK");}//=============================================================
// SETUPS
//=============================================================
voidsetup_serial(){Serial.begin(9600);while(!Serial){;}Serial.println("Serial initialisation");}voidsetup_wifi(){//WiFiManager
//Local intialization. Once its business is done, there is no need to keep it around
WiFiManagerwifiManager;//Uncomment to reset saved settings
//wifiManager.resetSettings();
//set custom ip for portal
//wifiManager.setAPStaticIPConfig(IPAddress(10,0,1,1), IPAddress(10,0,1,1), IPAddress(255,255,255,0));
//fetches ssid and pass from eeprom and tries to connect
//if it does not connect it starts an access point with the specified name
//and goes into a blocking loop awaiting configuration
wifiManager.autoConnect("MY_ESP_BOARD");//or use this for auto generated name ESP + ChipID
//wifiManager.autoConnect();
//if you get here you have connected to the WiFi
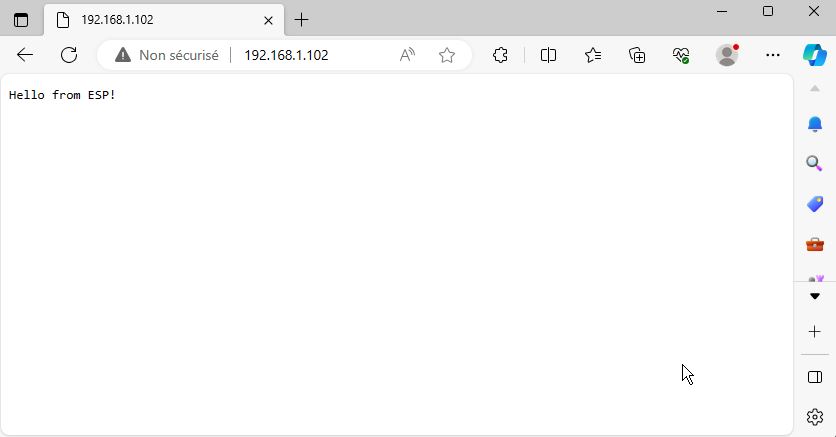
Serial.println("connected to WiFi!");}voidhandleIndex(){server.send(200,"text/plain","Hello from ESP!");}voidsetup_server(){//=============================================================
//Pages declaration//=============================================================
server.on("/",handleIndex);server.on("/message",handleMessageReceived);//=============================================================
// Launch server //=============================================================
server.begin();Serial.println("HTTP server started");}voidsetup(){setup_serial();setup_wifi();}voidloop(){server.handleClient();yield();}
When we ask for root page on a web client (server.on("/", handleIndex); line of the code), handleIndex is called and the Hello message is send to client.
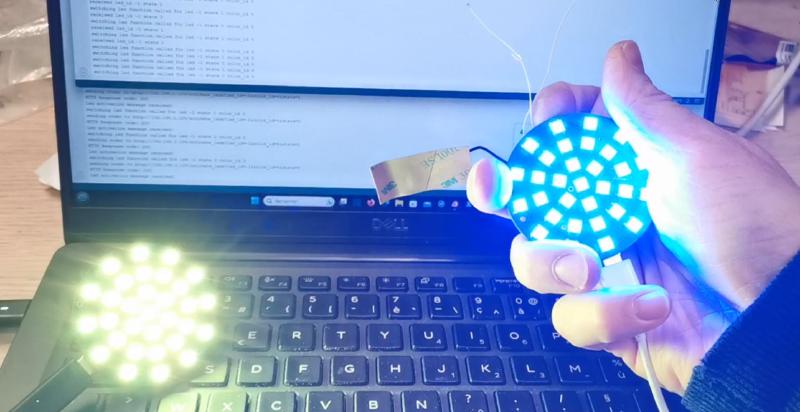
Controling LEDs through network
I will connect the esp on my pebble board to the same wifi network as my computer. Requesting url http://esp_ip/activate_leds?led_id=XX&state=0or1, I will switch on or off led X remotely of the esp board.
On esp setup, I add the following parameters. Note that server will send back a response to client that will be displayed on web browser with server.send(200, “text/plain”,“Message send back to client”);.
 1
 2
 3
 4
 5
 6
 7
 8
 9
10
11
12
13
14
15
16
voidsetup(){[...]server.on("/activate_leds",handleActivateLedsMessageReceived);[...]}//Create a callback method, called when http://esp_ip//activate_leds is called
voidhandleActivateLedsMessageReceived(){intled_id=server.arg("led_id").toInt();intstate=server.arg("state").toInt();intcolor_id=server.arg("color_id").toInt();switch_led(led_id,state);Serial.println("message received");server.send(200,"text/plain","Led activation message received!");}
As we use ws2812b leds, I choose to perform Led activation with the help of NeoPixelBus Library. I usualy use FastLed library but it appear to be incompatible with Wifi on esp32c3, causing all kind of problem including leds flickering.
Bellow is the code relative to leds only. I hardcoded few preset colors for testing but we could send r,g,b values directly to switch_leds().
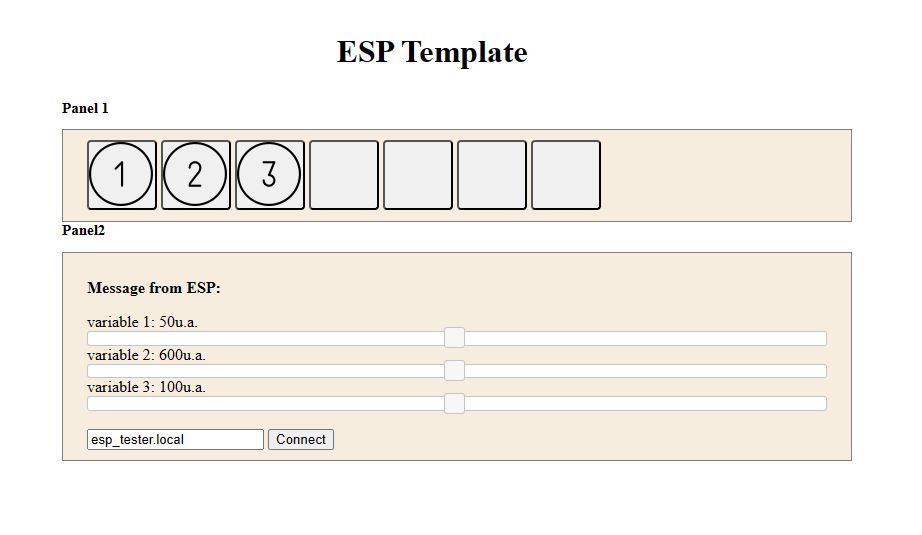
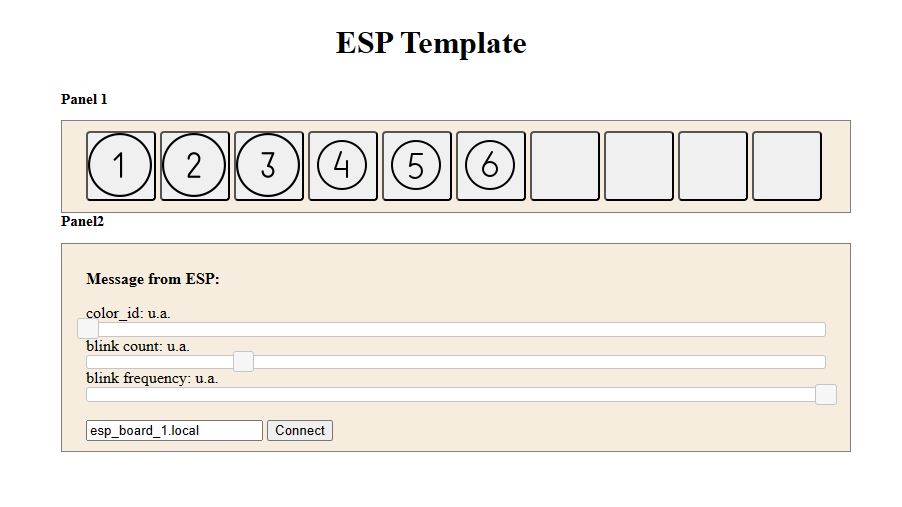
First, we need to set the esp ip adress and click on Connect button. Actions performed when slider moves or at button press are defined on “esp_template.js” file. For example:
Slider 1 will control led_color. I change limits from -1 to 6 to match my colors preset defined in switch_led()
Slider 2 will control blink count
Slider 3 will control blink frequency
The files of the modified template can be found here: network control
Note that the html/js/css code can be opened locally on the computer and doesn’t necessary have to be served by the esp. We just have to specify the board adress on the bottom text line.
Control another project through network
Now that we know how to control a board from an url, we just need to create a client on another board to call this url.
Part of the whole code, related to http connection is below:
voidsend_order_to_other_board(intleds_state,intboard_id){Stringboard_ip=board1_ip;if(board_id==0){board_ip=board1_ip}elseif(board_id==1){board_ip=board2_ip})Stringurl_to_call="http://"+board_ip+"/activate_leds?led_id=-1&color_id=4&state="+String(leds_state);Serial.print("sending order to ");Serial.println(url_to_call);http.begin(url_to_call);// Send HTTP GET request
inthttpResponseCode=http.GET();if(httpResponseCode>0){Serial.print("HTTP Response code: ");Serial.println(httpResponseCode);Stringpayload=http.getString();Serial.println(payload);}else{Serial.print("Error code: ");Serial.println(httpResponseCode);}// Free resources
http.end();}
Now we simply need to call this code when user press on a button of the board. We call send_order_to_other_board(led_state, 0) from board 2 and send_order_to_other_board(led_state, 1) from board 1.
Here is the code related to button push. send_order_to_other_board is called when button state change.
In the video below we can see the communication beetween 2 boards. First two button press on a board make it light up, the third send the order to light-up the other board.
Sketch slow down
I found a strange behaviour of my boards on esp32c3 xiao. When serial communication is established, everything works as expected, but when it is not, the program seems to works at least 10 times slower (led blinking and reaction to button press).
TODO: find why and/or disable serial output
mDNS
We see that we can access our device through network thank to their IP adresses. Those adresses are given by our wifi router, we can assign an IP to a device giving it MAC adresse inside router configuration. We can Know the IP given to the device by checking the output of WifiManager in serial monitor.
Those solution are not ideal, hopefully, with mDNS we can access our device by names like http://DEVICE_NAME.local
To implement such fonctionality we can add the following code. We only have to change mDNSname before uploading on the different boards.
1
2
3
4
5
6
7
8
9
10
11
12
13
14
15
16
17
18
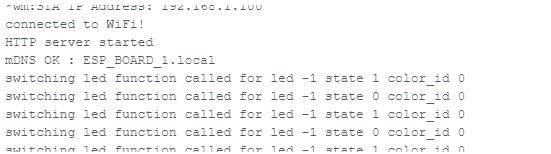
#include<ESPmDNS.h>StringmDNSname="ESP_BOARD_1";voidsetup_mDNS(){if(MDNS.begin(mDNSname)){Serial.printf("mDNS OK : %s.local\r\n",mDNSname);}else{Serial.println("mDNS error, service doesn't start!");}MDNS.addService("http","tcp",80);}voidloop(){[...]mDNS.update();[...]}
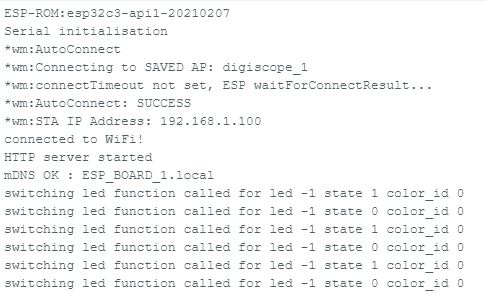
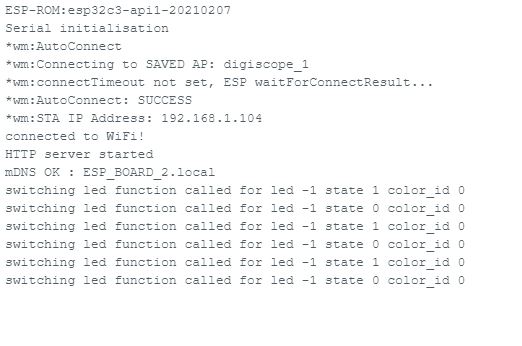
Here is the console output of the 2 boards on initialisation, we can see the different mDNS names:
Board 1
Board2
Problems
I found that boards can be called from a computer or phone web browser using BOARD_NAME.local, unfortunatly I was not able to make it works when a board talk to another board. I can’t find a solution for now, so I have to stay with the IP solution.