Recitation: https://vimeo.com/691508612
Slides: http://academy.cba.mit.edu/classes/molding_casting/index.html
-
Group assignment:
- Review the safety data sheets for each of your molding and casting materials
- Make and compare test casts with each of them
-
Individual assignment:
- Design a mold around the stock and tooling that you’ll be using, mill it (rough cut + (at least) three-axis finish cut), and use it to cast parts.
Learning outcomes
- Design appropriate objects within the limitations of at least 3-axis machining
- Demonstrate workflows used in mold design, construction and casting
Have you answered these questions?
- Linked to the group assignment page and reflected on your individual page what you have learned
- Reviewed the safety data sheets for each of your molding and casting materials, then made and compared test casts with each of them
- Documented how you designed your 3D mold and created your rough and finish toolpaths for machining, including machine settings
- Shown how you made your mold and cast the parts
- Described problems and how you fixed them
- Included your design files and ‘hero shot’ of the mold and the final object
Casting the pebble lens with resin
Mold 3D model
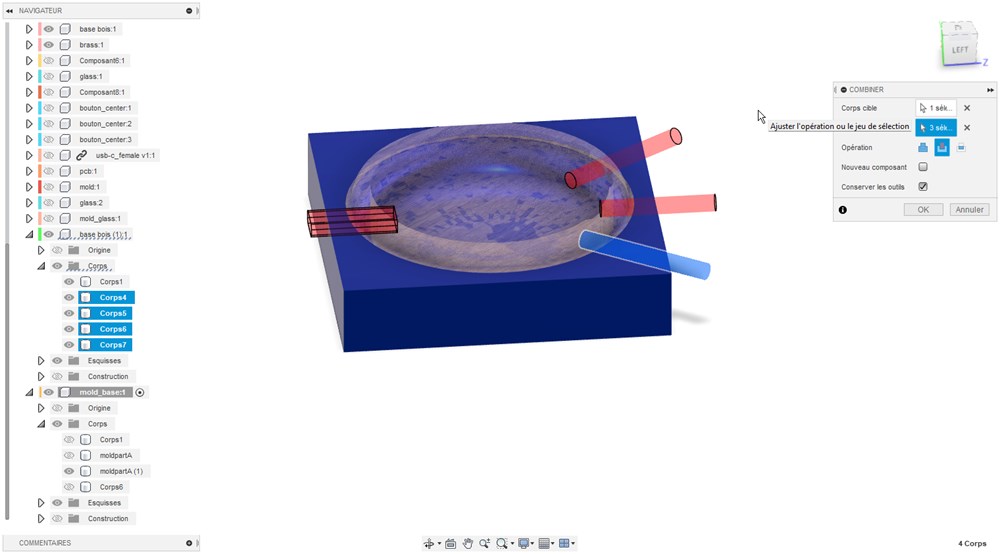
I create a box surounding the object to mold with a 5mm offset on all sides. I use the “combine” tool with “cut” option to make a boolean operation and suppress the overlaping area of both objects.
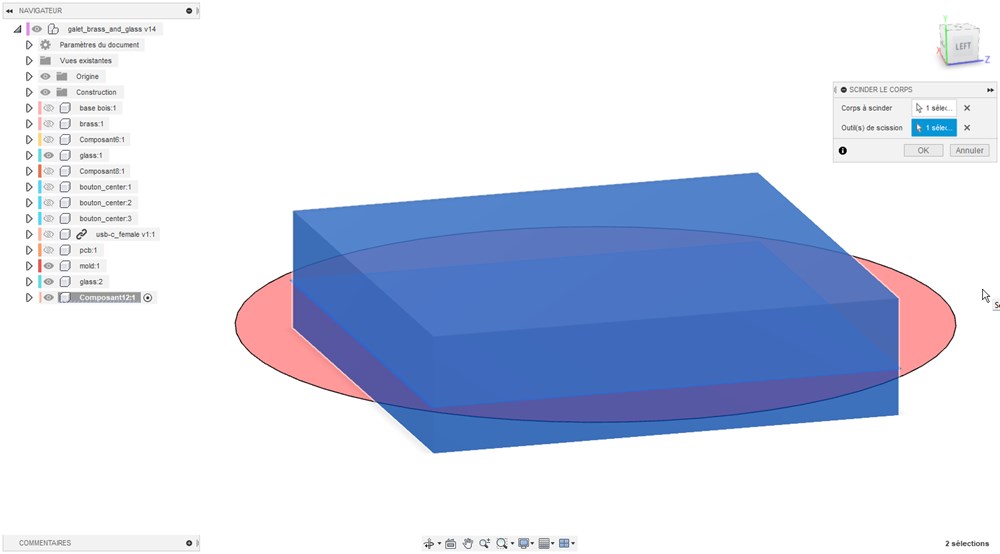
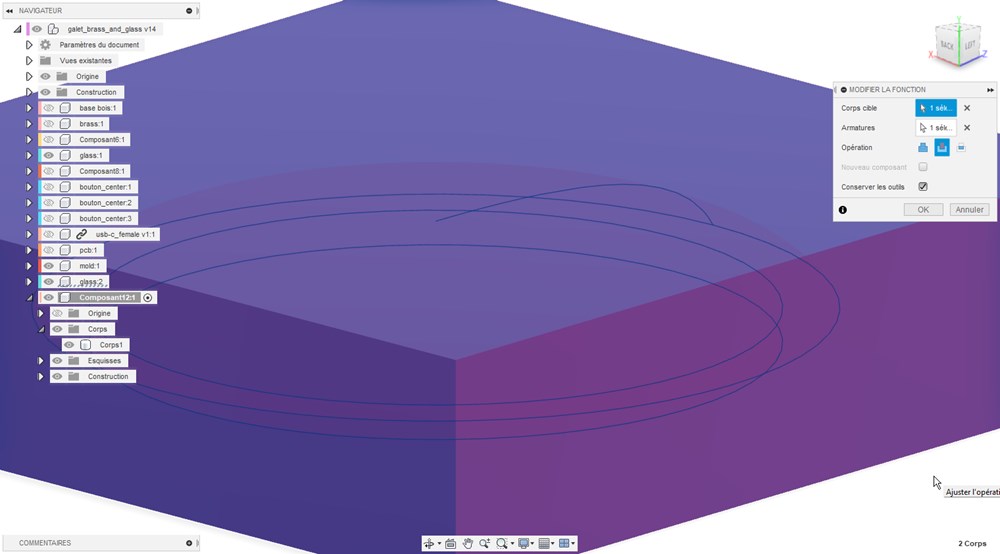 Now cut the object in two part. Cut is done on a plane defined previously.
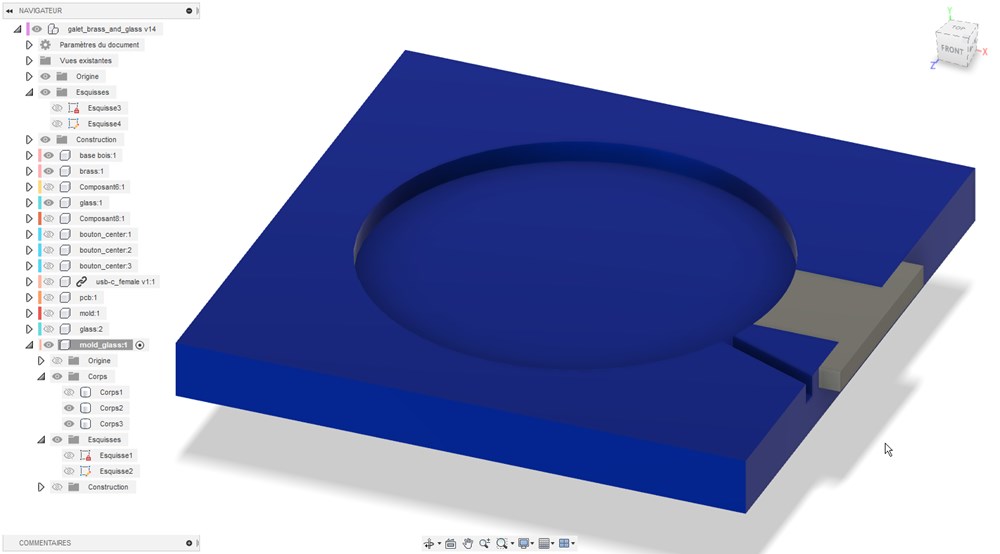
How will the resin enter into that mold? I will create an aperture on the side of the bottom part and a vent to allow the resin to go out
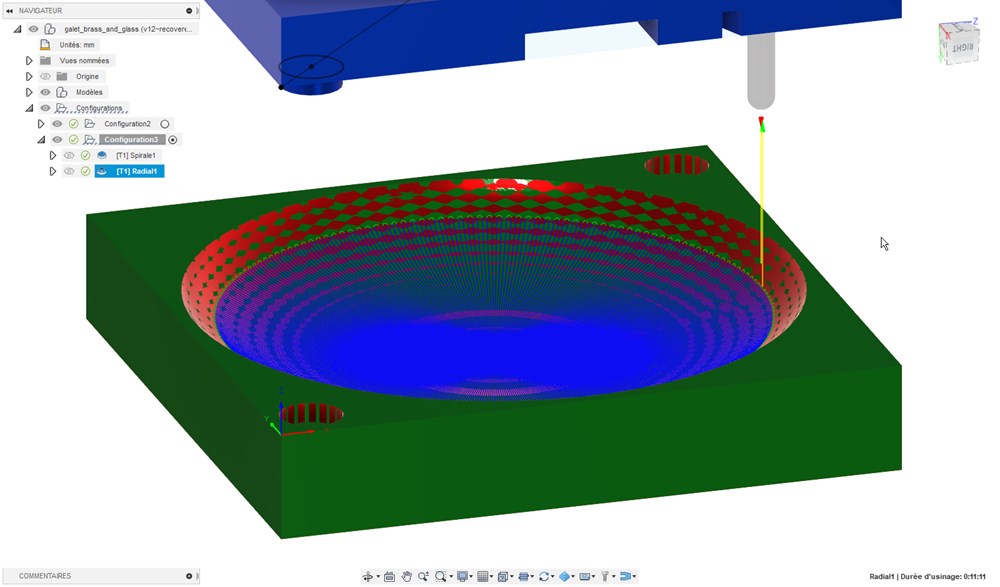
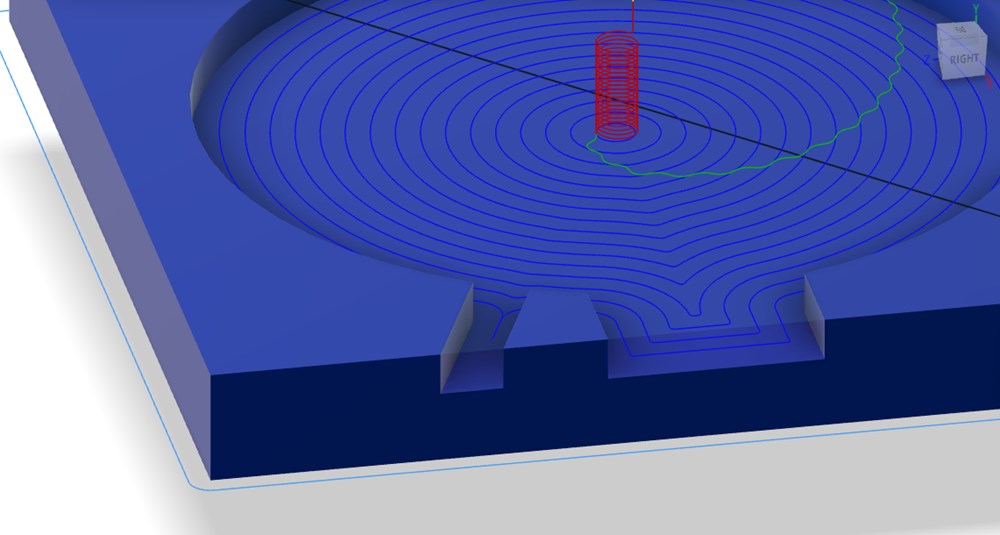
CAM
Select lens contour as machining limit. For tool limit, select “tool outside”. We can add an additional offset.
| 1 | 2 |
|---|---|
 |
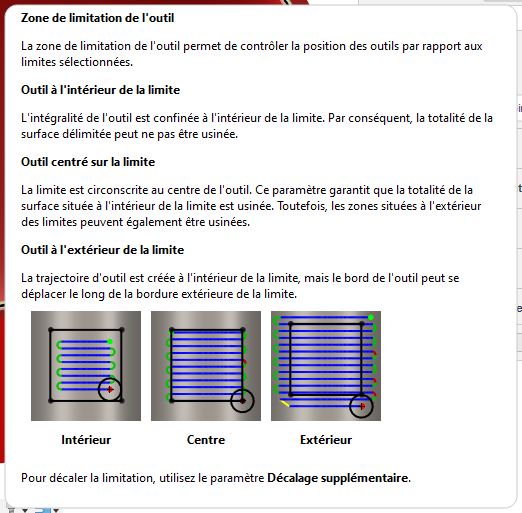 |
If we do not set the good outline limit, machining doesn’t reach the real limit as below.
TODO: put resin casting result
Casting the pebble base with ceramic
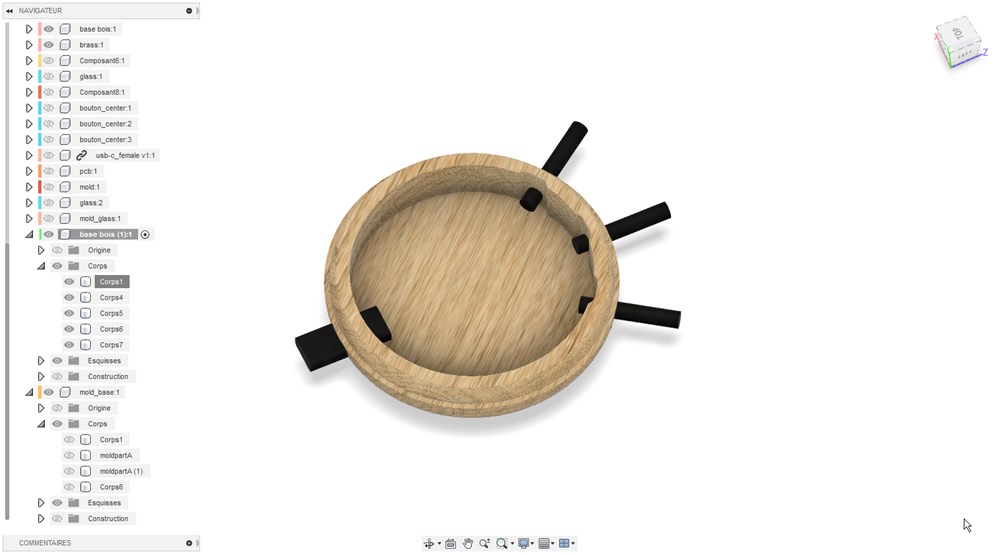
Altough the base will be made in wood, I wanted to try to make it with a different material: Cold ceramic.
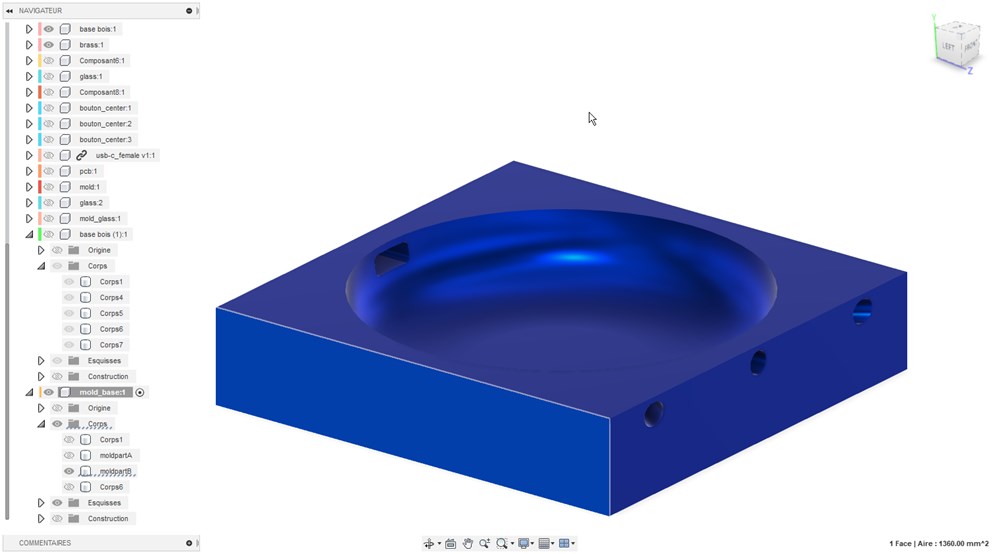
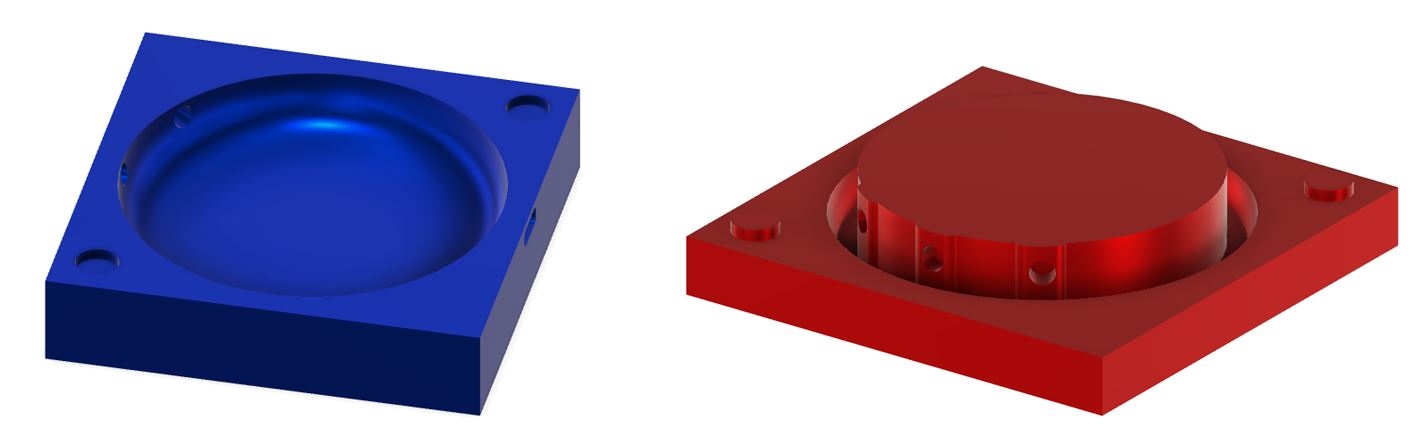
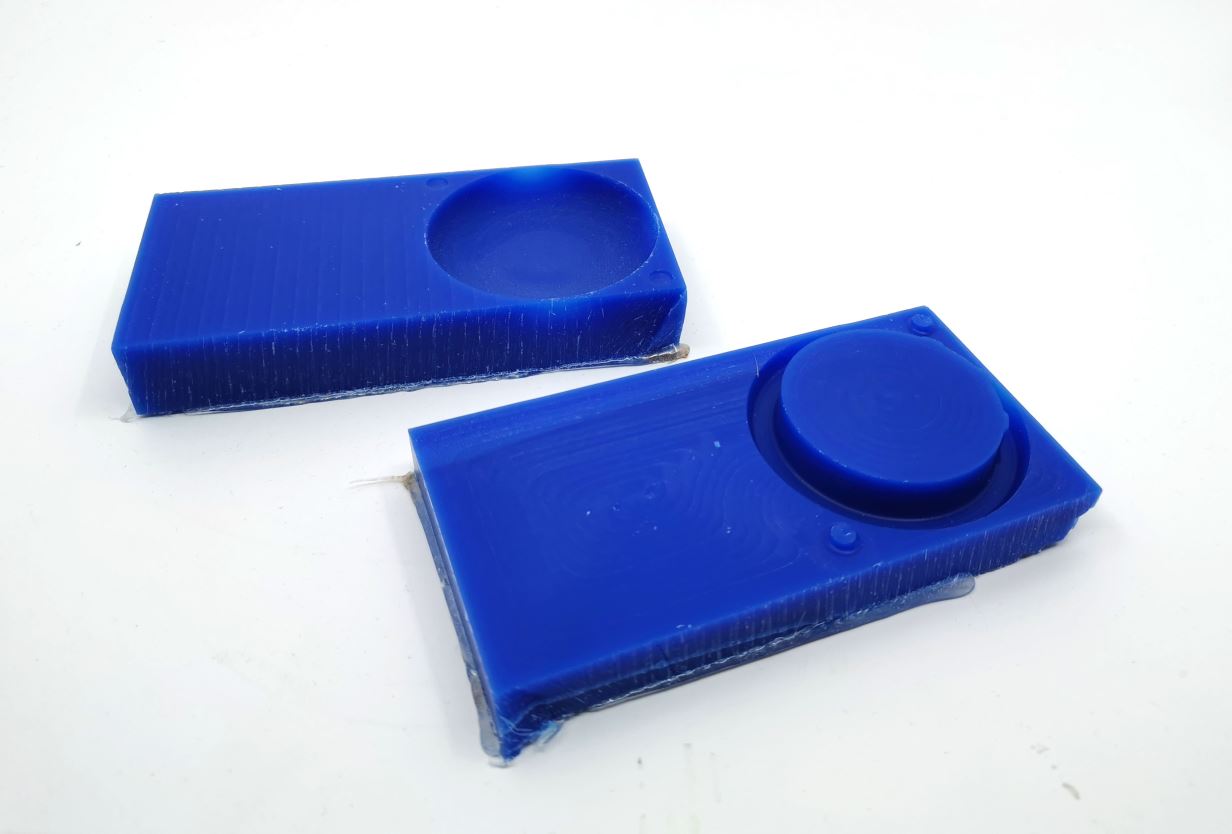
Mold 3D model
I create 4 additional pieces that will go inside side holes. They will be removable after casting. First, I copy all the object, then I use the “offset face” tool to shrink the part to 0.1mm, it will made easier insertion inside holes in the mold.
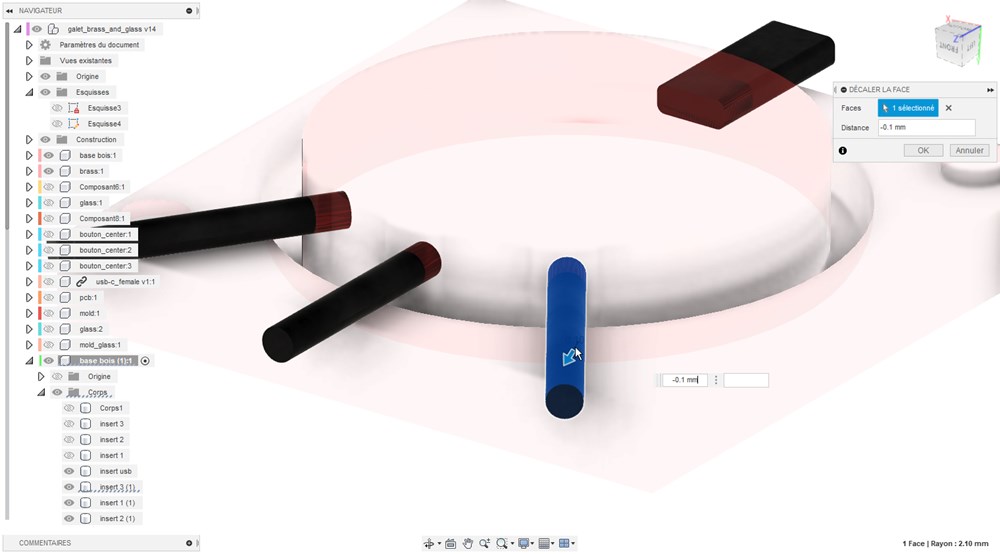
To match the 2 parts of the mold, I create 2 register key with 7.8mm male et 8mm female cylinder.
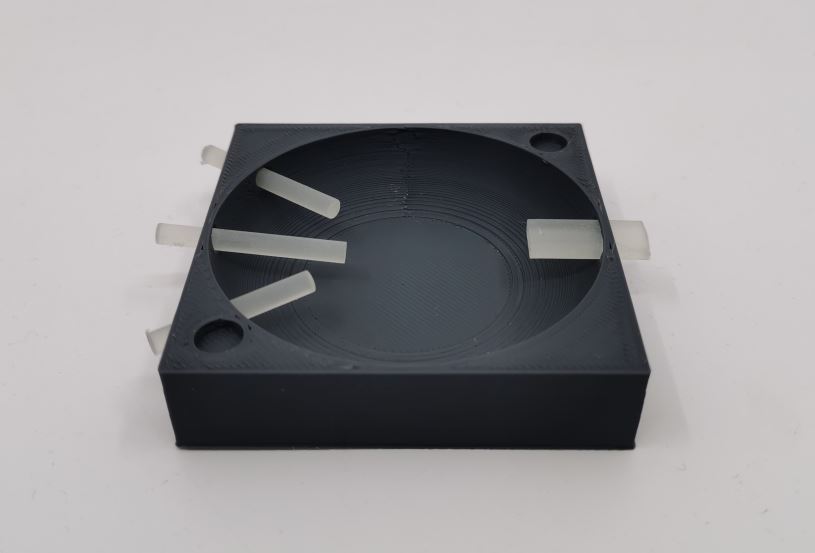
Before machining the mold, I print an FDM 3D printed version of the bottom mold with SLA 3D printed inserts. I use resin printer to have a better resolution on those parts.
CAM
Here is a video of the wax machining
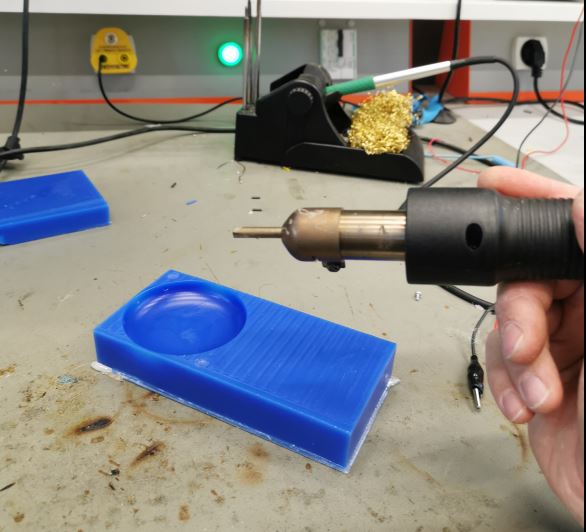
I smooth the curved surface using hot air. Using it without keeping too long on the same point, it make the wax melt localy smoothing the machining artefacts.
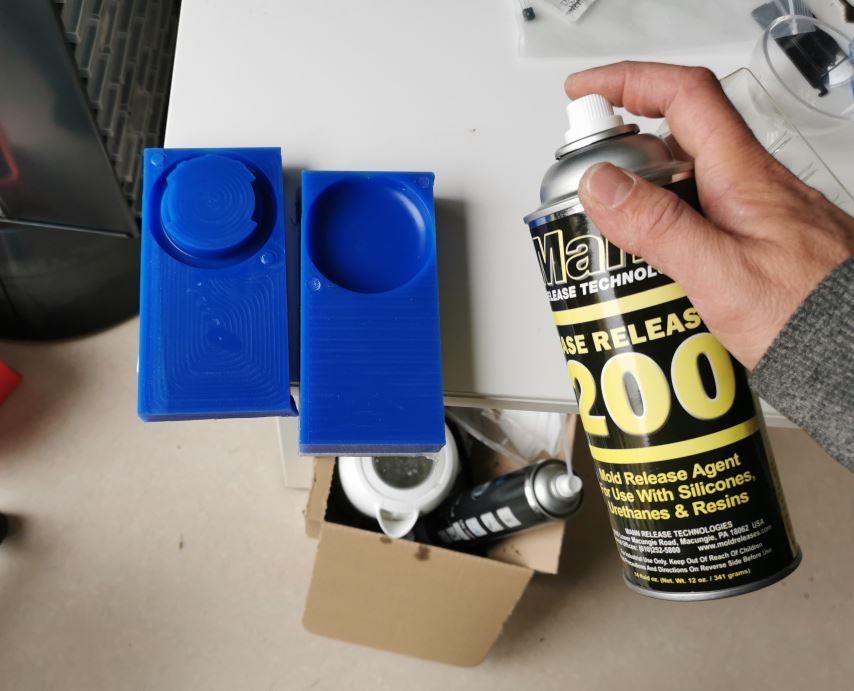
Before casting material inside the mold, I apply a thin layer of “Ease Release 200” to make unmolding easier..
I mix a little bit of ceramic powder with water.
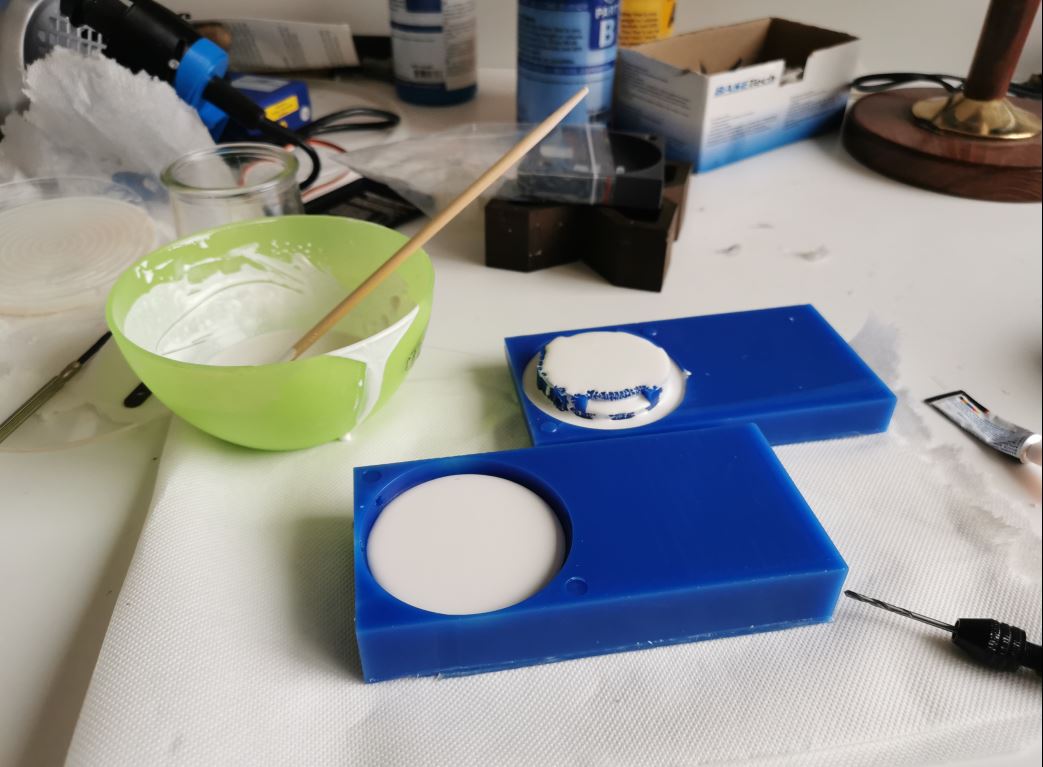
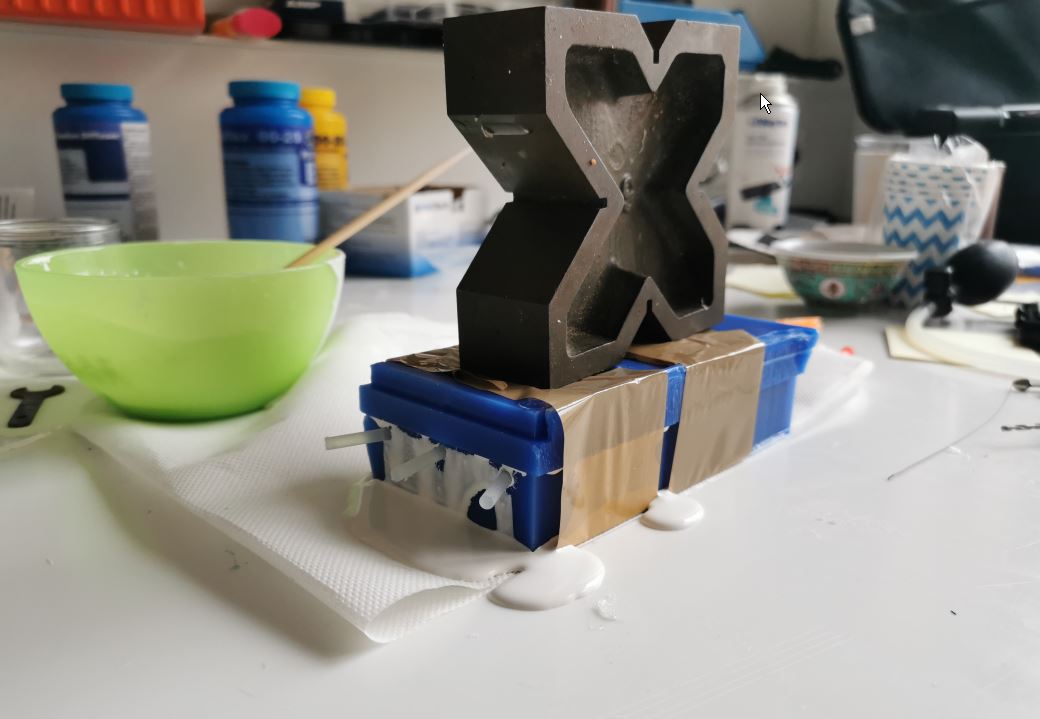
Now I join the molds parts, add the cylinder for the button holes on the side and press the 2 parts together.
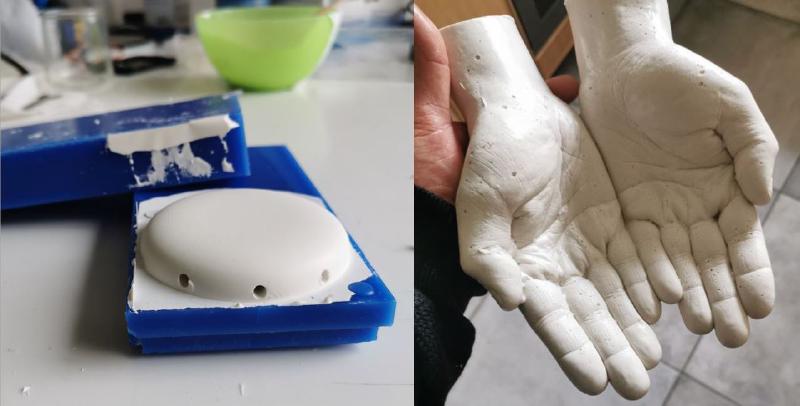
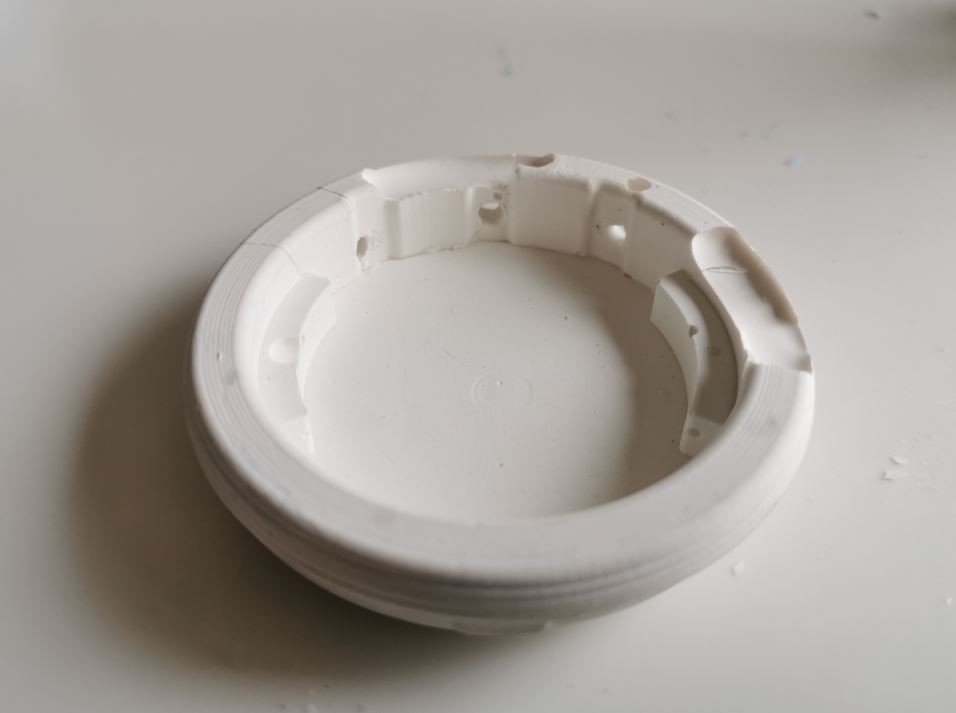
Result
The ceramic is a little bit hard to unmold… It would have been easier with a flexible mold. Furthermore, my matching notches doesn’t match perfectly because use a ball nose bit and not a flat end mill to mill them.
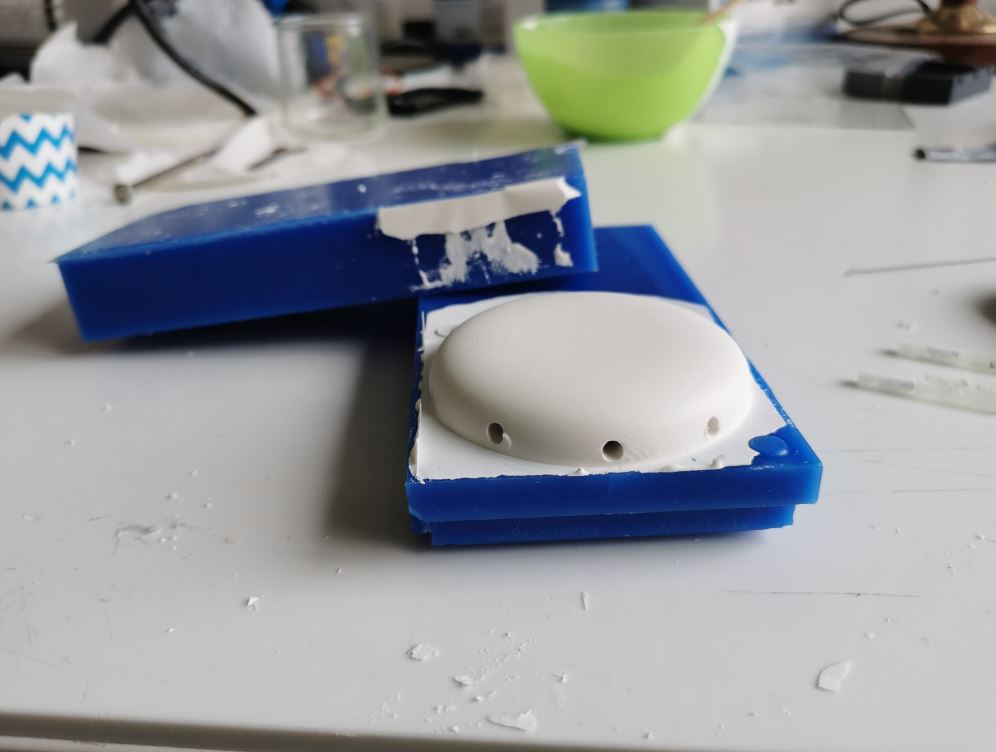
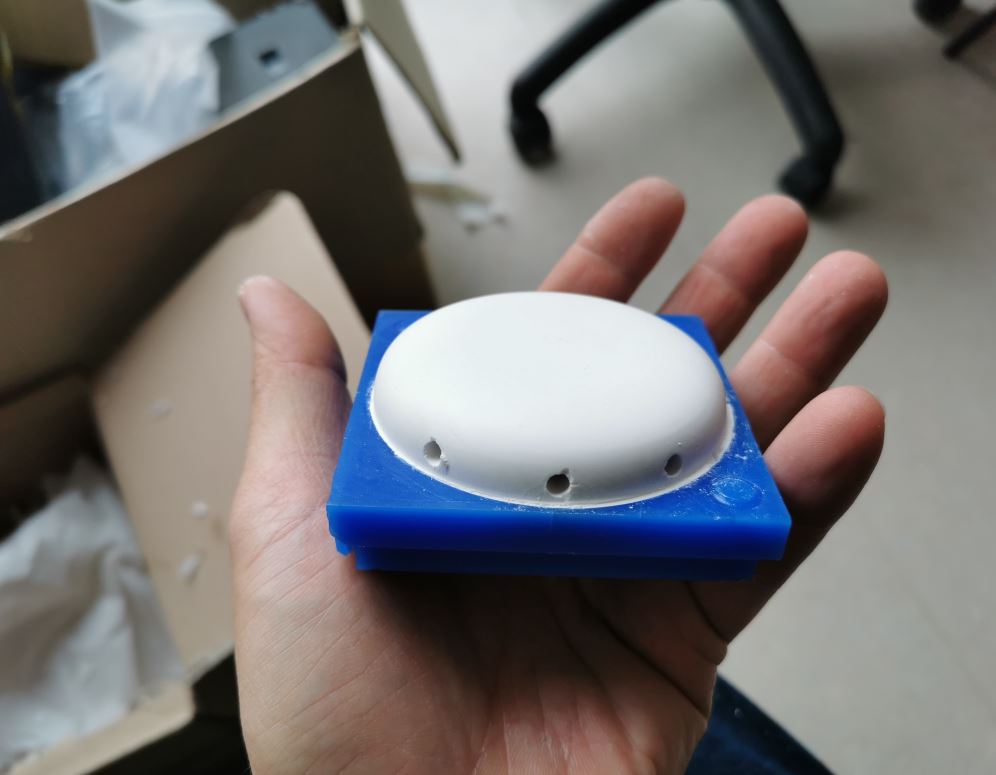
Unfortunatly, I break apart the ceramic base trying to remove it from the mold. Furthermore we can see that there was some air bubble trapped inside the mold during casting.
Conclusion
I just realized after making molding and casting that I have done it the wrong way! A flexible part can be cast into a solid mold, but a solid part has to be cast into a flexible mold… The good way to do should have been: Mill a solid version of the pebble parts (not the negative), cast some flexible molding silicon. Then use this flexible mold to cast the ceramic. I will try to do so later…
Casting the pebble buttons with black silicon
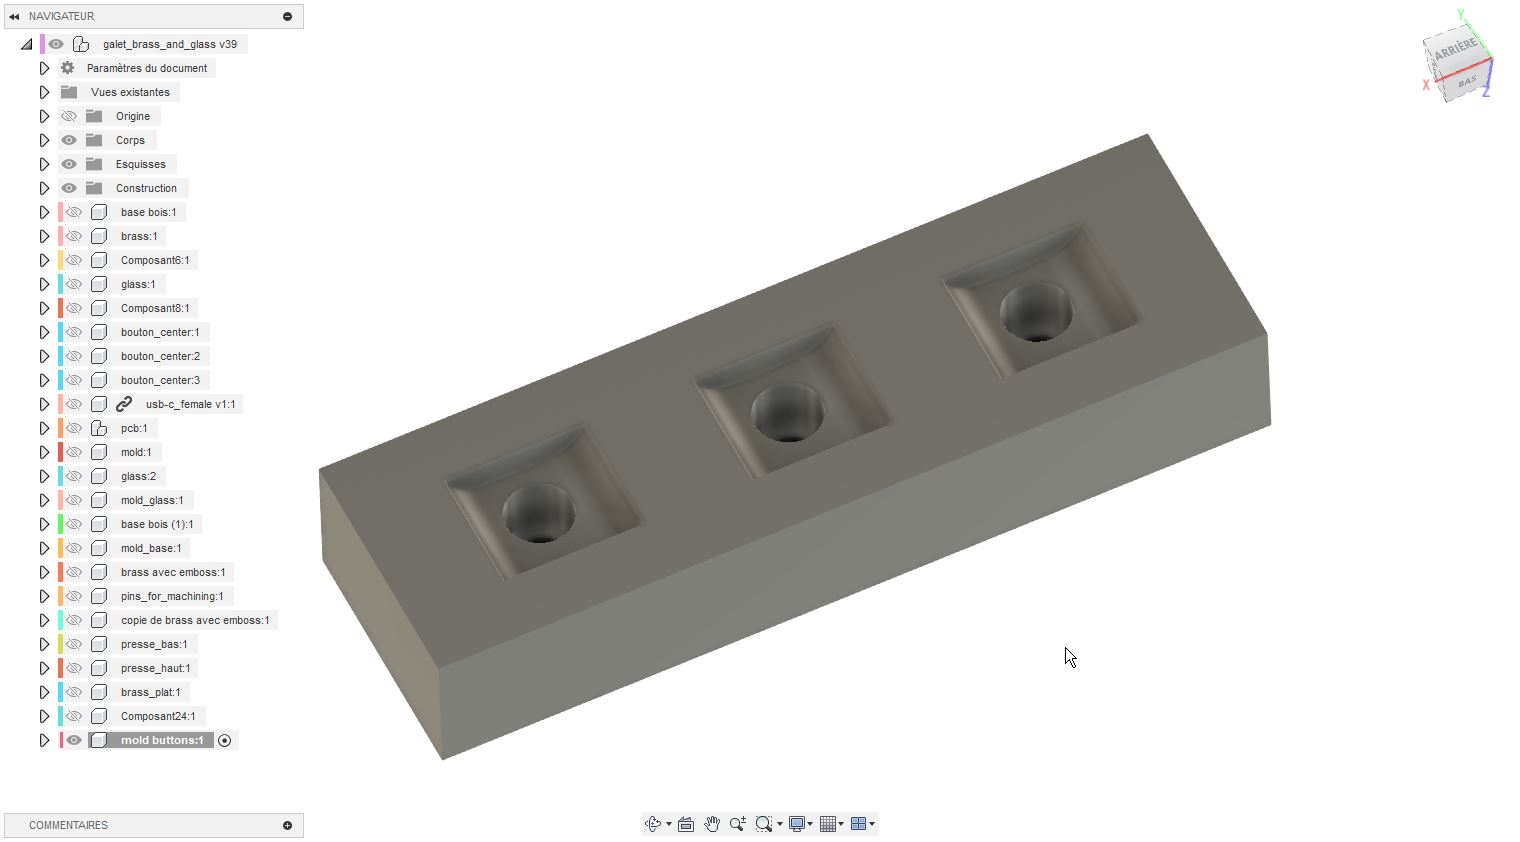
Mold 3D model
First I create the model of the button mold. I create a bounding box around the button composant, then substract the button shape from it. I duplicate this shape 2 times.
| 1 | 2 |
|---|---|
 |
 |
Machining the mold
I will made the mold into machinable wax.
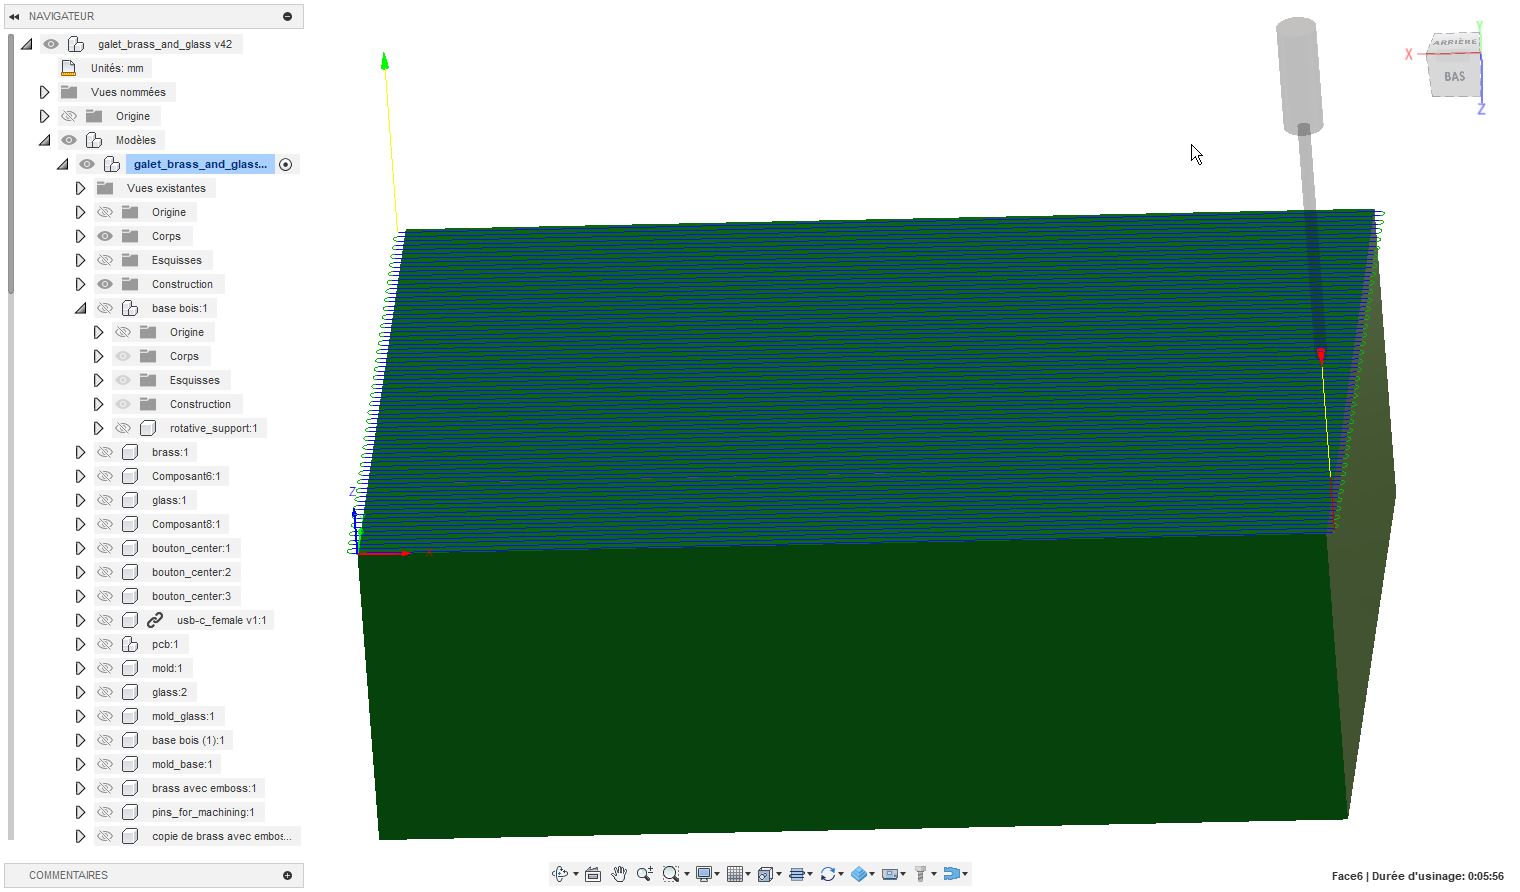
CAM
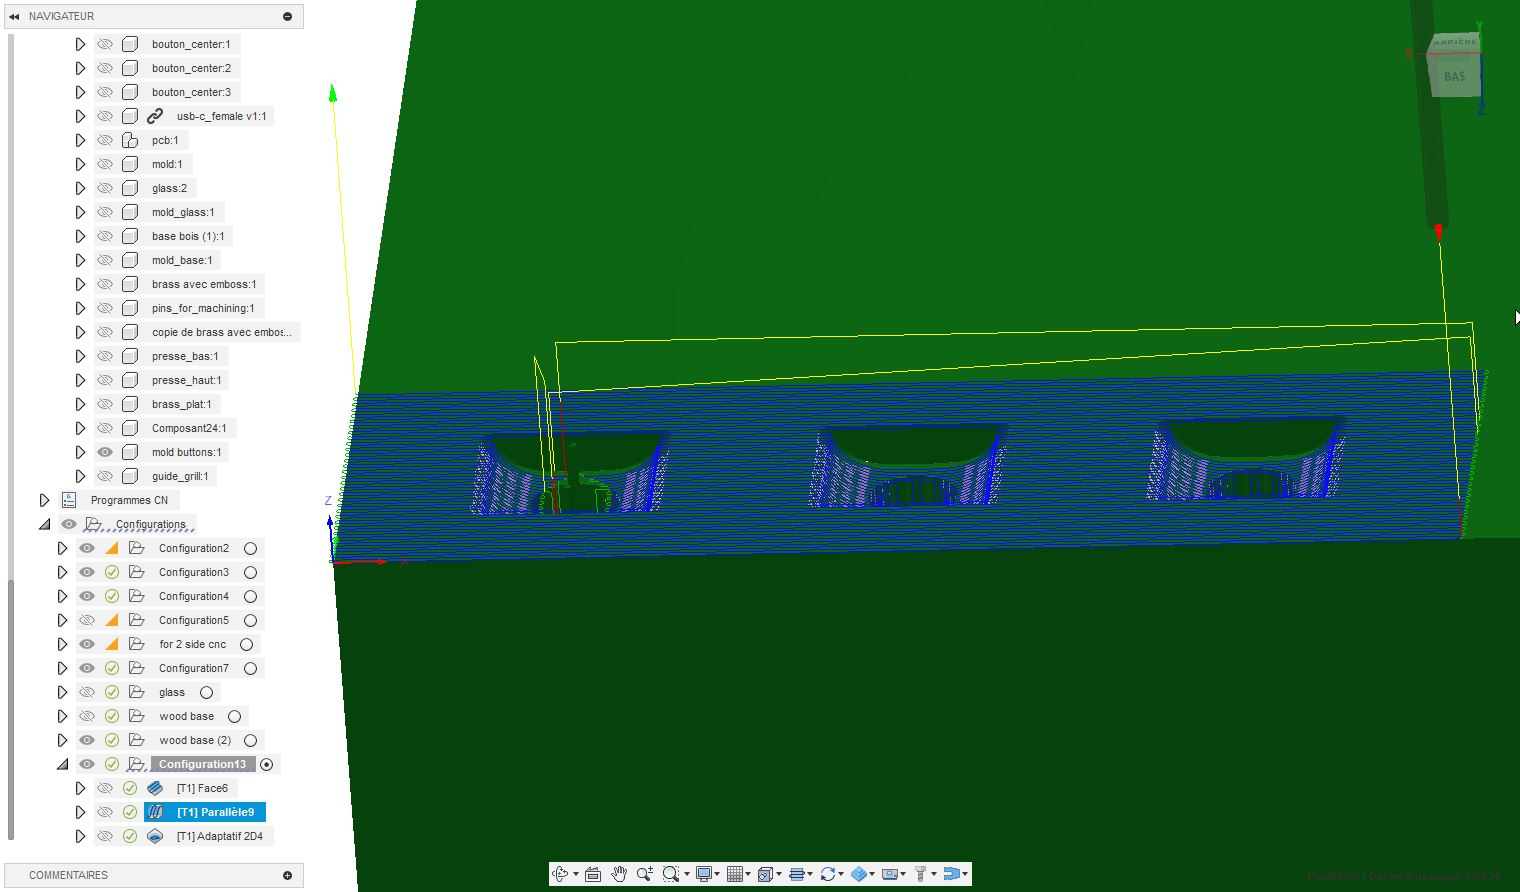
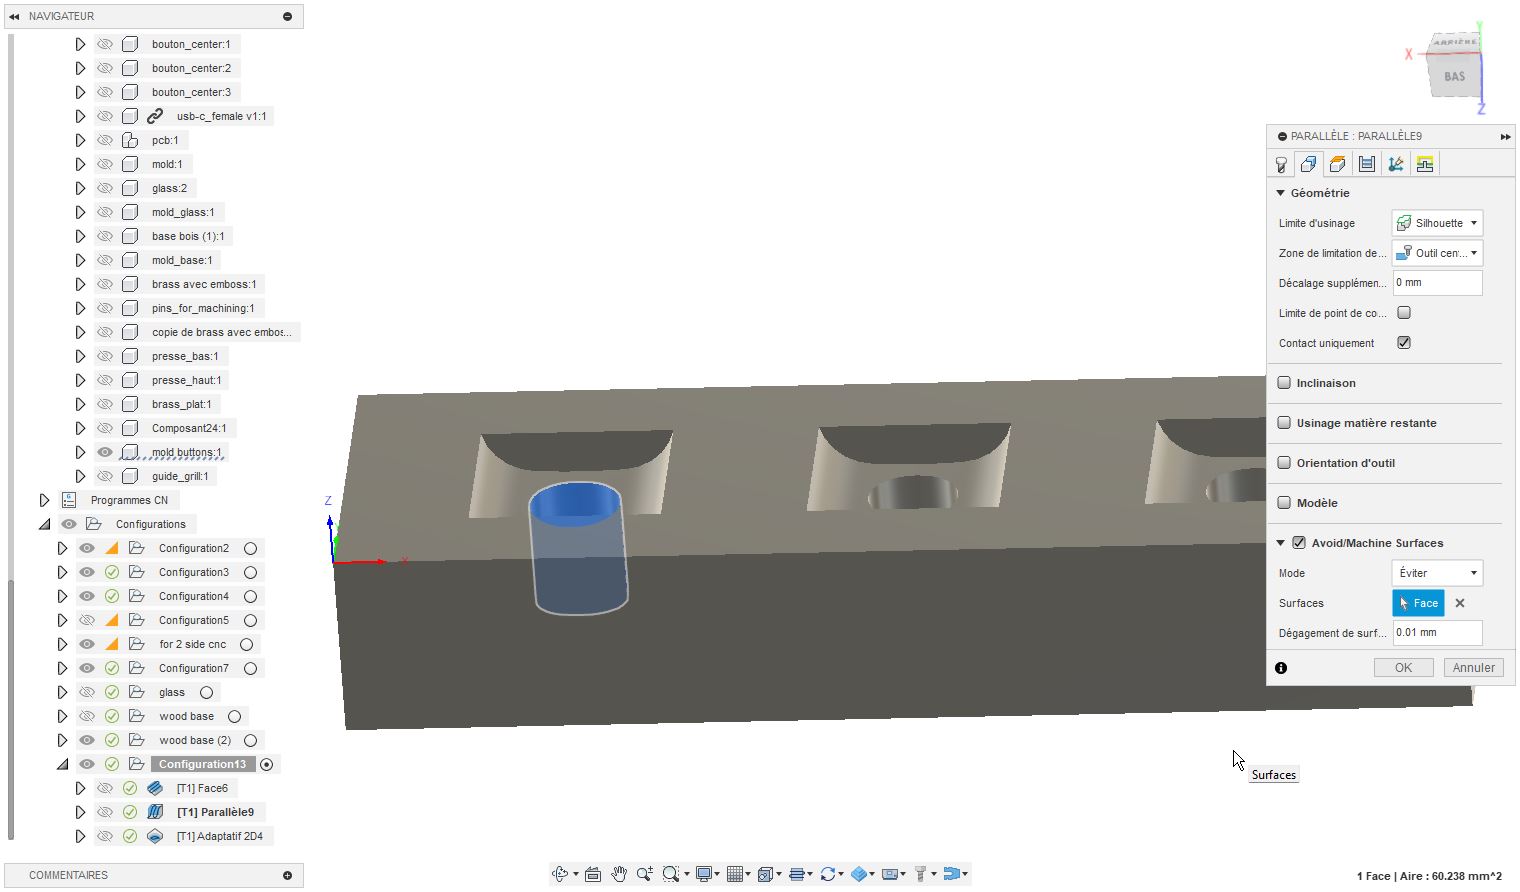
I will use a 1mm diameter 2 flute endmill. Step 1 is to prepare the surface with a “surface” operation. Then a “parralel” operation with a 0° pass direction. I activate the “Avoid/Machine surfaces” option and select the inner face of the cylinder to mill only the top curved surface.
| 1 | 2 |
|---|---|
 |
 |
Casting
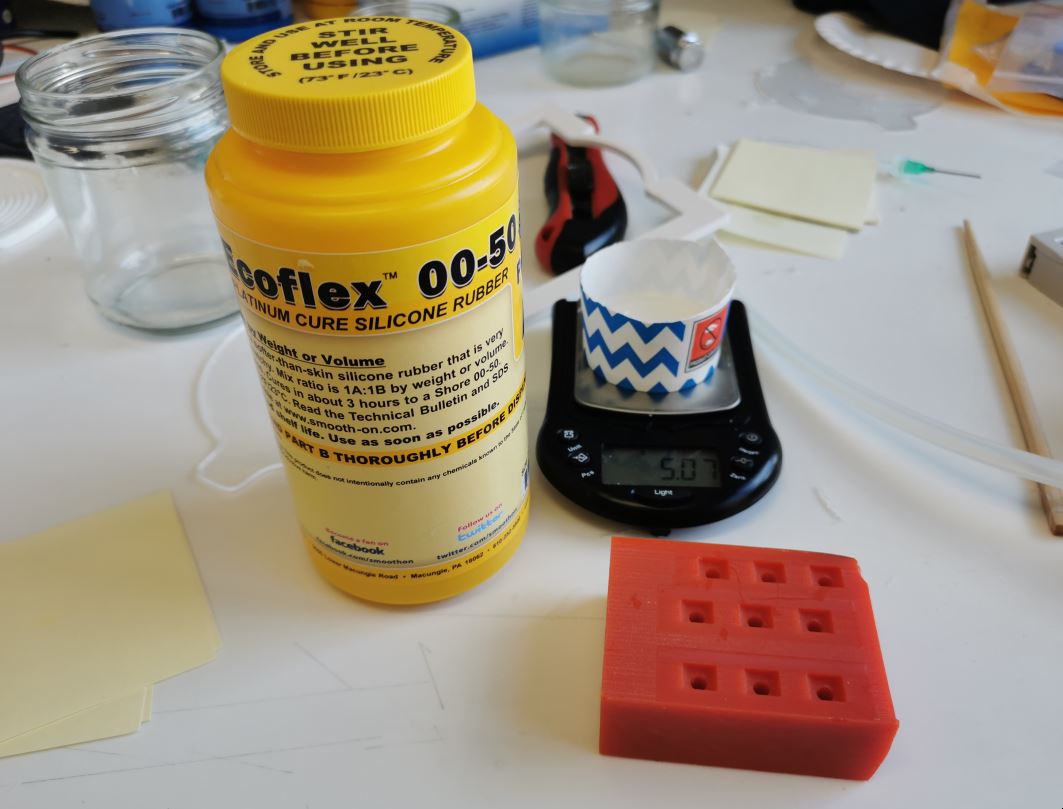
Ecoflex 00-50
This material is a transparent platinium cure silicone rubber. We need to mix Part A and part B with a proportion of 1:1. Is shore is 00-50, pot life is 18 minutes (time during wich the mix can be used) and cure time of 3 hours. You can check properties and security notes here https://www.formx.fr/moulage--tirage/platinum-silicone/la-serie-ecoflex-/ecoflex-00-50---091-kg.php
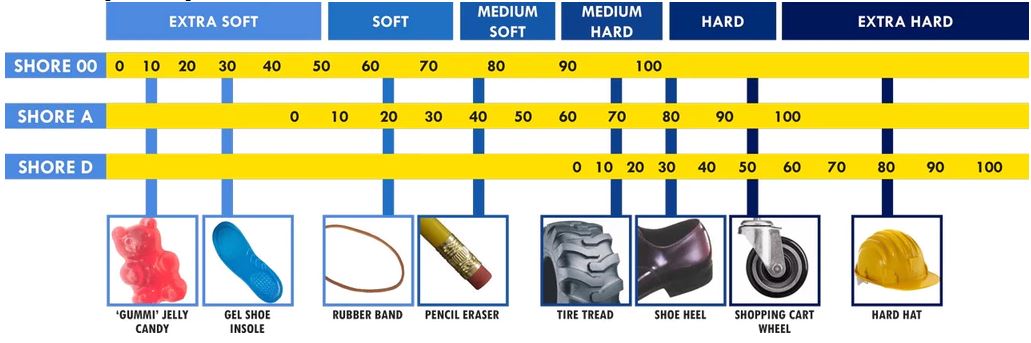
This table give shore score related to well known materials:
I mix part A and B with a dropplet of black ink for a few minutes until obtaining an homogeneous result, then I poor it inside molds.
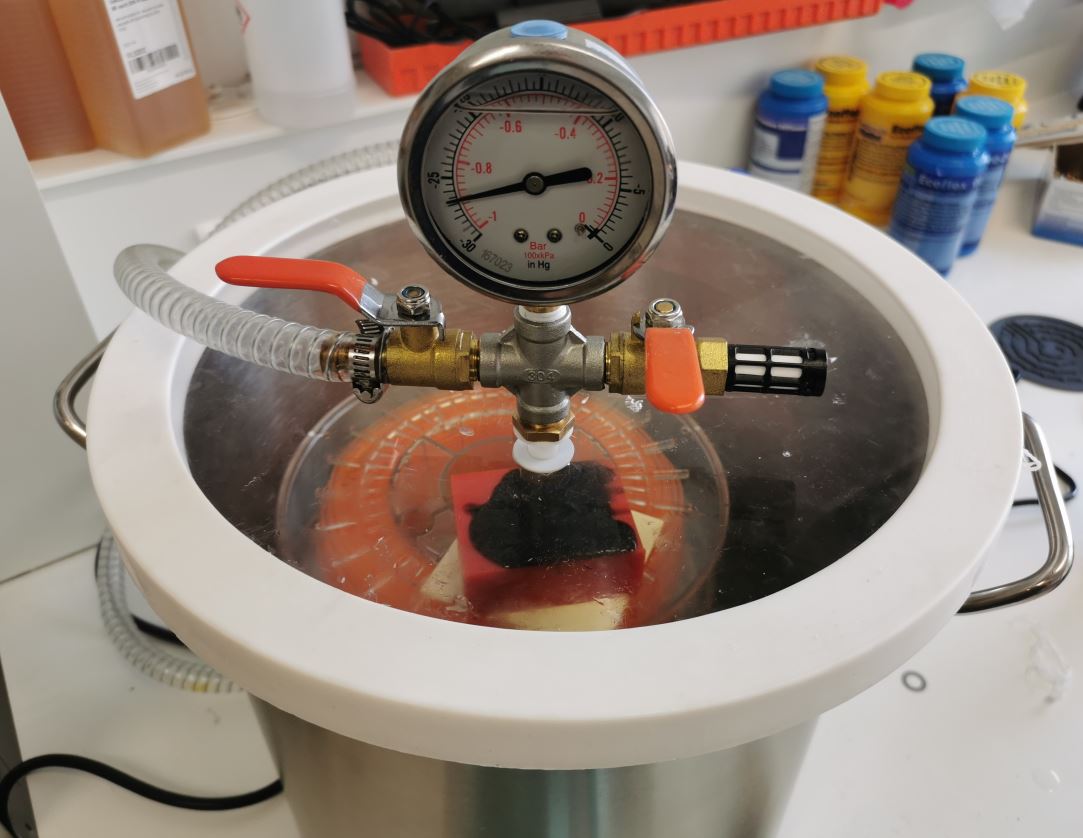
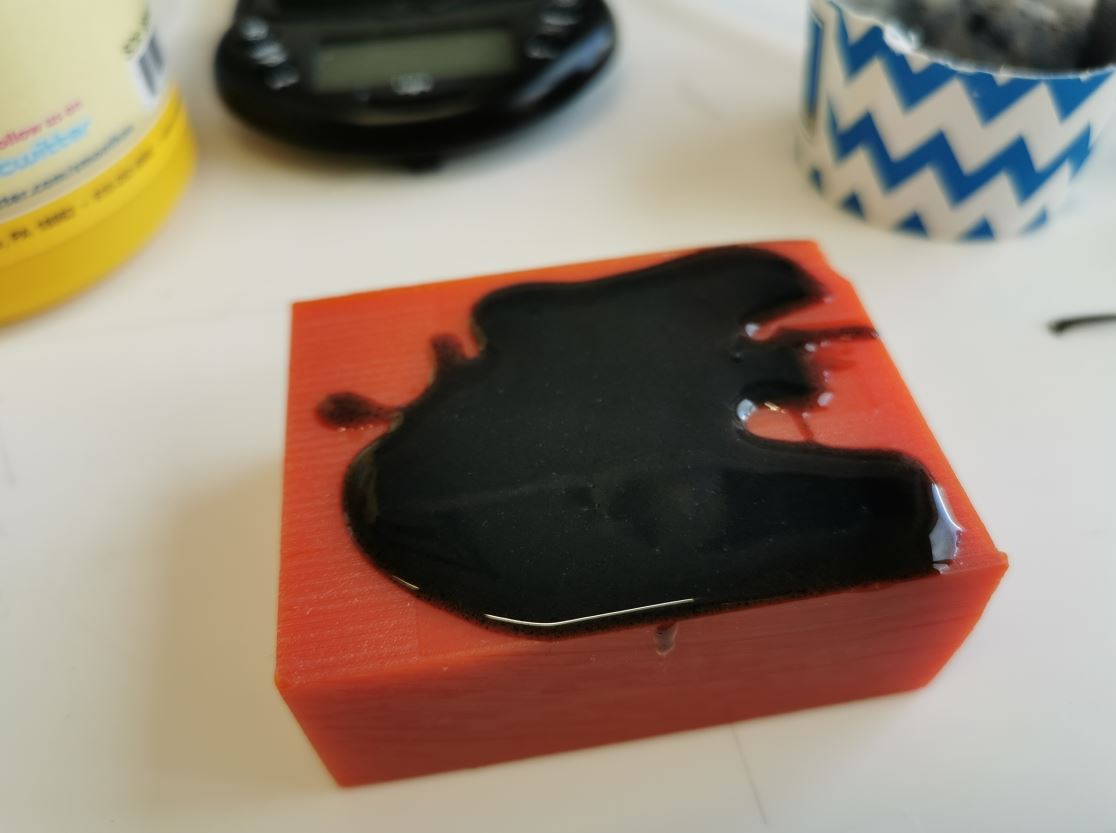 To remove bubble that can be trap inside, I use a toothpick to remove most of the air, then I put the mold into degazing chamber.
Finaly, I put an acrylic plate on top of the mold to have a nice flat surface after curing.
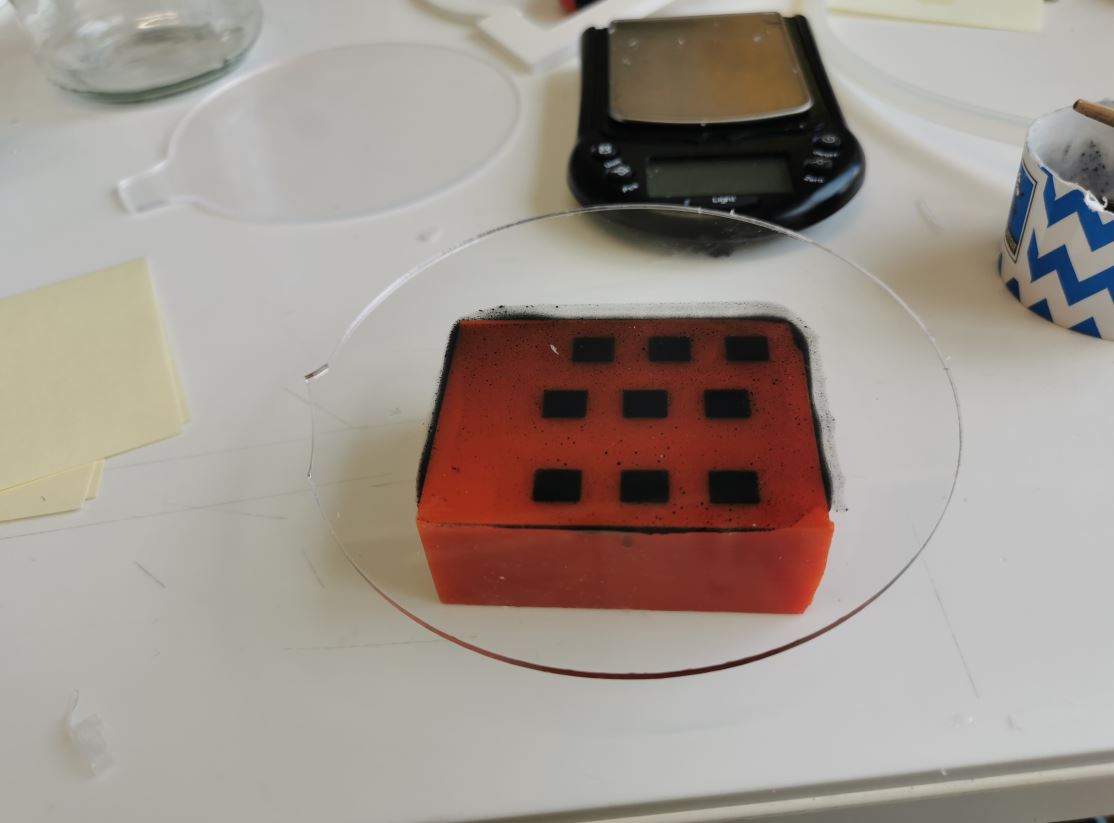
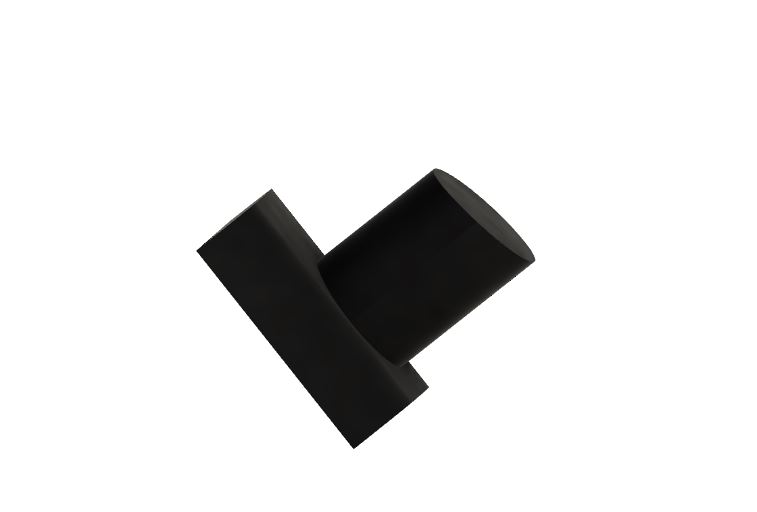
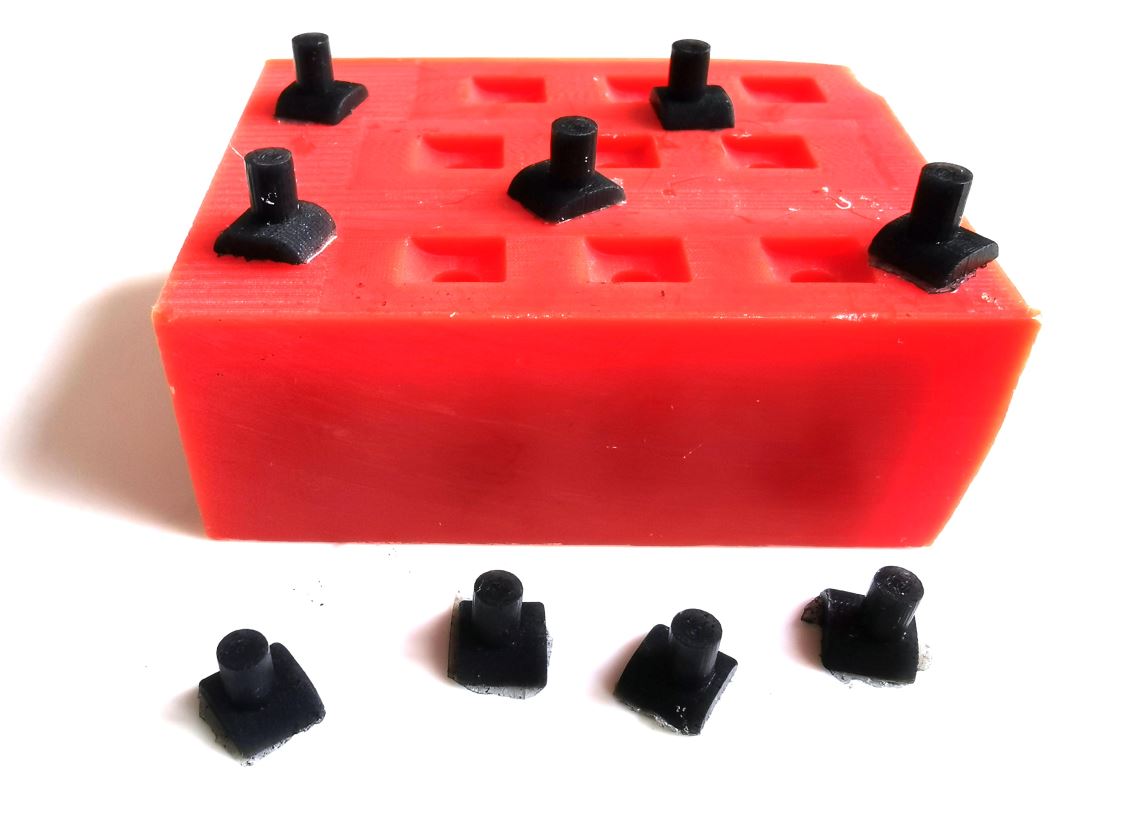
Result
Molding is fine, unfortunatly the Ecoflex 00-50 is far too flexible for this application! Anyway, I realized that 3D printed button will be appropriate for my final application.
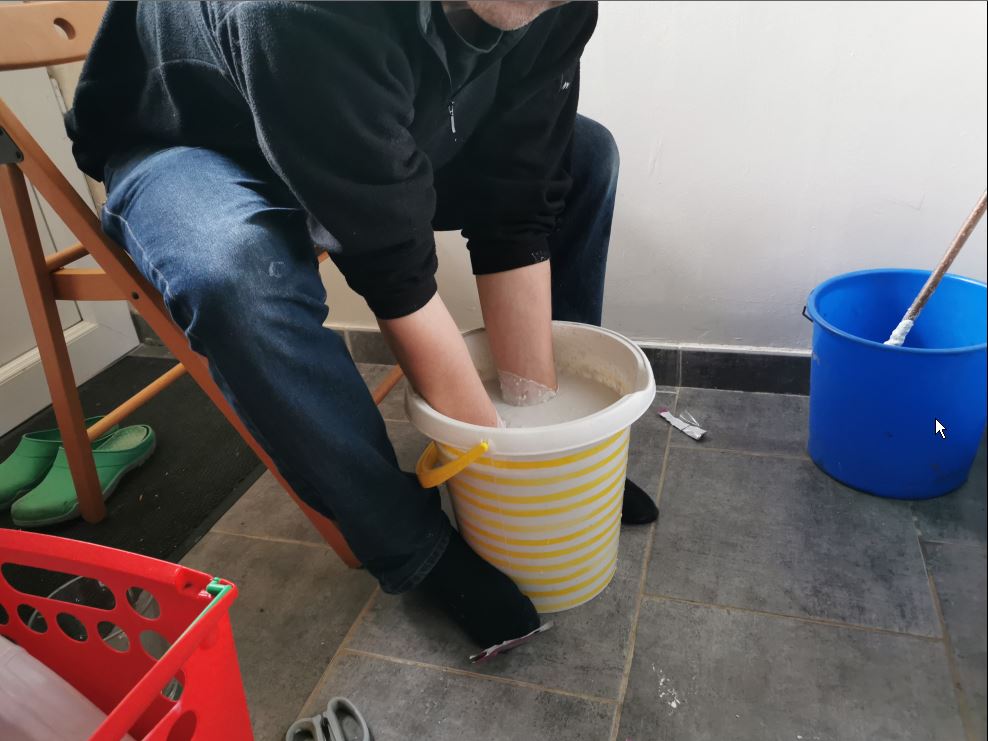
Molding hands with alginate
Following the manufacturer instructions, I mix 450g of Alginate with 1,8L of cold water for 90 seconds. Color of the mixture start purple and become white during hardening.
| Alginate | Plaster powder |
|---|---|
 |
 |
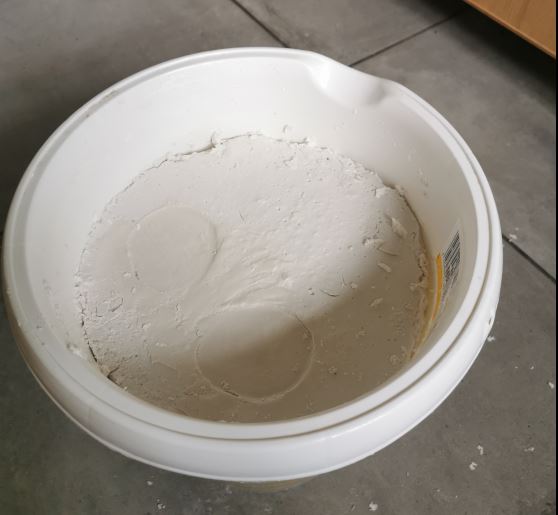
After a few minutes, the mixture became white, I can slowly remove my hands making air come inside step by step.

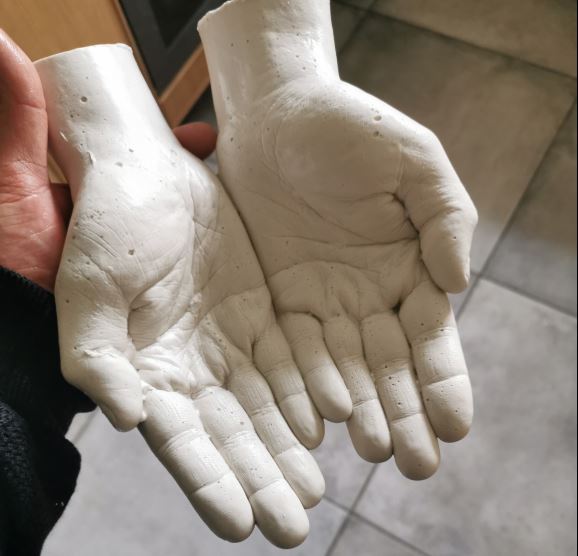
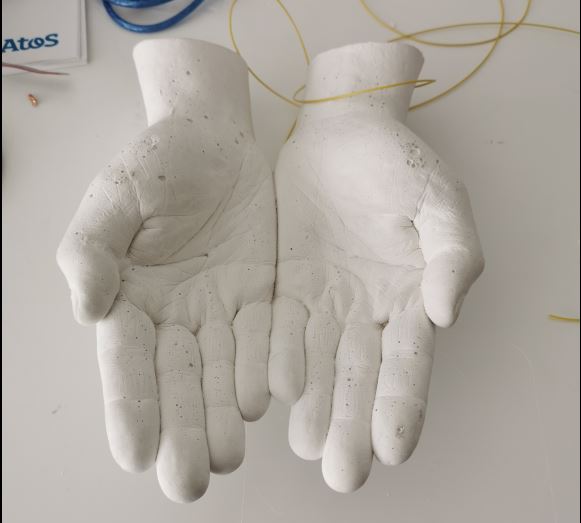
I poor some “ceramic powder” into the mold and wait 2 hours for hardening. Then To remove the mold, it had to be broken in pieces. Molding with alginate is a single use method.
| Ceramic powder inside | Breaking the mold |
|---|---|
 |
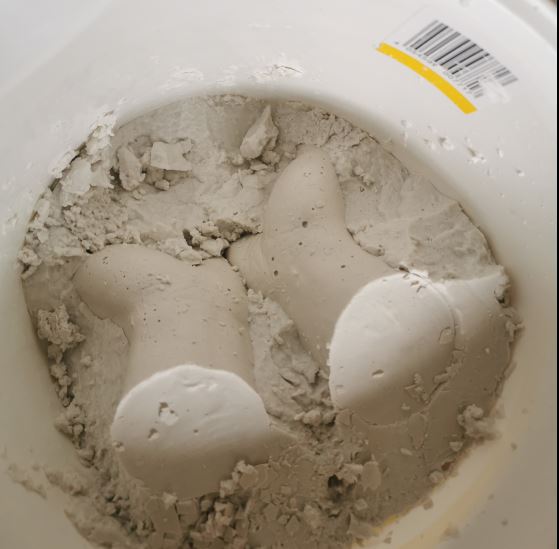 |
| Just after unmolding | After few day drying |
|---|---|
 |
 |