Documentation Workflow and Tools
SnapShots
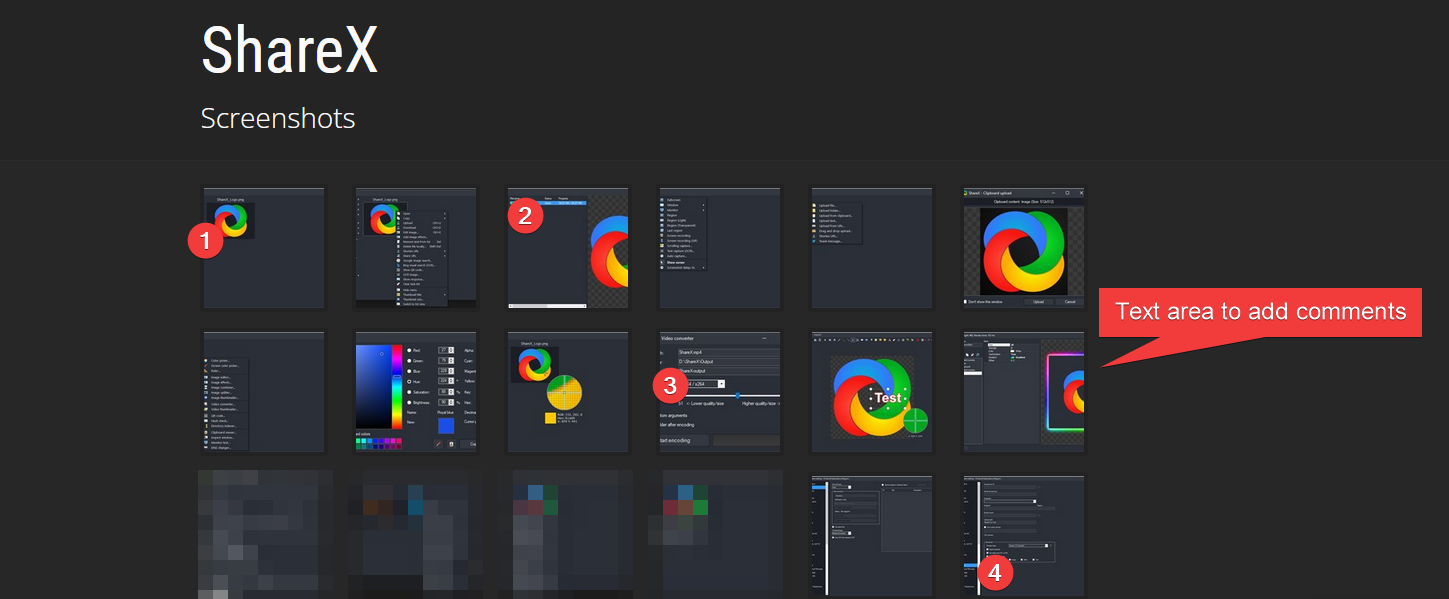
To make quick and efficient snapshots I use ShareX, it can be set to make a lot of thing after snashot has been taken: send to a server, savec file to specific folder, create a thumbnail of the image, upload it to google drive, nextcloud etc…
This software can add pixelised/blurred area, add cursor, stamps with numbers to create step by step examples.
###Automatisation run Powershell as administrator, then
Then we need to convert powershellscript to exe in order to use it as an “action” doable by shareX after capture
Install-Module ps2exe
|
|
Image editing
To resize image for online publication, I will use ImageMagik
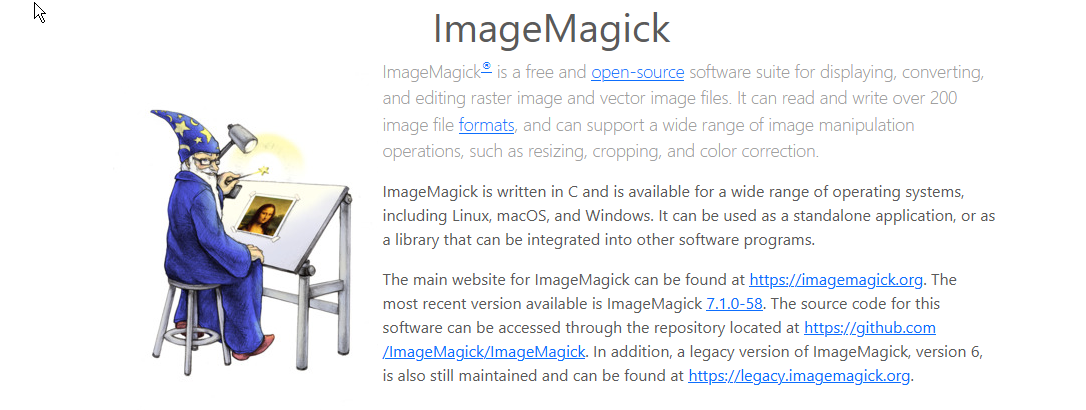
A cheatSheet for commands: https://github.com/yangboz/imagemagick-cheatsheet
Some usefull commands
|
|
Change every png to jpg
|
|
compress jpg
|
|
Video Recording and Editing
usefull links: https://fabacademy.org/2019/labs/barcelona/local/clubs/codeclub/ffmpeg/
https://ottverse.com/change-resolution-resize-scale-video-using-ffmpeg/
I use this command to convert video from my screen recorder (ShareX):
ShareX save video with “ultrafast” preset for encoding, it allow a realtime recording of the screen but it is not optimal for compression. We change compression a posteriori, without changing resolution with
|
|
To decrease resolution, we can use the above command, $width must be changed with the new width in pixel, the -1 keep the original aspect ratio:
|
|
Better, we can use this command where iw and ih are the input height and width
|
|
To keep aspect ratio, it become
|
|
To change framerate:
|
|
Resize a video to 600px width:
|
|
Recompress a video to match a target output size (here 850k, target not always reached exactly):
|
|
Other tools
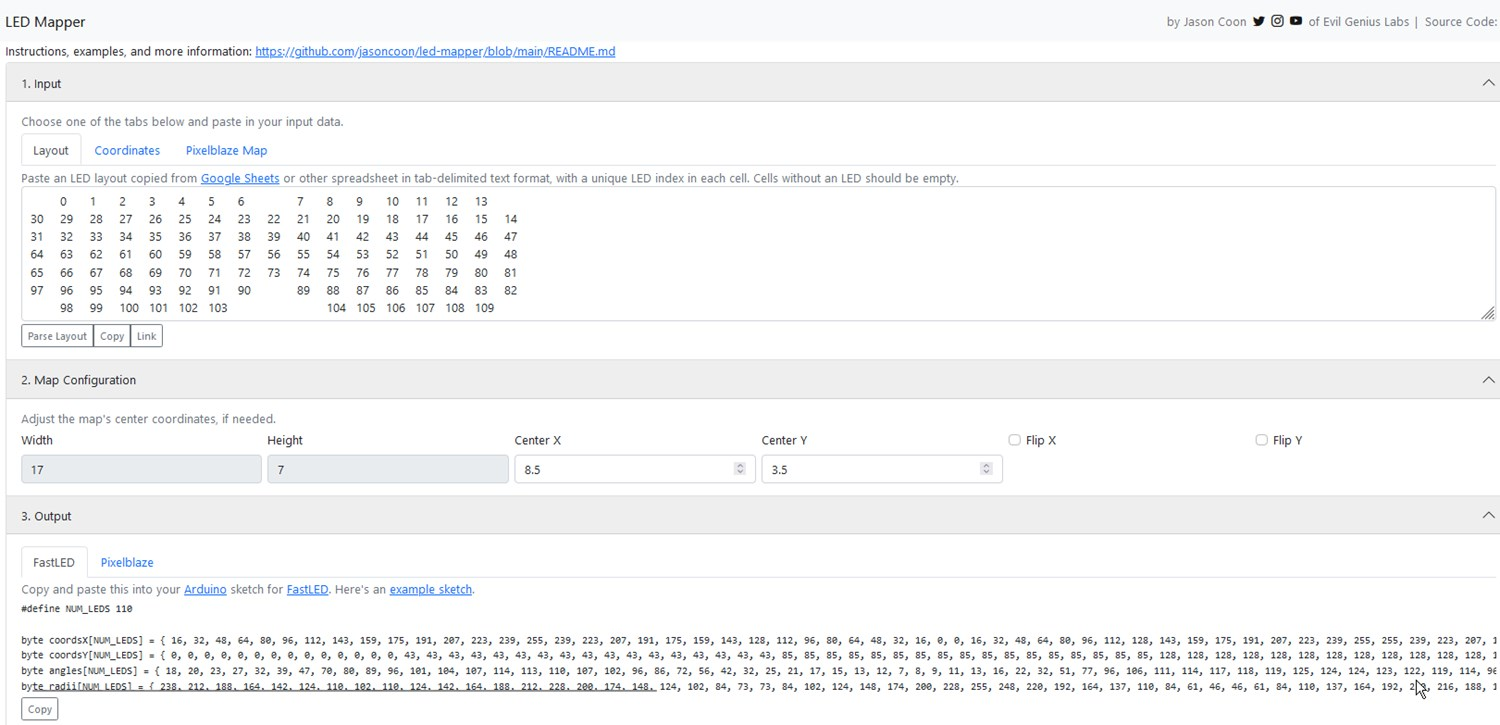
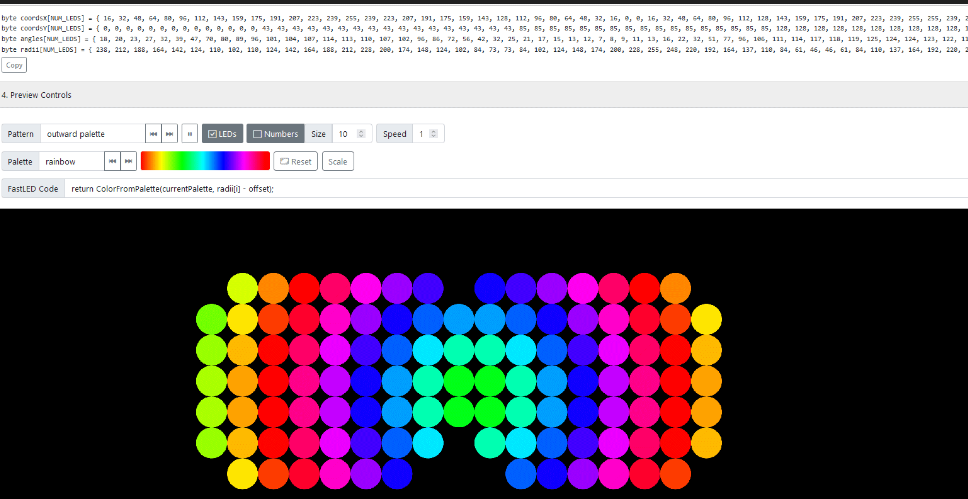
Led Mapper
Some time ago, I heard about a cool software to help creating light effect with abritrary positionned adressable LEDs: LEDMapper. It wiil be usefull for my final project
https://jasoncoon.github.io/led-mapper/
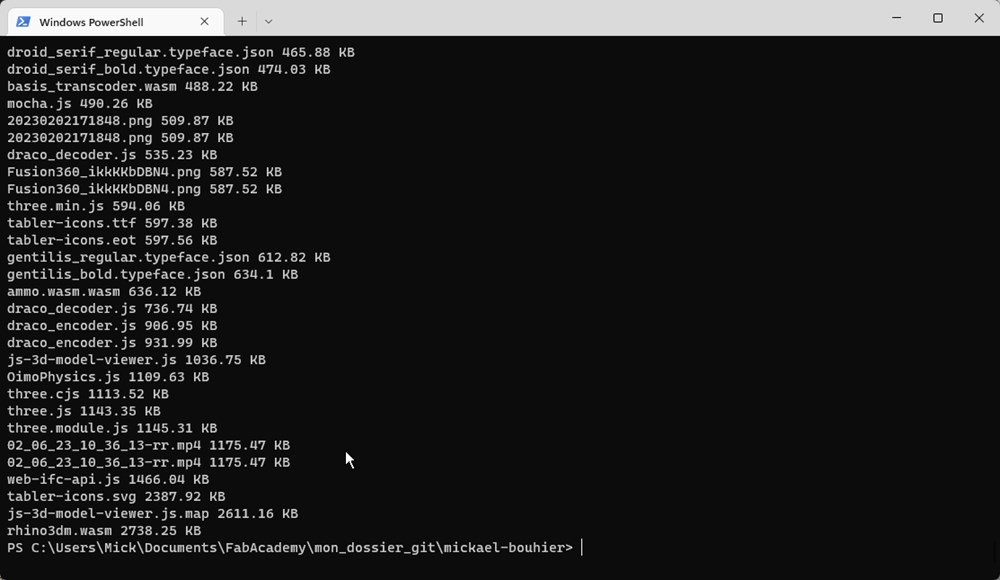
Powershell usefull commands
Display all files and sizes in KB:
|
|
Git tricks
To recover from a previous commit, we can use the folling command. Where COMMIT_ID can be found on gitlab web interface under commits section.
|
|
Hugo website deployment
We can compile markdown file to html file using hugo on local side, but it create a bunch of additional file that can exceed filesize limit when doing a push on fabacademy gitlab. To avoid this, we can make the hugo compilation on server side using .gitlab-ci.yml file. To modify this file, I follow this tutorial: https://docs.gitlab.com/ee/tutorials/hugo/