Computer controlled Machining
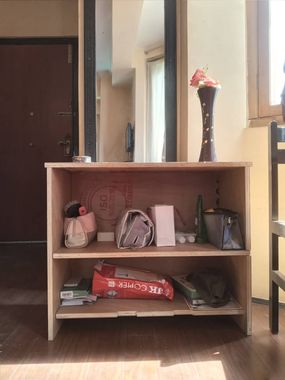
So this week was shopbot week where we were given 8ft and 4 ft plywood each. Very heavy and strong material indeed . We were all excited to make something out of it and take it home. For me I used shopbot during my prefab making logo so it was not that difficult to use although I got help from my friends just to place the plywood since it was double of my size i could barely lift it. I designed one shelf. I got this idea since I did not have a proper place to keep my stuff and cream so I thought of designing a shelf that I can keep both my stuff and books in.
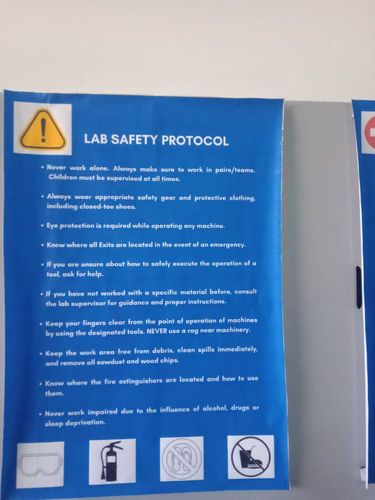
First Lab safety and protocal first before using the heavy machine.
Before using the machine make sure you are using safety gloves(prevent the risk of cuts or abrasions to the hands.), Use Proper Tools; It might be tempting when working with CNC machines to use inexpensive tools to save money, but it’s important not to alter tools or work with ones that aren’t suited for the specific machine’s functions. When tools are altered, they increase the risk of breaks to the enclosures in the machine.(Source google.) You should be familar with the machine and it’s operations. do not use your hands while the machine is working. we need to keep the clamp strong at the same time. use safety airbuds to prevent your eardrums and use exhauster while the machine is on operation to prevent from dust particles. uses safety glasses for your eyes to cover or prevent from dust. Make sure you tie your hair properly (For girls) since it can be uncomfortable and can be a disaster while working. Ask the expert staffs if you are not sure about the machine or ask them to saty with you while you are working with the machine.We should be careful while changing the drillbits since it can be dangerouse if you don't put the drill bit in a right way. It can cause disaster while the sprindle to break or it will even break the wood or the plank you placed on.

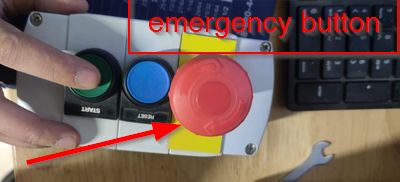
This is the emergency button. A person must stay near by the machine when it is working. since CNC machine can be dangerous or it can even burn down the wood we are working on it. so incase anything wrong happens just hit the red button to stop the machine right away from working.
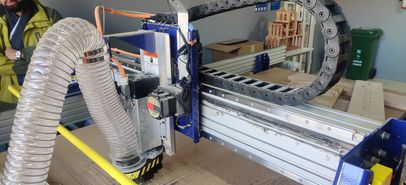
What is a CNC machine?
CNC Wood Carving Machine is an automatic controlled machine tool which is a Computer numerical control system instead of direct manipulation by an operator. It supports automatic engraving, drilling, carving, cutting, milling,and grooving on different types of materials, such as wood, foam, stone, plastics, acrylic, glass,copper, brass, aluminum, etc.
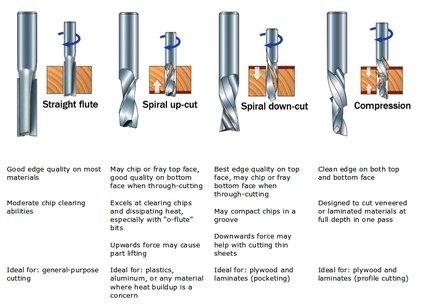
Upcut and Down cut in CNC.
According to wikipedia;An upcut CNC router bit is efficient in clearing chips out of the cut, leaving a finely finished bottom surface of the workpiece. However, the top surface of the material will be rougher (or any side through which the bit enters the material). The opposite happens in case of using a downcut bit into the material surface.
Group assignment.
so for the group assignment we checked the speed,tried pressfit and even tried upcut drillbit for 1 by 4 and 1 by 8. For group assignment we checked the speeds, feeds, and toolpaths for our machine. First, we decided to mill out three different types of squares by 10x10 cm which is 100mm height and width. We cut one square with the inside toolpath and the other with the outside toolpath. The reason for doing this is because inorder to compare the accuracy of the two toolpaths and at the same time to check if the cut out square would fit in the square hole.So now you can see from the above picture,the outside toolpath cuts the stock from the outside of the sketch, which is probably chosen to cut things out. The inside toolpath will cut the part from the inside . We measured the sides of the square using measuring tape and cut out from the outside cut, however we are not sure about the problem since the pressfit kit did not work out as expected although all the measurements were correct so we used sandpaper in order to make it fit.
Link to our group assignment is here.
And here is my design using fusion 360. I designed a shelf following up a turtoial video from youtube
Link to tutorial is here.
Now let me show you how i used the shopbot machine.
After saving my work on DXF file

Click on the rightside inorder to see the dimension of the ply which is called job size. change the dimension accoriding to the ply size. Ours was 8 by 4 ft long so we converted into inches which was 2438.4mm by 1219.2 mm
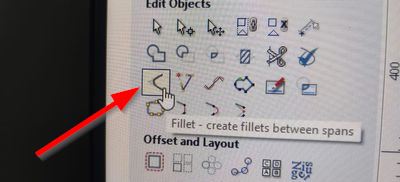
In the above picture it sahows how to select the fillet inodrer to add dog bone.
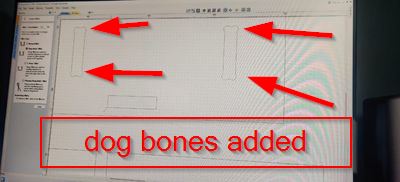
So now for the cut piece to fit in i created dog bone every side of the design. we have to do this because even if your dimension and measurement are correct sometimes it gets gifficult to fit in so dogbone helps to properly fit in.left, select the dog bone fillet, so i changed the tool radius which is 1/4 inch bit and then selected the corners where you want to have the fillets.
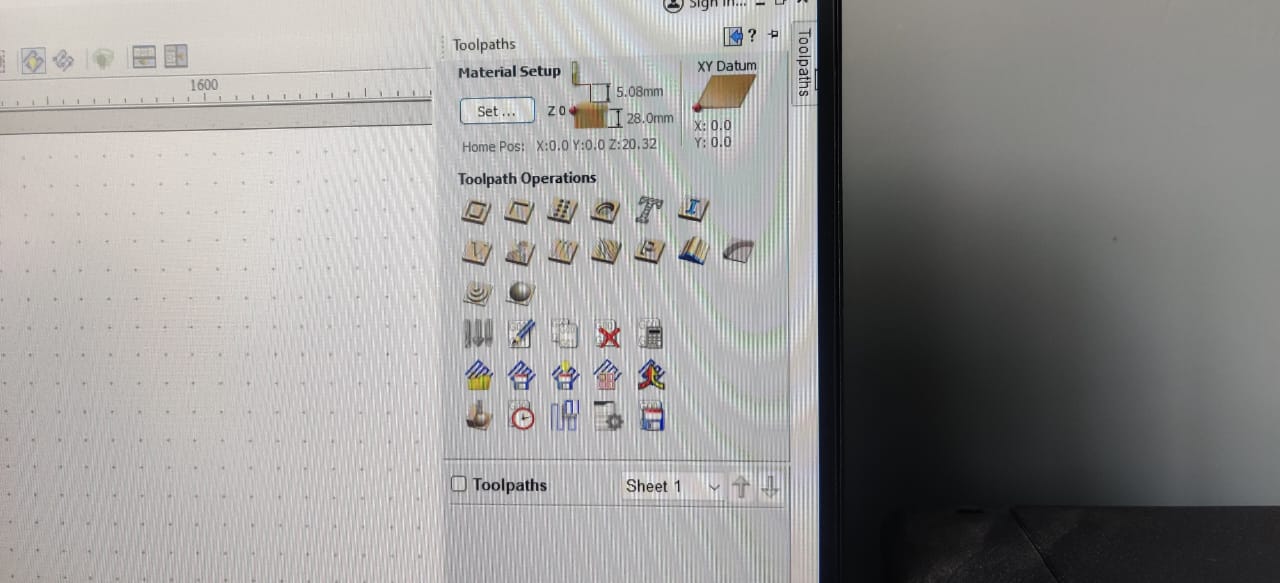
There are two types of profile cut outside and inside profile cuts. outside profile cuts from outside of the selected file where as inside profile cuts from inside.Next select the toolpath. inoder to do that click on the right corner to generate toolpath.
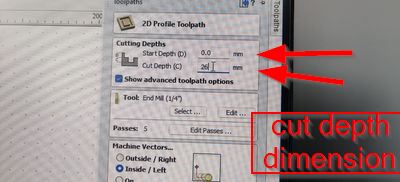
Now click on the create toolpath and then change the cut depth which should be more than the ply thickness so that we cut the material through. changing the file name and calculate the toolphath tyhese are the important things you should keep in mind.
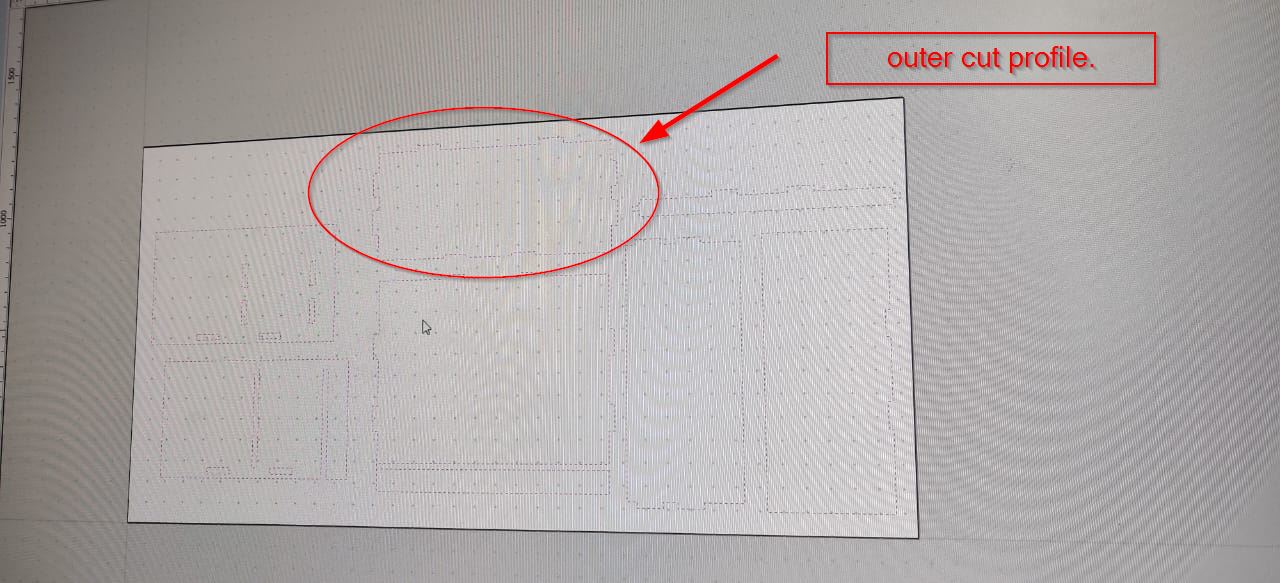
Below you can see the profile of outer cut.
Below you can see the design and how the machine will cut and the path of the drillbit will go through. the red line that goes through the design shows the path way of machine which will run through the design to cut.
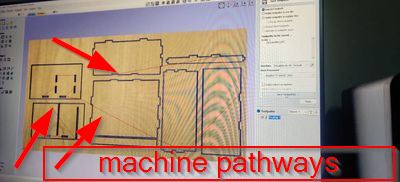
Now save the file and after selecting all the toolpath.
Now to cut the job piece in shopbot.lay the ply on the machine
and inorder to make it stable use the clamp.as shown below, you have to do this manually Aaccording to the size of the ply.
Turn on the keys and make sure you are using the right drill bits.
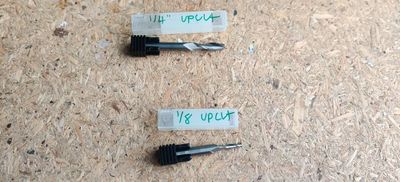
For my design i used 1 by 4 drillbit,next The x and y will come to zero, Open the ShopBot Job center on the desktop and click on the yellow icon to activate the keypad and order the machine to move. In the KeyPad, you can move x and y axis,using the directional keys . now click Zero Axes which is just below the coordinates to set the new location as the zero for the x and y axes.
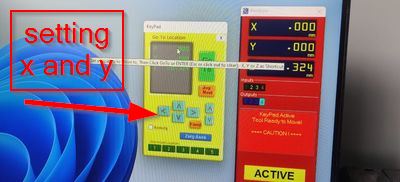
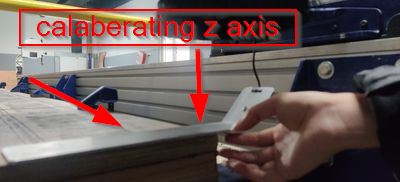
After you are done with x and now its turn for z for that click on z height axis option and place the aluminum below the drill bit and clamp the clip straight on the metal piece. so the drill bit will hit twice on the aluminum to calabriate the z axis.
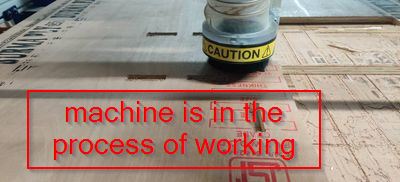
Now z axis is done. so to start the sprindle hit the start button on the remote. now press ok on and the machine will start cutting.
Here is how the dog bone is fitted while assembling.
.jpg)
.jpg)
Here is after i have done assembling
