Week7- Computer Controlled Machining
Group Assignment:
-do your lab's safety training: Yeshey
Test runout, alignment, fixturing, speeds, feeds, materials, and tool paths for your machine.
This week for group Assignment, I have learn how to use shopbot using the CNC machine. And also how to use safety while using CNC machine.
Here is our group assignment Link for this week.
Individual Assignment
make (design+mill+assemble) something big (~meter-scale)
extra credit: don't use fasteners or glue
extra credit: include curved surfaces
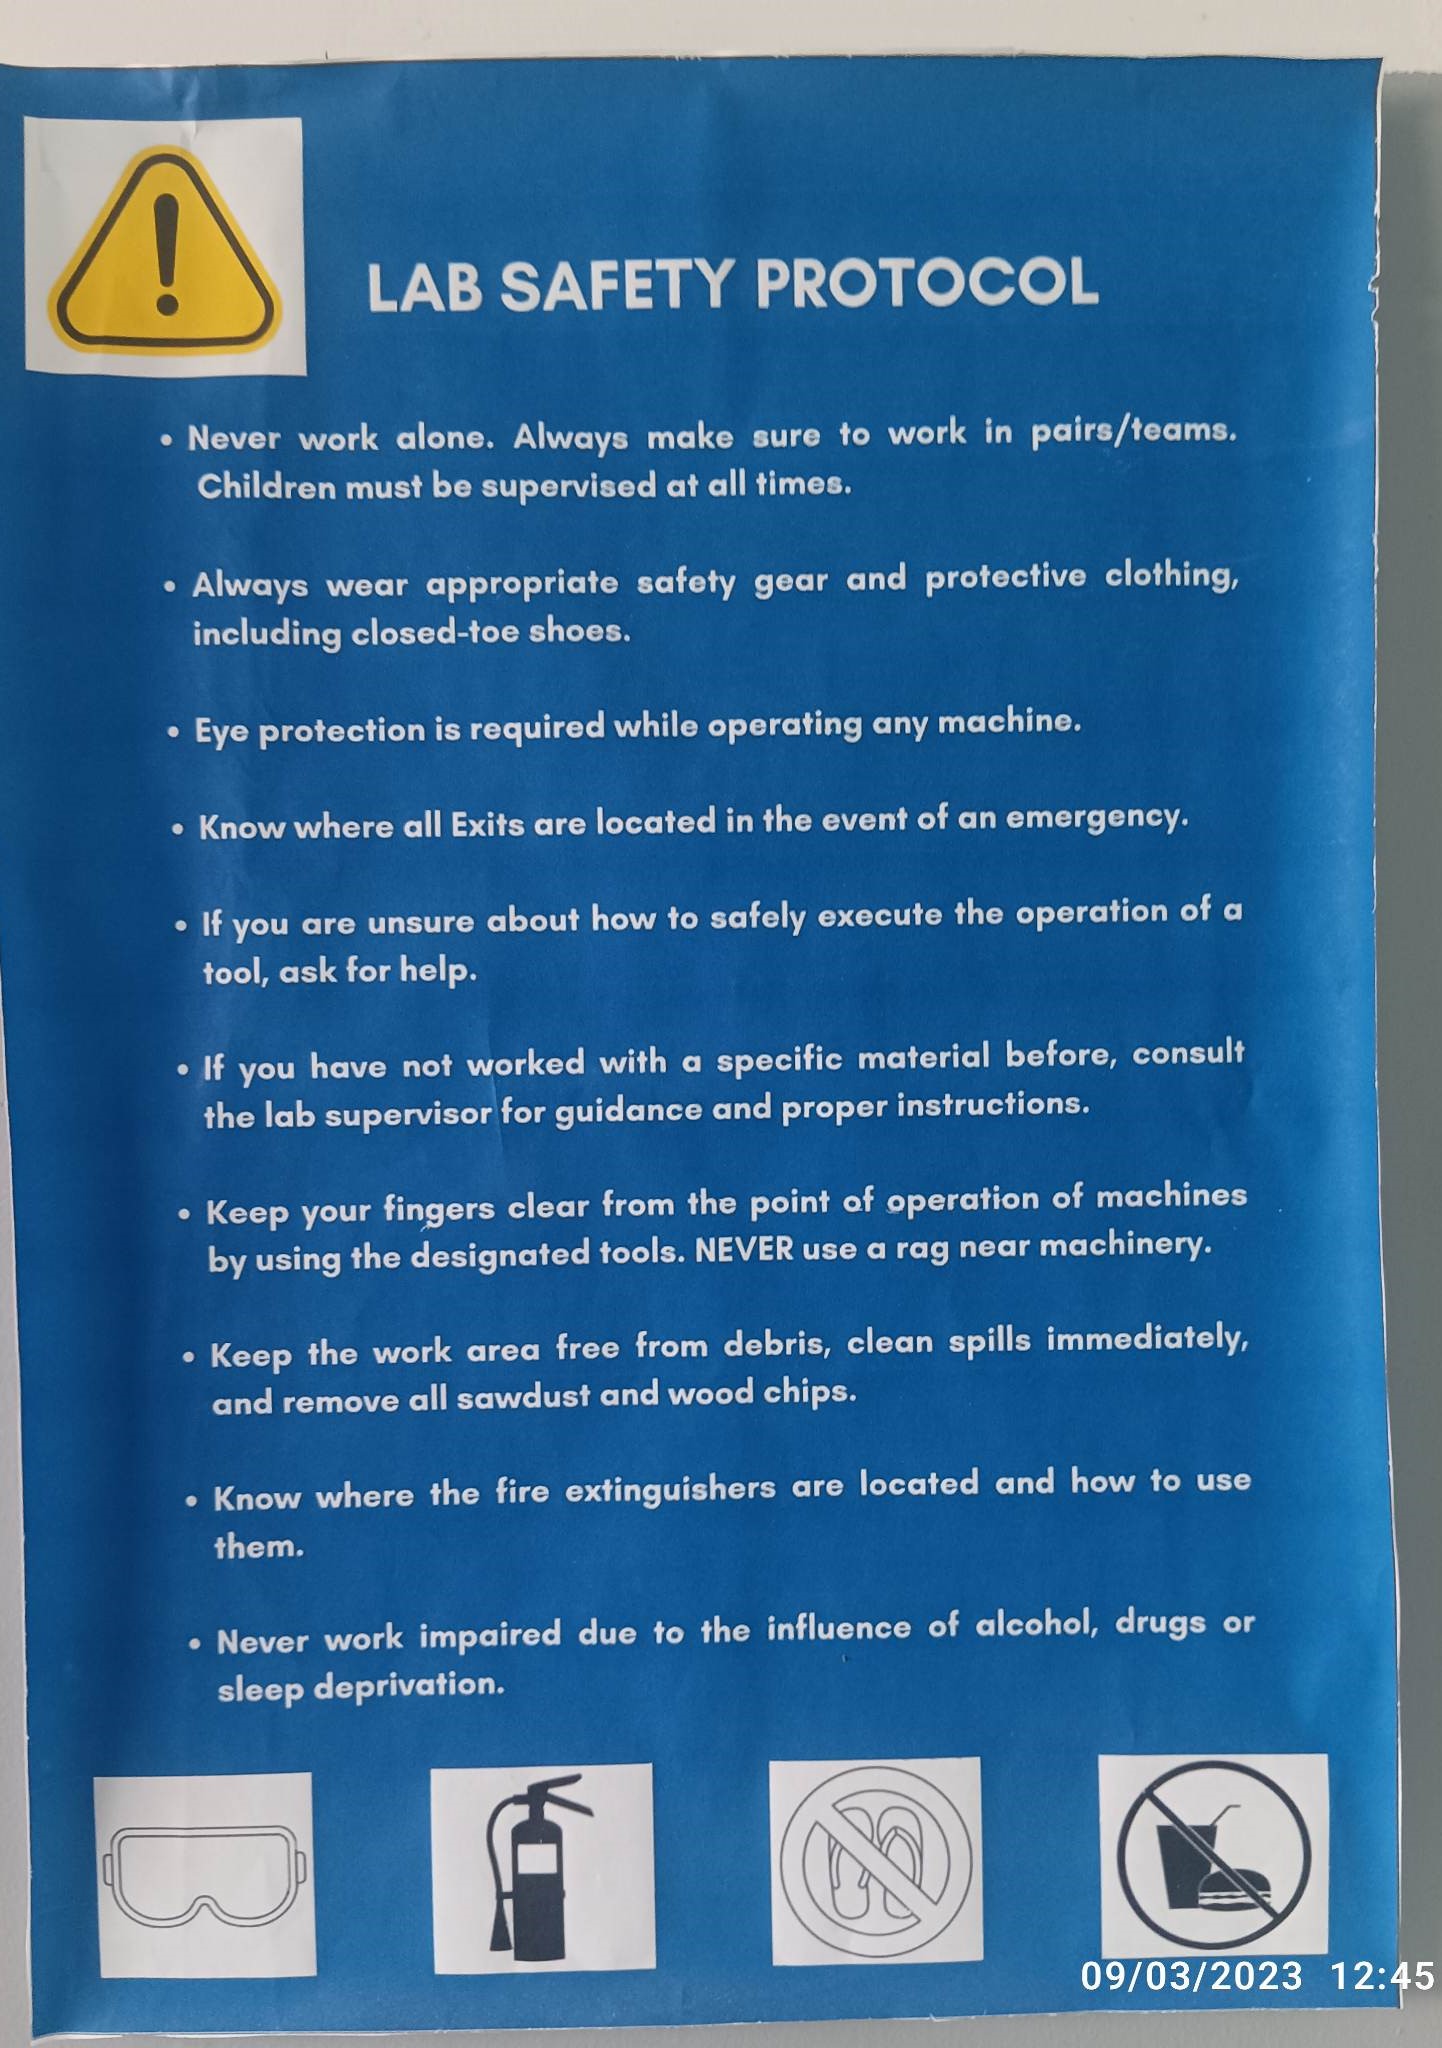
Lab Safety training
For this week assignment, we were given 8 by 4 ft long plywood with 18mm thickness which we could make any furniture or anything big using the CNC machine. So Before we start operating the machine, we were briefed on some safety rules when inside the shopbot room by Yeshi. Some of the safety rules were as follows;
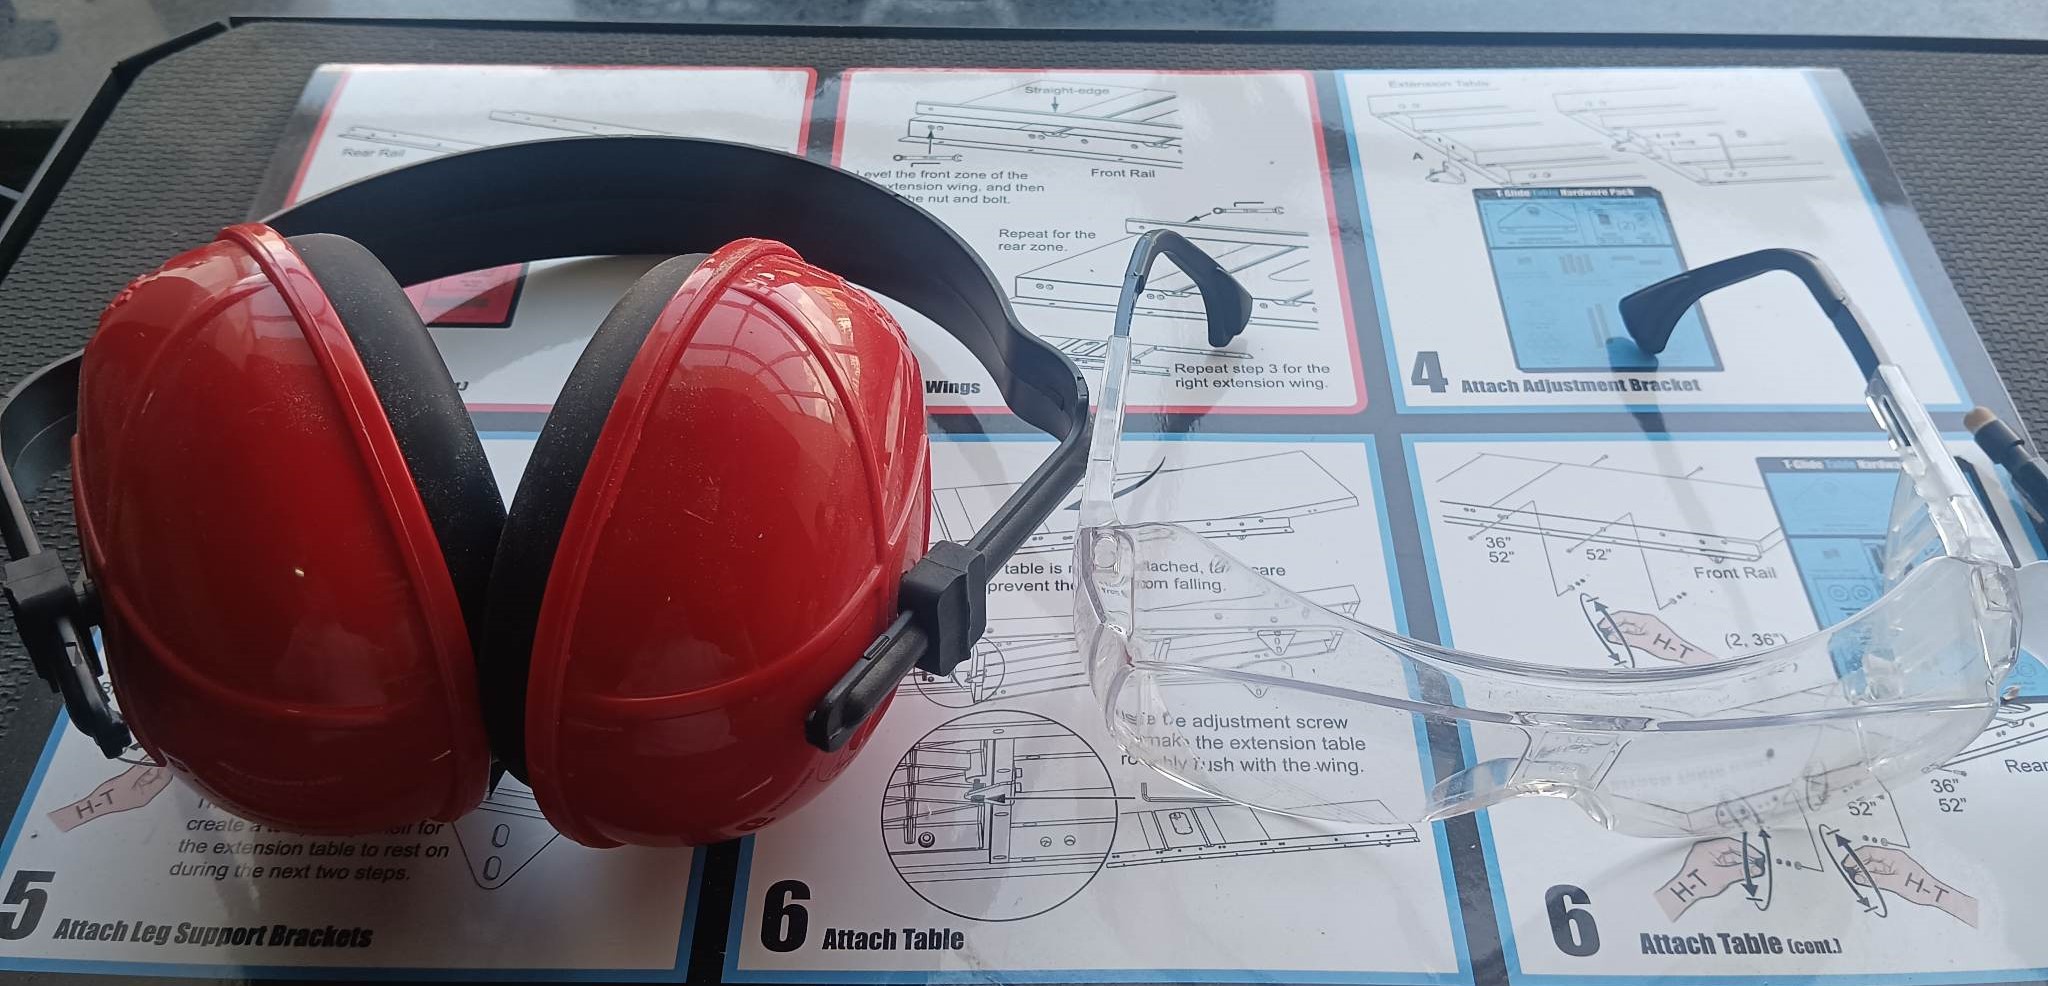
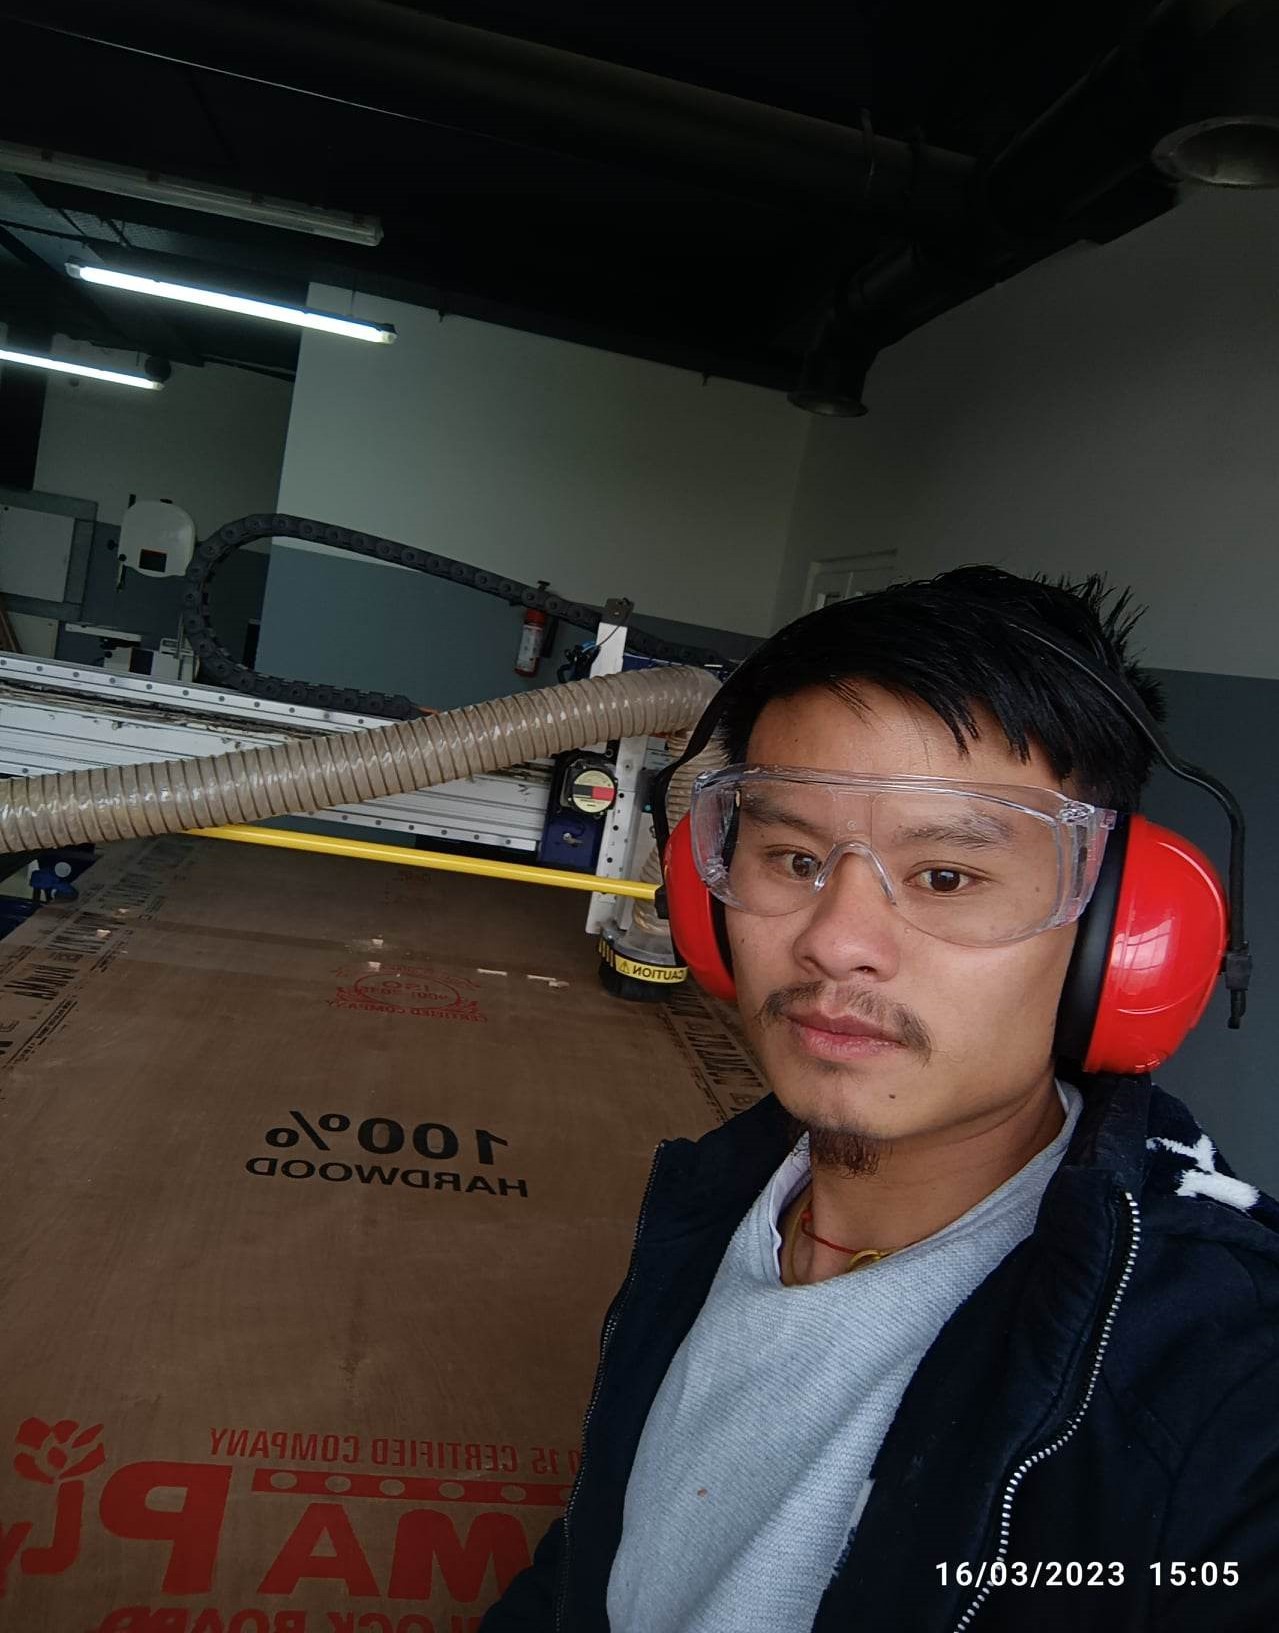
ALways wear all the protective gear when using the CNC machine. (ear muffs, protective googles and lab coats.)
All the girls to tie their hair neatly.
Never put your hands on the machine bed when the machine is running.
To keep the machine clean of saw dust to avoid breakage of fire.
Never leave the machine unattended when the machine is operating / to be present after feeding the machine to carry a task.
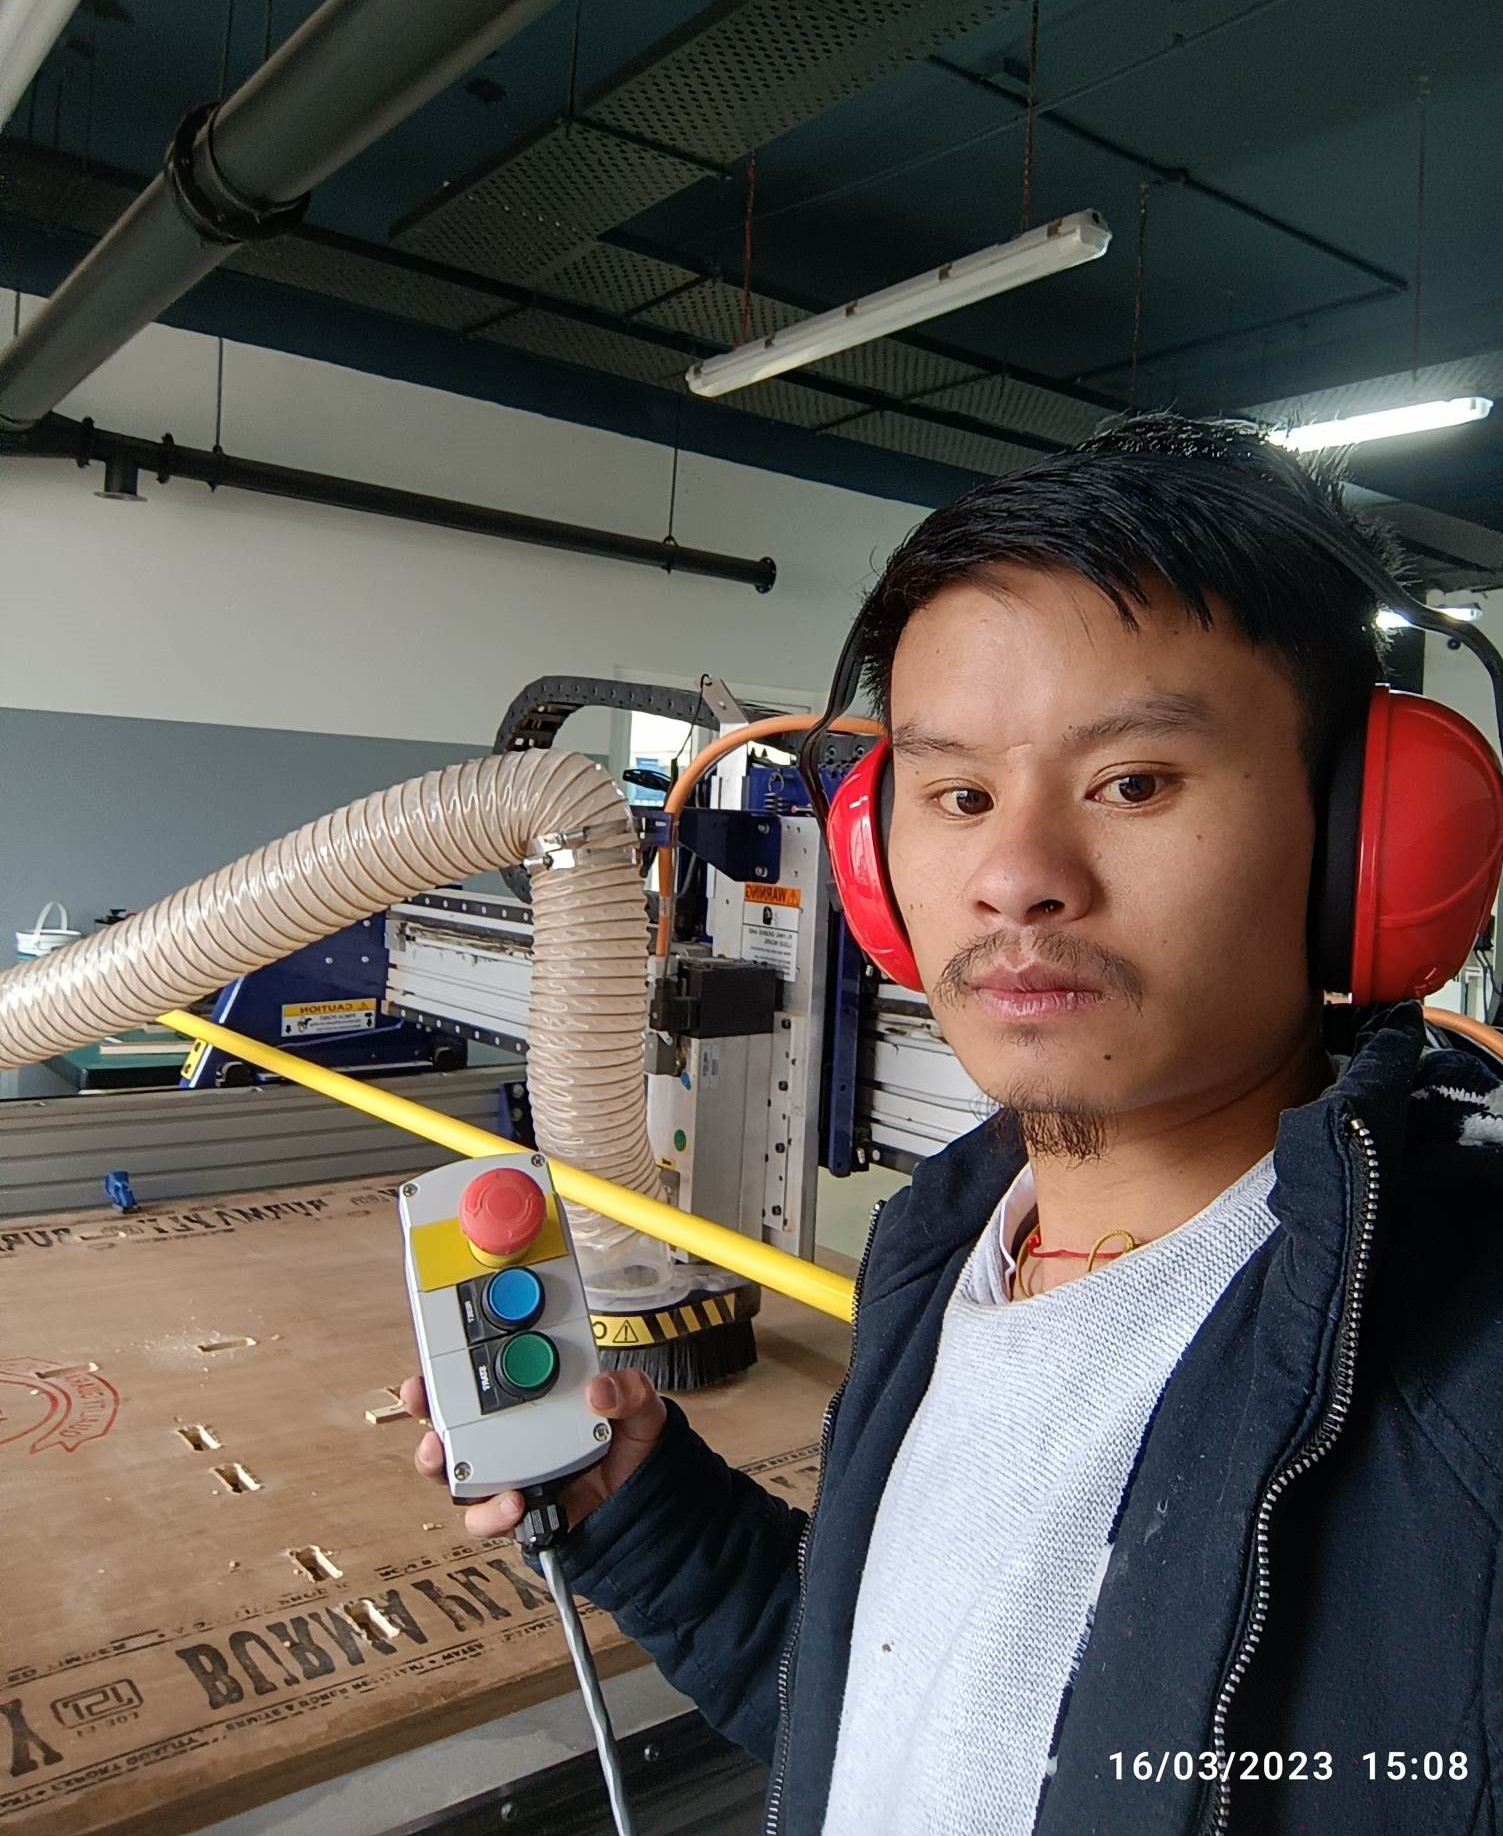
ALways keep your hands on emergency stop button to avoid mishaps.
This are the some photos that i have click from the lab;

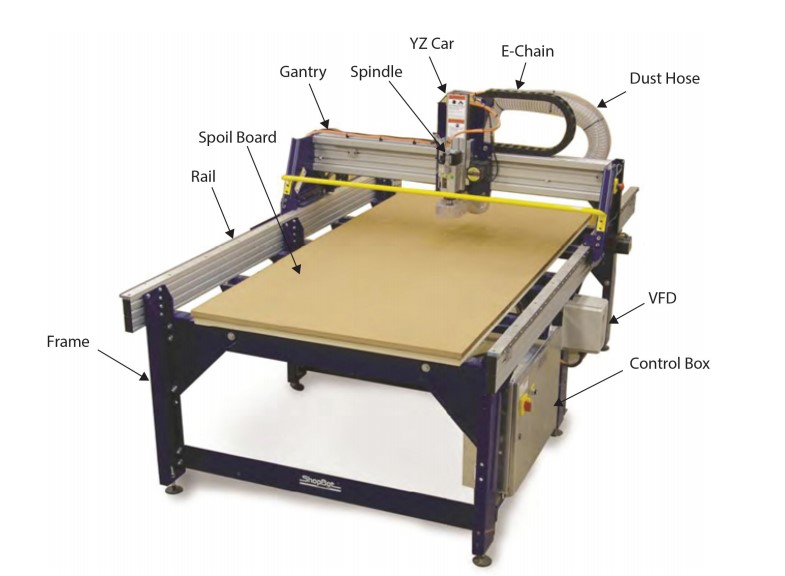
Machine Description
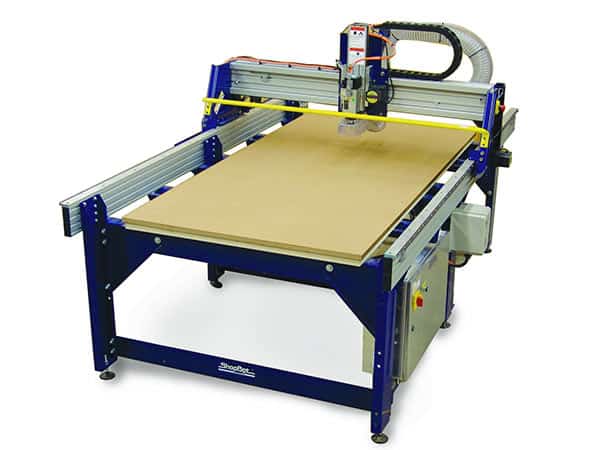
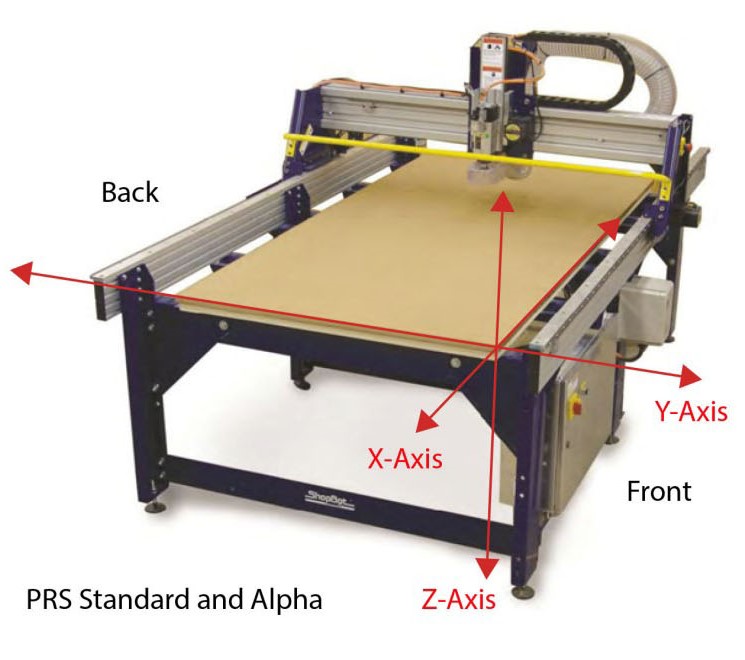
What is CNC???
A CNC (computer numeric control) tool is used in prototyping and full production for cutting, carving, machining and milling in a variety of materials including wood, mdf, plastics, foams and aluminum.
How CNC Works!
ShopBot Tools, like all CNC tools, move a cutter around a big table (X and Y axes) and move it up and down as well (Z axis) allowing it to make 3D movements and cut all sorts of shapes. The cutter looks like a drill bit and is spun by a motor called a router or spindle.
Unlike a drill bit, a router bit is designed to cut from the sides as well as the tip. By precisely moving the cutter through material, a ShopBot CNC tool can create virtually any pattern or shape and will do it in materials such as wood, plastic, foam, aluminum and many composites.
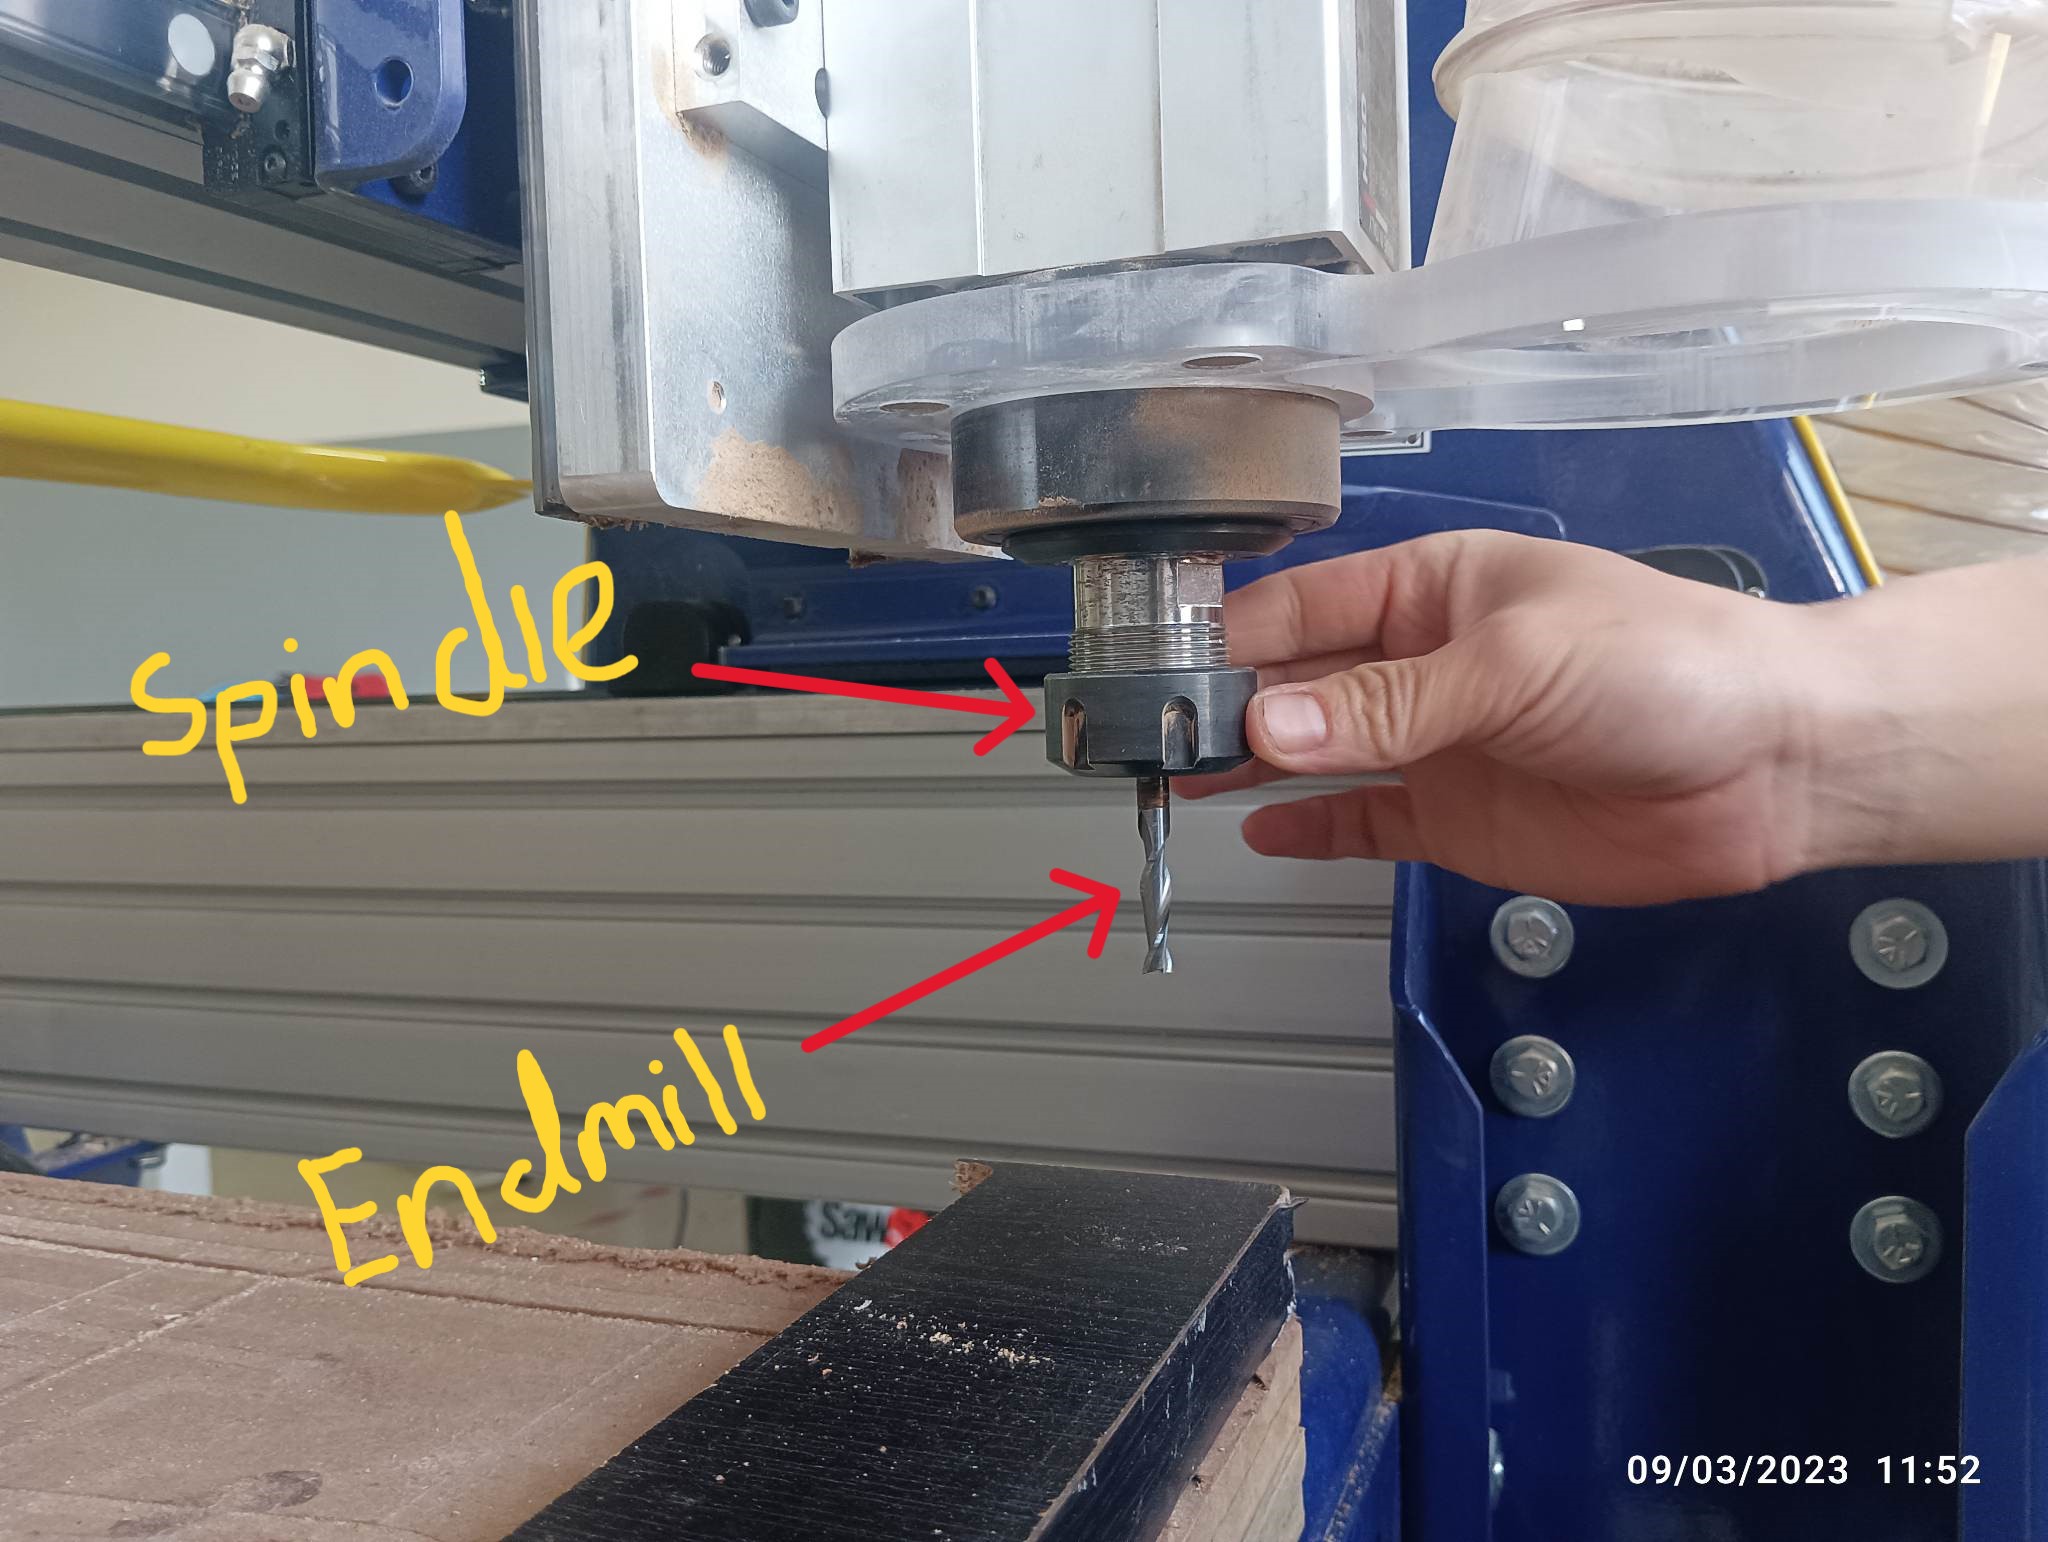
Shopbot machine drill bits
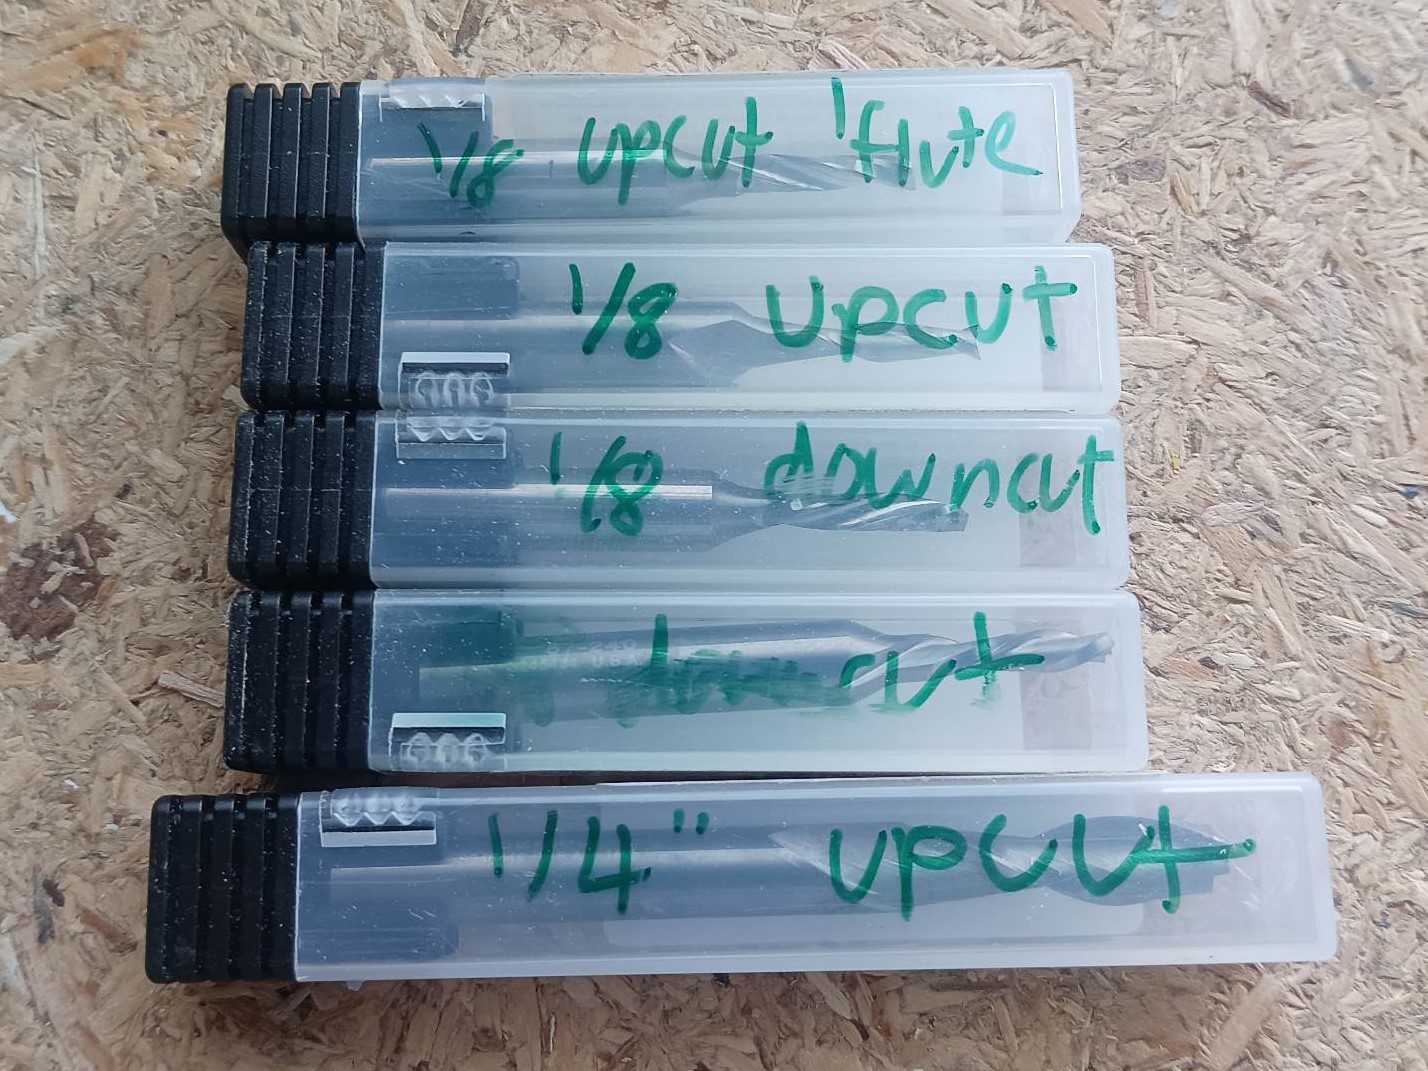
Upcut vs Downcut
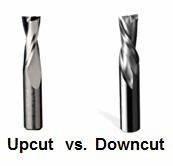
Upcut tools are not a common choice for cutting wood or particle board.
Pull the wood chips out of the material and cause unwanted fraying
Allows you to use a faster spindle speed thus completing the job in a timely manner.
Downcut
If the top edge of the work piece is going to be seen, a downcut tool is recommended as it will push the chips away from the surface.
The only disadvantage to a downcut tool is that it requires a much slower spindle speed decreasing efficient workflow.
Ball end
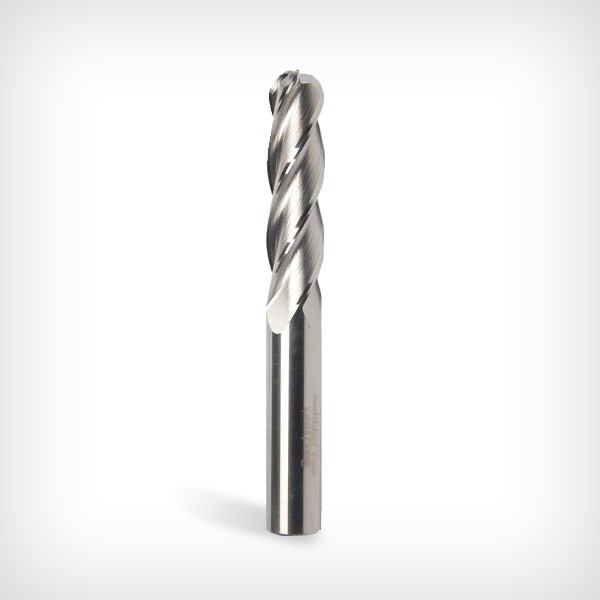
Uses:
Drilling shallow holes
Slotting a channel where a flat bottom is not required
Most commonly used to produce multi-dimensional contours in molds or dies
Designing using Fusion 360
For this week assignment, we were given 8 by 4 ft long plywood with 18mm thickness which we could make any furniture or anything big. So i decided to make a Computer table at my home with simple design.
Firstly I started by assigning Parameters for my design.
 Here is my 2D design in fusion.
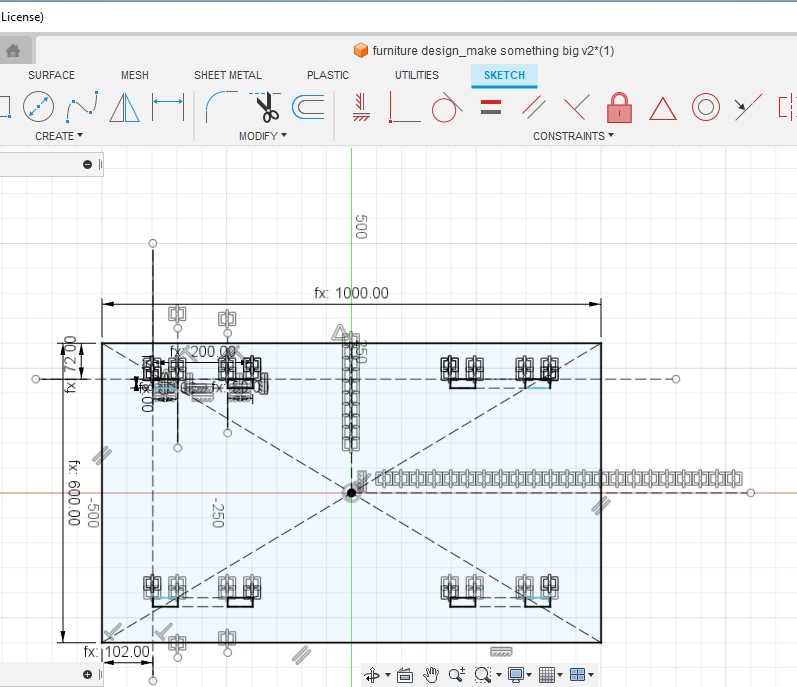
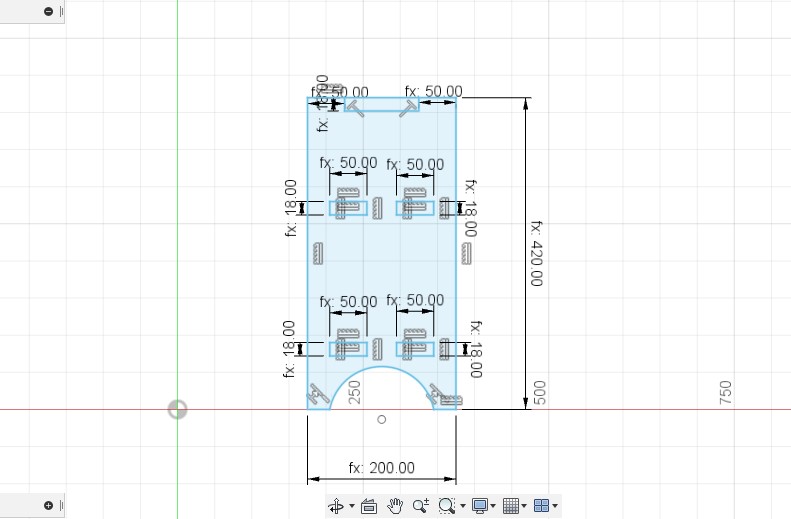 After I finished making my sketch I used ALIGN tool to aligned the parts together for my design.
This was my final design looks like. So to lay down my design on the ply I created a new component and created a rectangle shape with the provided dimensions of the ply from lab.
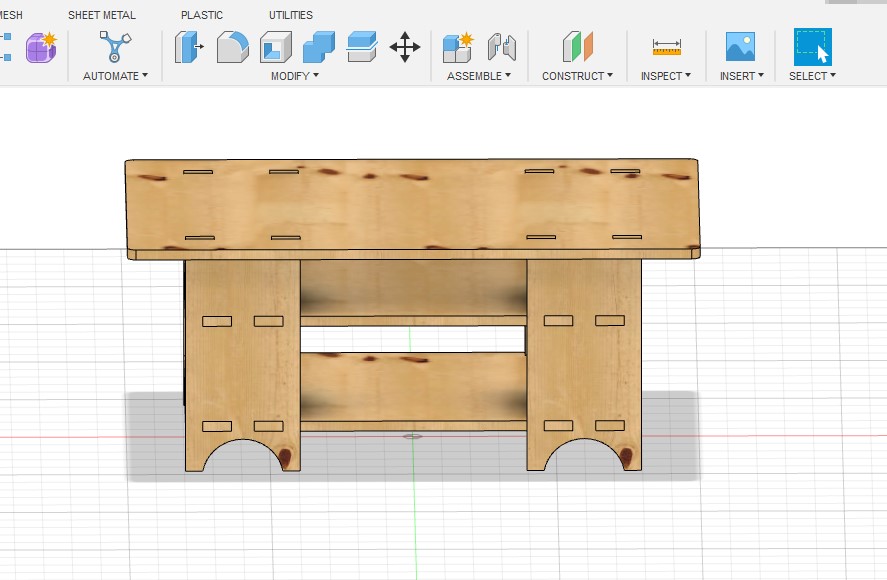
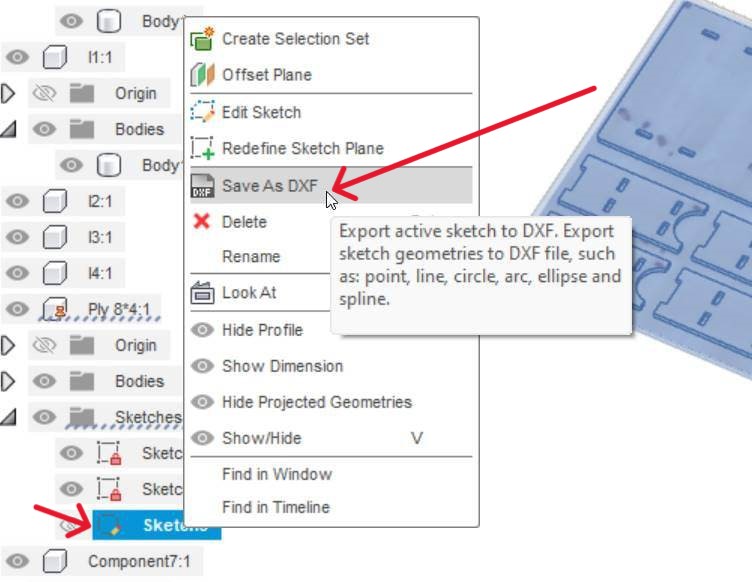
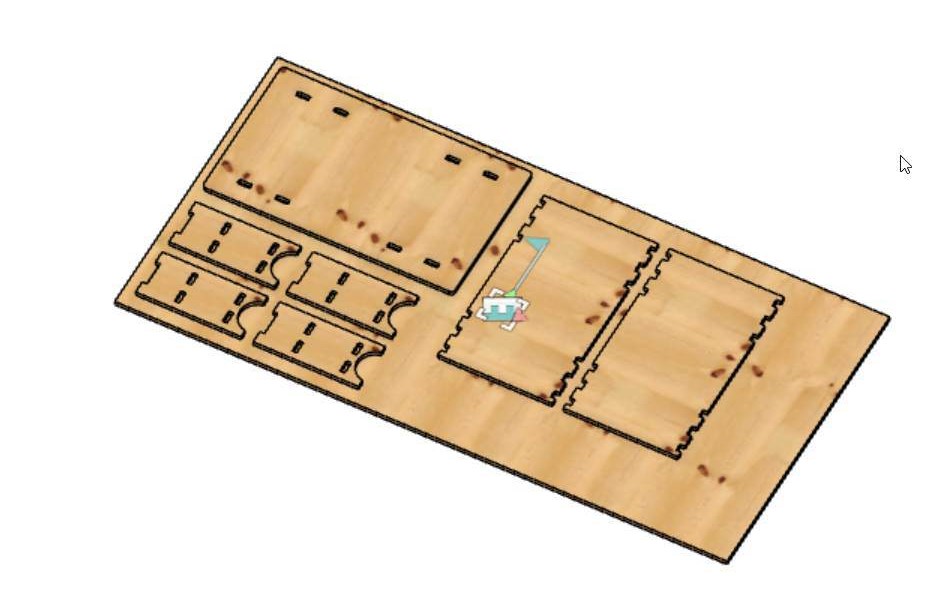 Then I exported the design in dxf file
Setting-up shopbot
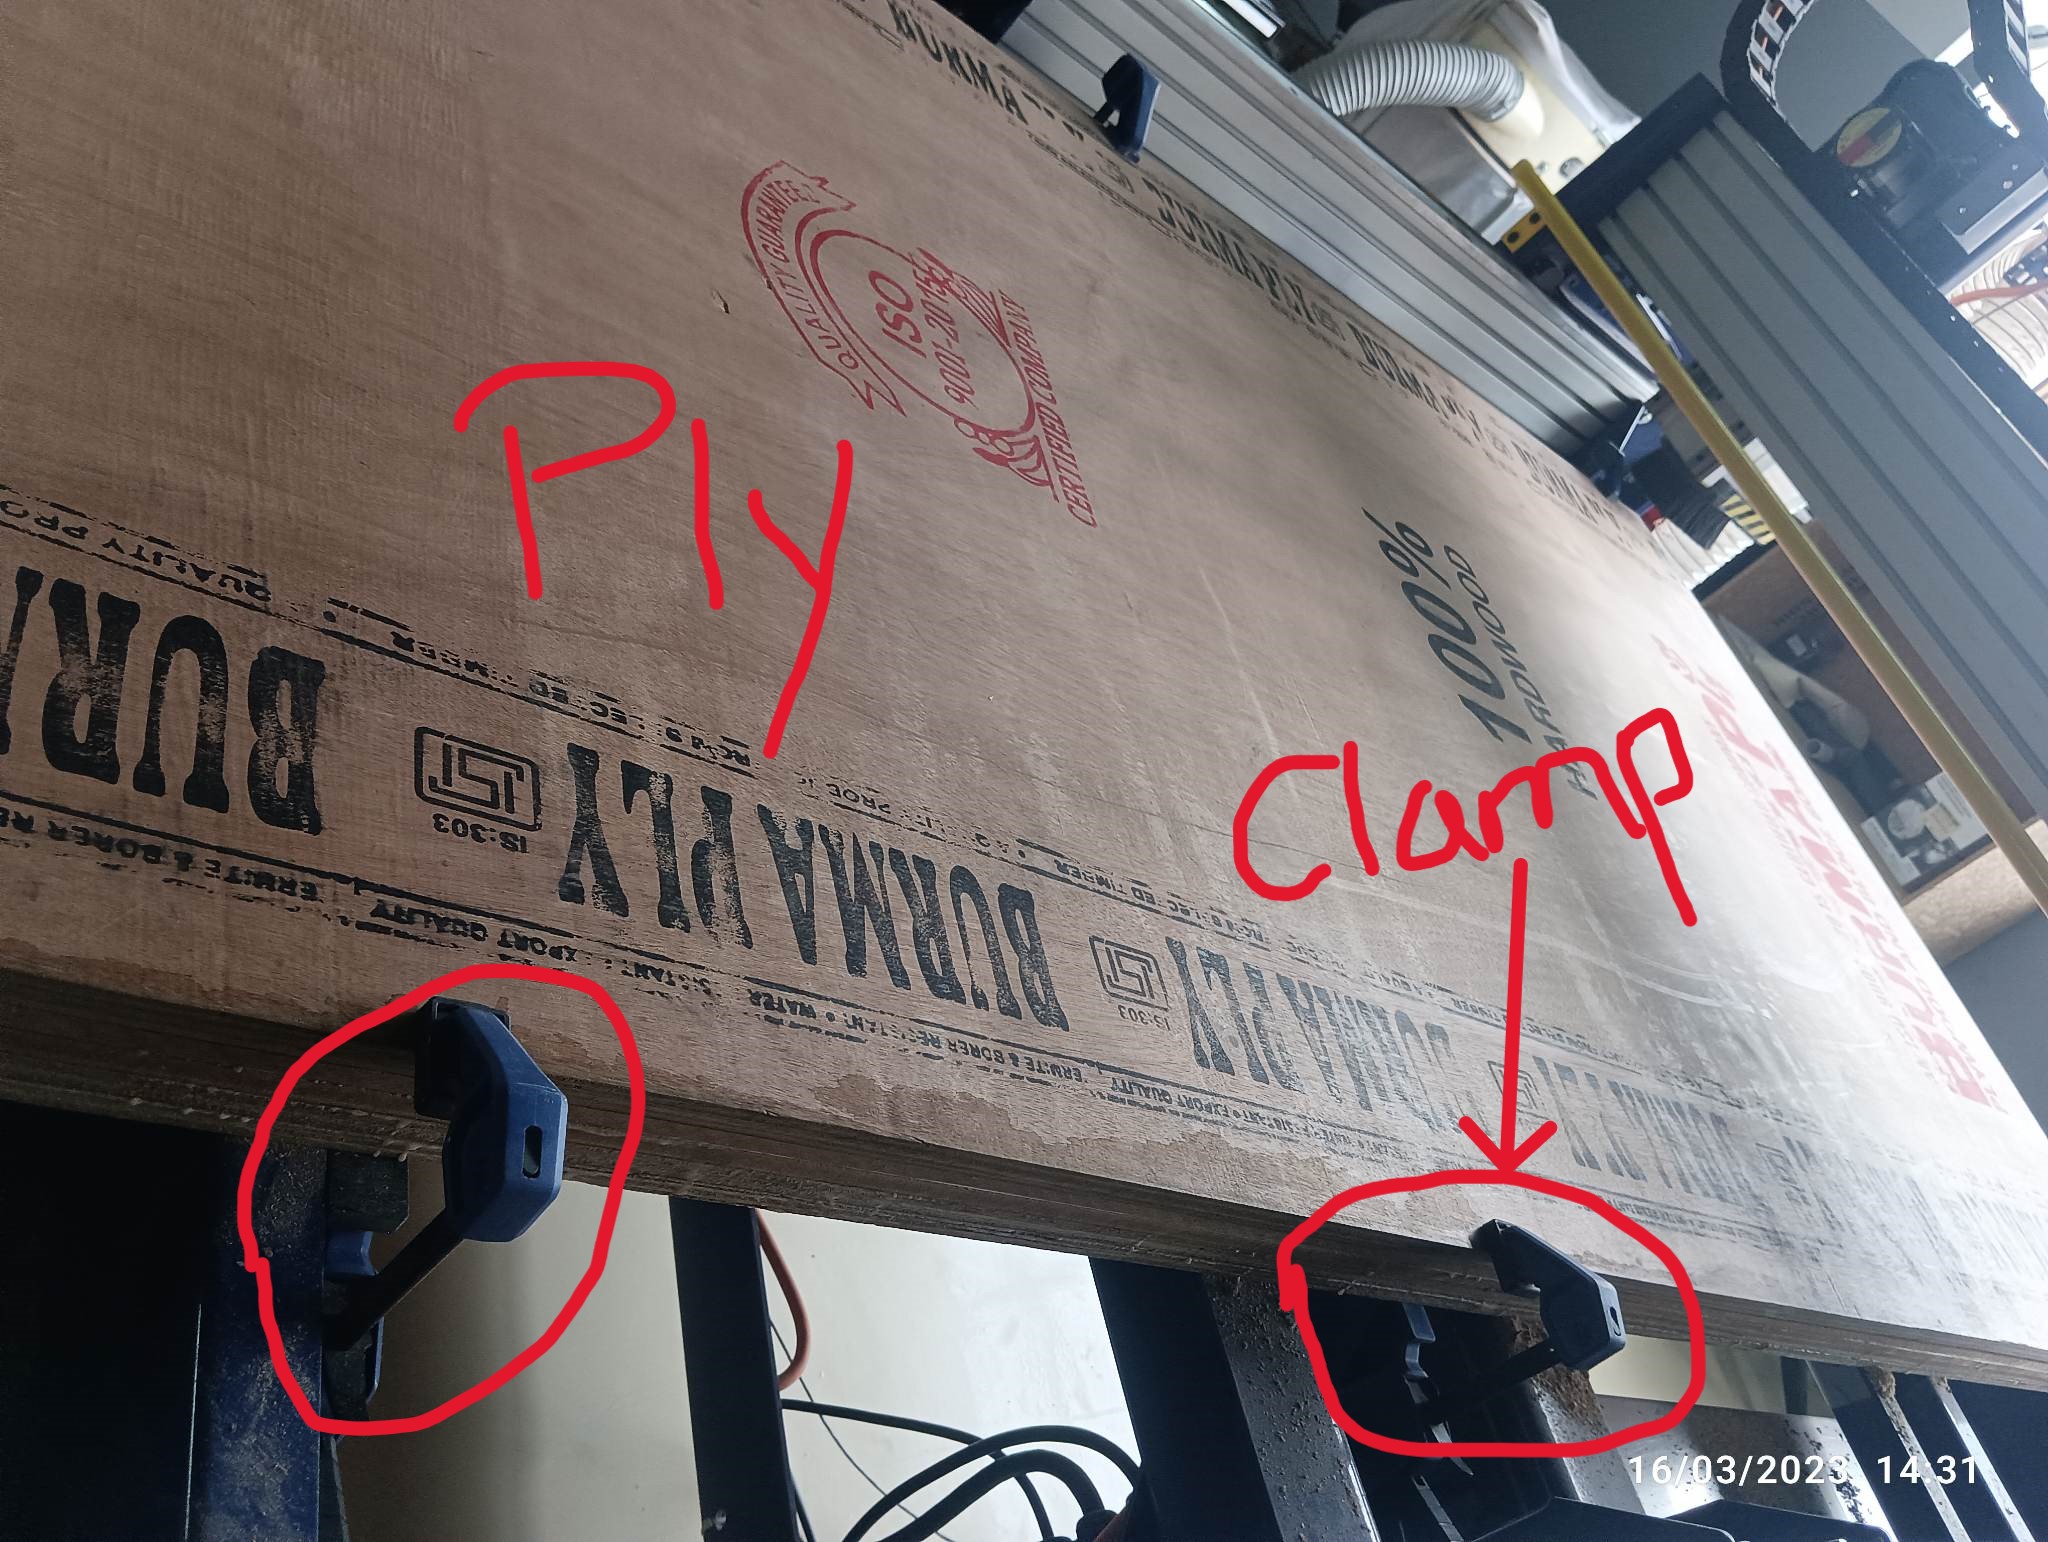
Firstly i have lay down my ply on the shopbot machine with the help of clamp.
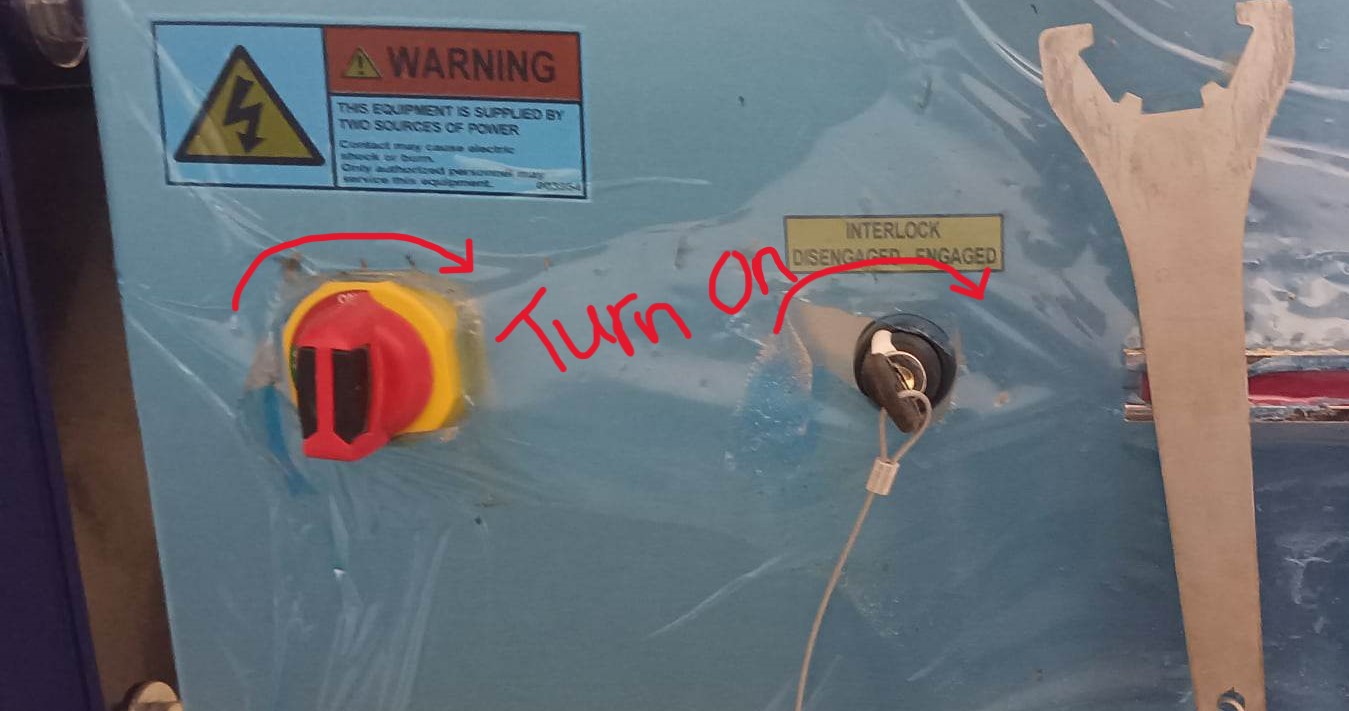
 Then turn on the machine.
 After machine is on, i started to set the x and y axis manually using the shopbot controller and zeroed it.
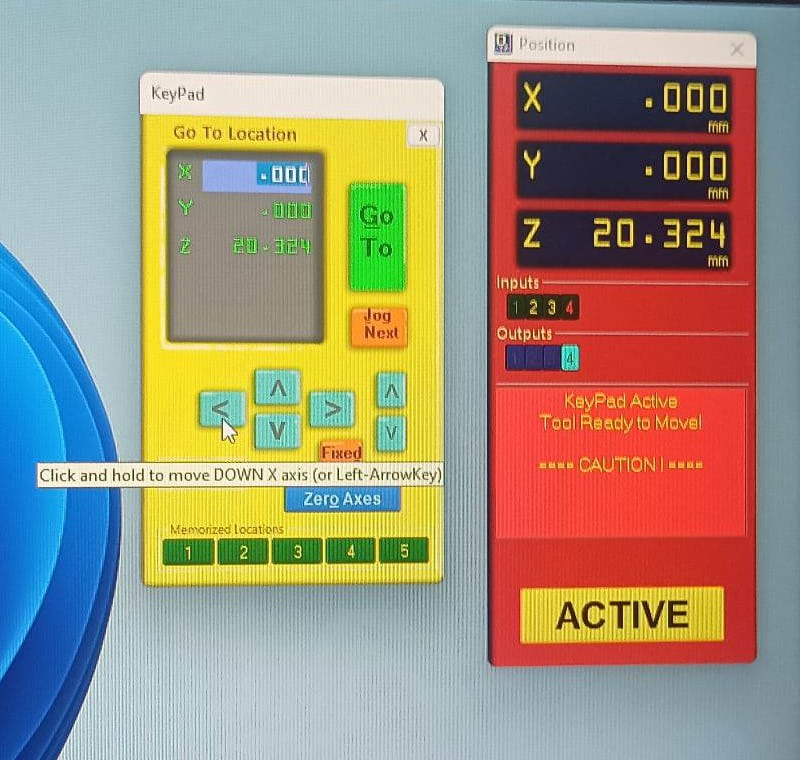 Then to zero the z axis, used the shopbot controller to manually set the Z axis.
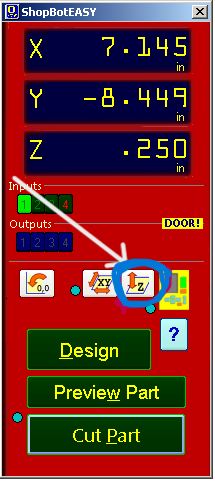 Before the zeroing of Z, the controller ask for confirmation whether we had place the aluminum plate and Aligator clip in place
 So before entering "OK", place the Aligator Clip to the machine and the Aluminum plate on the Ply just below the drill bit. Click ok after doing that.
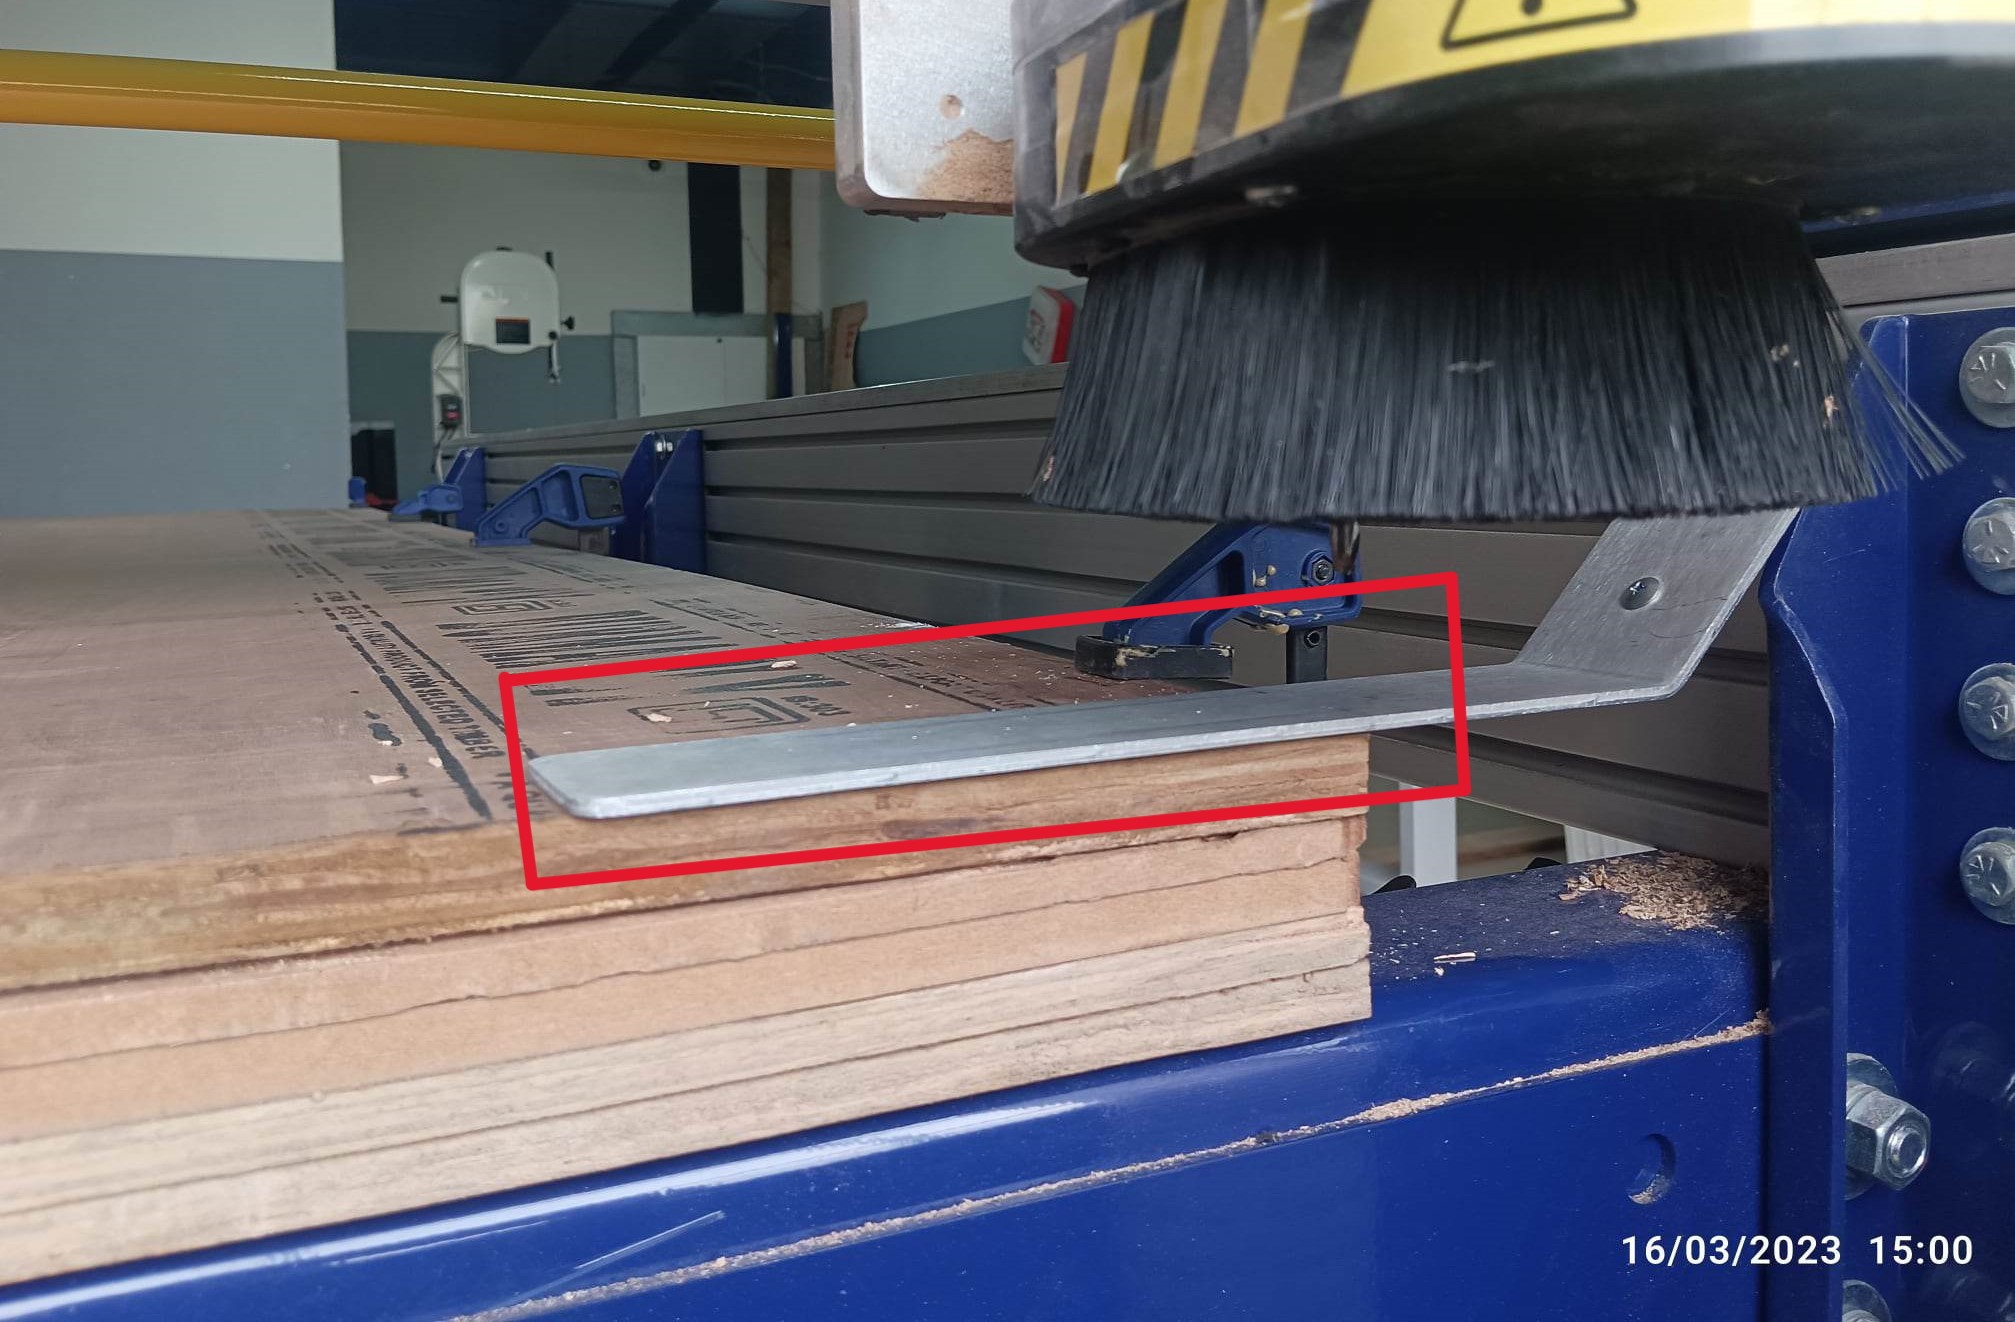
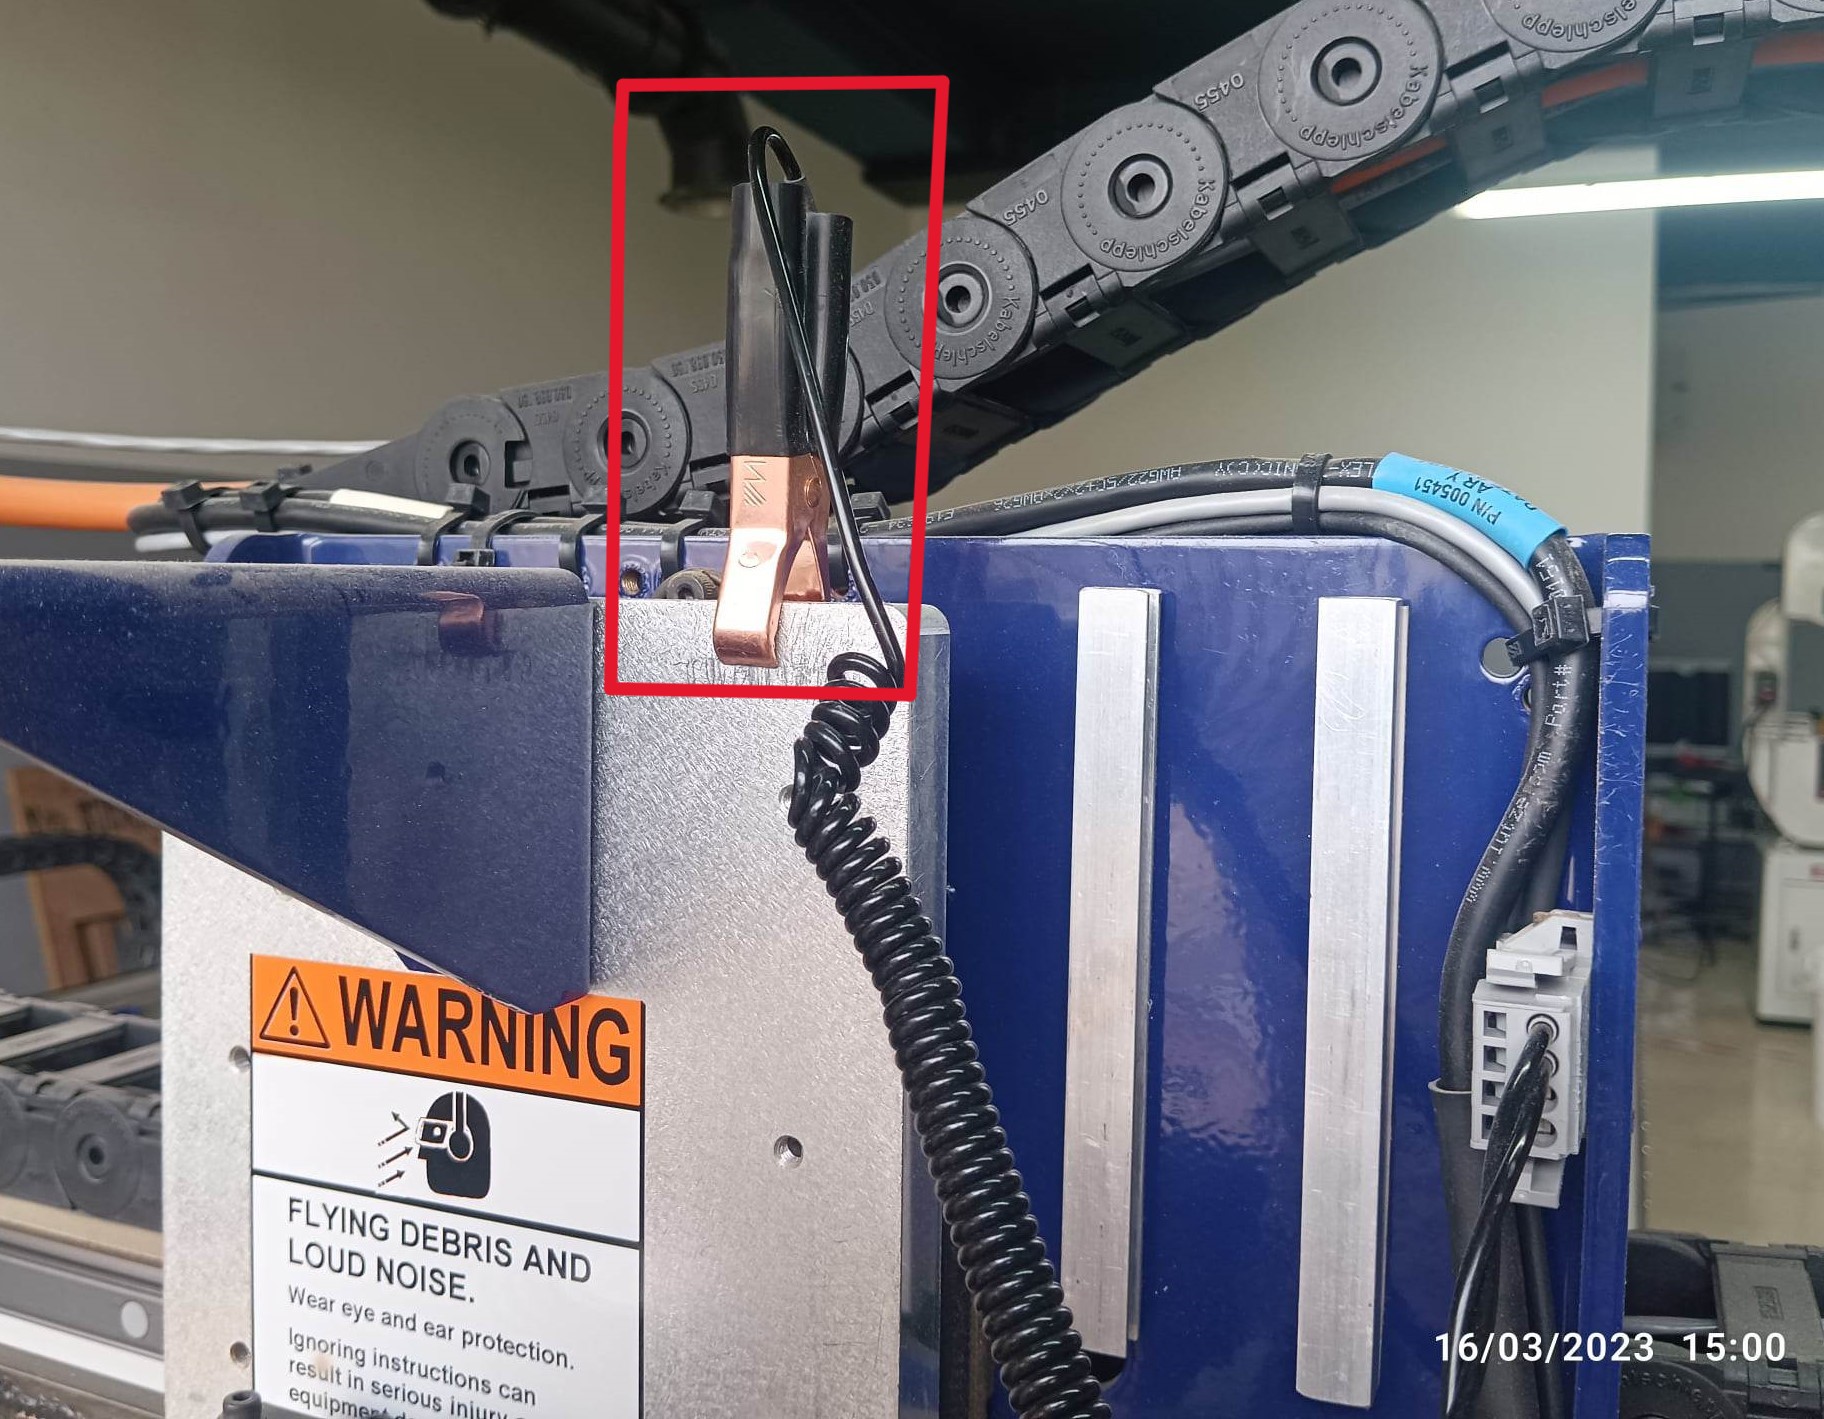 After the zeroing is done, the controller asks us to remove the plate and clip
 Now i have setup all the X,Y and Z axis so now machine is ready to perform the task. To do the task i have used VCarve pro software.
VCarve Pro
VCarve Pro software is a solution for creating and cutting parts on a CNC Router.
VCarve Pro gives you the power to produce complex 2D patterns with profile, pocket, drill and inlay toolpaths, plus gives you the ability to create designs with v-carving textures as well as import and machine unlimited Vectric 3D clipart or single model files.
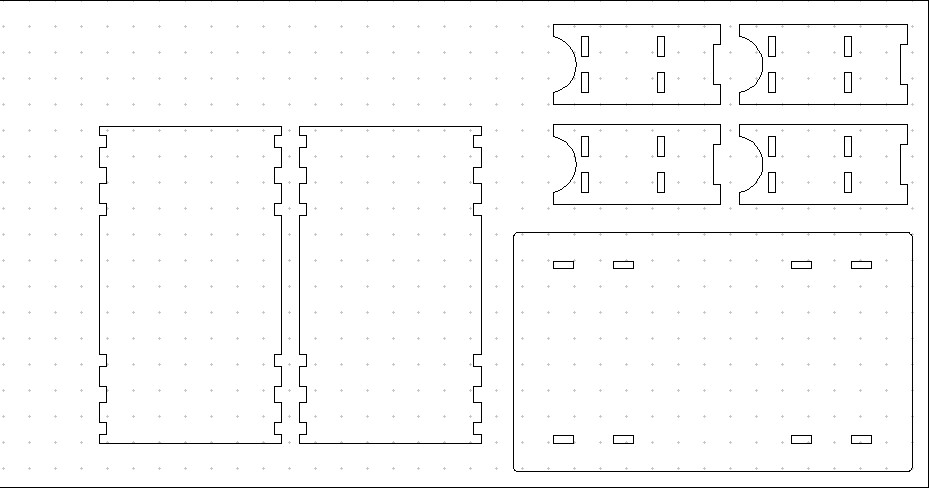
 I have imported my design in VCarve pro.
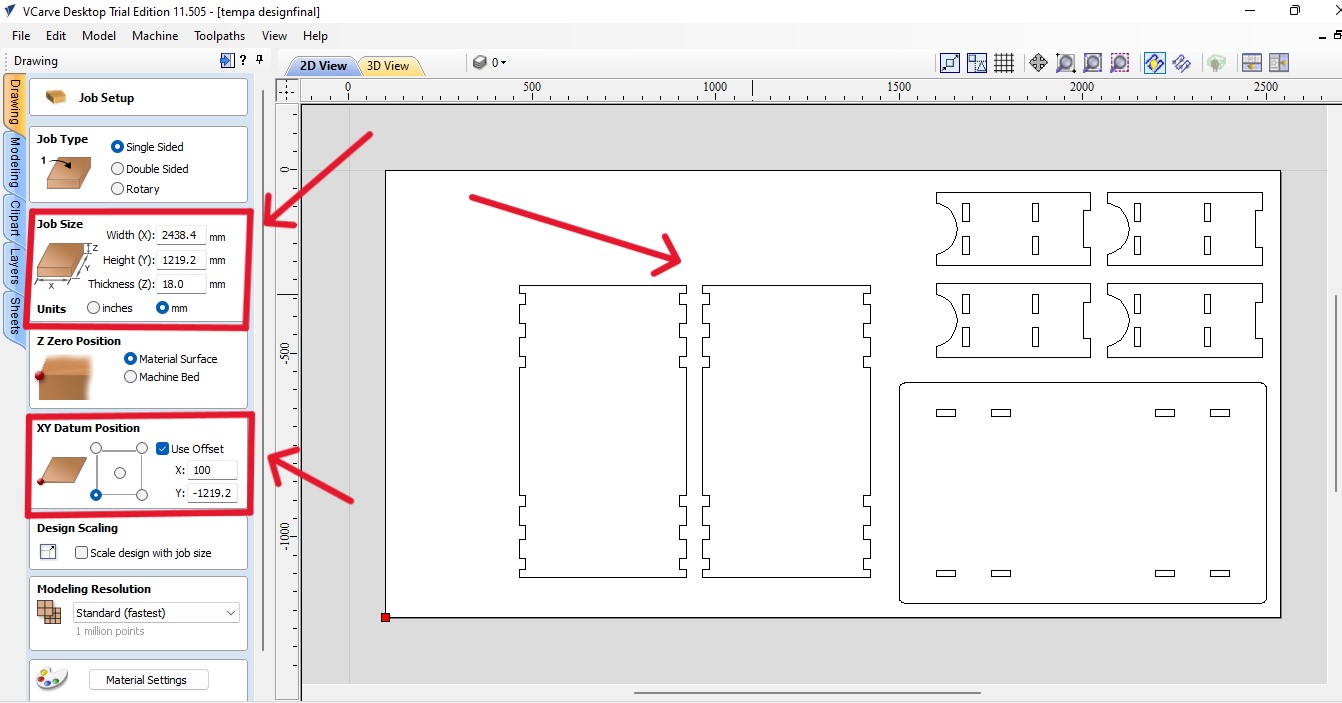
 Then i started to set the job size as given for our ply (8*4) ft and 18mm as a ply thickness.
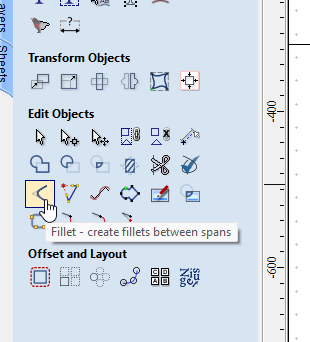
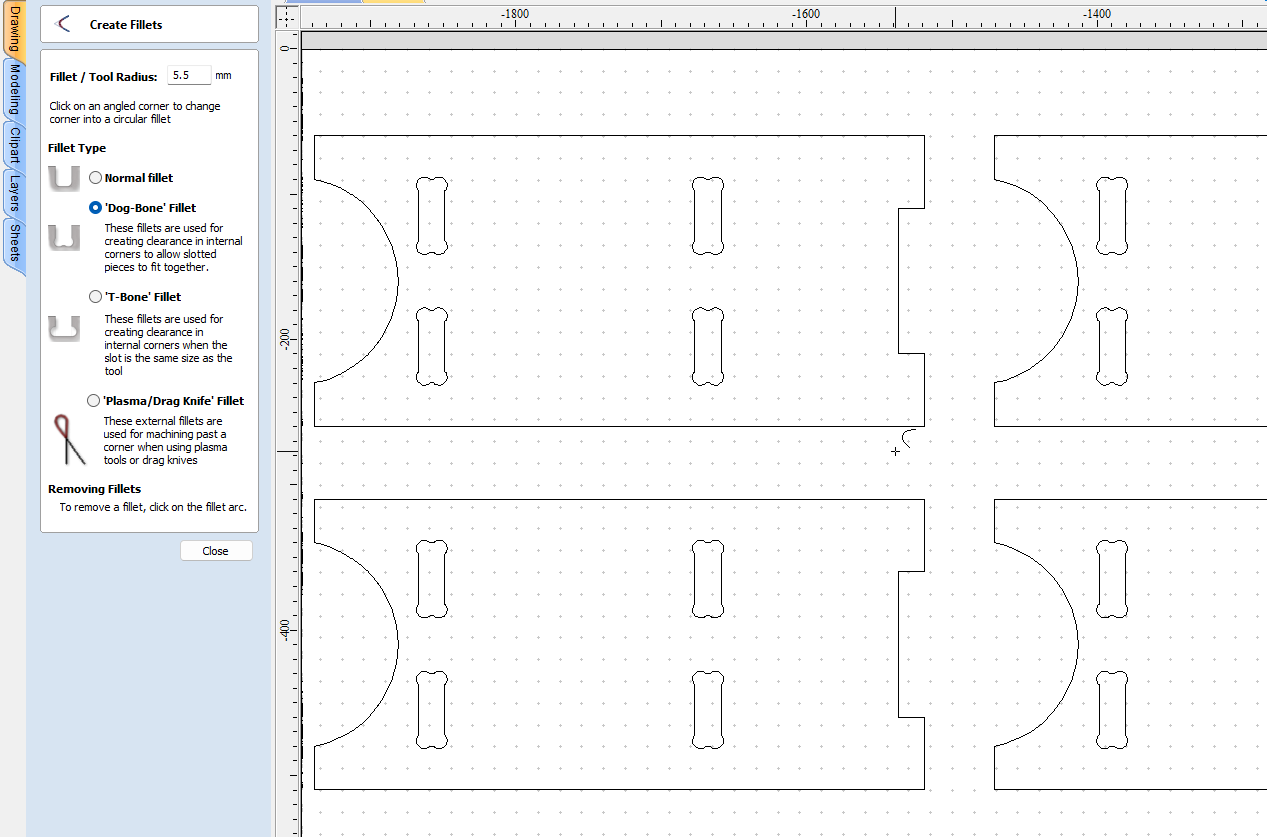
 After that in edit option select fillet option to create dog bone in your deign as shown below. In my case i have selected all the joint with dog bone to fit smoothly. For this decided to cut Inside" in Machine Vector, which will cut inside the provided line.
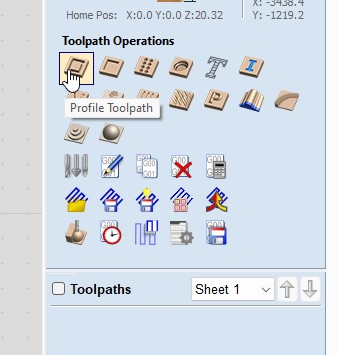
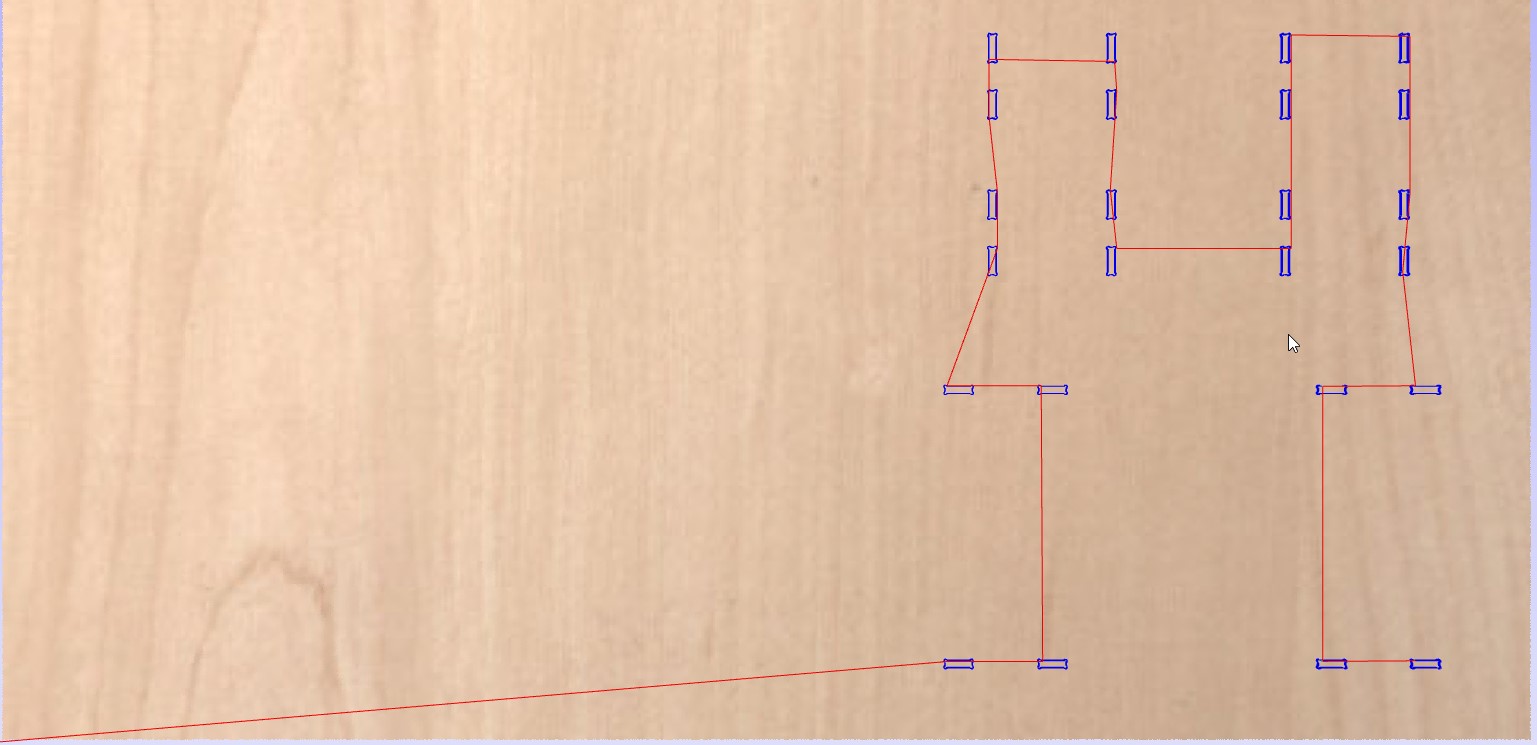
 Then click on calculate the toolpath.

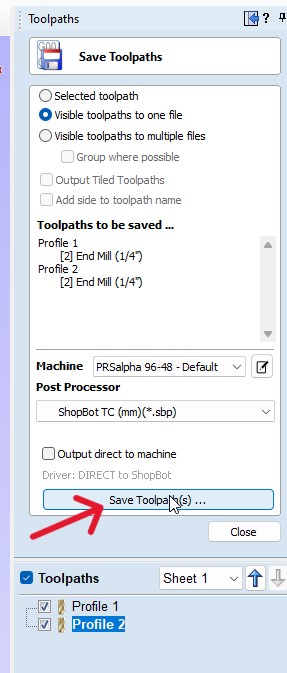
 After creating the toolpath, save your toolpath by clicking on that.
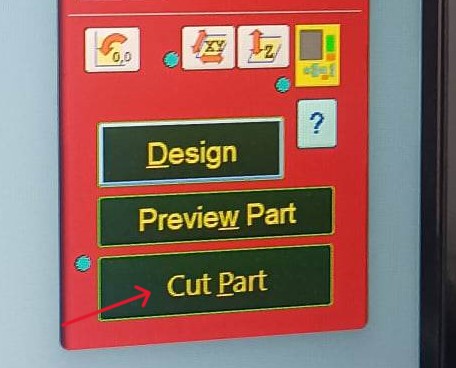
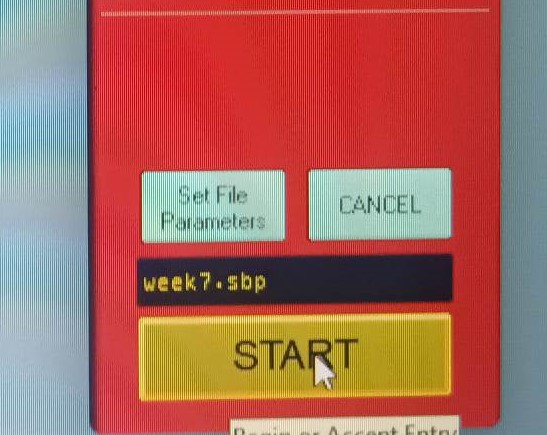
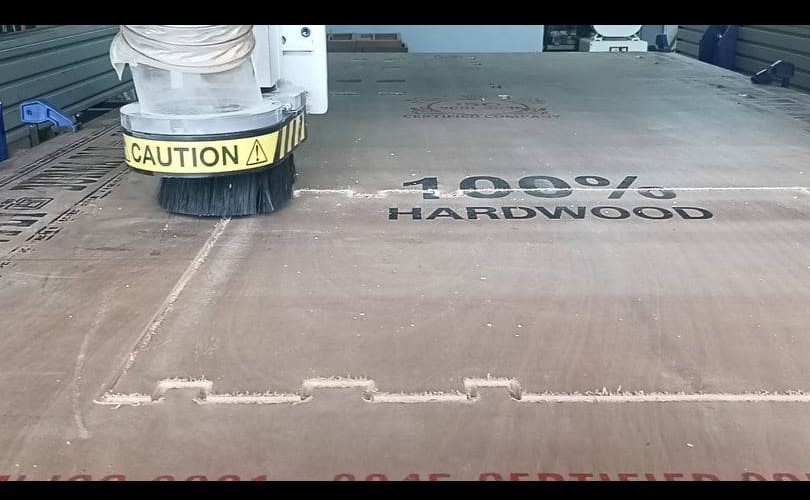
 In the shopbot controller click on cut part to start the job.
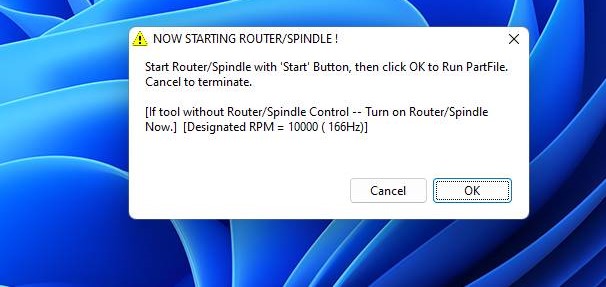
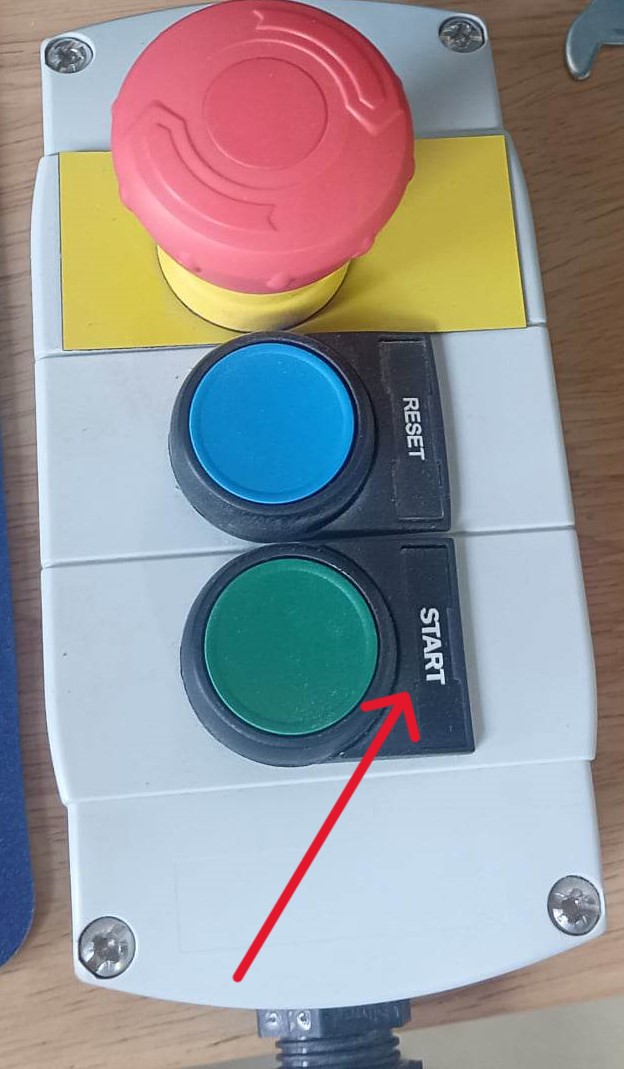
 After clicking on start option, Then a dialog box appears which tells you to start the spindle of the shopbot.To do so have to click the Start Button.
 Here i have some pictures during my shopbot cutting:
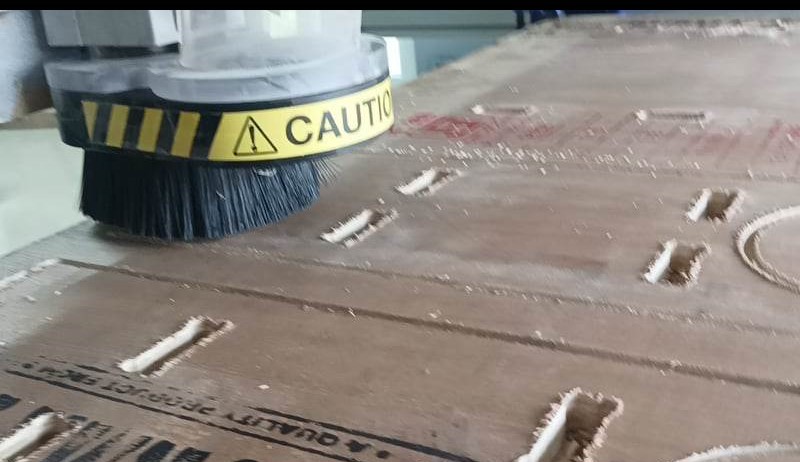
 After the cutting is done i have used to do some sanding for my ply.
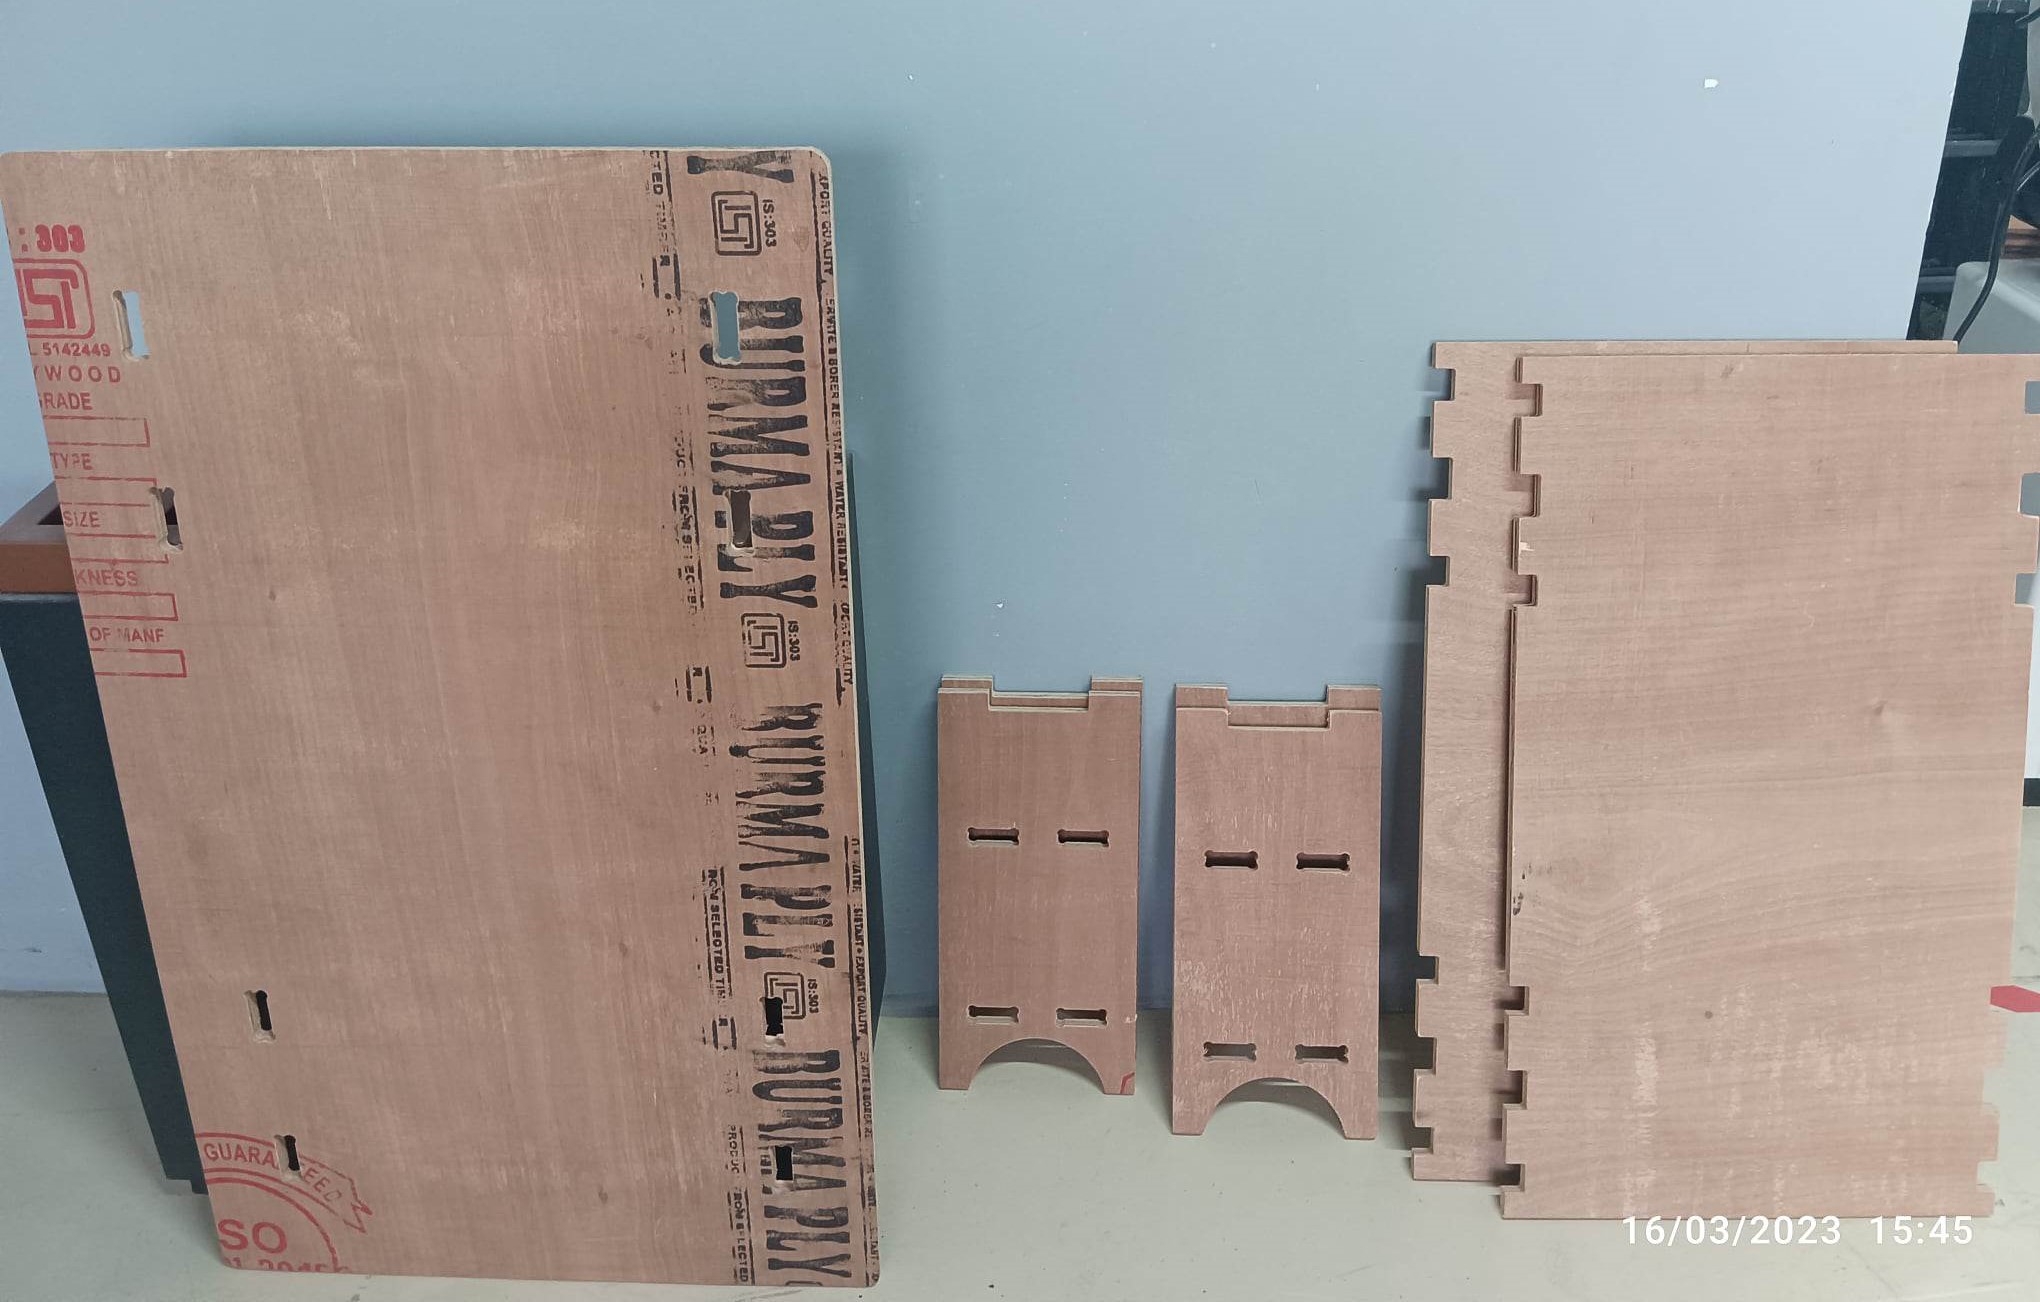
Here are the parts of my computer table.
 Finally i have assemble my computer table and here how it looks like


Learning Outcomes
Learnt various safety measures to keep in mind while operating the machine.
Learnt how to make different joints in the design.
Learnt different parts of the machine and their functions.
Learnt different tools in fusion 360.
Learnt a new software, VCarve Pro
Learnt about different milling bits and their different usage.
Design Files
Computer Table in DXF File


