3. Computer controlled cutting
Group assignment:
While doing group assignment on laser cutting Machine, i have learned much more to;
For the Group Assignment refer this LINK
Individual assignment
This week we will learn on Vinyl cutter Machine,Design and Laser cut Machine. More over we will be doing more hand on practicle this week.
Vinyl cutter
A vinyl cutter is a type of computer controlled machine.It works like the traditional printer where it receives data from a source and prints images onto a paper. The only difference is instead of having ink reproducing your work onto paper it relies on small blade to cut the pattern of image into the vinyl or other materials.
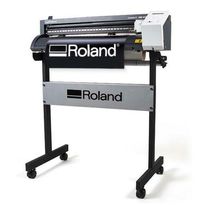
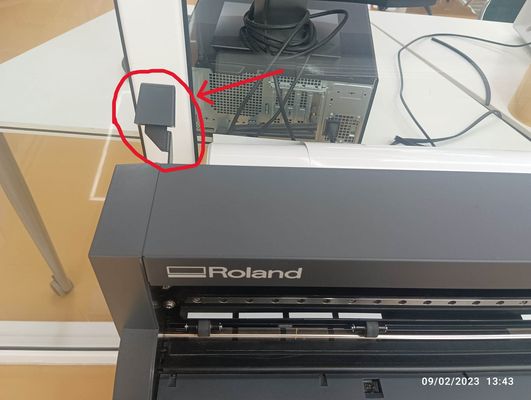
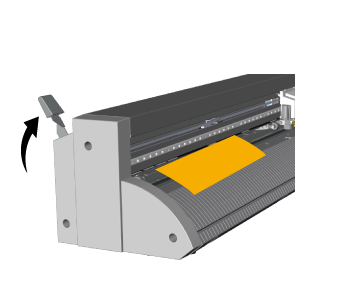
Vinyl cutter Machine (Roland CAMM-1 GS-24)
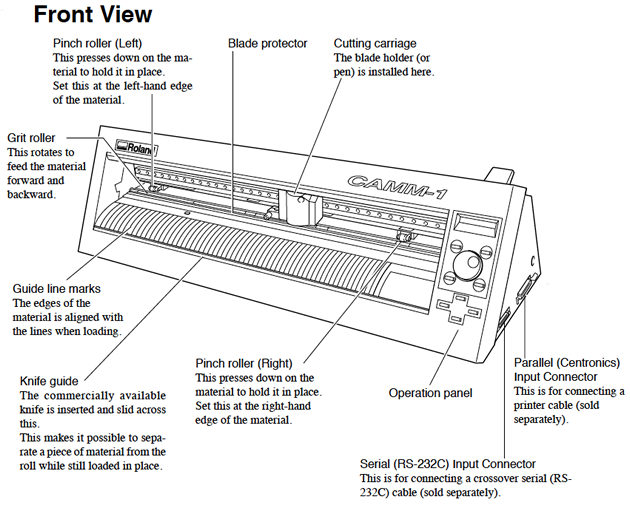
Front View of Vinyl Cutter Machine
Image source Fab Academy
Procedure to Operate the Machine
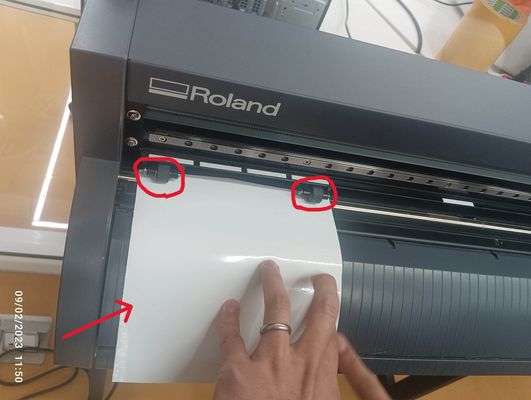
Remove the blade holder by losing the yellow knob and checked the blade tip to ensure that it is in good condition or not. so to check the blade run your finger over it and the blade should barely be felt.
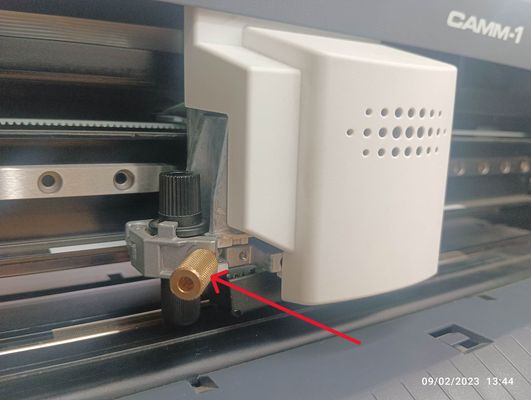
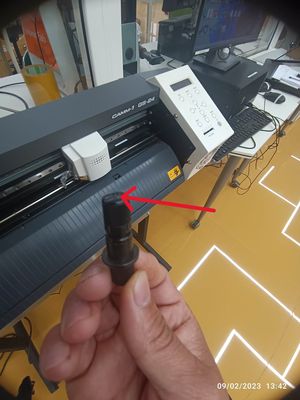
Image Source Download from Here
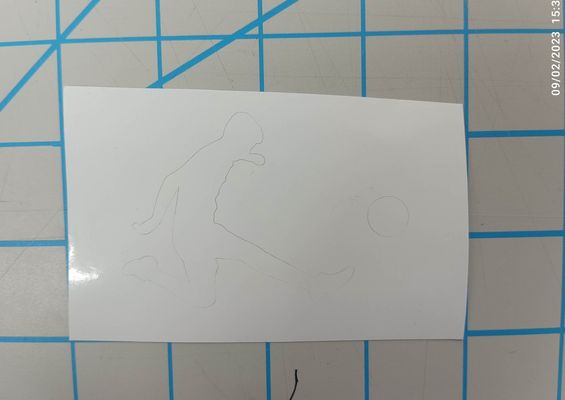
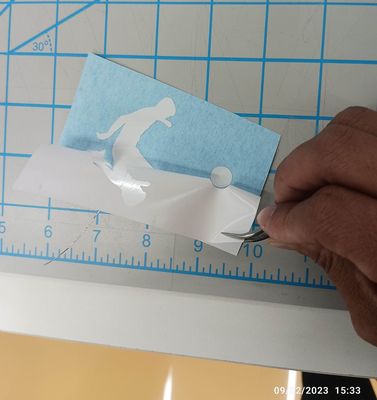
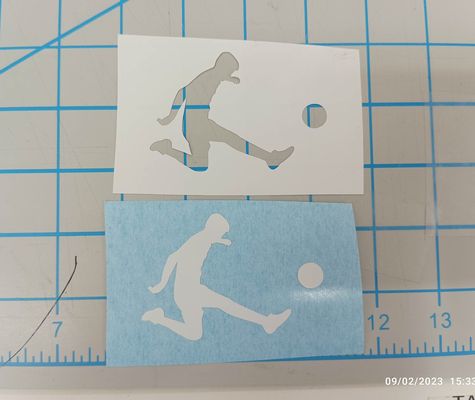
After checking the blade and loading vinyl on the machine, I followed the following workflow to produce my sticker;
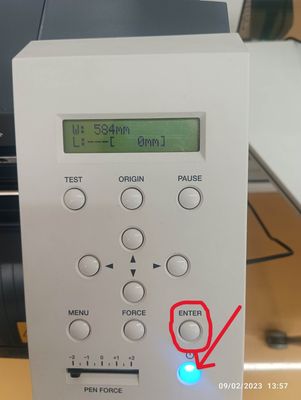
Basic Commands
Procedures to cut the stickers
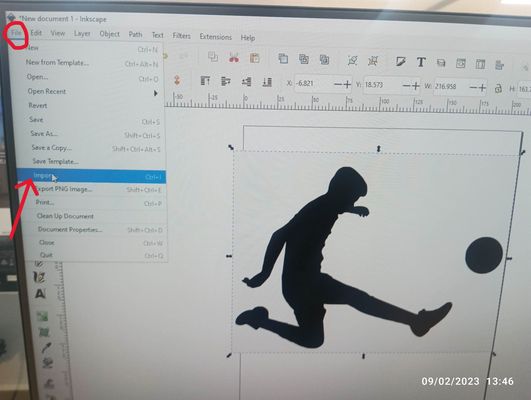
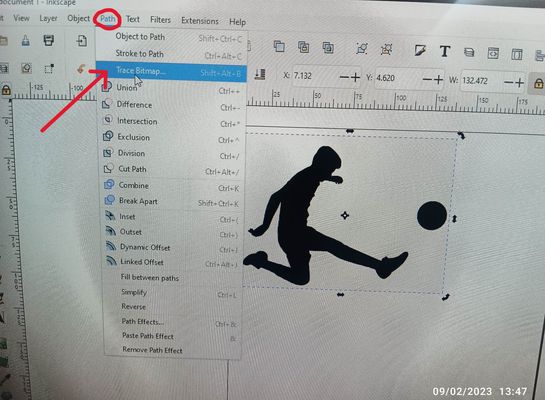
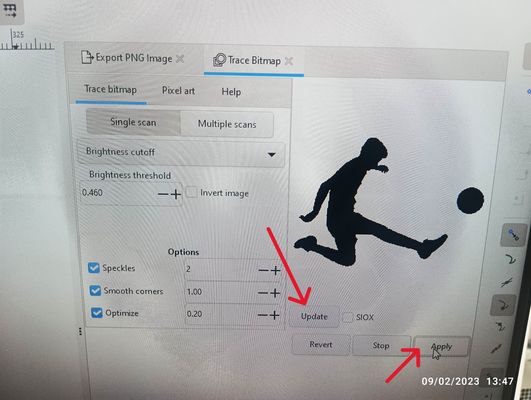
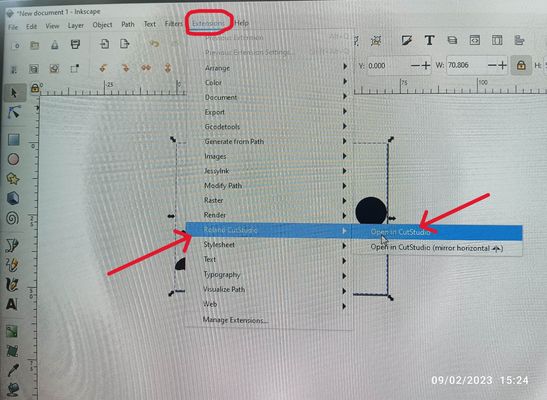
For this, we were asked to use any raster image from online and edit in inkscape to vectorize, then cut using vinyl cutter.

Final Processing
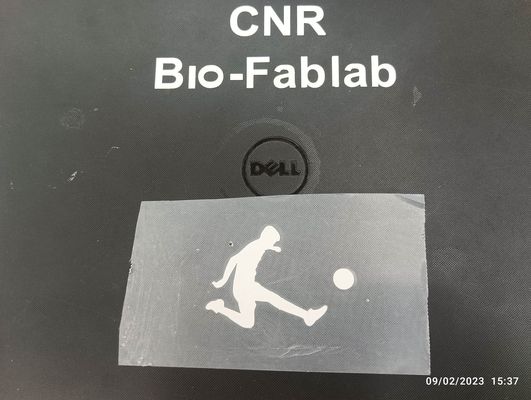
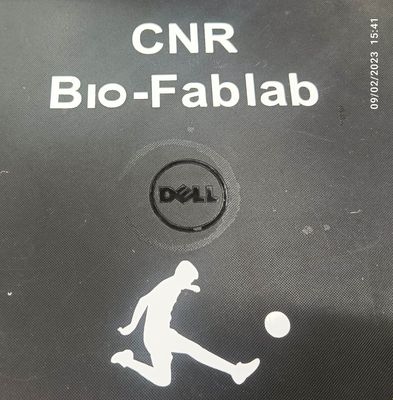
File Uploade
Working With the Laser Cutter
Machine available in lab: Trotec laser Speedy 100 and speedy 400

Trotec Laser Speedy 100

Software used : Fusion 360
What is Laser cutting?
Laser cutting is the process of using lasers to cut different materials for both industrial and non industrial purposes. It uses a high-power laser which is directed through optics and computer numerical control (CNC) to direct the beam or material. Typically, the process uses a motion control system to follow a CNC or G-code of the pattern that is to be cut onto the material. The focused laser beam burns, melts, vaporises or is blown away by a jet of gas to leave a high-quality surface finished edge.
Source from Google
Operating Laser Cutter and Controls
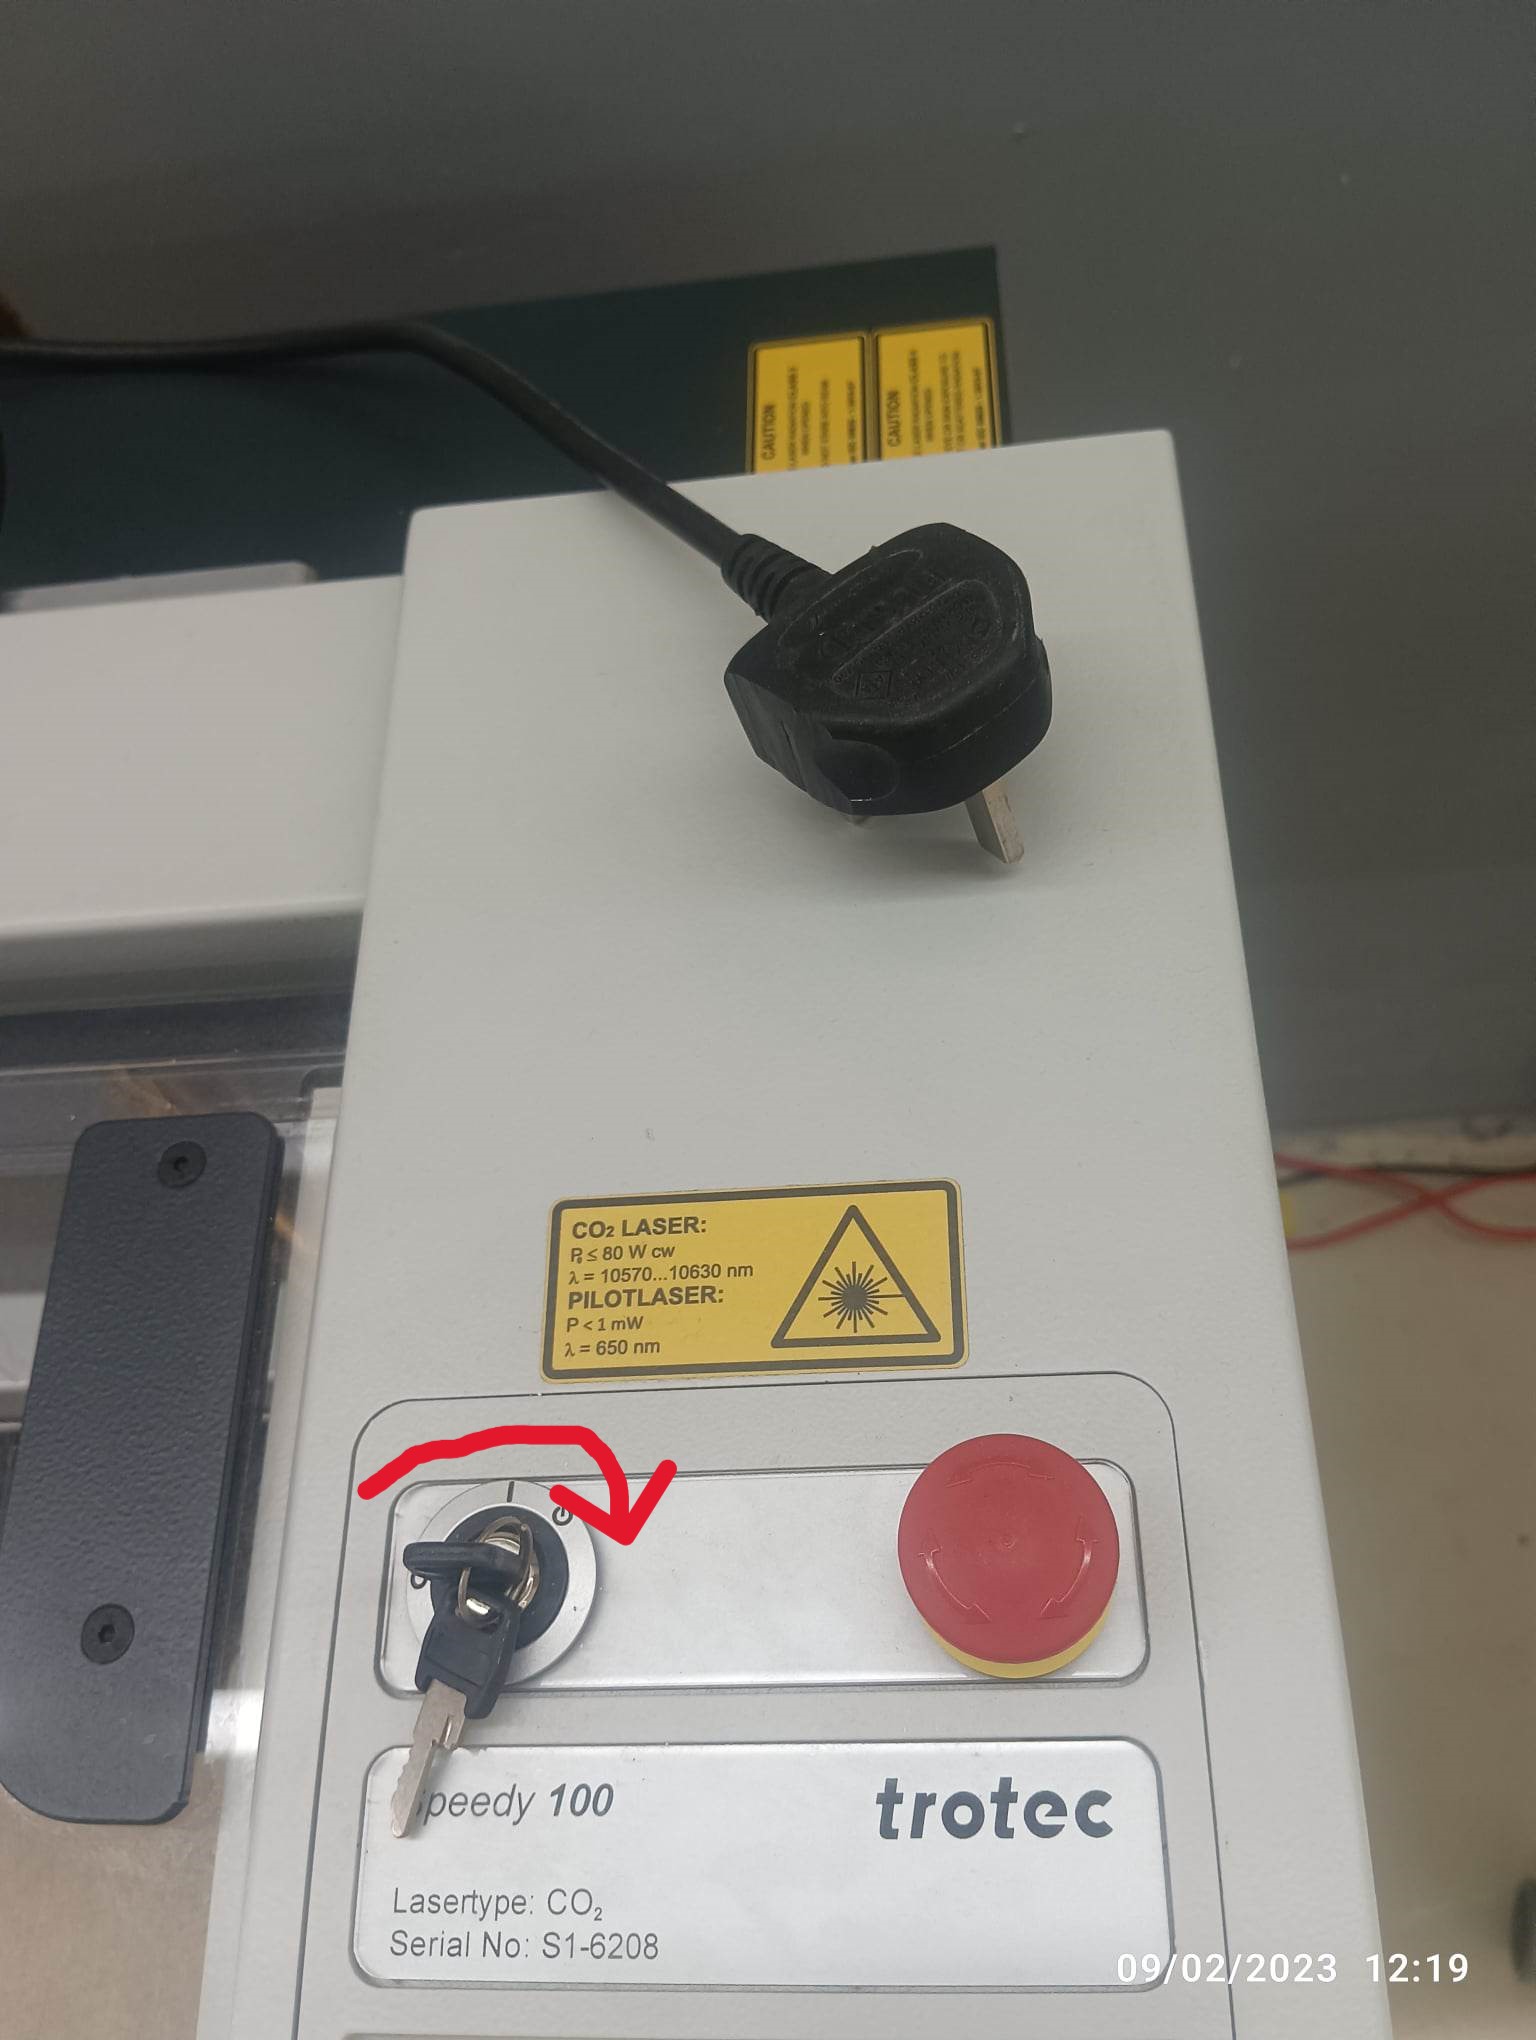
1. Turn the key switch to the right into the vertical position to activate the machine.
To start the machine, turn the key switch to the right and hold it against the spring force. As soon as the machine starts, release the key switch.
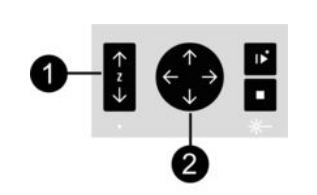
2. Control pane function
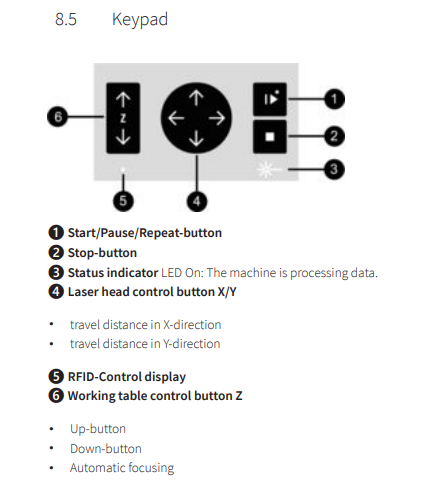
3. Move the processing head over the material to be engraved by means of the Laser head control button X/Y (2) on the keypad.
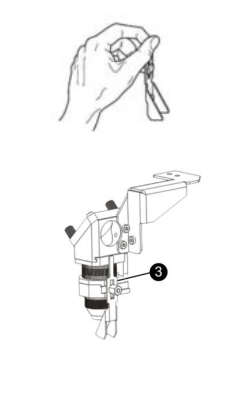
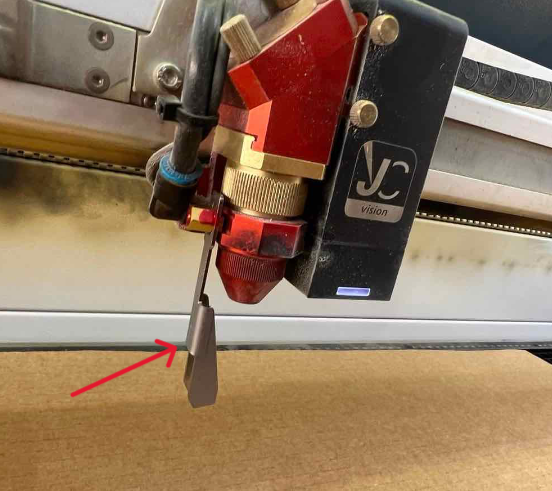
4. Setting up the z axis for proper focusing of the laser. To do that, take the focusing tool and place the square side of it on the edge on the laser head. Until the focus tool tilts to the side or falls off its position. Now the lens is focused onto the surface of the material.
5. After setting the z axis, I have used inkscape to design. By default a black fill will engrave and red lines will cut. Ensure to set the proper colors and ensure to set the stroke thickness to either hairline.
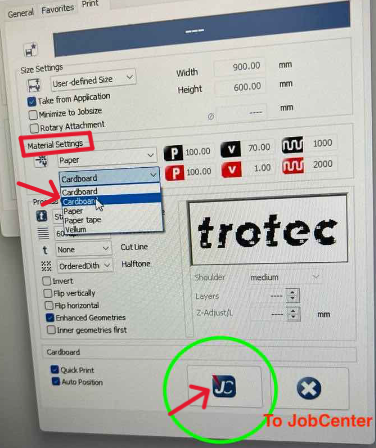
Then go to file >> Print >> in the dropdown menu select Trotec Engraver >> hit print.
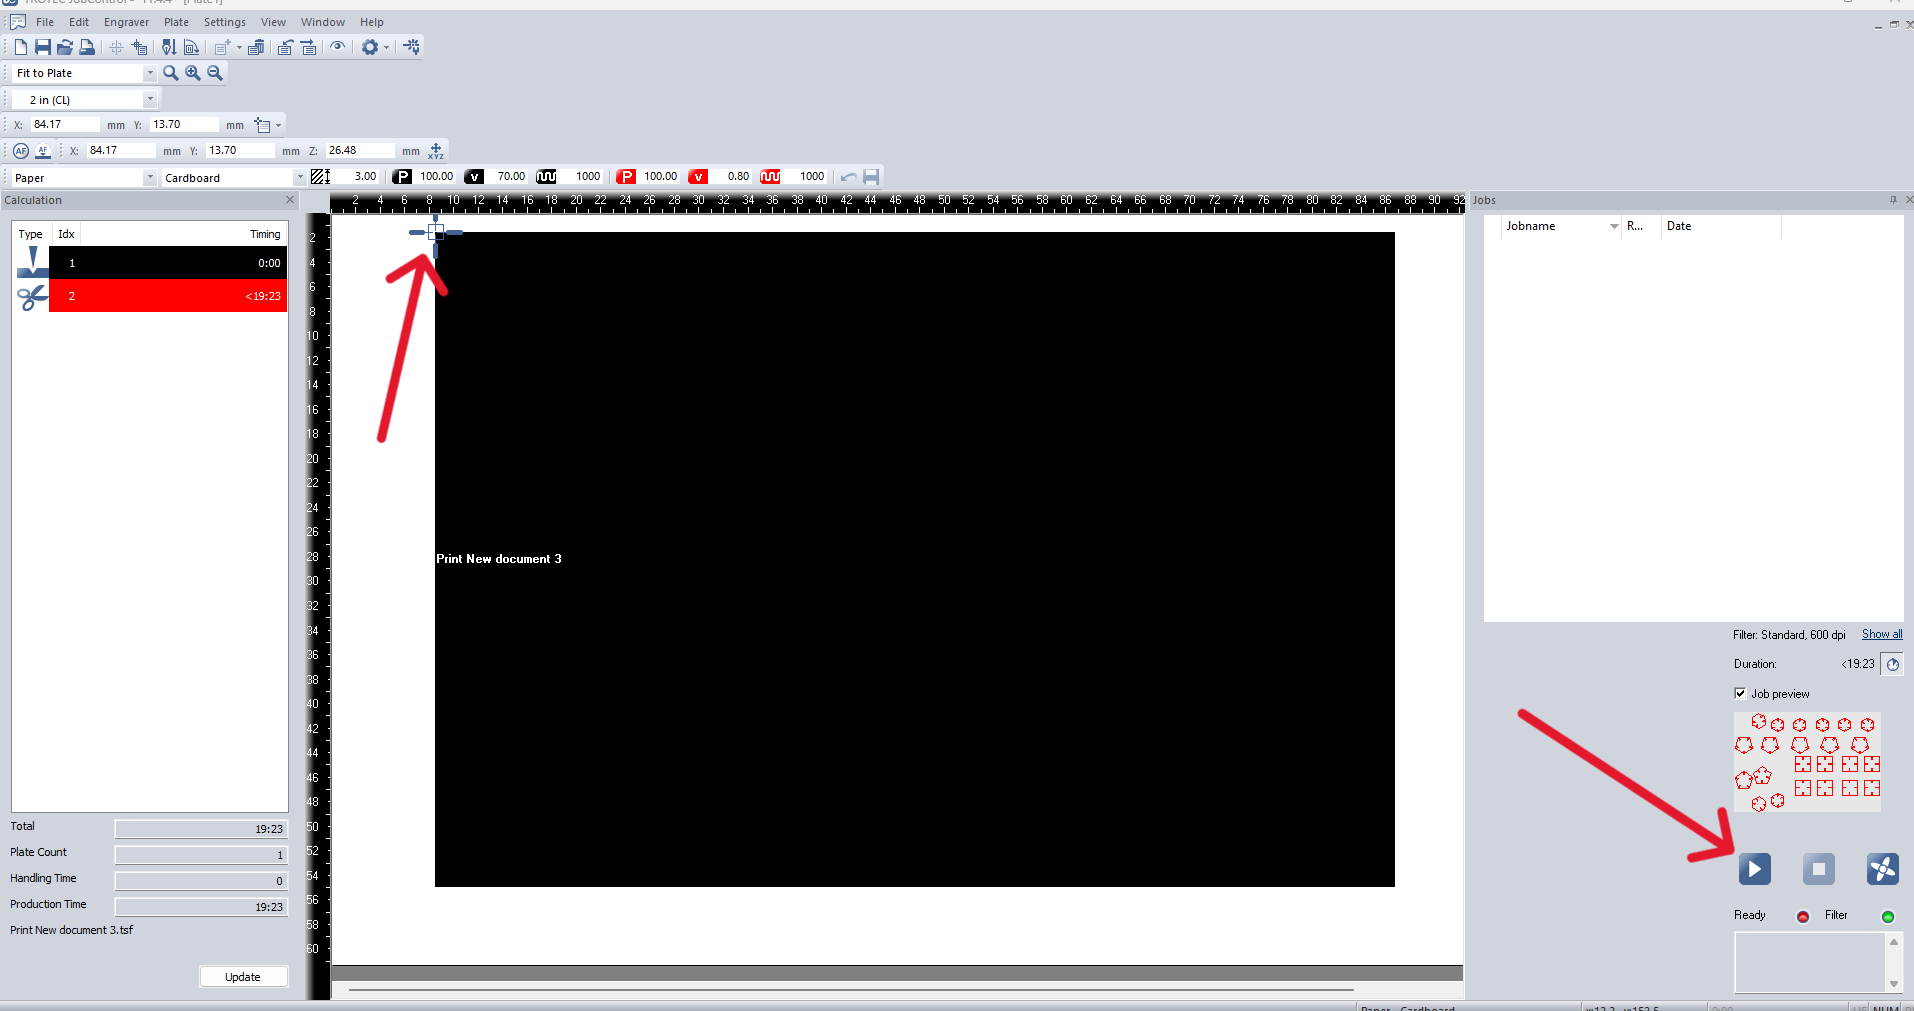
6. In next menu, I have select the material setting as cardboard and hit on "JS" to send the design to the job center.
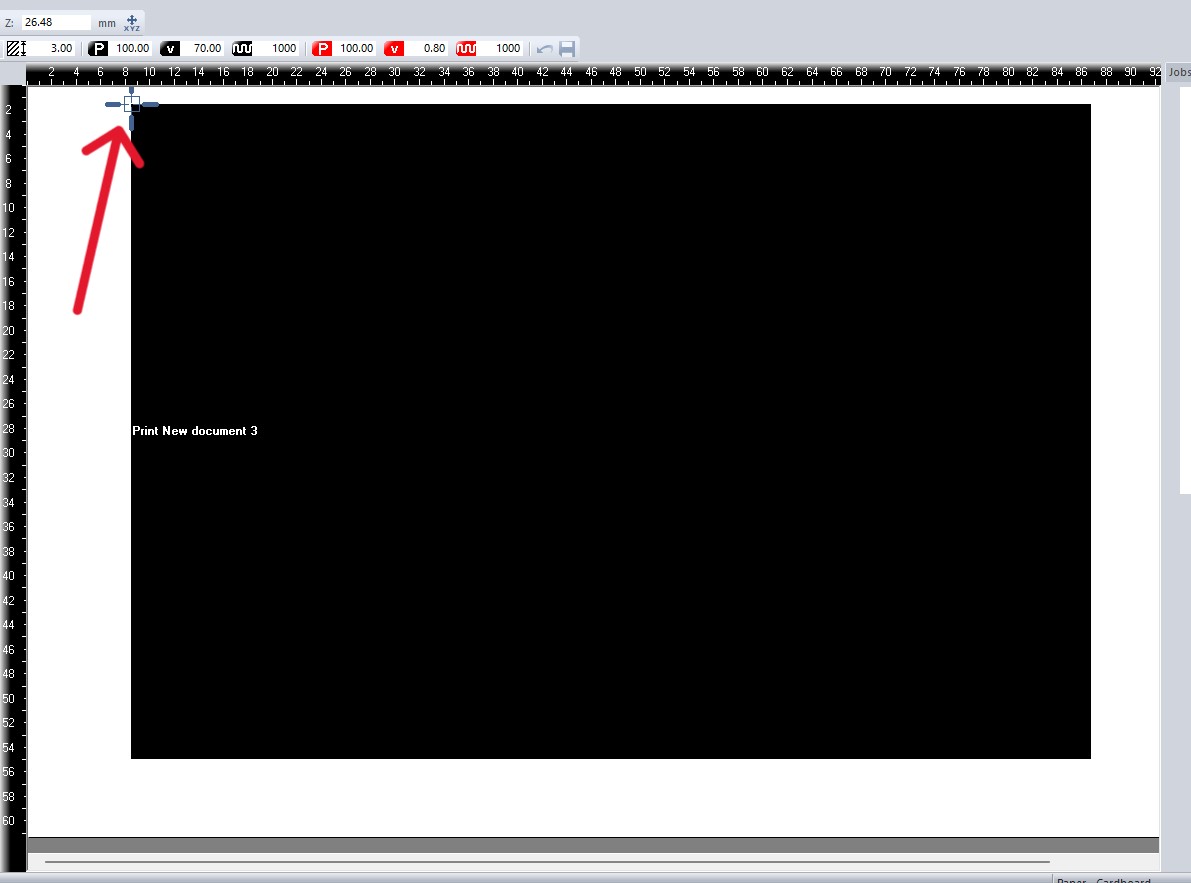
7. Once your design appears in working space, place its top edge to center of laser pointer denoted by plus sign as shown below. After placing correctly, press the play button to cut or engrave
8. After job is done, keep machine lid closed for few minutes to ensure that gases are vented out completely and then open and remove your work piece from bed.
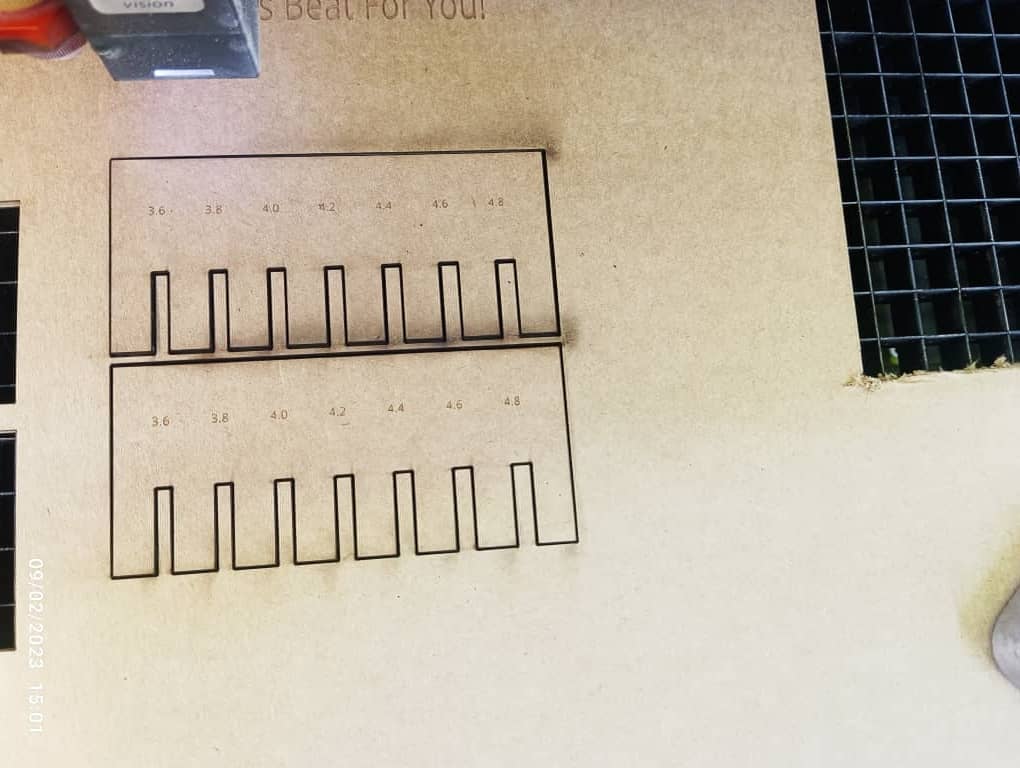
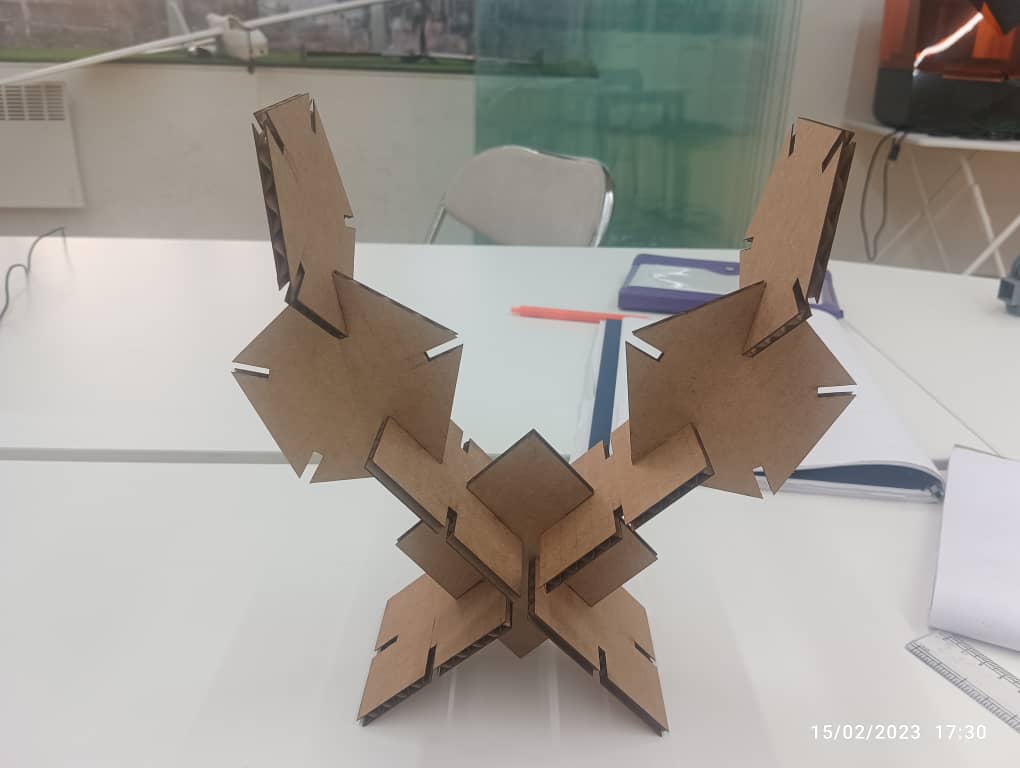
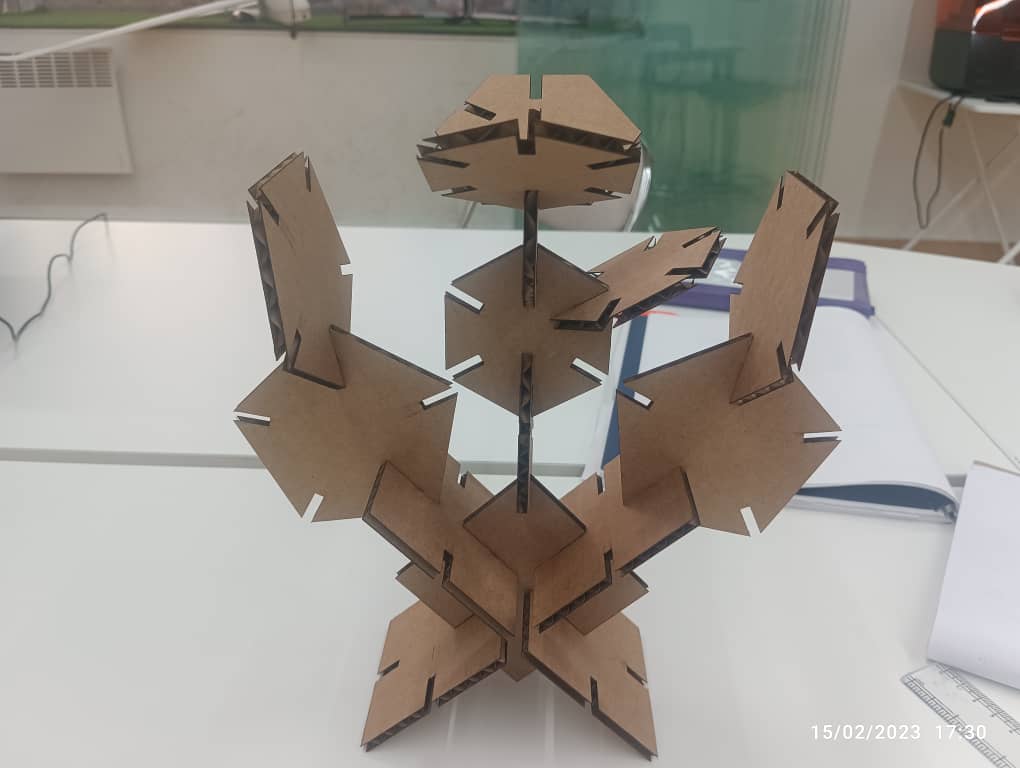
PressFit Kit
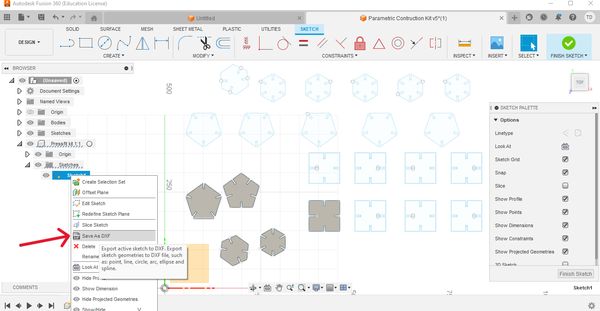
PressFit means joining two or more shapes with the notches made on parts without using any glues. So firstly i had to design the shapes and the software I used was Fusion 360.
I had nothing in specific that I wanted to make, I just made some random shapes and for doing so I decided to use a square and a circle for the press fits. FIrst of I stared by making a square and a circle. Then I started setting parameters for different parts as show below.
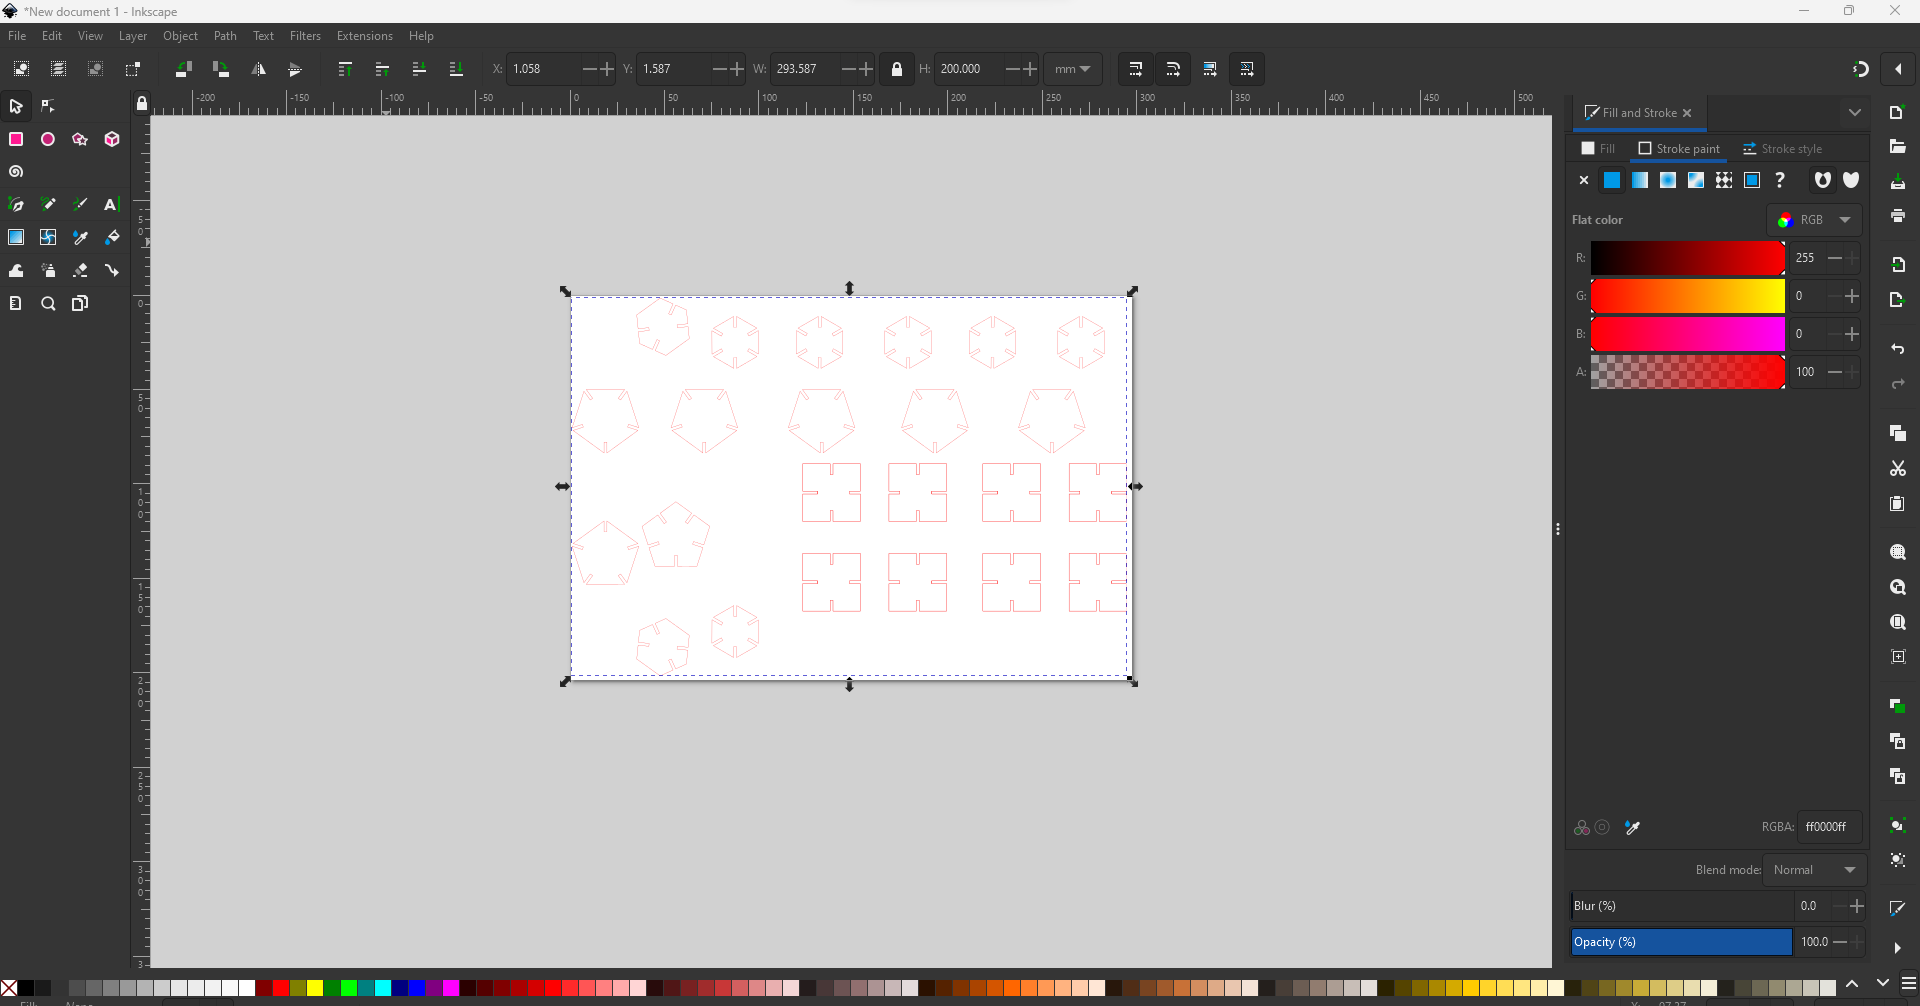
I saved my sketch as a dxf and opened it in Inkscape to set the lines color to red (to cut) and the stroke thickness to about 0.01mm.
Then sent the job to the Trotec JobCenter and place the top left of your design in the center of the laser’s pointer and hit play to start.
Here is the work progress
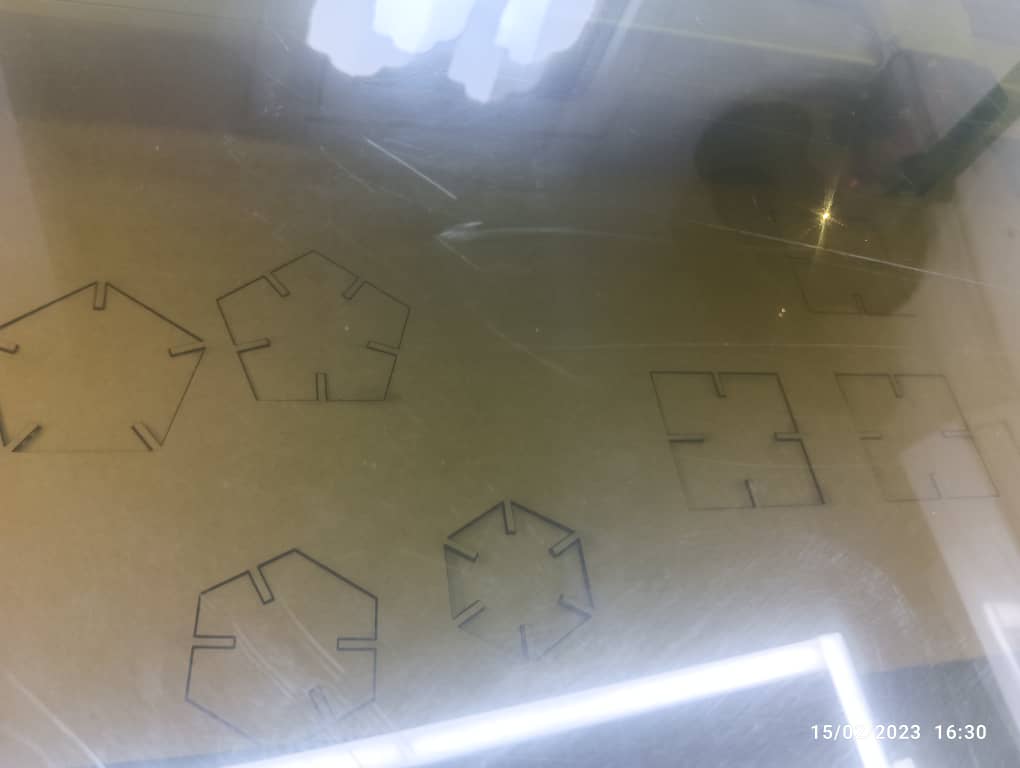
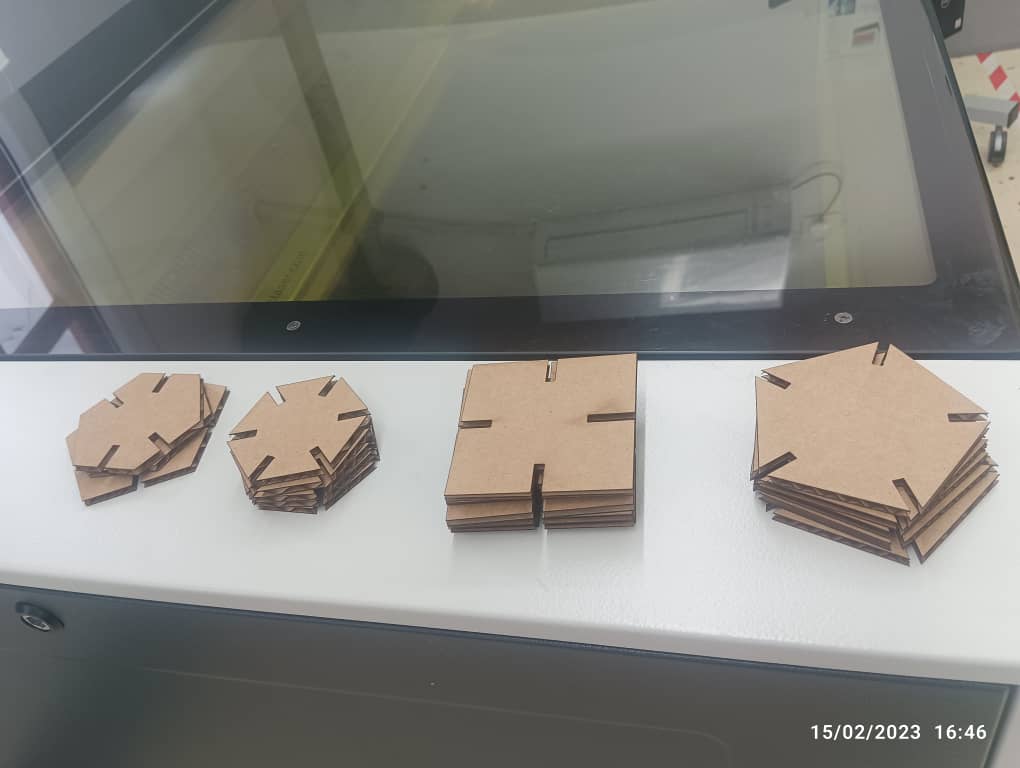
I removed the pieces and try to assembled in different shapes like shown below in the picture.