Objective
Learn to do textile embroidory and give an overview of the sewing machine that is being used in your lab for the same use CAD process in the making.
Optionally explore something in composites and explore other things that are in the lab but not explored during the course.
Introduction
Yee!! its the wildcard week we have reached to the almost anything part of the course nice. In this week we had to do something different that isn't covered in the course but have to make use of our CAD skills to do something.
Like making an embroidry pattern with the help of a CAD process or
Designing something from CAD and making it into a reality.
Some likes to the same and past references for this week
Composites
Washable Circuitry
Welding
Textile embroidery
For this I wanted to create a Logo for the brand that I want to create the problem is that I don't know to stitch or perform embroidery.
So I decided to create a Logo by doing this I can learn something in embroidery and I will have my Logo ready by the time the week is done thought I have not decided whether the logo would go on a T-shirt or anything else.
After that I went to the textile lab where all the resources made available then started learning about embroidery.
A how to guide
In the lab we had a Usha Janome automated eembroidery sweing machine. I'm not so familiar with its specifications since I was more focused on the the embroidery part.
Embroidery is a real skill that is taught in schools as an extra curricular activity. For me embroidery could be usefull because I do not know how to stitch a logo on to a fabric.
Its important for me to learn a skill like this so that I can replicate in my office and show people how to stitch logos in a proper fashion.
I have always wondered how is a logo stitched on to the back of a shoe or even on leather with great precision.
First of all we have something called a hoop.
There are two types of hoops a smaller 80x80mm and a larger 140x140mm this allows us to set a frame of a fabric that we are wanting to stitch on.
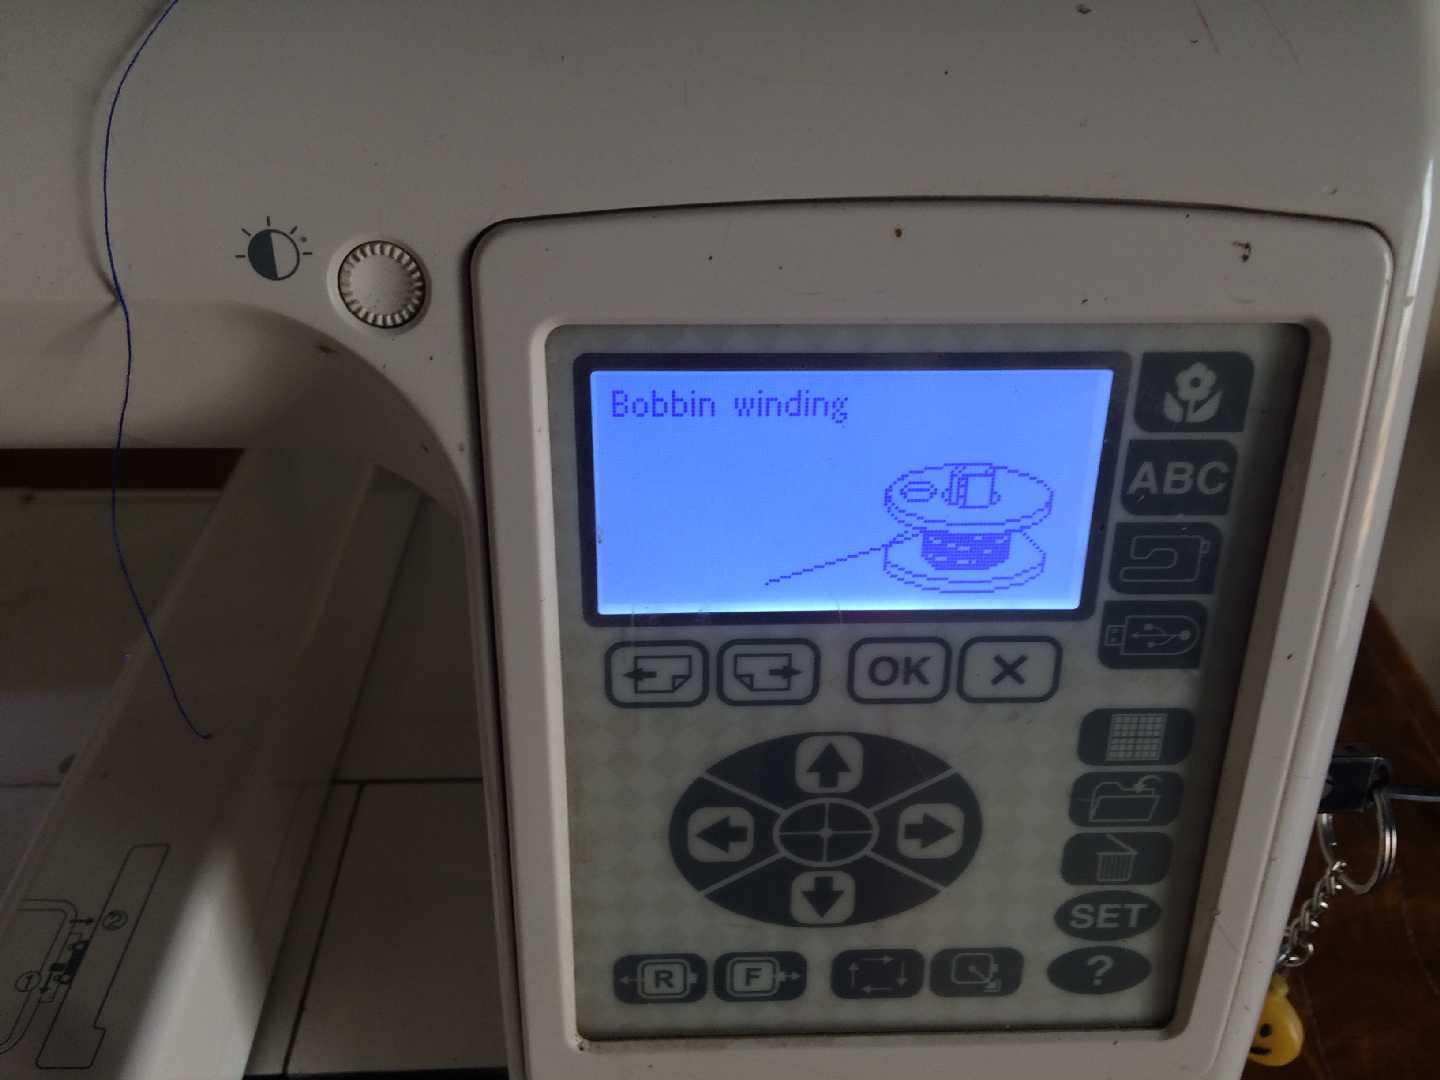
After that we have a bobbin these are used to wound threads of the desired colour that we want to stitch.
Ready the files
To stitch the logo we have to design a logo.
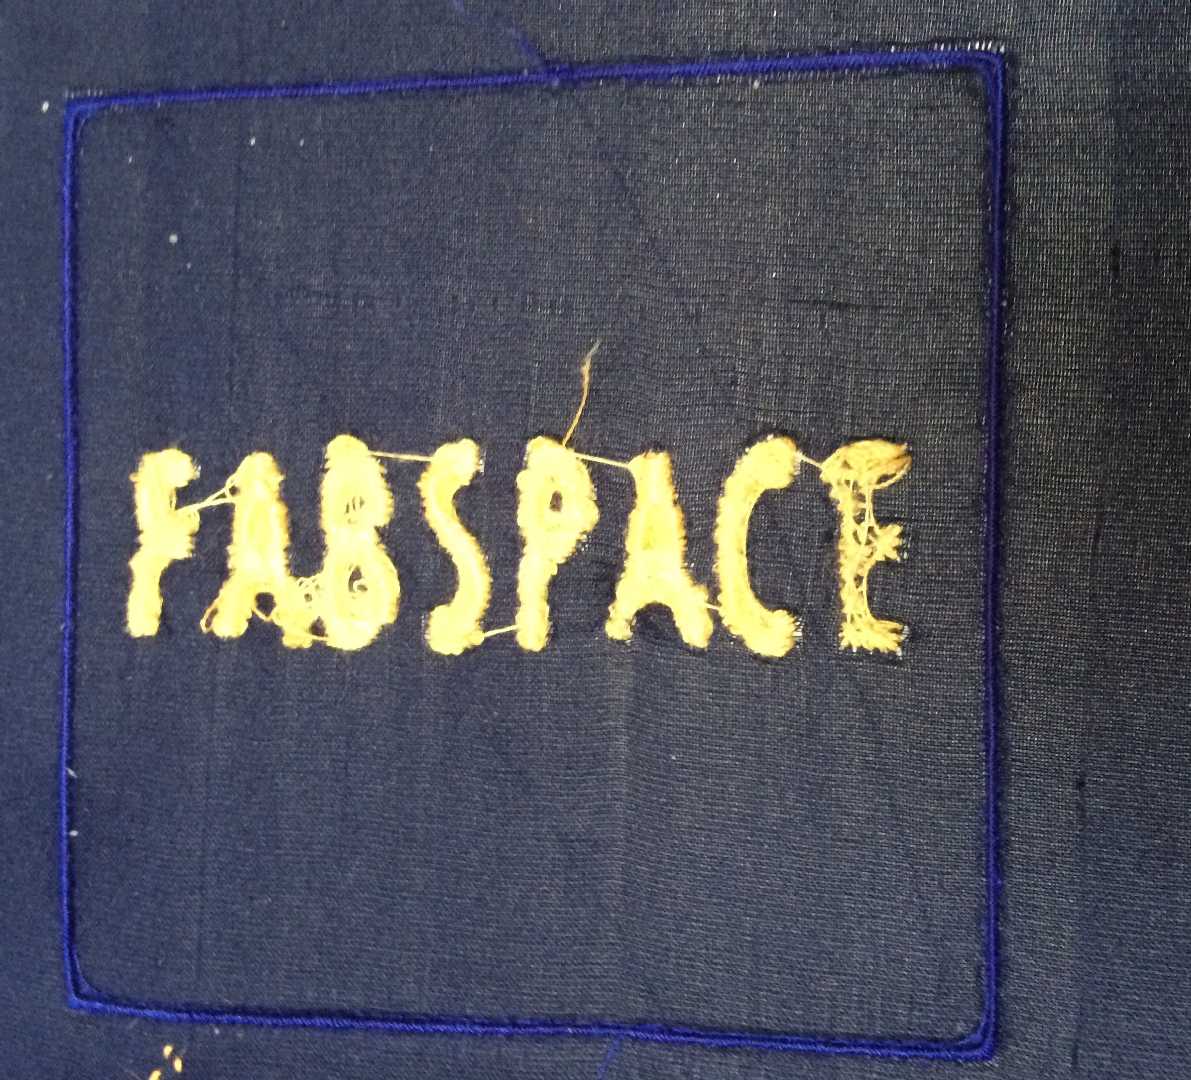
I first designed the Fabspace logo using GIMP and then performed an image trace.
Below is the image that I used for stitching.

Then I used the Digitizer software
First select the hoop of the right size in the software according to your needs.
Then import the design into the software using the "Insert Design" option in Customize Design tab


Then align the design in the hoops virtually

Use the Click to fill option in the Auto Digitize tab to mark the stitching.


Use the Output Design tab to export the desired file into .JEF format for the Janome.

Preparation of the hoop
After the file is exported into a USB drive.
Prepare the fabric on which you would like to stitch your logo on.
Cut it into the exact dimensions it could be a piece of cloth or a sweat shirt
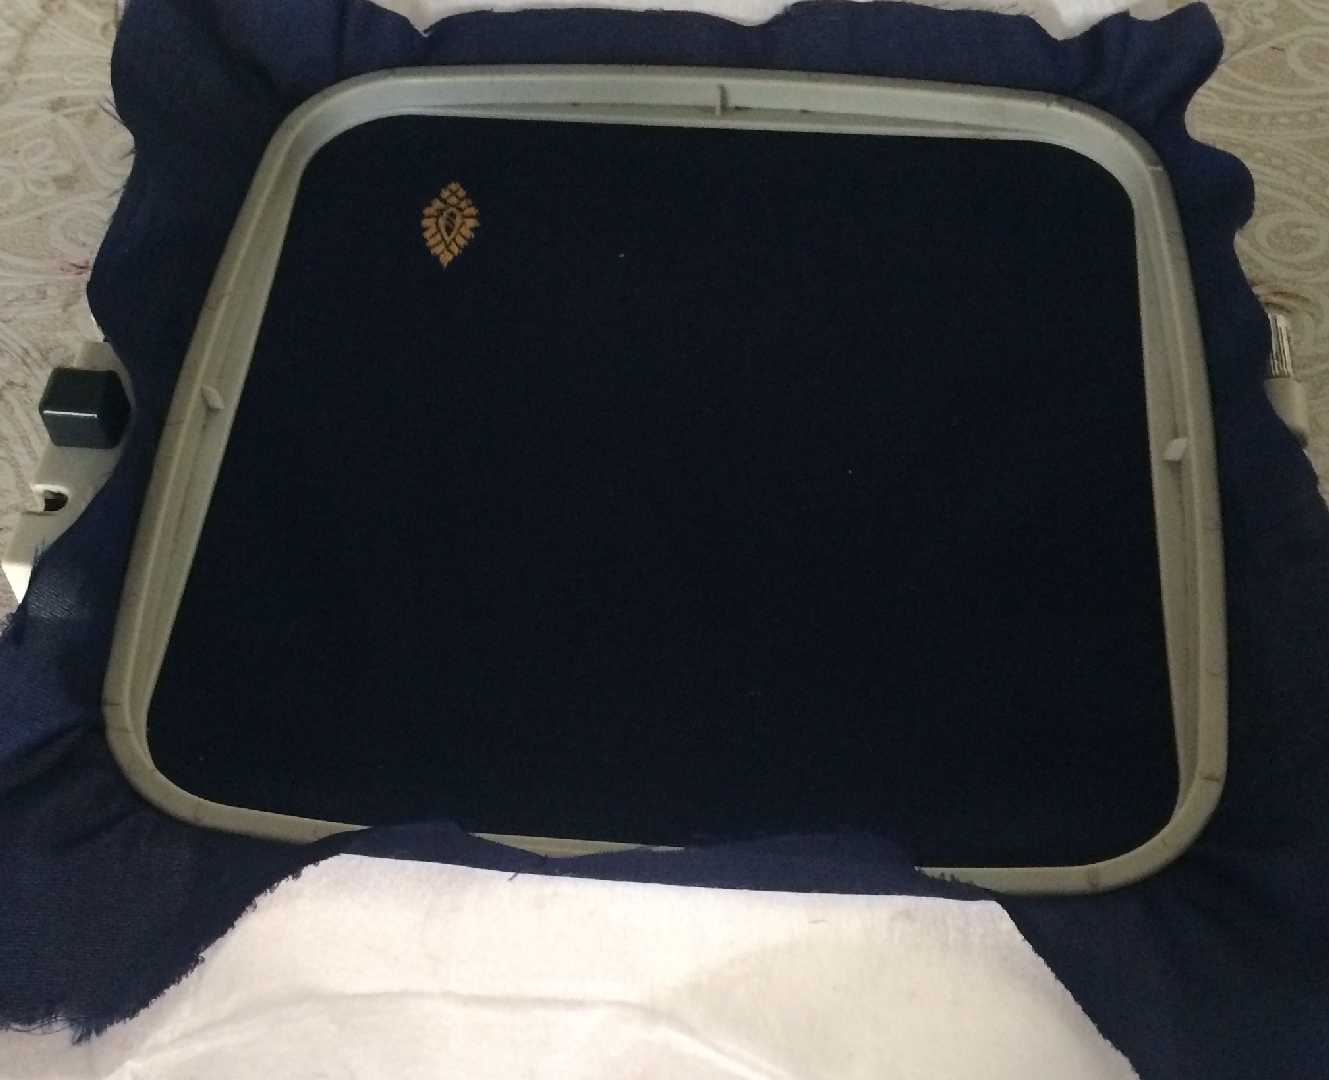
Use a butter paper underneath as shown in the image above so that the logo could be properly stitched.
After that set the bobbin inside the casing of the sweing machine as shown in the image below.
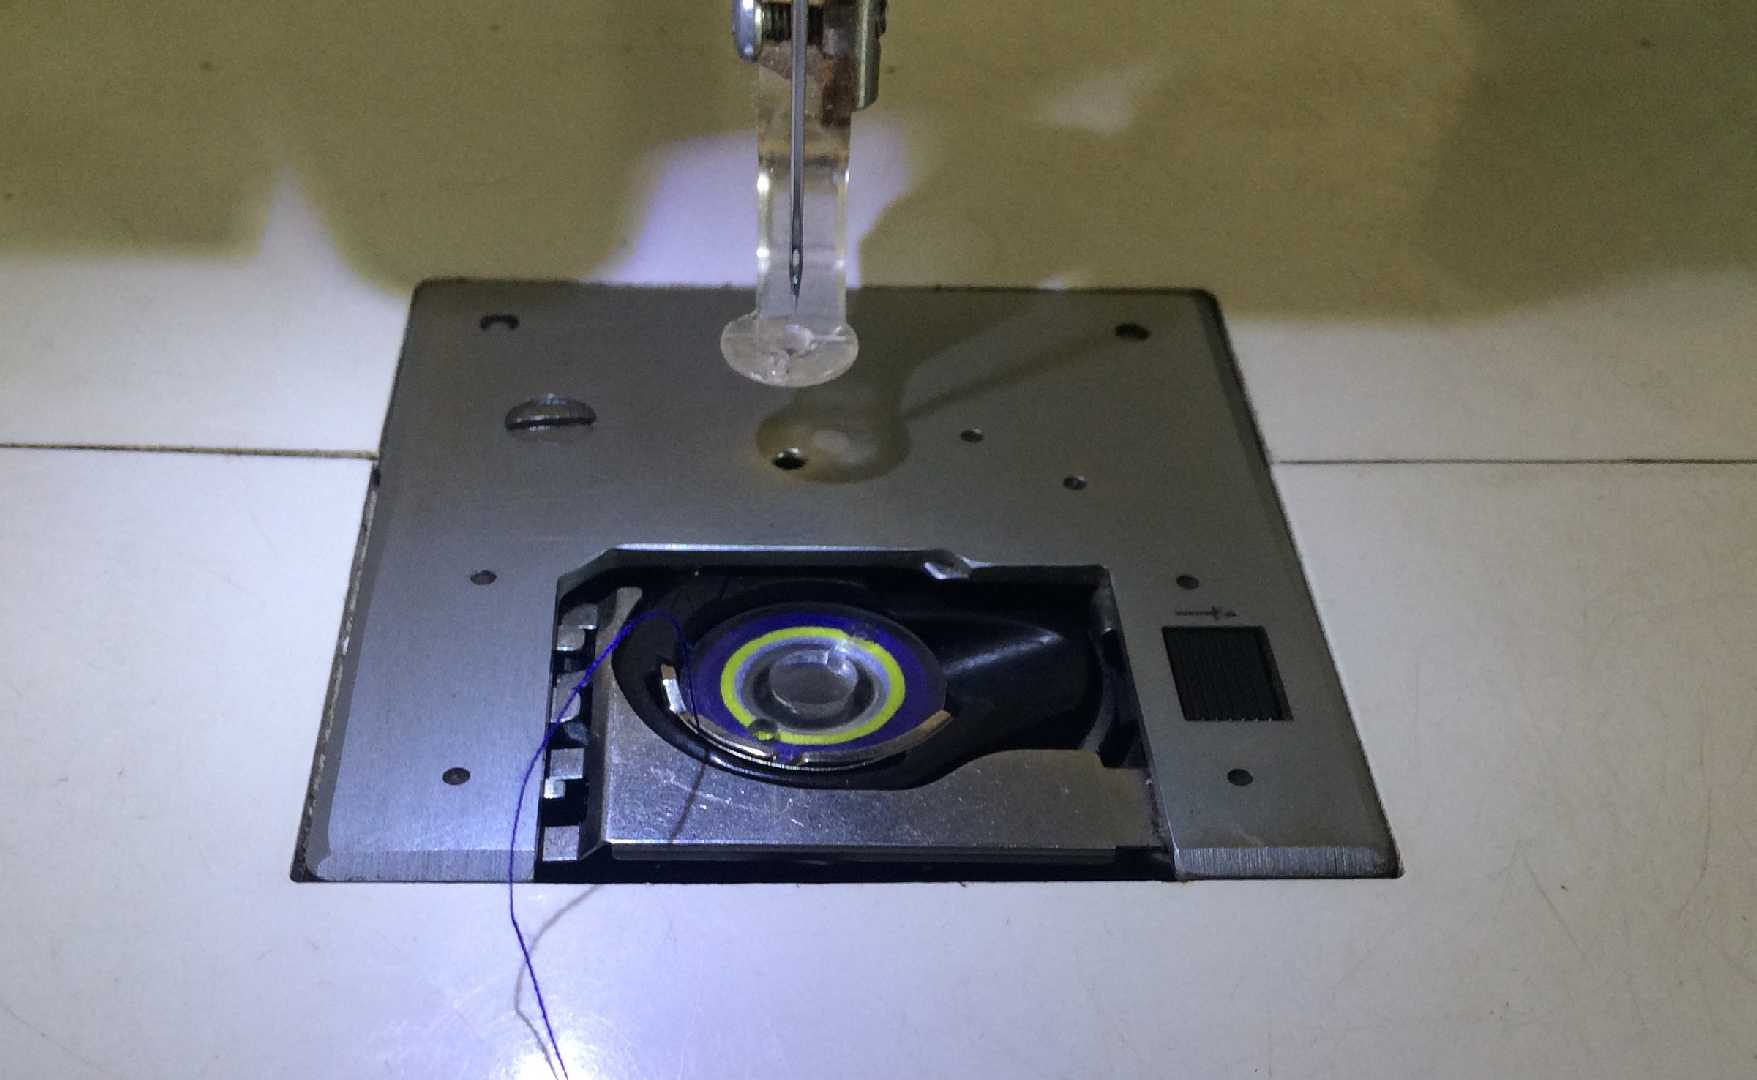
After windind the thread with the desired colour aroung the machine.
Inset the USB stick on to the usb port of the machine and the select the file.
Place the hoop near the needle of the machine.
Set the hoop near the needle and lower the handle at the back.
Afetr that set the file in the desired position in the machine the image below shows it in a better way.
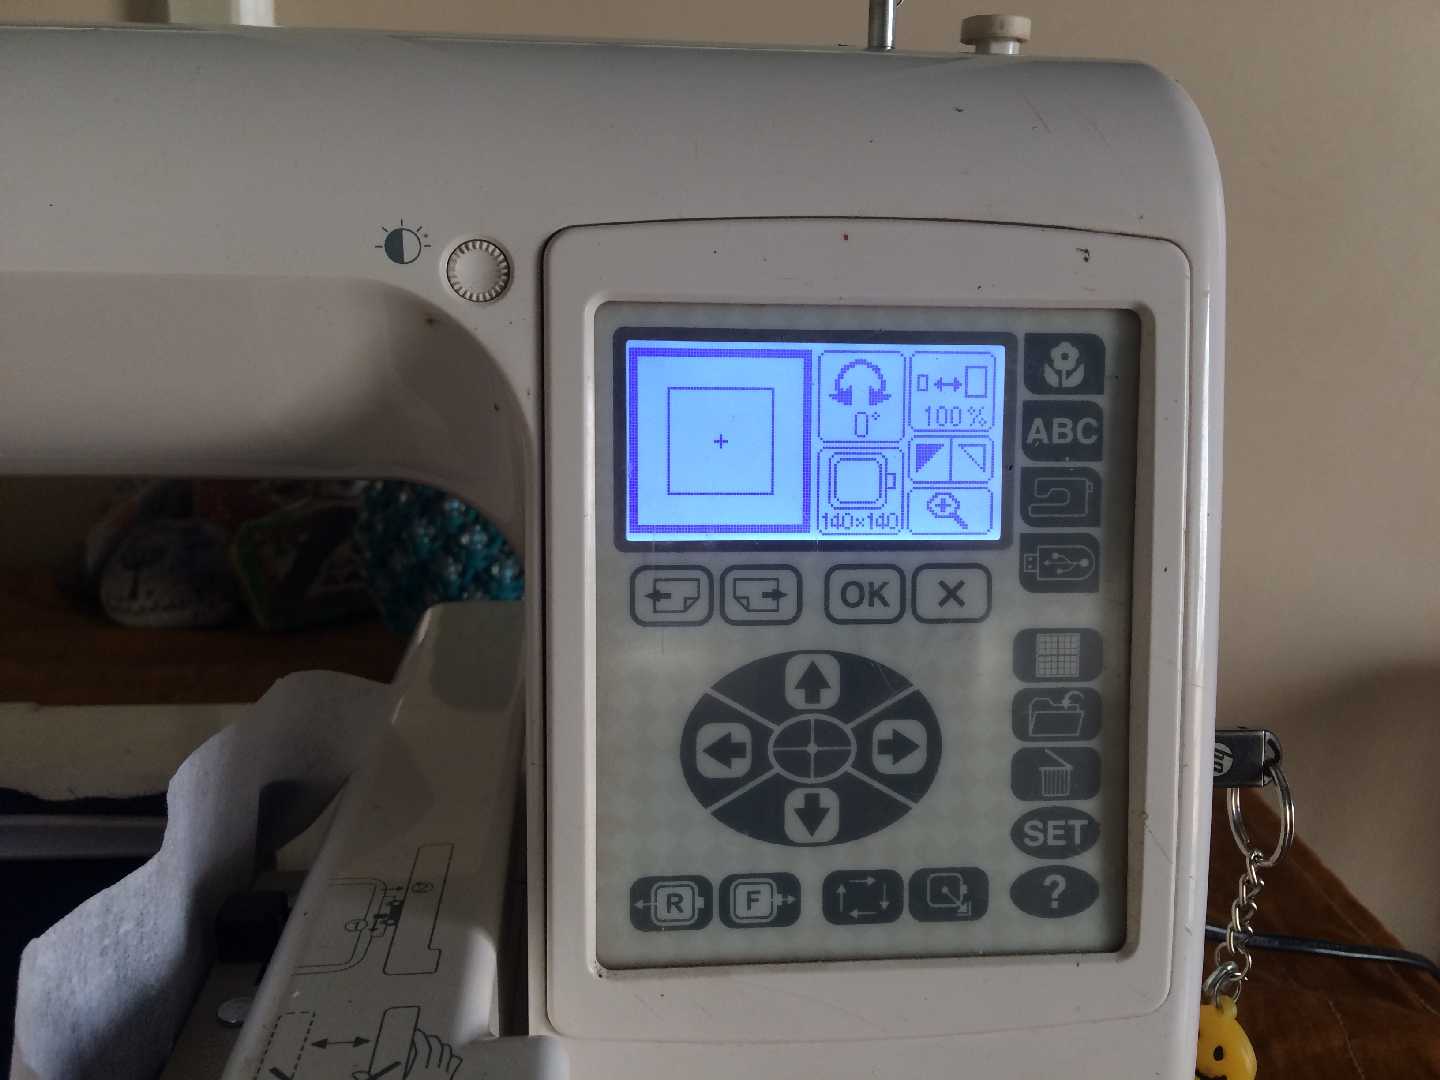
Then press ok on the machine.
We will see that the machine starts stitching.
Problems that I faced and some solutions.
While performing this assignment I found alot of problem frim the threads that I used to the machine.
br First of all stich in multiple layer a single layer of stitch will not be sufficient to get a better.
Secondly use better quality threads caution minimise the use of old threads they tend to bread easily.
There embrodery threads that are available in the market they are costlier than normal ones but do the job better.
The quality of fabric affects the stitching. Choose a thicker fabric.
Check the dimensions of your design while designing and on the digitizer it might change due to compression of the image.
Ask your instructor about the maintainance of the machine if the machine isn't maintained for a long period of time then the quality of stitching takes a hit which rarely happens in a fablab.
Clean the lab before and after the assignment is over.
Results
The video below shows the stitching process of the machine.
An image of Fabspace logo is shown below.

Design Files
The design files of the board is linked here for download

Fabspace by Devesh S Nair is licensed under a Creative Commons Attribution-NonCommercial 4.0 International License.