18. Wildcard week
Design and produce something with a digital fabrication process (incorporating computer-aided design and manufacturing) not covered in another assignment, documenting the requirements that your assignment meets, and including everything necessary to reproduce it.
My area of choice was Embroidery
Learning outcomes
-
Demonstrate workflows used in the chosen process
-
Select and apply suitable materials and processes to do your assignment
Like the previous weeks , student are expected to complete a weekly assignment.
Individual project
- Embroider a design on a piece of fabric something big
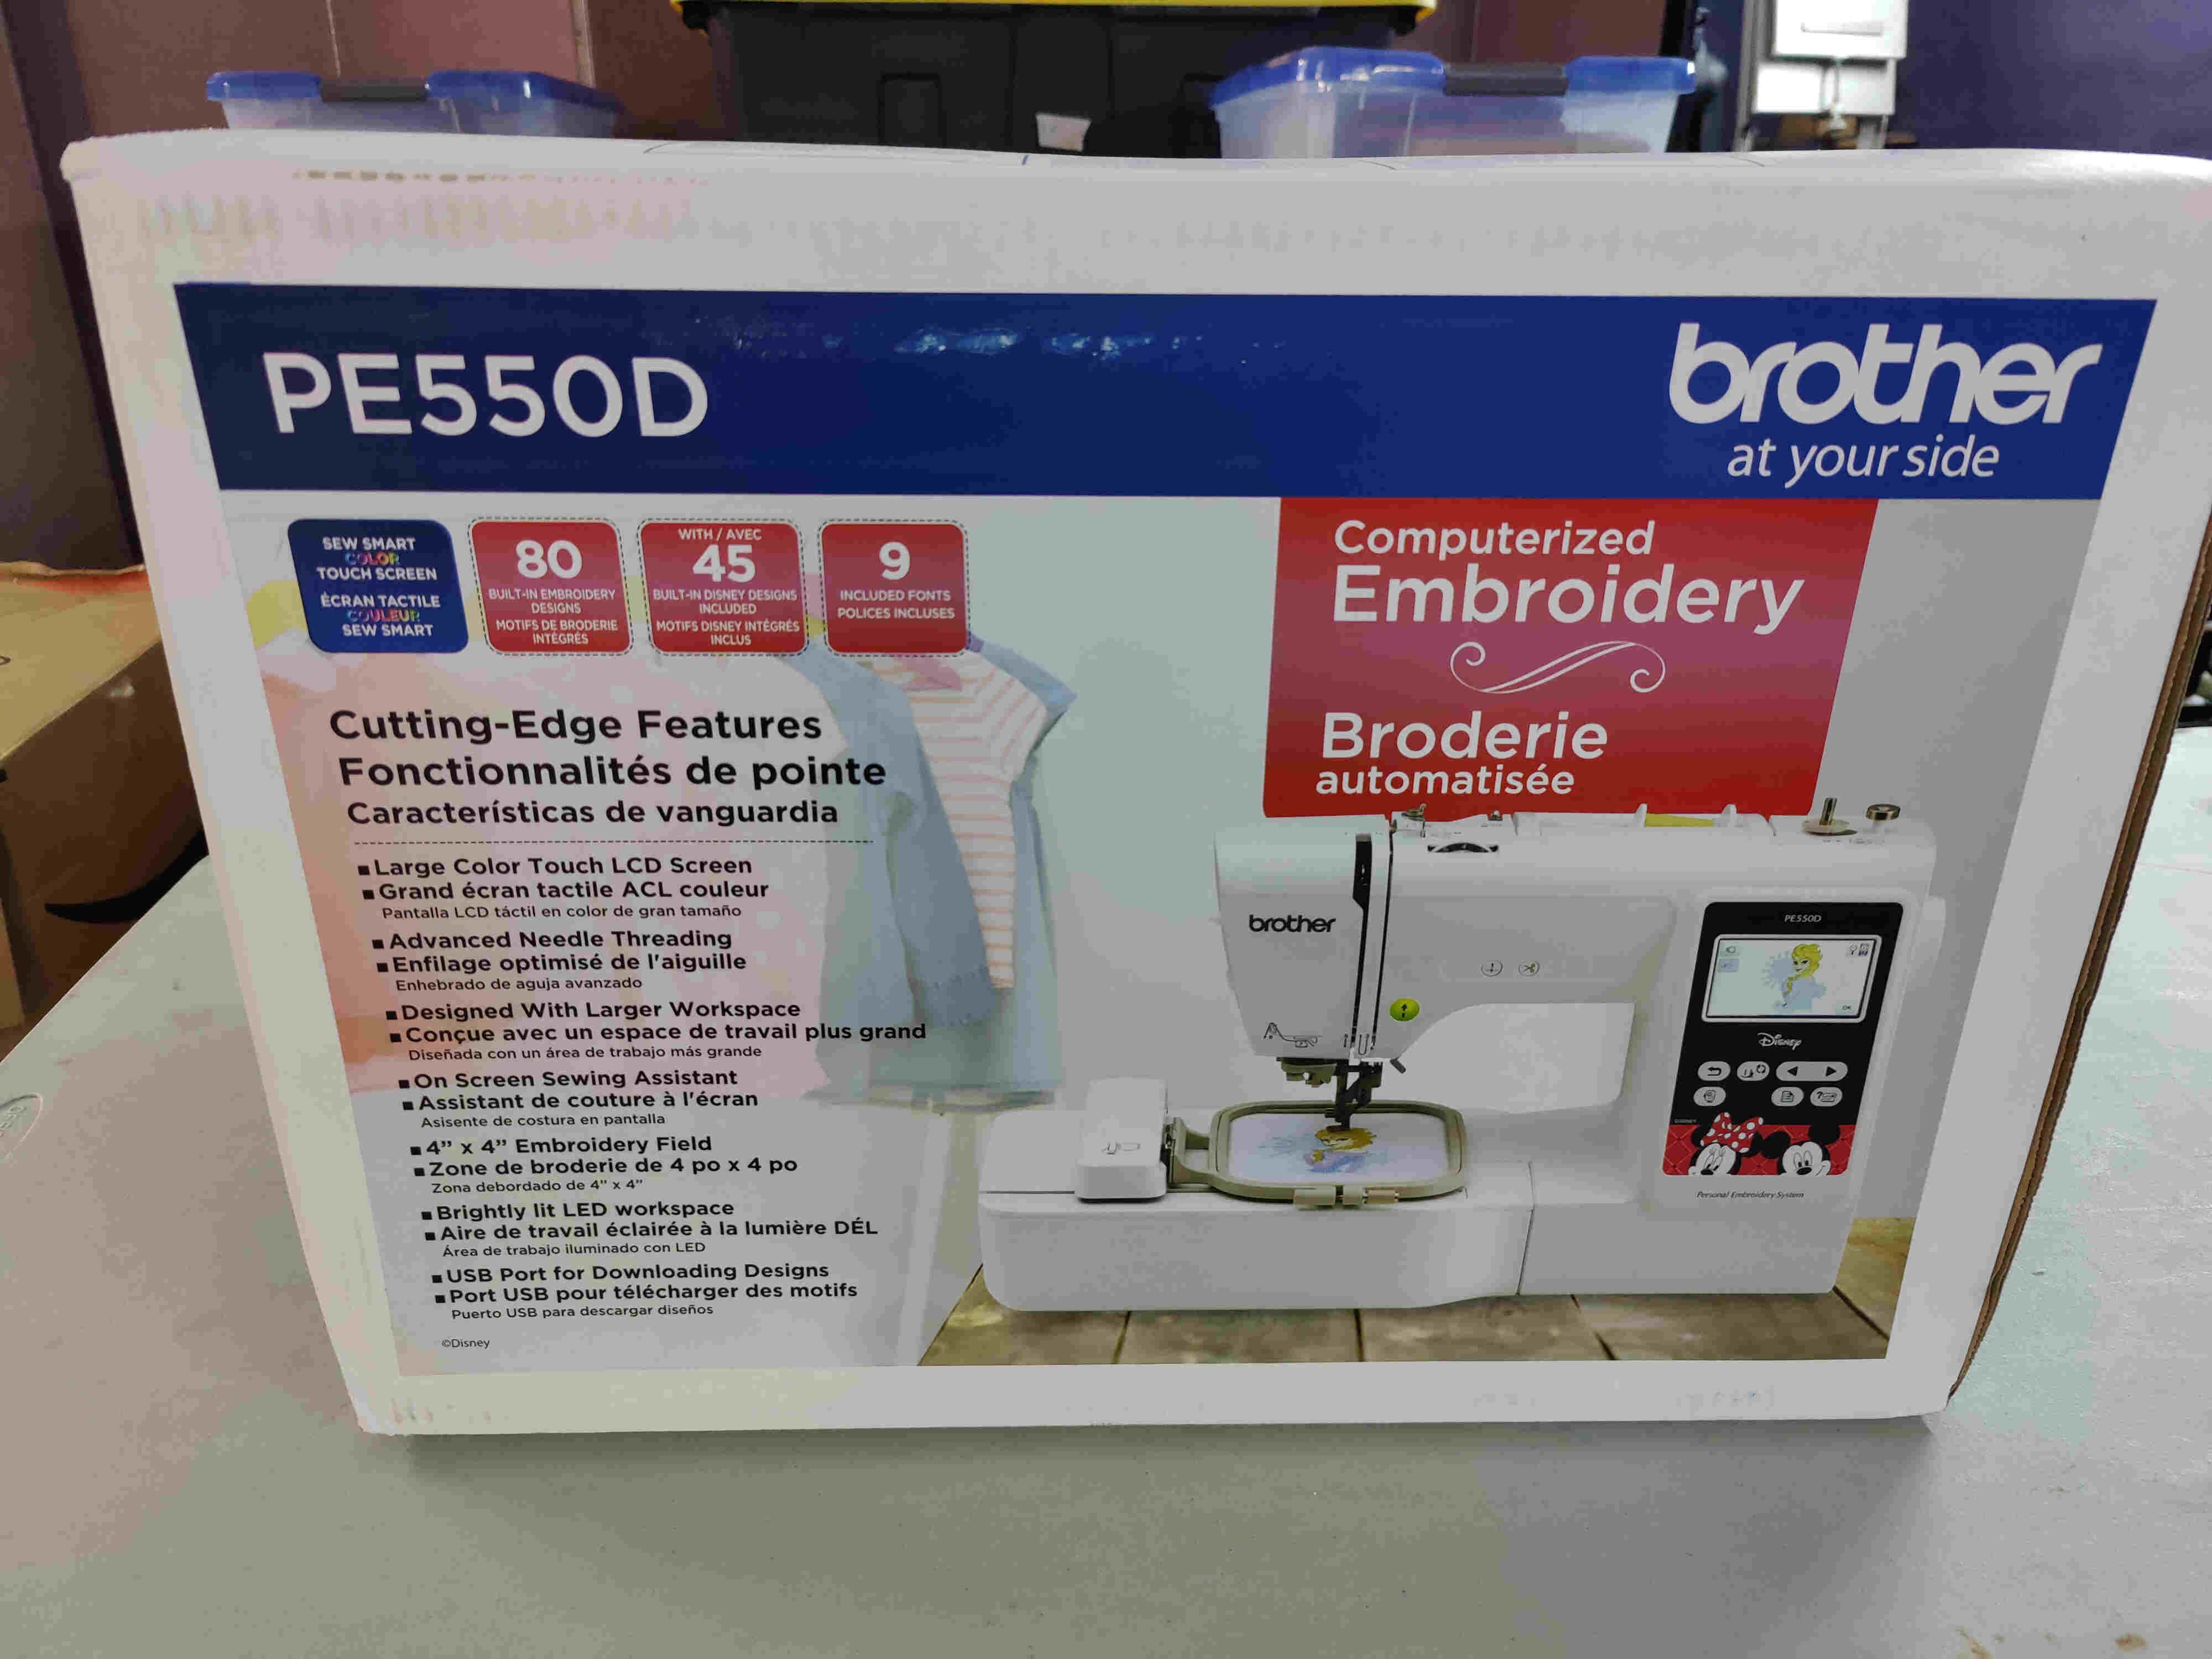
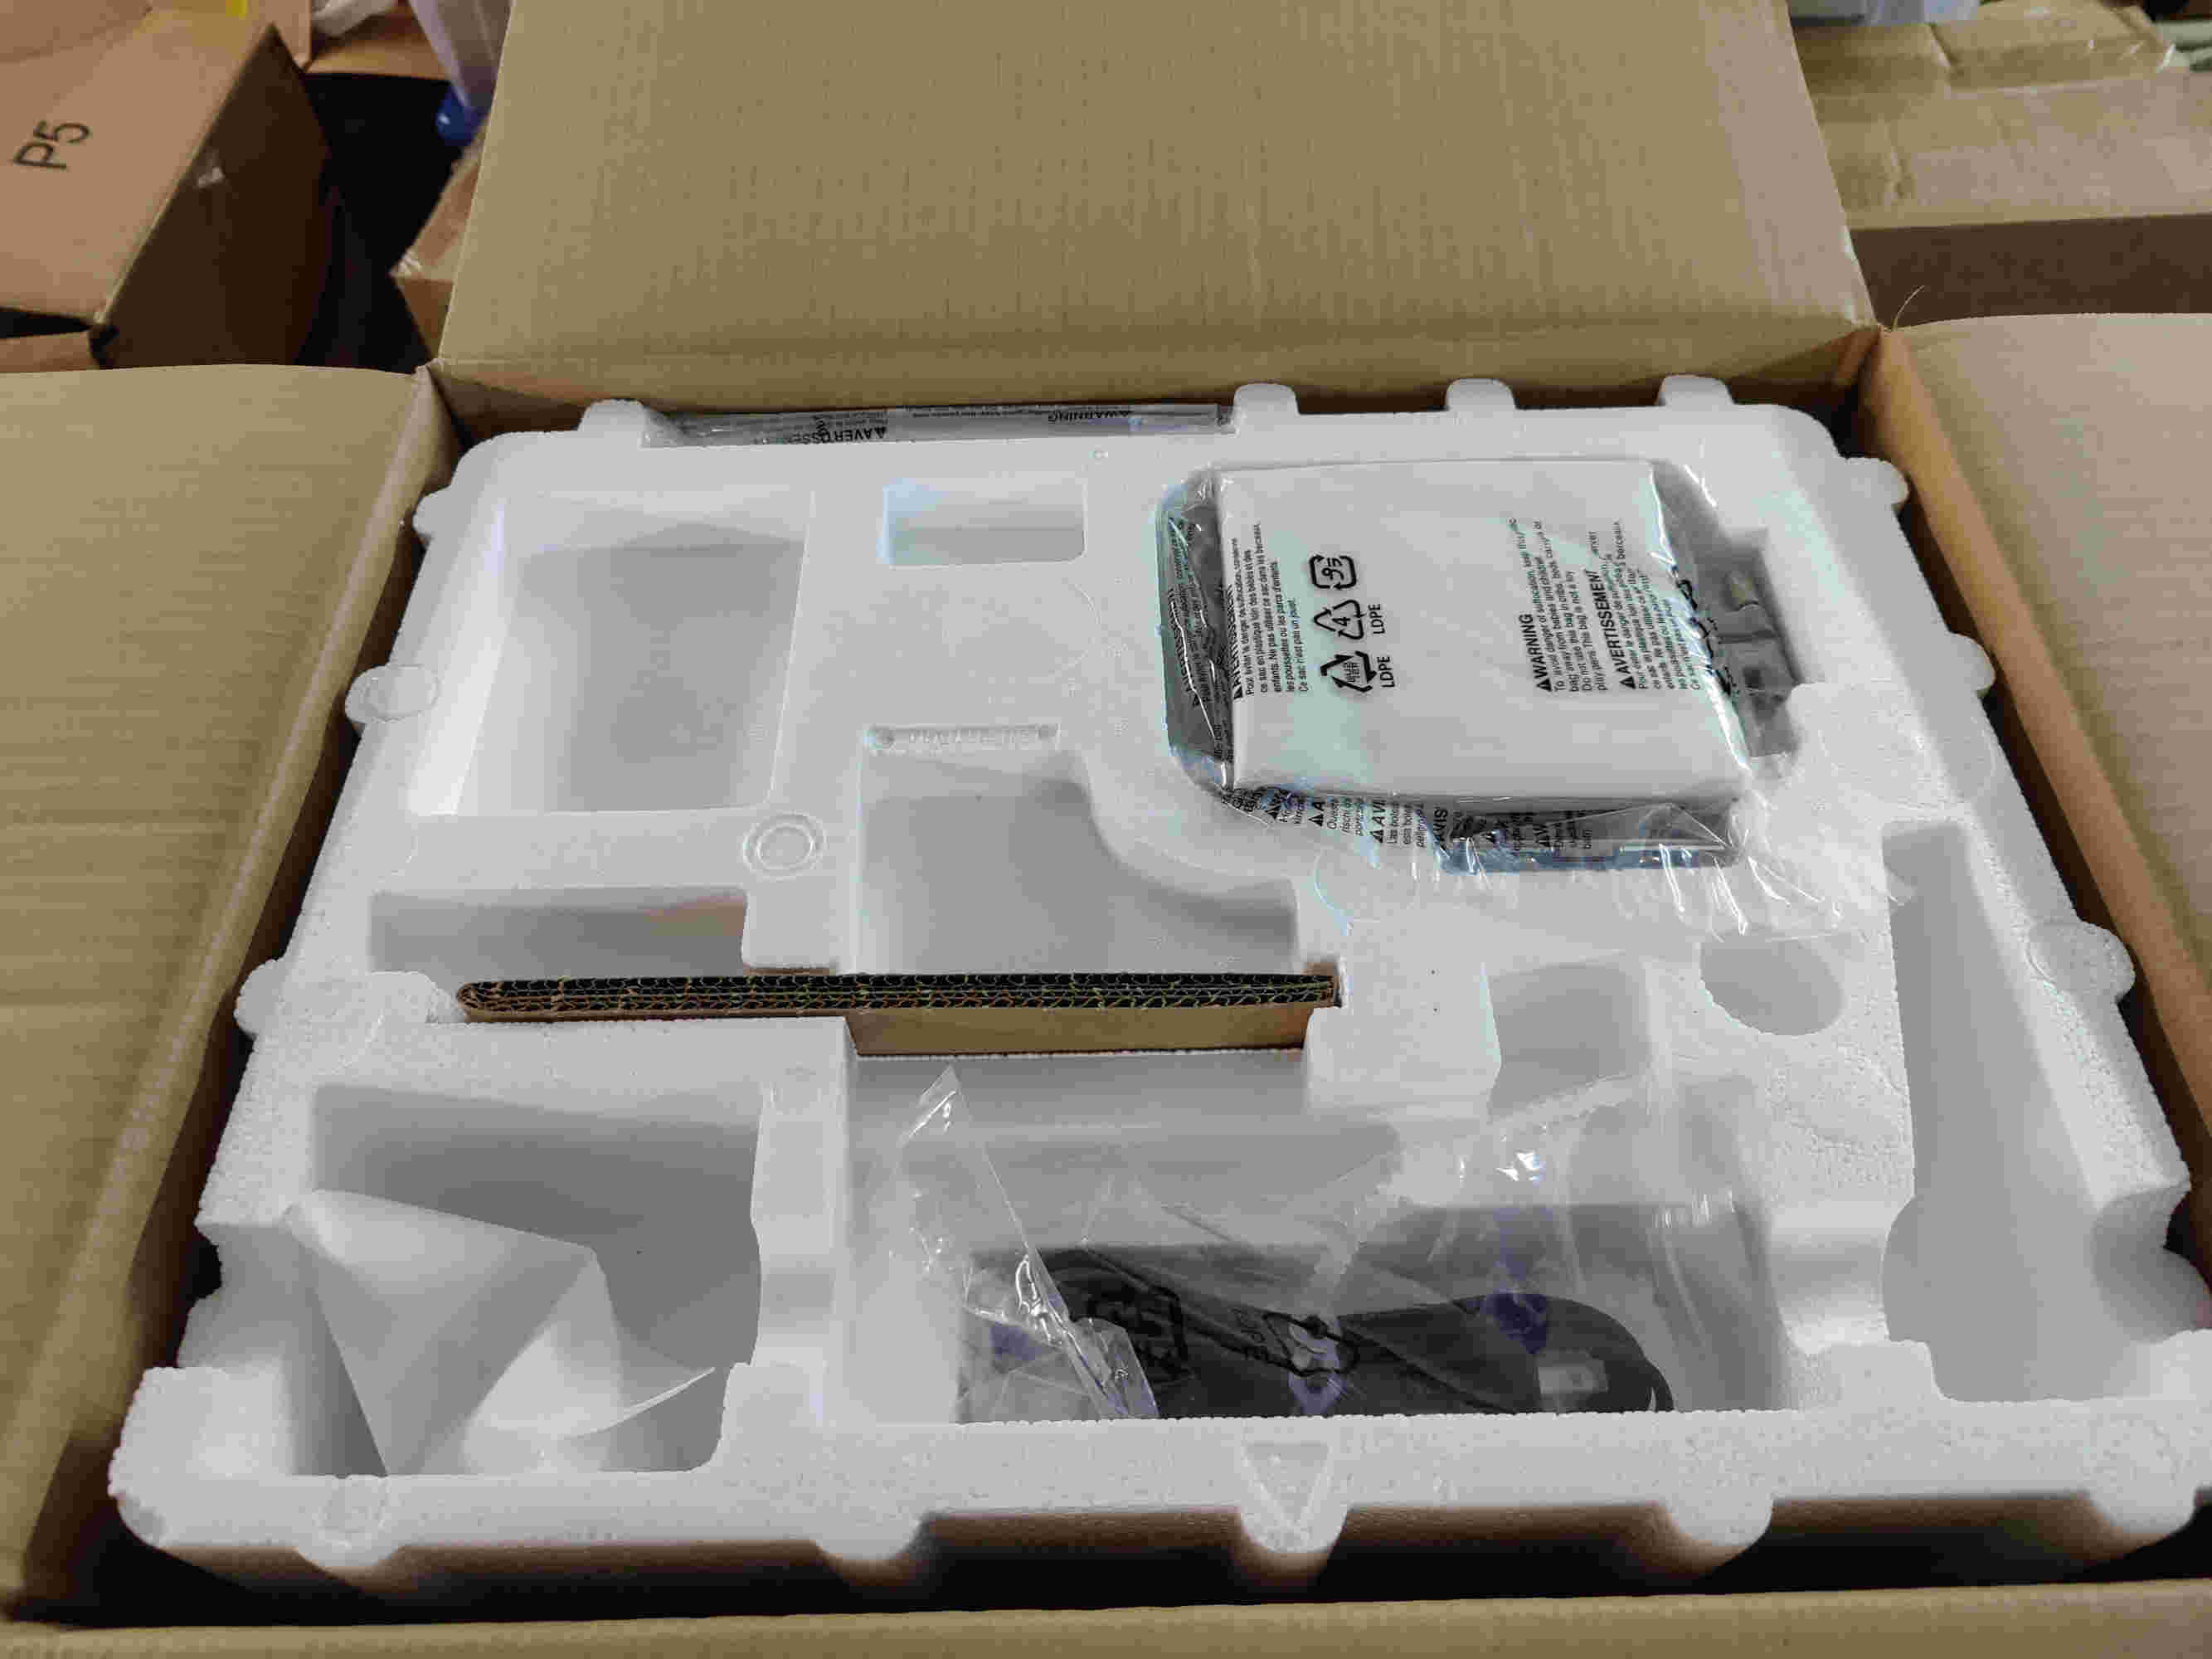
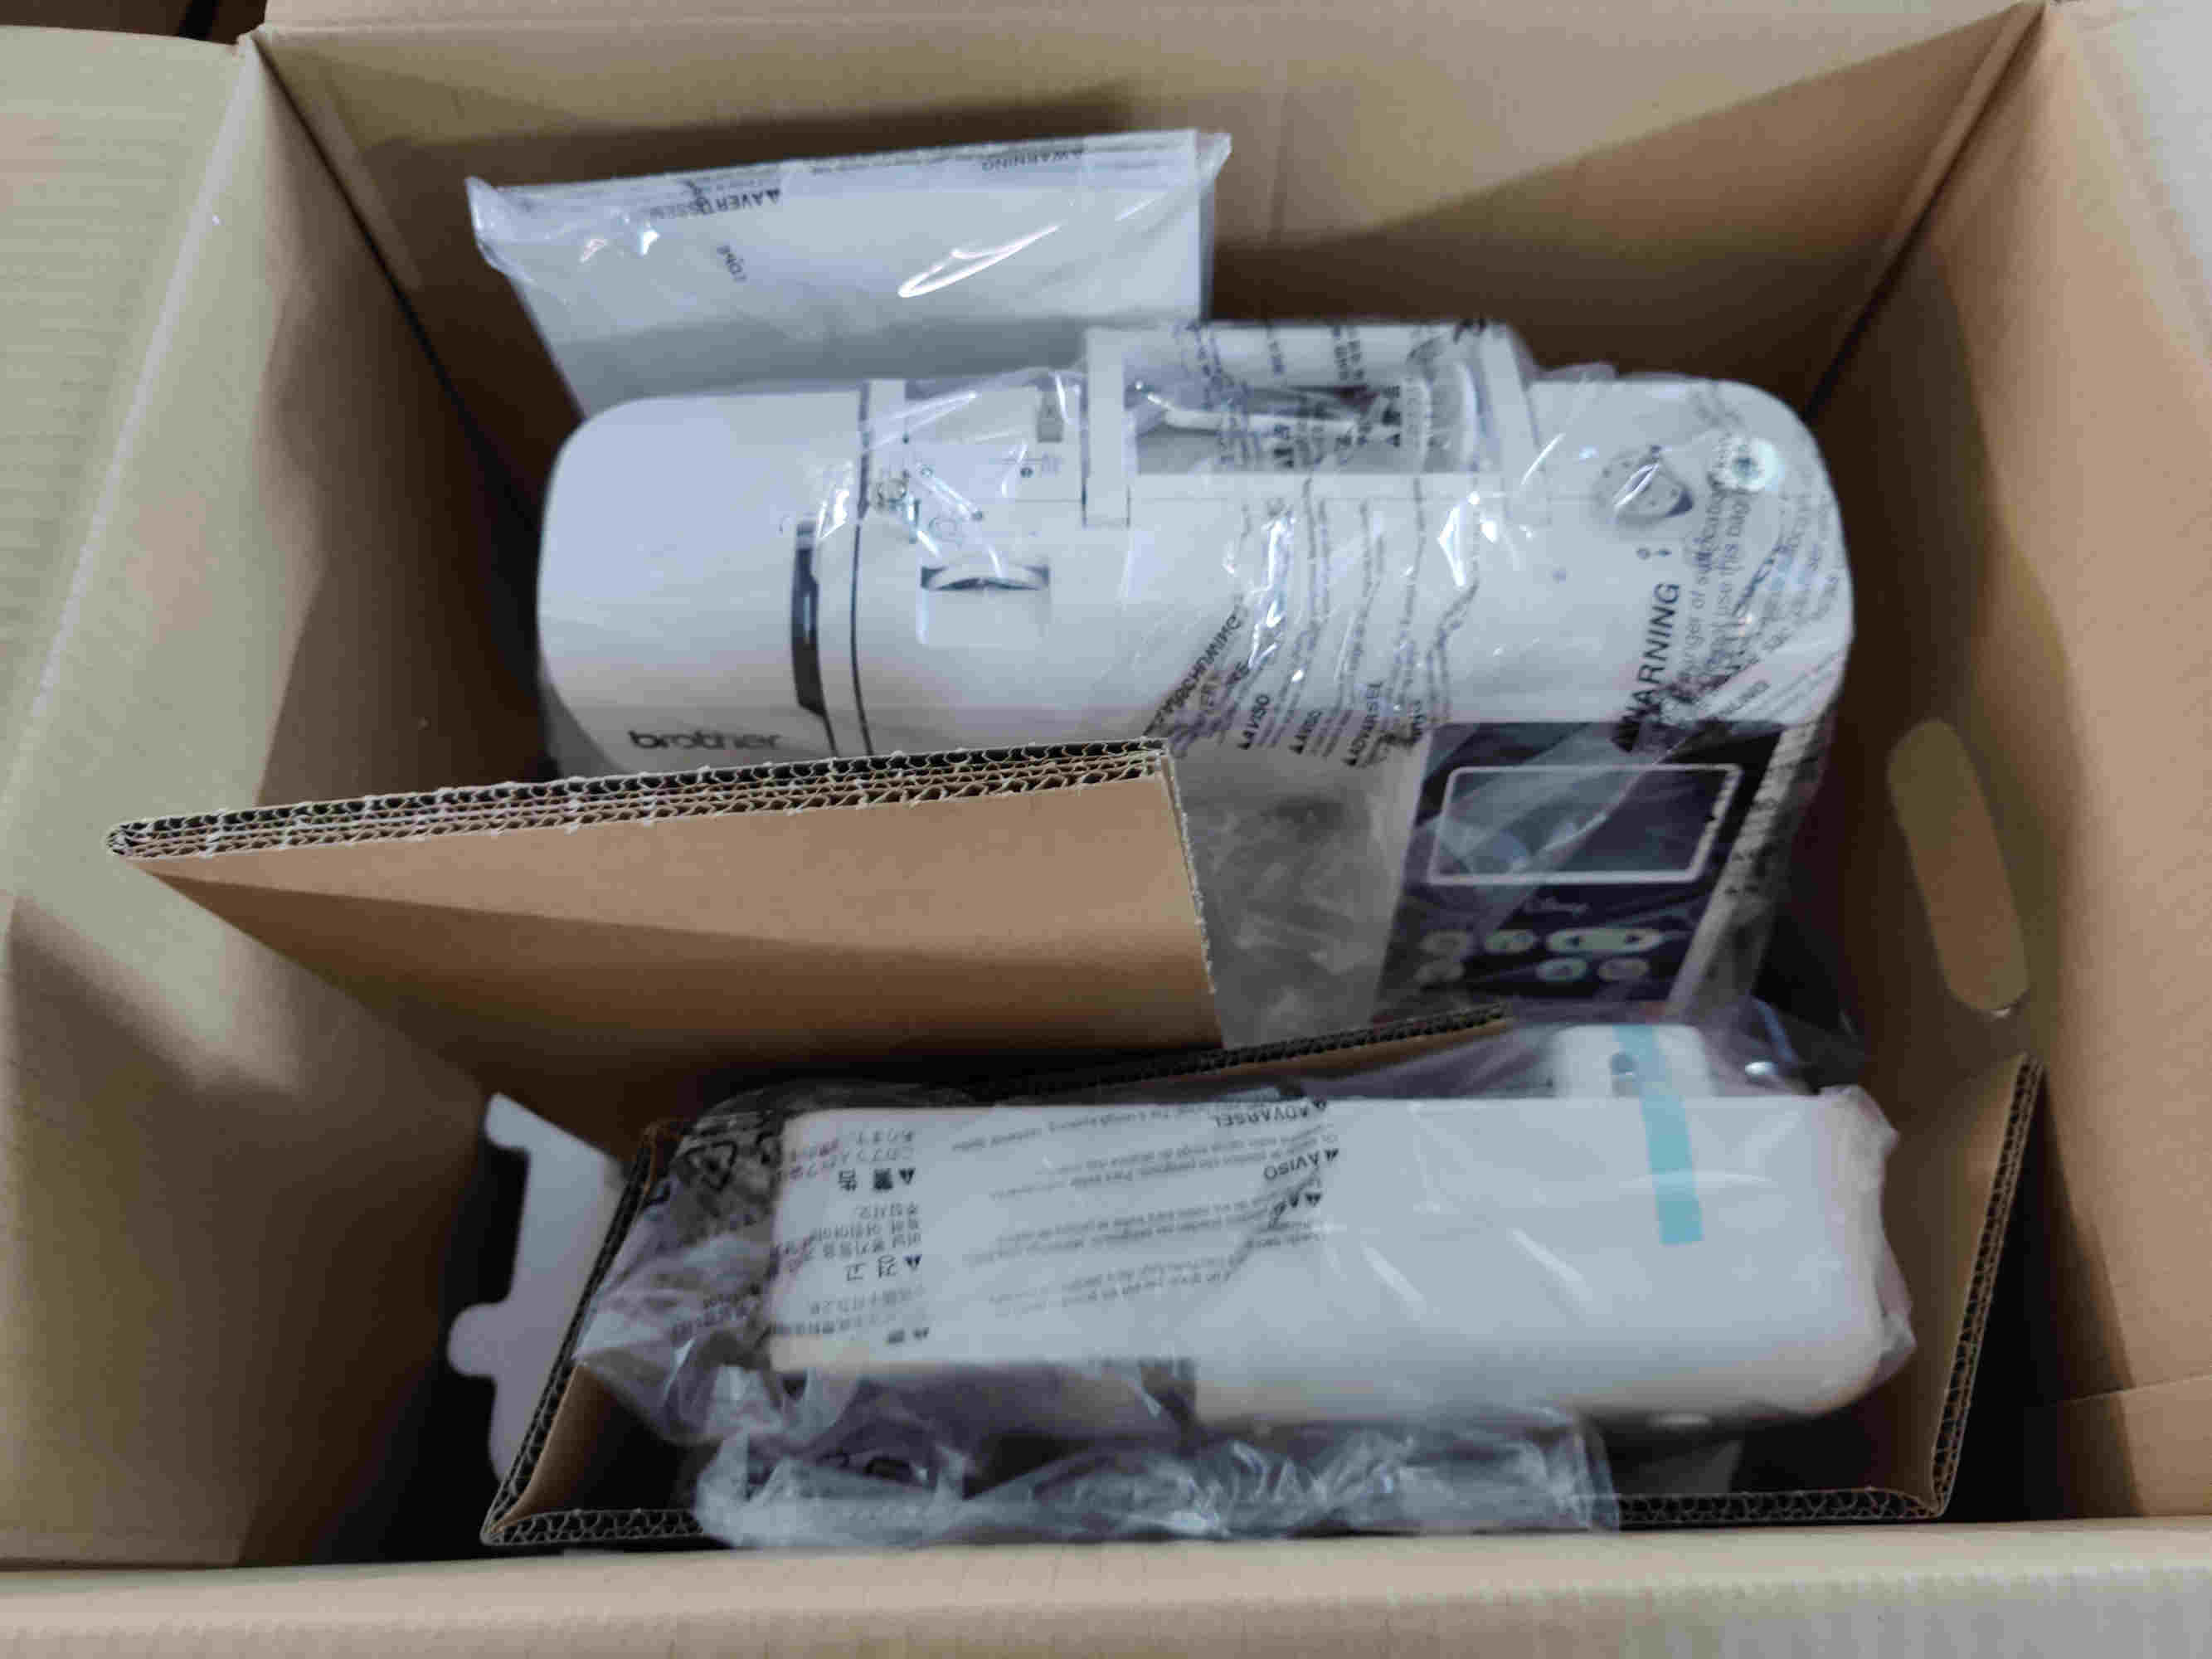
At the NIHERST Fablab we had access to Brother PE550D embroidery machine:
-
Work Area :4” x 4” Maximum Embroidery Area
-
Large color touch LCD screen
-
125 built-in designs
-
9 font styles

Embroidery
The craft of embroidery involves using a needle and thread to decorate material, especially textile fabric (and sometimes fine wire). Along with quillwork and featherwork, basic techniques include crewel work, needlepoint, cross-stitch embroidery, and quilting.
Machine Setup
This was a new piece of equipment to the lab with a very easy setup

Software
Ink stitch
A free and open-source platform for designing machine embroidery based on Inkscape

Inkstitch Installation
Download and installation of Ink Stitch
Key notes when installing:
- Download the correct vision for your OS (I used Windows)
- Ink/Stitch needs to be installed into the Inkscape extensions folder.

Confirming Ink stitch is installed Open Inkscape and go to extensions on the main tab

Preparing an image for embroidery
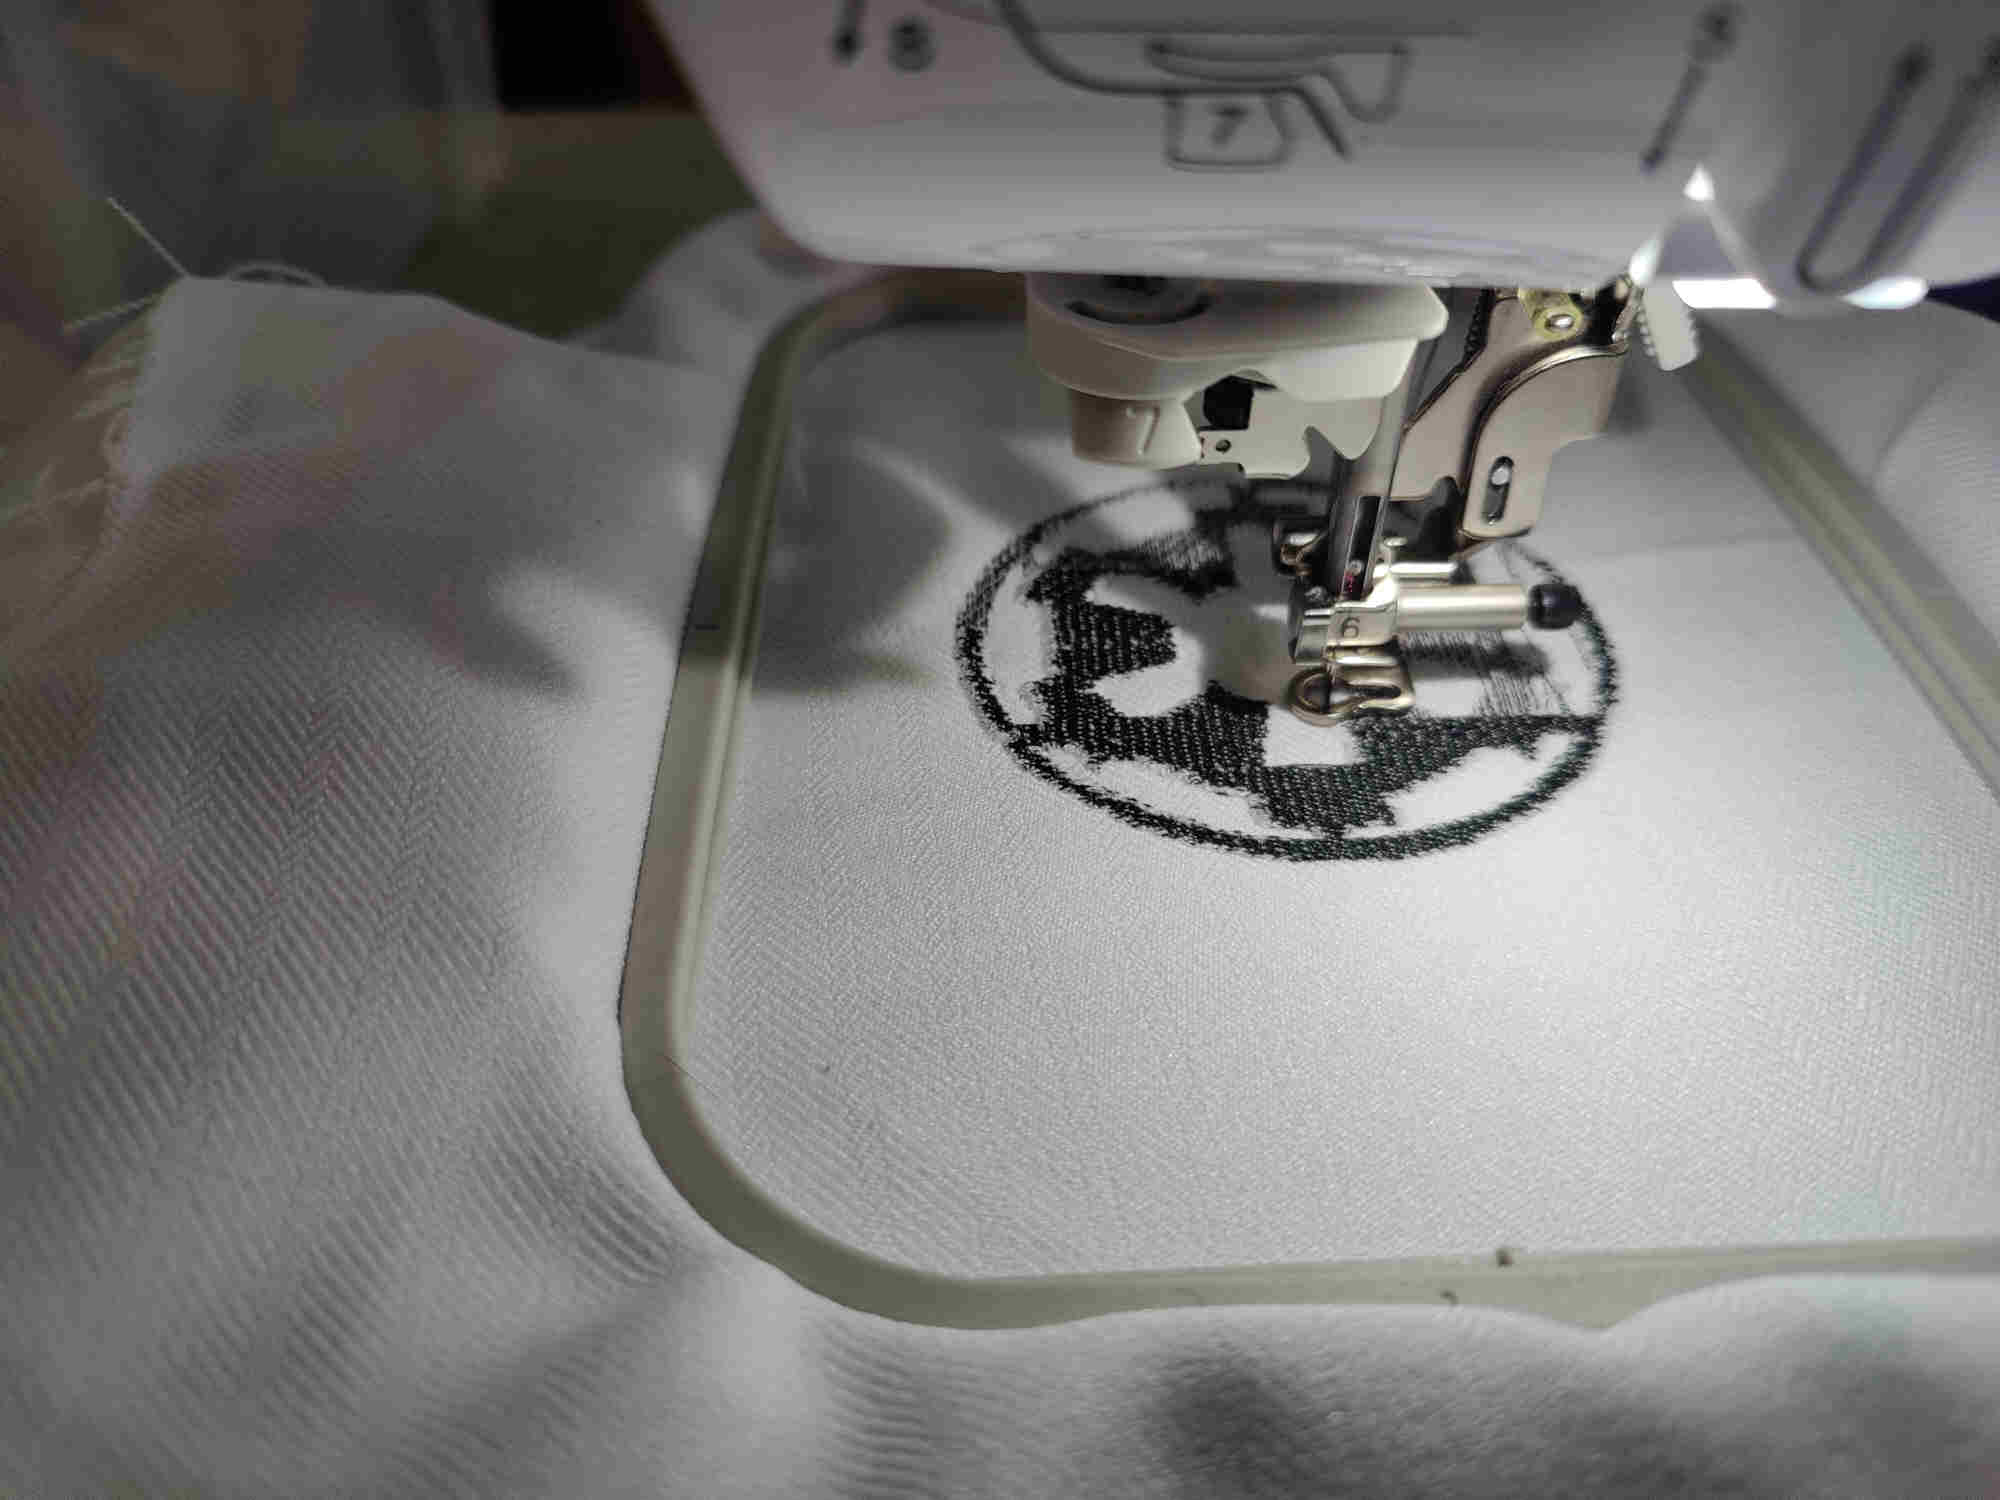
As always I downloaded an Star Wars Imperial Logo vector image from online that I like .

Open image in Inkscape and Trace Bitmap


Note: Delete the original image
Go to Ink Stitch in the Extensions Tab > Params


I adjusted the spacing between rows

Then save as pes file

Transfer to a USB flash drive and connect USB to machine
Embroidery Machine setup
Treading the Machine
Treading the was simple I just follow the instructions on the machine .

Tread in spool
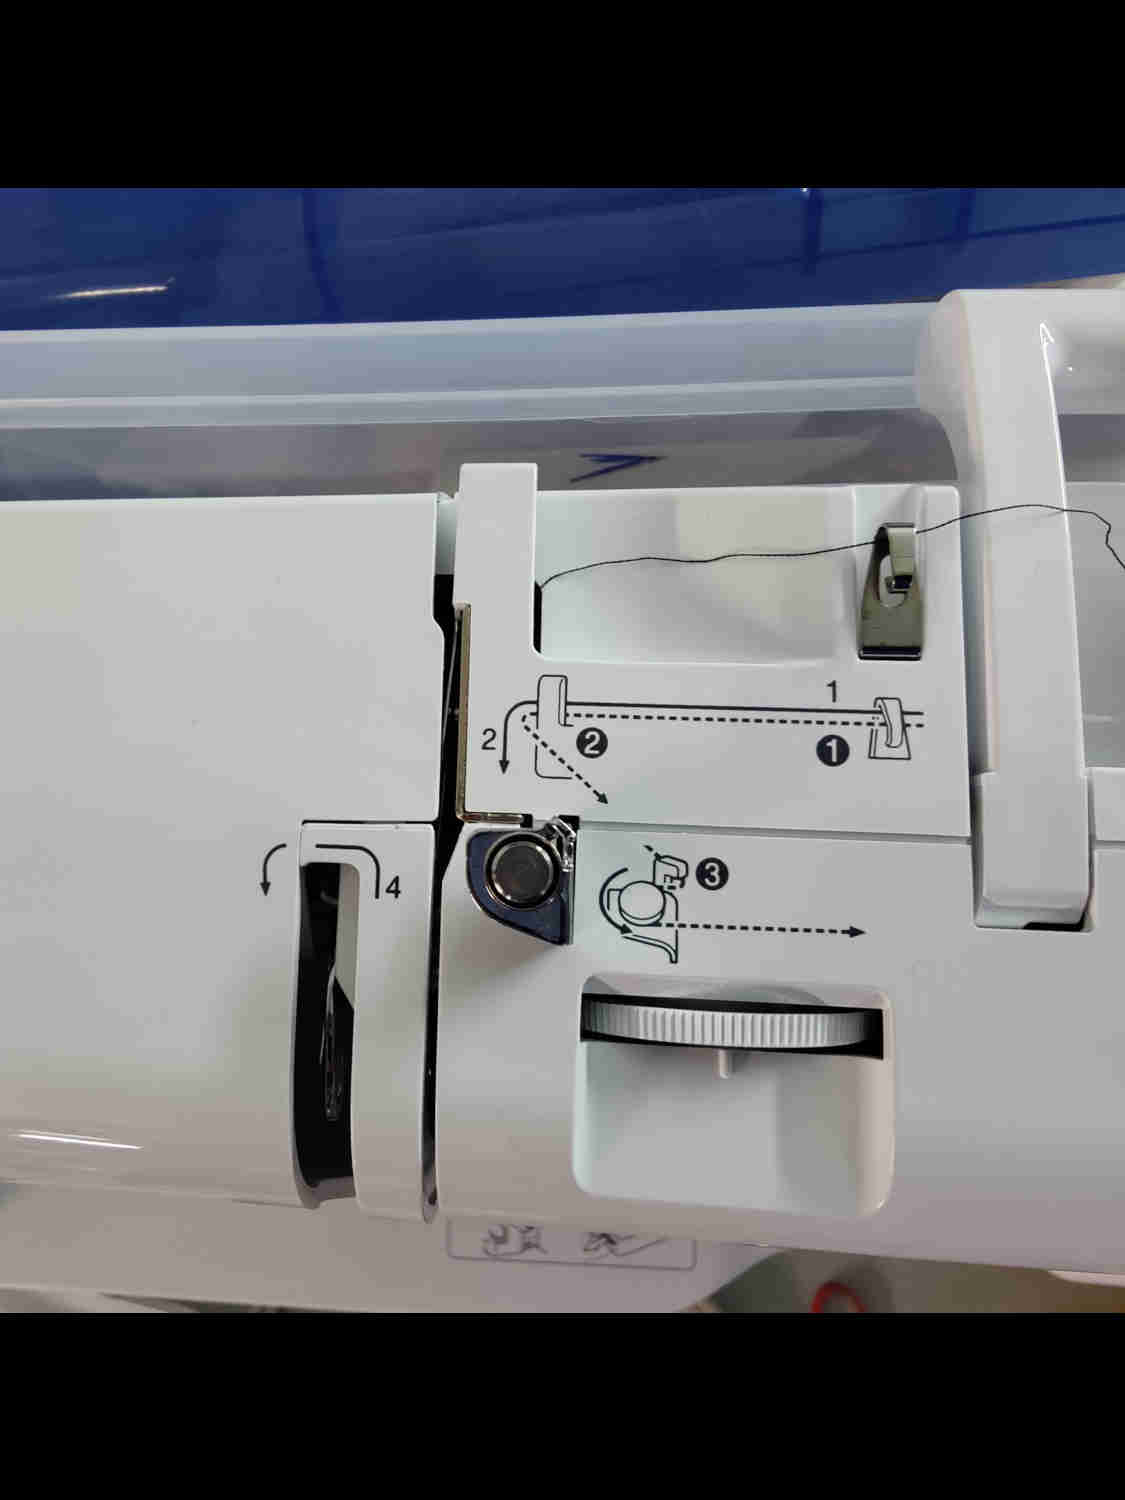
1 to 2
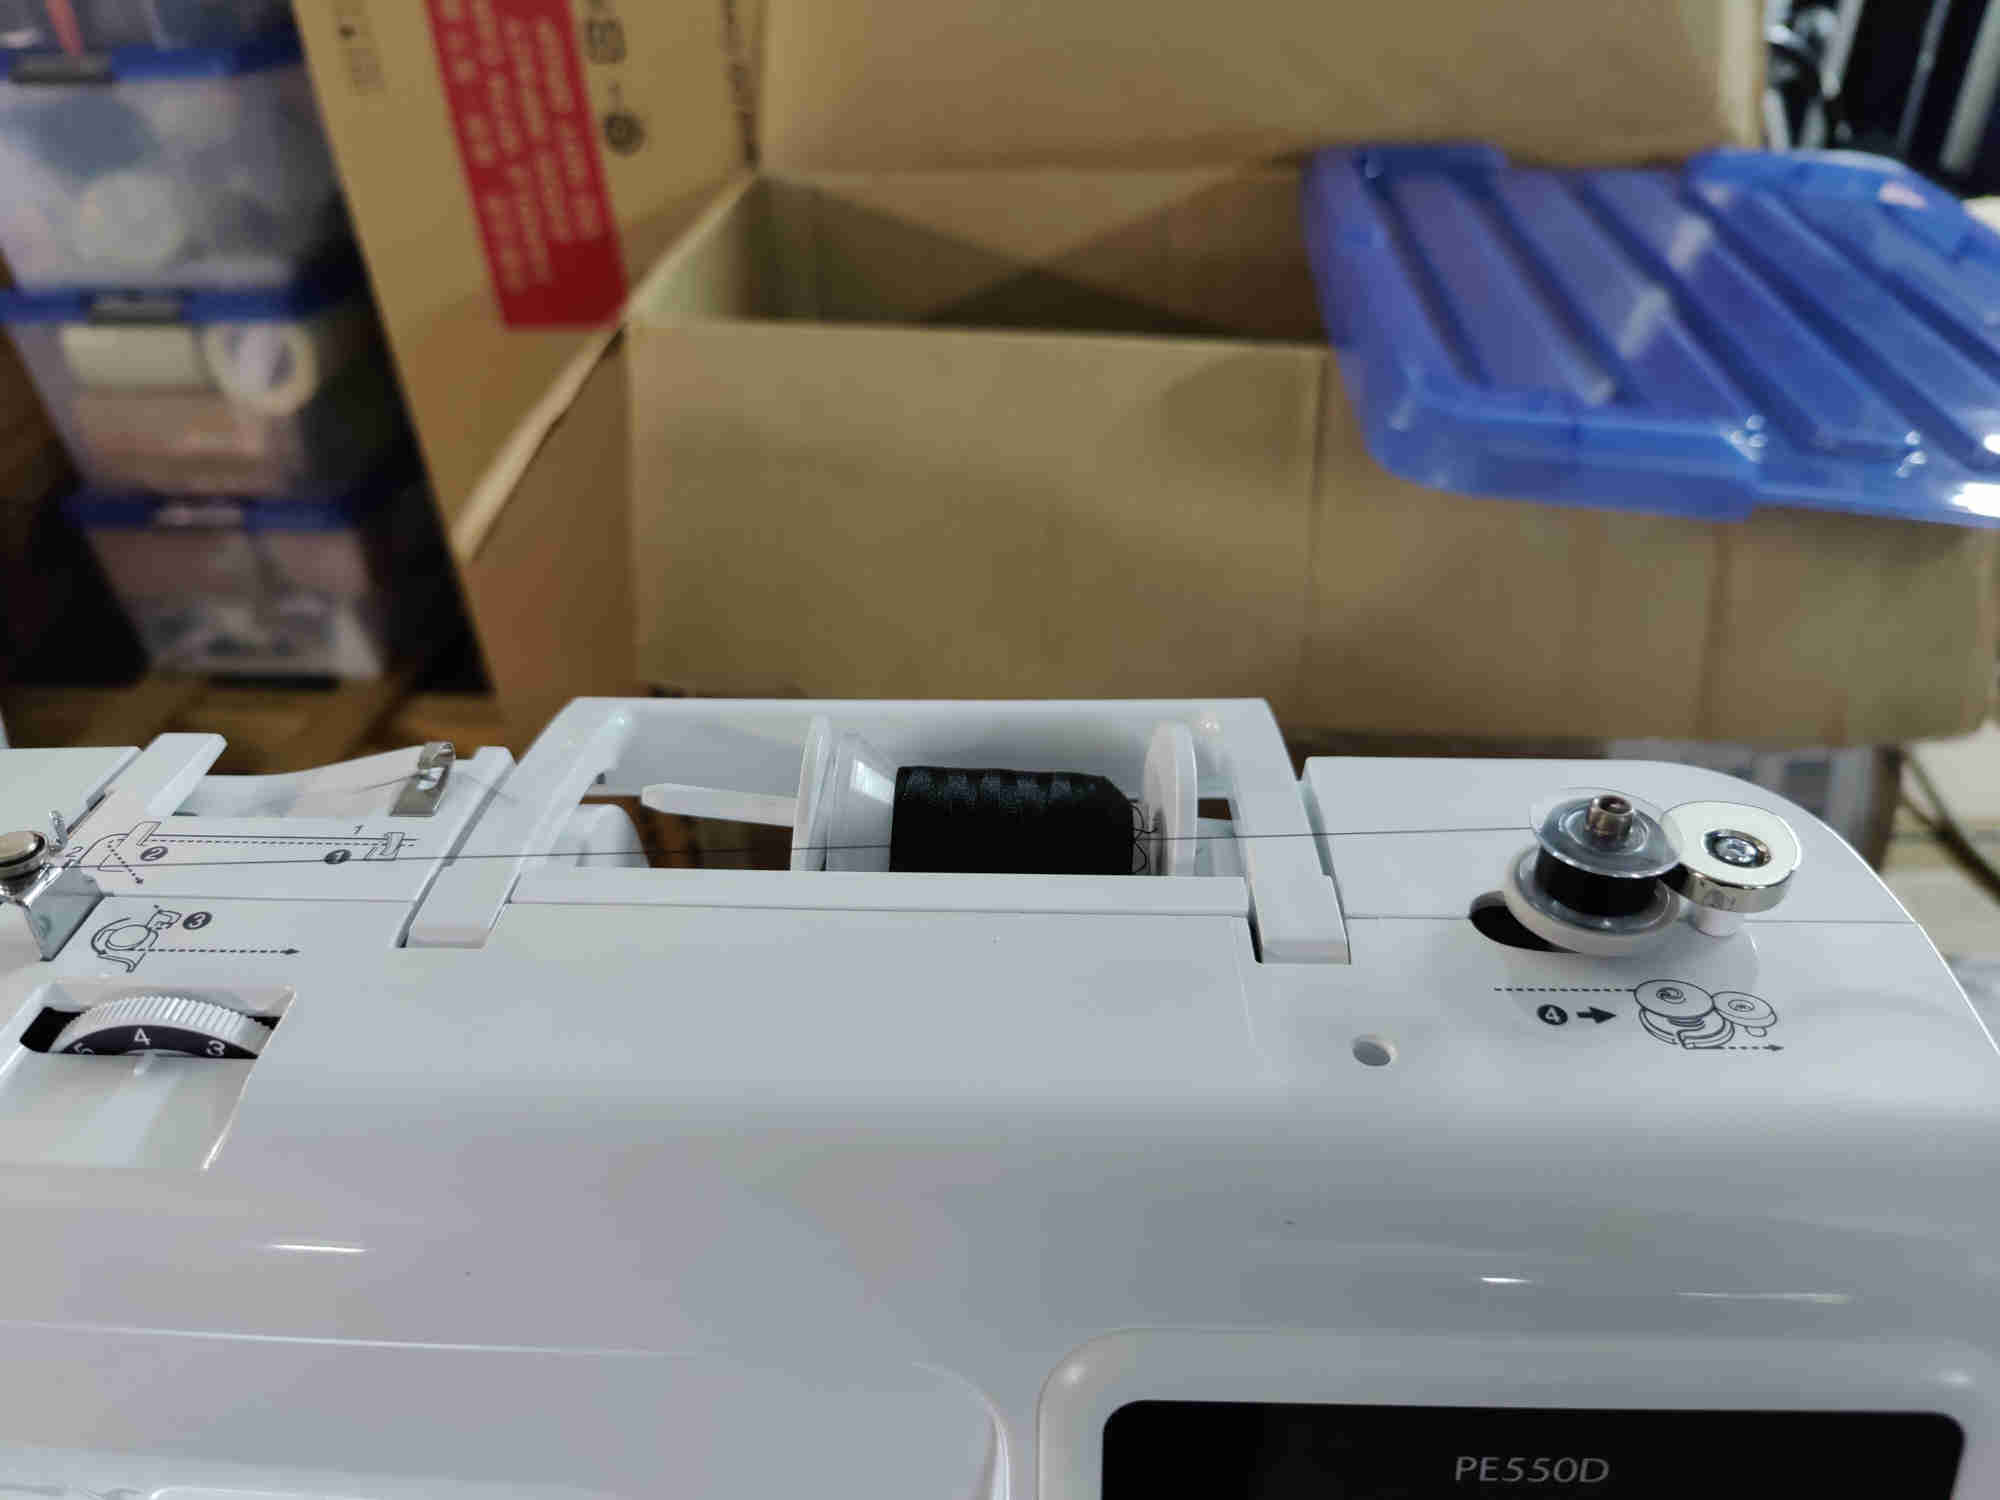
3 to 4 if filling bobbin
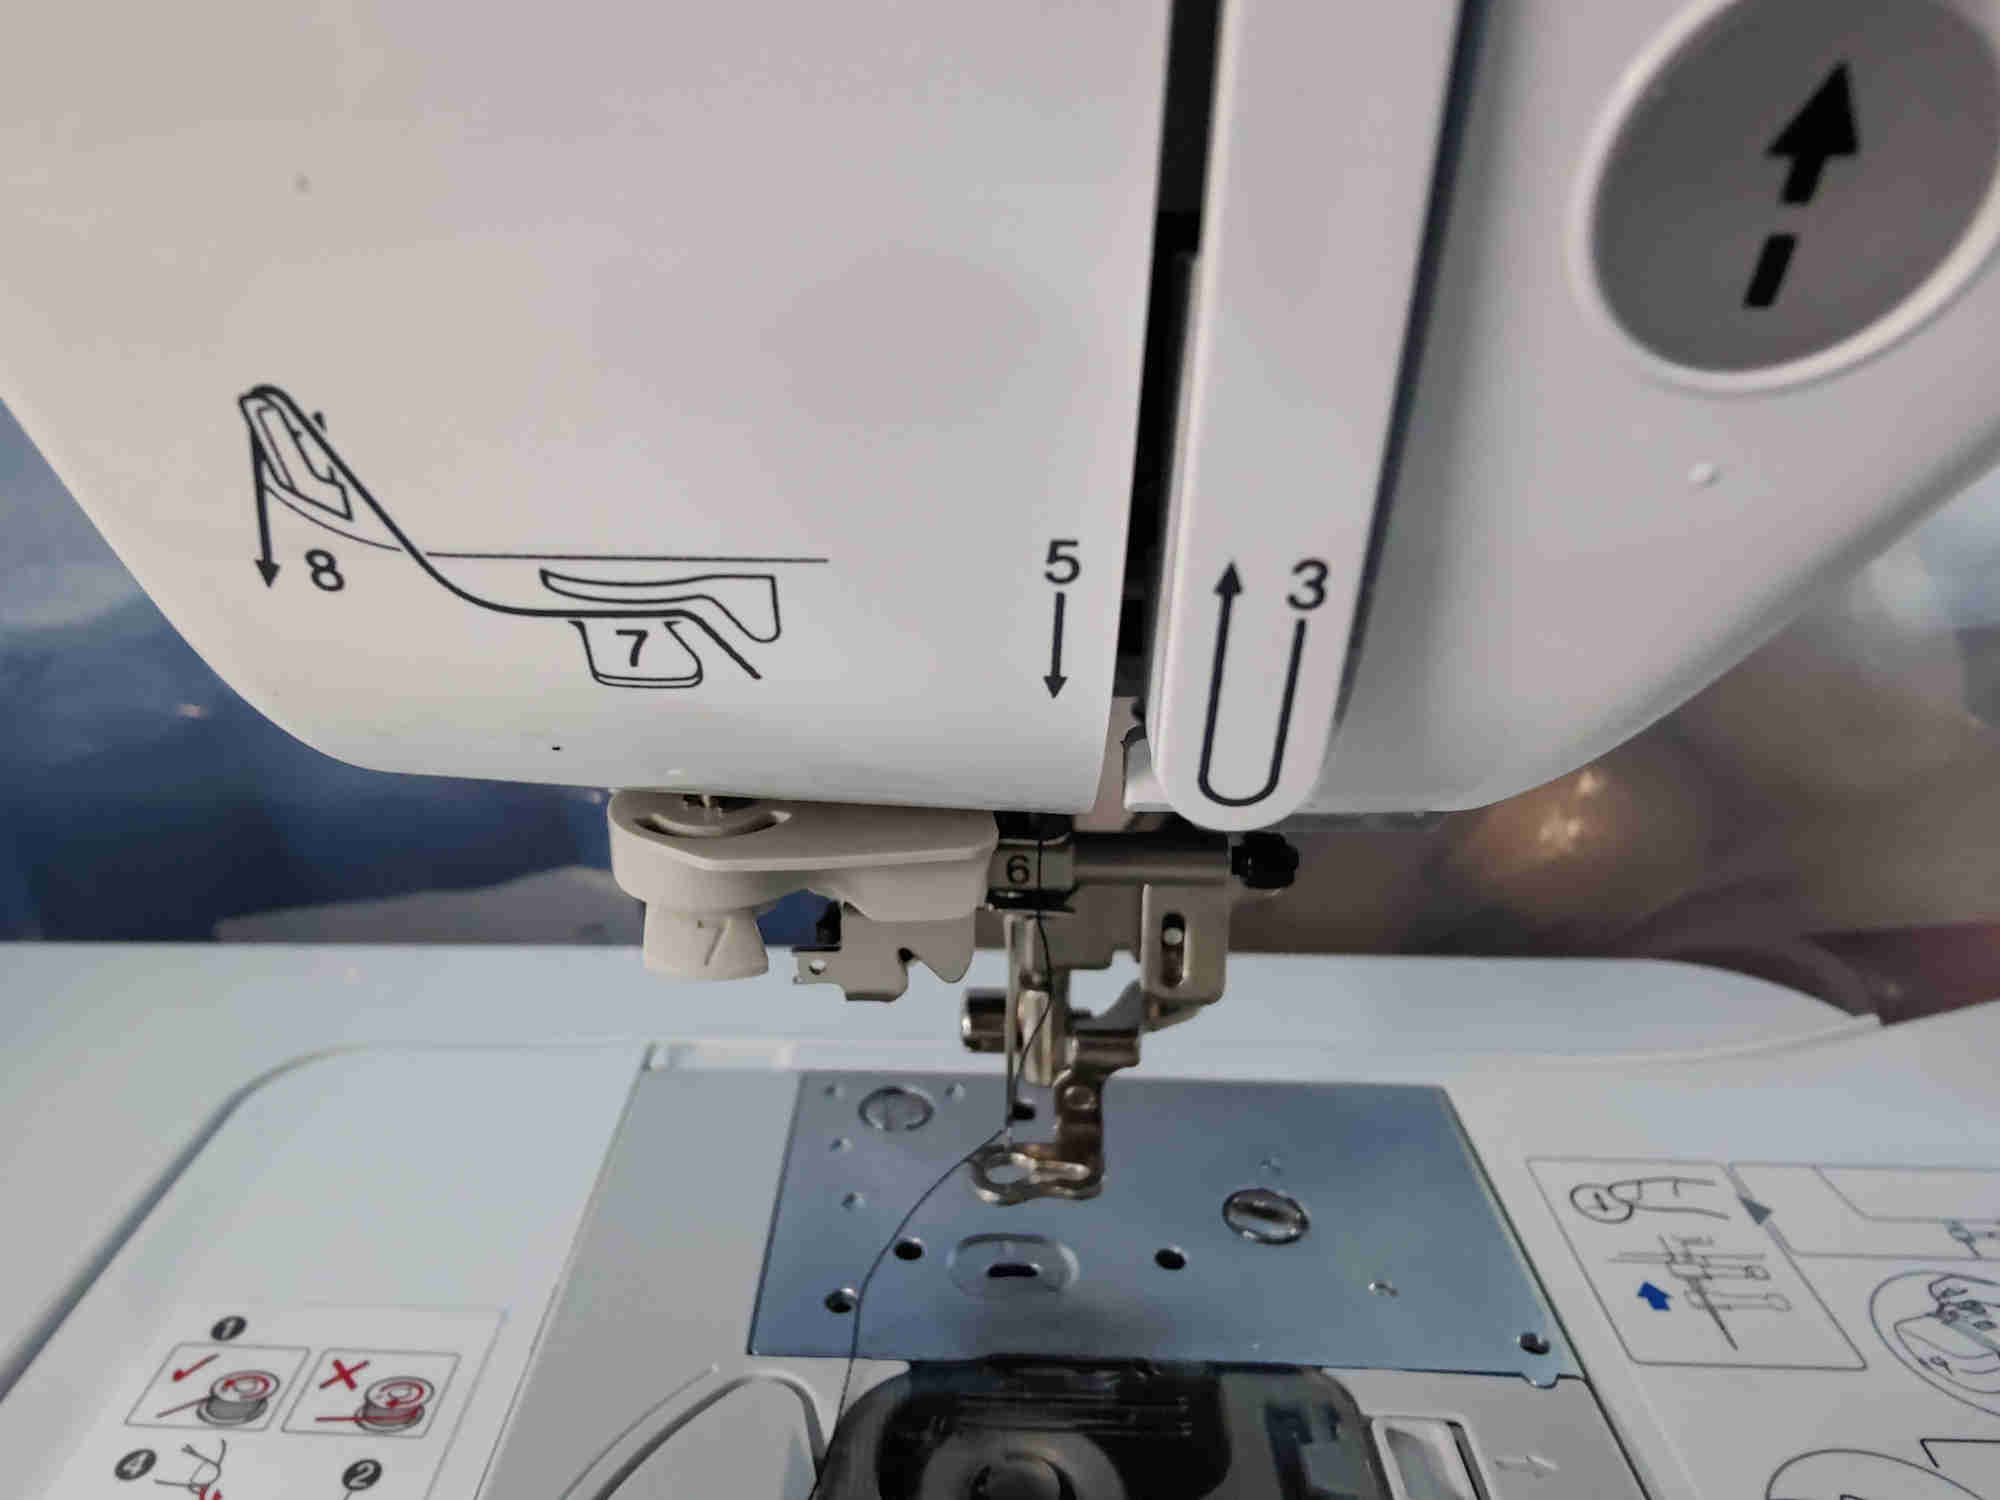
next step 3 for machine
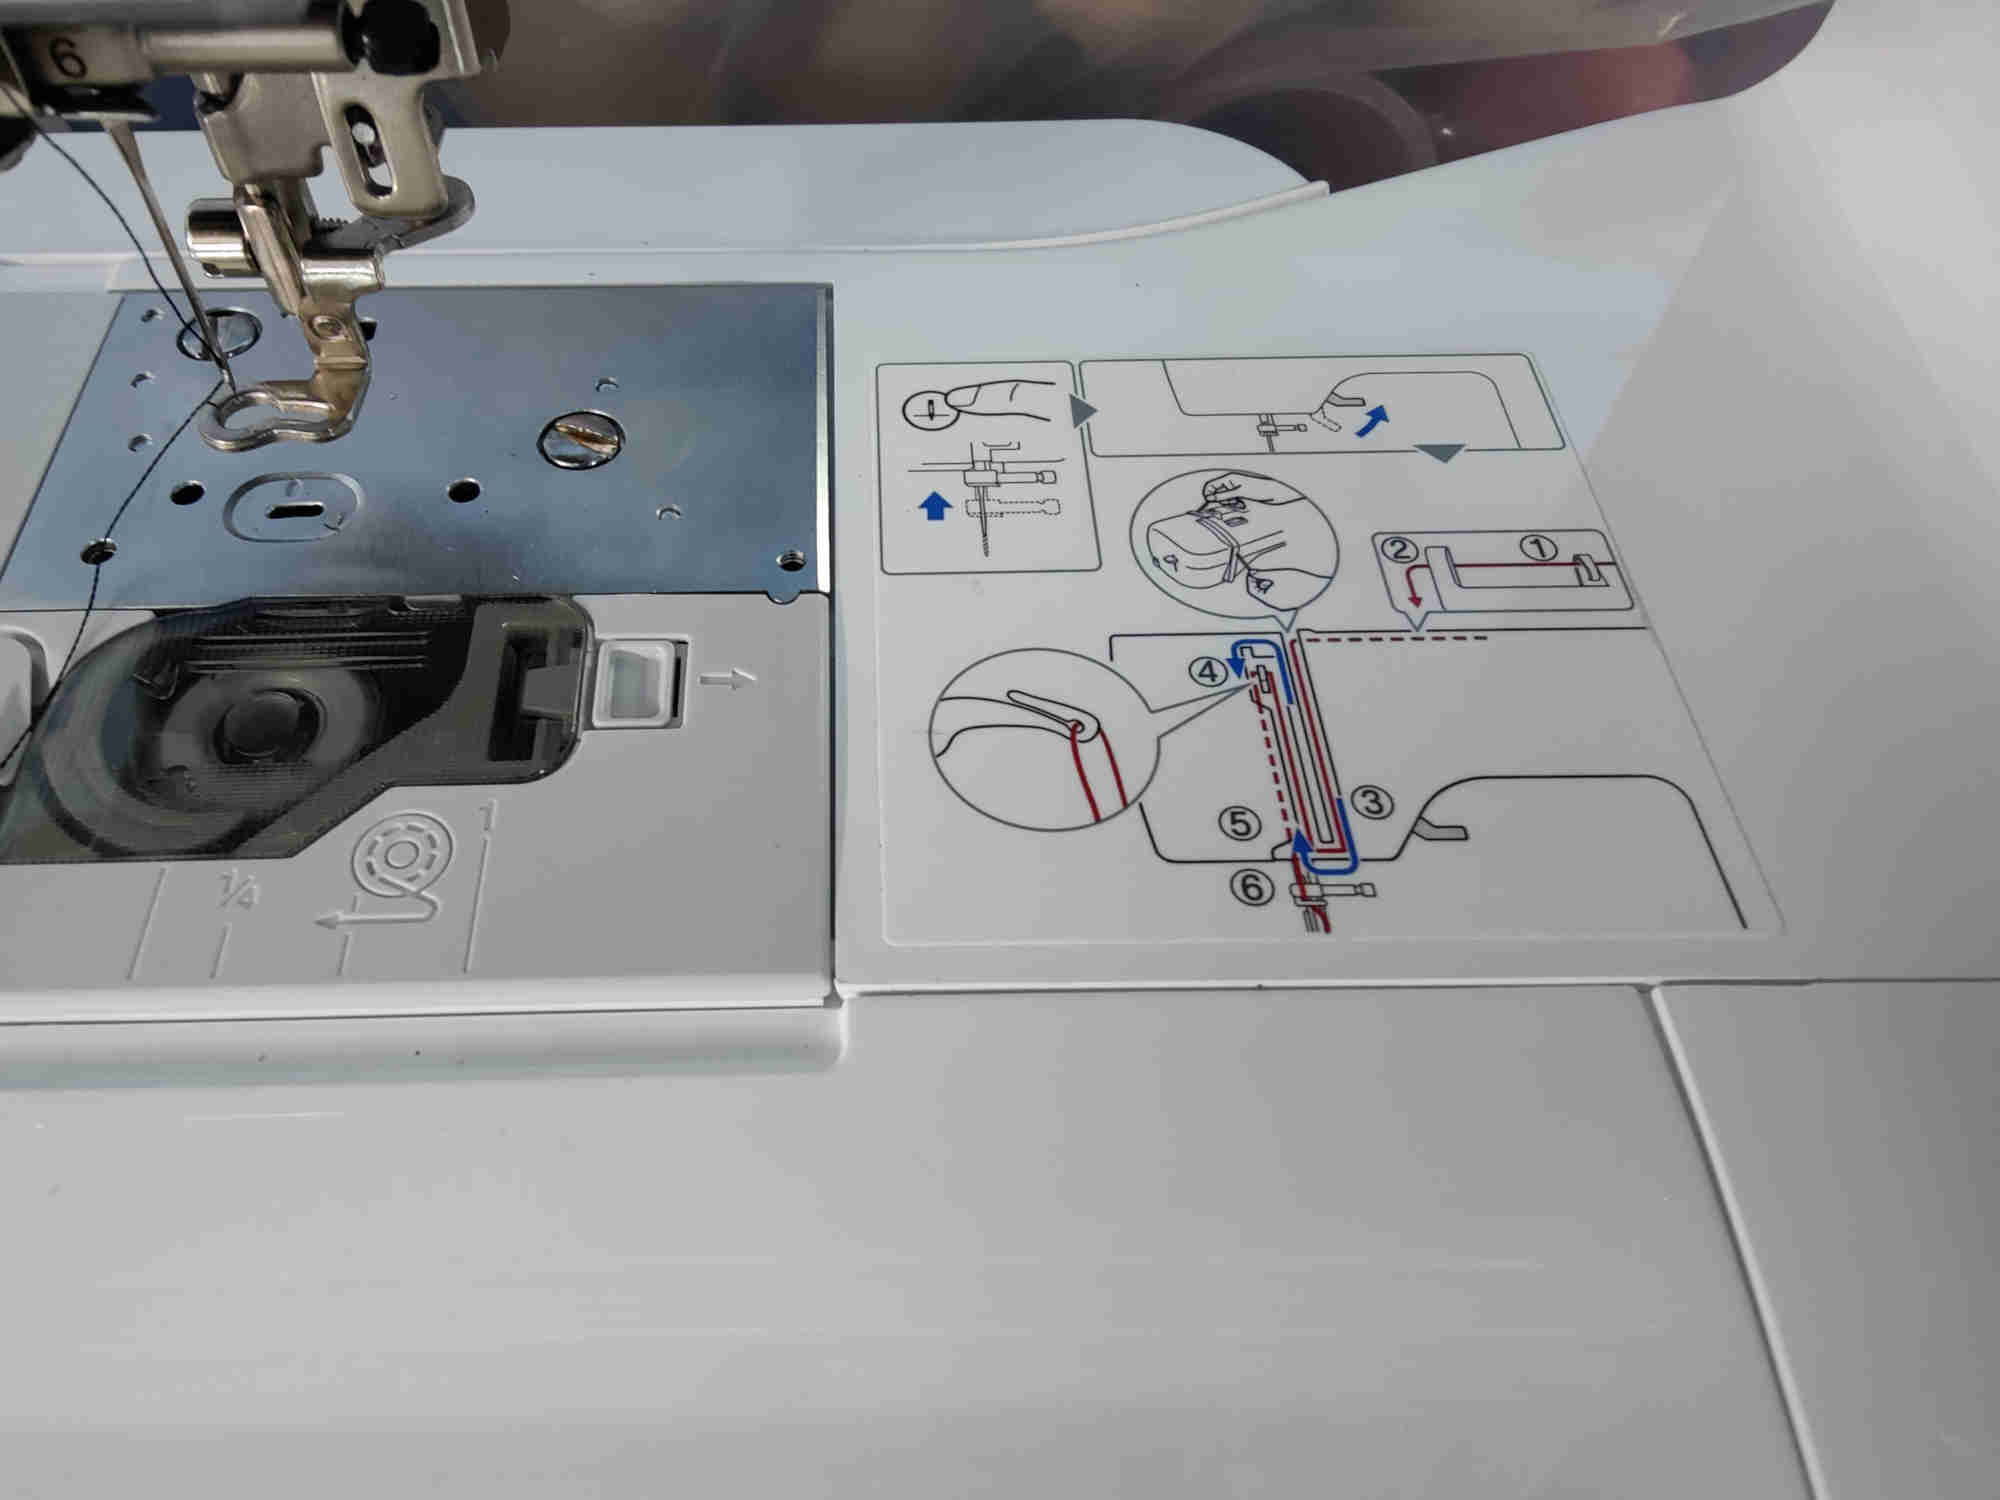
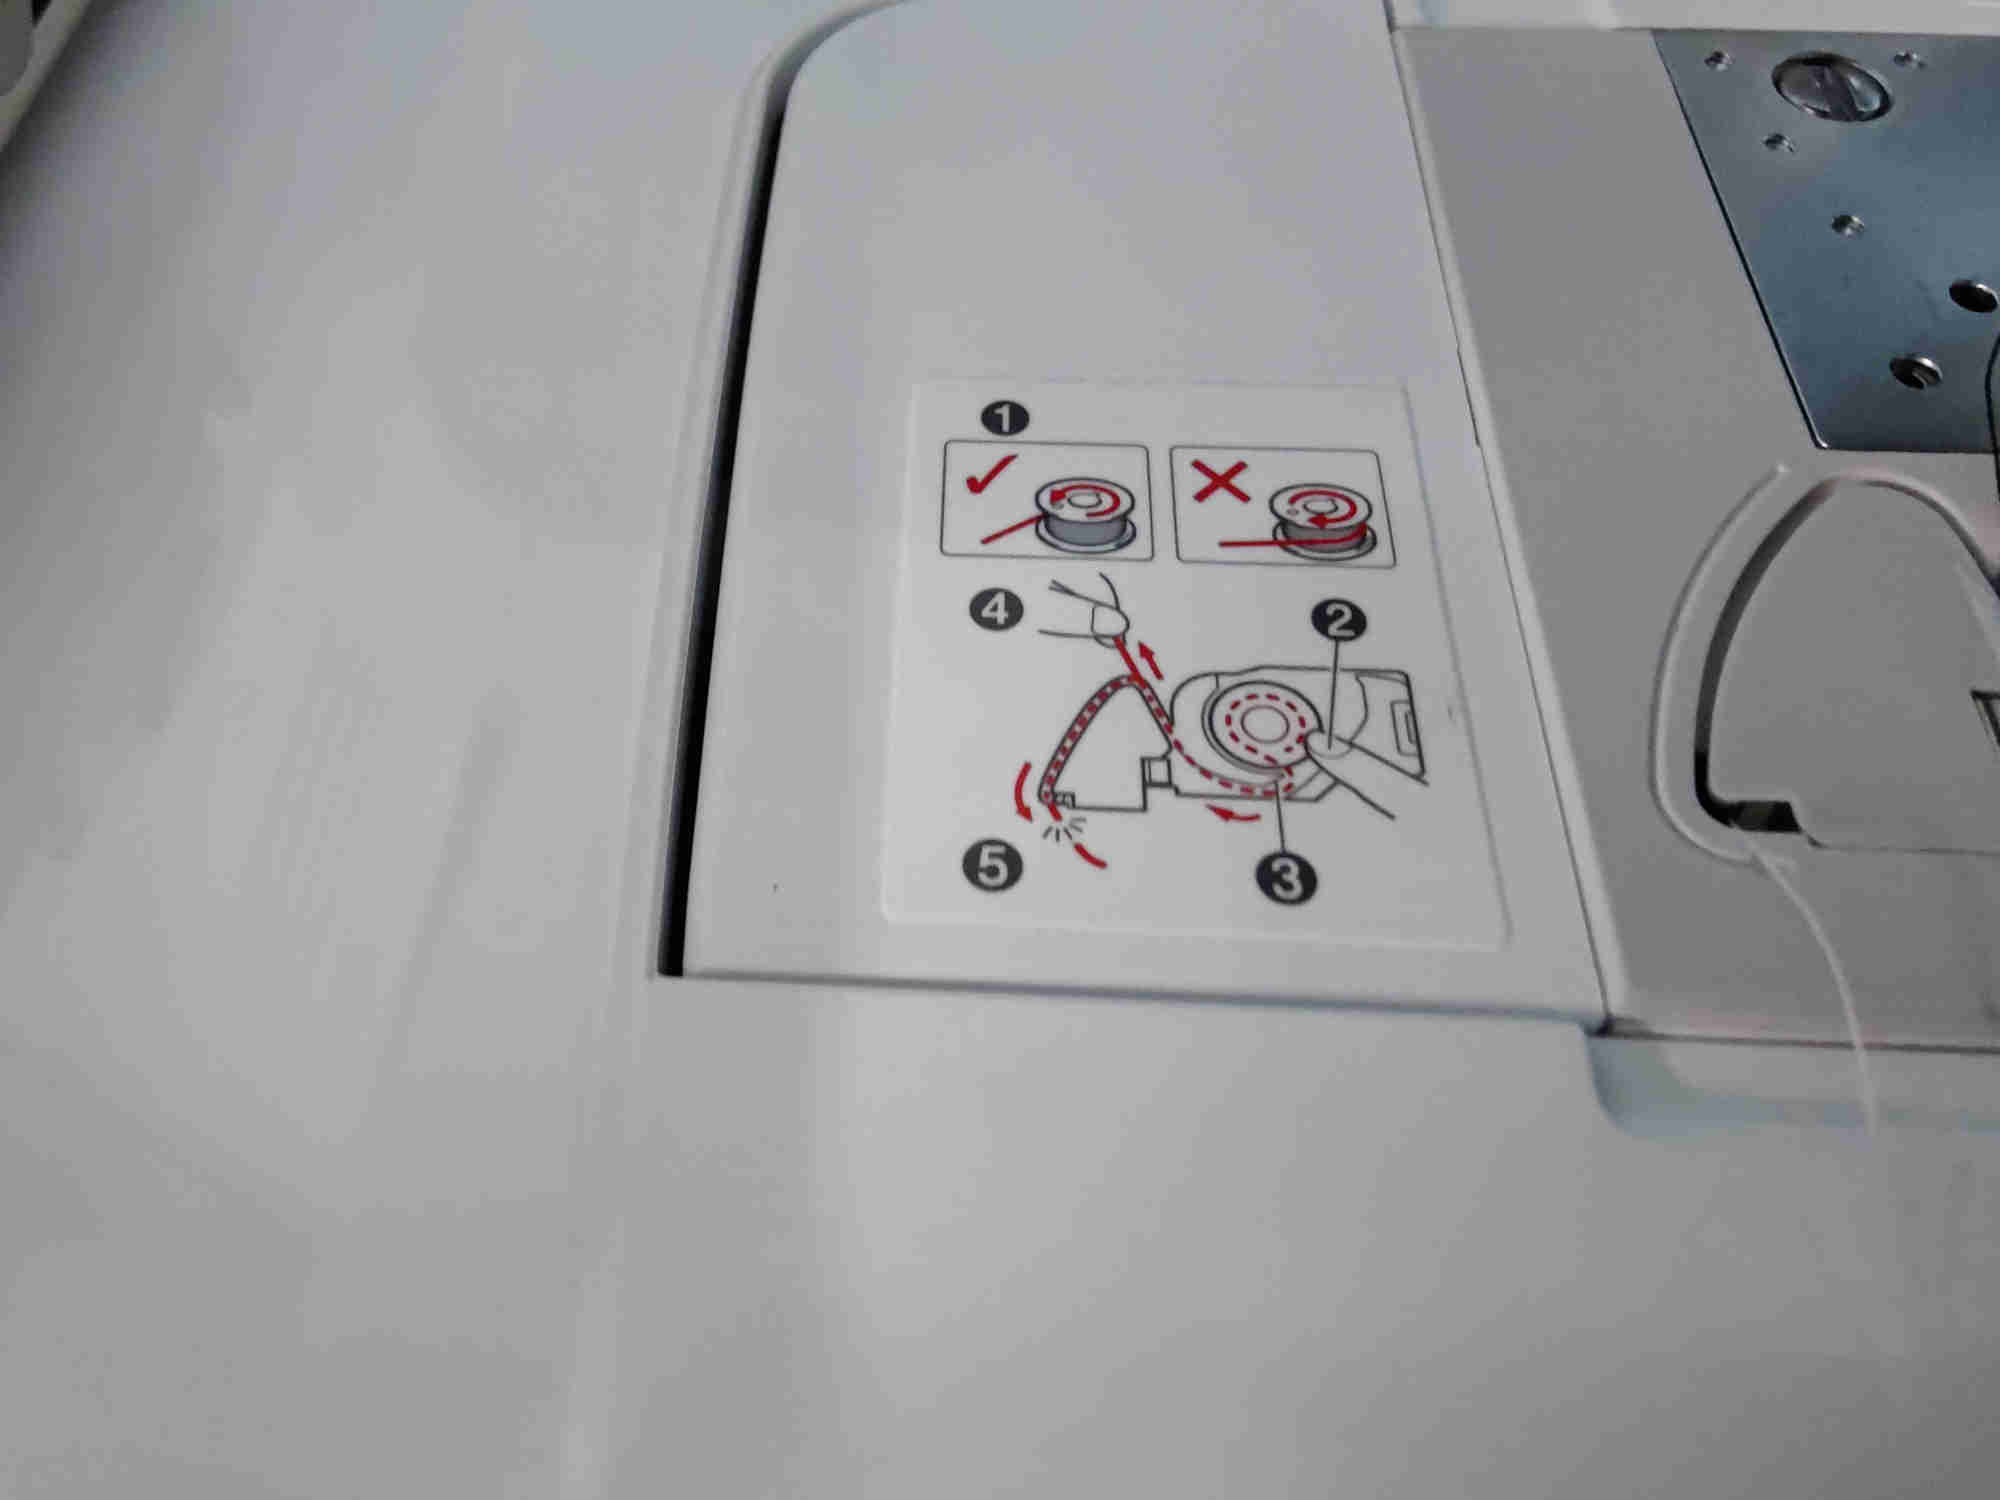
to tread bobbin
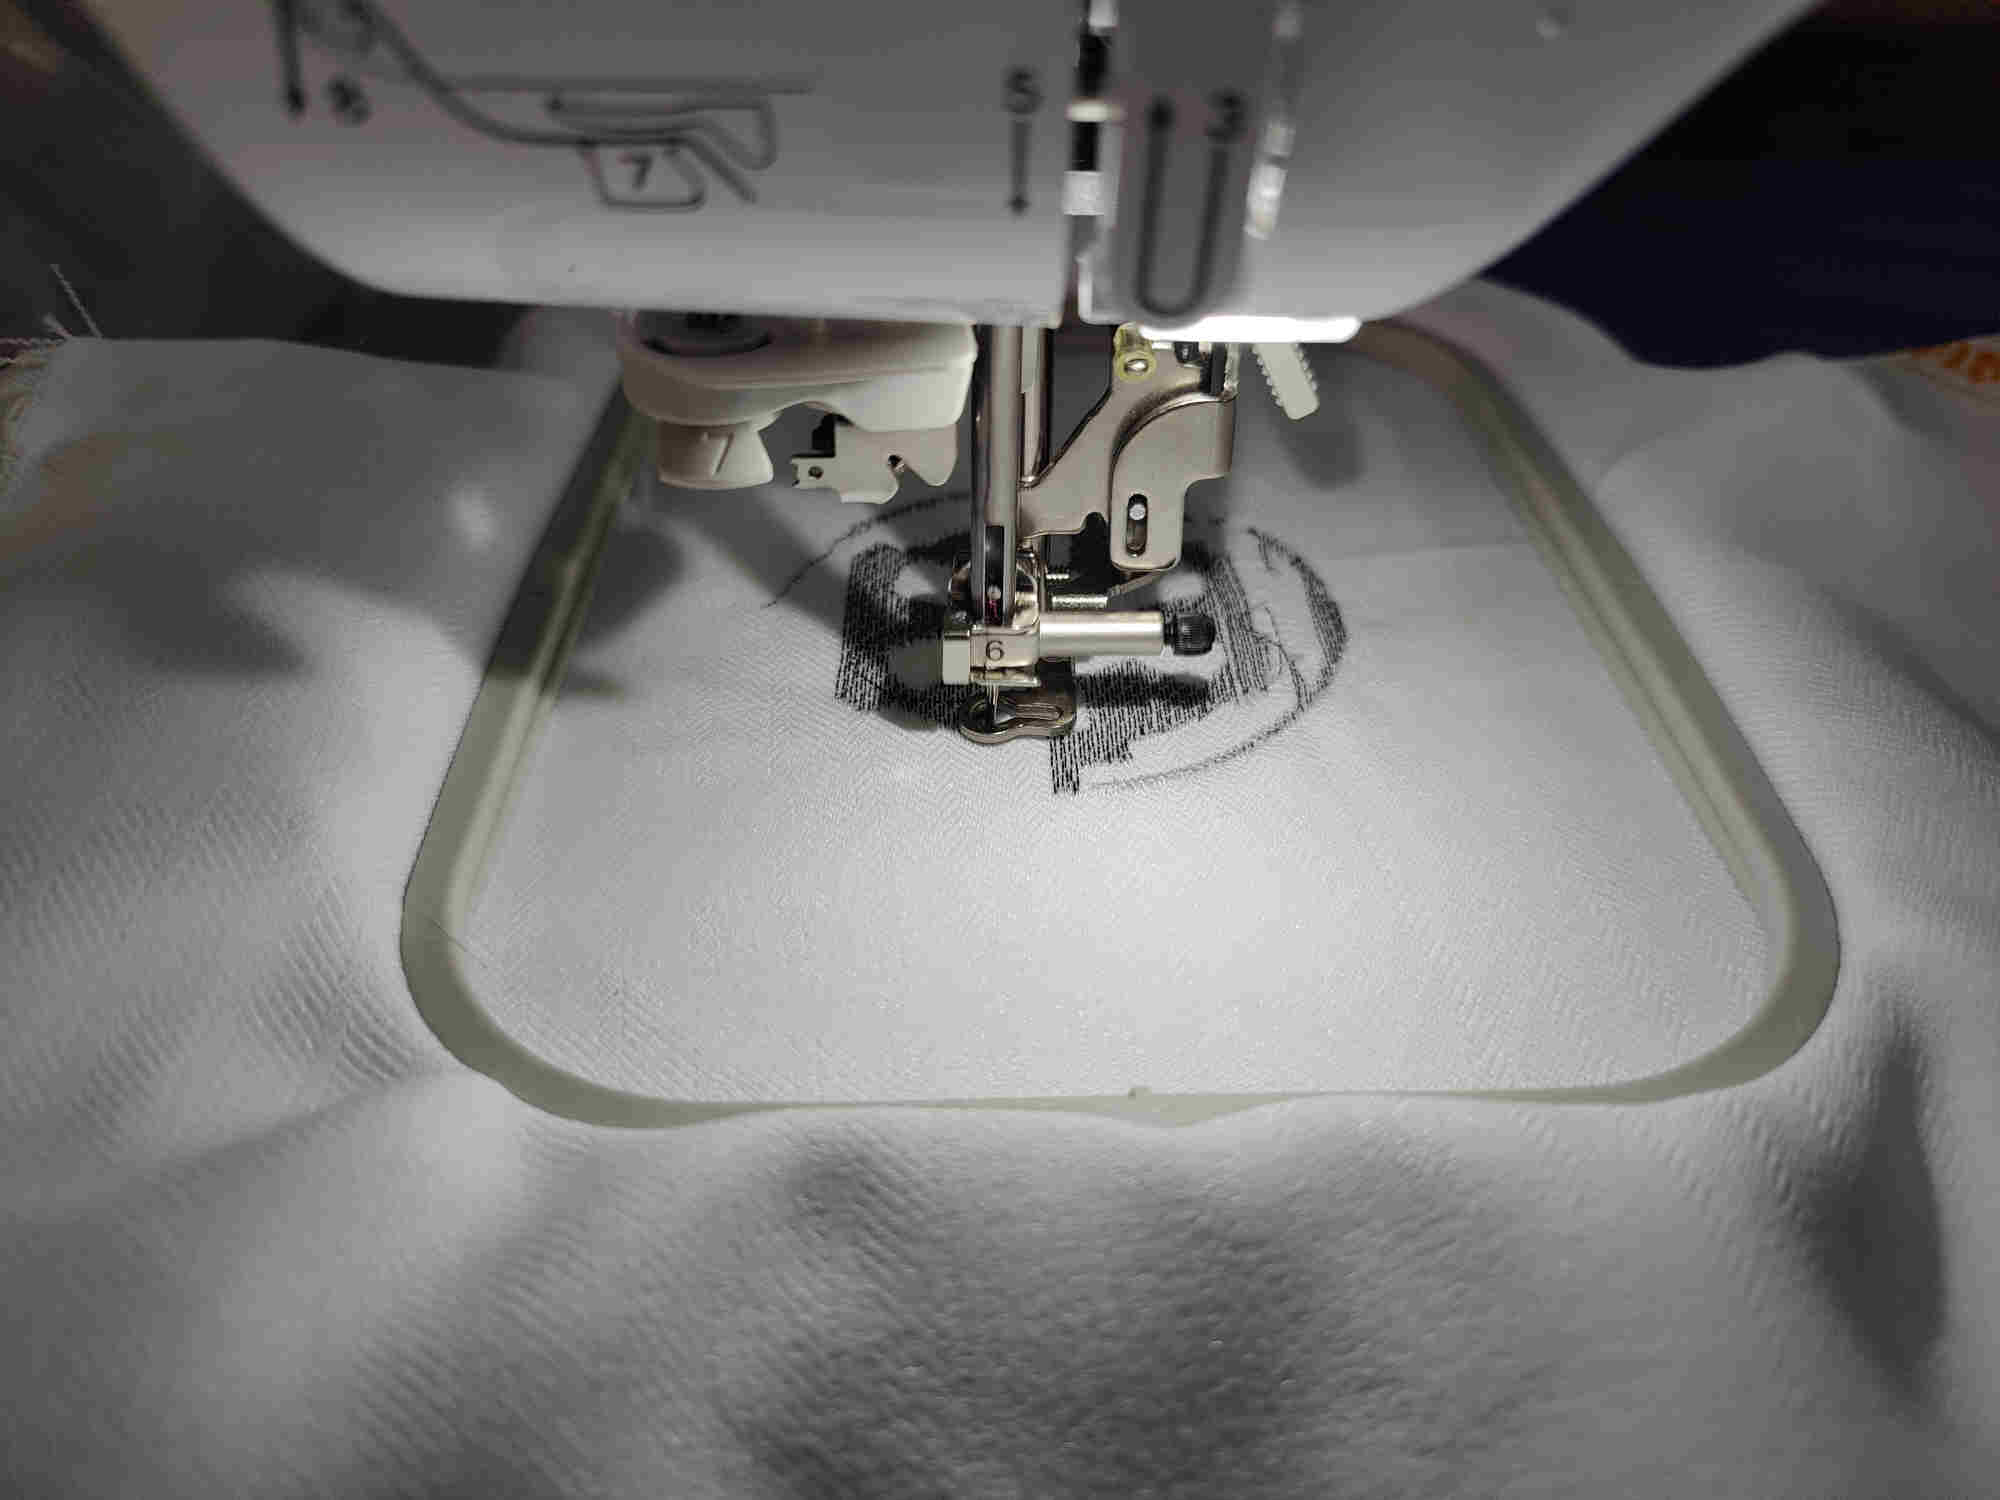
Place backing paper underneath fabric and then into frame


I’m all set to begin embroidery
Loading file
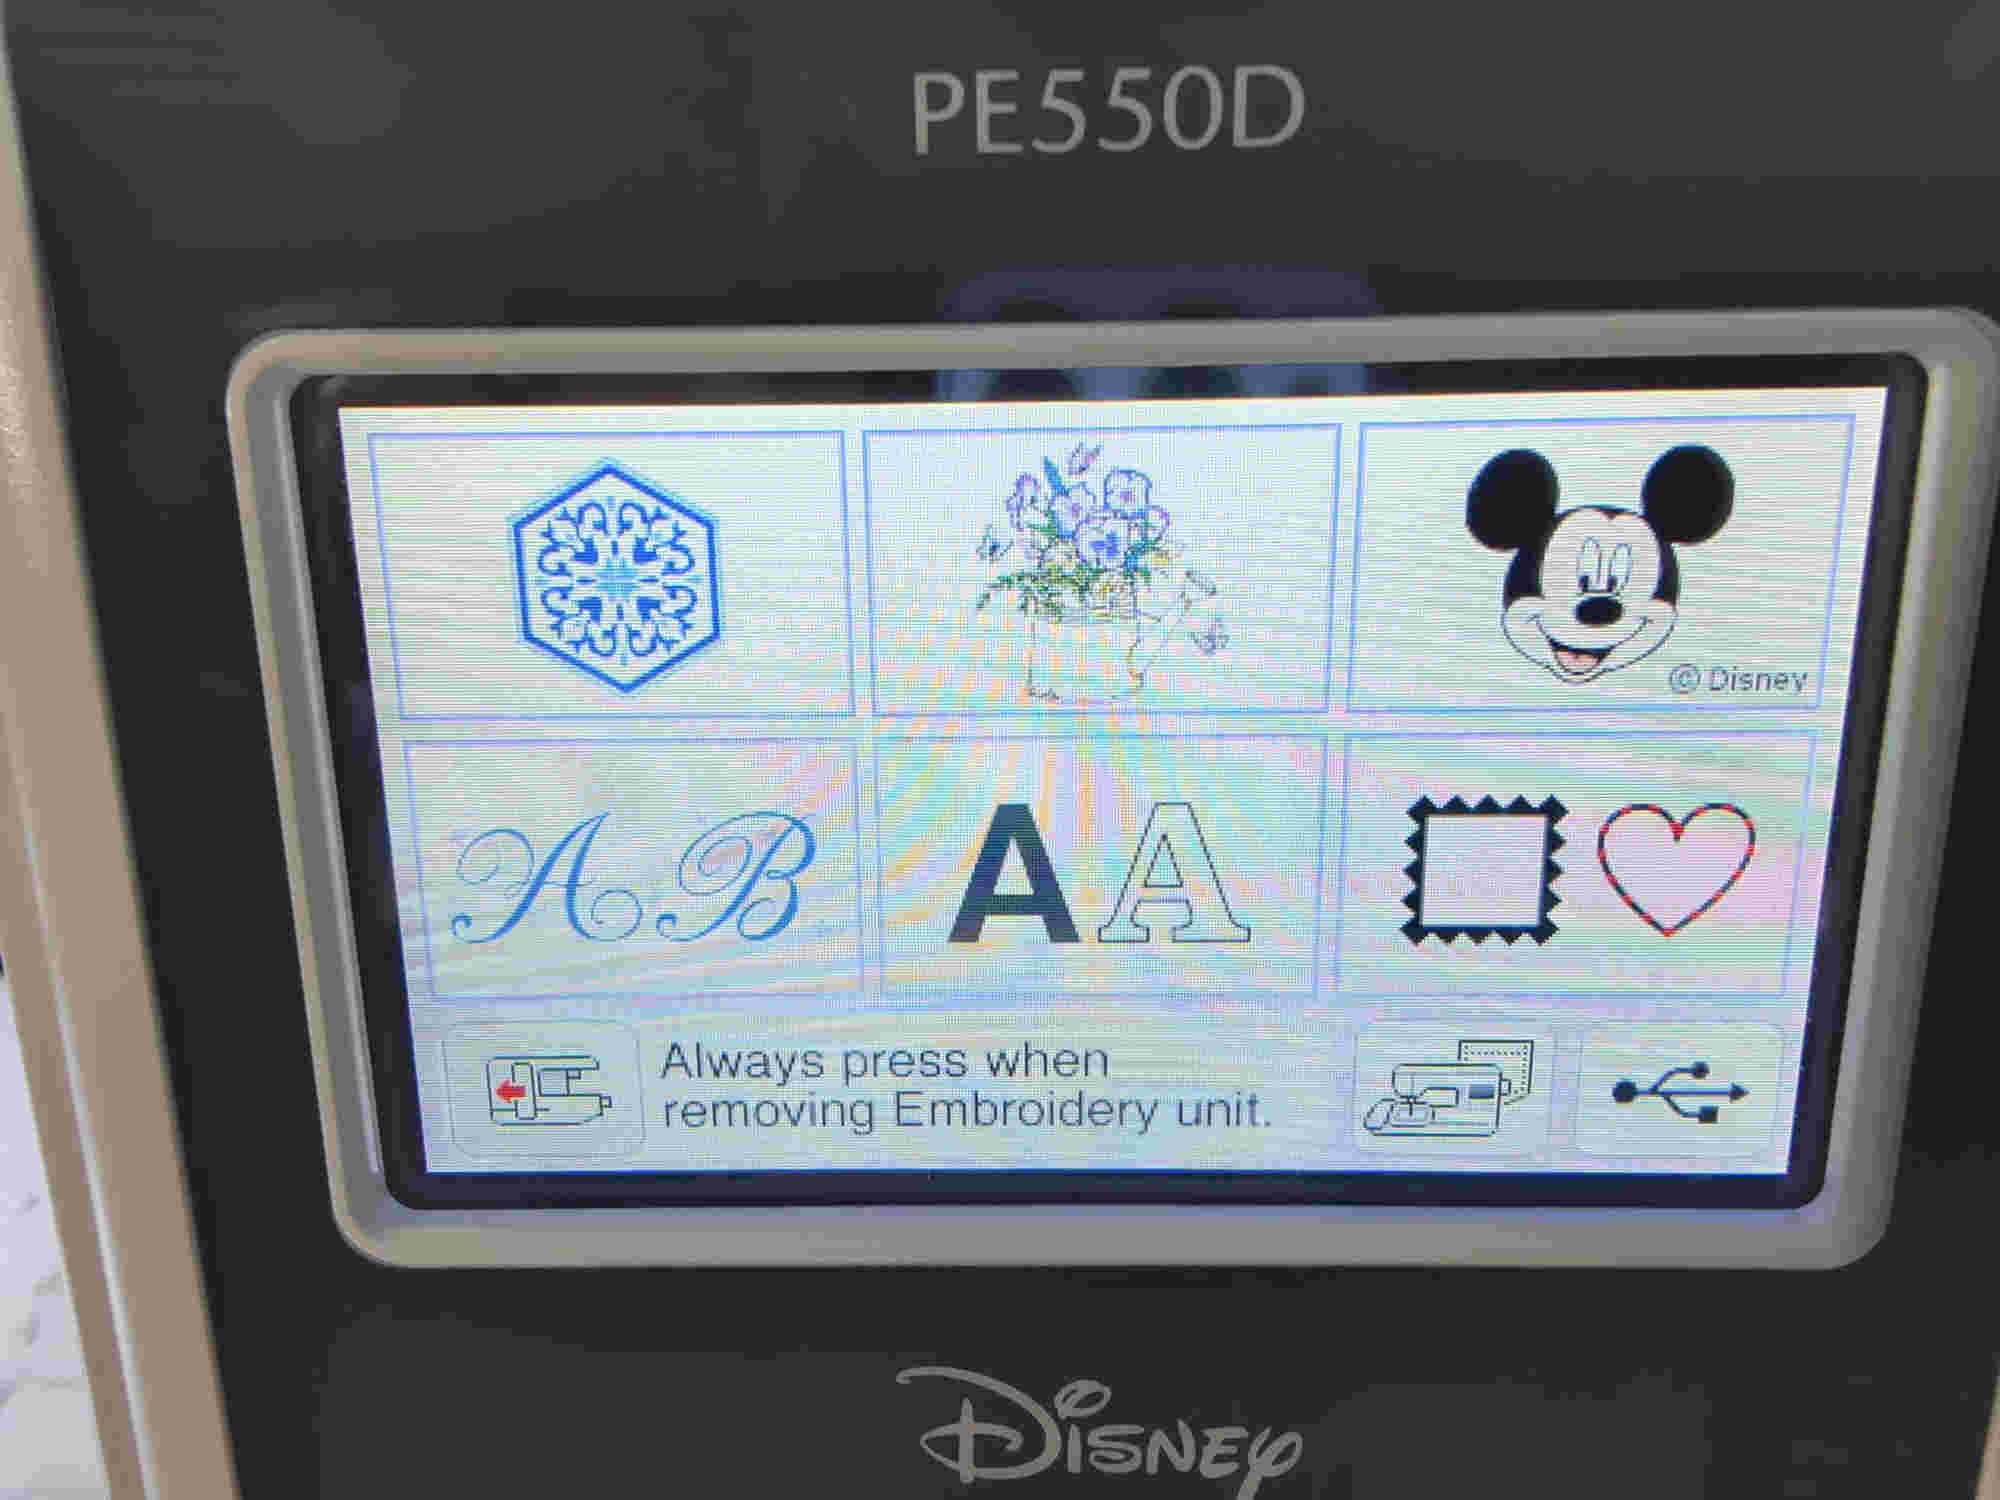
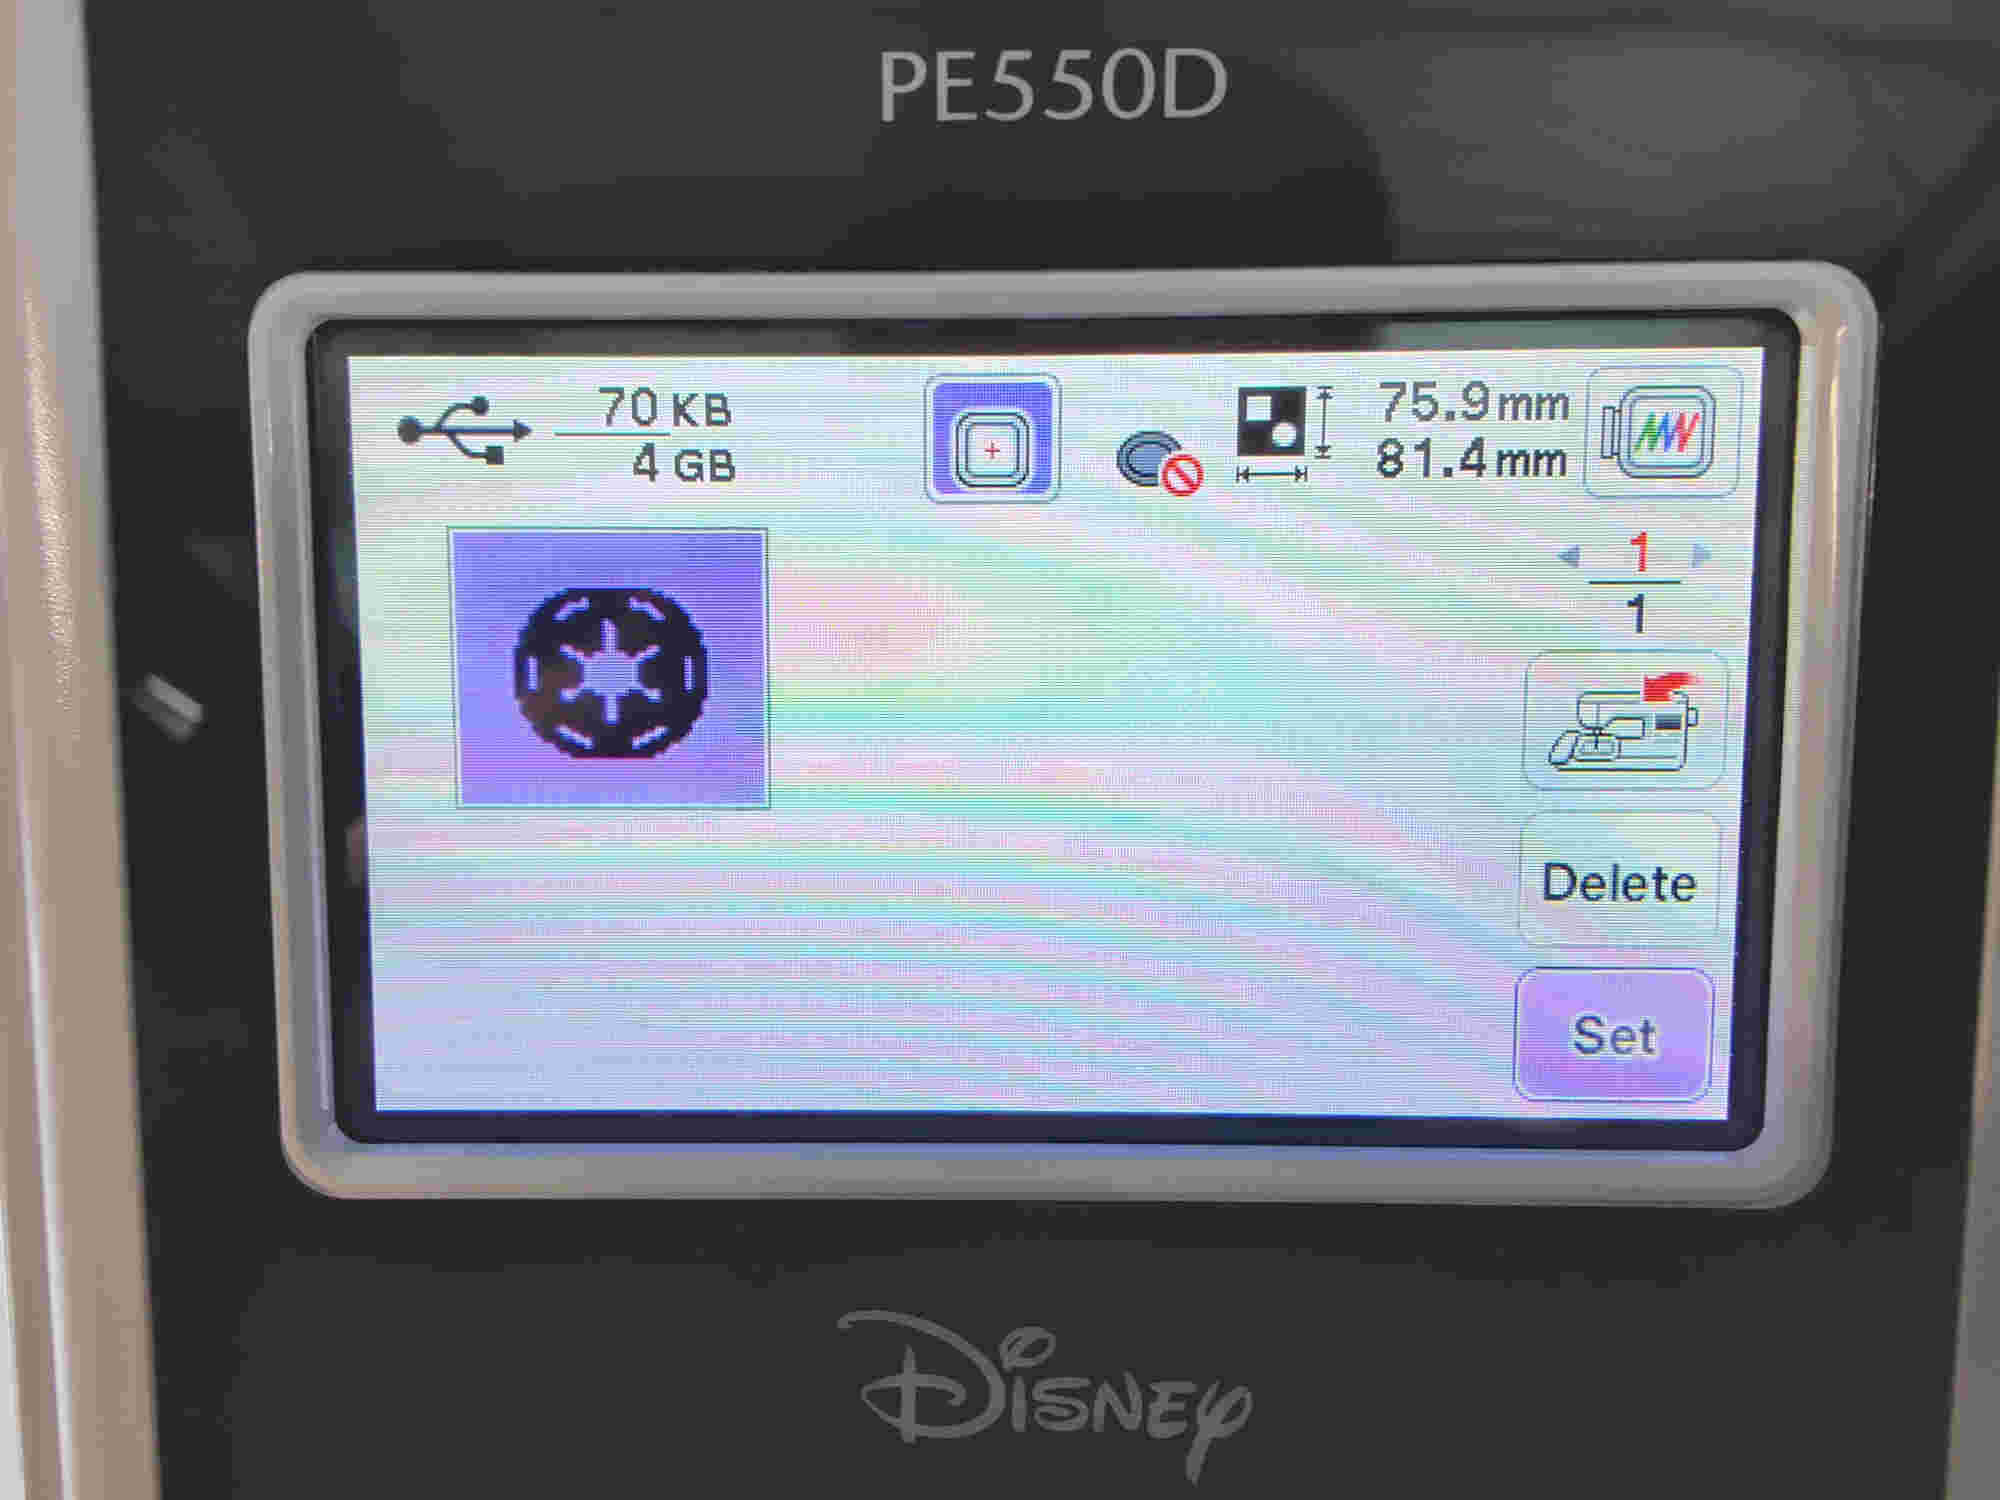
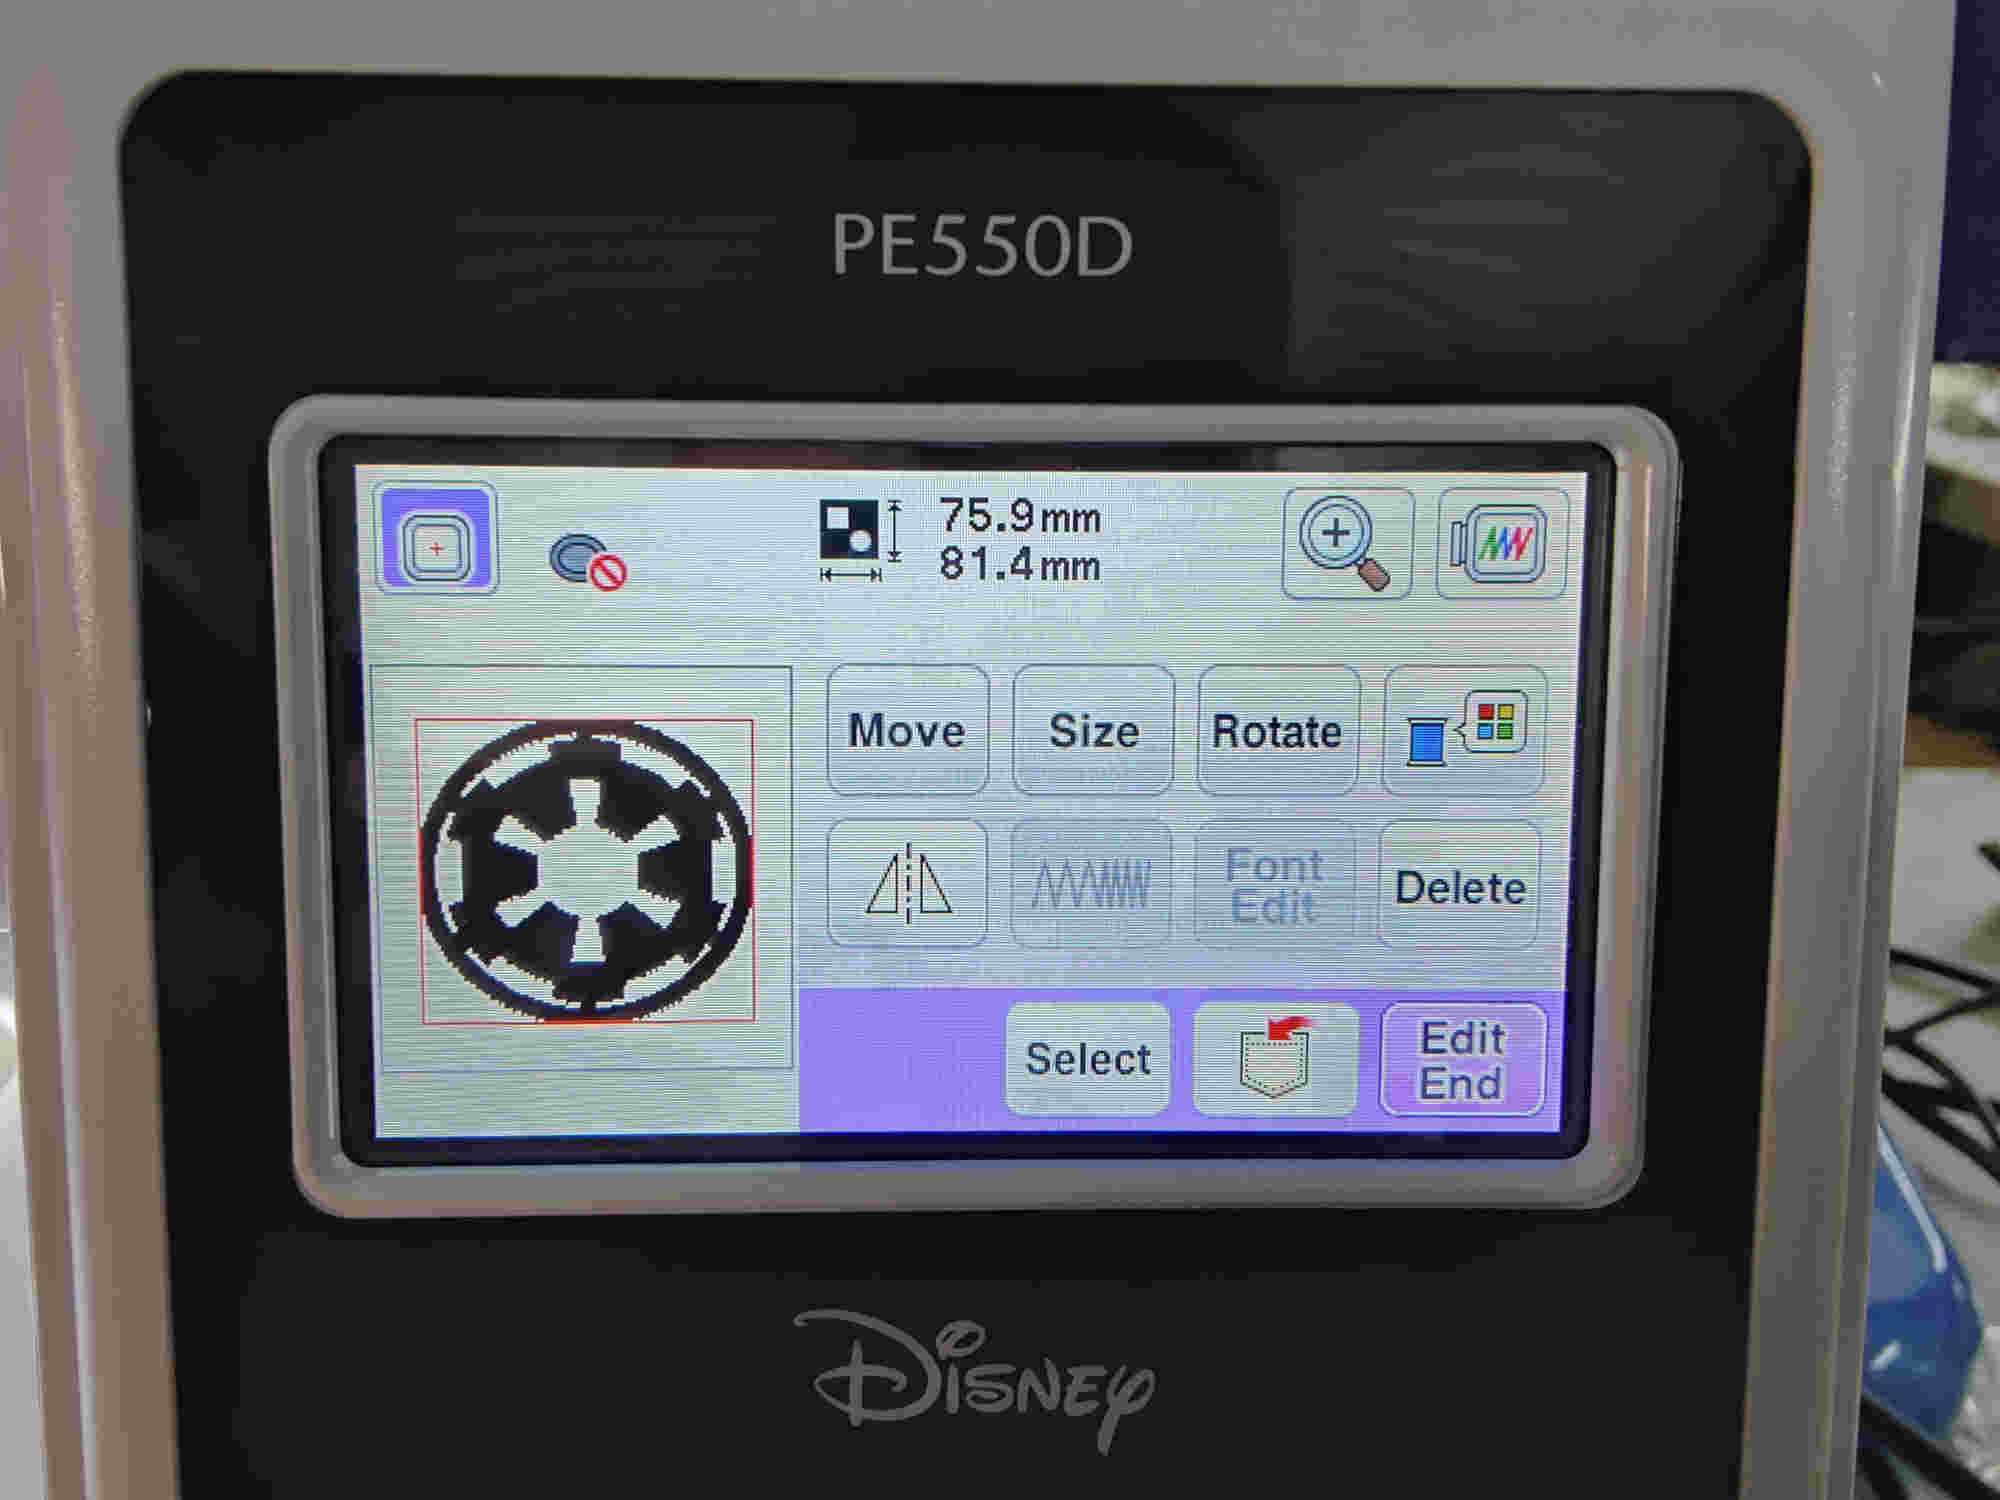


Press green button to begin
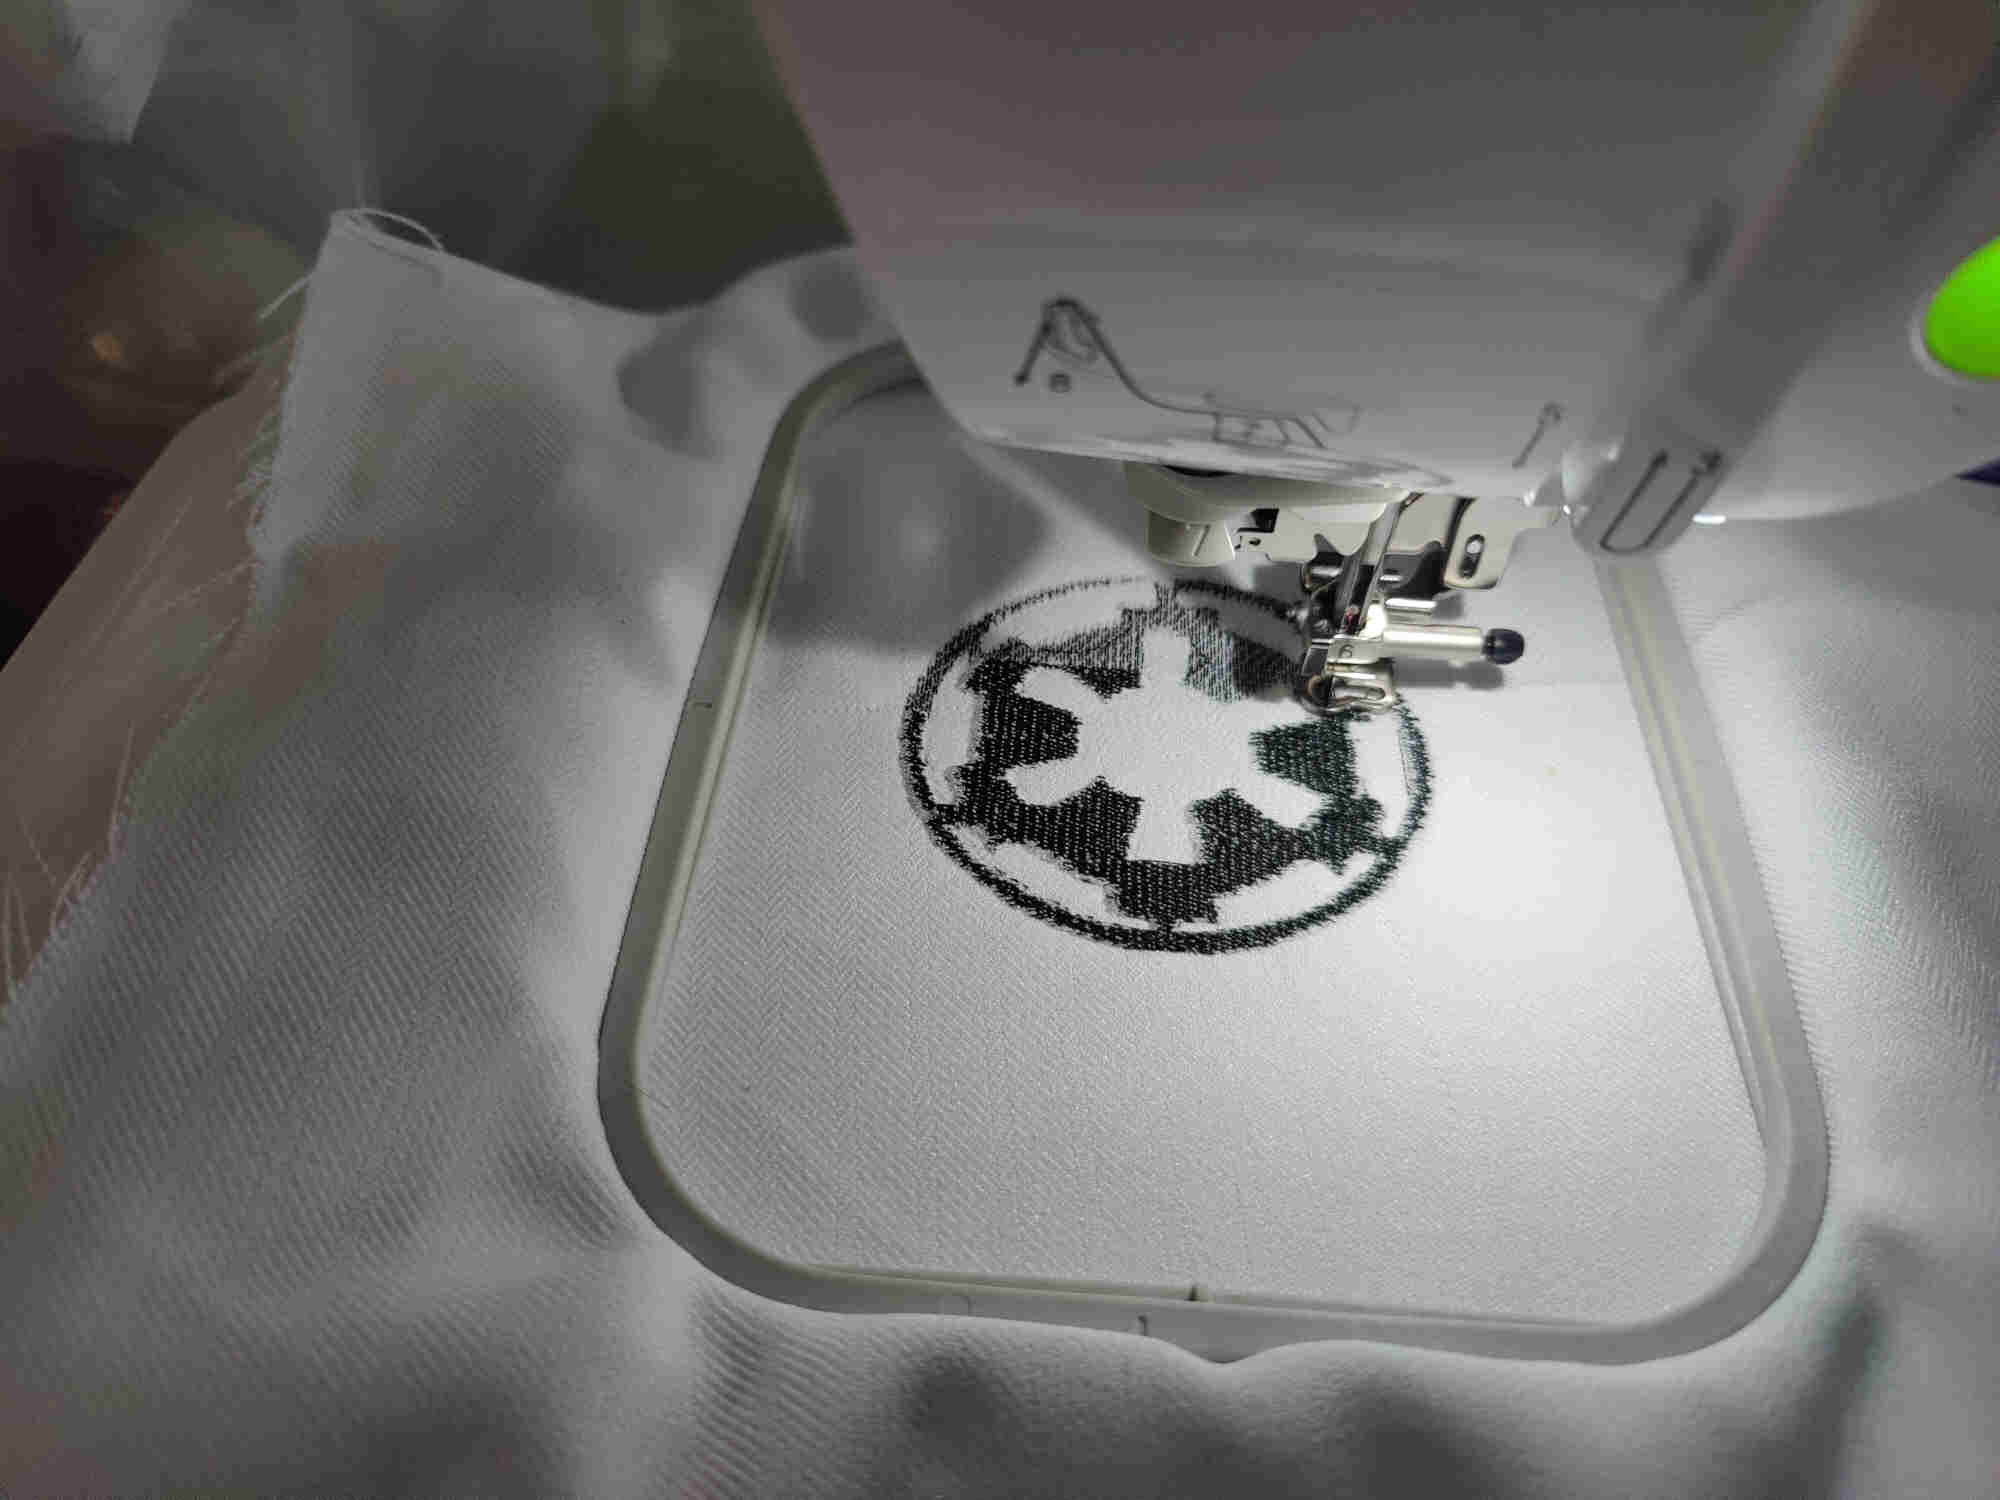
Finish product