Computer Aided Design
Objective:
Model (raster, vector, 2D, 3D, render, animate, simulate, ...) a possible final project, compress your images and videos, and post it on your class page
Software used:
2D design software:
1-GIMP(raster)
2-Inkscape(vector)
3D design software:
1-Fusion 360
2-FreeCad
3-Blender
Screeb recording and Video editing:
1-Quicktime player (screen recording)
2-iMovie(video editing)
2D Design
1-GIMP:is a 2D raster software used for editing and designing images.Raster graphics are represented by an array or map of bits contained within a rectangular grid of pixels or dots. I used this software to express my final project idea in an image as shown below :
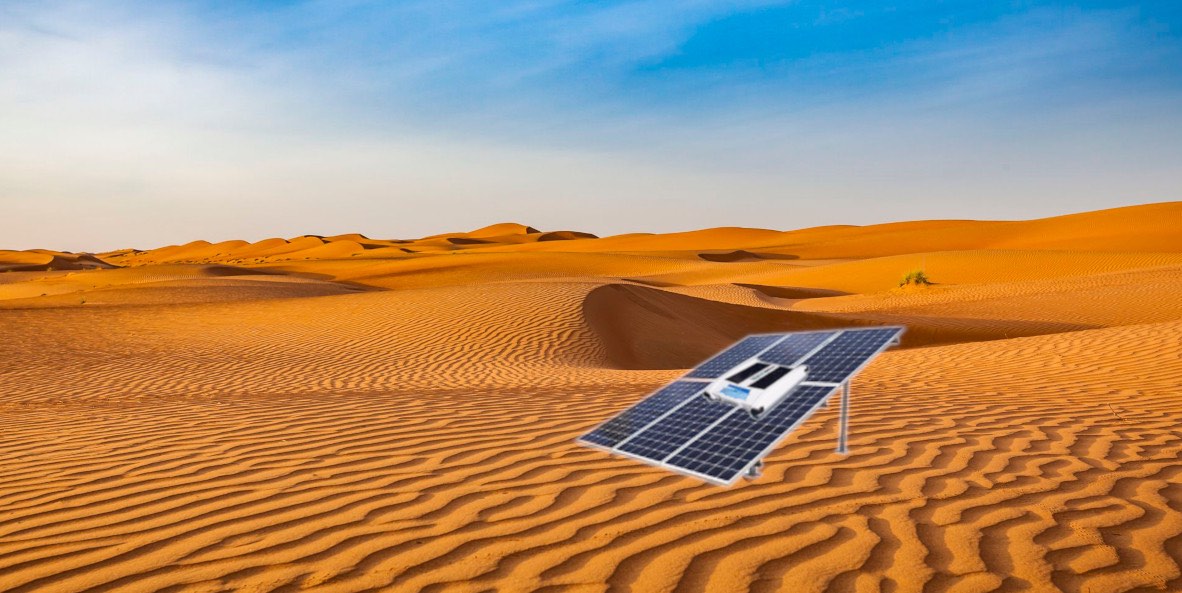
This is done by combining several pictures.First I remove the background from the solar panael and cleaning robot images using the fuzzy tool:

Then I combined both images on the background.Scale tool and rotate tool is used to put the image in the right position and orientation.

GIMP software is an amazing software that has multiple tool for editing.I enjoyed working in this software since its easy to used not complicated and it is similar to photoshop.The tool used for removing background was very powerful and easy.
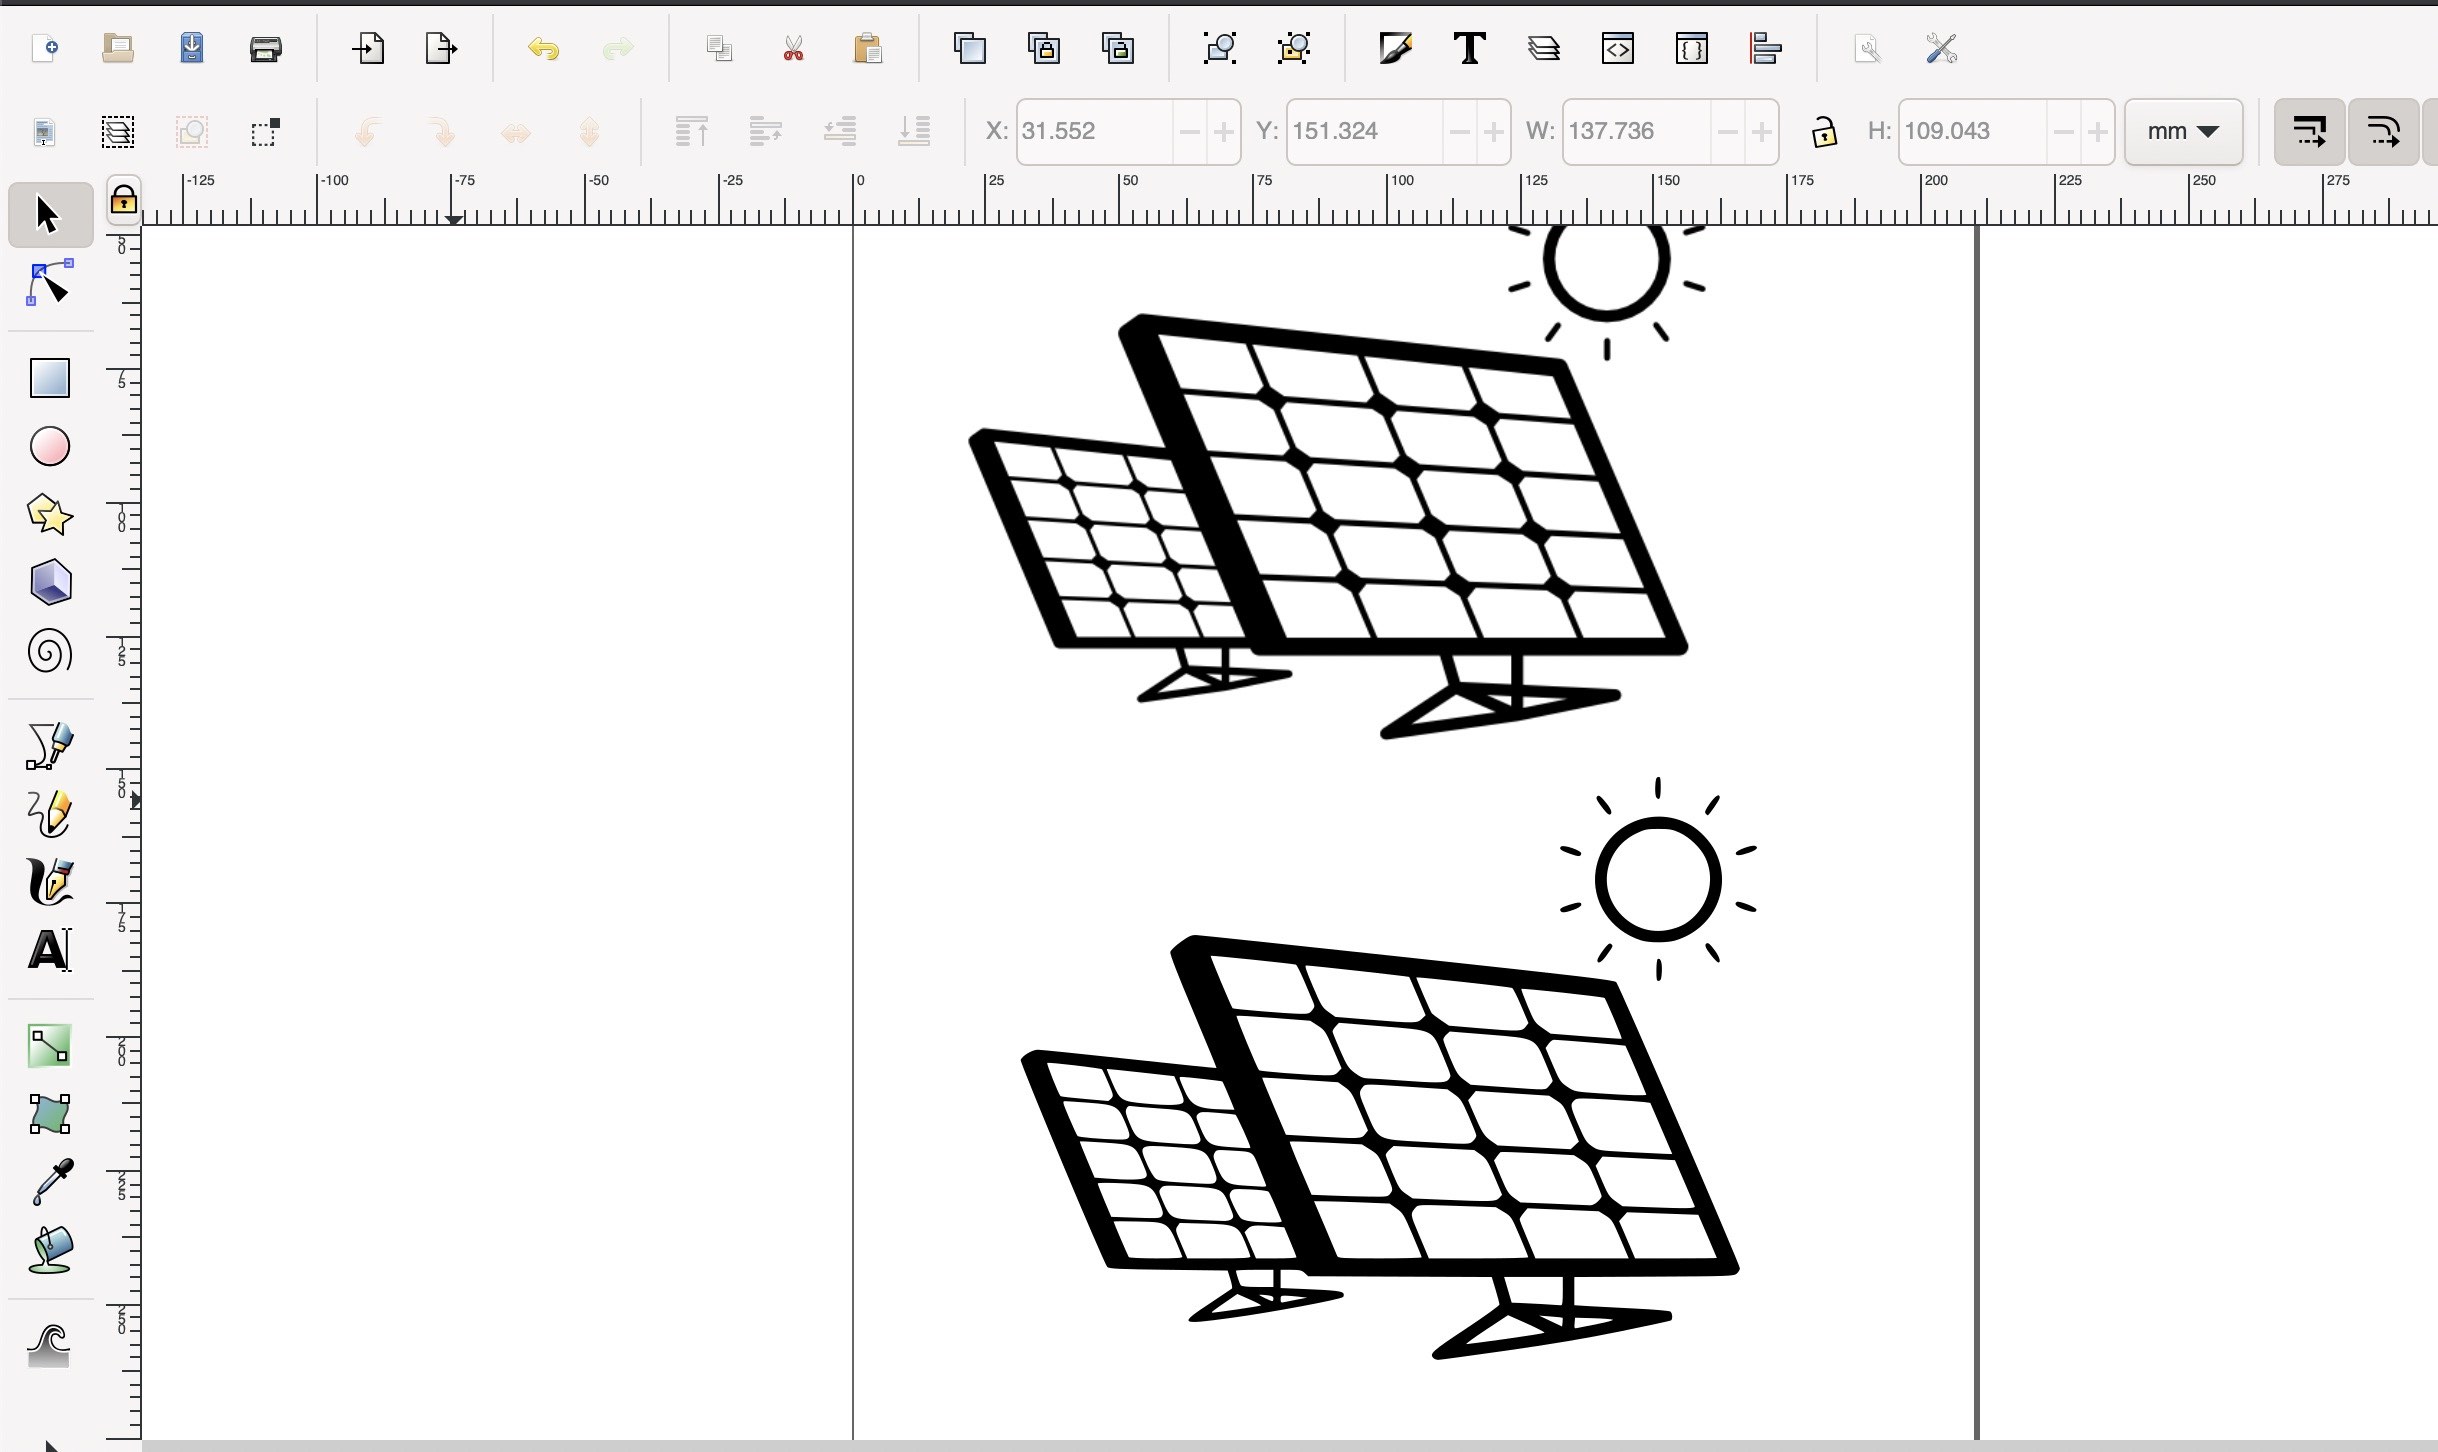
2-Inkscape:is open-source softfware use to create vector images.Vector graphics are high-resolution pictures that can be scaled without losing quality. They are perfect for printing and high-resolution screens.In Inkscape software we can convert raster image to vetor image with the following steps:
1-first I downloaded this image from hiclipart website.and open it in the software
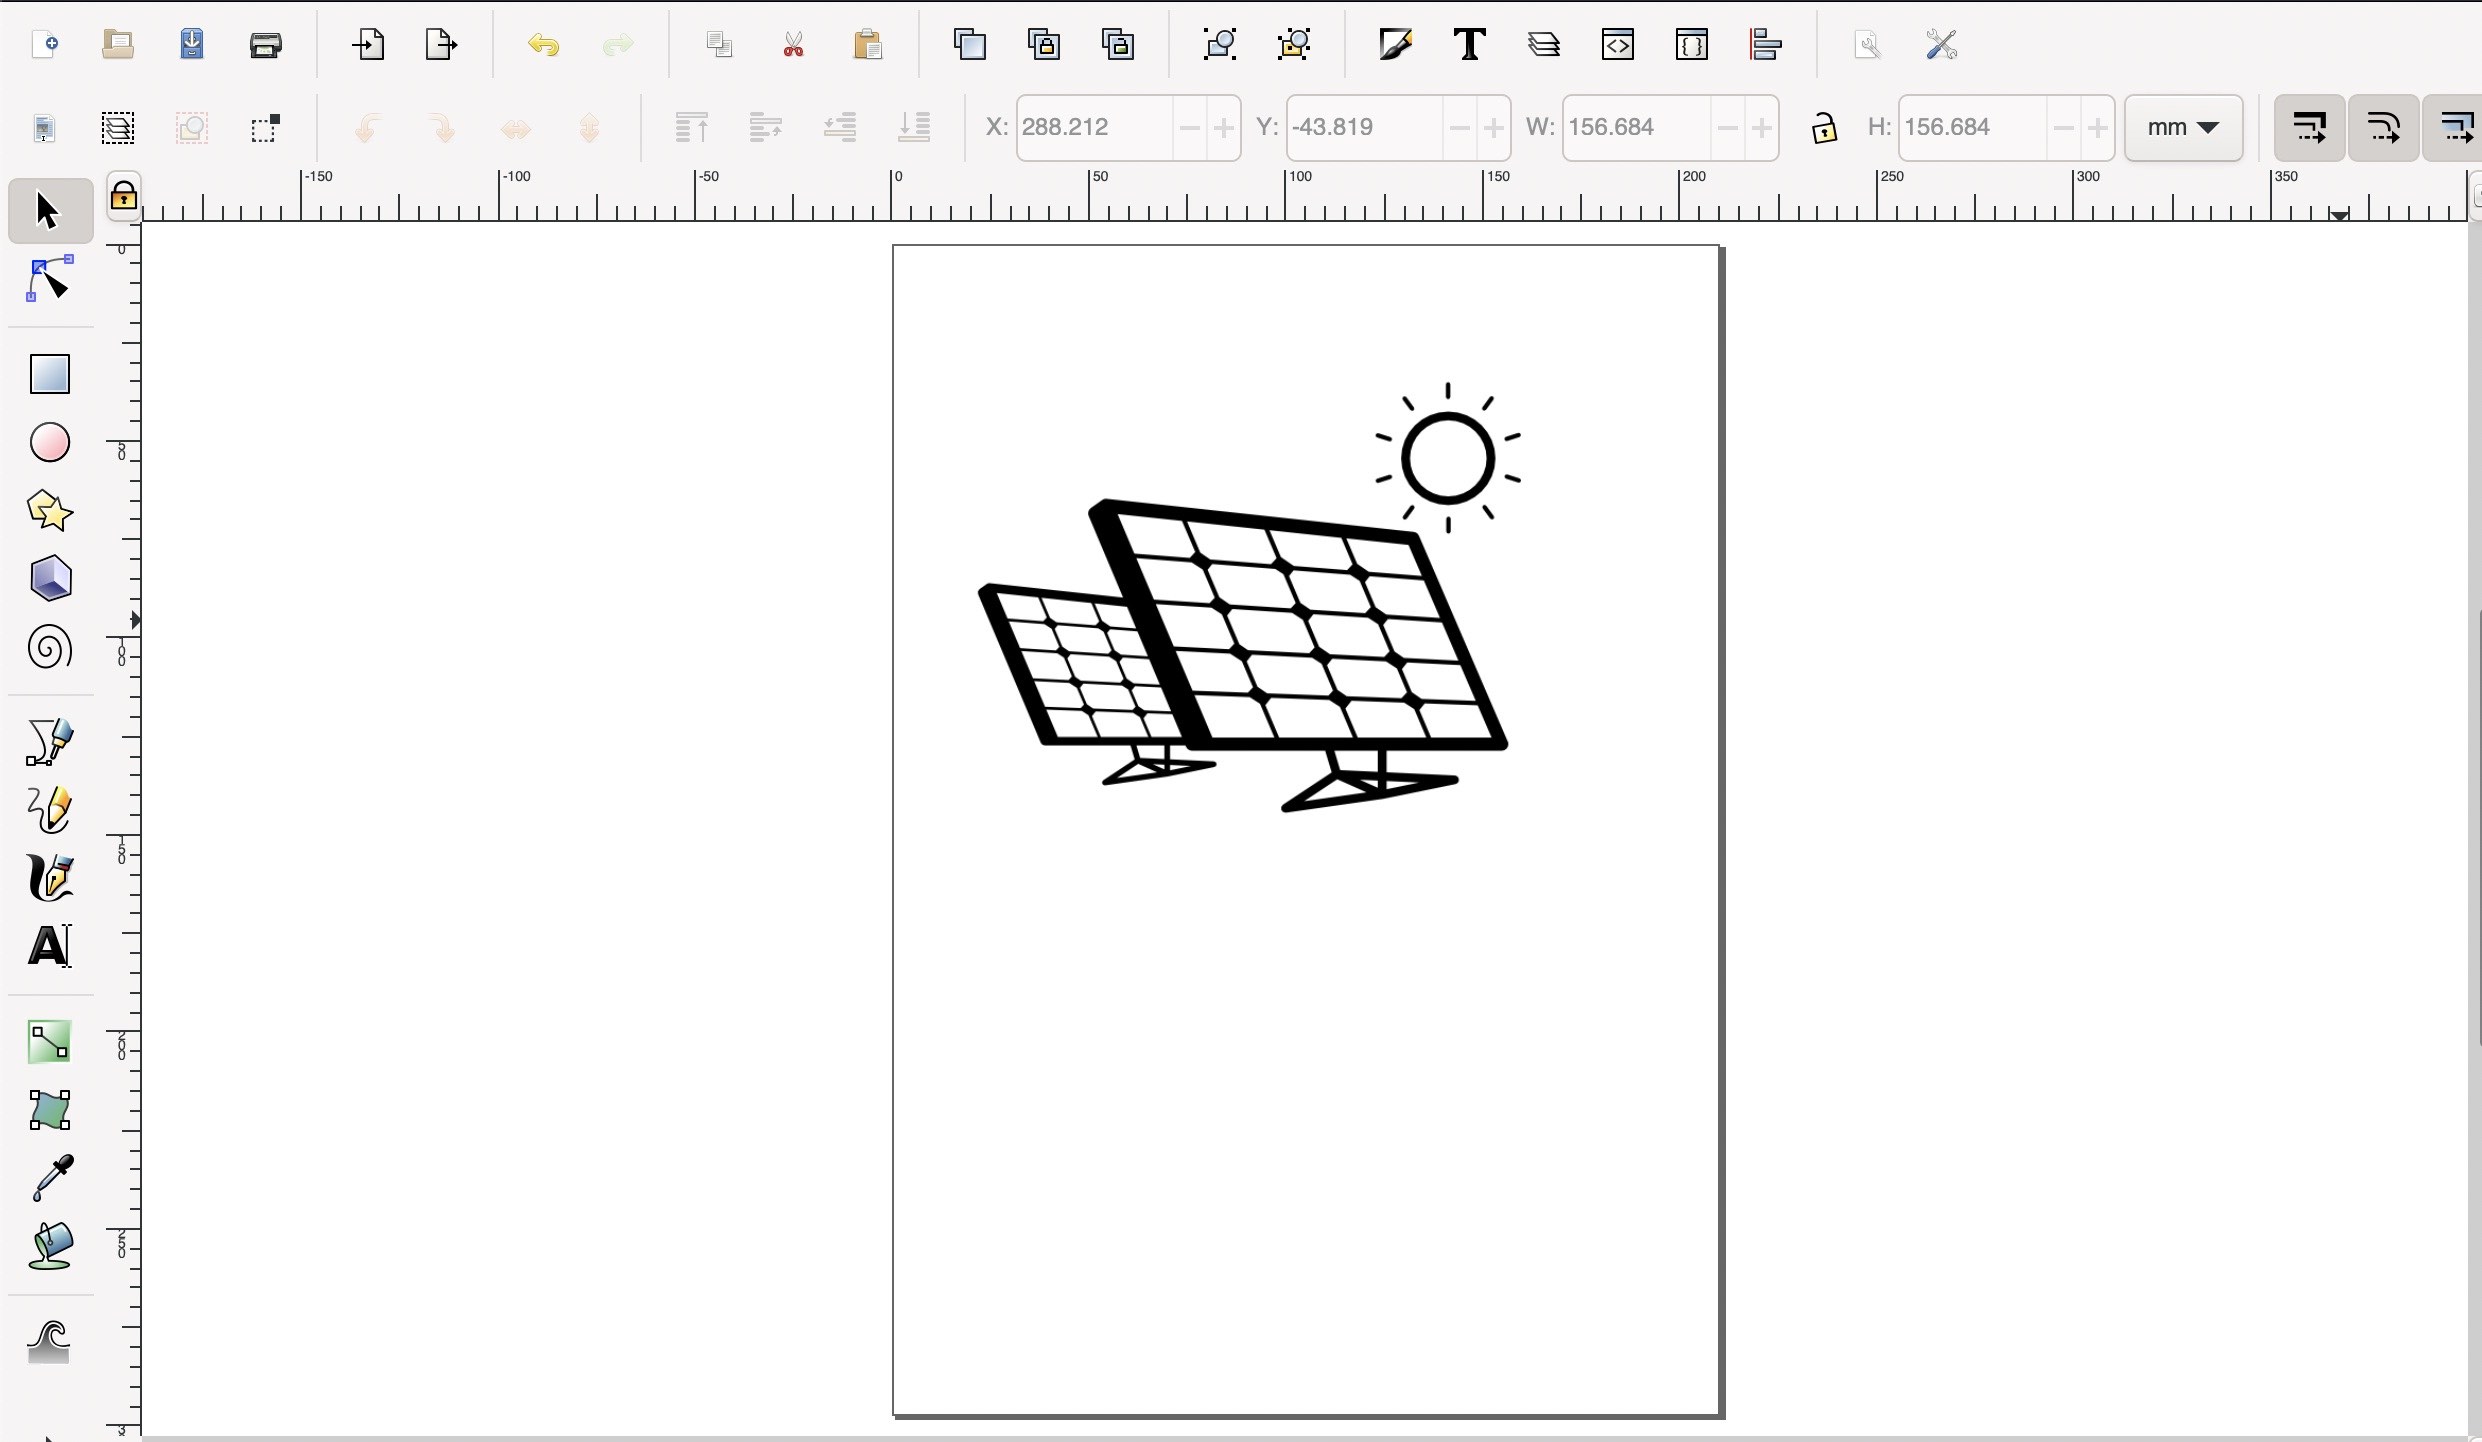
2-Go to Path -> Trace bitmap .Change the setting and click on update

3-A vector image will be created from the original one.The top one is raster image and the bottom is the vector image
Logo Design:
I used Inkscape software used to design my Final project Logo.I created the boarder and the ribbon of the logo.Then inerted images inside as shown below:

3D Design
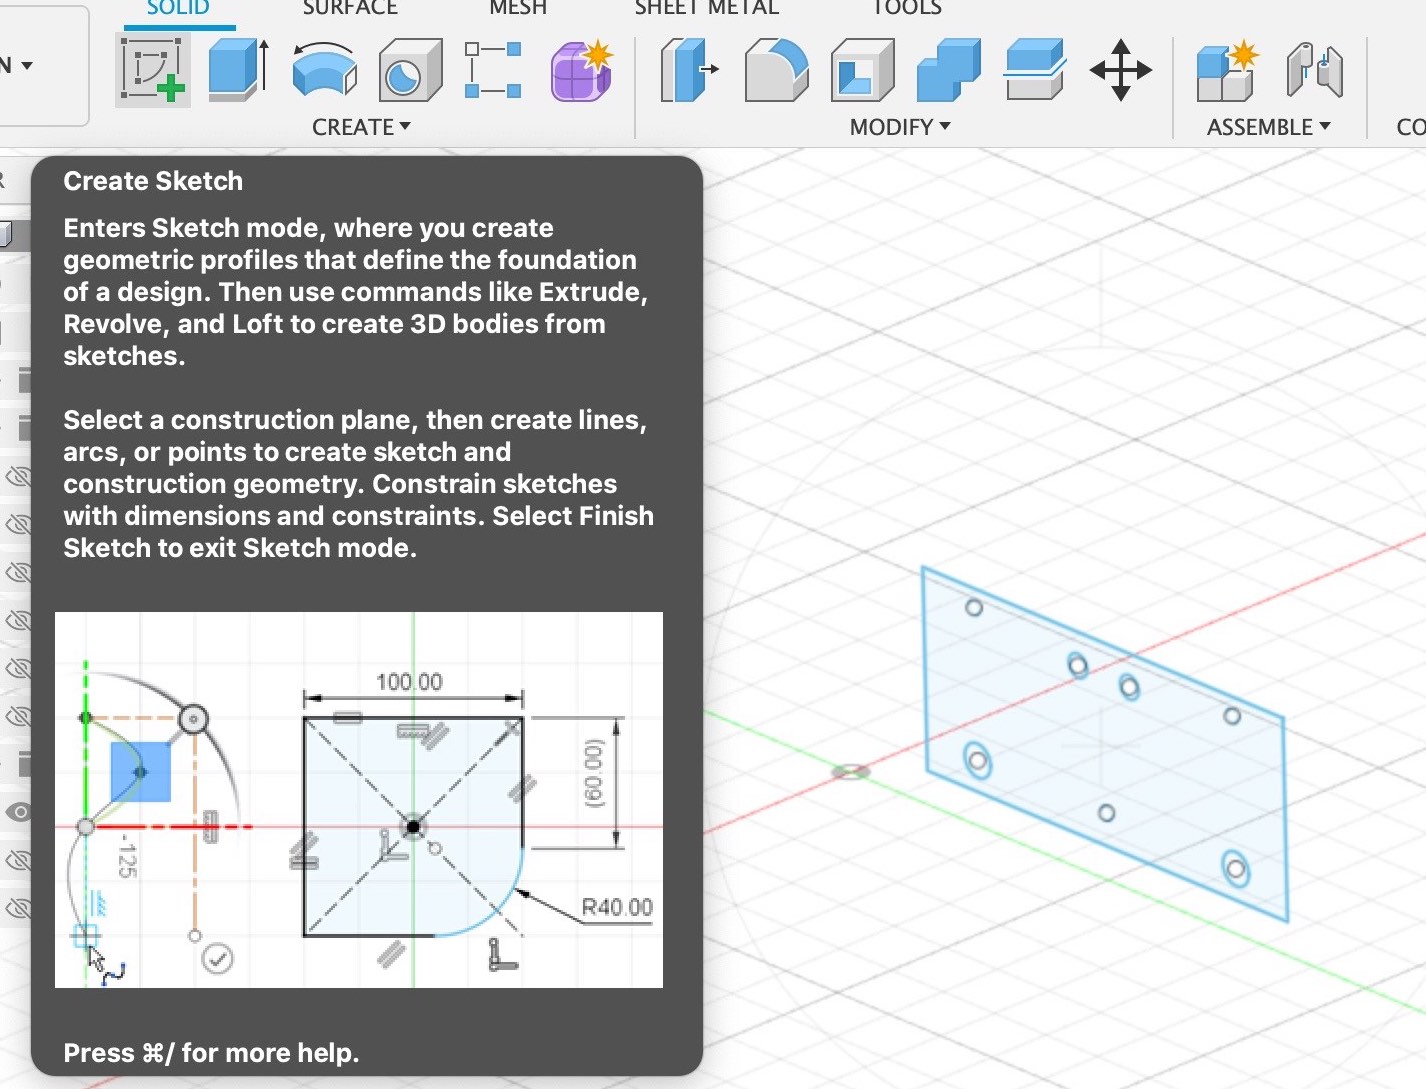
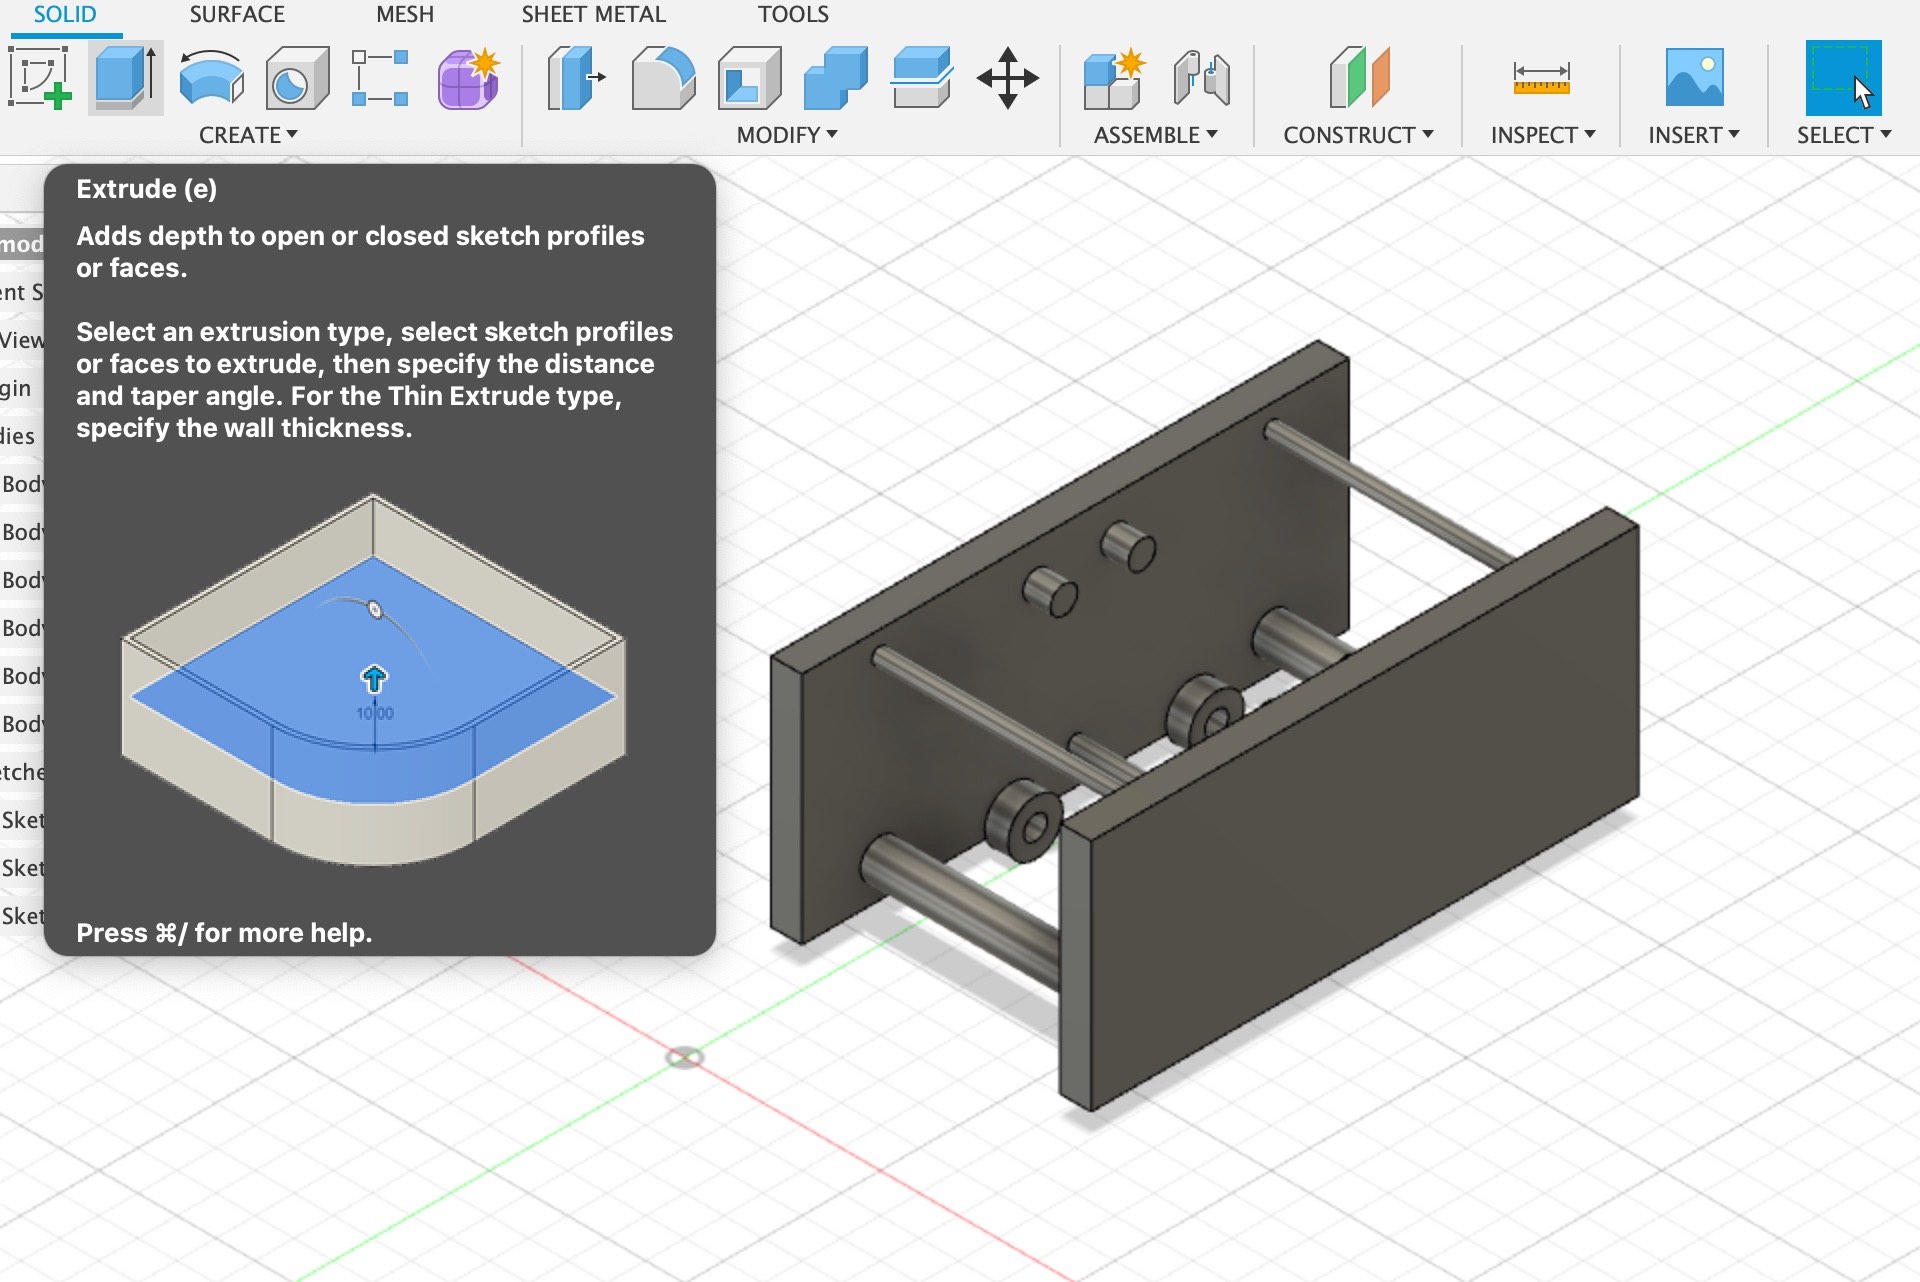
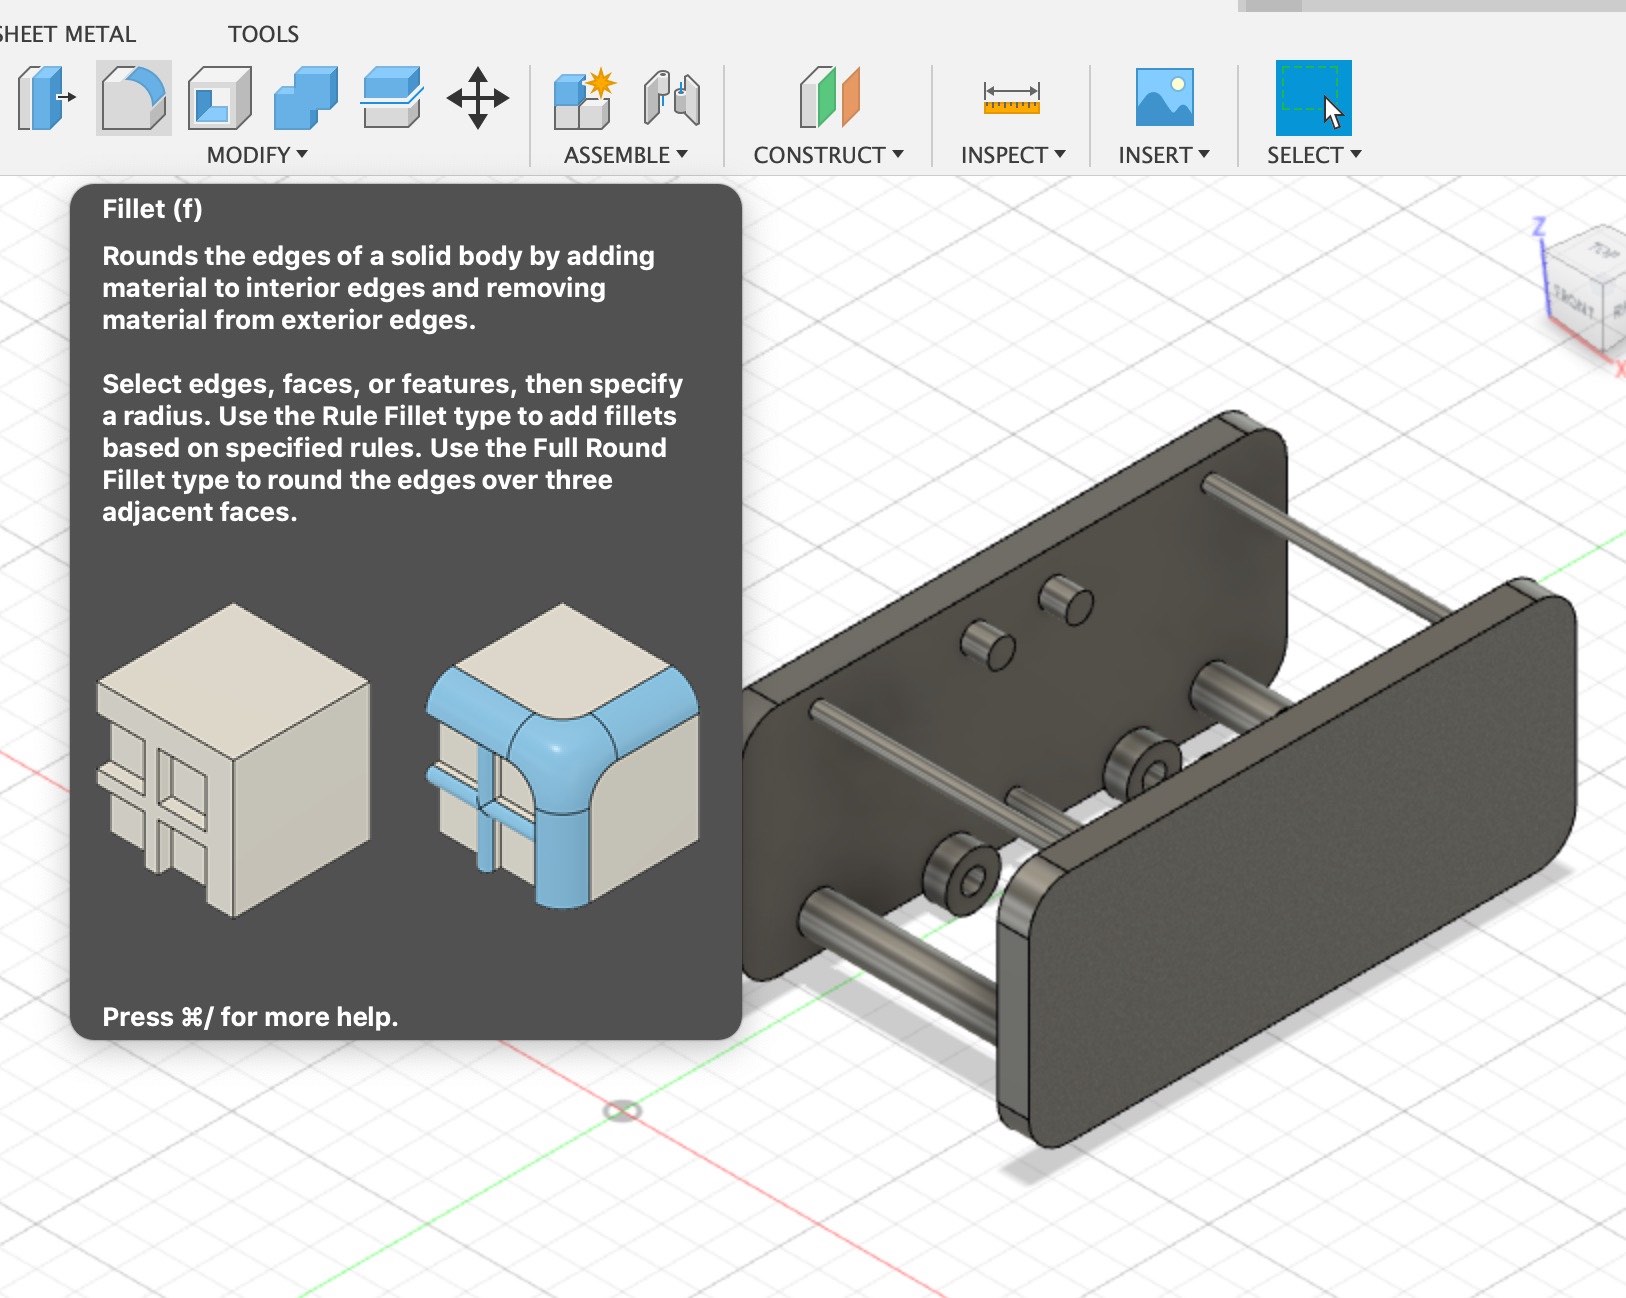
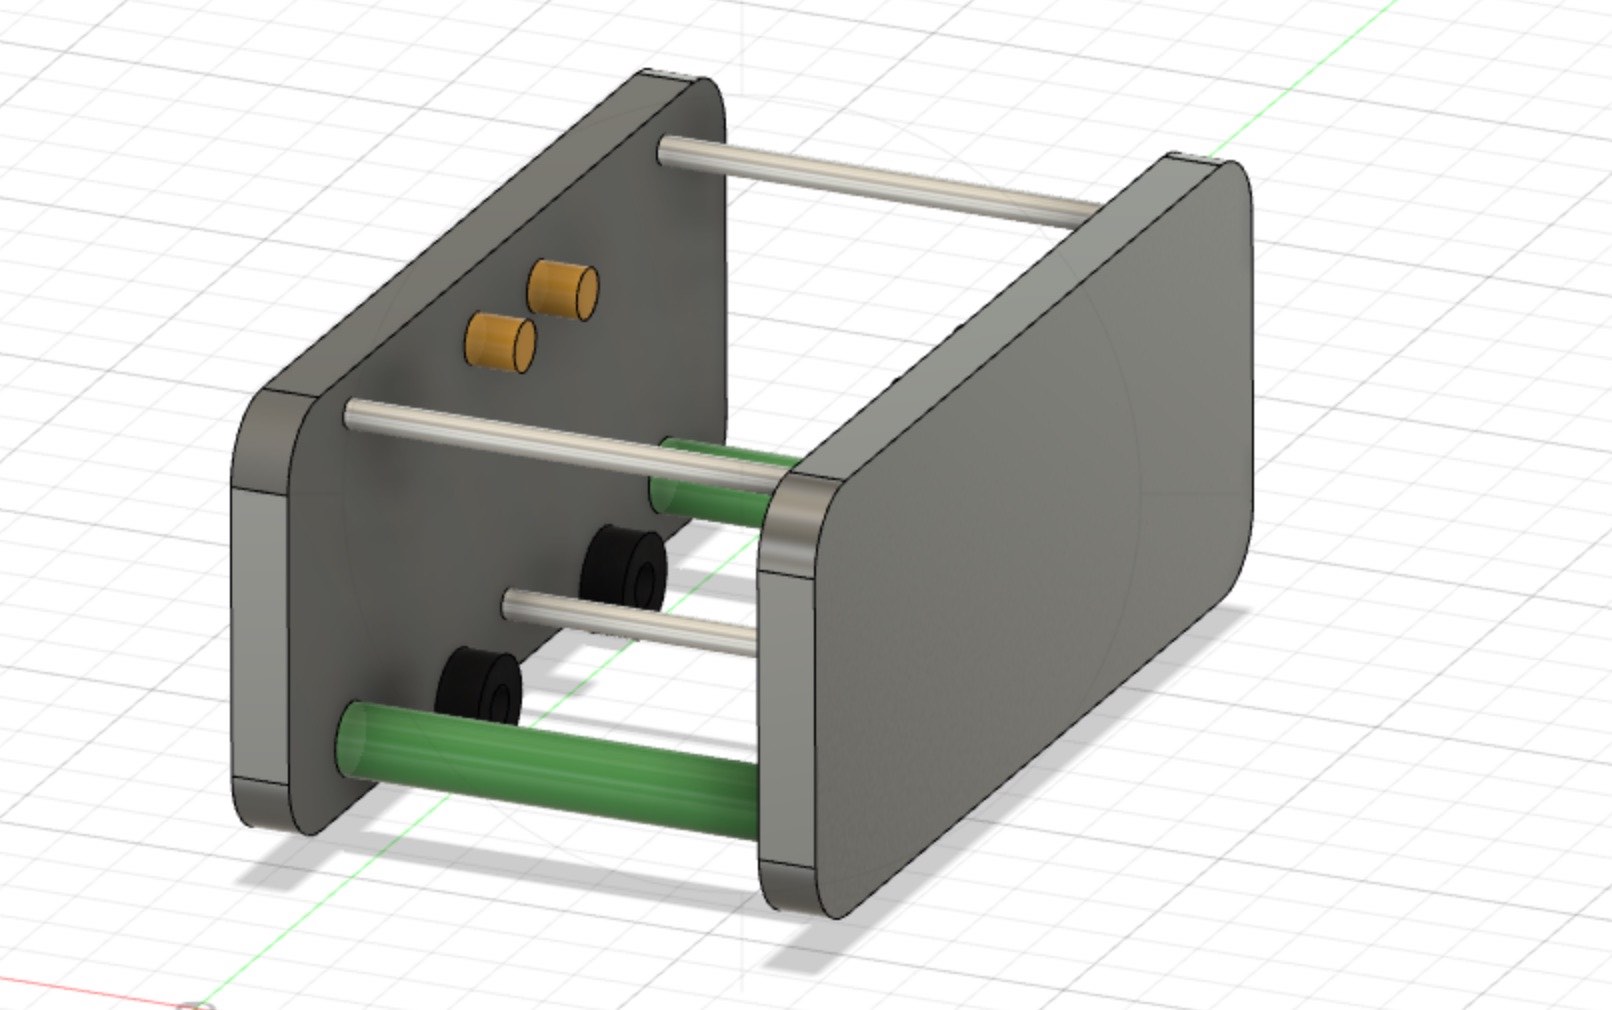
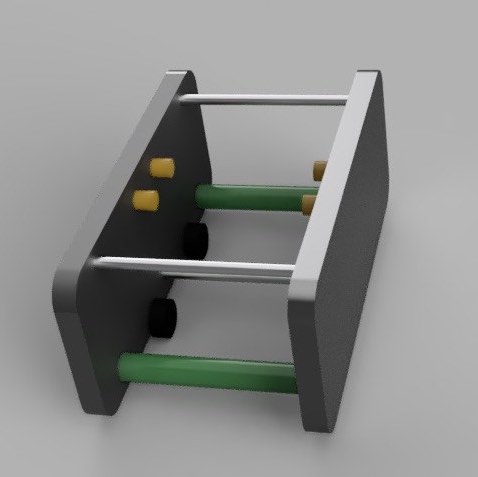
1-Autodesk Fusion 360: is an excellent 3D modeling program. Fusion 360 is a cloud-based 3D modeling, CAD, CAM, and PCB software platform for product design and production.I used this software to design My final project.The cleaning robot is mainly consistes of : two brushes, four motors , fow wheels , sensors and controlling system.The robot will be fixed on the panel , once its turend on the robot will start moving in constant speed and dry brushes begin to clean the solar panel.Once the robot recives the signal from senseor it slows down and stop.If it has completed one round , the robot will start moving backwords until it reaches the edge.
1-First I start SKetching with Sketch tool.
2-Extrude The sketch using Extrude tool
3-Use Fillet tool to round teh edges
4-Adding appearance to the bodies
5-Rendering to generate a real image from the 3D design
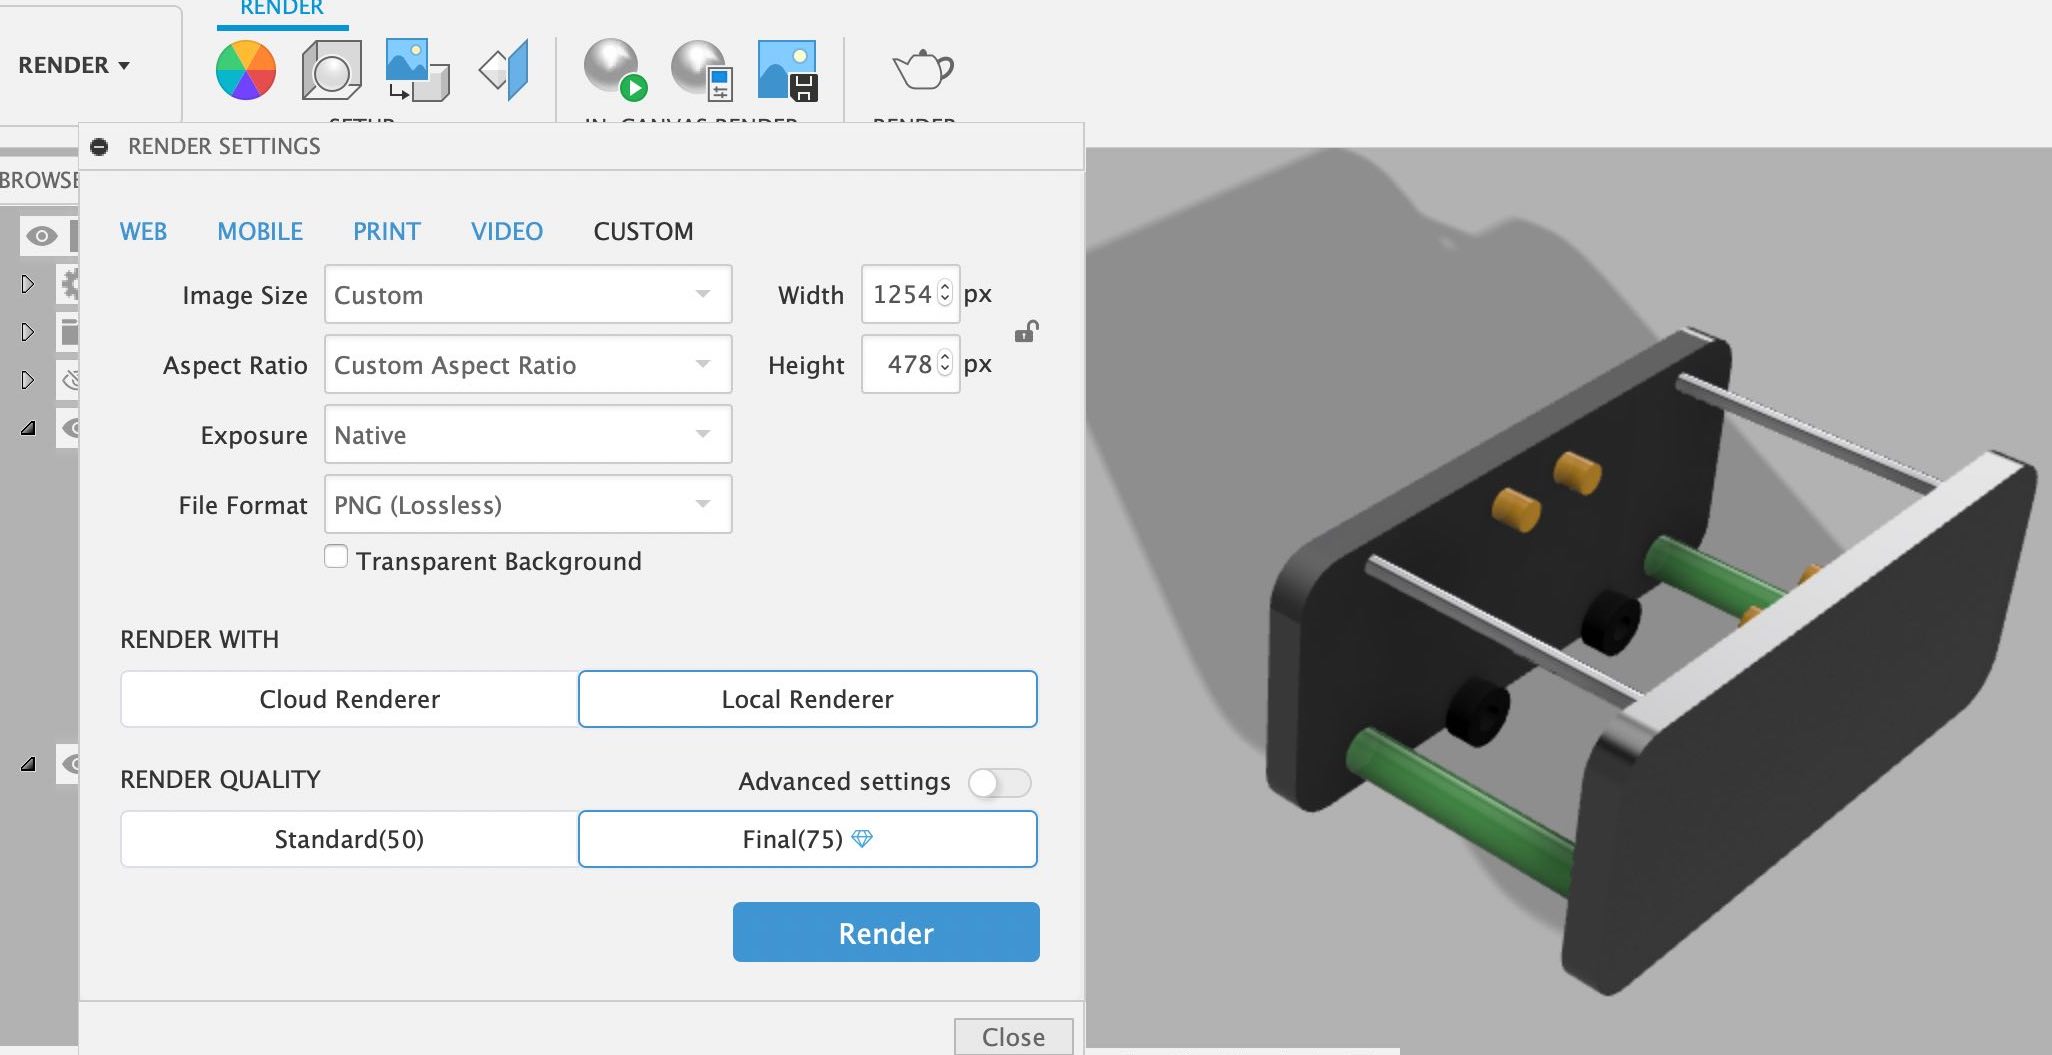
Here is a final image after rendering:
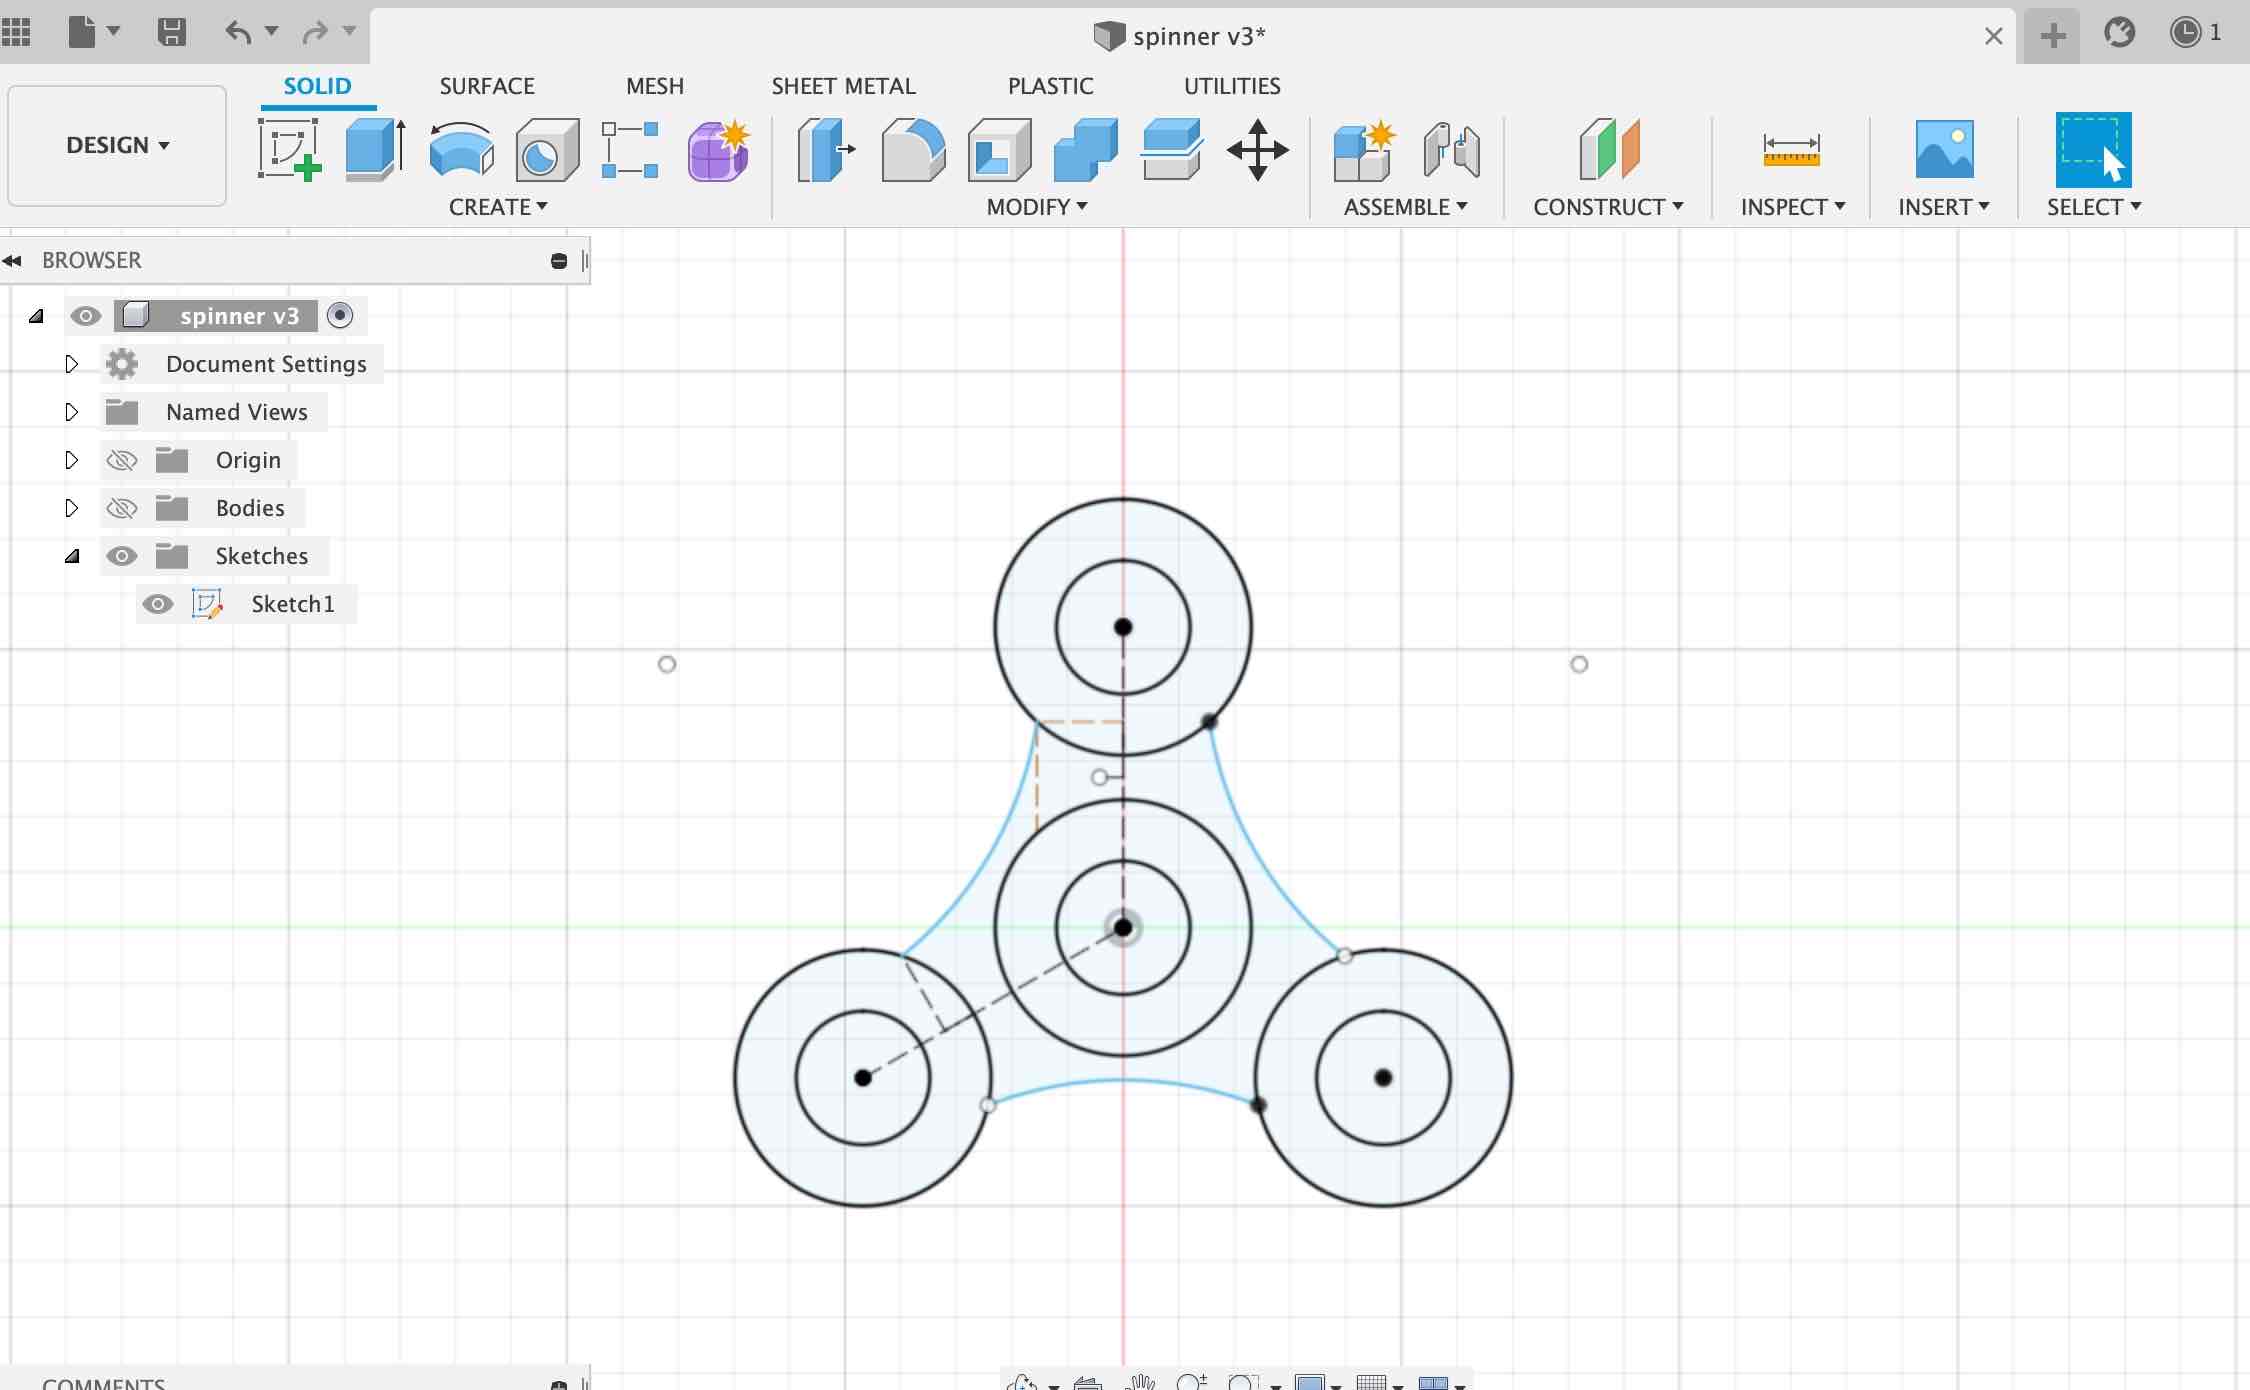
To practice more in this software ,I designed a spinner.The center circle is sketched using center diameter tool.For the other three circles I used the circle pattern tool.In addition,The arc tool is used for drawing the curve.Also ,extrude tool to convert the Sketch into 3D design.Finally, I decide to do animate the spinner by going to animation mode and using the transform tool to rotate it to 350 degree.
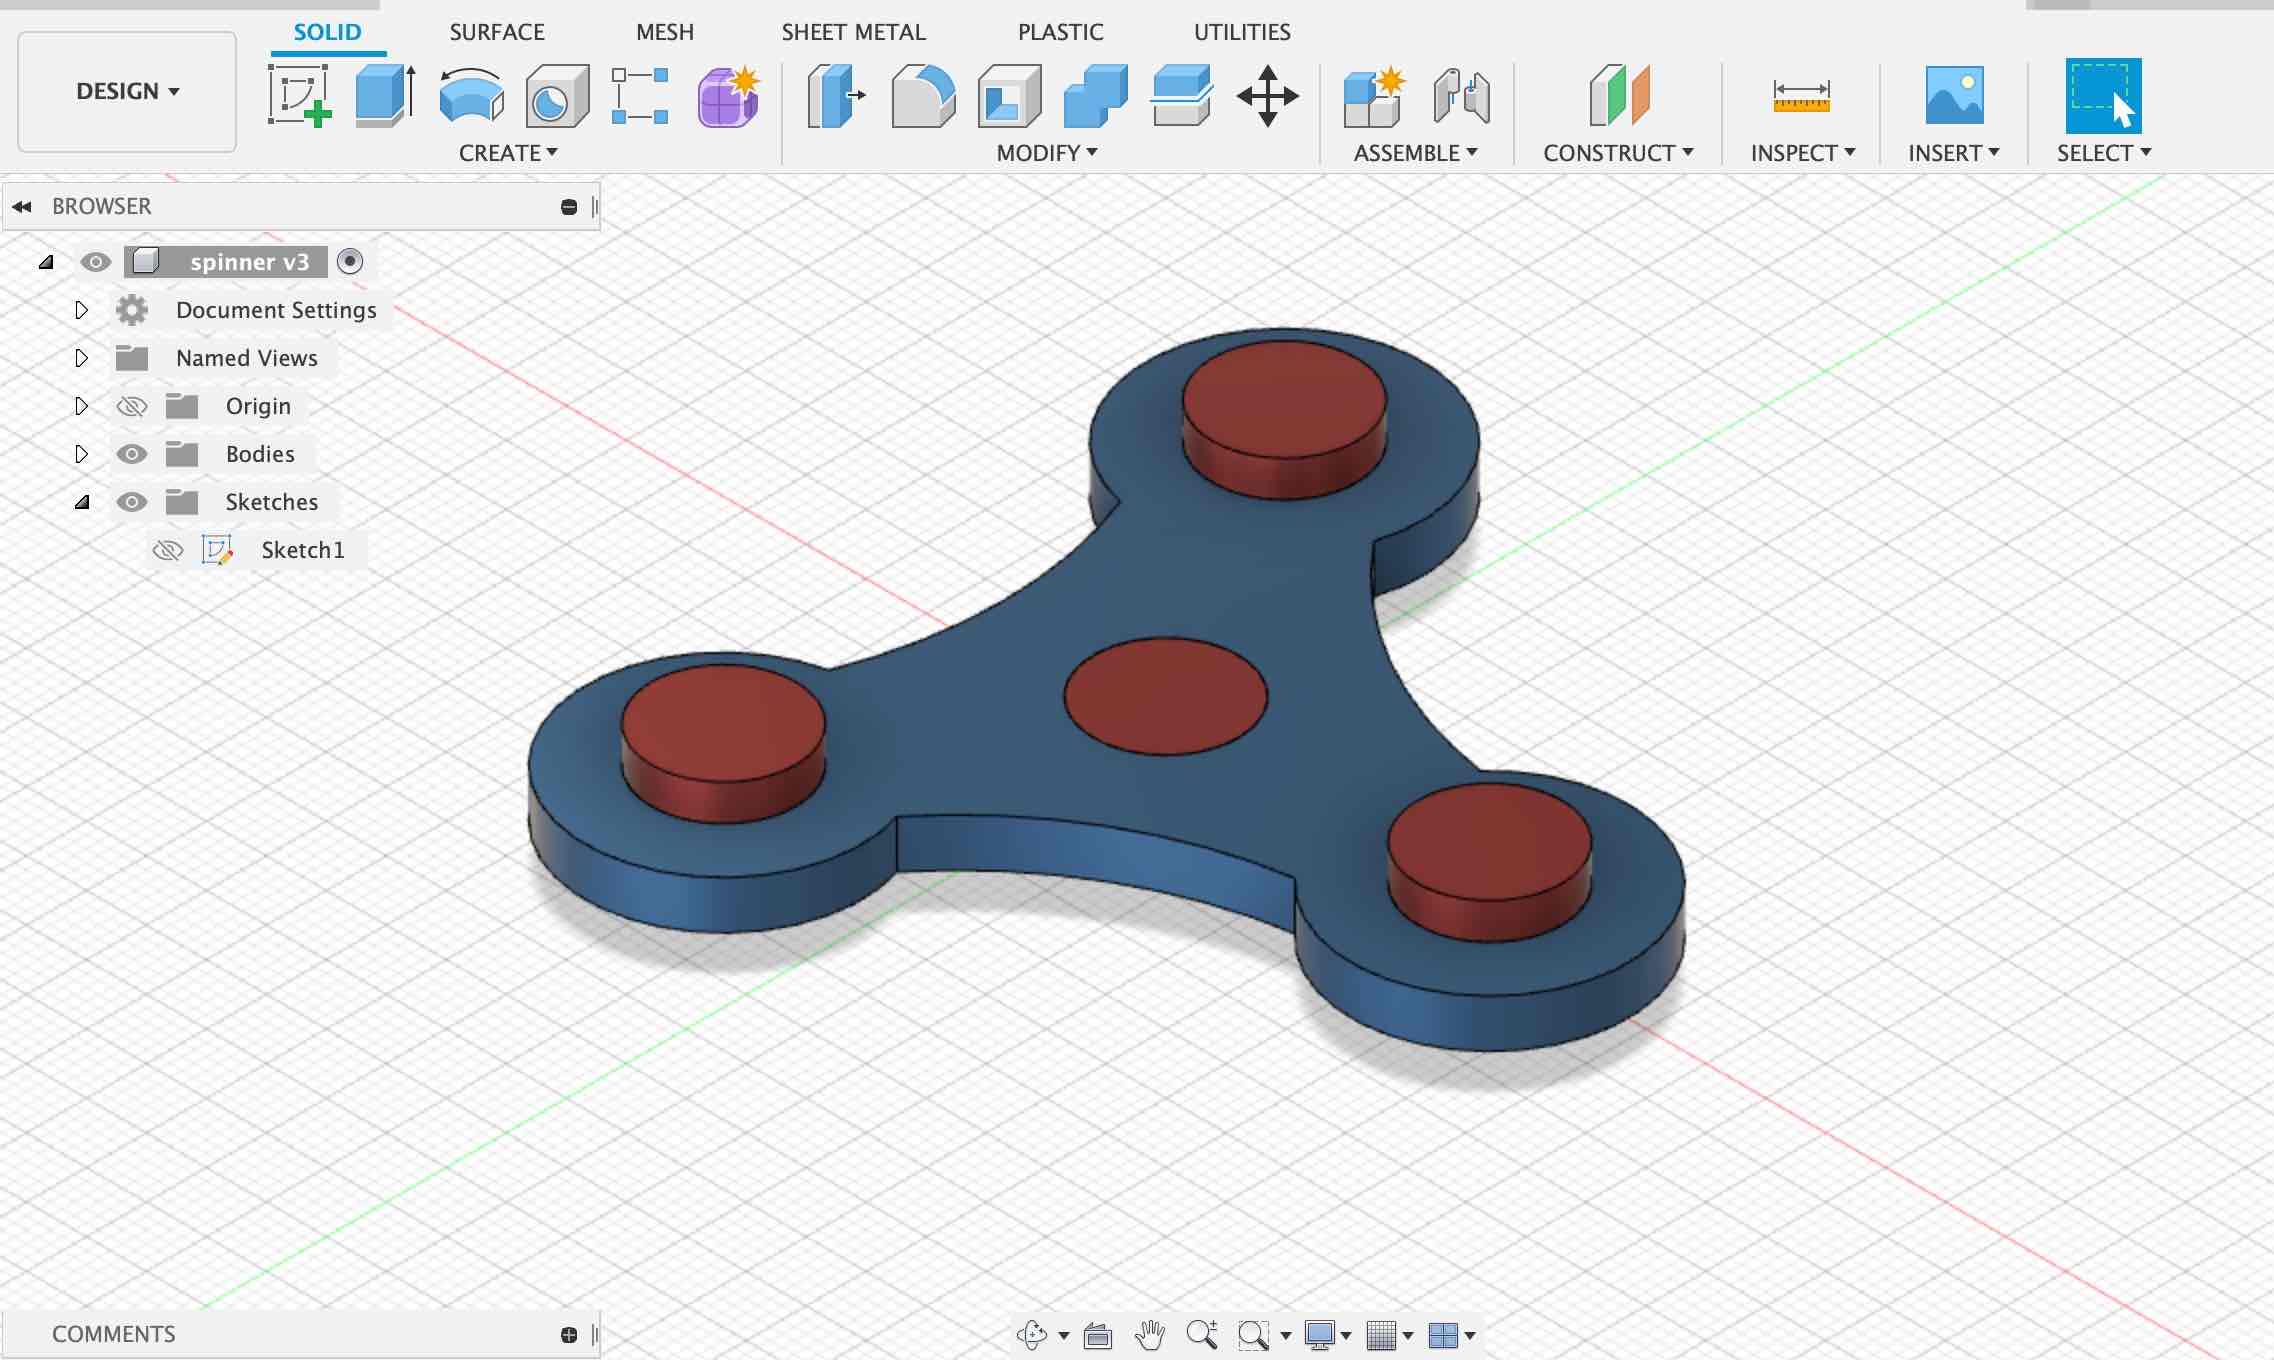
I enjoyed Designing using Fusion 360 softwore, It combine many tools that useful for designing 3D and also 2D design.Also it combines everthing in one software, from sketching to modeling to animating ans simultaing.
2-Freecad:is software can be used to design 2D vector graphics and 3D models.I used this software to design my final project as shown below.I find It hard and complicated to use compared to Fusion 360.Even the tools has no description and I take long time to find one tool.

3-Blender: is a free and open-source 3D computer graphics software toolset used for creating animated films, visual effects, art, 3D printed models, motion graphics.First I saw a tutorial to know more about the software and how to use the tool.Then I practice by doing simple animation as shown below:
Image compressing
When taking screenshot using snaptool in my Macbook ,the picture is saved in png format.The size of png image is higher than Jpg image , The image should be compressed to reduce the size of pushing files to cloud.There are many ways to compress images,but I found compressing images using Preview is simpler and easier for mac user.
Select All images you want to compress and open it with Preview.Then select all images in Thumbnail and Go to File-> export selected images.Then click on option and choose file format.After that the images will be saved and the sizes are reduced.
Screen Recording
For screen recording I used Quicktime player.I can specify the area I want to record , so It does not only reacord all the screen.Also, I can speak while recording.This software is recommended!.

Vedio editing
I choose to Edit my video with iMovie software.Its avaliable for mac users.iMovie is a video editing software tool created by Apple. Options include the ability to edit and improve video color settings, trim and rotate video clips, stabilize shaky movies, create video transitions, and change the tempo of clips.

I used iMovie to edit a video That I record while designing the Logo for the final project:
File used:
| GIMP file | 2D.xcf |
|---|---|
| Logo file | logo.svg |
| Fusion 360 final project | projectmodel.f3d |
| Freecad final project | finalproject.FCStd |
| spinner | spinner.f3d |