Molding and Casting

Group Assignment
In this part we read and reviewed the technical and safety datasheet of casting and molding material we have in the lab.
The image below show the materials available in the lab.
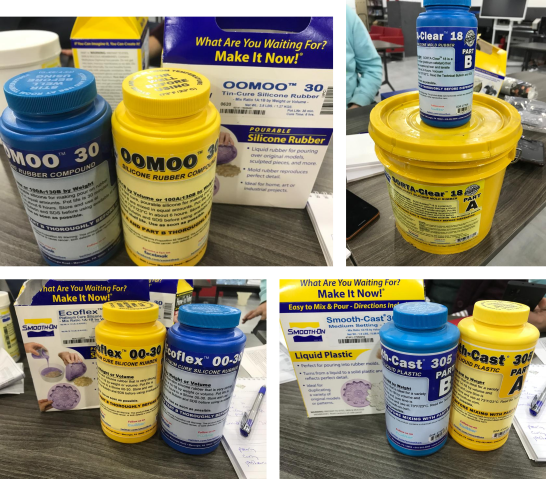
- OOMOO™ 30 : Silicone Rubber-Tin Cure
- Ecoflex™ 00-30 : Silicone Rubber-Tin Cure
- SORTA-Clear™ 18 : Silicone Rubber-Platinum Cure
- Smooth-Cast™ 305 : Liquid Plastic
and here is the comparison between these materials.
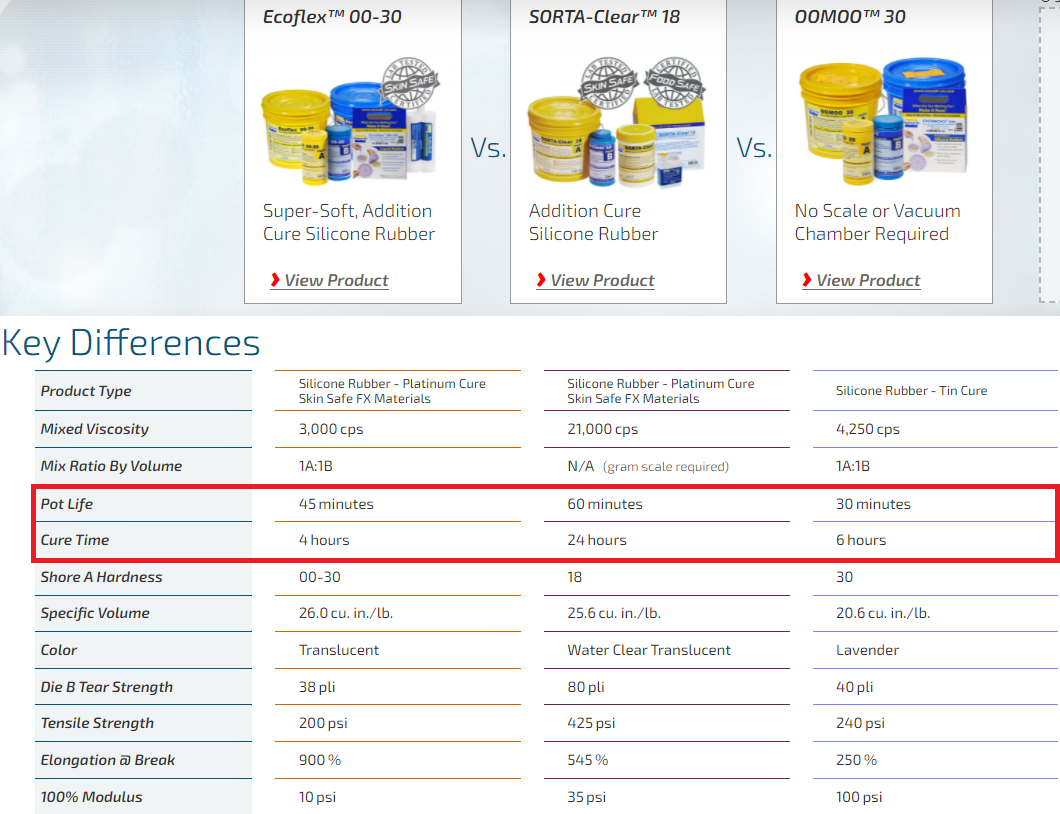
The image lists the key differences between the three liquid rubber materials. For example, there are operational differences like pot life and cure time, and there are finish differences like end product color.
Safety and Technical Datasheet
Technical and safety datasheets are linked for each material. The technical datasheet provides operational data like technical specs and processing recommendations. The safety datasheet describes different hazards associated to the material and risk levels. Note that SORTA-Clear™ 18 is the only safe food material.
-
- OOMOO™ 30
- Technical Datasheet
- Safety Datasheet
- Ecoflex™ 00-30
- SORTA-Clear™ 18
- Smooth-Cast® 305
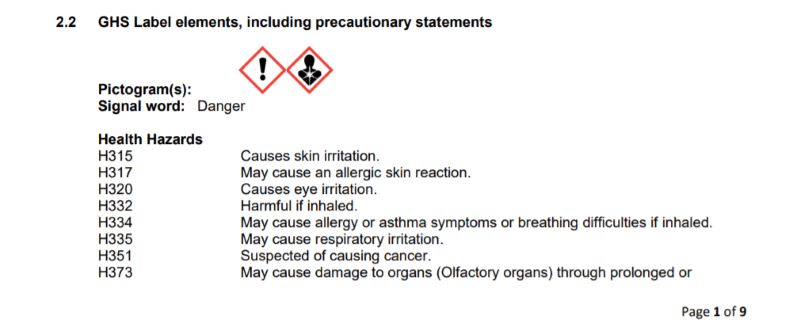
For example, the following risks are listed in the safety datasheet of Smooth-Cast® 305.
And also, the following first aid measures are listed in the safety datasheet for the same material.
Individual Assignment
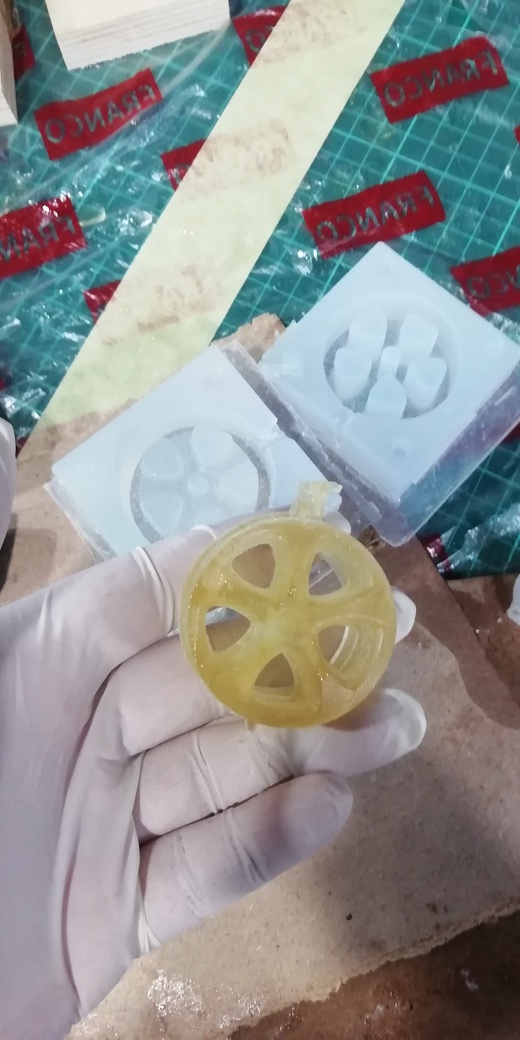
this week i make a design for a sumo robot wheel, then make a mold on wax stoke to cast on it with detergent material later ( resin, silicone, etc ).
3D Design
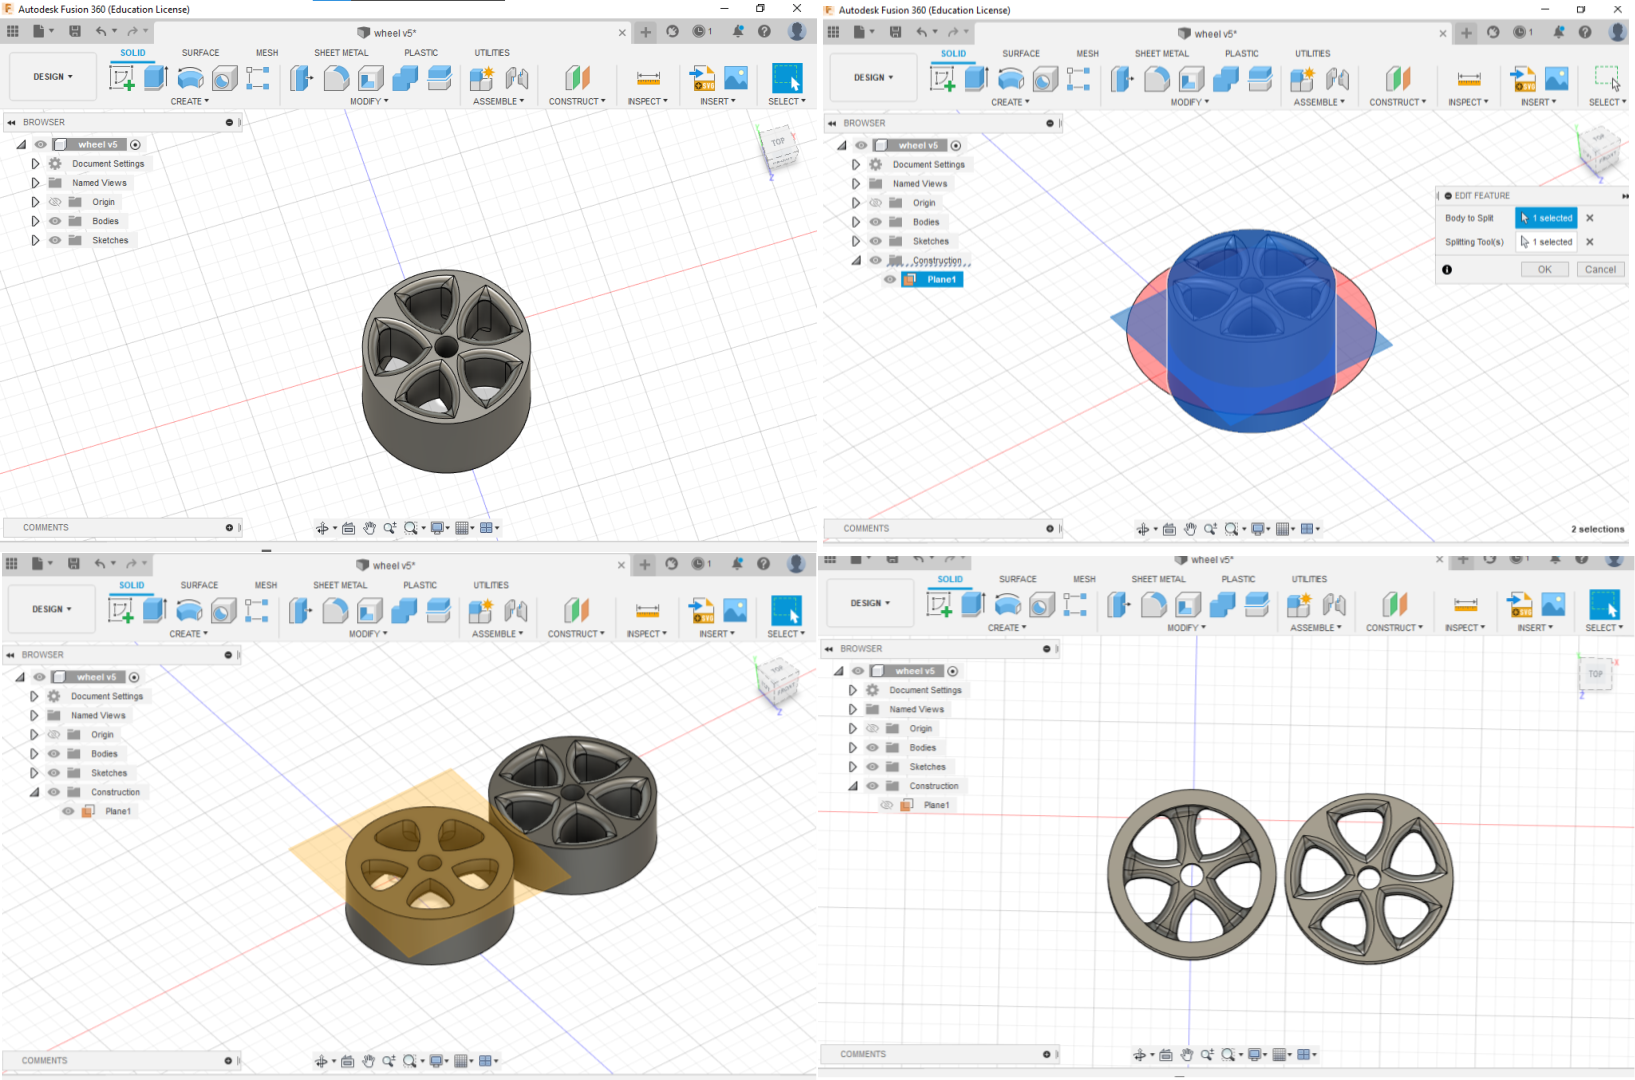
so let's take a look at the 3D design that I have done using FUSION 360, first of all, I design the wheel then I cut it into two parts to make double-sided molde.
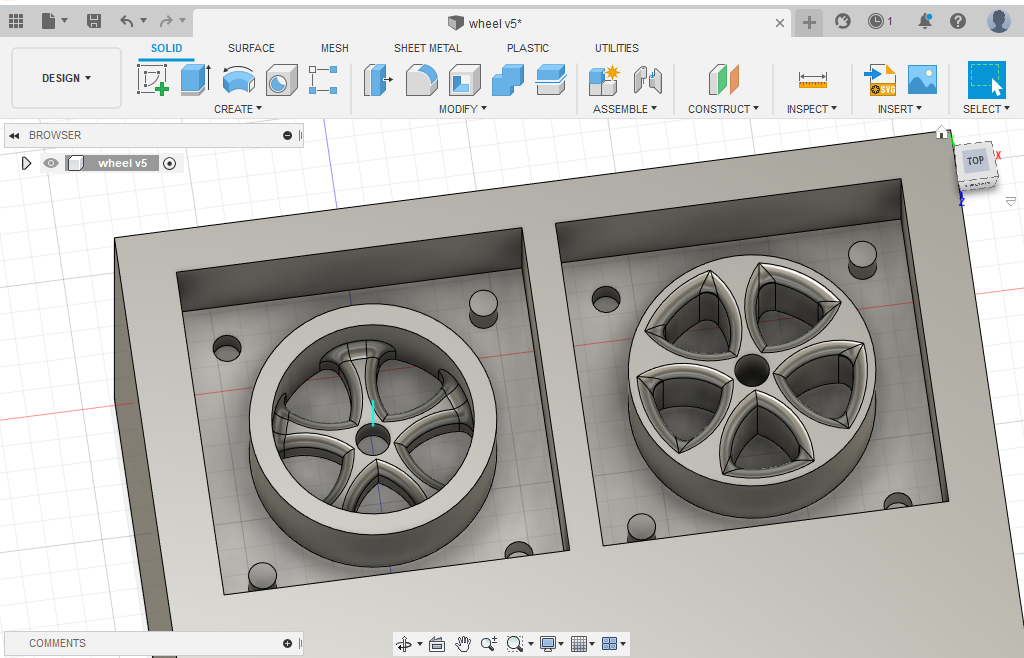
after that, I design the stoke (150mm*150mm*80mm) and butt the wheel parts next to each other and make sure that the 3D geometry is on top of the design .
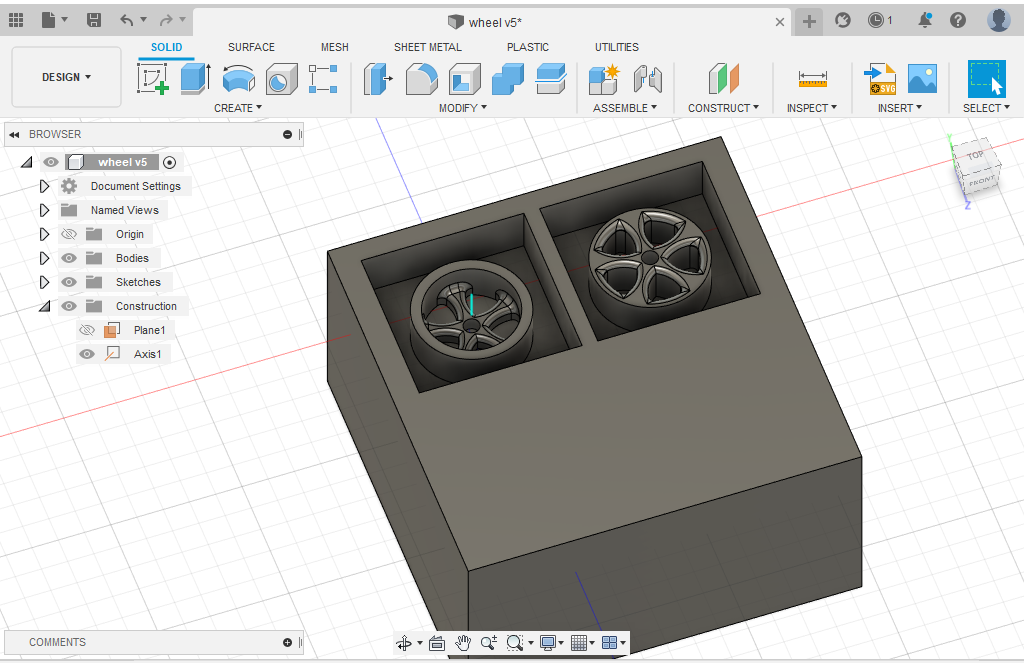
now I have to make symmetric cylinders on each part to align the molds while the casting process .
CAM
so now the Design is ready to be processed on CAM ( manufacturer) on fusion 360, to export the G code to run it on ShopBot .
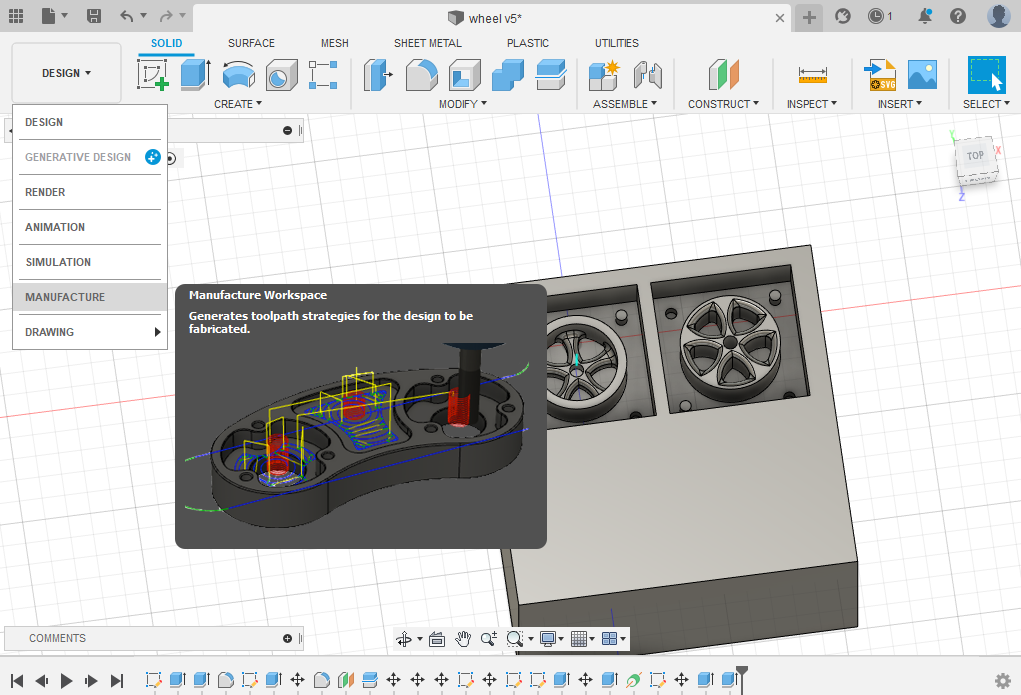
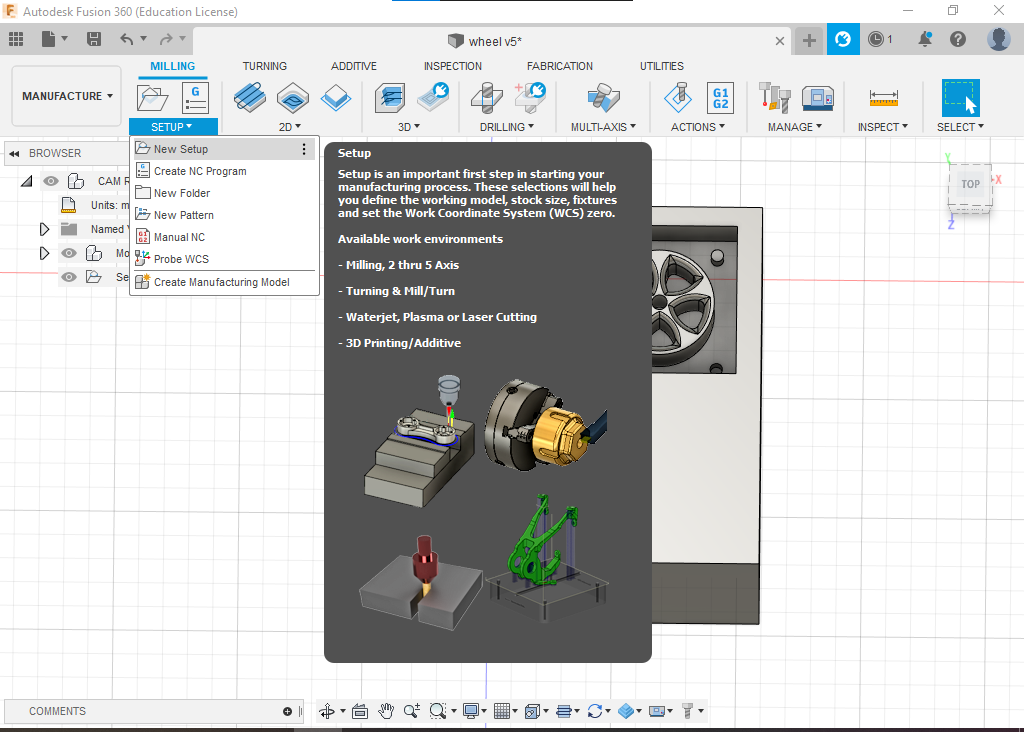
first of all, we have to make a new setup, so go to MILLING>>SETUP>>NEW SETUP
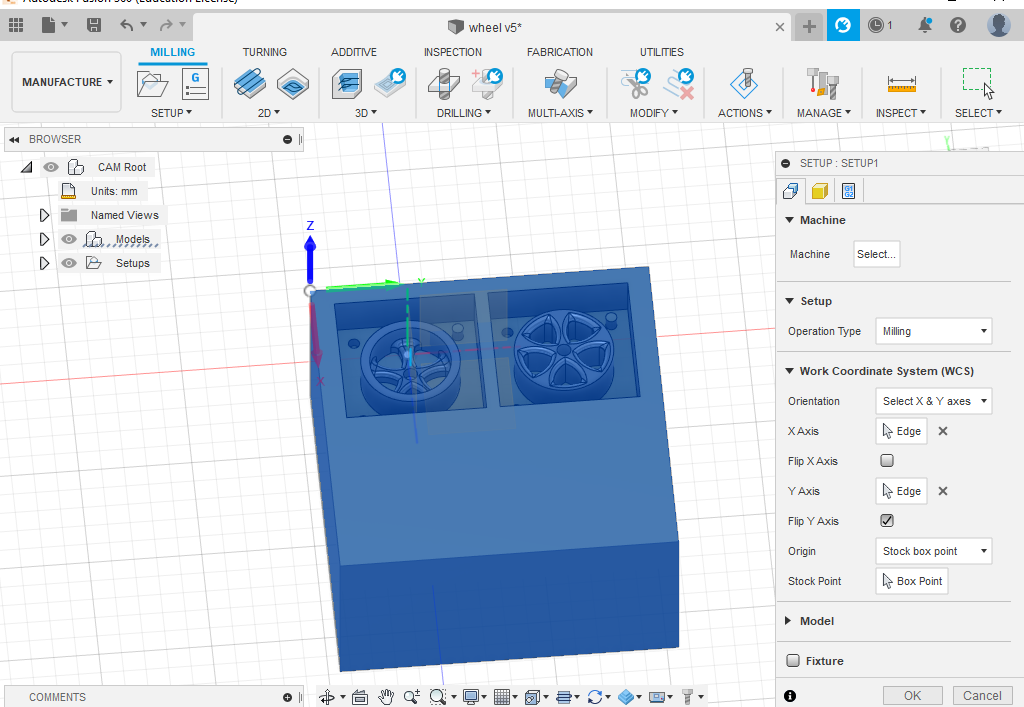
here we will select the orientation for the work coordinate system, so you can specify the stoke Origen point and the zero point on each axis .
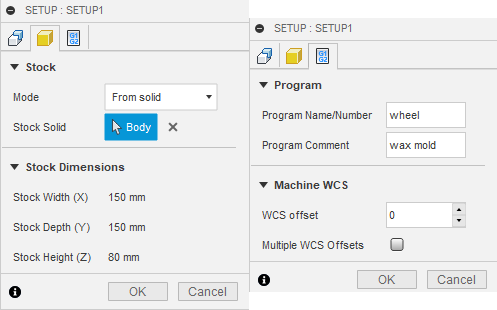
after that, we have to specify stoke dimensions, as well as setup name.
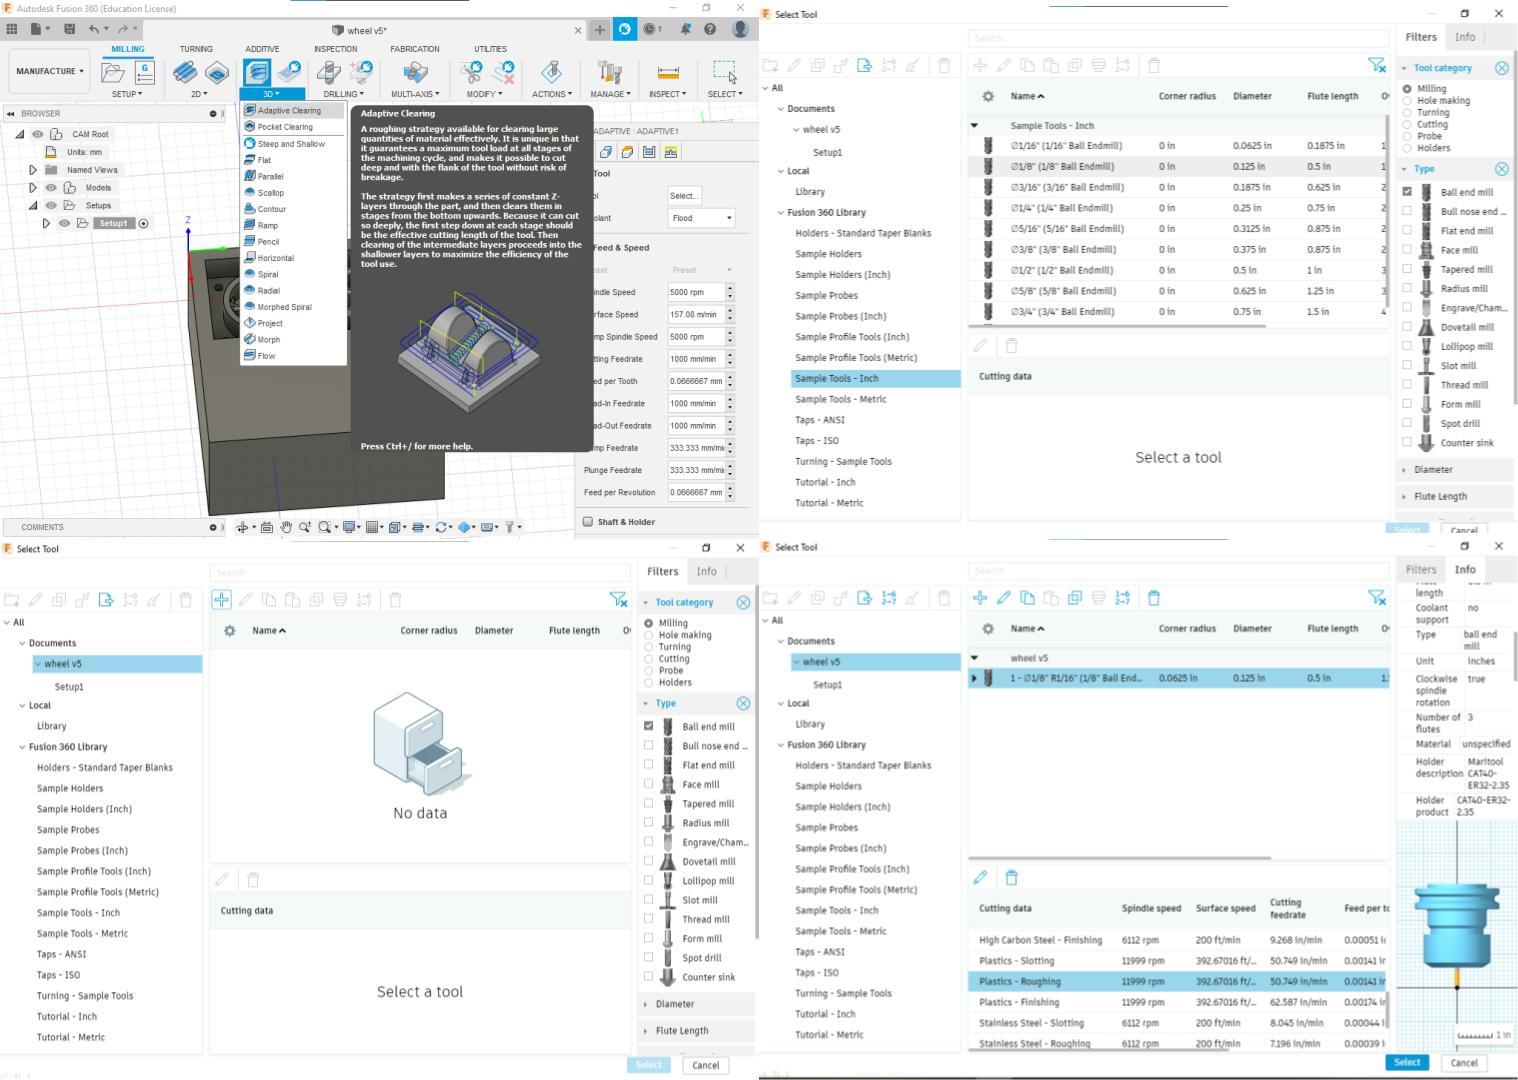
now go to 3D adaptive clearing >> tool>> select, here you will see a lot of stool types and sizes, so you will choose the proper one for your case. in my case, I choose the ball nose end mill 1/8 inch so that will allow me to make roughing and finishing using the same tool. again you have to use a proper tool for your case based on your design and the tools available in your lab. after that you can choose the "cutting data ", here I select plastic roughing so the software will auto-fill the ( spindle speed, cutting feed rate, ramp speed, etc...) automatically.
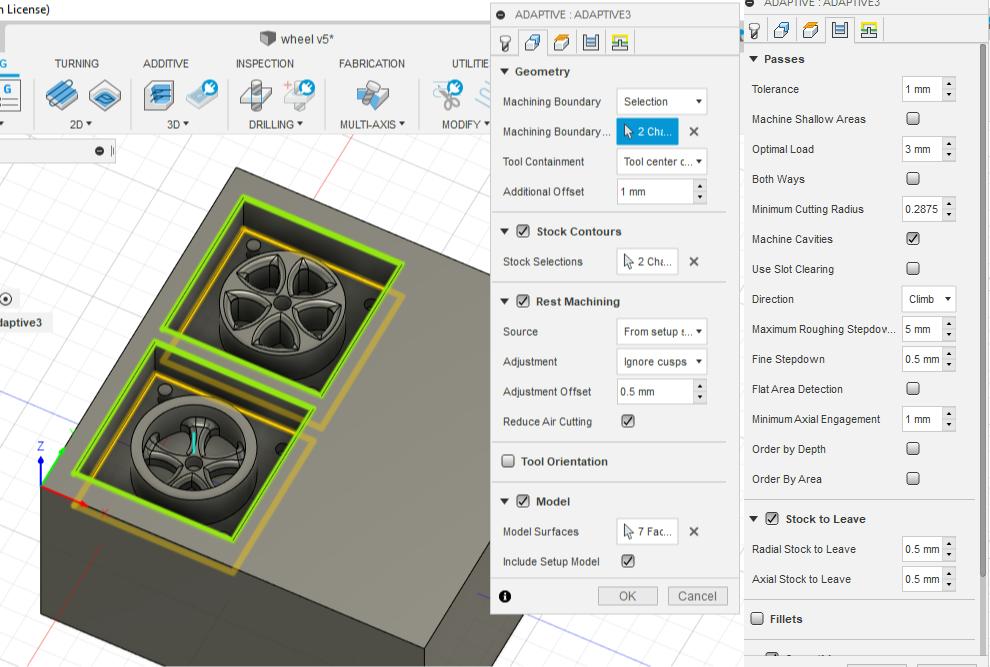
now in the geometry tap, we have to select the machining boundary and the model geometry that represents the molde itself, after that you can go to passes and set " stoke to leave" and this thickness will milled on the finishing program .
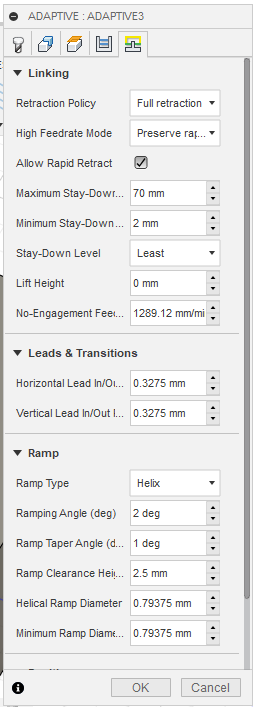
in the linking tap, there are too many options to deal with but I will talk about what I have done. so you can increase the maximum-stay-down-level to reduce the links then reduce the time. in the ramp section, you can select ramp type and ramping angle and clearance .
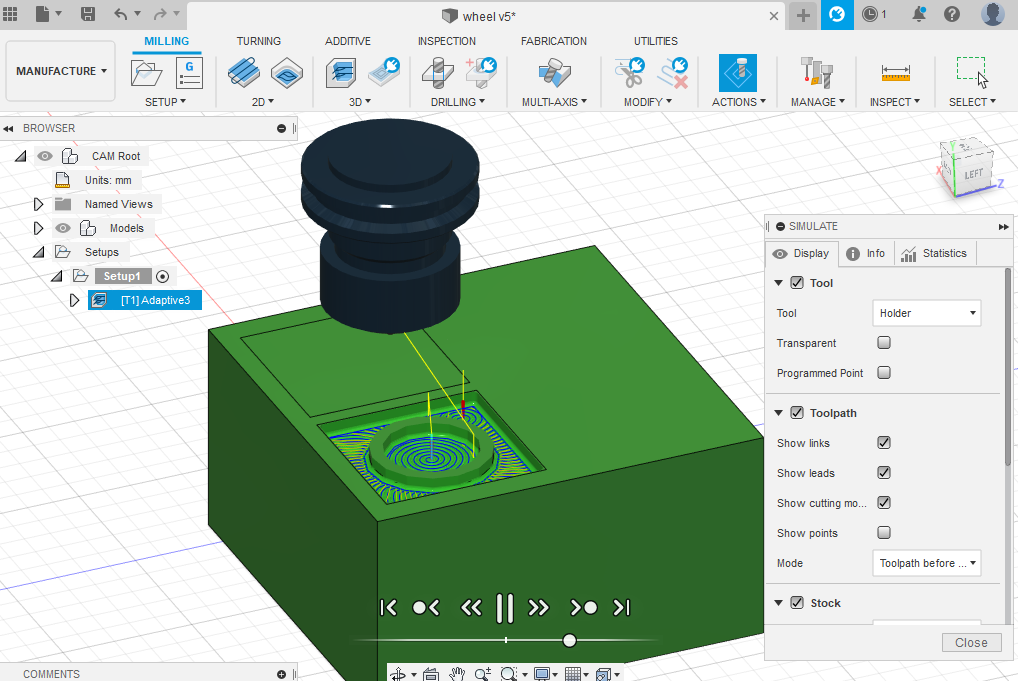
so now we can see the toolpath and links, lets's simulate this toolpath to make sure that everything is ok . go to action>> simulate .
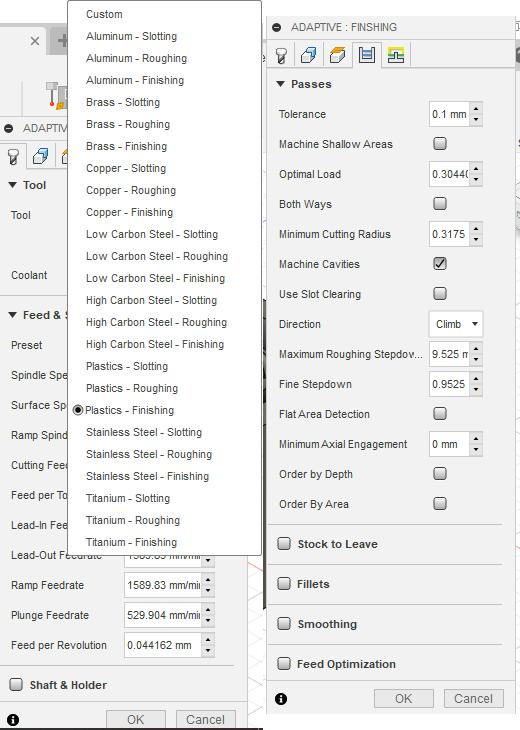
The next step is to make a "finishing" job, so again go to 3D clearing>> adaptive clearing and select the same "ball nose 1/8 inch " tool but this time we will make some modifications to the setting, the main difference is that I change "preset" tool setting to plastic-finishing, and of course there is no left stoke this time .
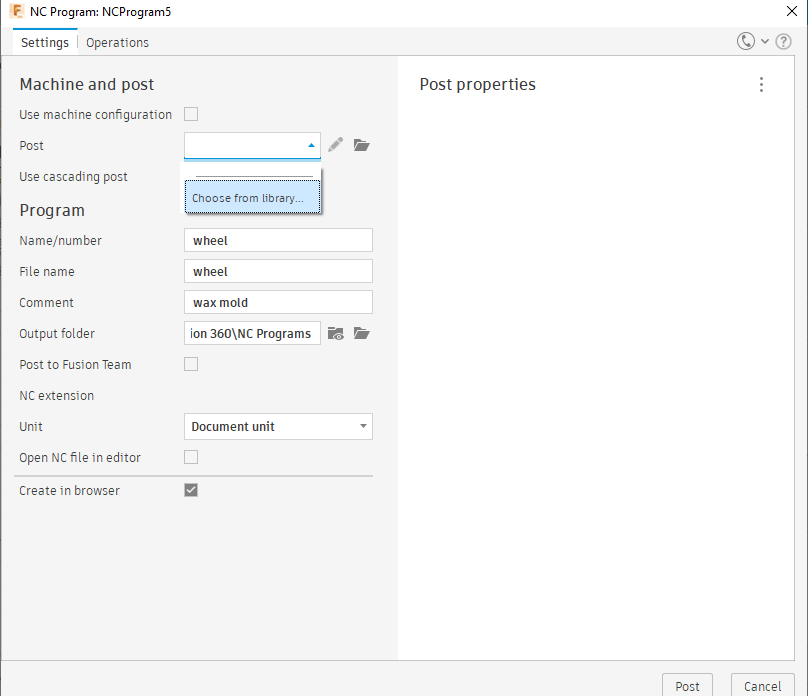
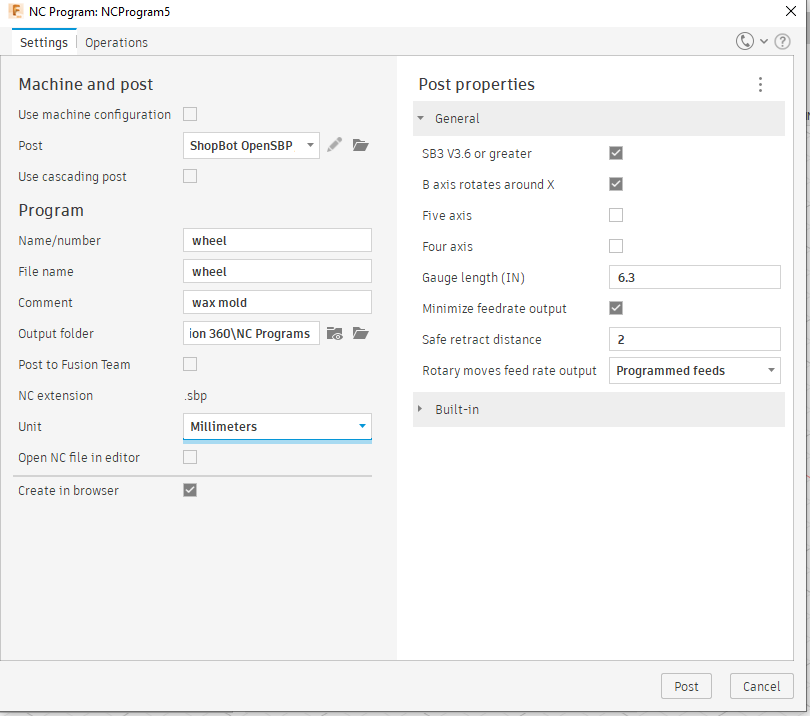
Finally, we can post the processor and generate the Gcode to start milling. go to Actions>>post processor, now select the machine that you have in your lab in my case it's the ShopBot. after that write the file name and export. in my case, I have a file with the ".sbp" extension that contains the Gcode to run the ShopBot CNC.
in TechWorks we have three sizes of the wax block, so I choose 15*15*4.

before turning the CNC on we have to fix the wax block on the bed so it will not move while the milling process .
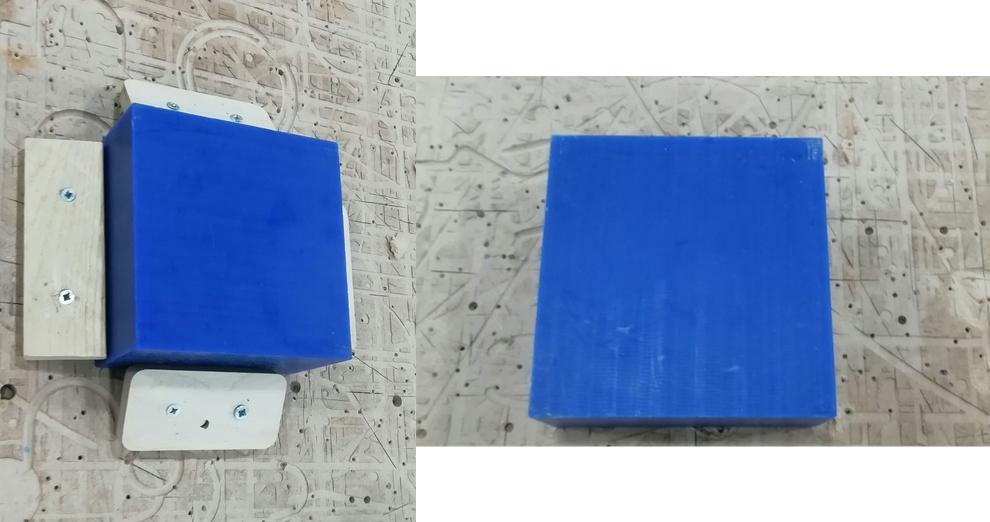
now we are ready to start milling the wax to make the mold.but we should keep the block clean while the milling process because the wax is a soft material so it will melt on the tool and that will damage the mold shape, so we have to stop the machine Frequently and clean the tool and the mold it self .
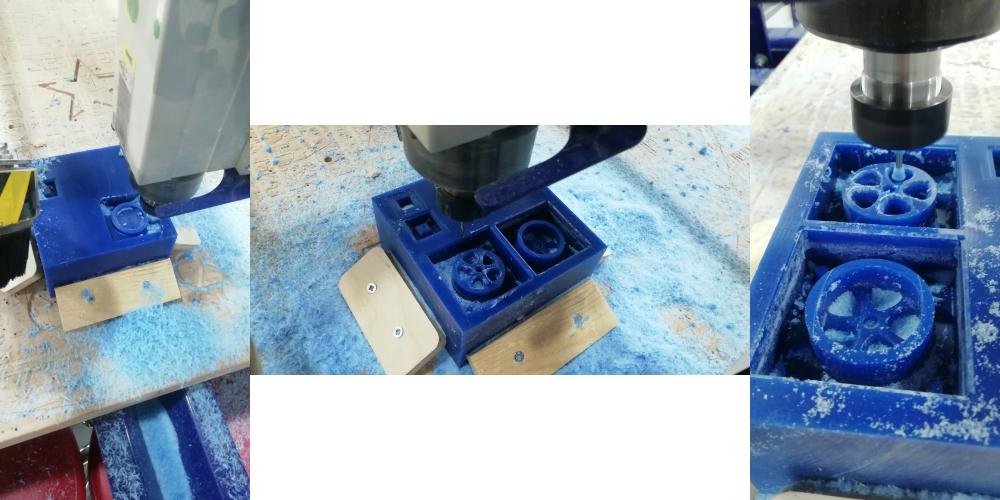
after the job is done we have to clean it using air compressor before cast on it to make sure that the mold will take the right shape .
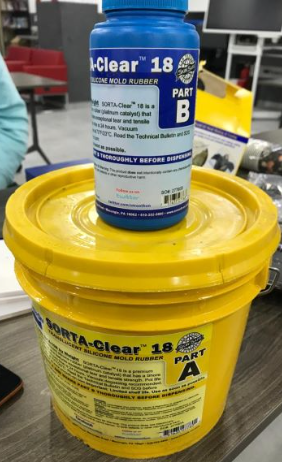
For the silicone mold, I used SORTA-Clear 18 which is consist of two separate bottles, part A is the silicon itself and part B is the hardness material.
mixing ratio instruction is 100A:10B so i but 100g from material A and 10g from material B, note that you can change the wight but you have to keep the ratio 100A:10B .
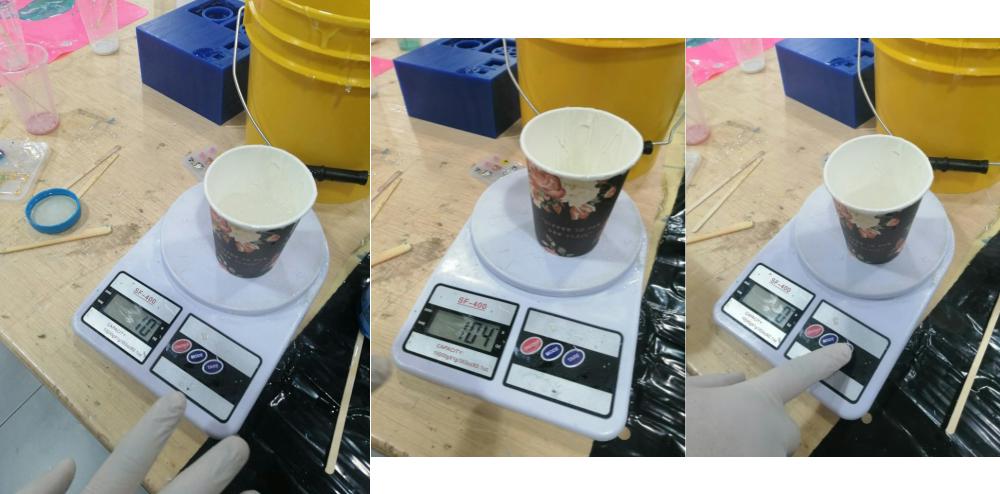
to reduce the bubbles I mix the material vertically up and down like this :
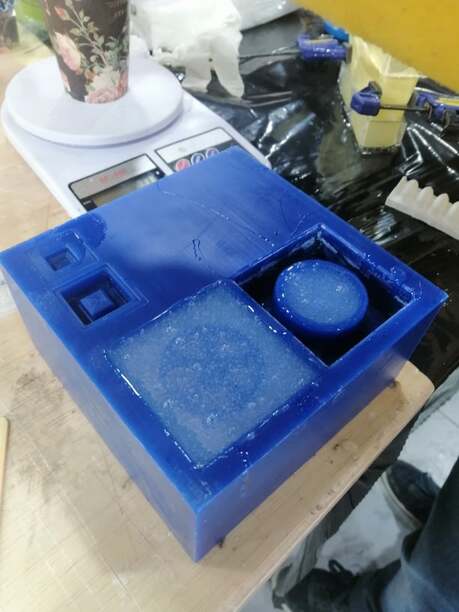
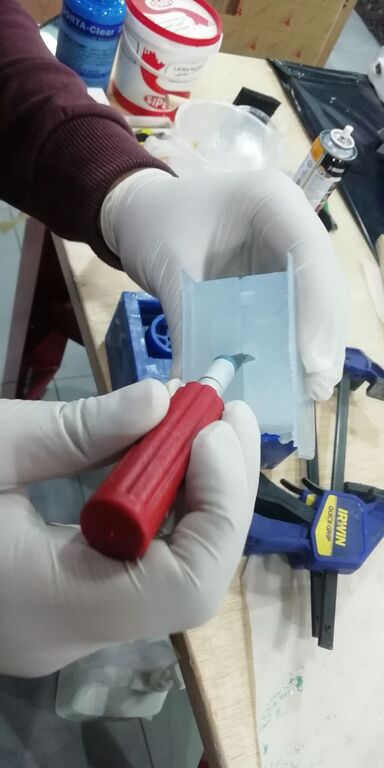
after 24 the silicon was dry and I removed the mold easily.

then I make a small hole on the mold side to cast through it .
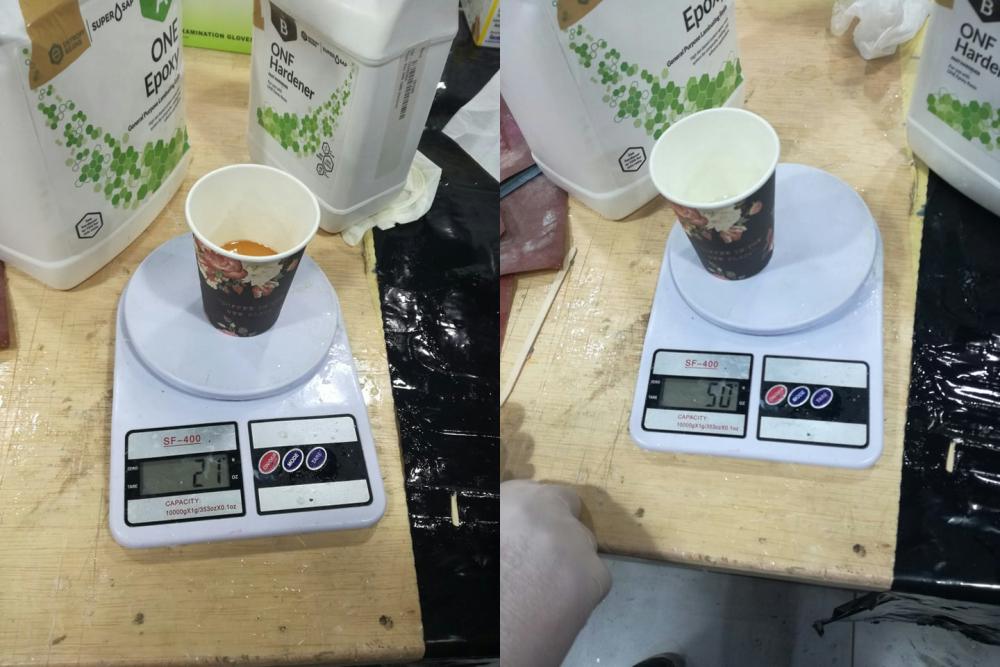
here I used ONE Epoxy which gas mix ratio by weight 100A:43B.
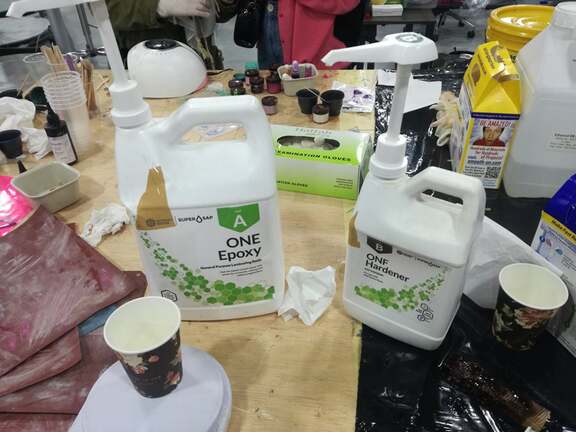
so I had to mix 50g material A with 21g material B
then I used an injection tool to cast the resin on the mold, and that required making sure that the injector has no bubbles on it .
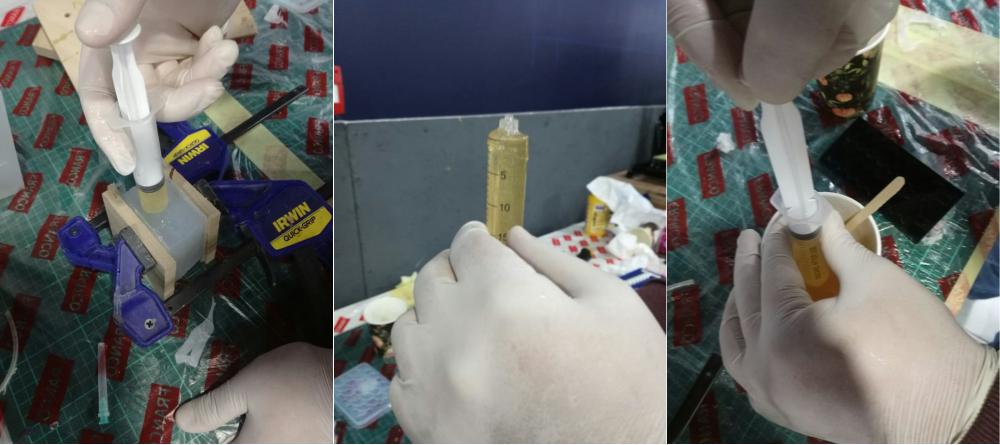
it's important to shake the mold very well so that makes the bubbles come out before curing.
everything works perfectly and the resin cured after 5 hours