Computer Aided Design
files to download
google drive
direct link
2D Design
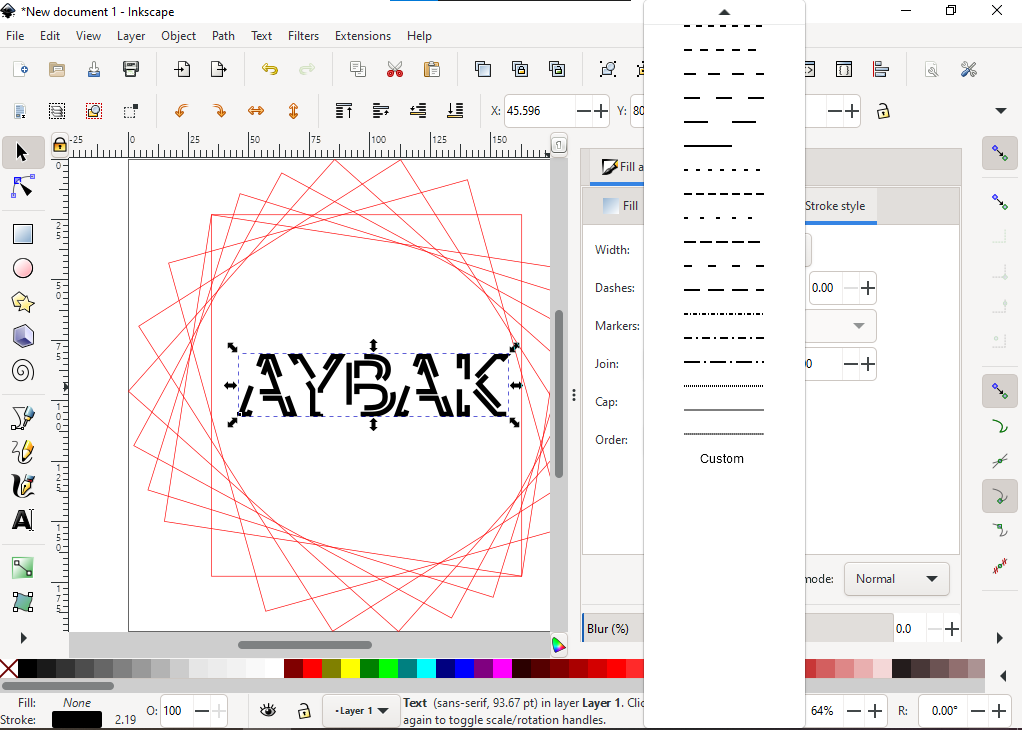
i use inkscape to draw 2D design because its open source program and its easy to use but it has limited capabilities so its proper to use for simple shapes
so that's what i done here i draw a simple shape and write my name in the middle of this shape
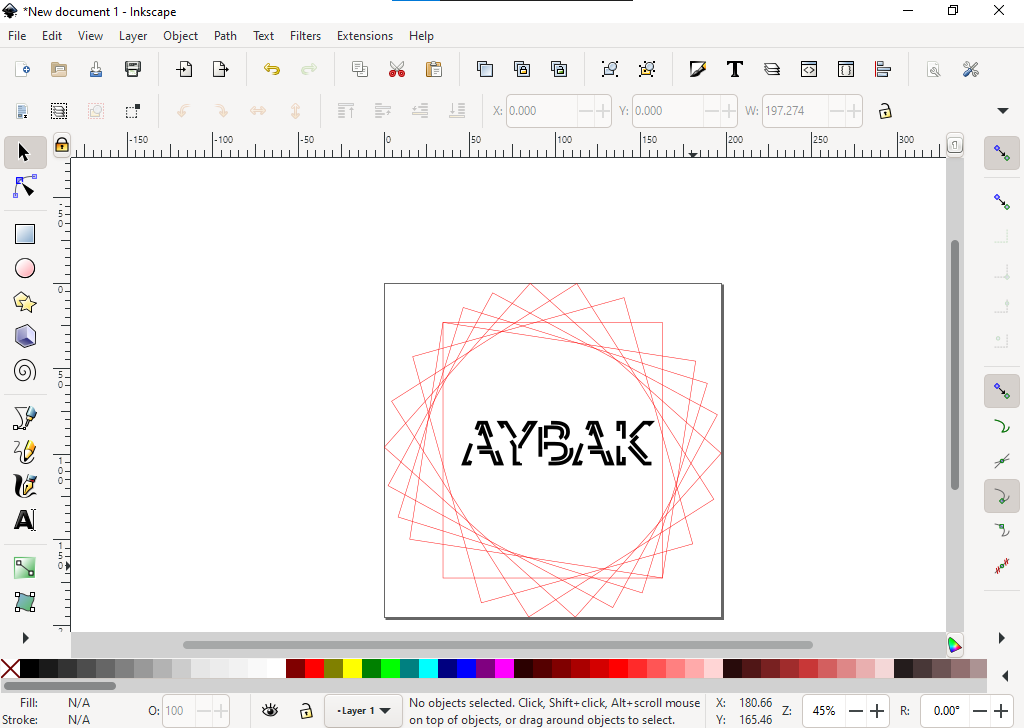
you can use edit object properties to make a nice text as I did here
3D Design

this week i worked on 3D design using fusion360 which is Fusion 360 is a cloud-based 3D modeling, CAD, CAM, and PCB software platform for product design and manufacturing.
so I use fusion 360 because its easy to learn and easy to use .
my design is about a sound visualizer this device can display sound waves through laser light and it's happened when the laser light reflected from the mirror that glued on rubber which is cover the speaker
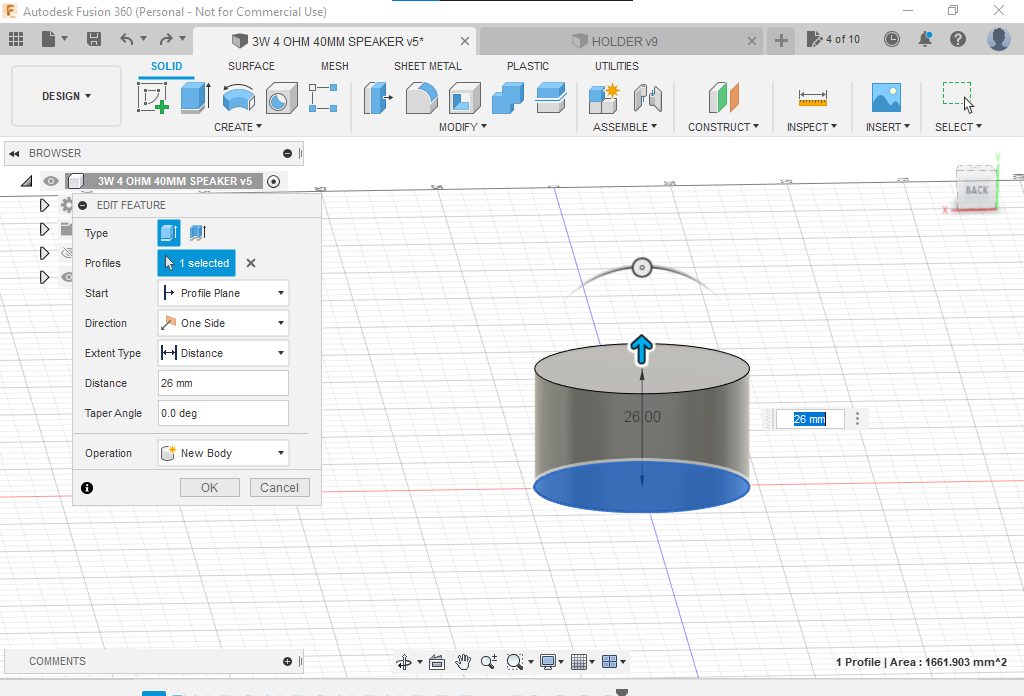
first of all, I start with the speaker case here I draw circle with 46mm diameter because I have a 40mm speaker and to let the speaker fit into the case I have to make the case bigger than the speaker.
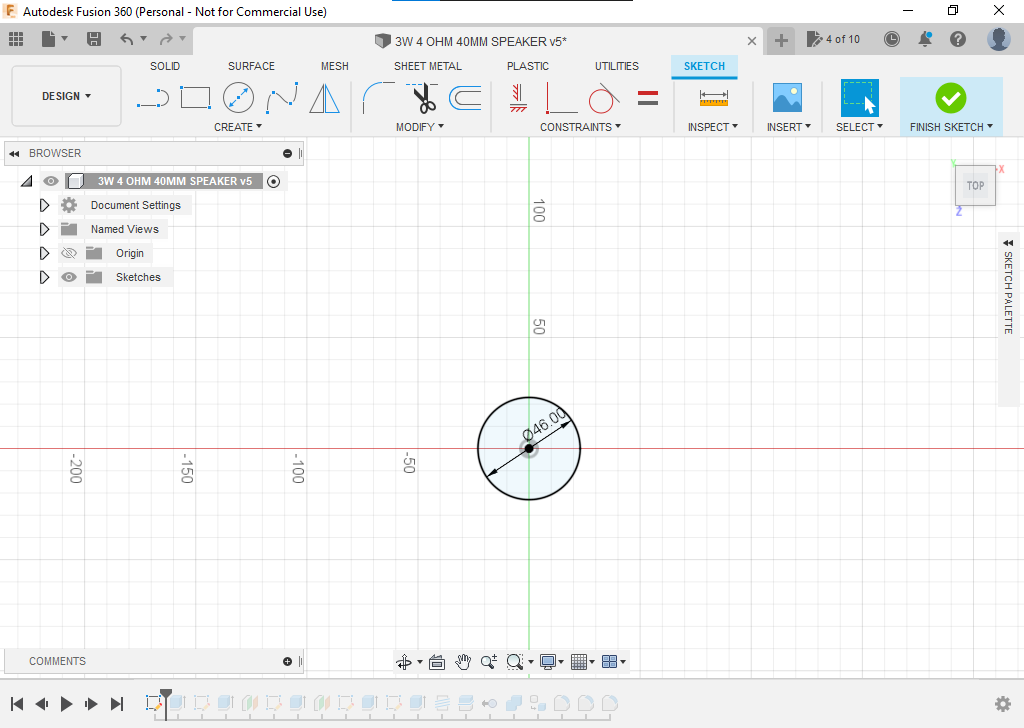
then I extrude it 26mm to make a 3D shape
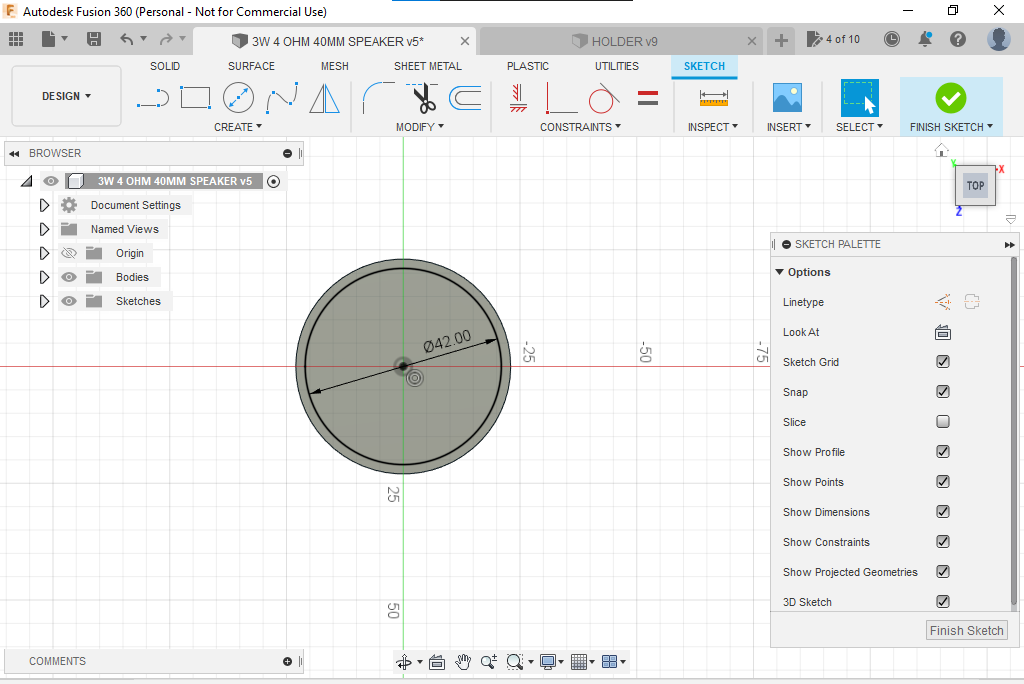
after that, I draw circle with 42mm and use extrude cut feature diameter to make the case thickness 2 mm which is good for printing

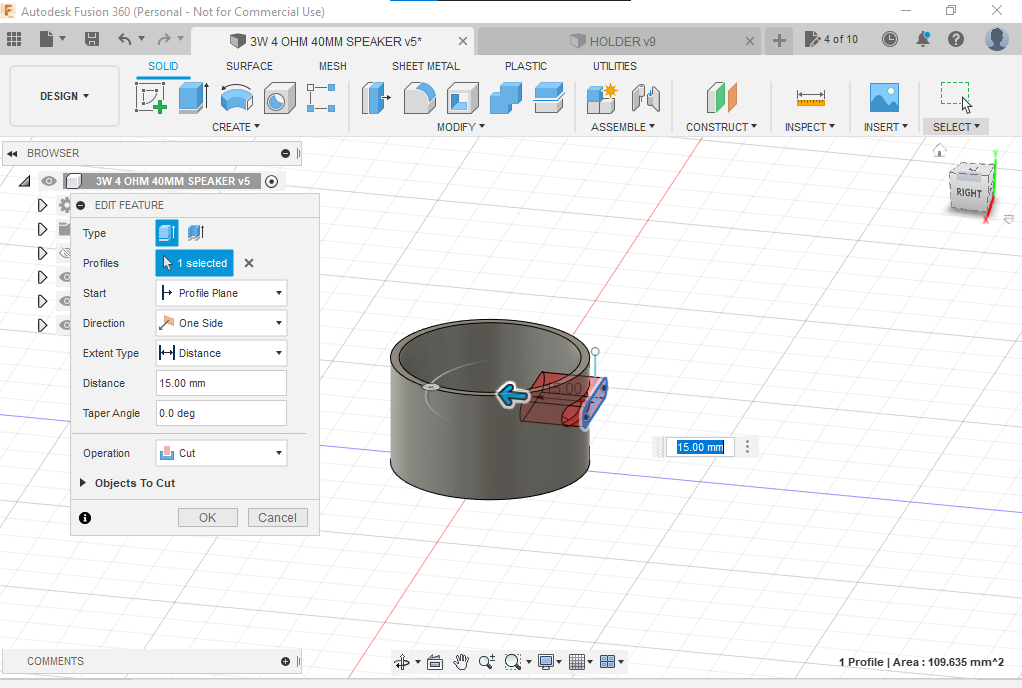
now I have to make a hole to pass the wire through it put here I face I problem with a sketch on a curve surface but I solved it using the offset plane feature which is let you sketch on emptiness after offsetting the plane from a reference plane ( it could be bodie or reference plane)
here the blue plane is the reference plane and the orange is the new plane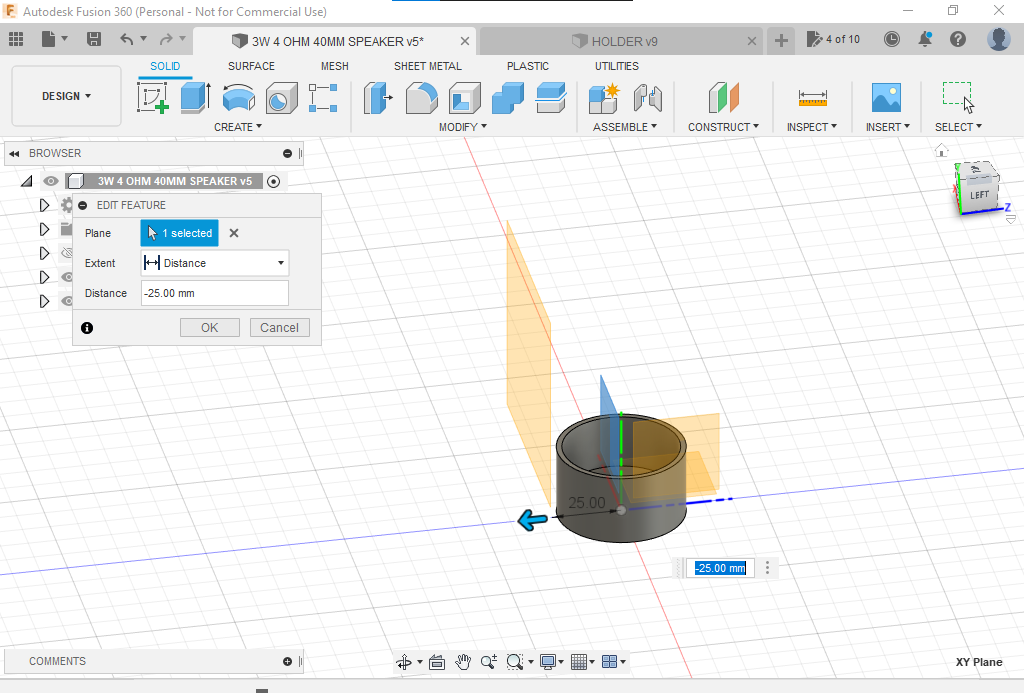
then you can sketch on the plane and use extrude cut feature
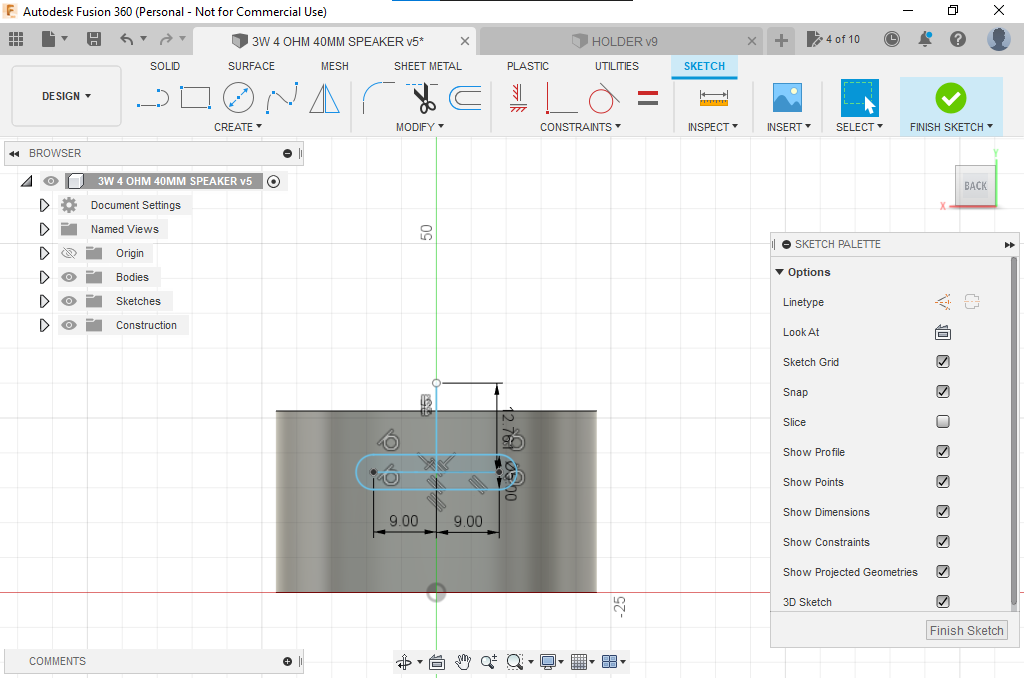
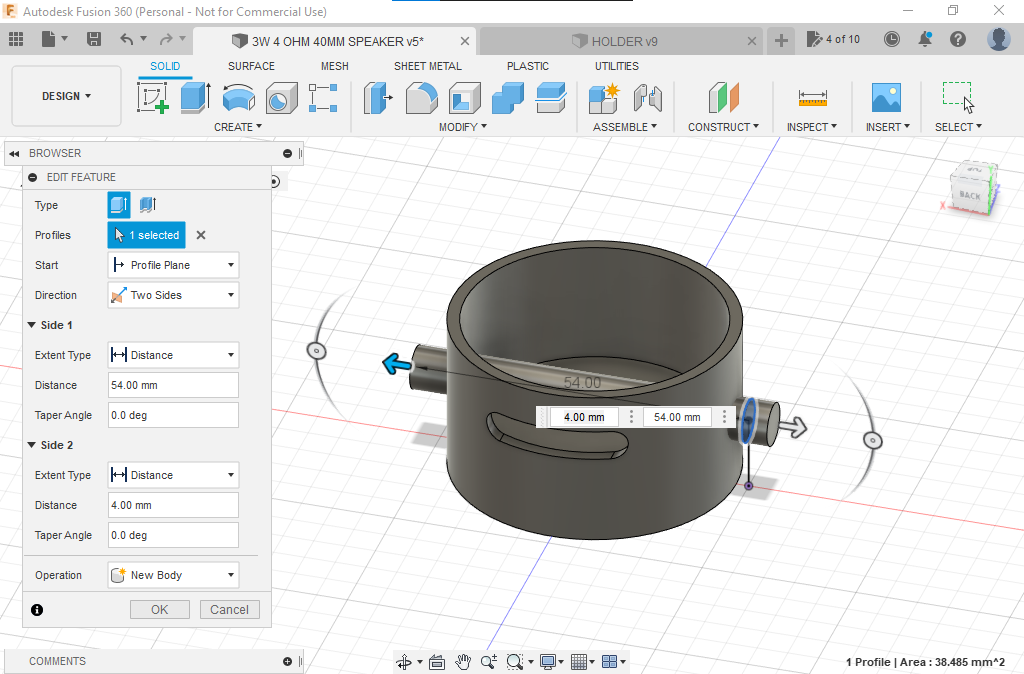
after that I repeat the previous steps again to made the speaker supports put this time with extruding feature
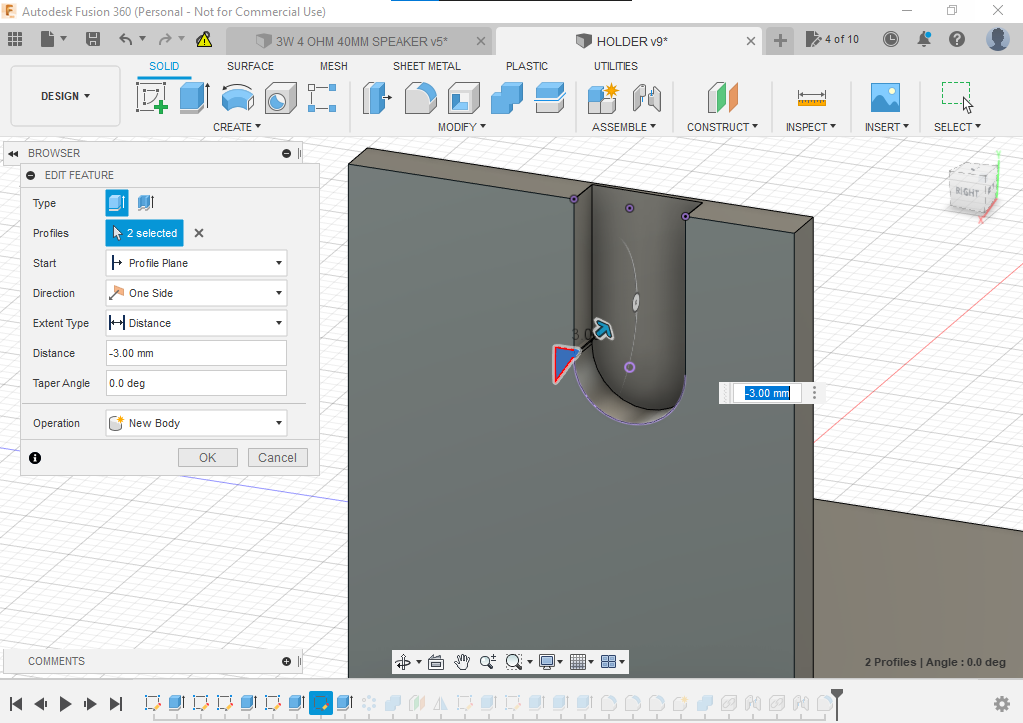
then I sketched on the support, made a hole, and use the thread feature to make a thread which will help me fixing the case on the holder later.
note that you can specify the screw type , size and direction on the thread feature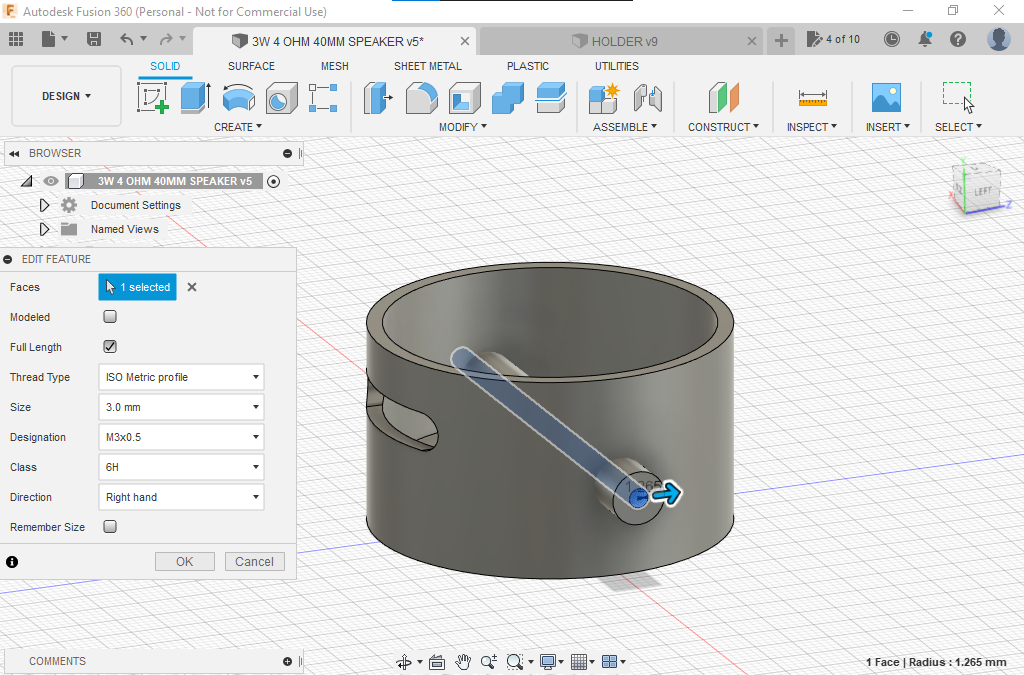
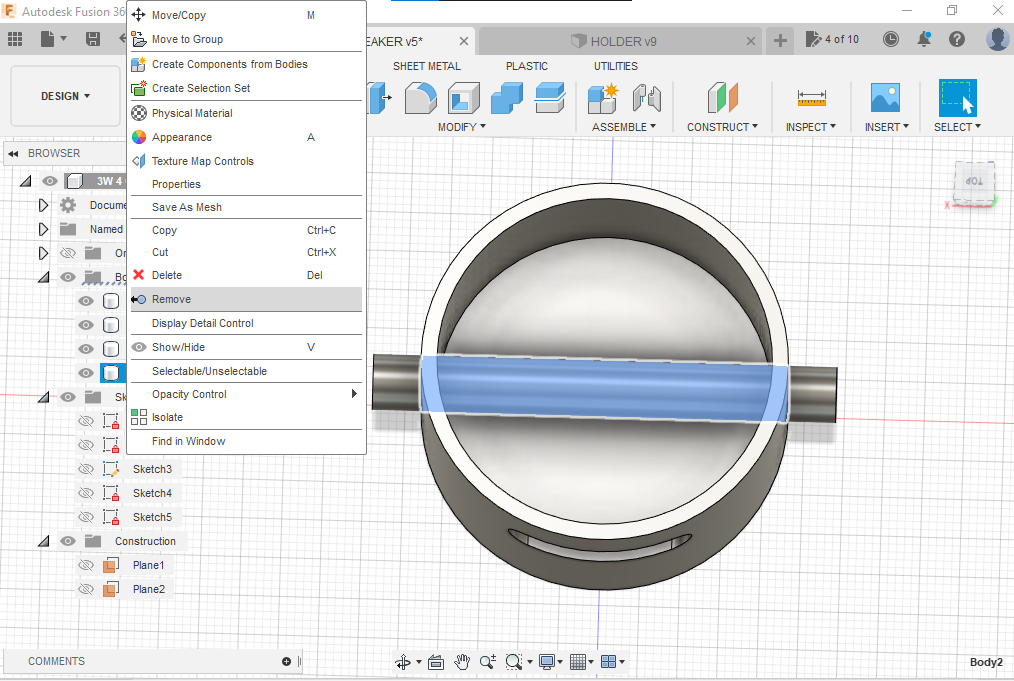
here I used an amazing feature to split the unwanted extruded part to remove it later
note that you can specify the part you want to split and the splitting tool, in my case the splitting tool is the case body "cylinder" which is make sense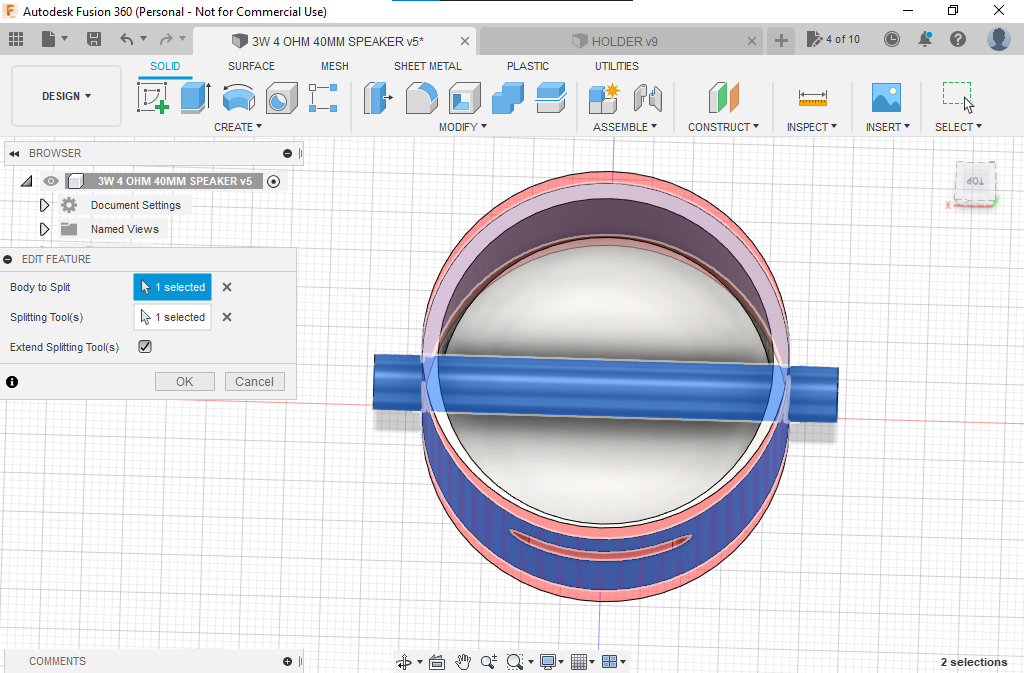
it's recommended to remove the body not delete it to avoid errors later
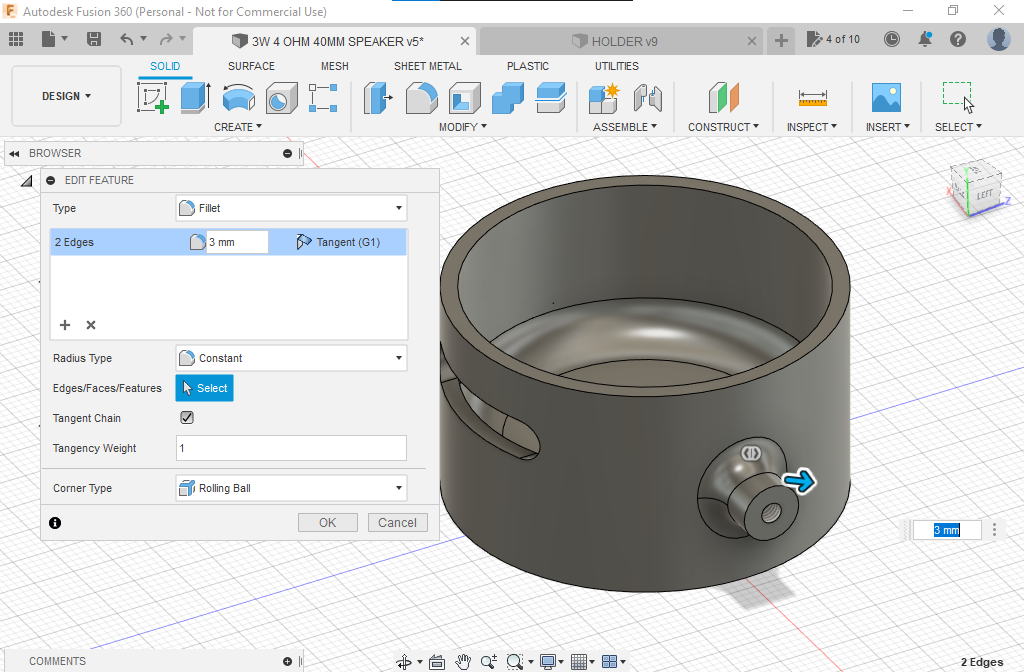
finally, I used fillet feature on the corners to make the case stronger and looks good
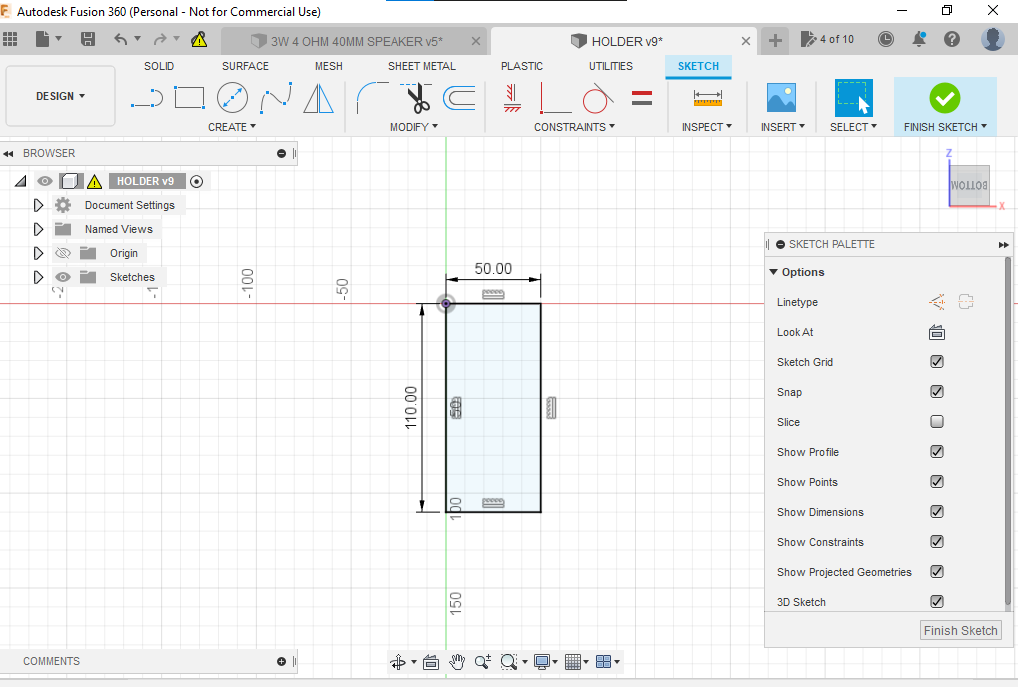
now I start a new design to make the holder
first of all, I sketch the holder base and extrude it
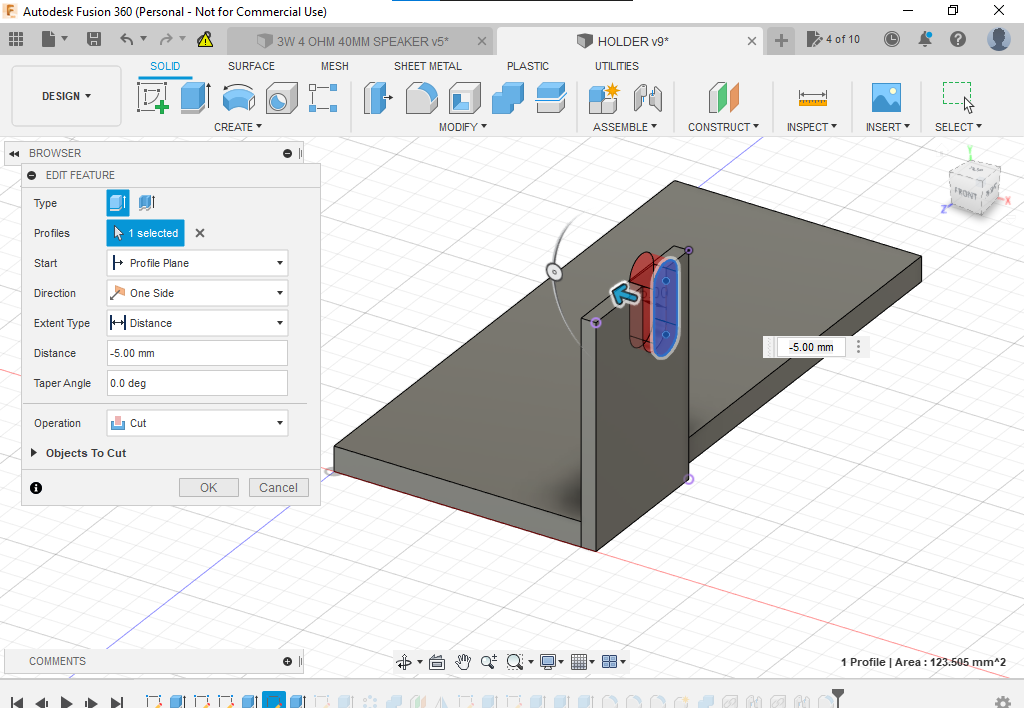
then sketch on the holder base side and extrude it

after that, I extrude cut the slot which will hold the case supports
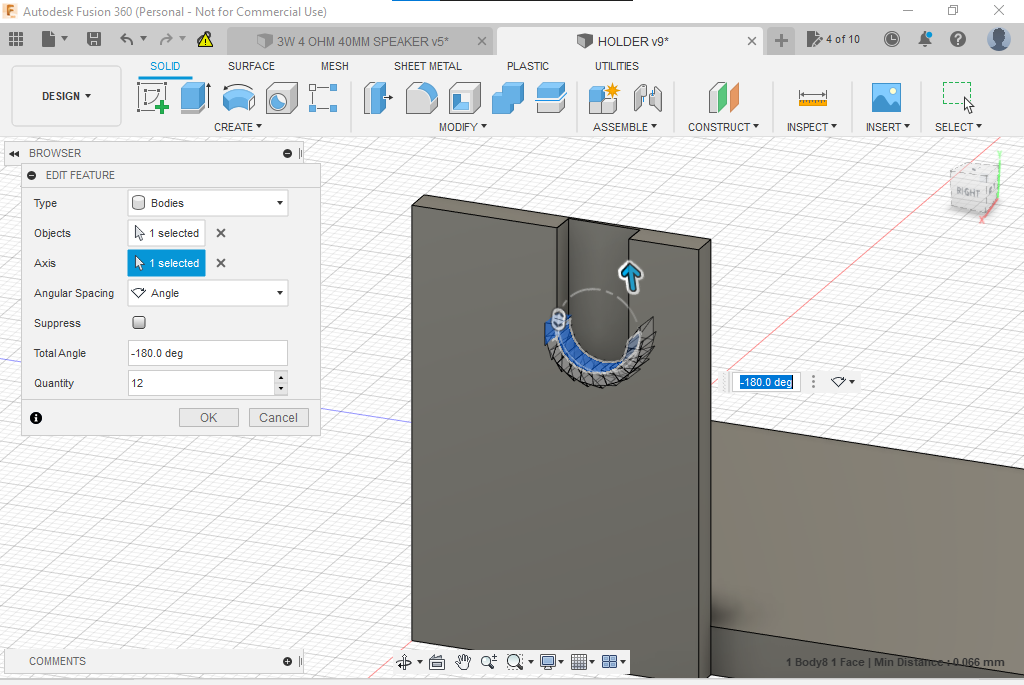
here I sketch a triangle to make a frictional surface and extrude it
then I have used the pattern feature to make 12 similar body
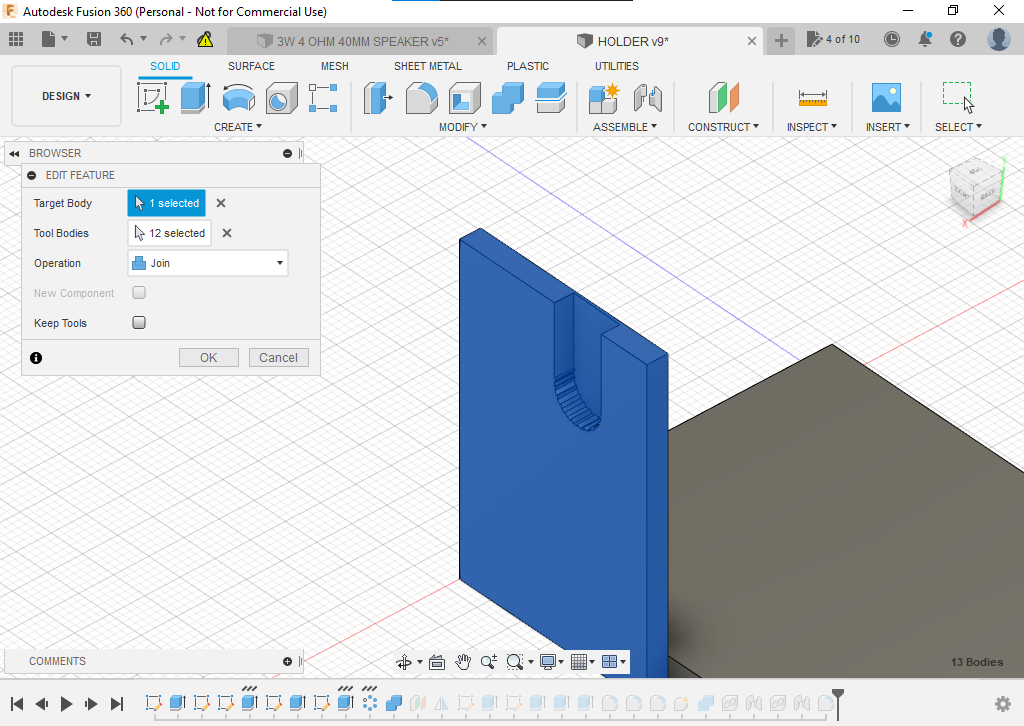
make sure to combine these bodies to gather using the combine feature
instead of repeating these steps again, there is a feature called a mirror which is used to mirror bodies about a specific surface plane all you have to do is to make sure that is the surface plane is in the right place.

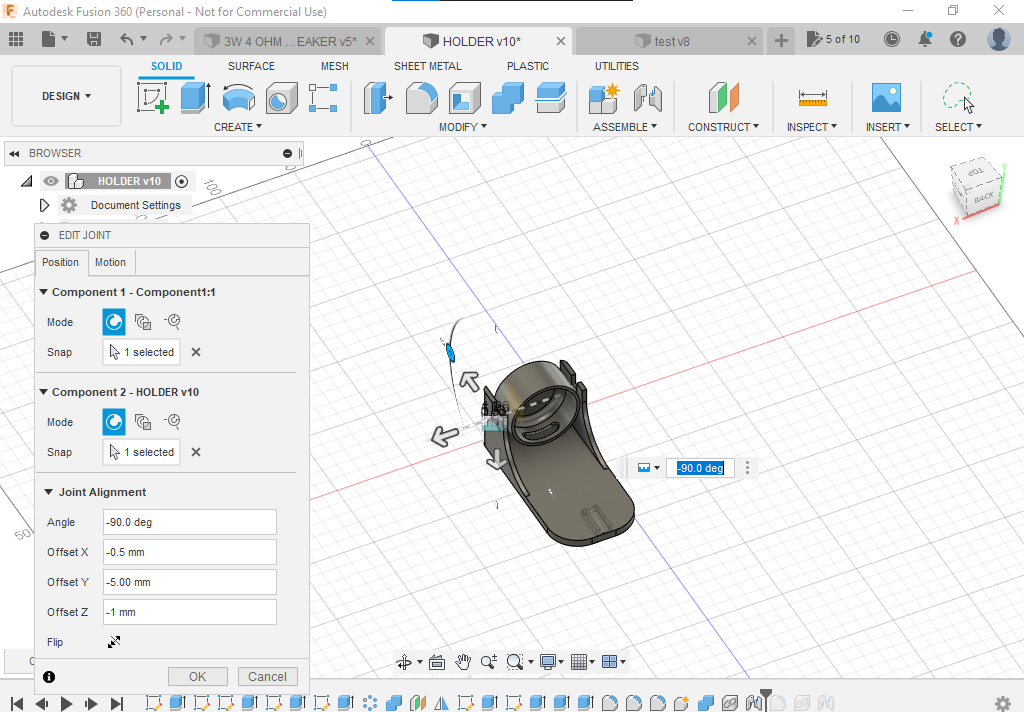
after doing some fillet to the part as you want it is time to assemble now the first step you need to insert the part that you need to assemble to the current design
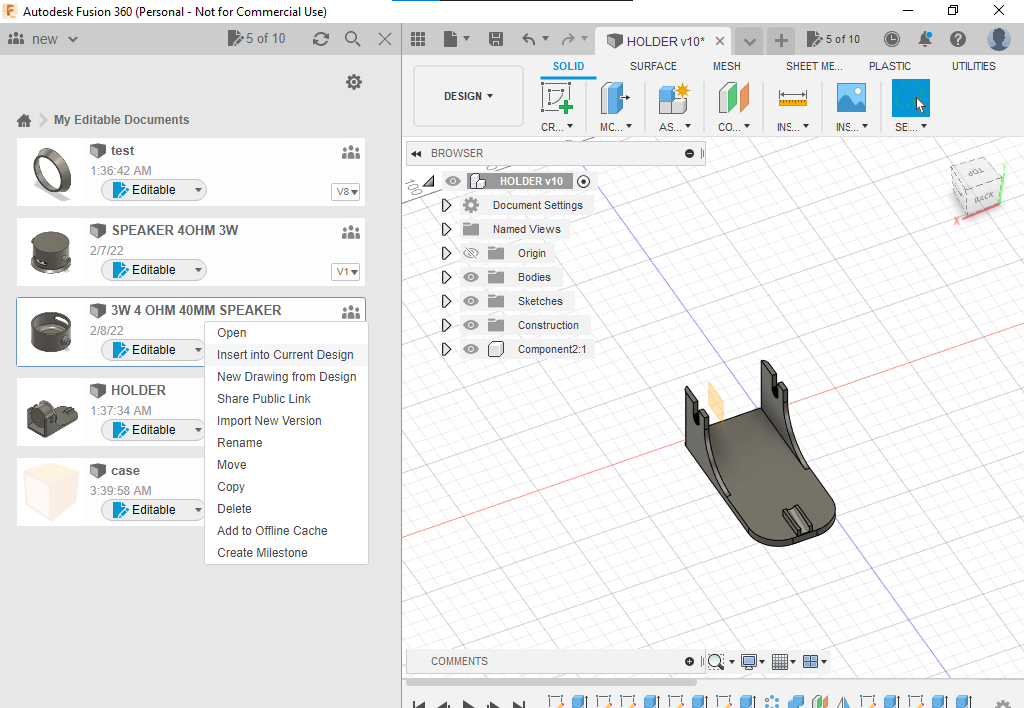
in the assemble feature select the "simple" option and the parts that you need to assemble to gather then chose the contact points it's simple and easy