15. Wildcard Sewing
Reflection
I still rem the starting days when I have to change the threads and the bobbins and do the embriodery designs. At first, it was so hard and the bernina keeps having issues. Now it's like a printer at my office, just take and use. Except occasionally, i need to refill ink(thread, materials, stabiisers, needles) or see error videos. In the collapsible-section are the useful information about embriodery and design terms.
Individual Assignment
Learning outcomes
1. Demonstrate workflows used in the chosen process
2. Select and apply suitable processes (and materials) to do your assignment.
3. Documented the workflow(s) and process(es) you used
4. Described problems encountered (if any) and how you fixed them
5. Included original design files and source code
6. Included ‘hero shot’ of the result
1. Workflow in Digital Embroidery
1. Conceptualise Design & Select Material
2. Prepare Design Digitally
3. Edit Design (Simulate is Optional)
4. Open Design in Embrodiery Machine
5. Prepare Machine
6. Embrodiery
2. Select Suitable Process and Materials + Tools + 3. Document Workflow
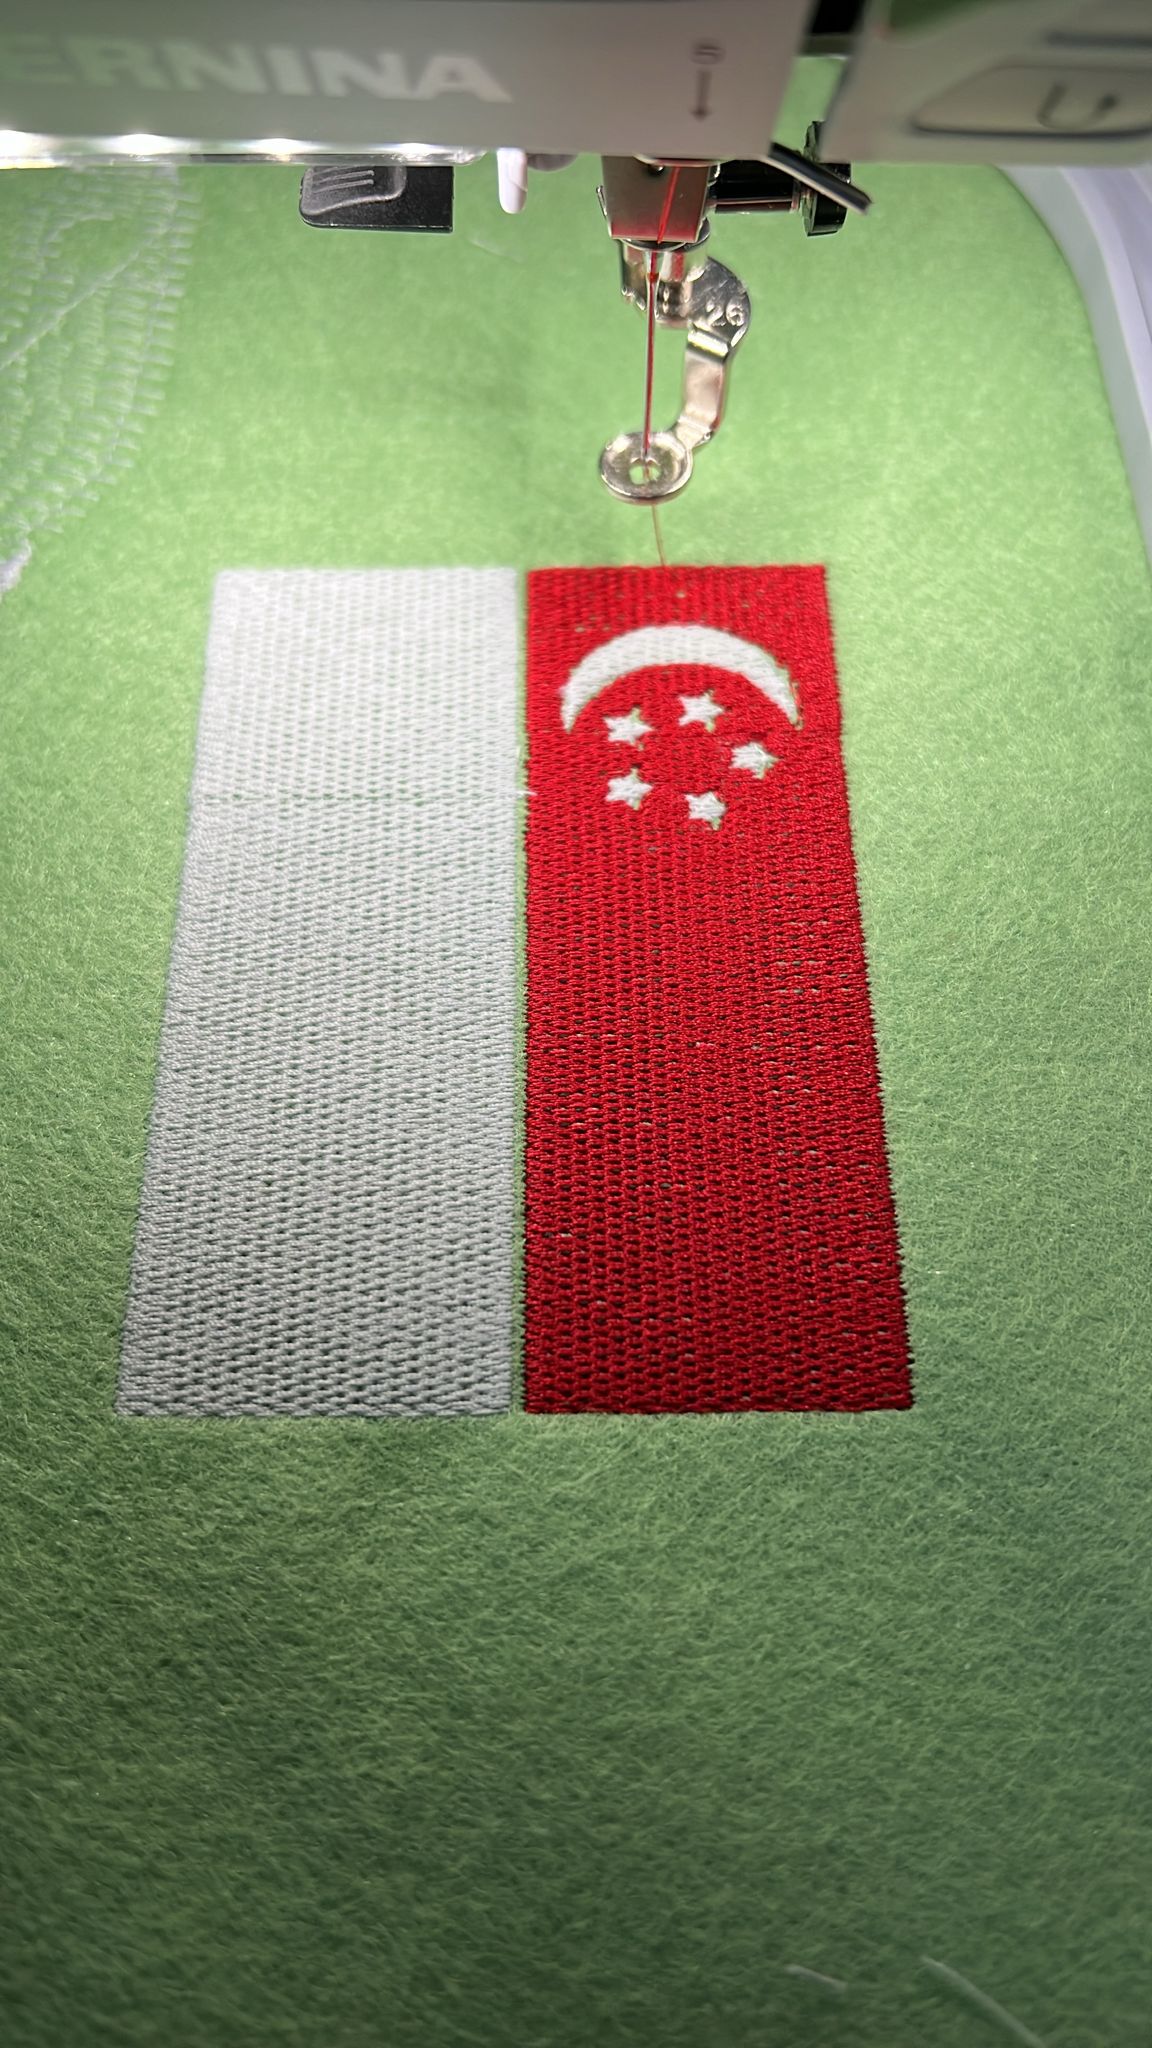
1. I selected Inkscape to do the same digitalisation process of Singapore Flag.
Inkscape:
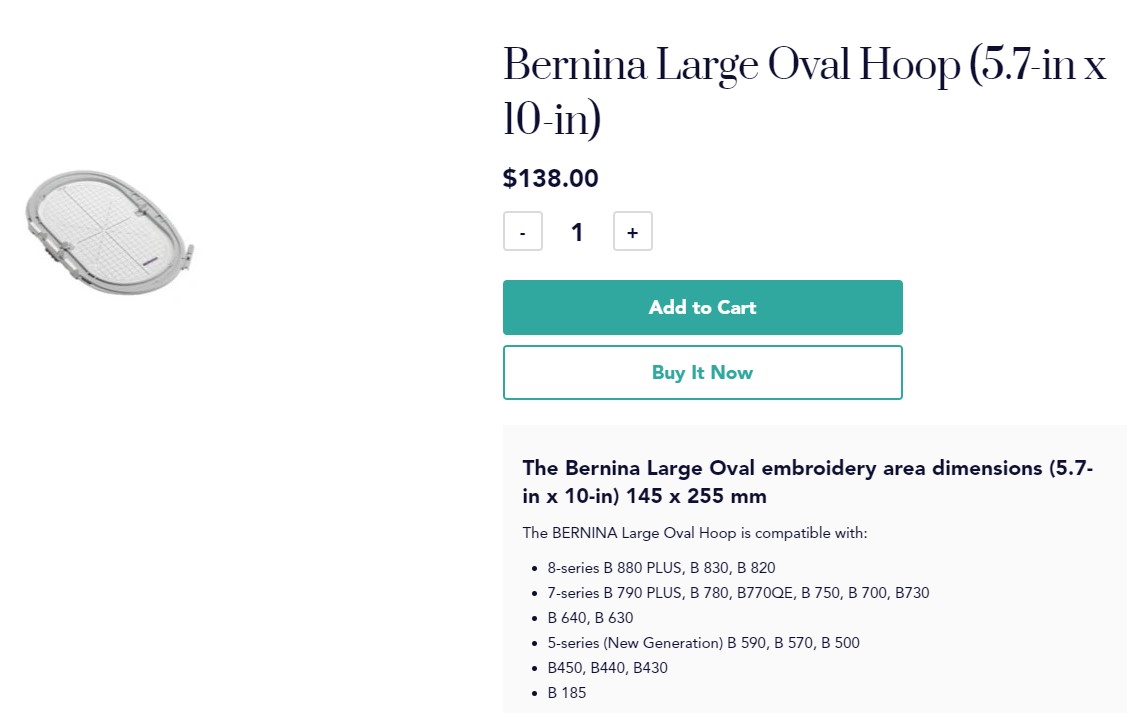
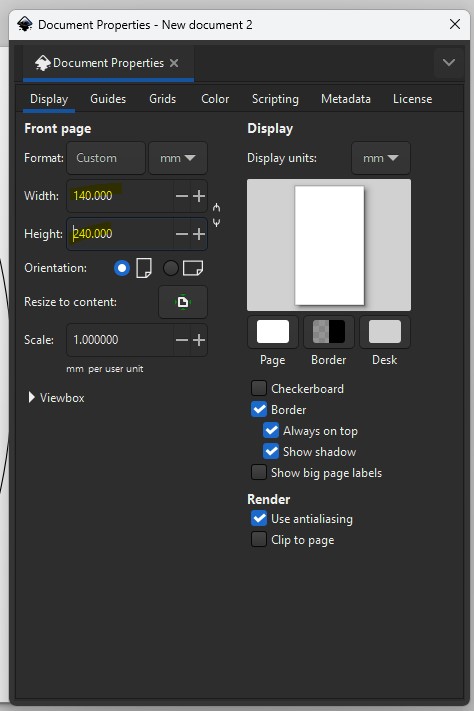
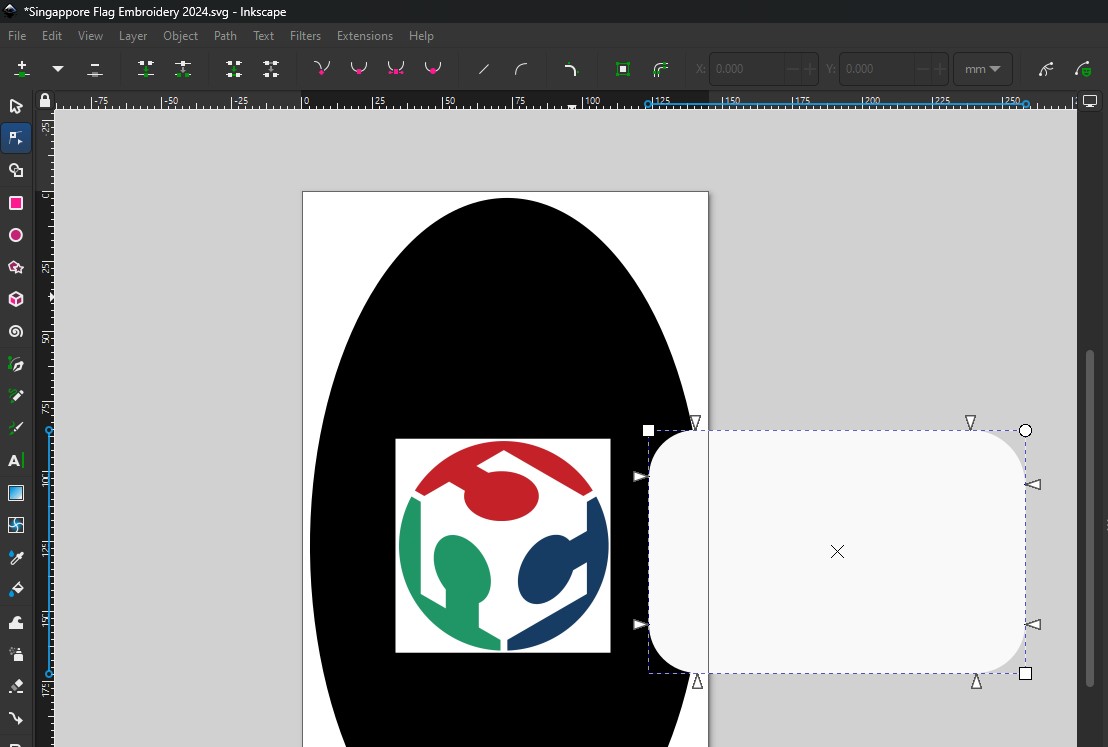
A1. I referenced the hoop which i am using and create smaller hoop in inkscape.
A2. I took Singapore Flag from internet and sized it into the loop.
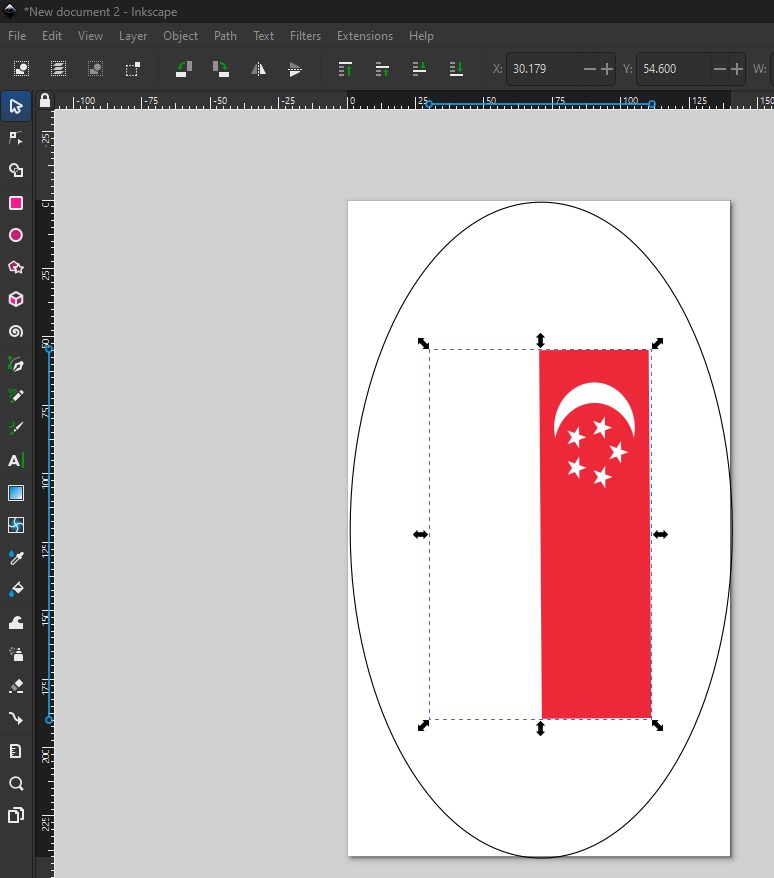
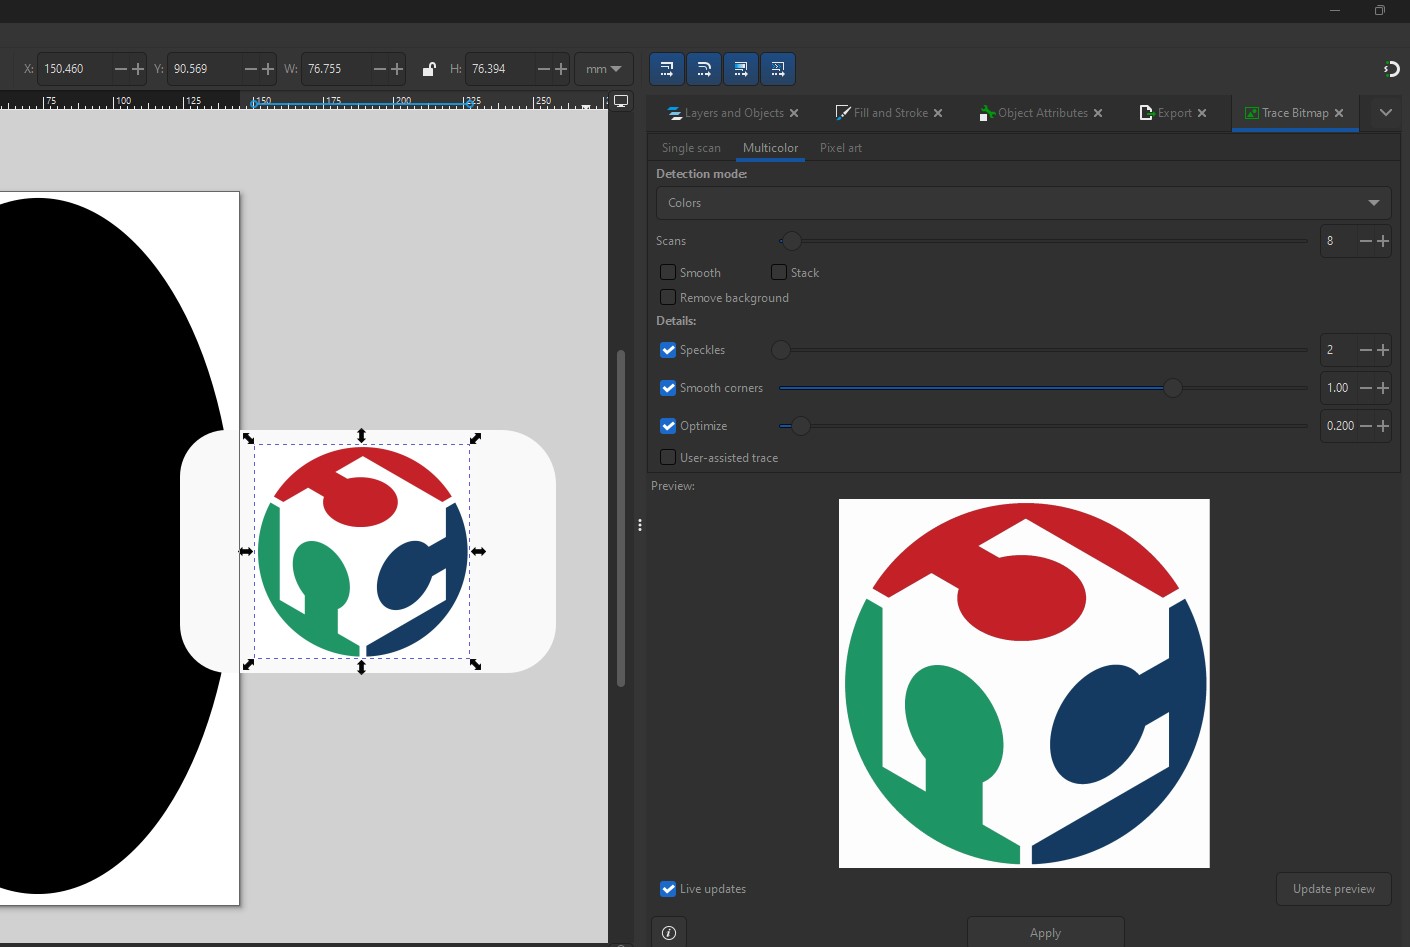
A3. Tracebitmap and basic cleanup. and I wanted the stars as separate sewing hence I used fill feature to put in new layers.

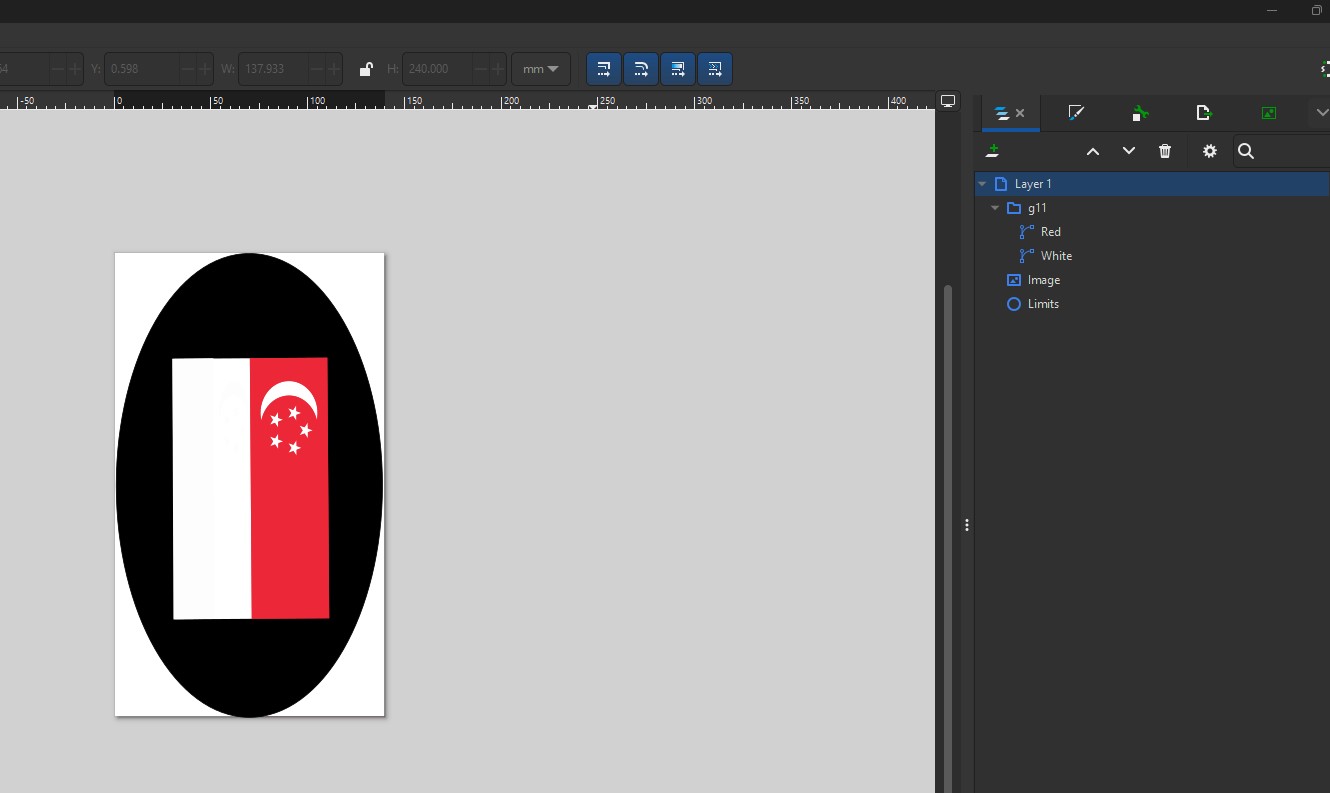
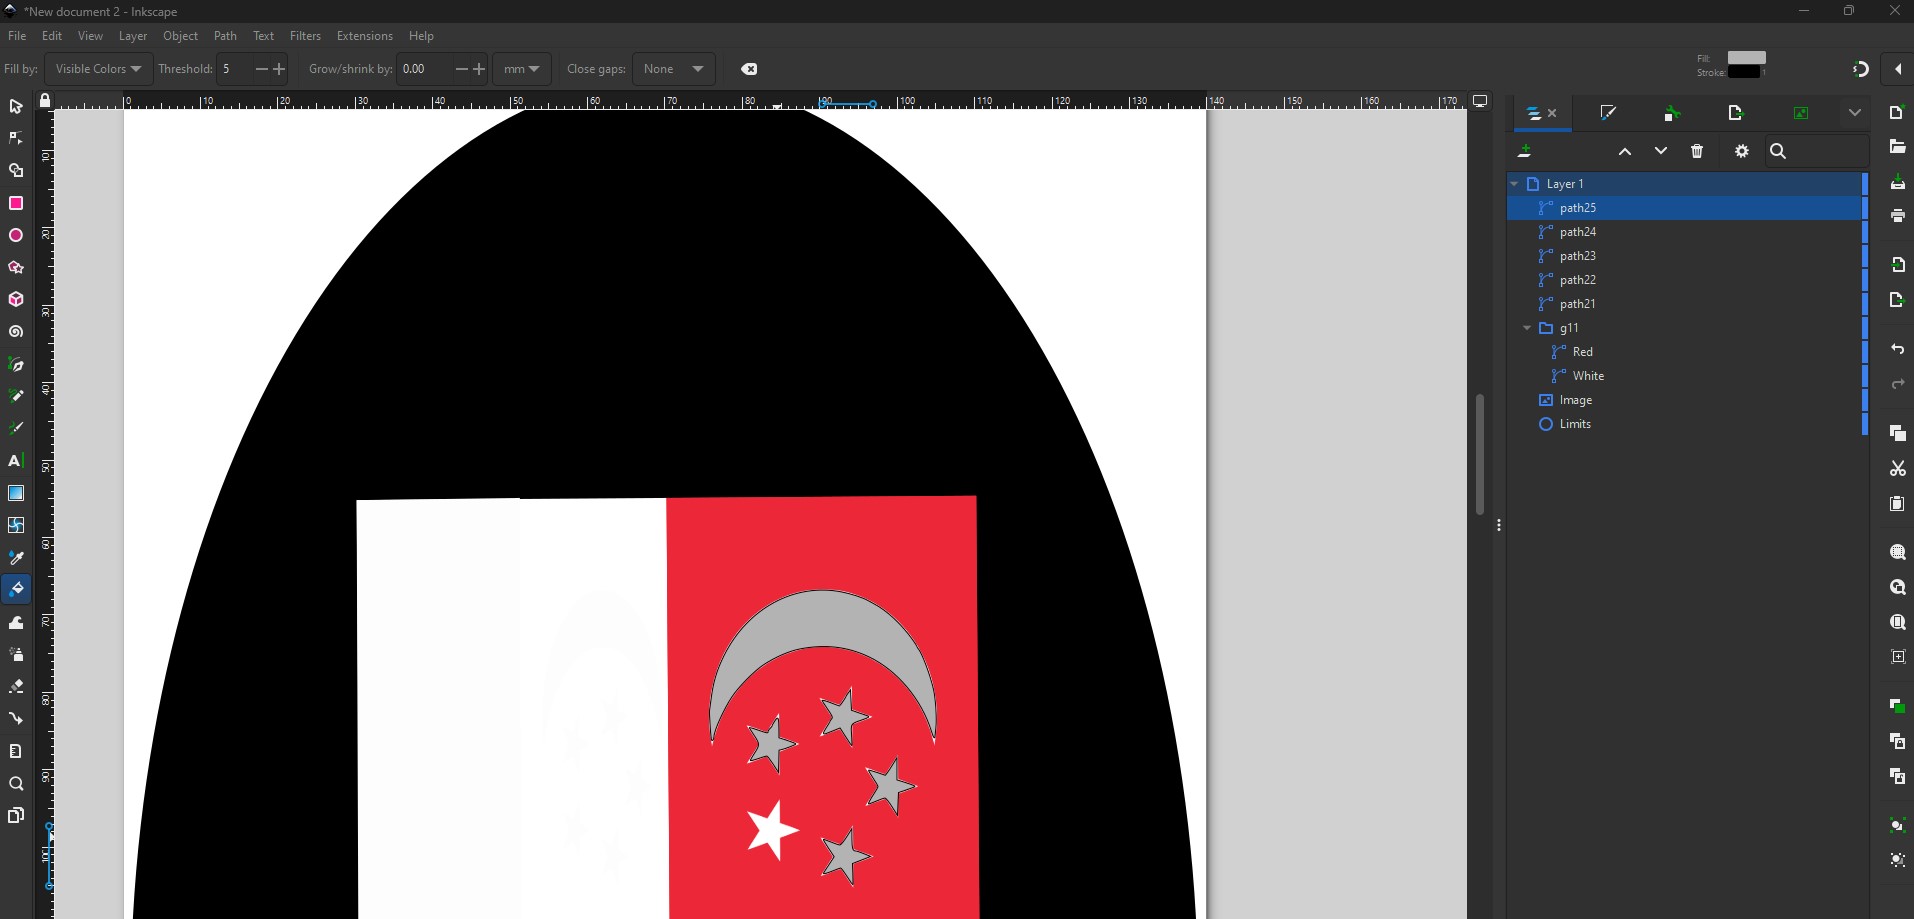
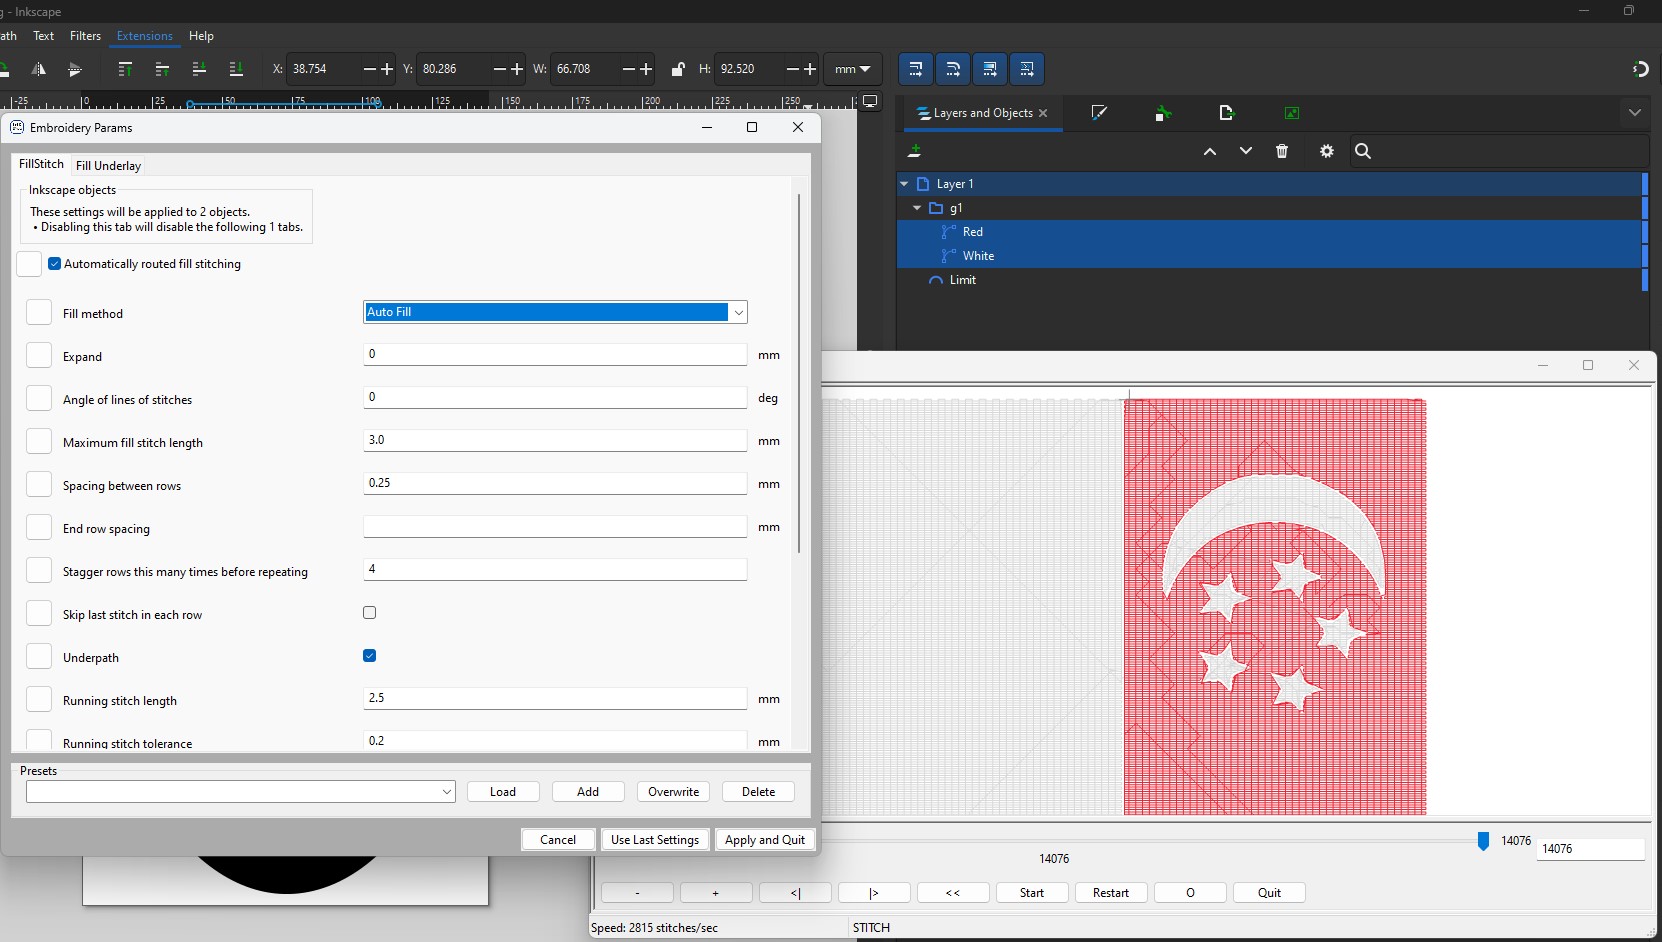
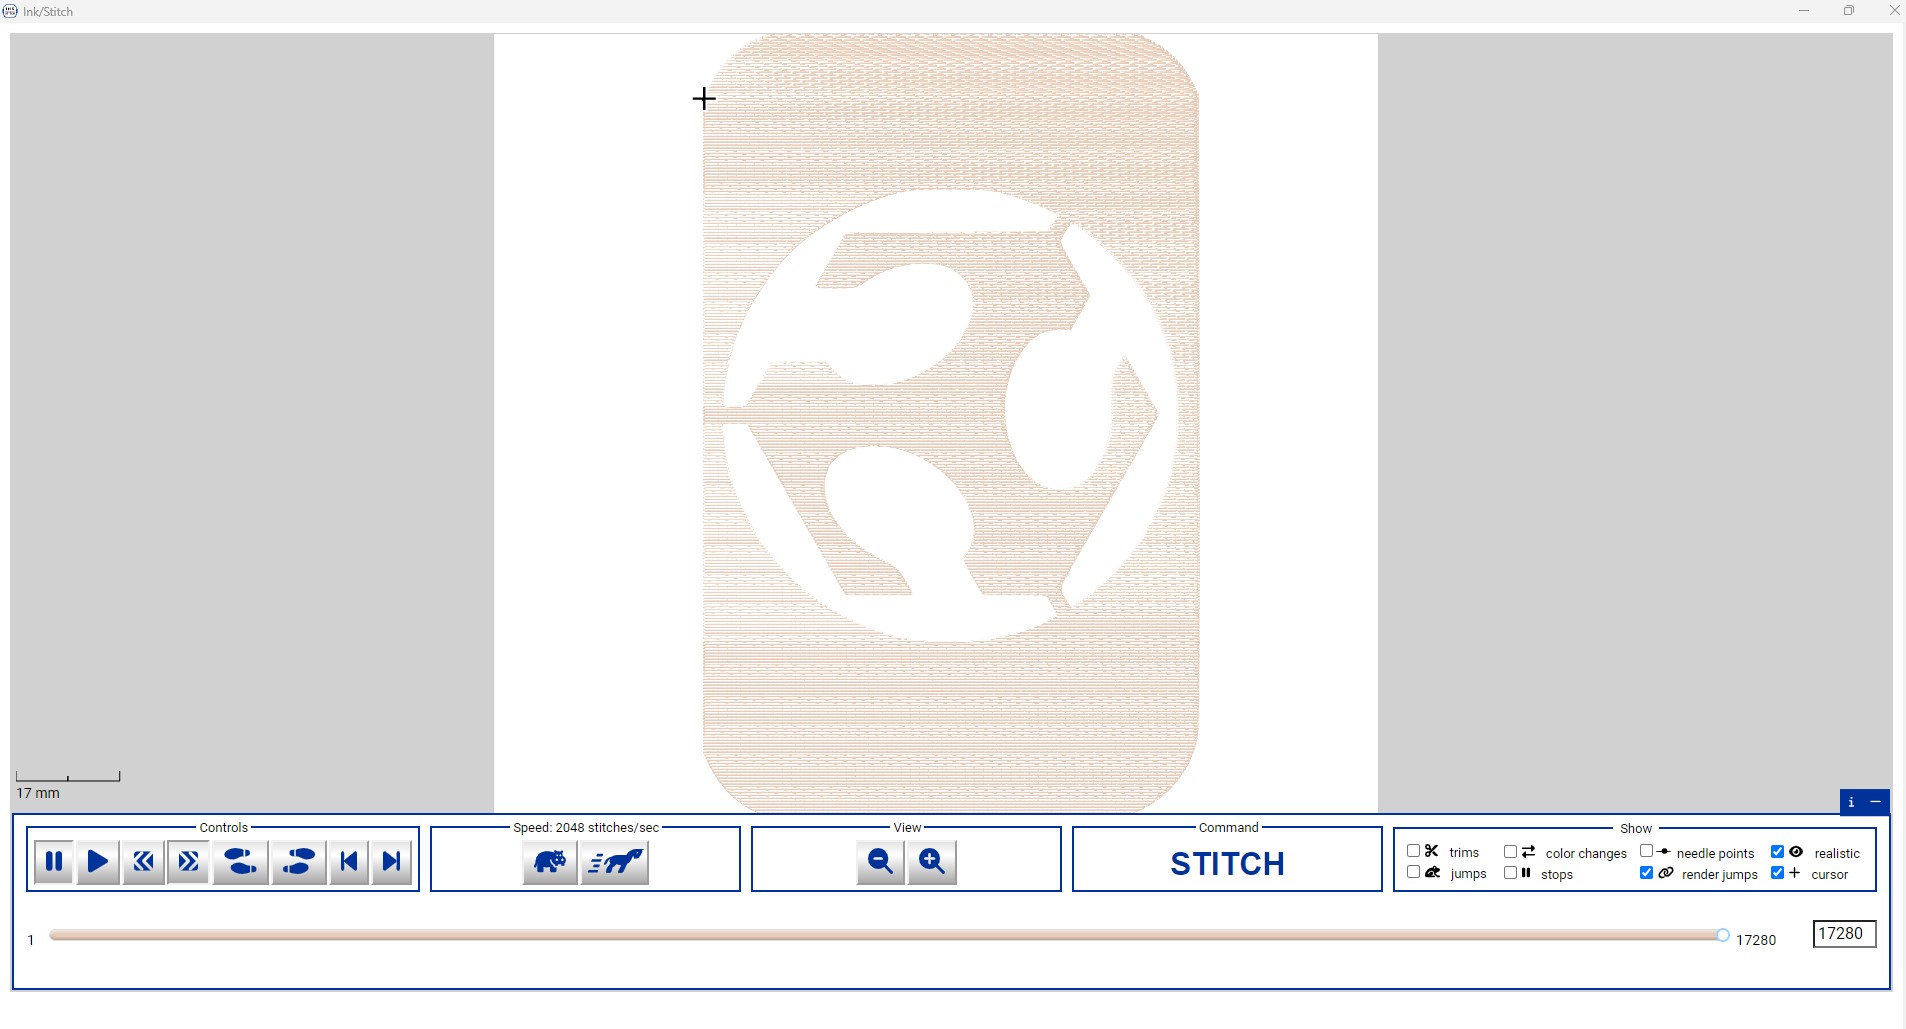
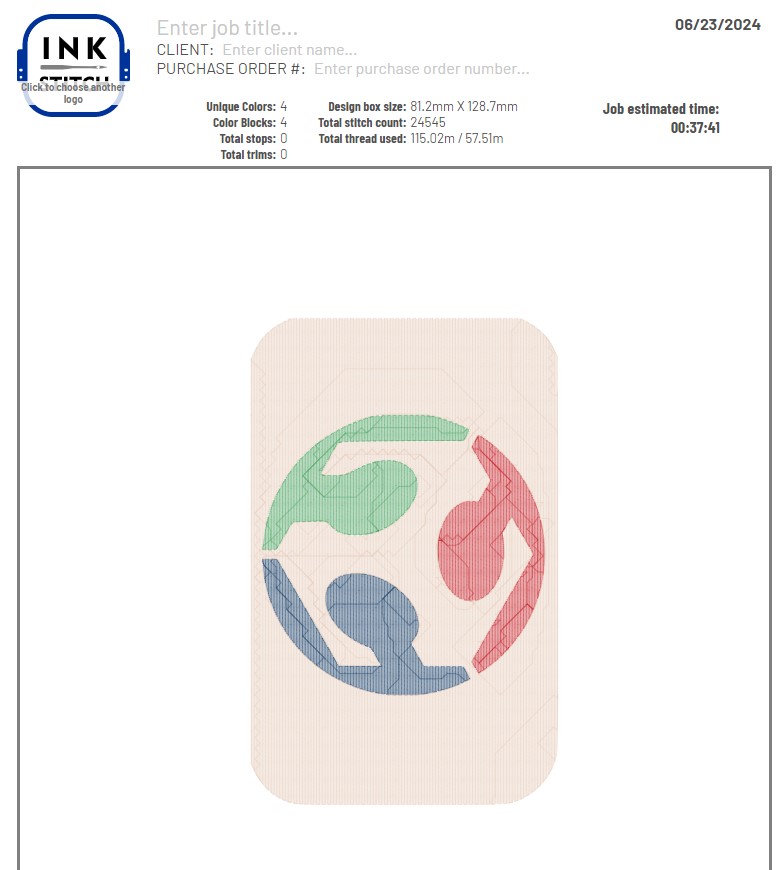
A3. I used Inkstitch Extension/ Params and selected the white and red names to be embroidered. The simulation is shown.
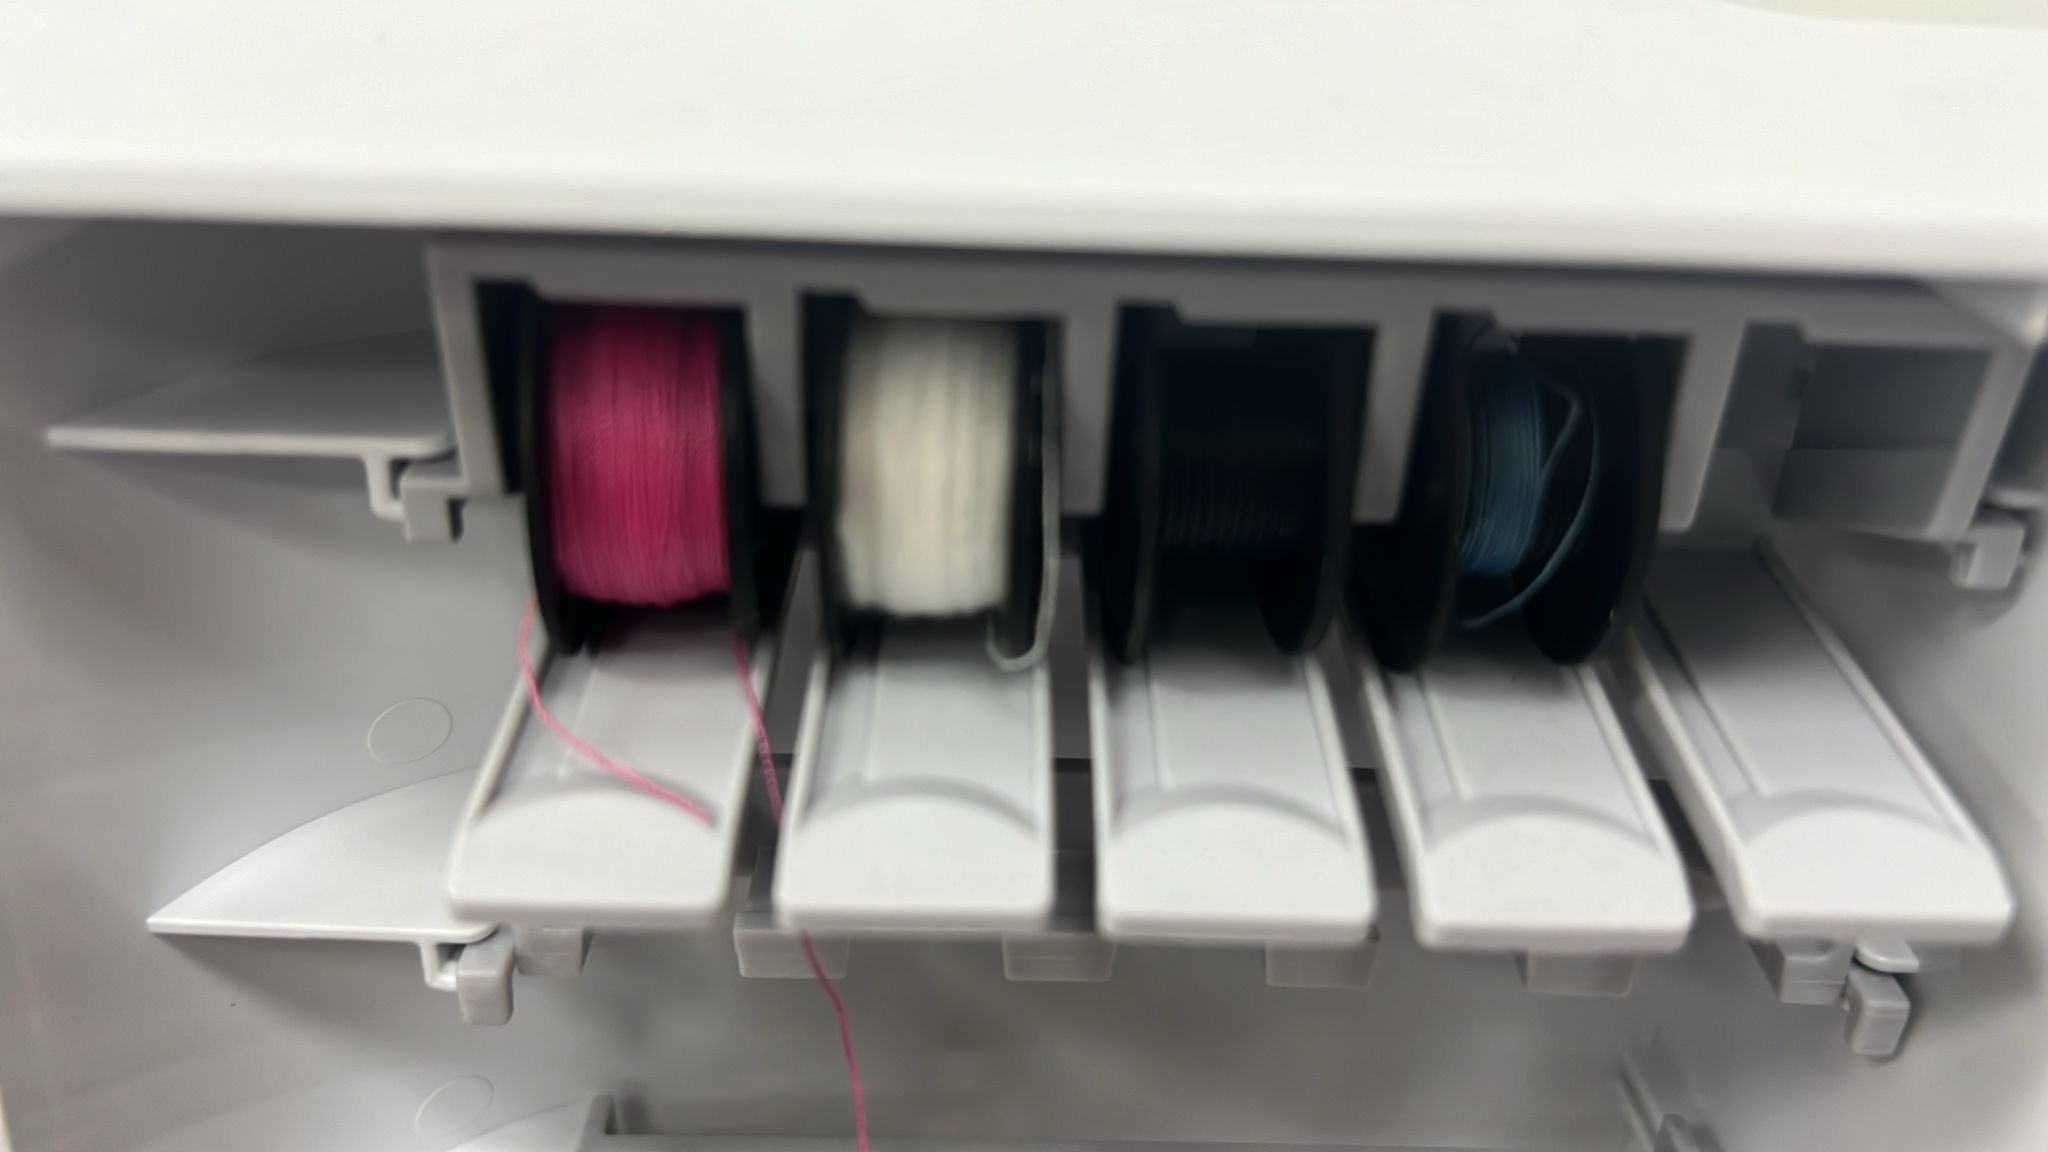
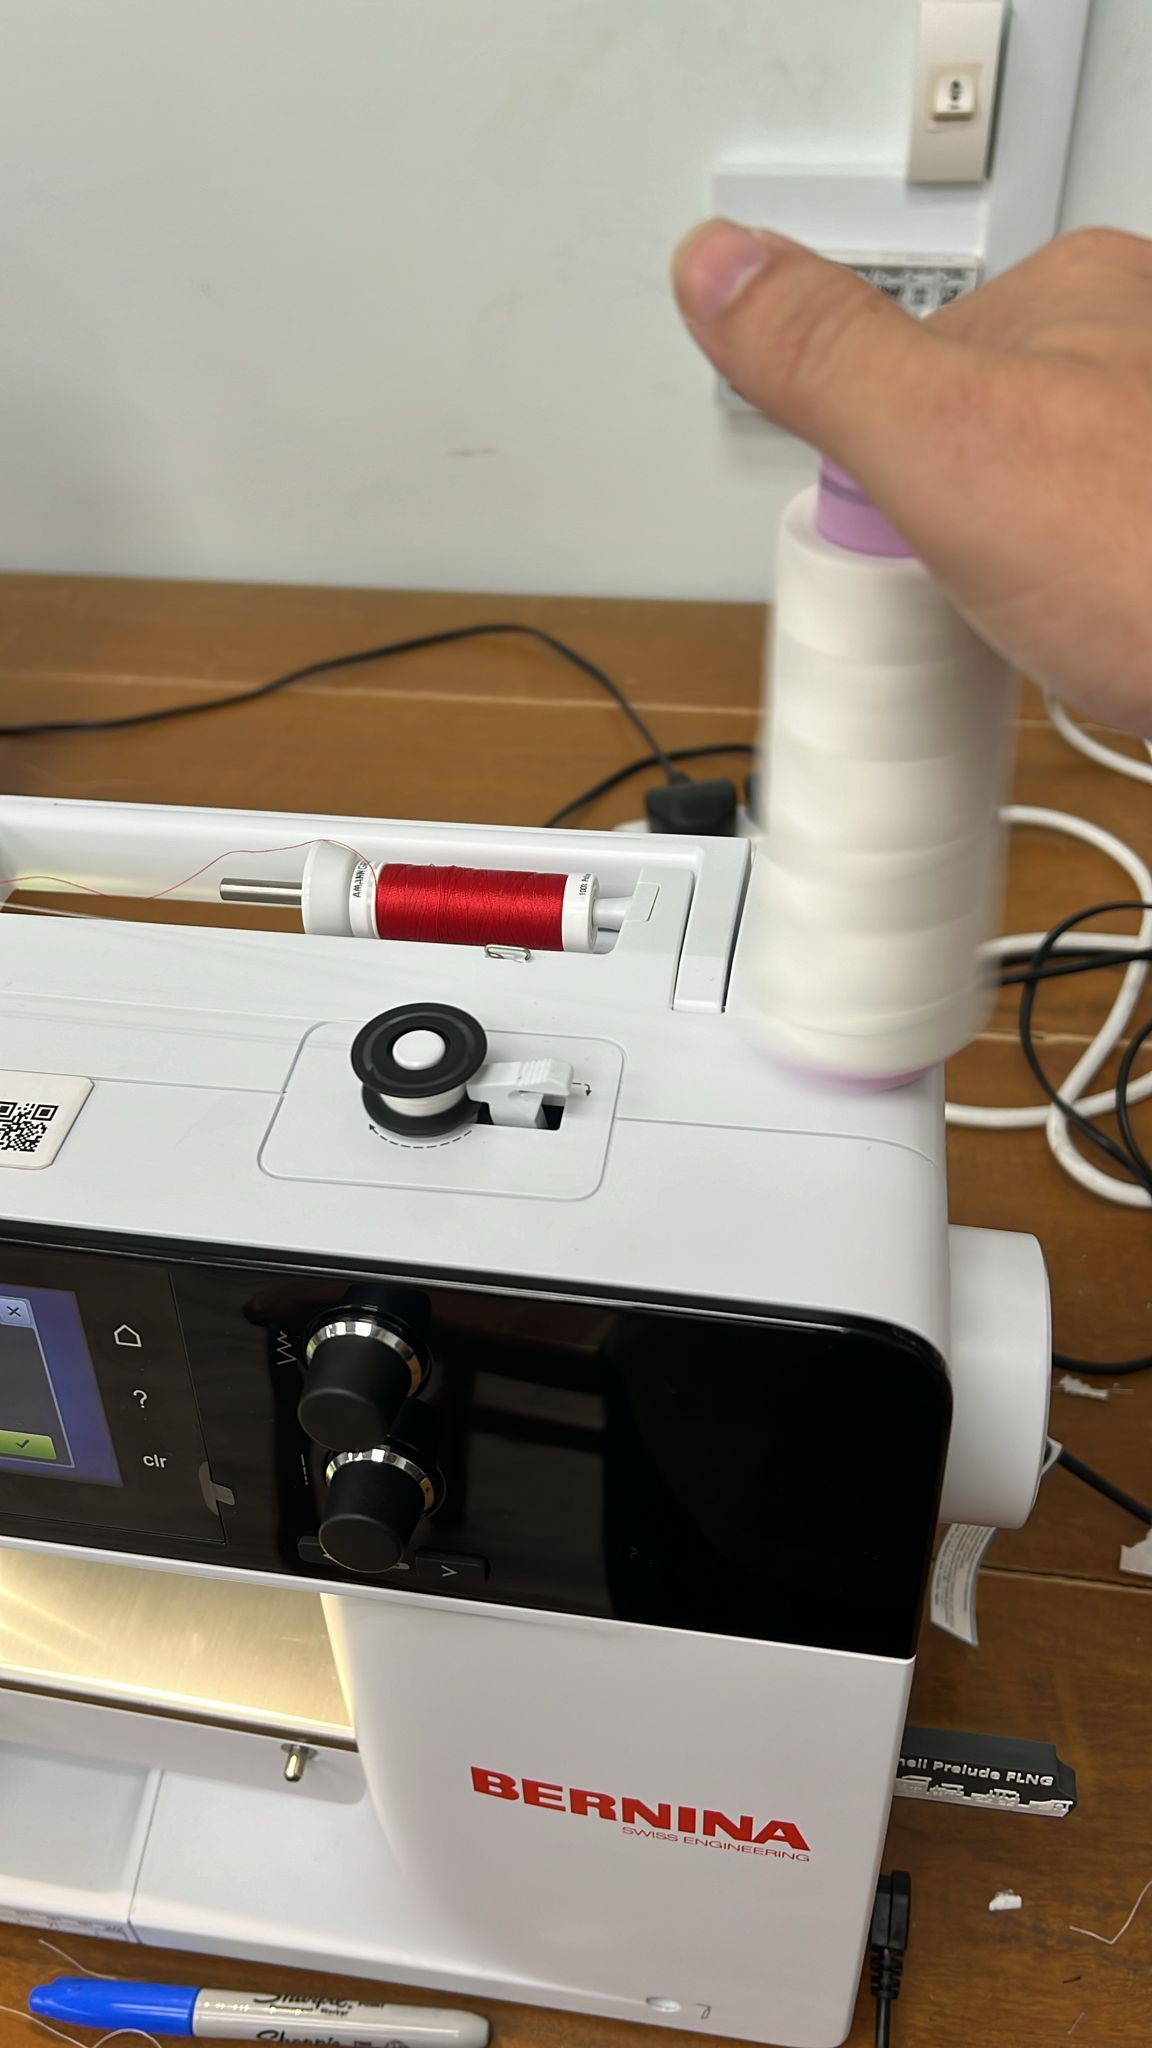
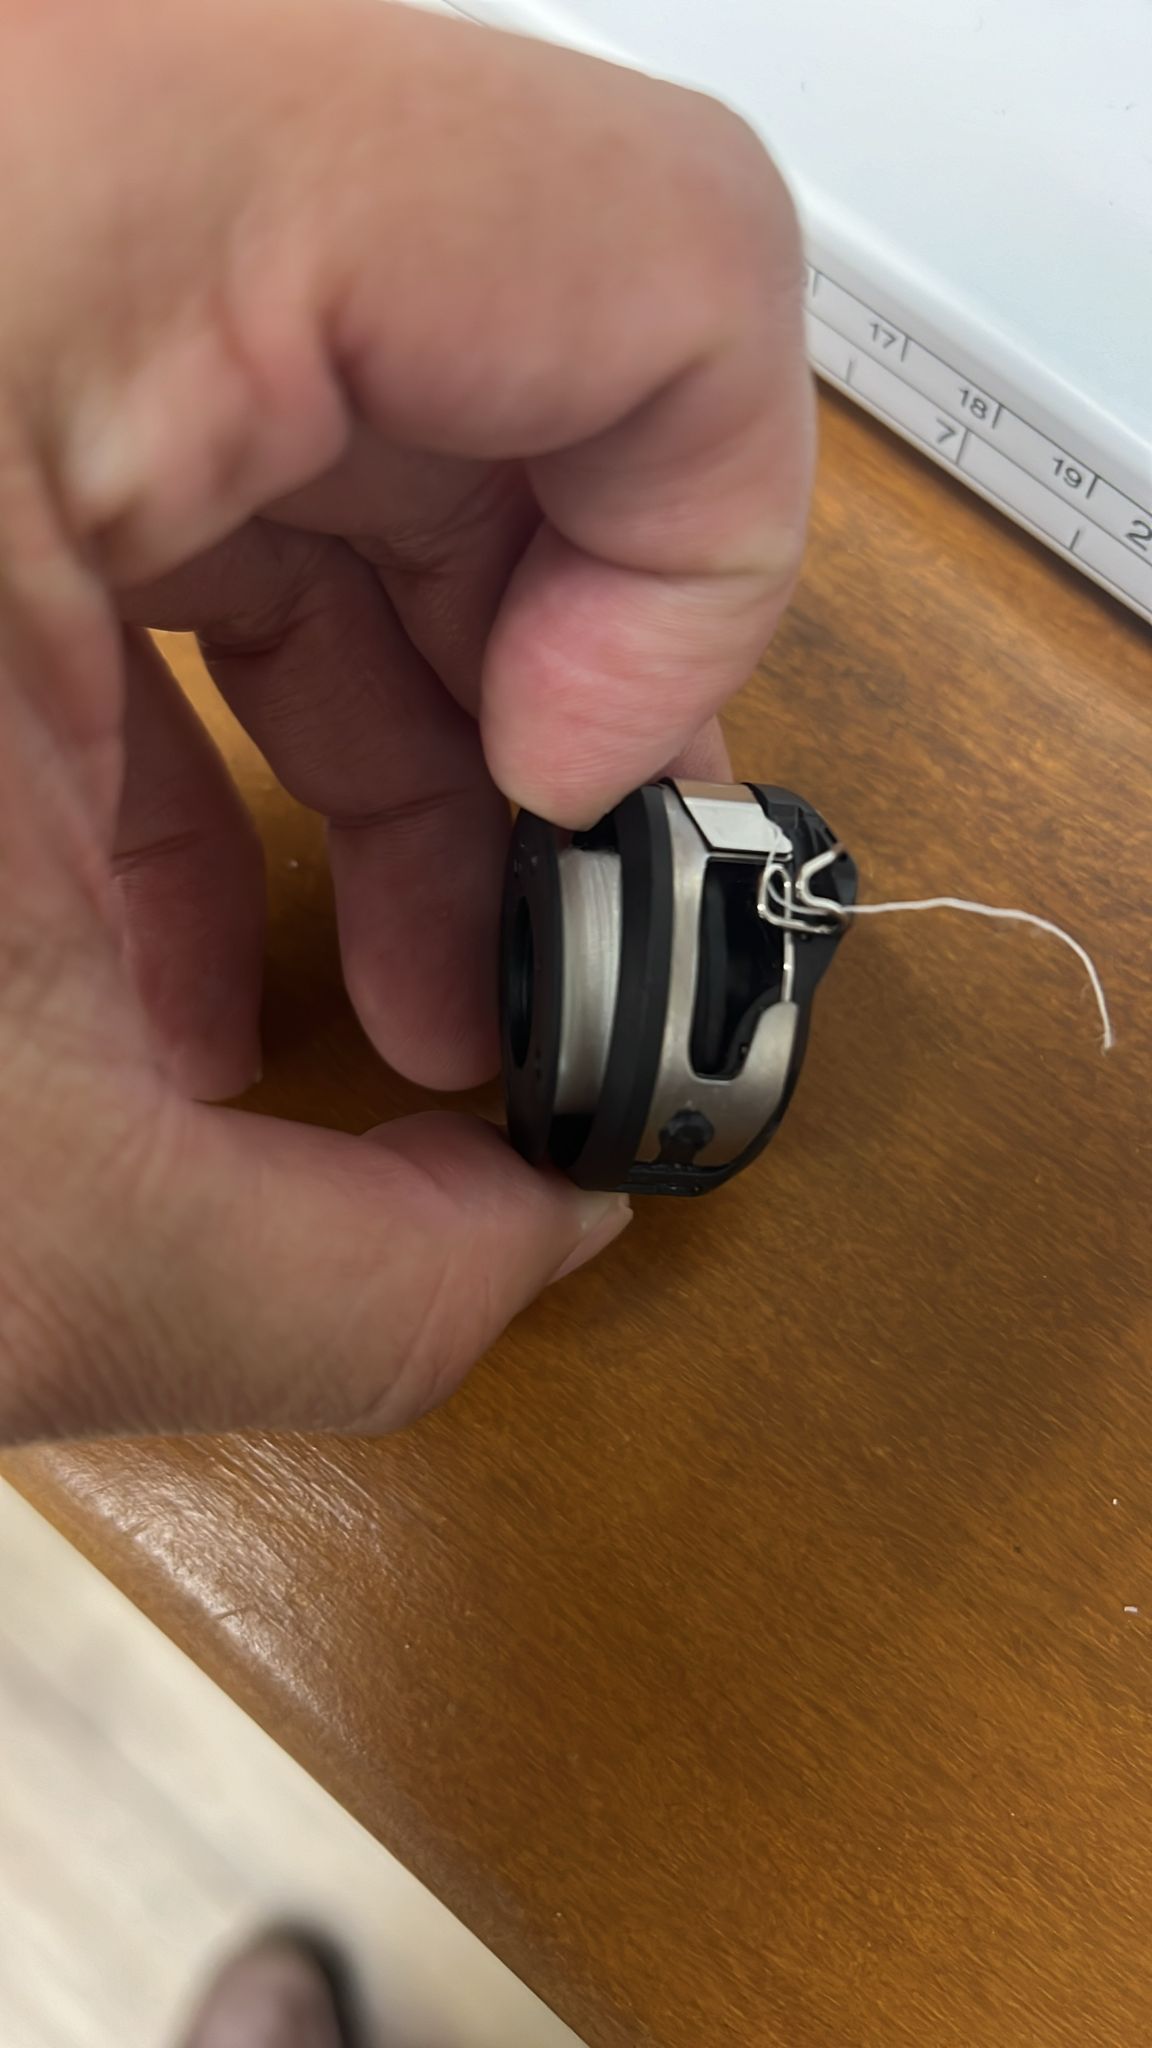
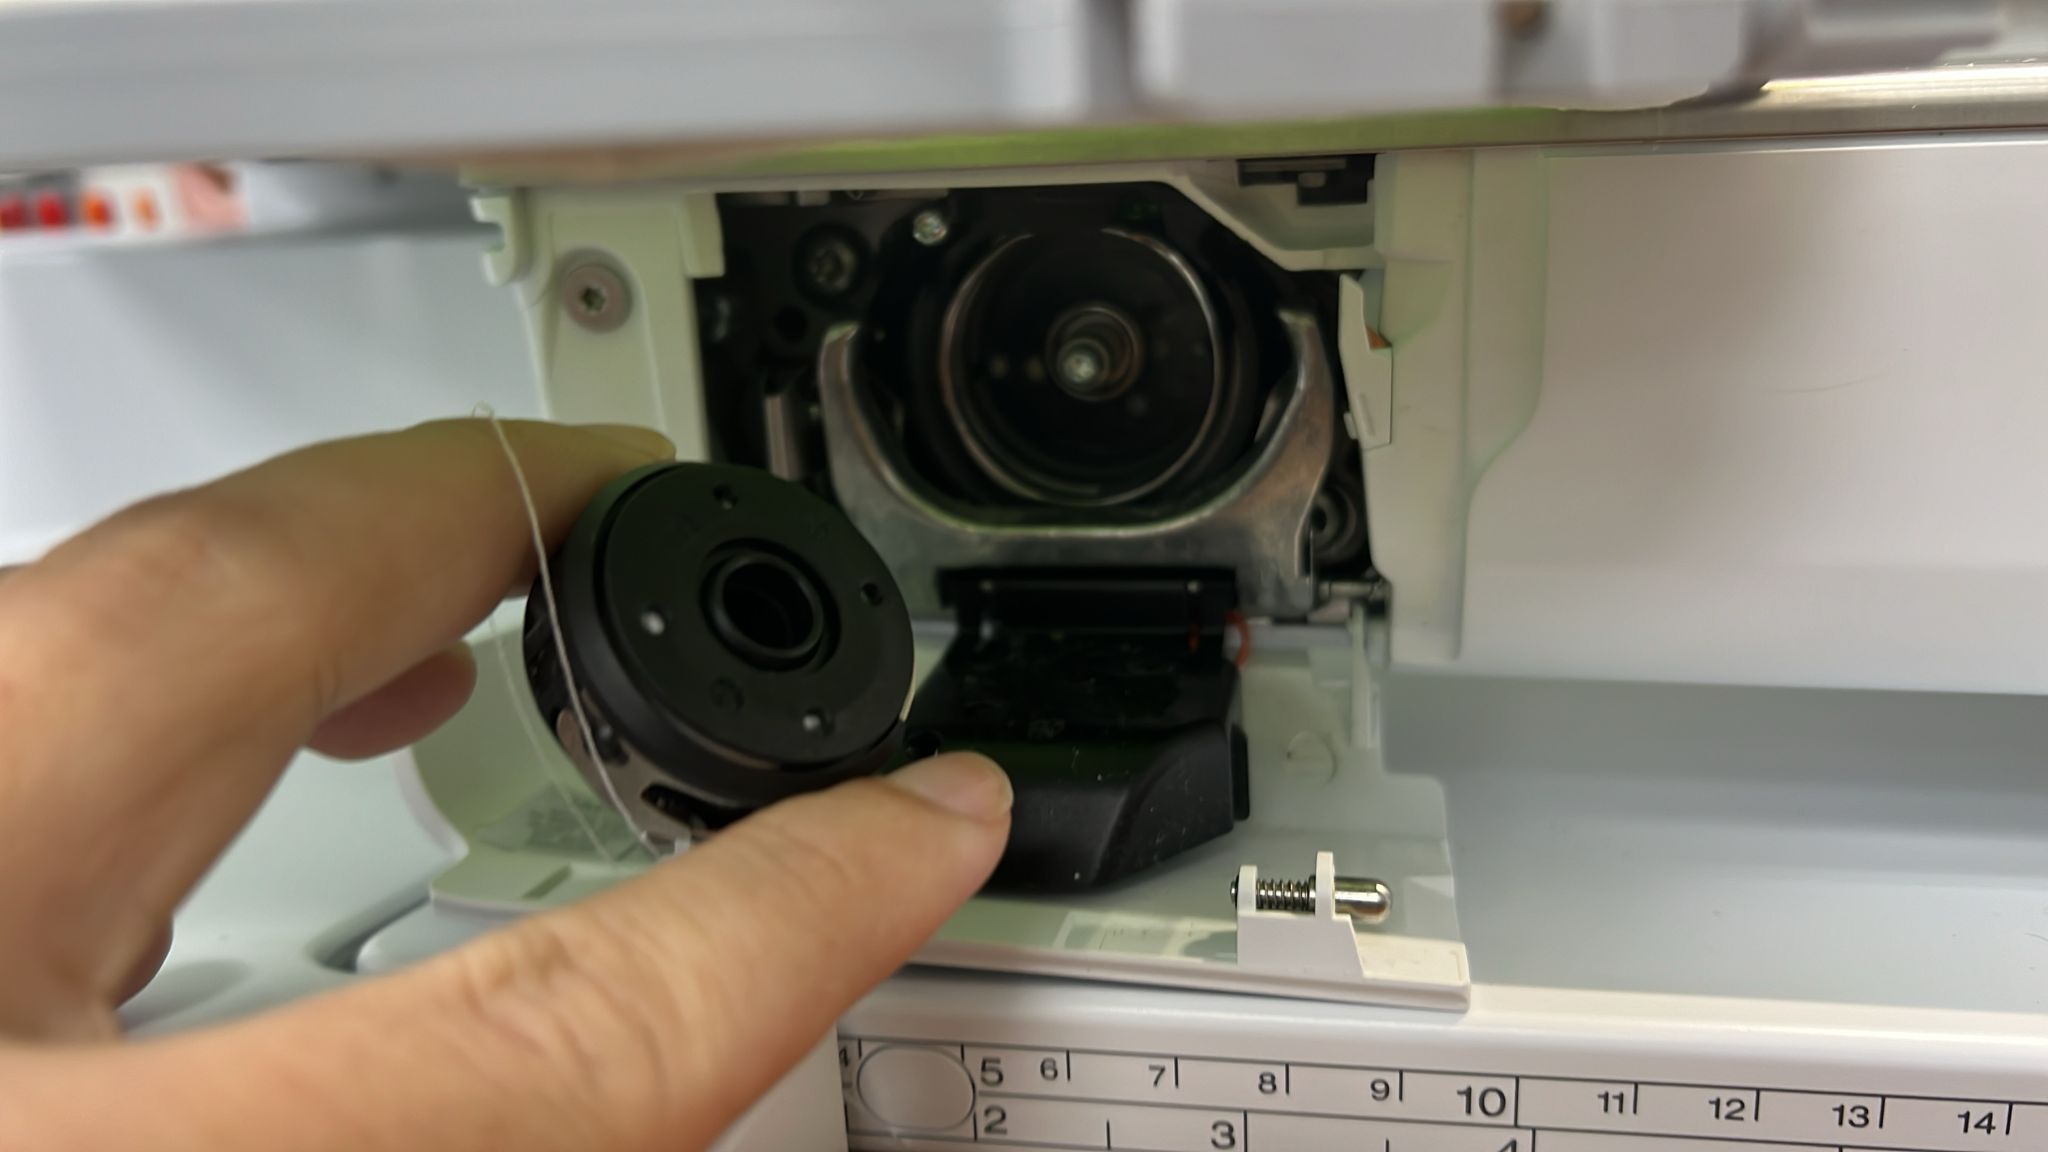
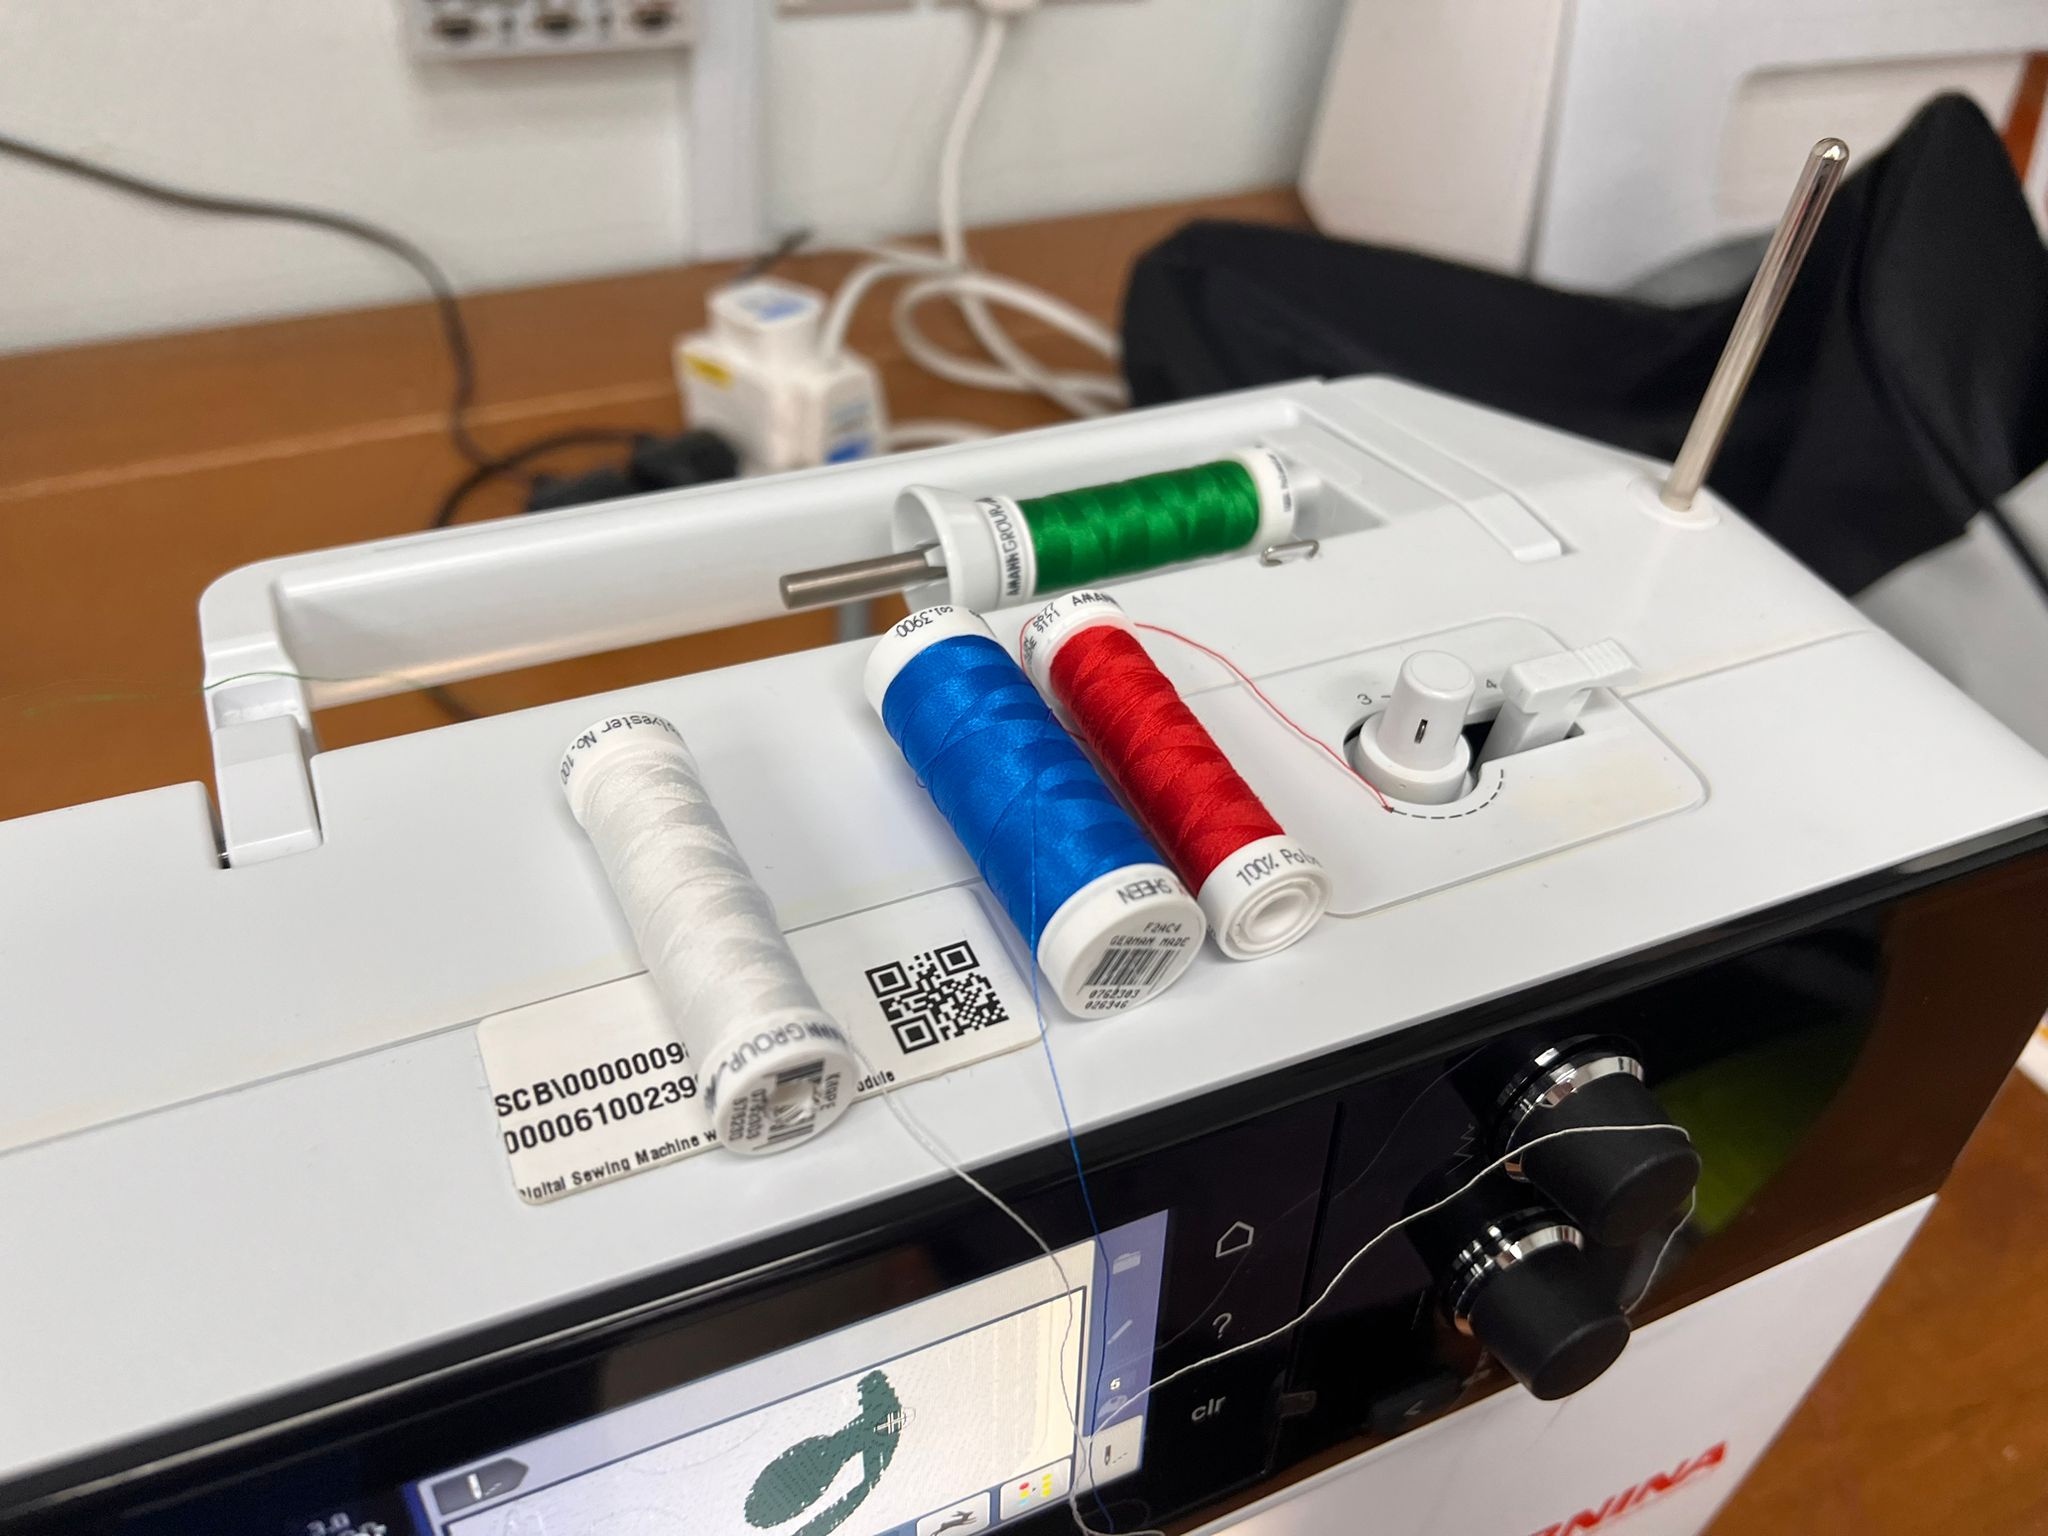
2. I selected felt for Embrodiery and used Stabiliser on it.Then i Hoop it through the large oval hoop and mount it onto the embrodery machine.
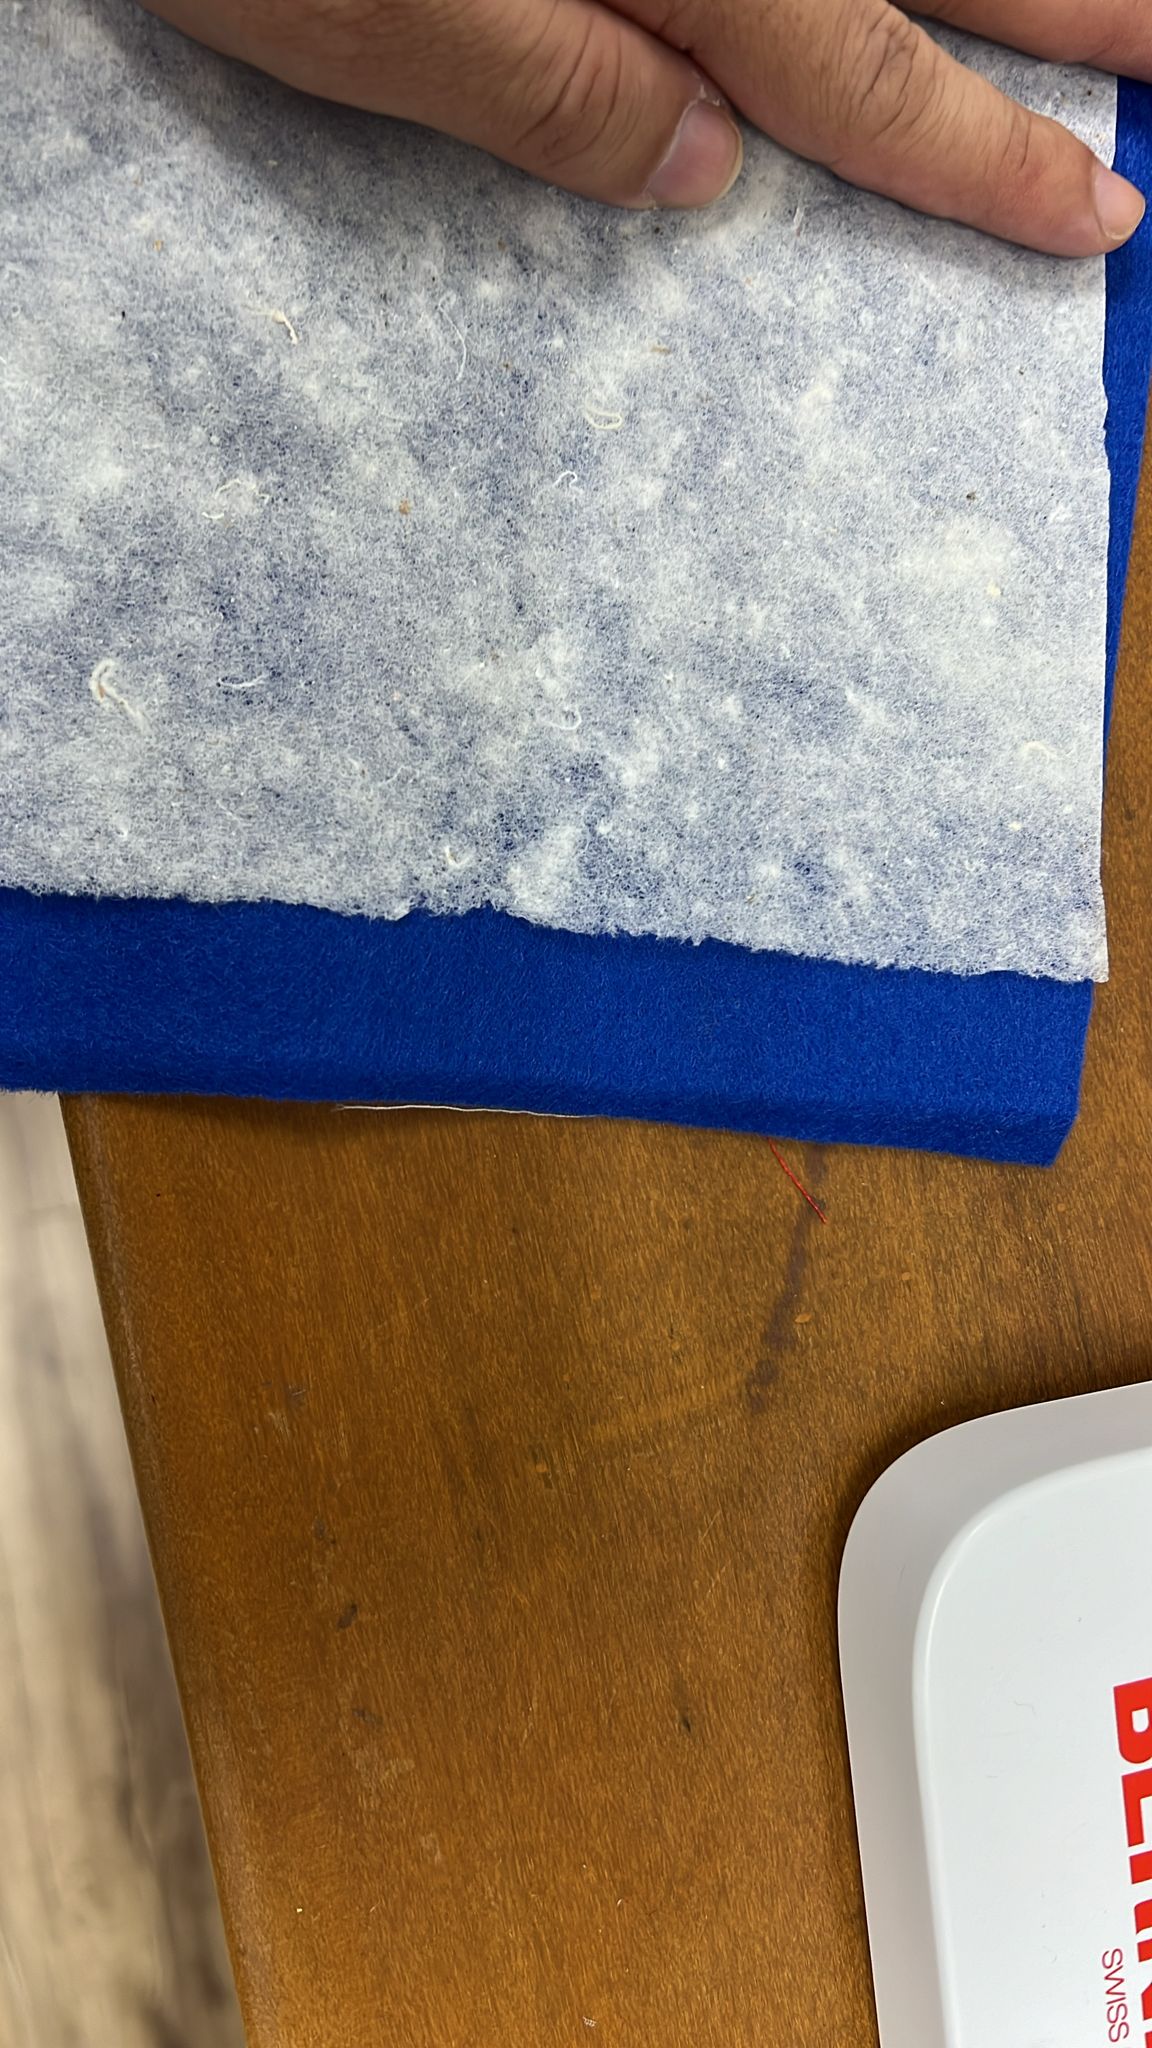
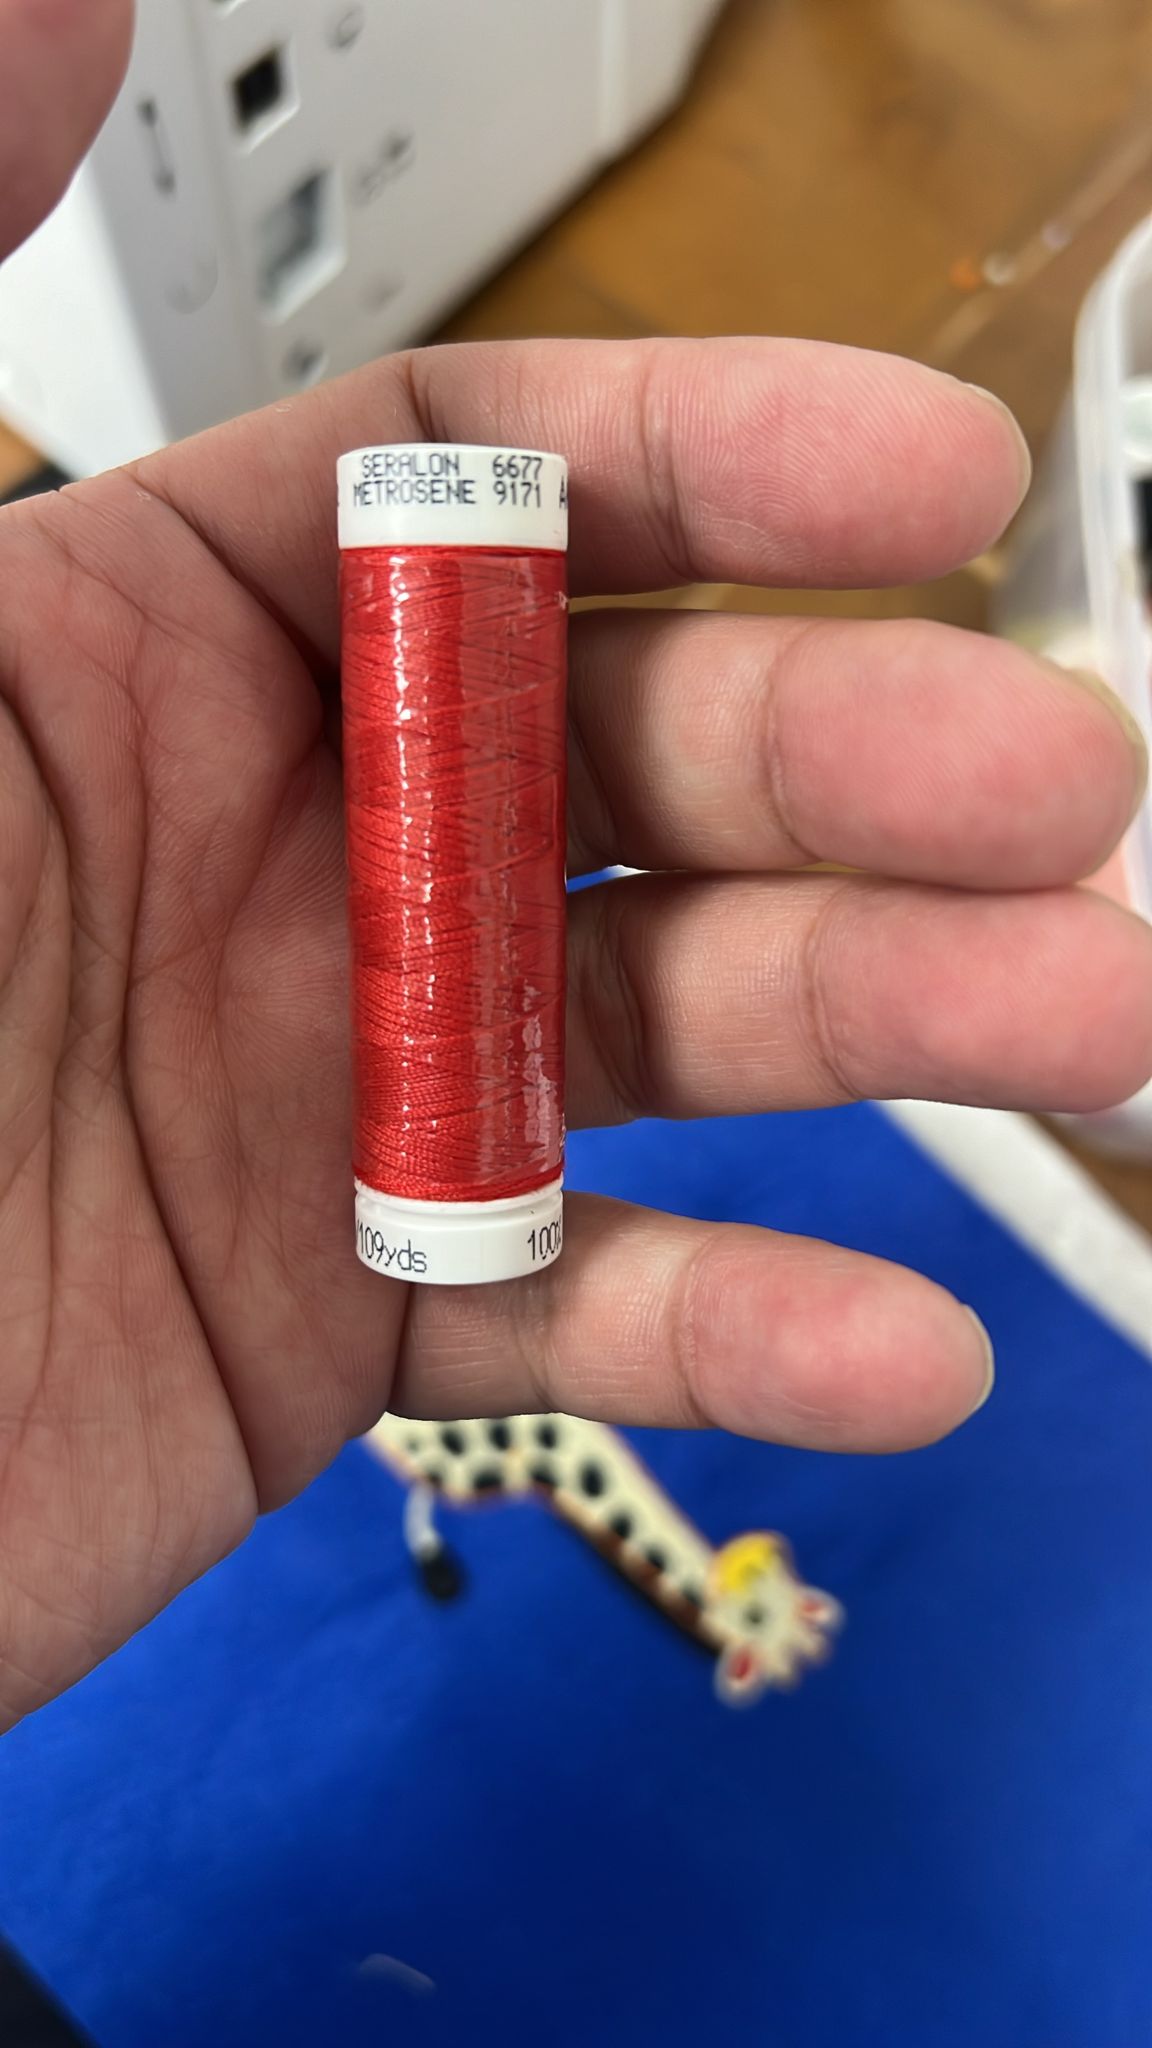
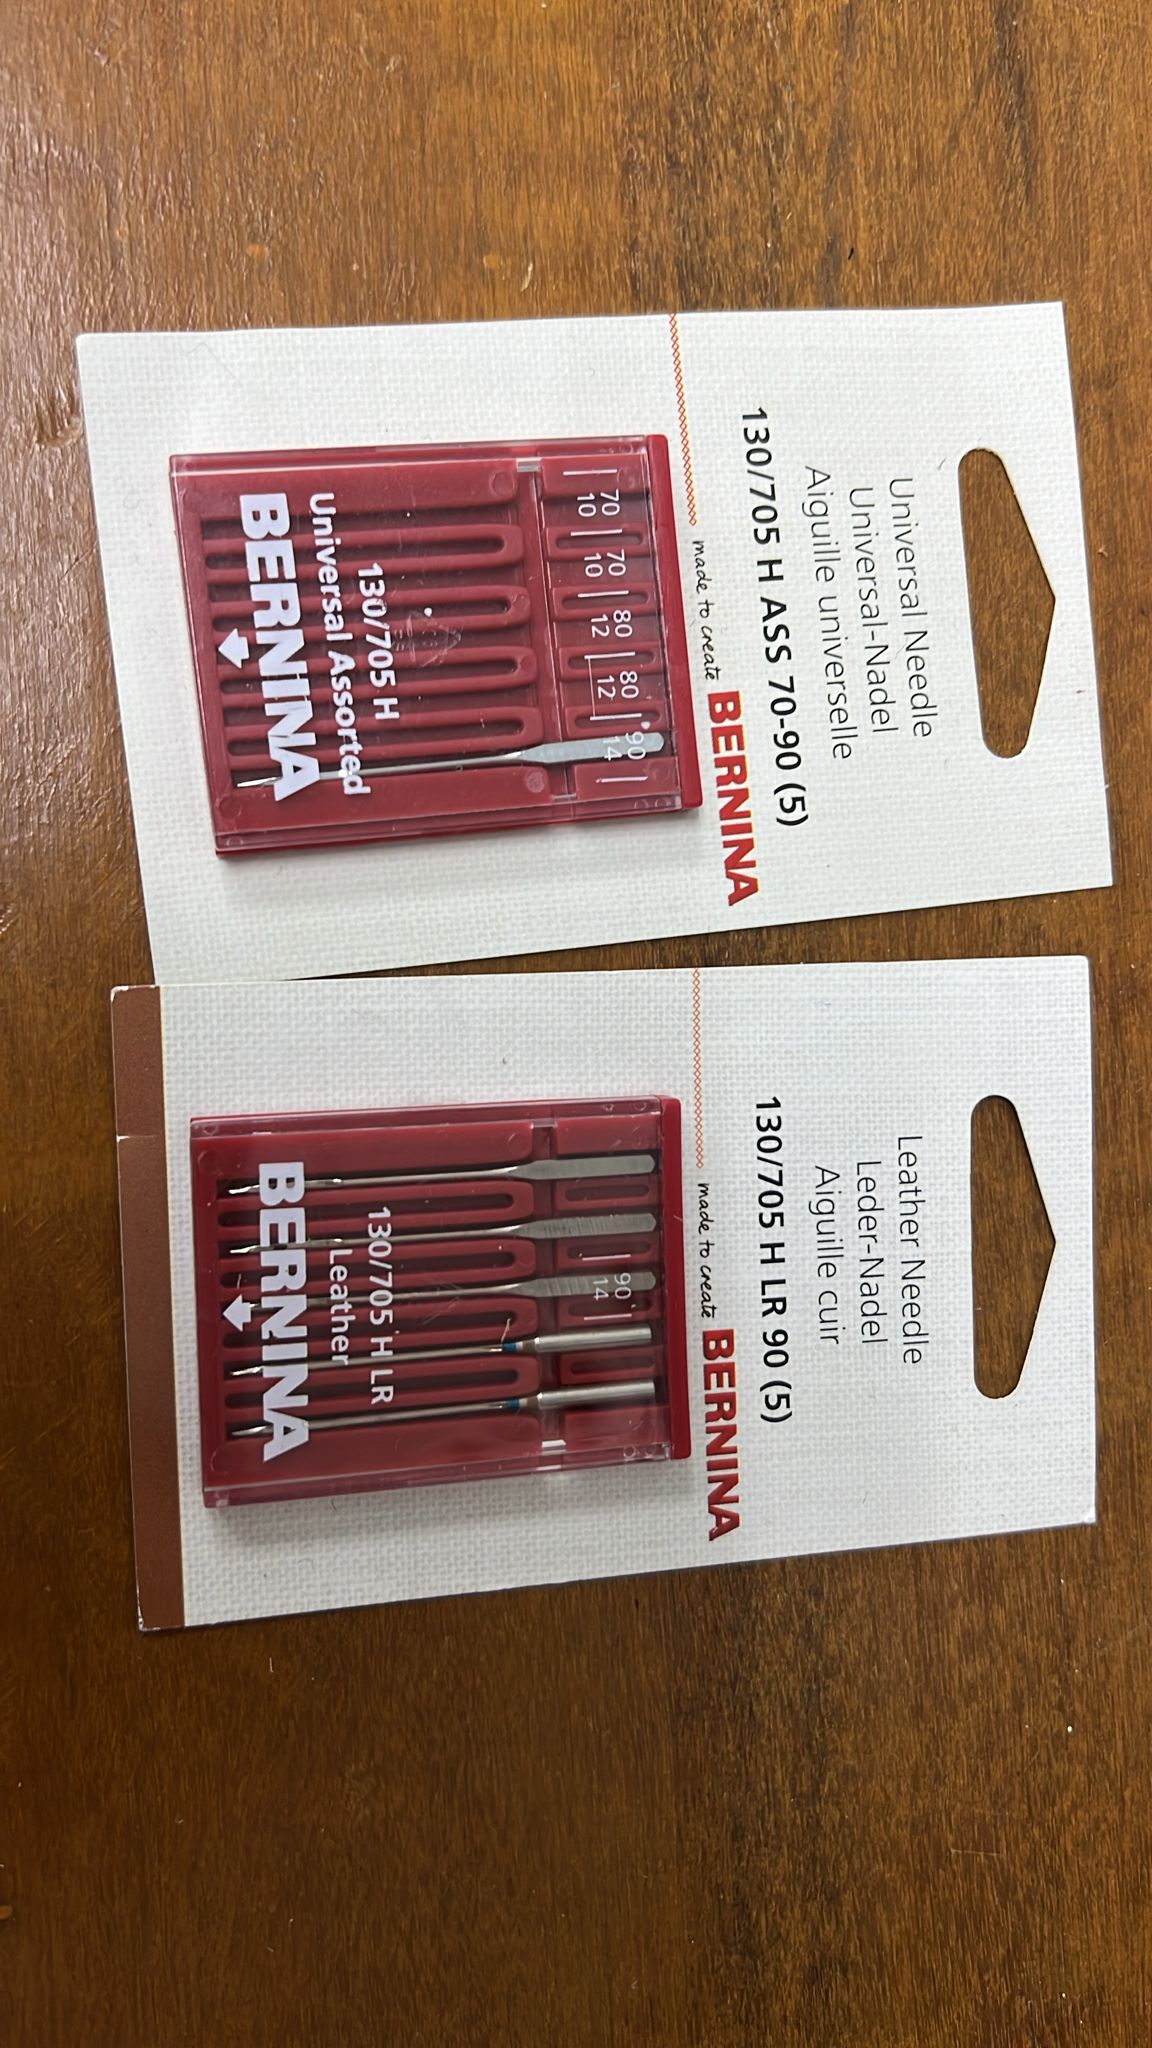
3. I used default embriodery needles, stepper foot and thread -- 80/12 needle, Foot #26, 40wt Polyesther Thread, Stabiliser and began Embrodiery
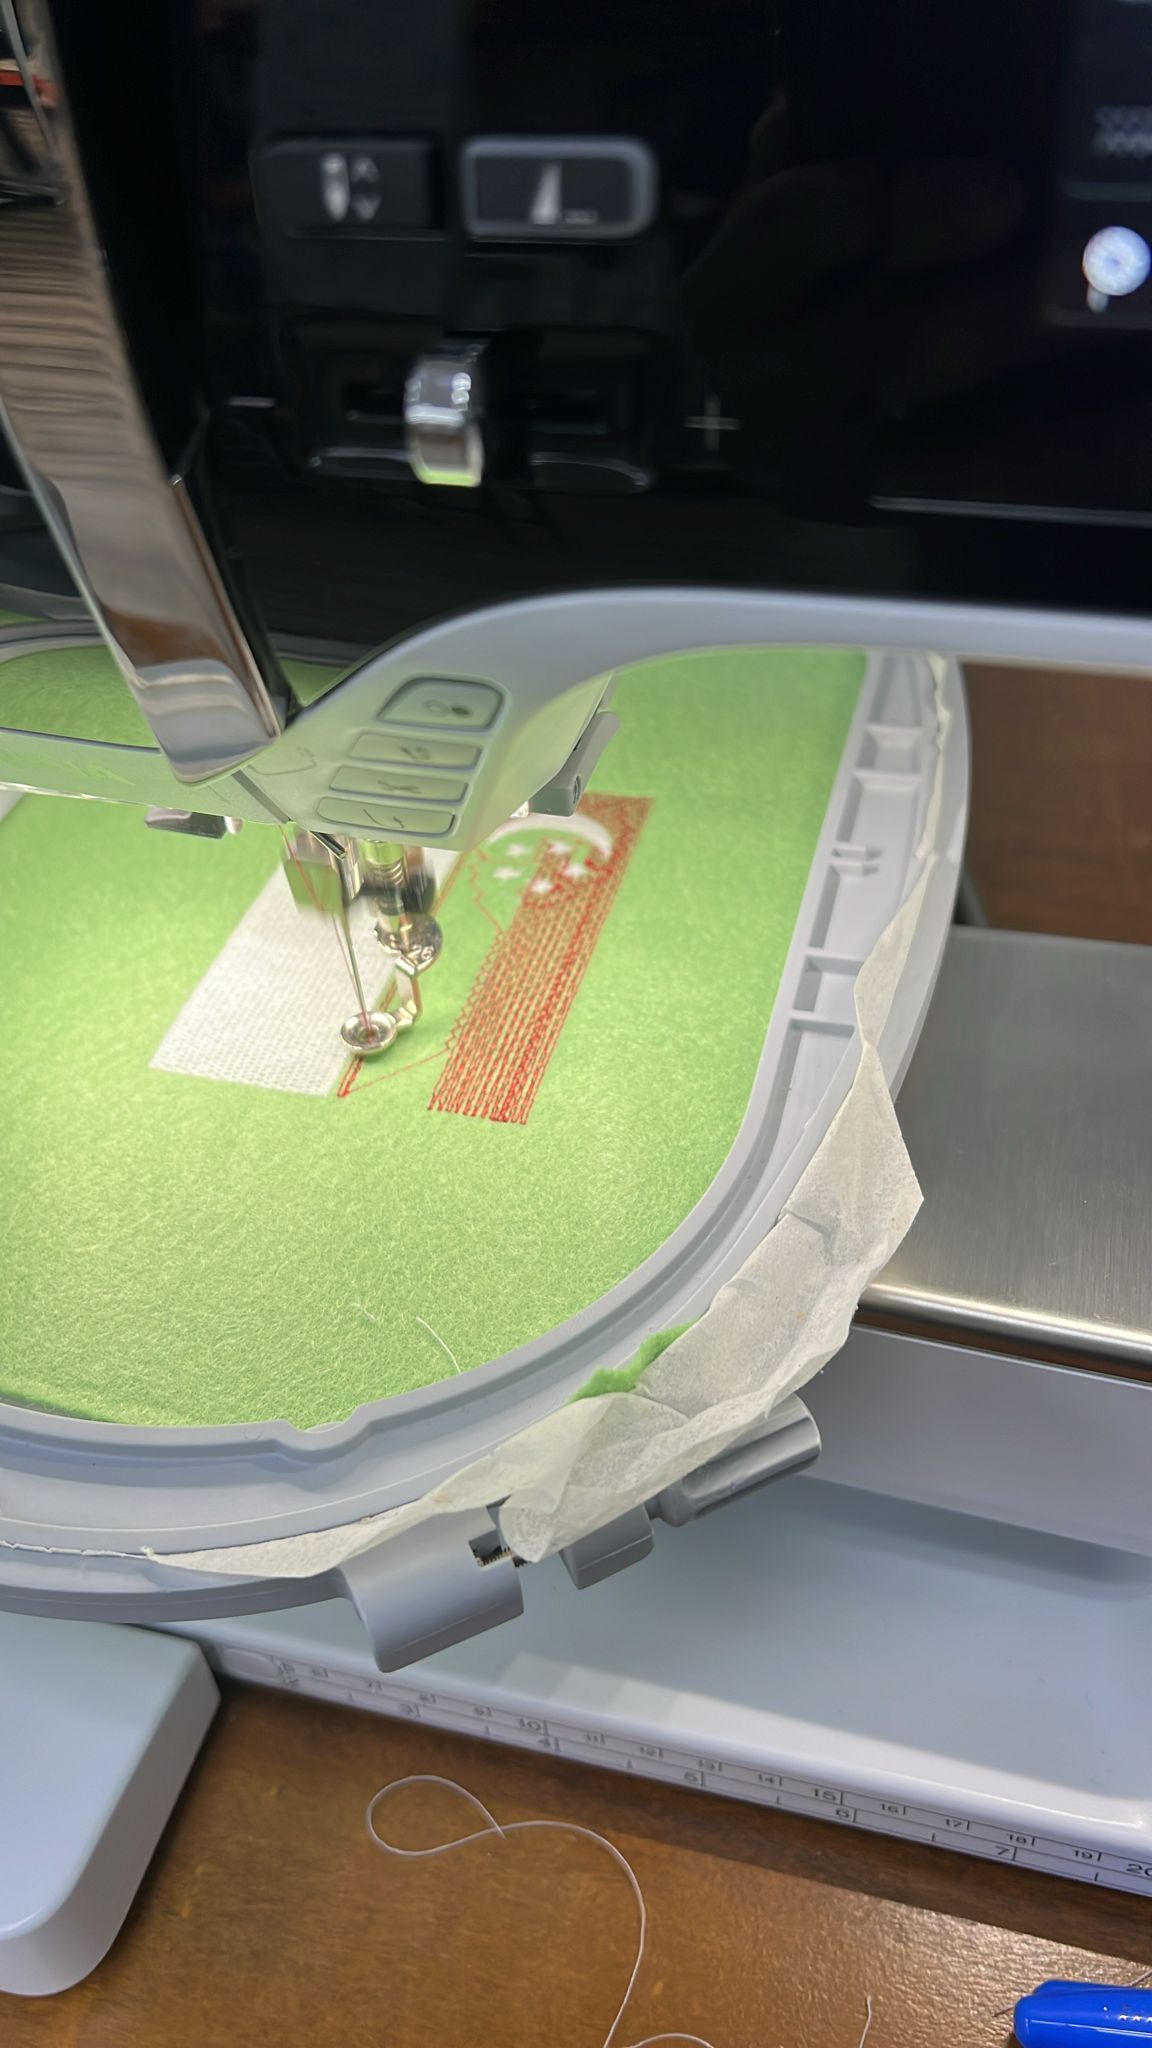
4. Final
4. Problems
1. No major problems except took about 1 year on and off to learn the basics and how to maintain the machine, but still feeling noob. Also another problem is that the trial and error to get better settings. There are too many terms which I did not know so I summarised most of the terms in the theory section below, some are shared by bernina sewing experts, some inkstitch teachers in our education system and some pointers illustrated by chatgpt.
5. Original Design Files
- Inkscape FIle
- PES file
- EXP file
Another Embriodery in case National Flag is not enough
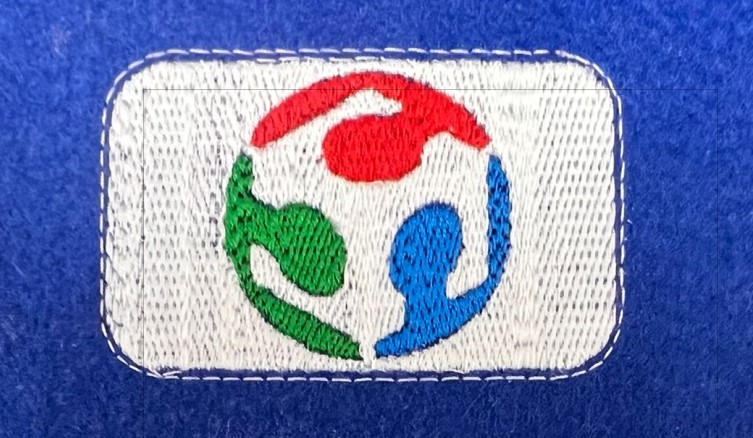
I did embrodery design again for FabAcademy Logo,
First, I cut and copy a fabacademy logo and draw a rounded rectangle and layer it behind the logo.
Next I trace bitmap on the logo and post process the picture.
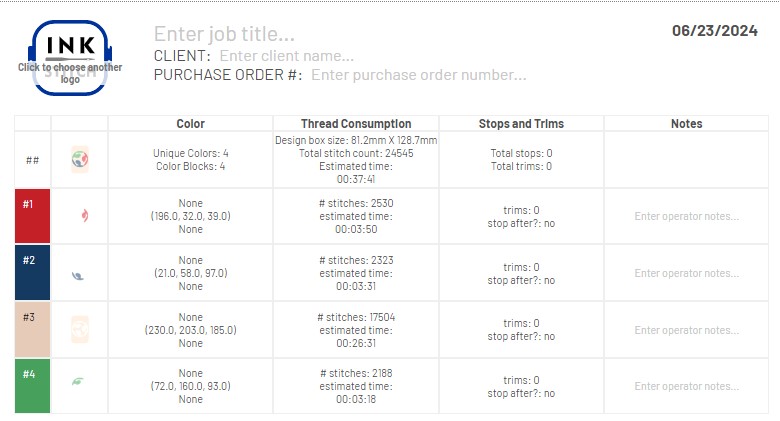
Using the Inkstitch Extension/paras/ I run a simulation of the parts to sew and observe the simulation via Extension/Inkstitch/Visualise&Export/PDFExport
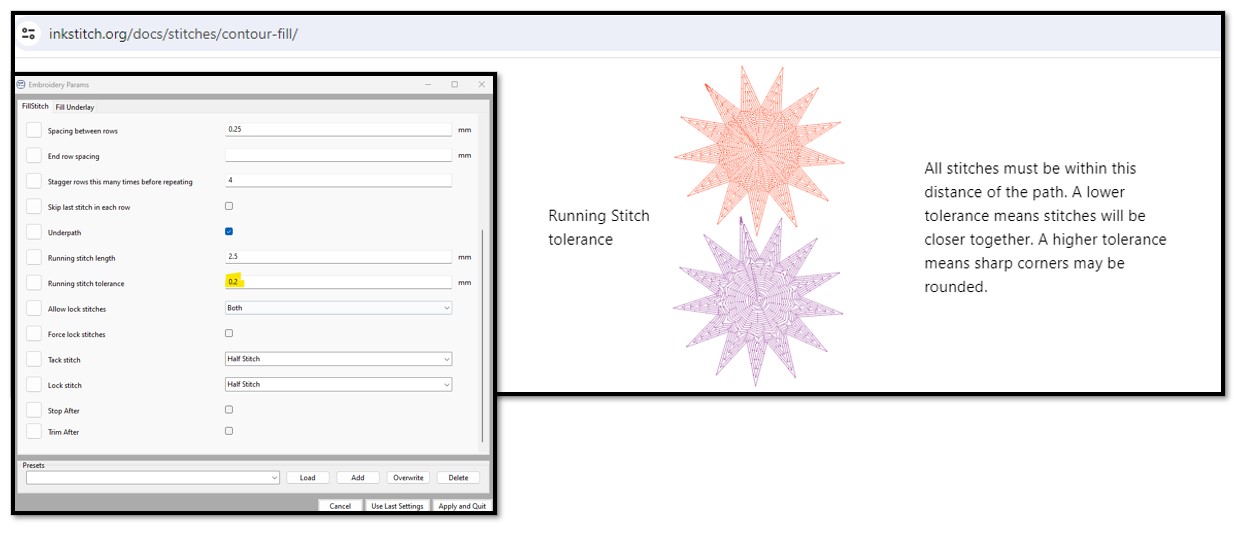
Using the Inkstitch Extension/paras/ I adjusted the tolerance to 0.17mm so that stitches will be closer. This value requires trial and error.
I screenshot the inkstitch Manual which i often reference. I filled the shapes using uniform fill.
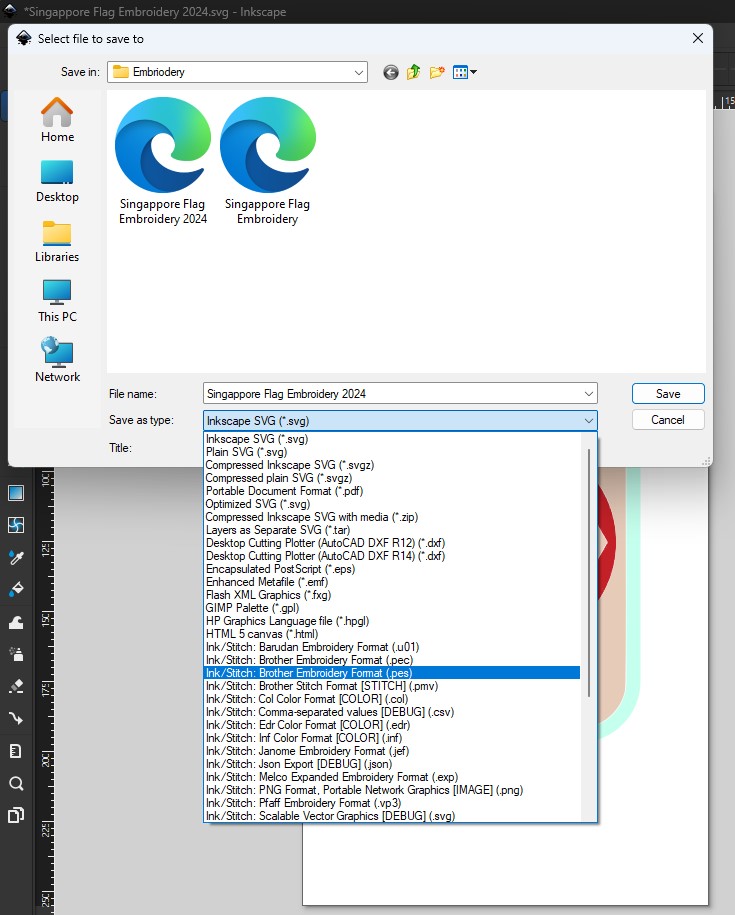
Using save as, I saved the file
- SVG
- PES
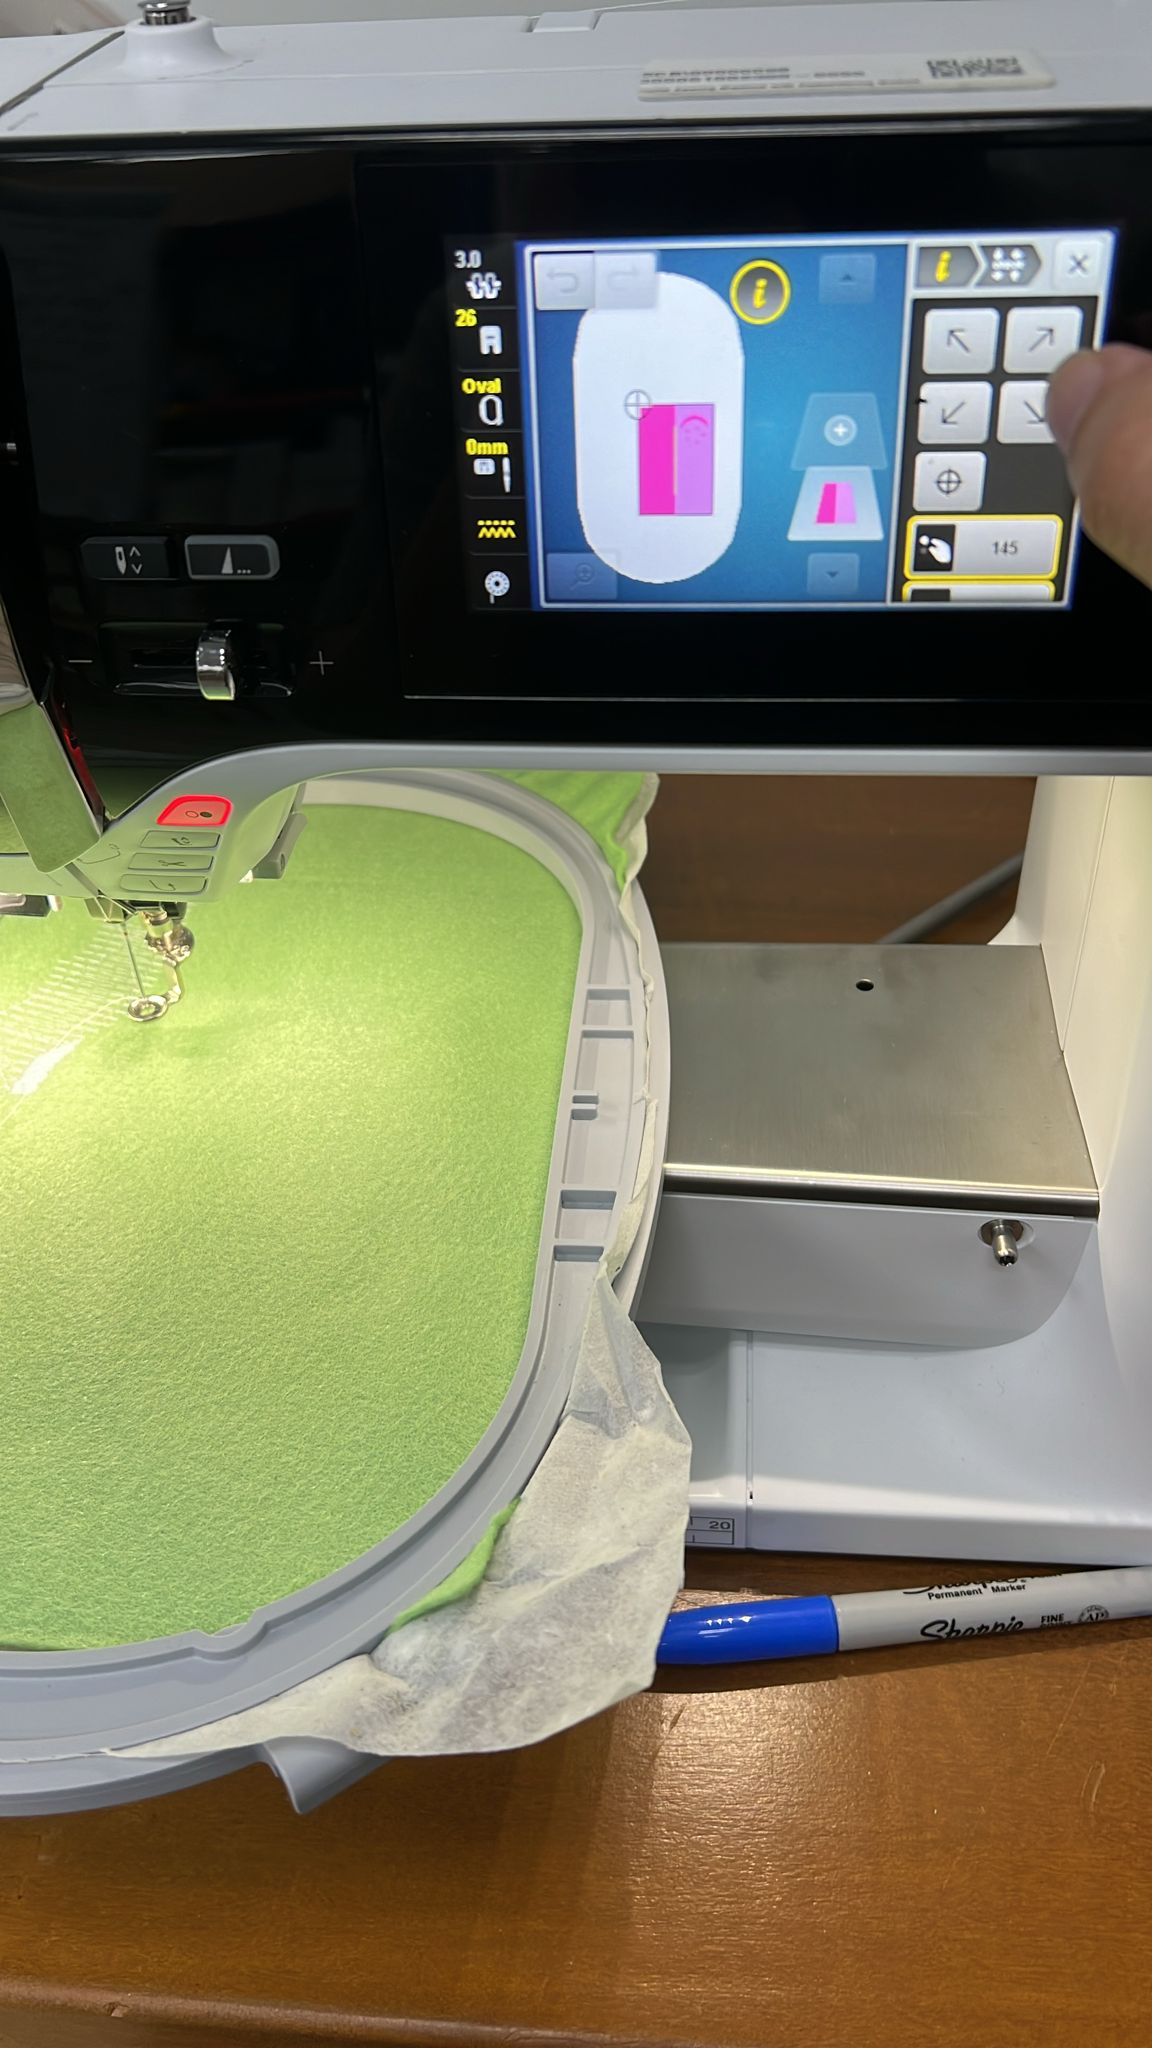
I loaded the file into BN590 Bernina and loaded the hoop. I run out of fabric due colleagues last minute took all fabric for another event at company, so I use the felt which had a design which i taught other students of mine how to embrodier.
So I had to adjust so that I embroder at the correct location.

I check the location with the check tool.
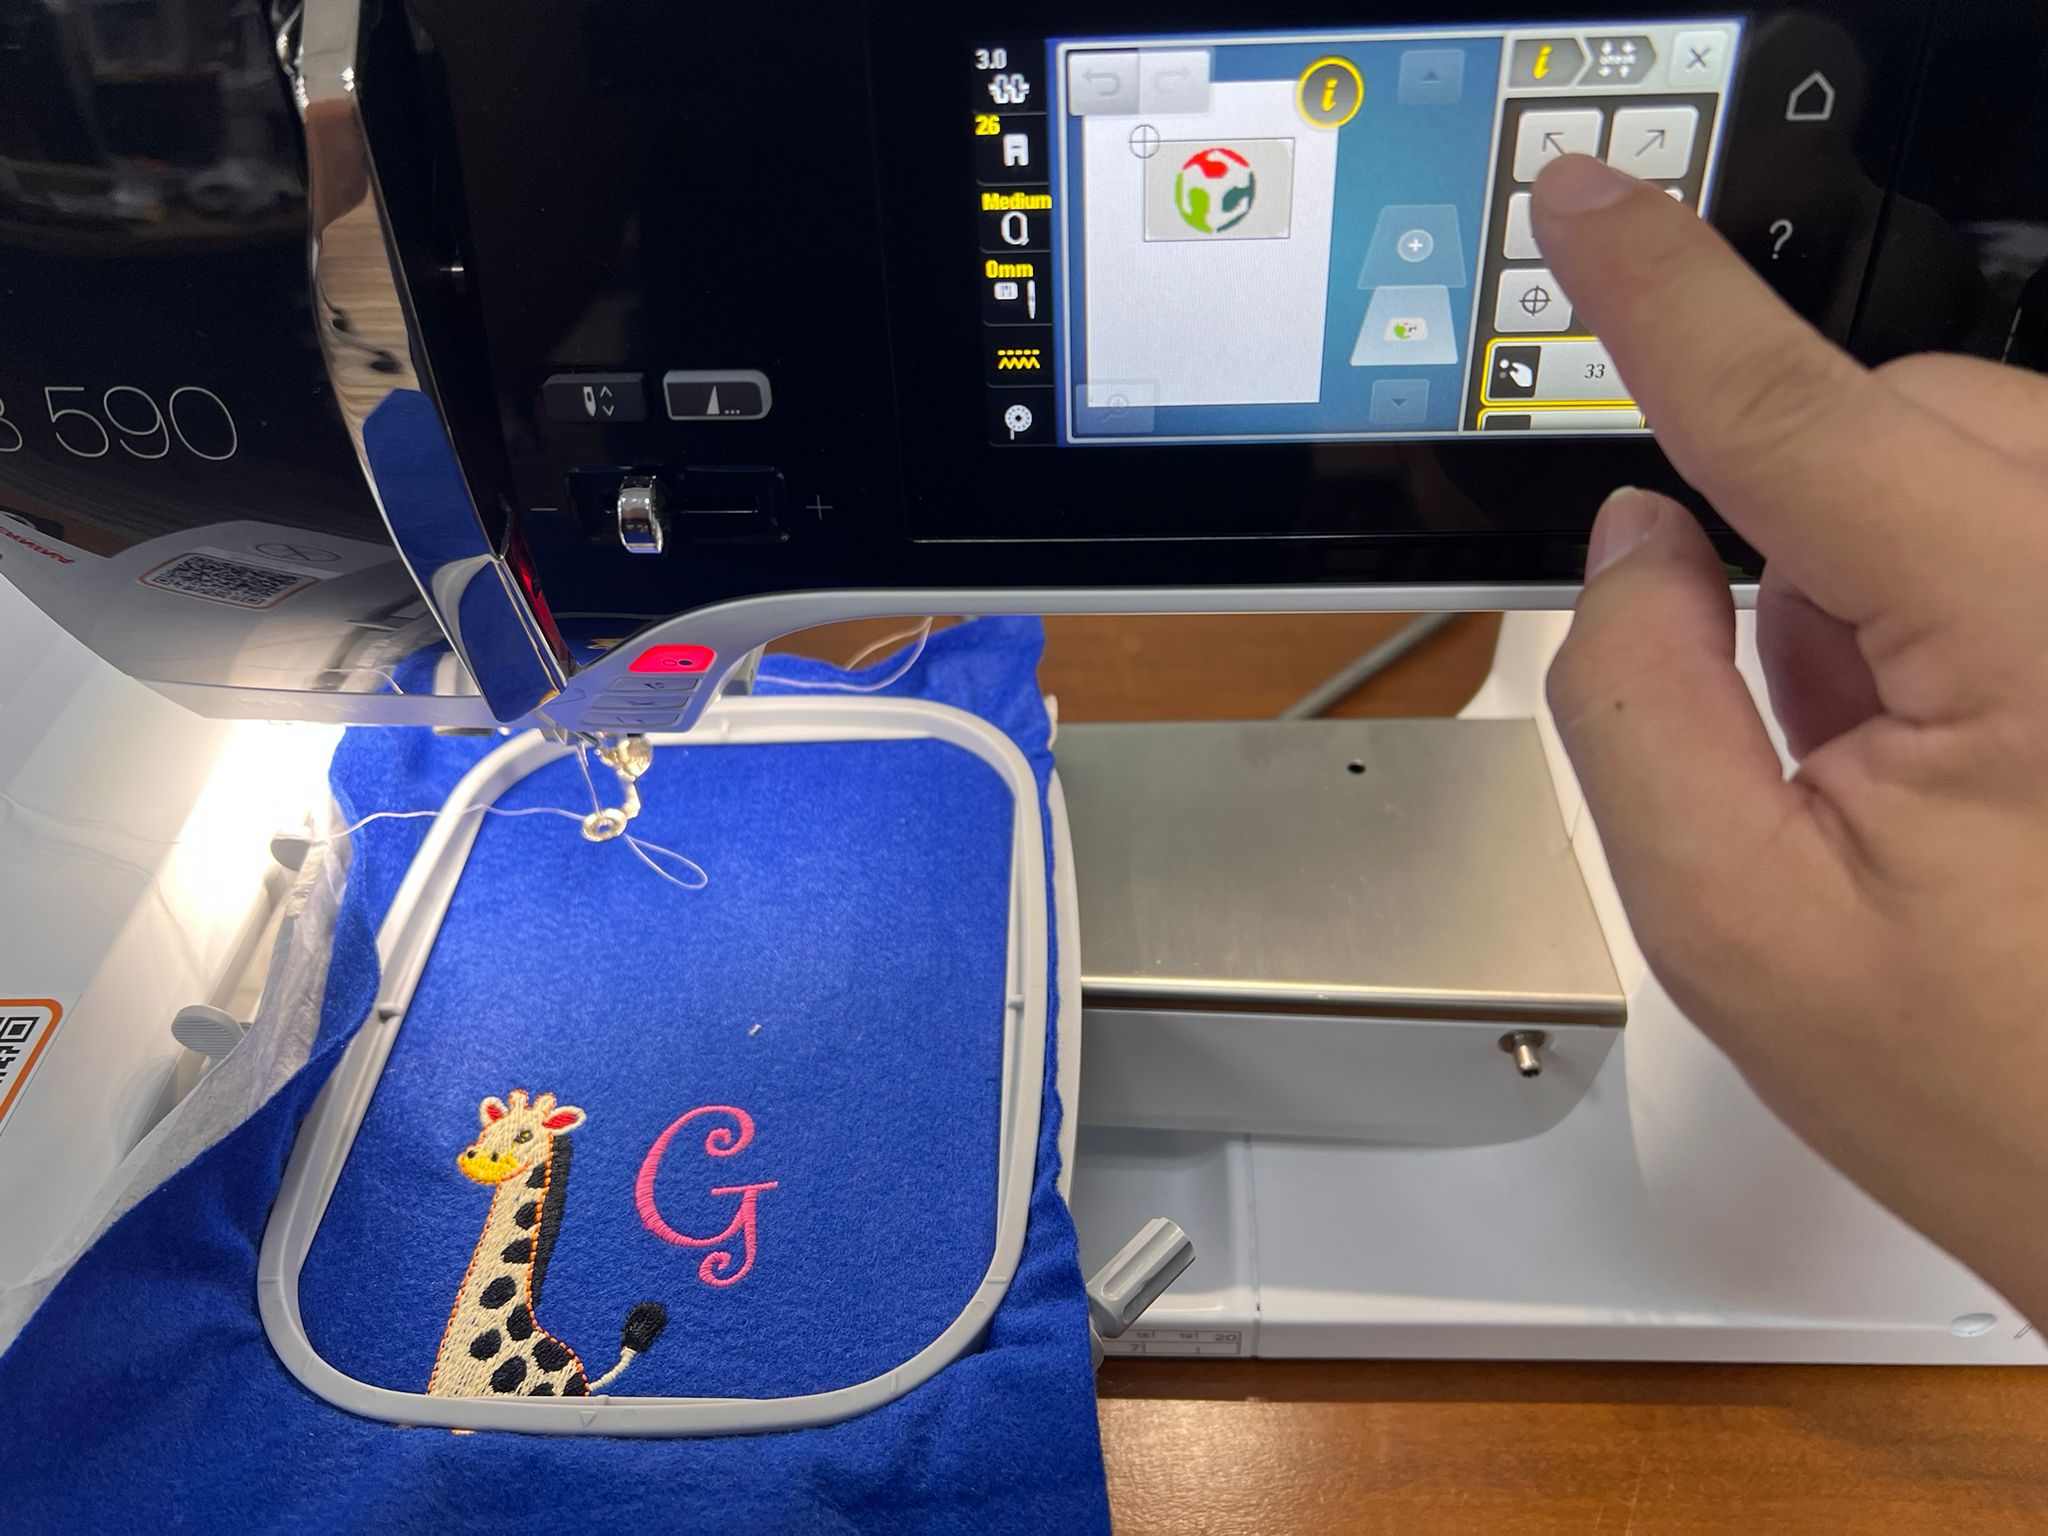
I check the colors and loaded them according to the color sequence.
I started Embrodering
The final Product, For future makes, I think I can try to improve it in future by increasing the tolerance further down to 0.15mm for the white color area.