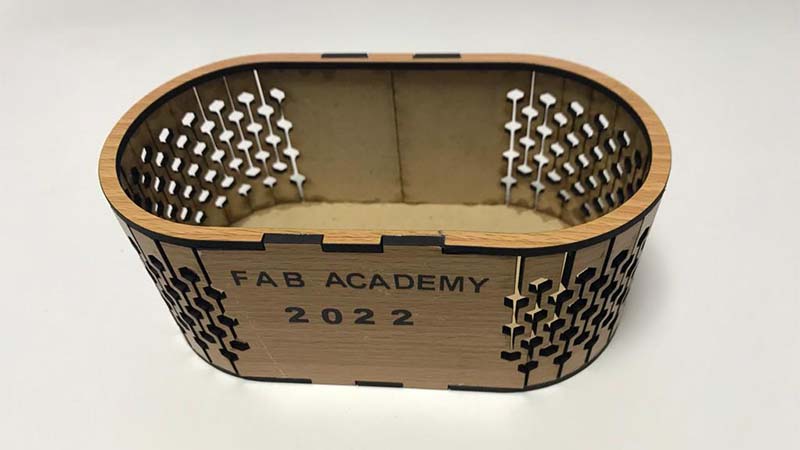
4. Computer-Controlled Cutting
This week individual assignment is to design, lasercut, and cut something on vinylcutter. and documents the process involved for both machines.
Individual assignment
The task is to cut something in vinylcutter as well as in lasercutter. Lasercut object but me designed with parametric metho where it can be modified with variable inputs.
Part one:Lasercut
Steps followed to design and print the container
- Design container with SolidWorks
- Design the parts as sheet metal so that they can be folded and unfolded easily
- Cut the parts with laser cutter in 3mm thickness MDF
- Assemly the parts
I designed all parts in SolidWorks. I started by creating equations roughly the size of the entire container. Equations can be edited/updated afterward
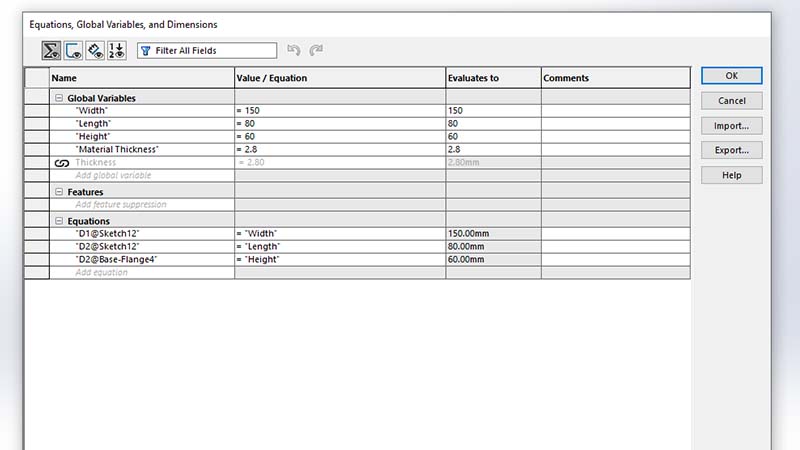
I used those parameters as input to dimension the overal sise of the container
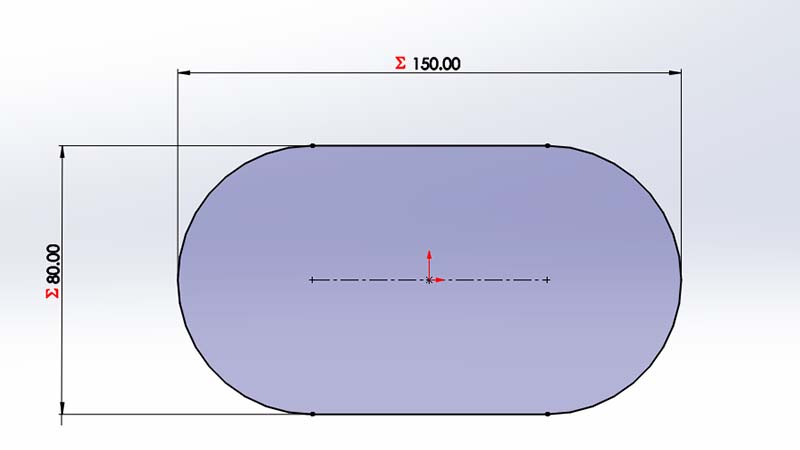
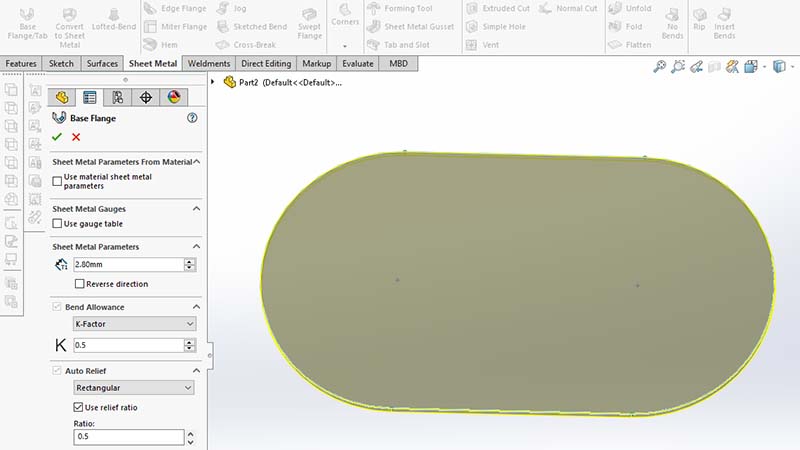
By using SolidWorks Sheet Metal, I extruded the sketch with base flange
Next, I added the heith of the container by sketchhing on the top face. I used convert entity to make the job easy. I also left 1mm gap as sheet metal cut. And again, base flange was used.
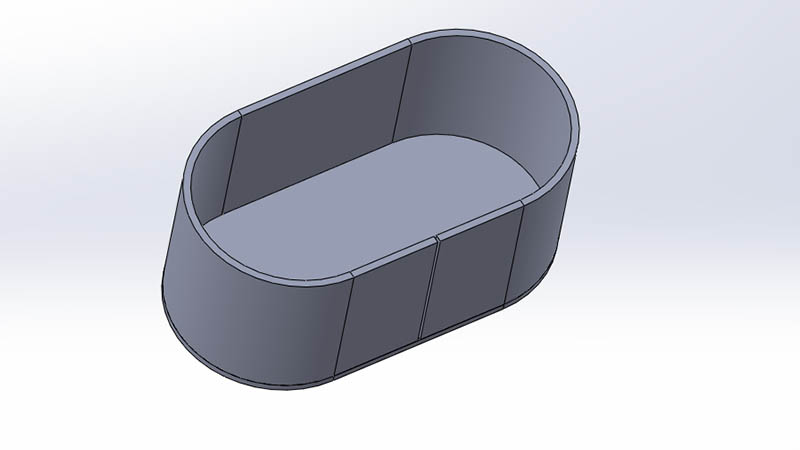
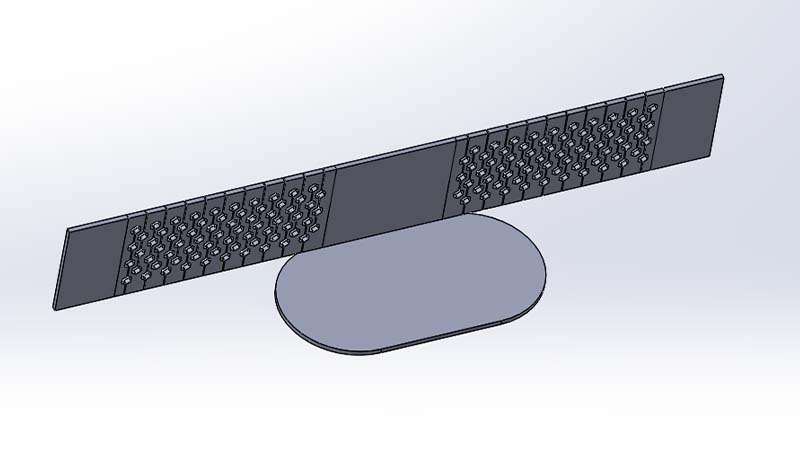
By using unflod method, I was able to flattern the vertical panel/part/ sheet metal.
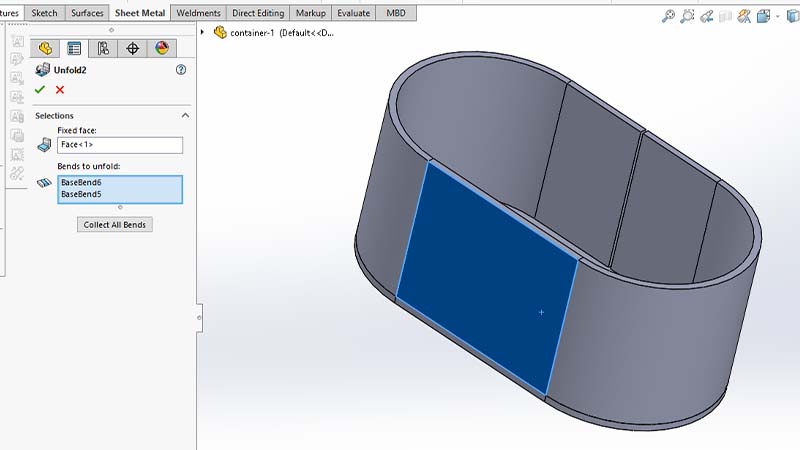
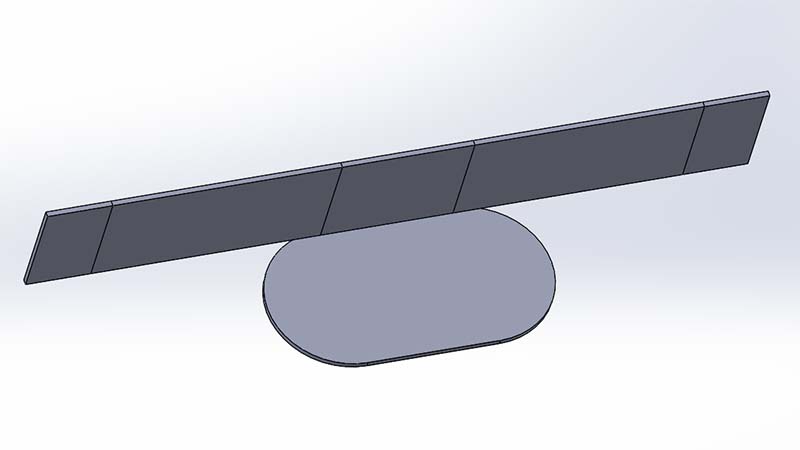
Unfolded completely
I sketched the hexagonal patter on the curved face (while it is flattered)
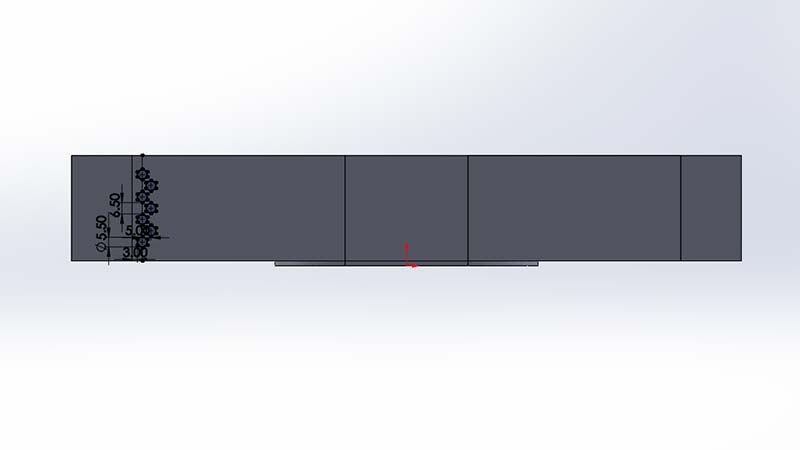
Pattern cut
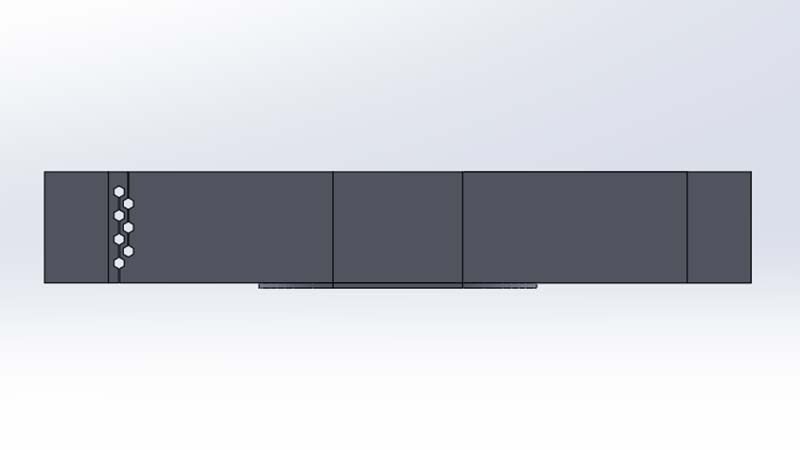
I used linear pattern to multiply along the entire face
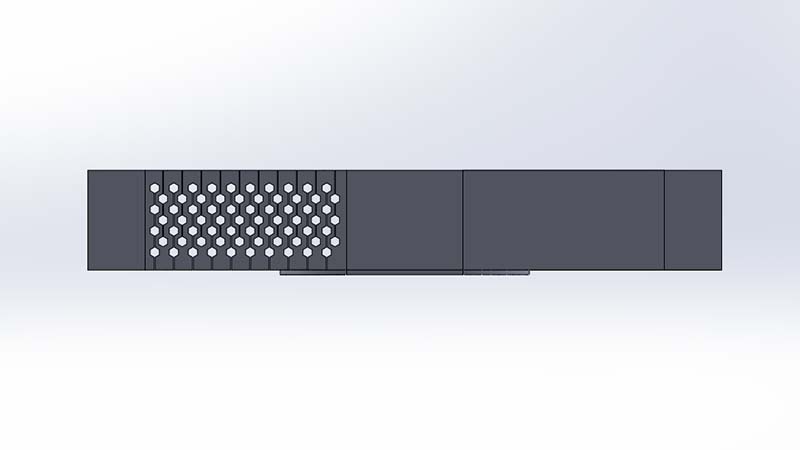
I used mirror entity to make a copy of the pattern on opposite side
Next, I used fold tool to unflattern (fold it again)
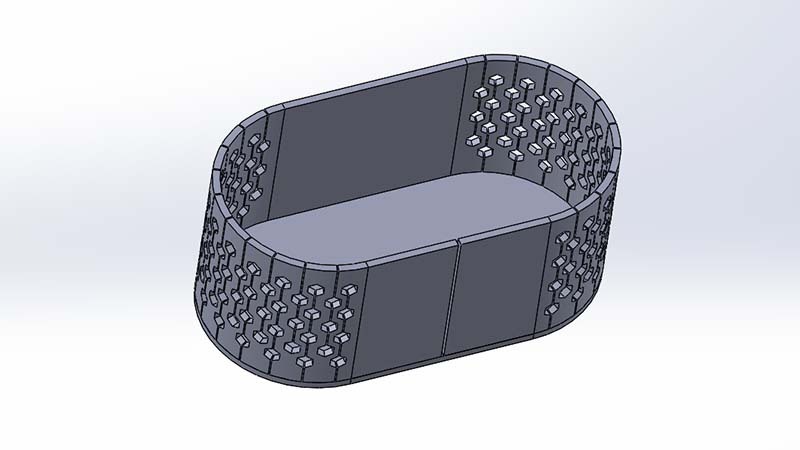
I added the top cap. This will make more rigid
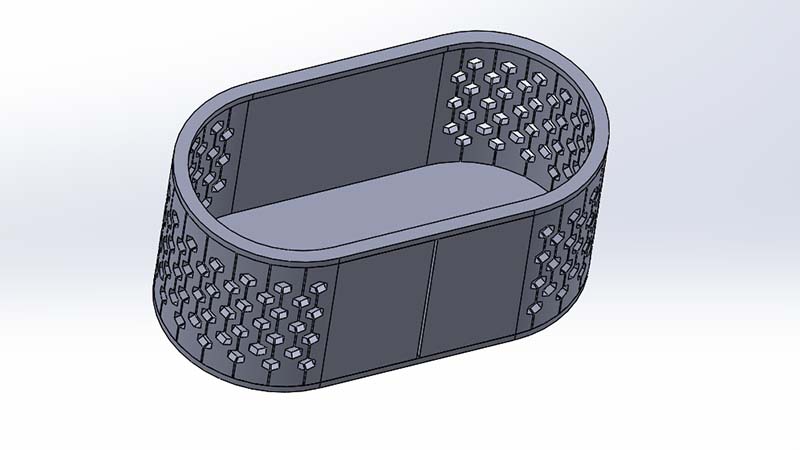
I added tabs that will help for assembling afterward
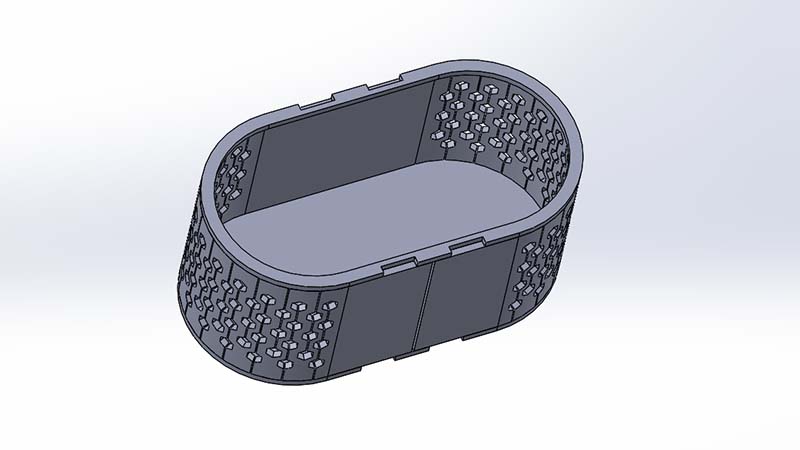
Added opposite tab
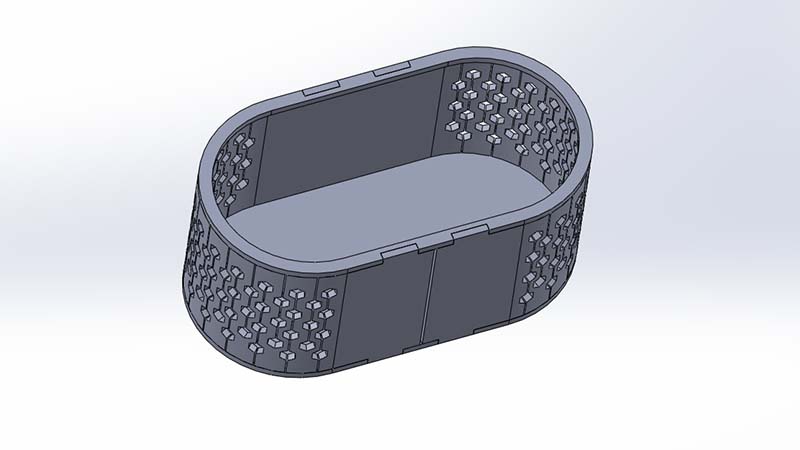
Final rendering
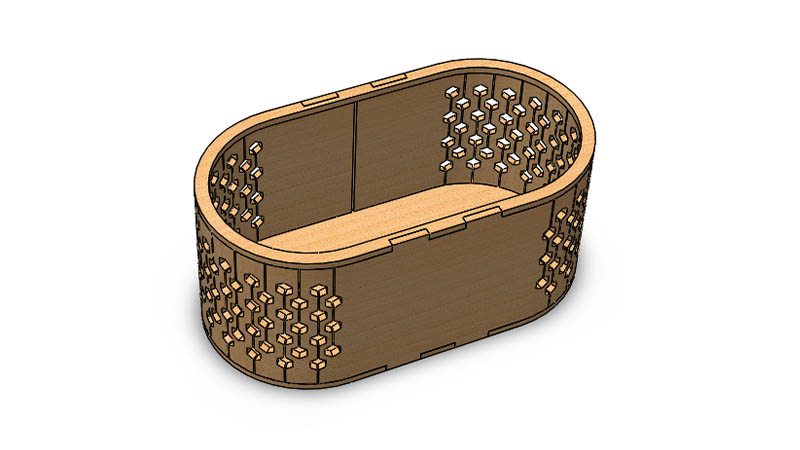
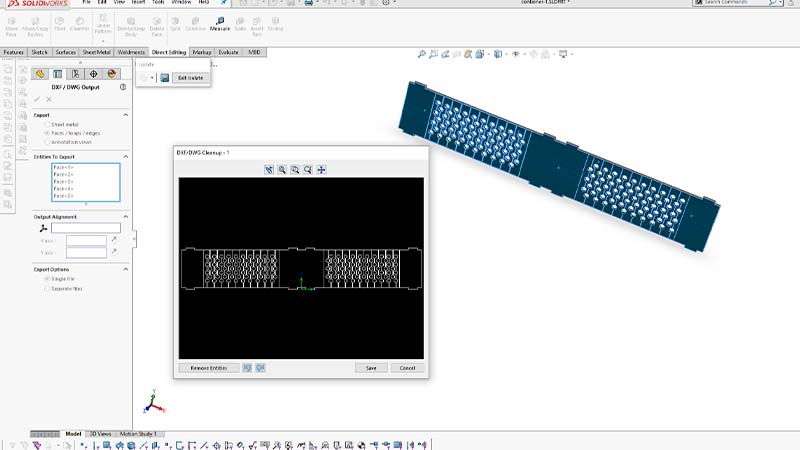
Finanally, I expoerted DXF file for laser cut
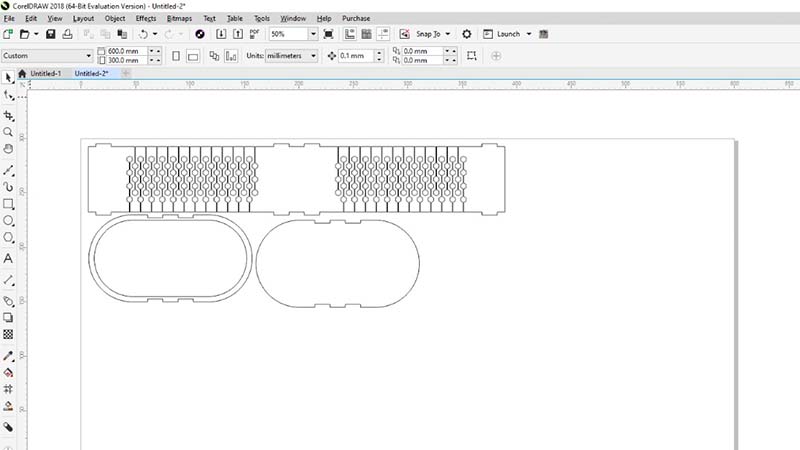
I imported the dxf file in CoreDraw
Printed the file with the following setting
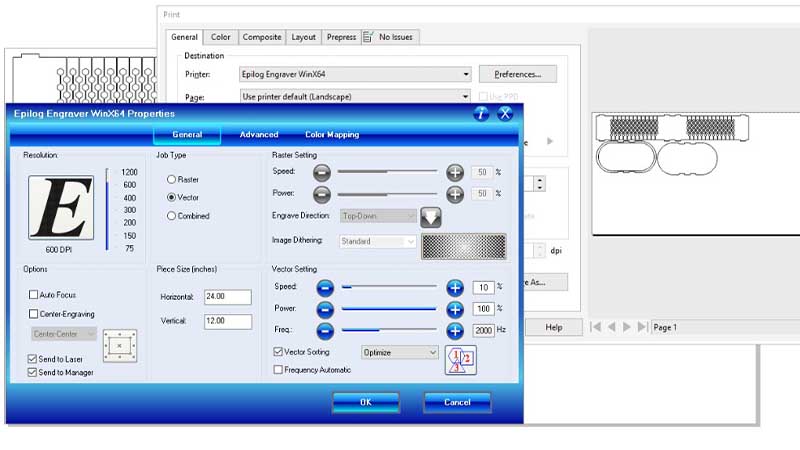
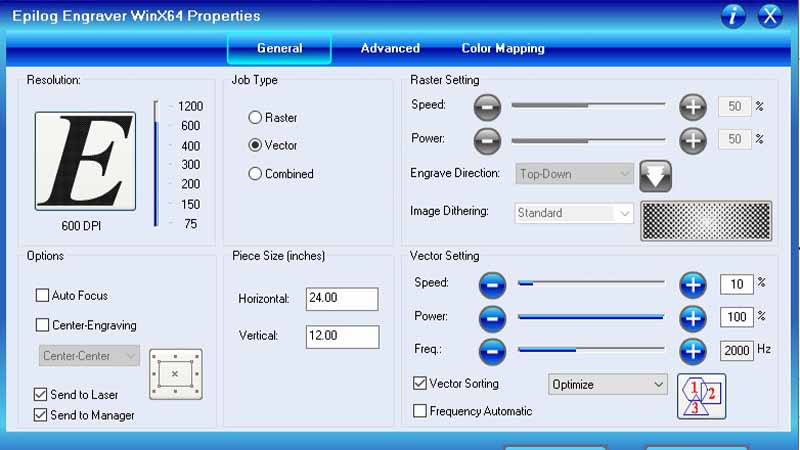
Settings used
I put the material in laser cutter machine
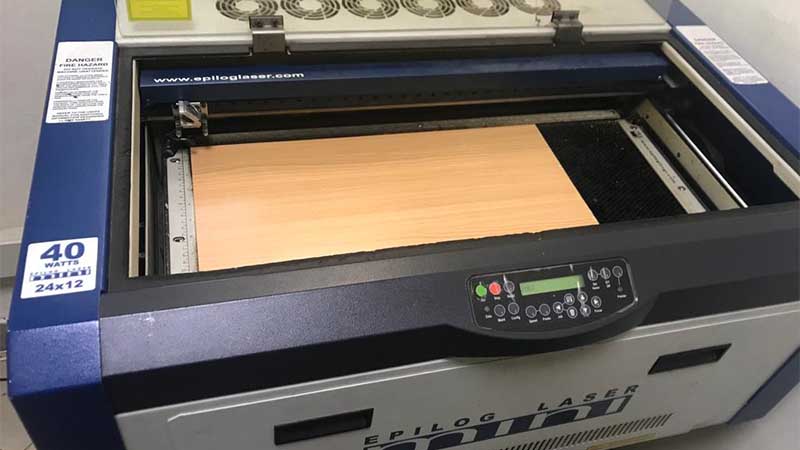
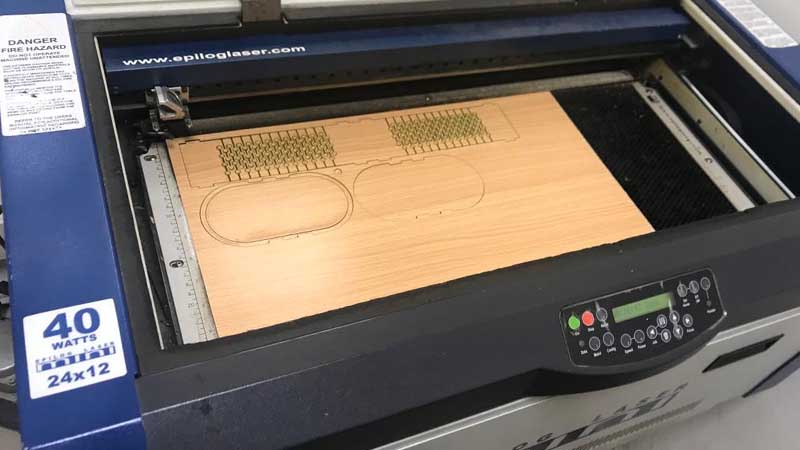
Cut, Done!
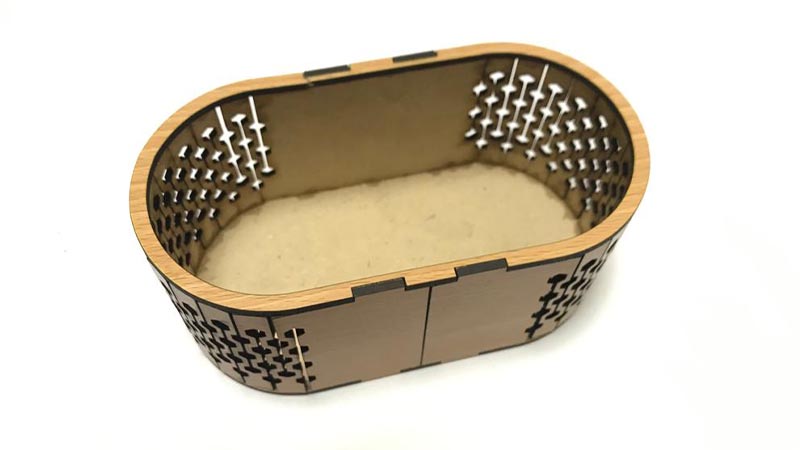
Final container
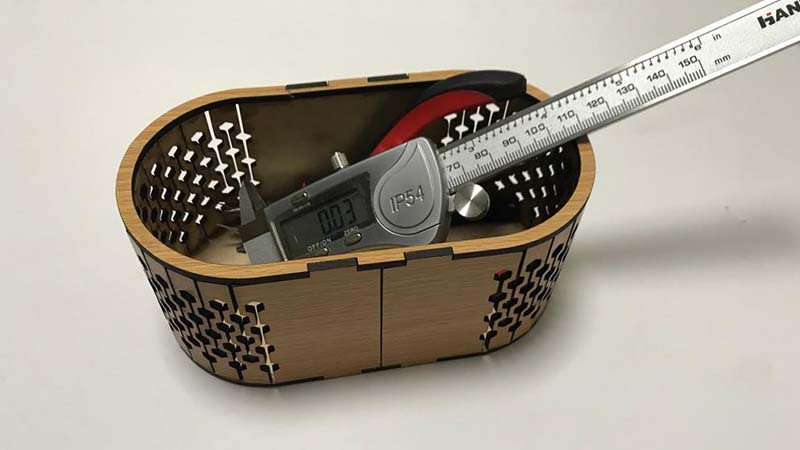
In use
Vinyl Cutter
For vinylcutter, I started by designing simple words (in CoreDraw), Fab Academy 2022 to brand my container.
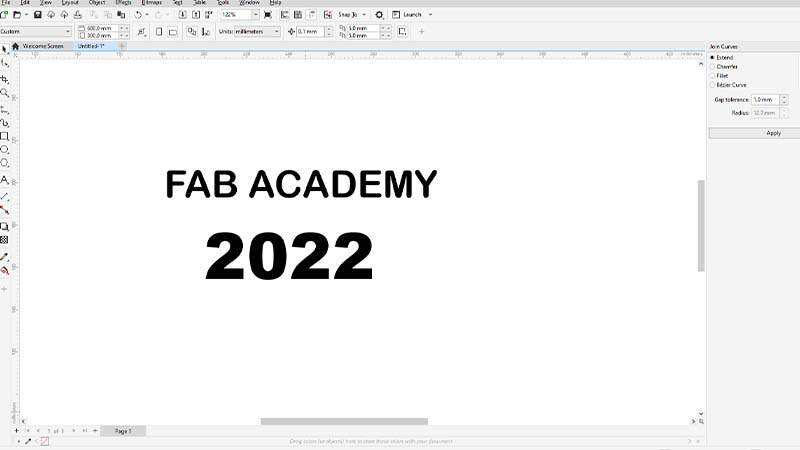
Next, I conerted the text into curve
I loaded the stickter into the machine
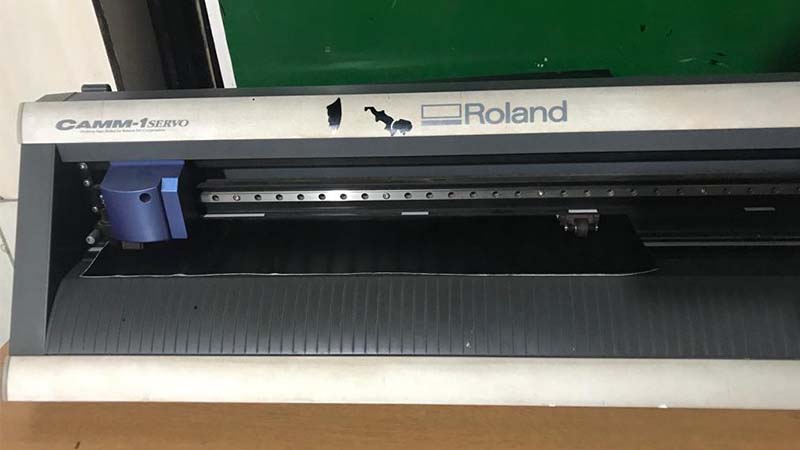
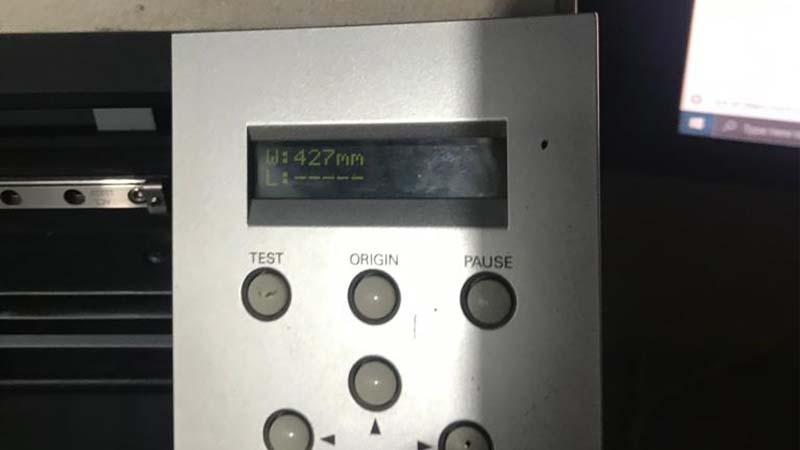
Power on the machine
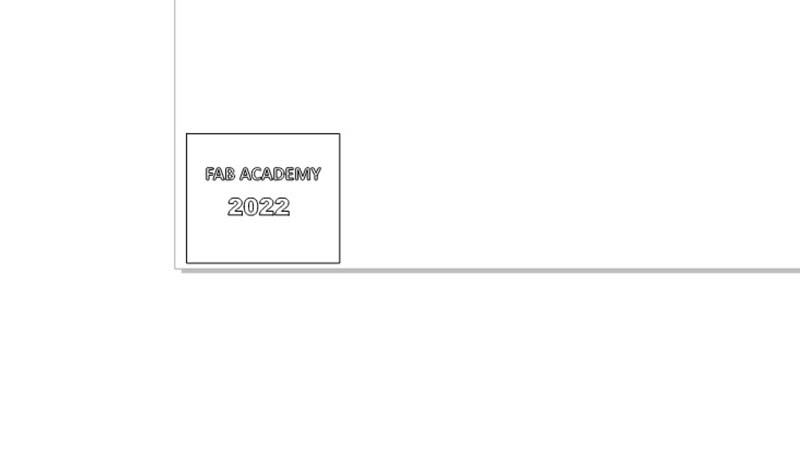
Next, I scalled and resized the object according to the face size, 60x65 mm in this case. and position is down left corner
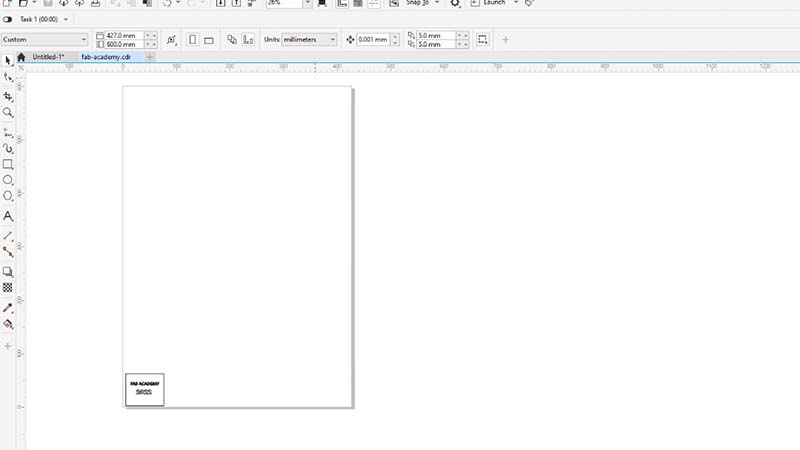
I printed the file.
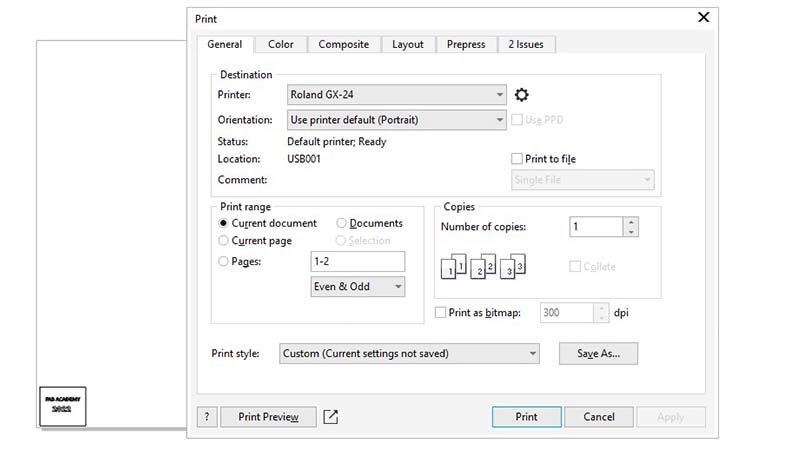
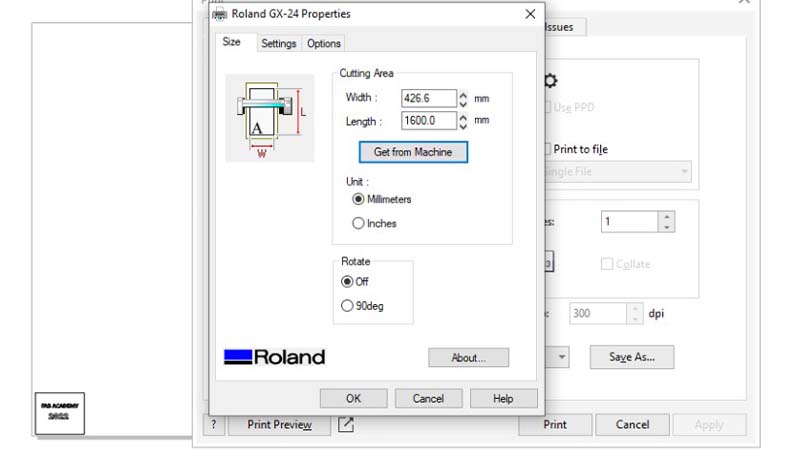
By opening setting icon, I was able to adjust the size of the sticker. You can also use get from machine if you are not sure.
Cutting, Done!
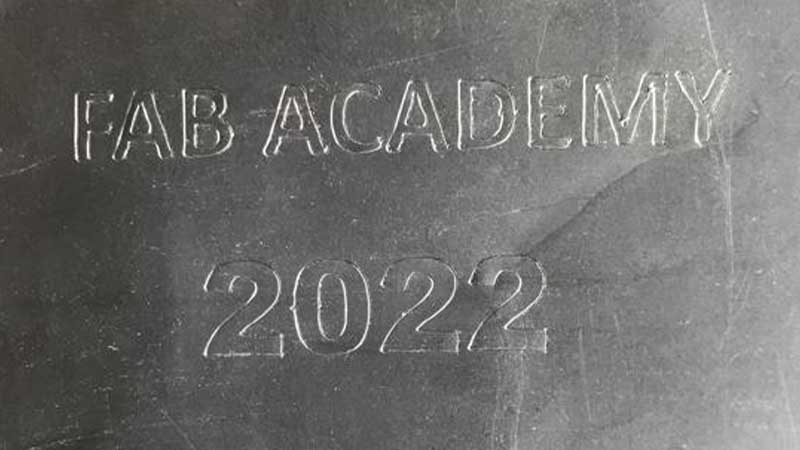
I added the () afterward to assist or help me in holding the characters and position them easily and correctly
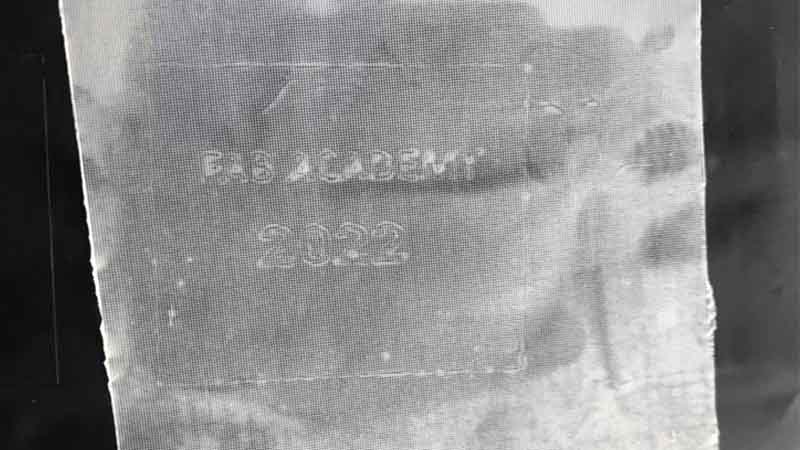
This is the final product. I did the changed the font in between. I made it on the third try.
