For the Group assignment, we had to characterize the design rules for our PCB production process: document feeds, speeds, plunge rate, depth of cut (traces and outline) and tooling.
1. MILLING MACHINE AT FABLAB OPENDOT:
In the Fablab Opendot we can work with 2 differents milling machines:
- Roland MDX-40A
- Shopbot PRSalpha.
We were introduced to these machine by our Local Instructor. We were told about basic operation for the maintenance which included, how to work in a safe way, how to clean the machine, how to set up the job.
At first we started working on the Roland MDX-40A but, for technical issues, we switch to the Shopbot before starting the milling operation.
2. MILLING A PCB
PCB milling is the process of removing areas of copper from a sheet of printed circuit board material to recreate the pads, signal traces and structures according to patterns from a digital circuit board plan known as a layout file (say thanks to Wikipedia for this clear definition).
We can produce an high quality PCB using the right endmills and setting the mill with the best parameters for the kind of job we are going to do (speeds,rotation, jog, z-axis height, depth of cut…).
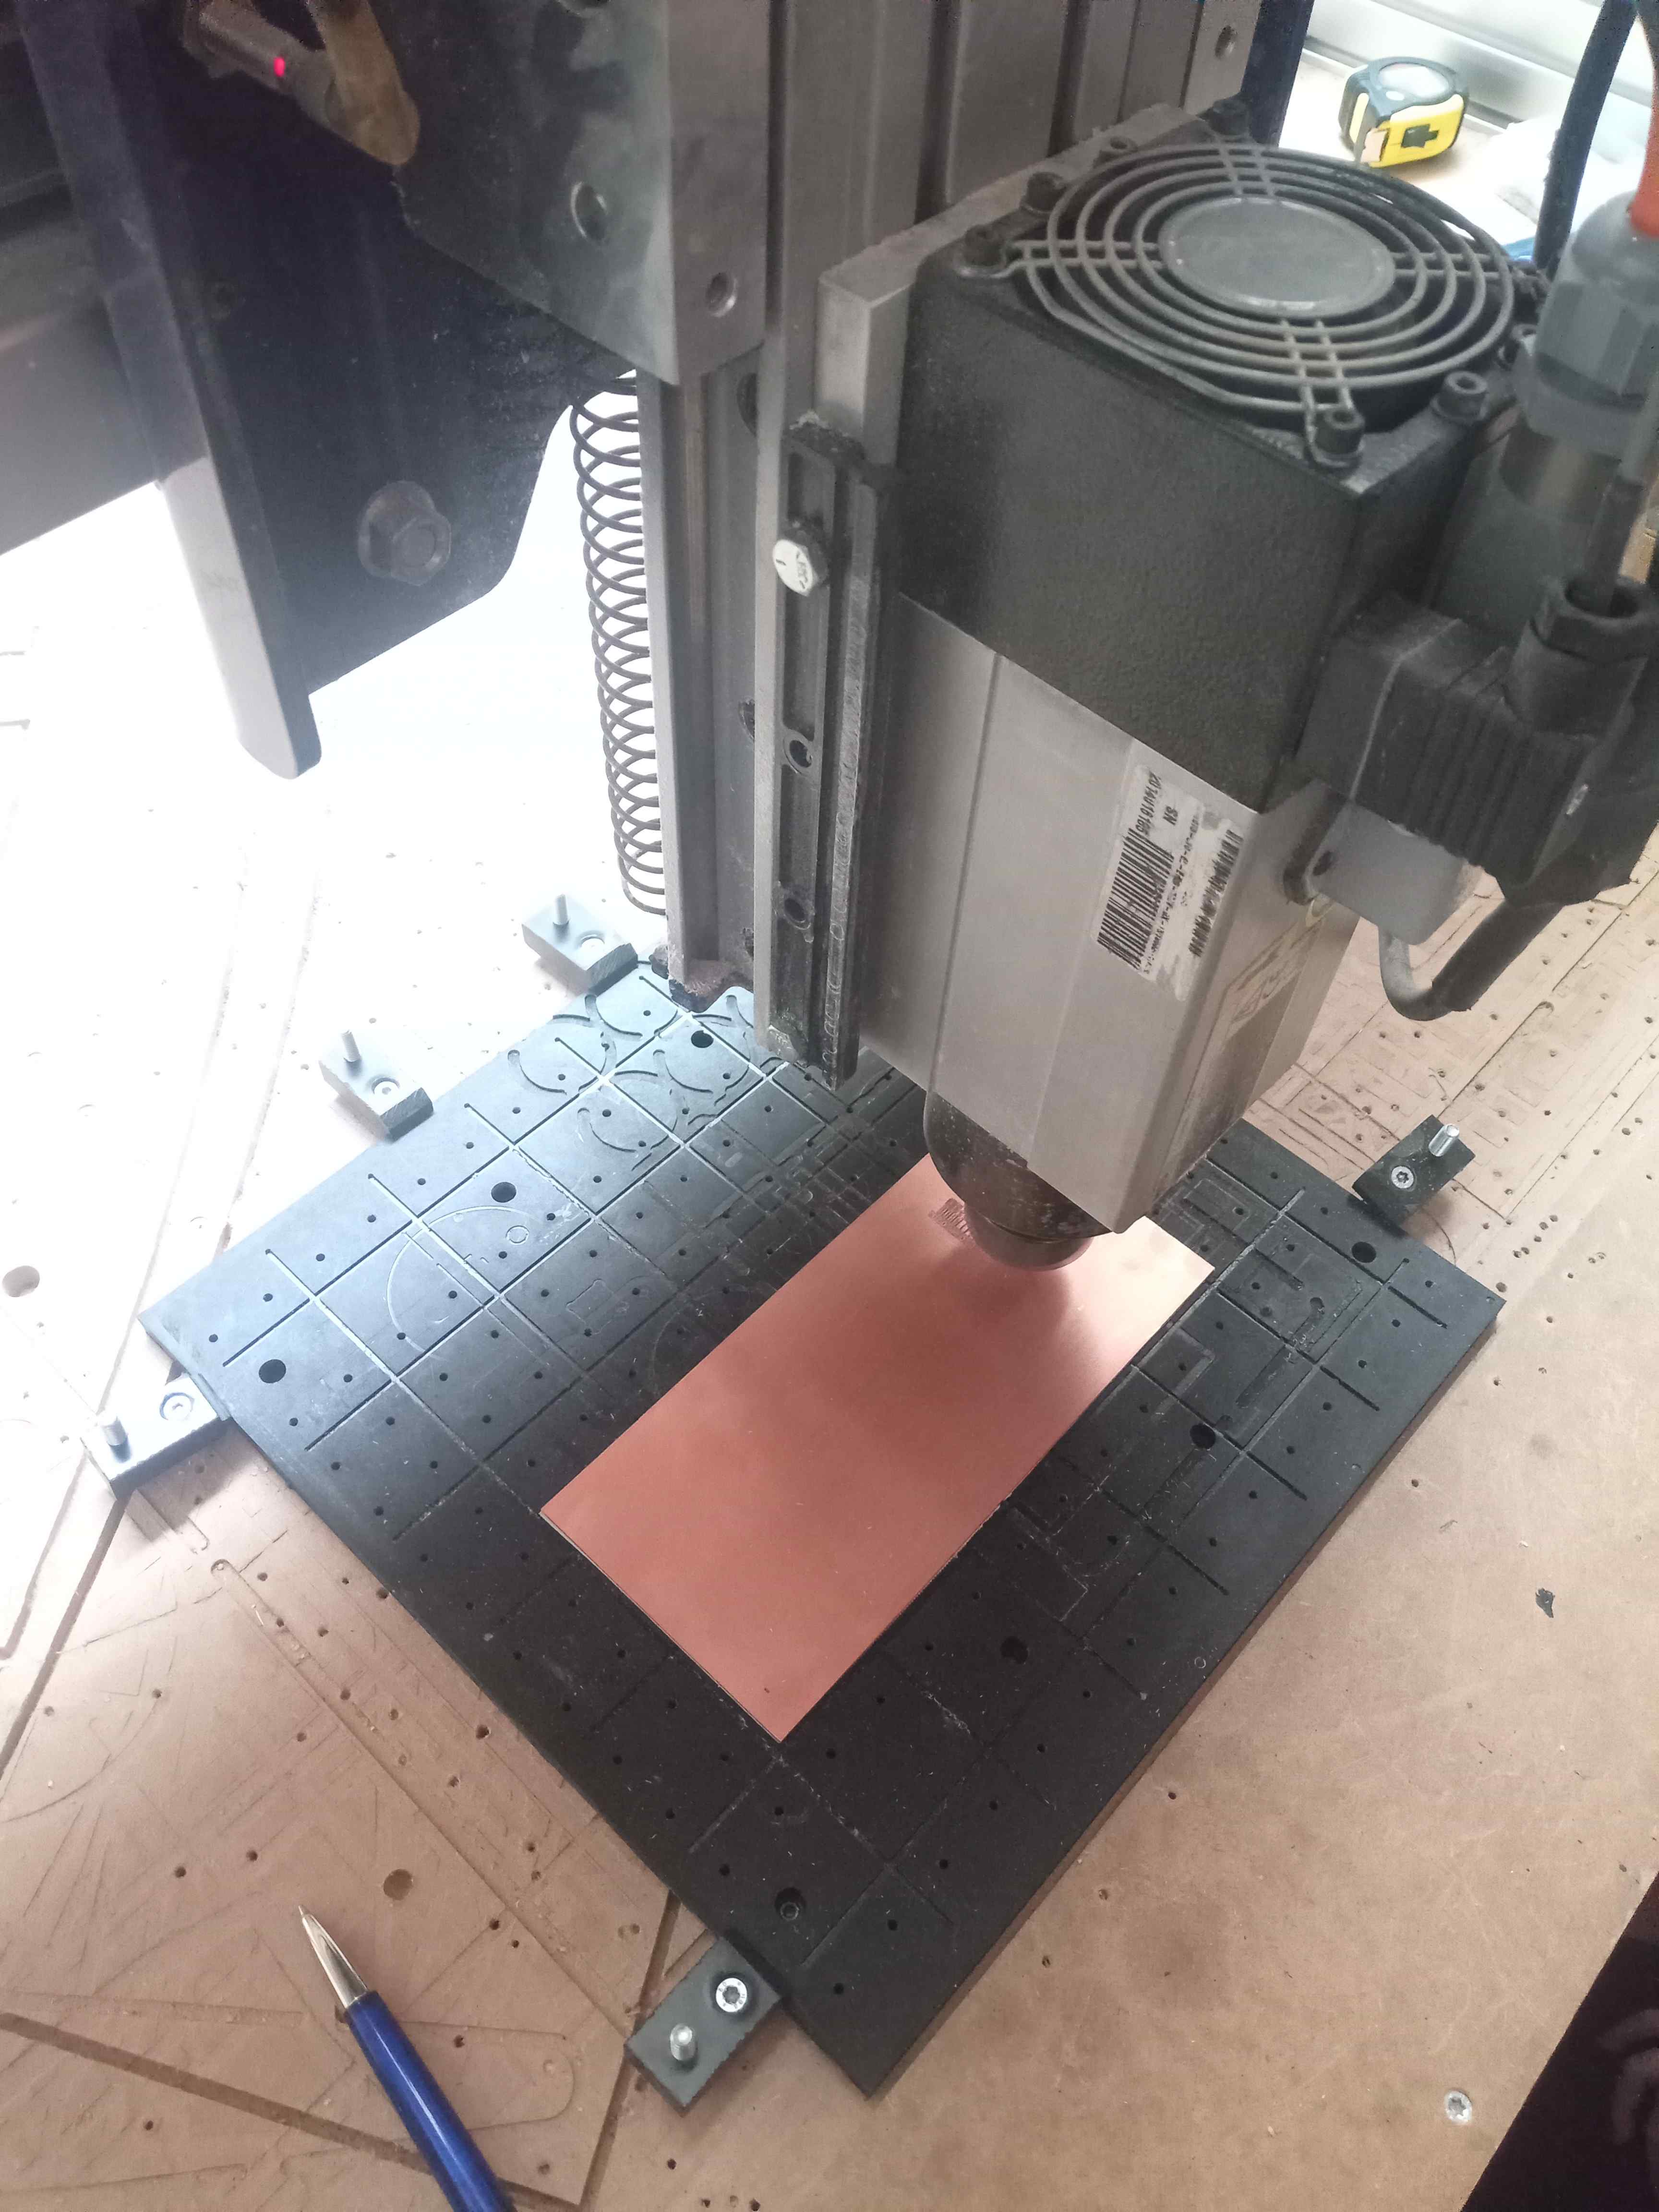
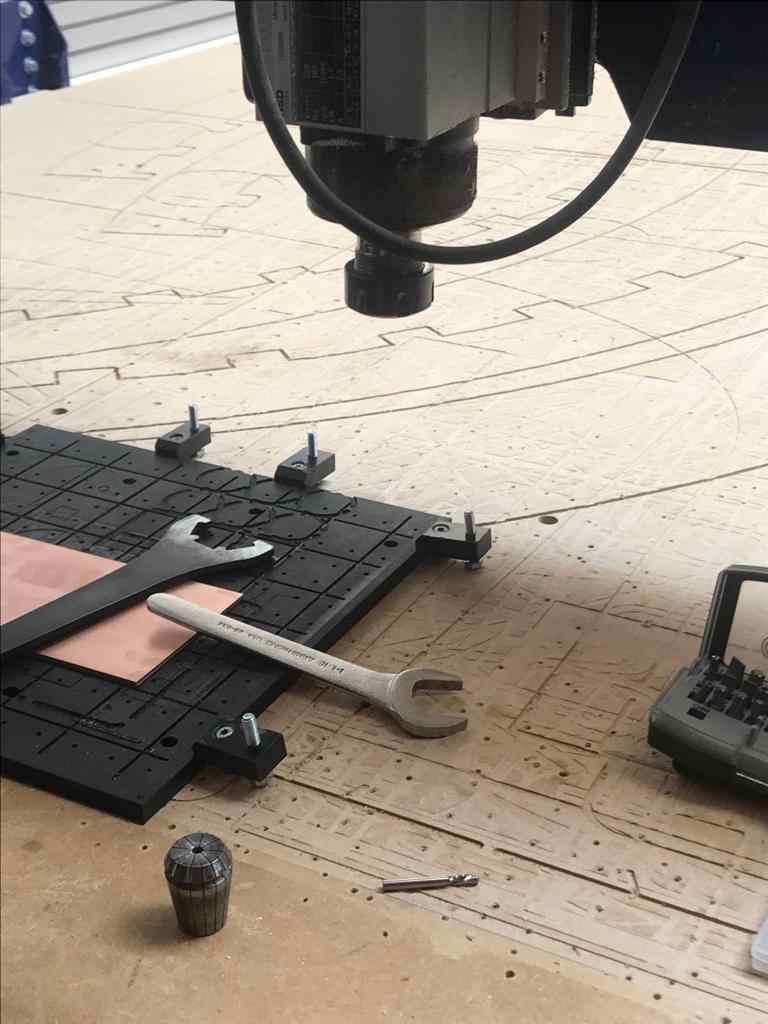
3. SETTING THE SHOPBOT PRSALPHA
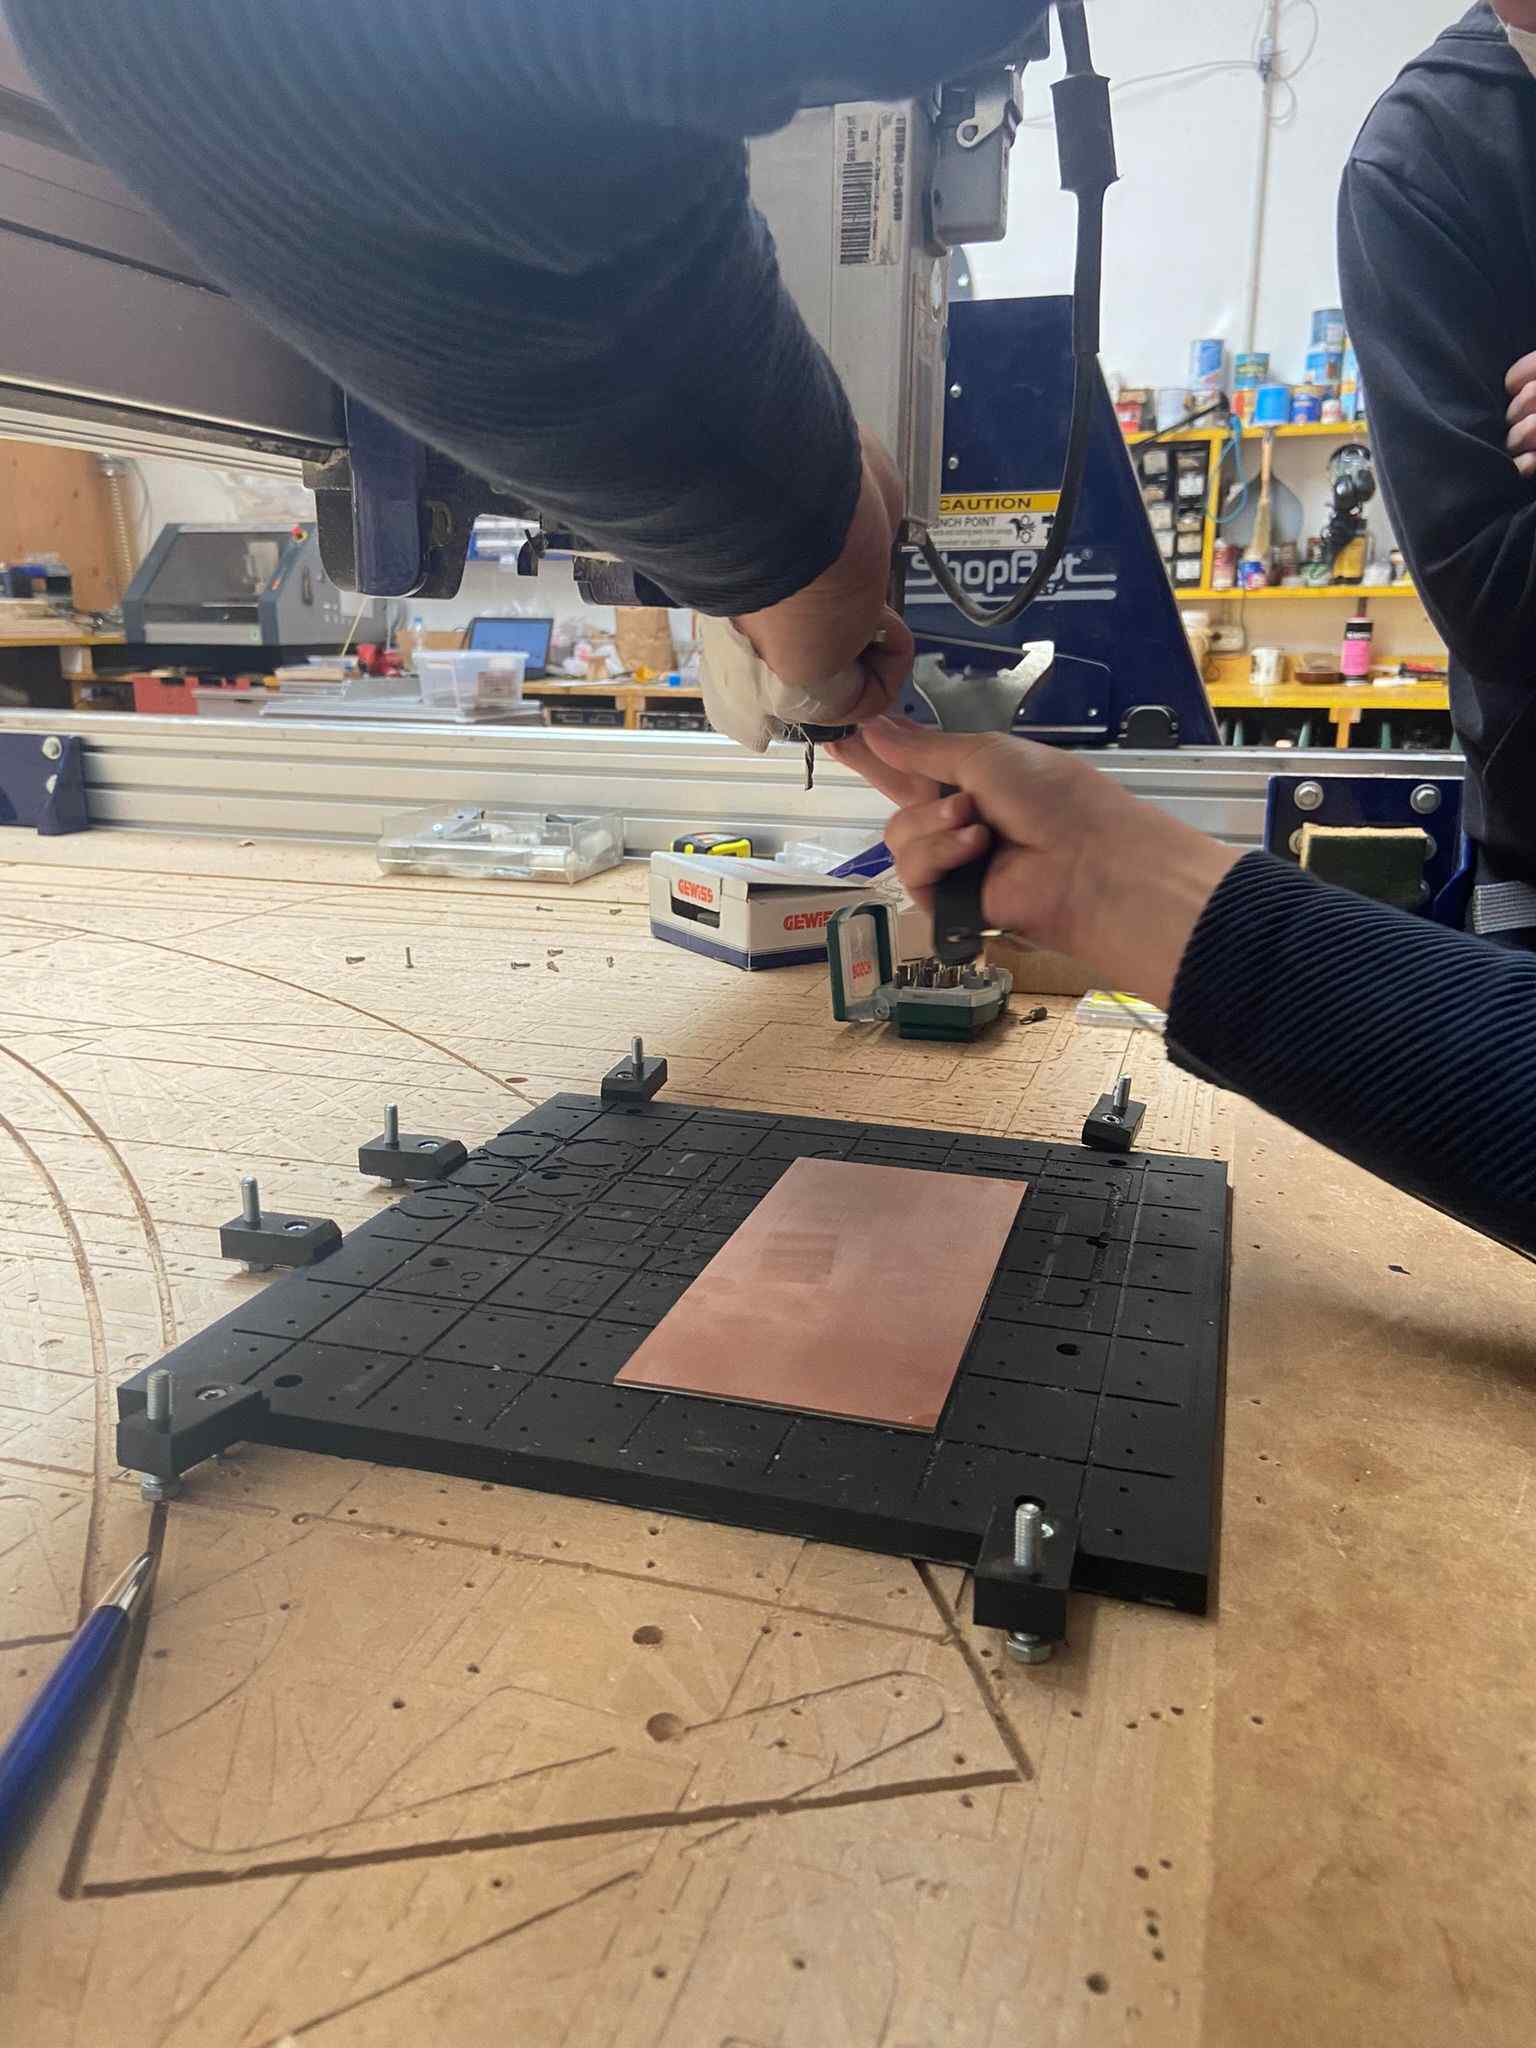
We decided to mount the “sacrifical layer” of the Roland MDX-40A on the Shopbot workplate using some clamps with screws then we proceed in this way:
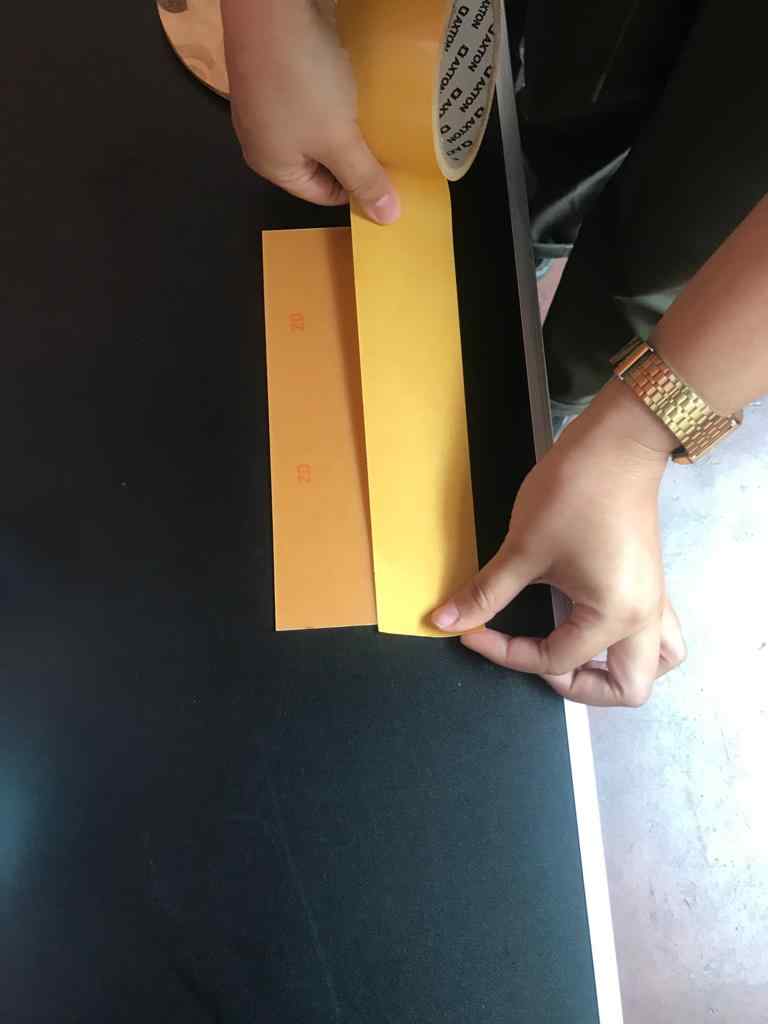
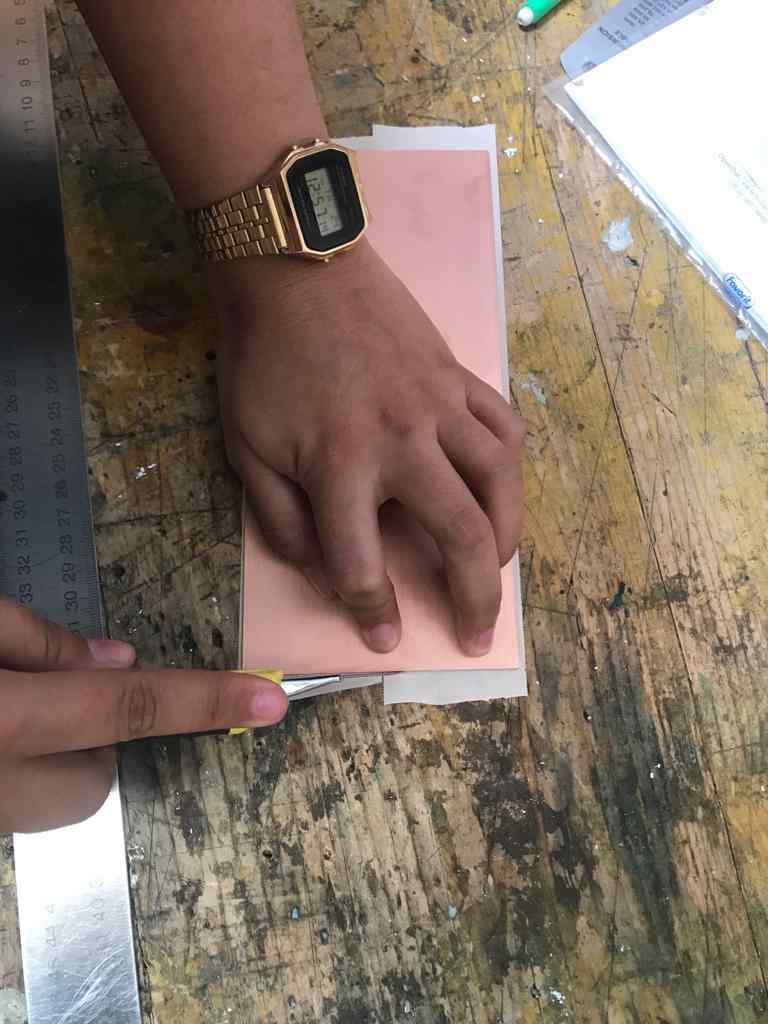
- • Select a PCB plate (FR-1, no glass fiber)
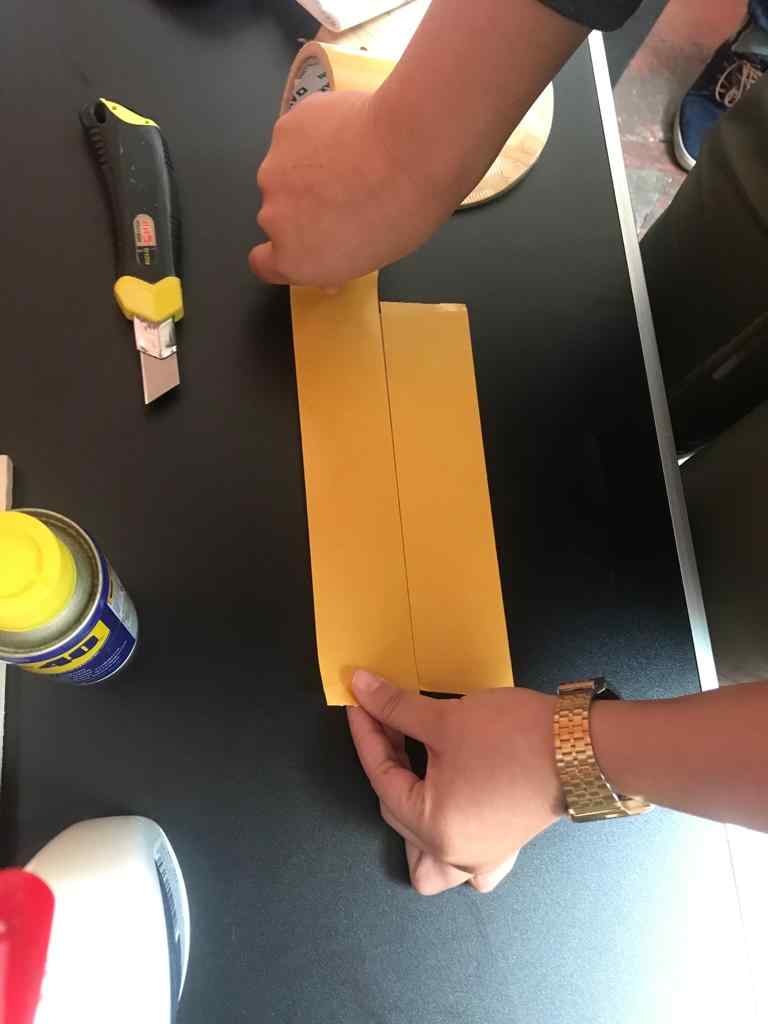
- • Clean the PCB plate and put some double-side tape on the backside
- • Remove bubbles of air between PCB and double-side tape
- • Remove the cover of the adhesive tape
- • Mount the PCB on the “sacrifical layer”
- • Press gently for proper adhesion
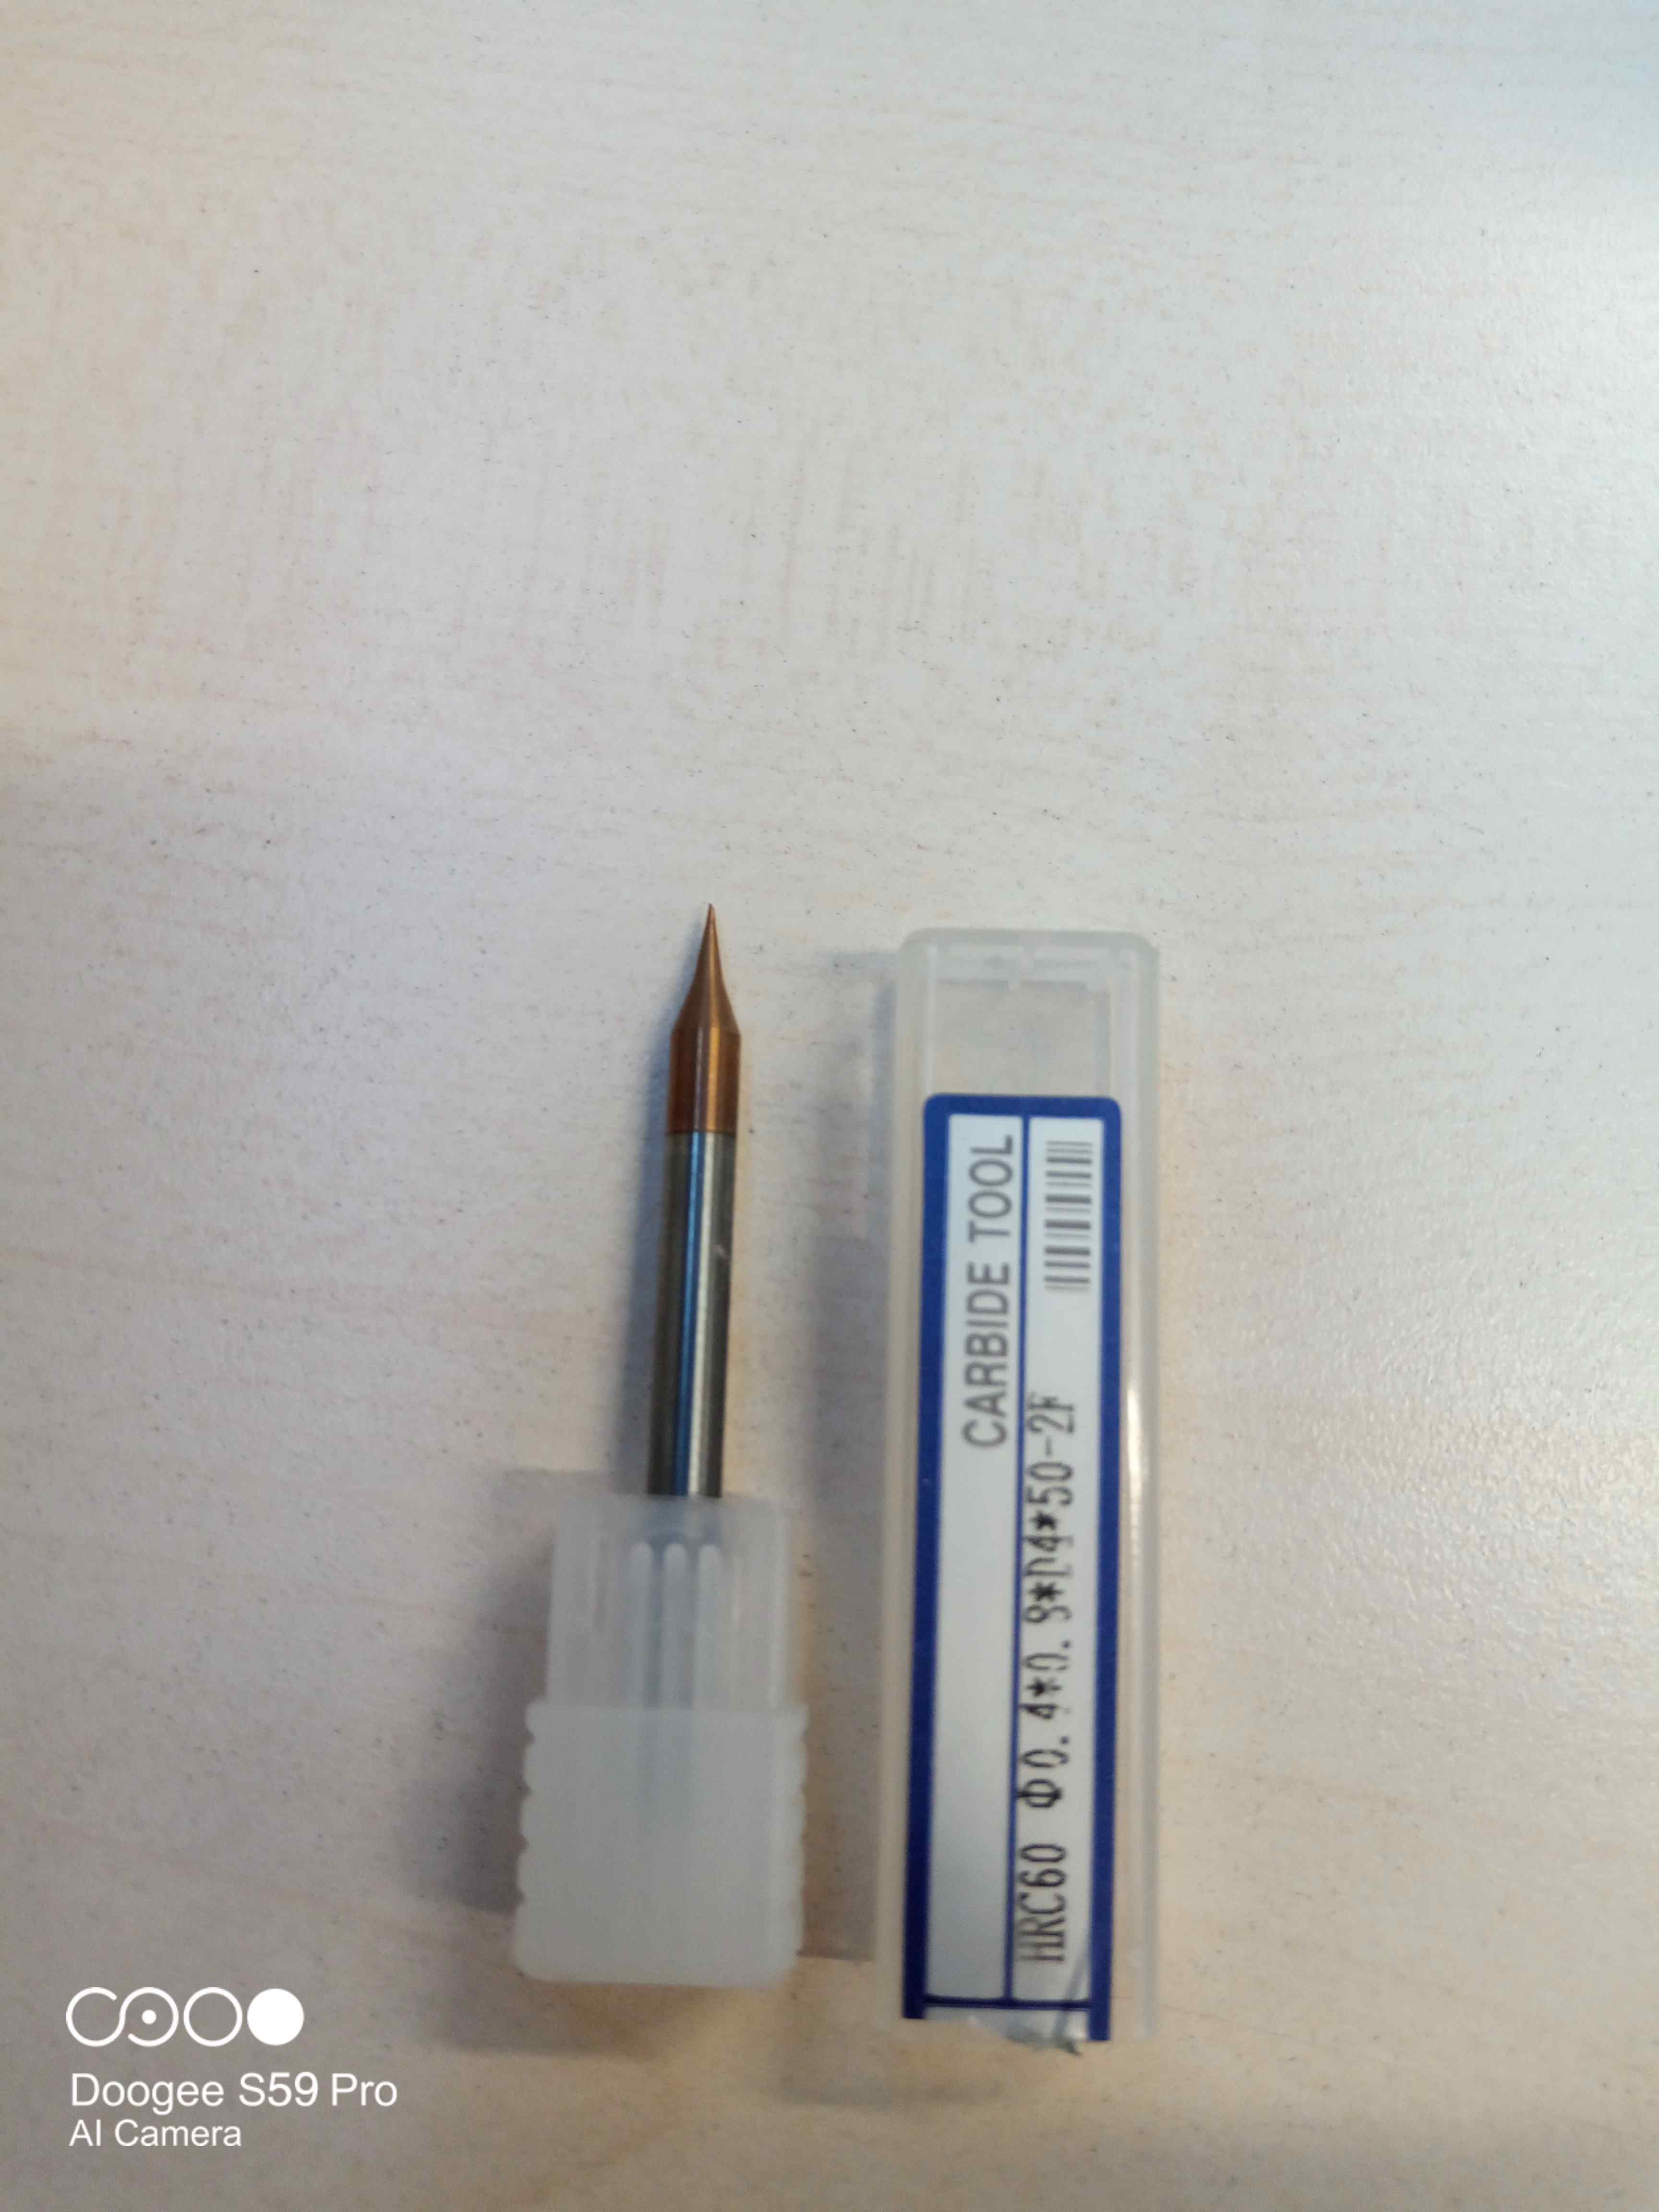
Once the PCB is firmly set-in position, we mount the drill bit, size 1/64”, for the trace cut.
The process of setting / mounting the drill bit (every drill bit) is as follows:
- • Adjust the position and the height o the head so you can work in a confortable way (use the Vpanel for this operation)
- • Loosen the chuck with the 2 correct wrenches (Remember: to loose the chuck you need to “close” the wrenches, to tighten the chuck you need to “open” the wrenches…mantra of the week!)
- • Choose the correct collect chuck according to the shank size of the endmill
- • Fit the collect inside the chuck
- • Tighten the chuck (after having put the endmill inside the collect) using the wrenches
!ATTENTION: when you remove the endmill always put something on the surface of the copper plate to avoid to scratch it accidentally!
Now you can set the coordinates for the “home position” (the point from where the CNC will start its work) for the X and Y axis, and the height for the Z axis (the bit should touch the surface of the copper plate).
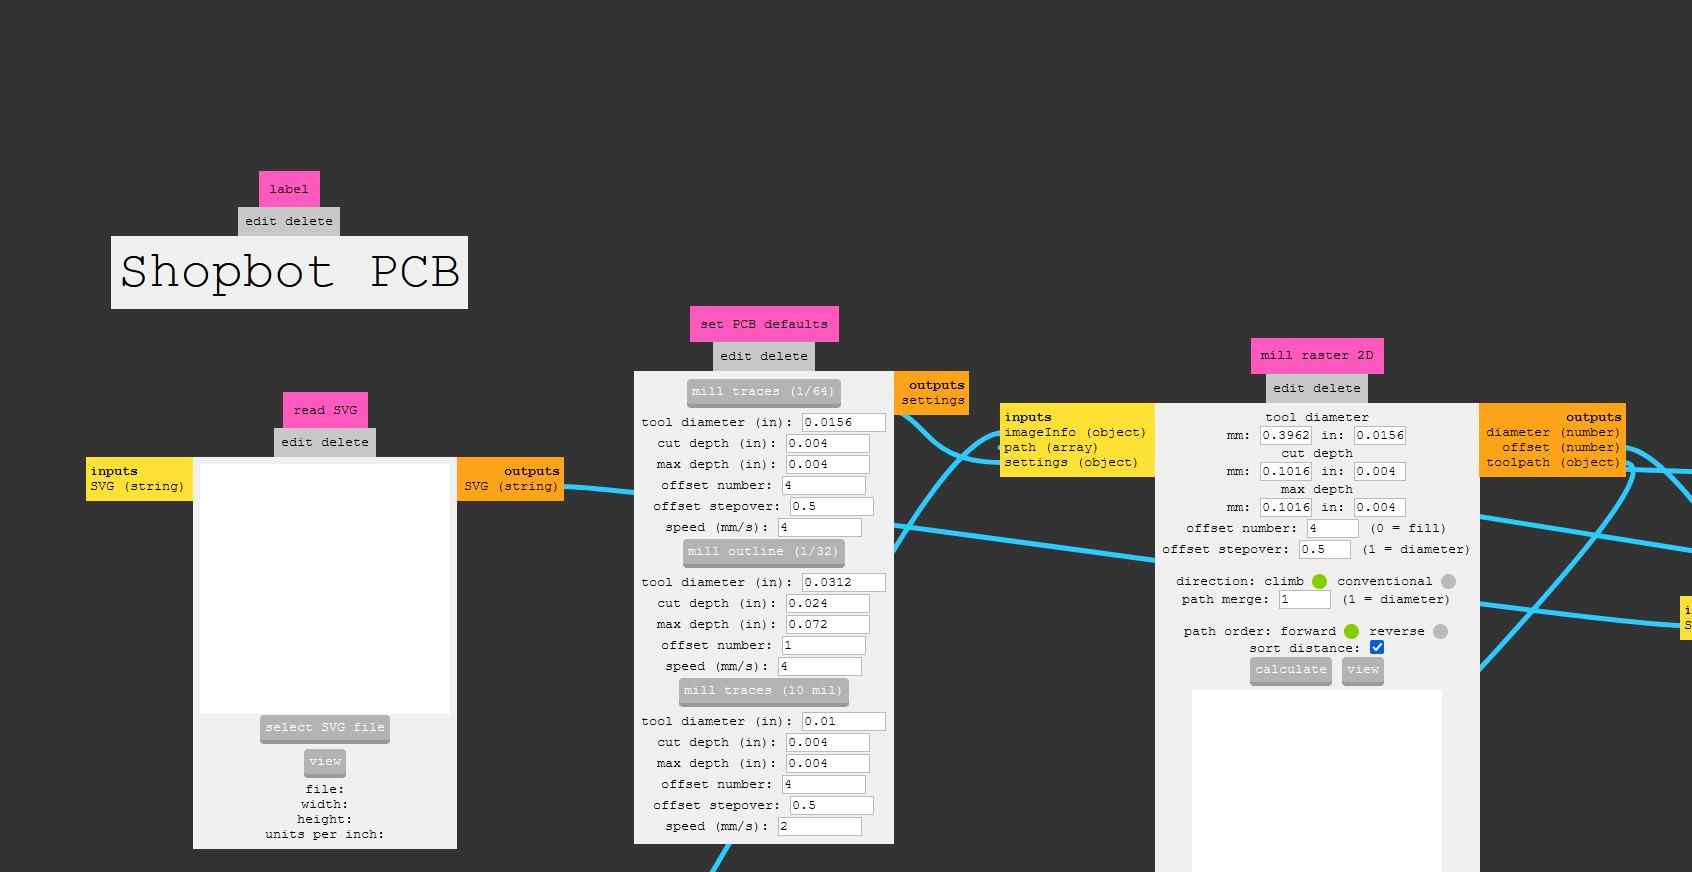
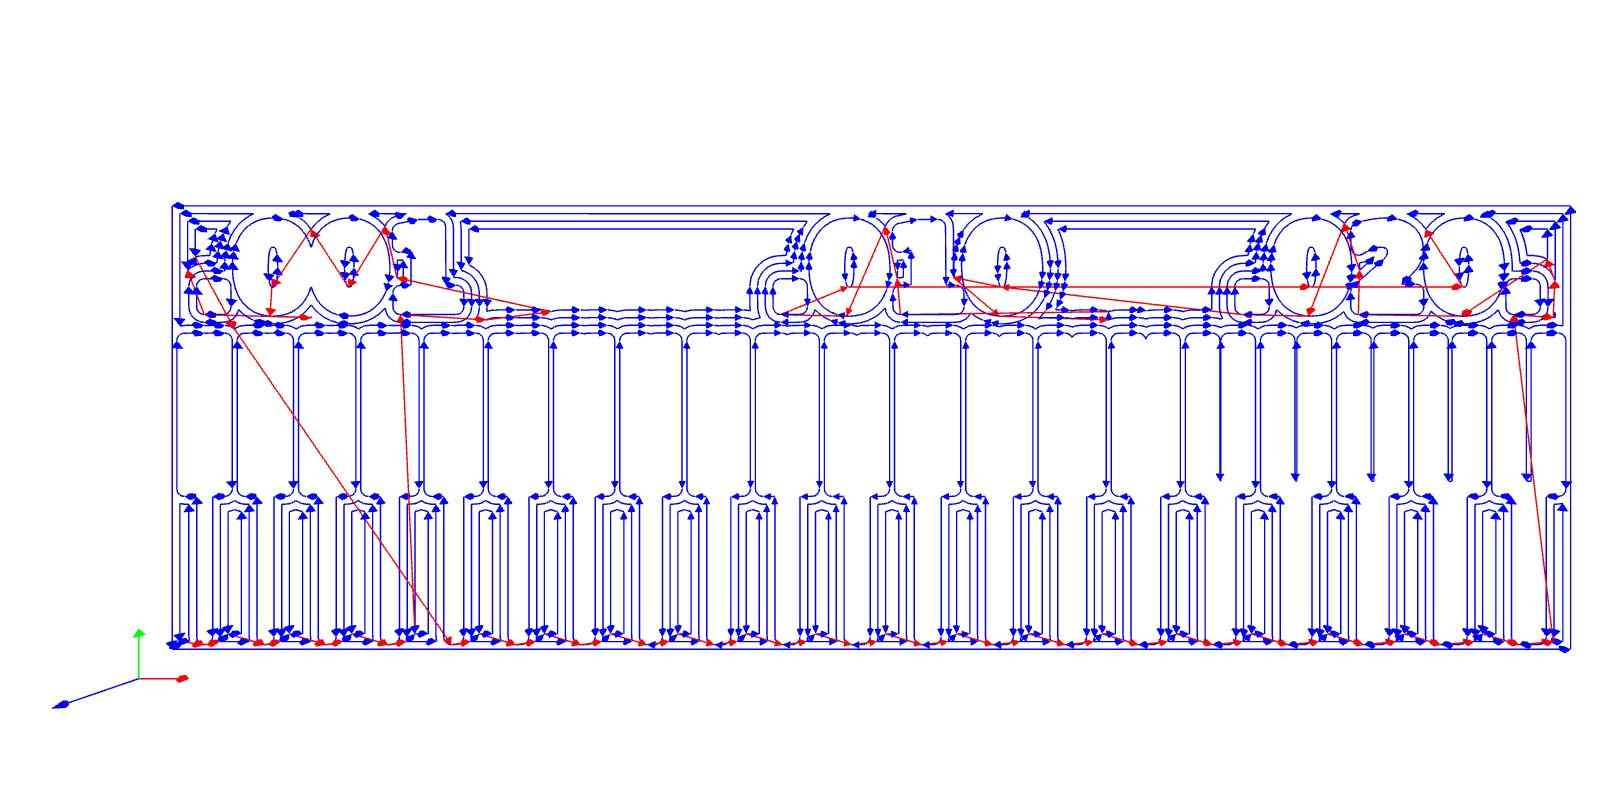
4. GENERATING TOOL PATH USING MODS
- • Download the two images of line test and line test interior from the fabacademy website.
Linetest Outline
Linetest Interior
-
• Download and install Fabmodules by following the process explained here.
Fabmodules wasn’t installed on the Shopbot computer so we prepared the files for the cut on our laptop and saved them on the usb key. The process to prepare a file (for the Shopbot CNC) is the following:
- i. Open Fabmodules with your browser
- ii. Right click on the window 4 options: Modules, Programs, Edit, Options
- iii. Select Programs Select Open Program Select Shopbot PCB
- iv. Check the format of the image (.svg or .png)
- v. Check the selection of drill bit for Cut trace (1/64) or cut outline (1/32), Tool Path, Tool Diameter, Cut Depth, Offset, Stepovers, Speed and the position of the X, Y and Z axes.
- vi. Calculate the path.
- vii. Check the path.
- viii. Save it on the USB key (usually it’s saved in the “Download” folder)
5. PCB MIILING (TRACES AND OUTLINE)
- • Upload the file using the Vpanel of the Shopbot
- • Press “Cut “ button on Vpanel
- • Press “OK” to start the endmill rotation
- • Press the green button to start the job
Look closely (but not to much!) while the CNC is working. If you want a coffee…I’m sorry ‘cause you can’t leave the CNC unattended while is on.
When the machine finish, check the work, if you’re not satisfied by the “engraving” you can re-do it changing the height of the z-axis (but don’t change the position of x and y axis)
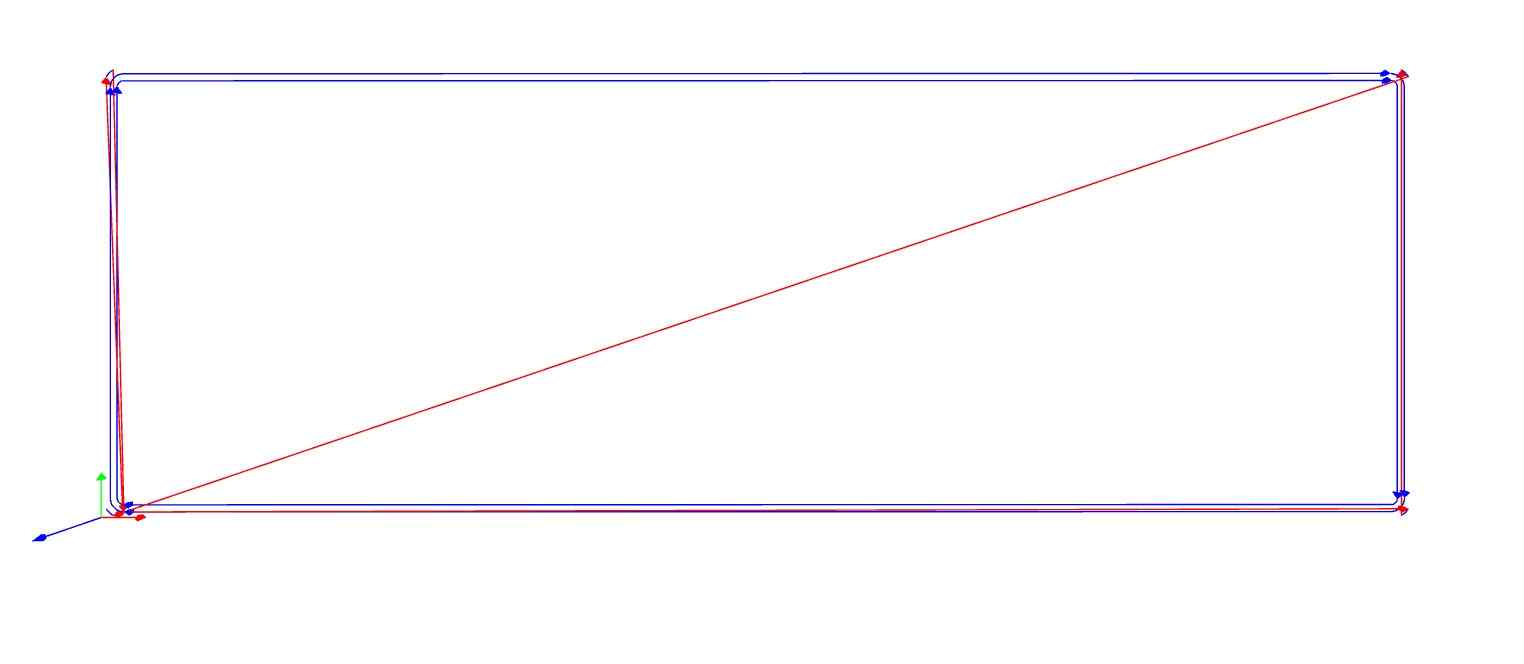
If you’re satisfied, instead, you can change the endmill, change the collet chuck, change the endmill with the proper one, produce the path for the outline (with Fabmodules), upload it on the program and cut it (as usual, change the height of z-axis but don’t move the x/y axis)
6. FINAL RESULT
7. CONCLUSIONS
- • Ensure the completely horizontal position of the plate after mounting on the bed.
- • Always check your endmill before start to mill. Ruined endmill means that your work had to be done again.
- • Check the distance between two traces and draw them according to the dimension of the endmill.
- • Check the position of the Z, always.
- • Never leave the endmill mounted on the chuck after you’ve finished the job.
8. SETTINGS
- i. Feeds:
- 1. Tool Diameter for cut traces- 1/64 drill bit – 0.0156 mm
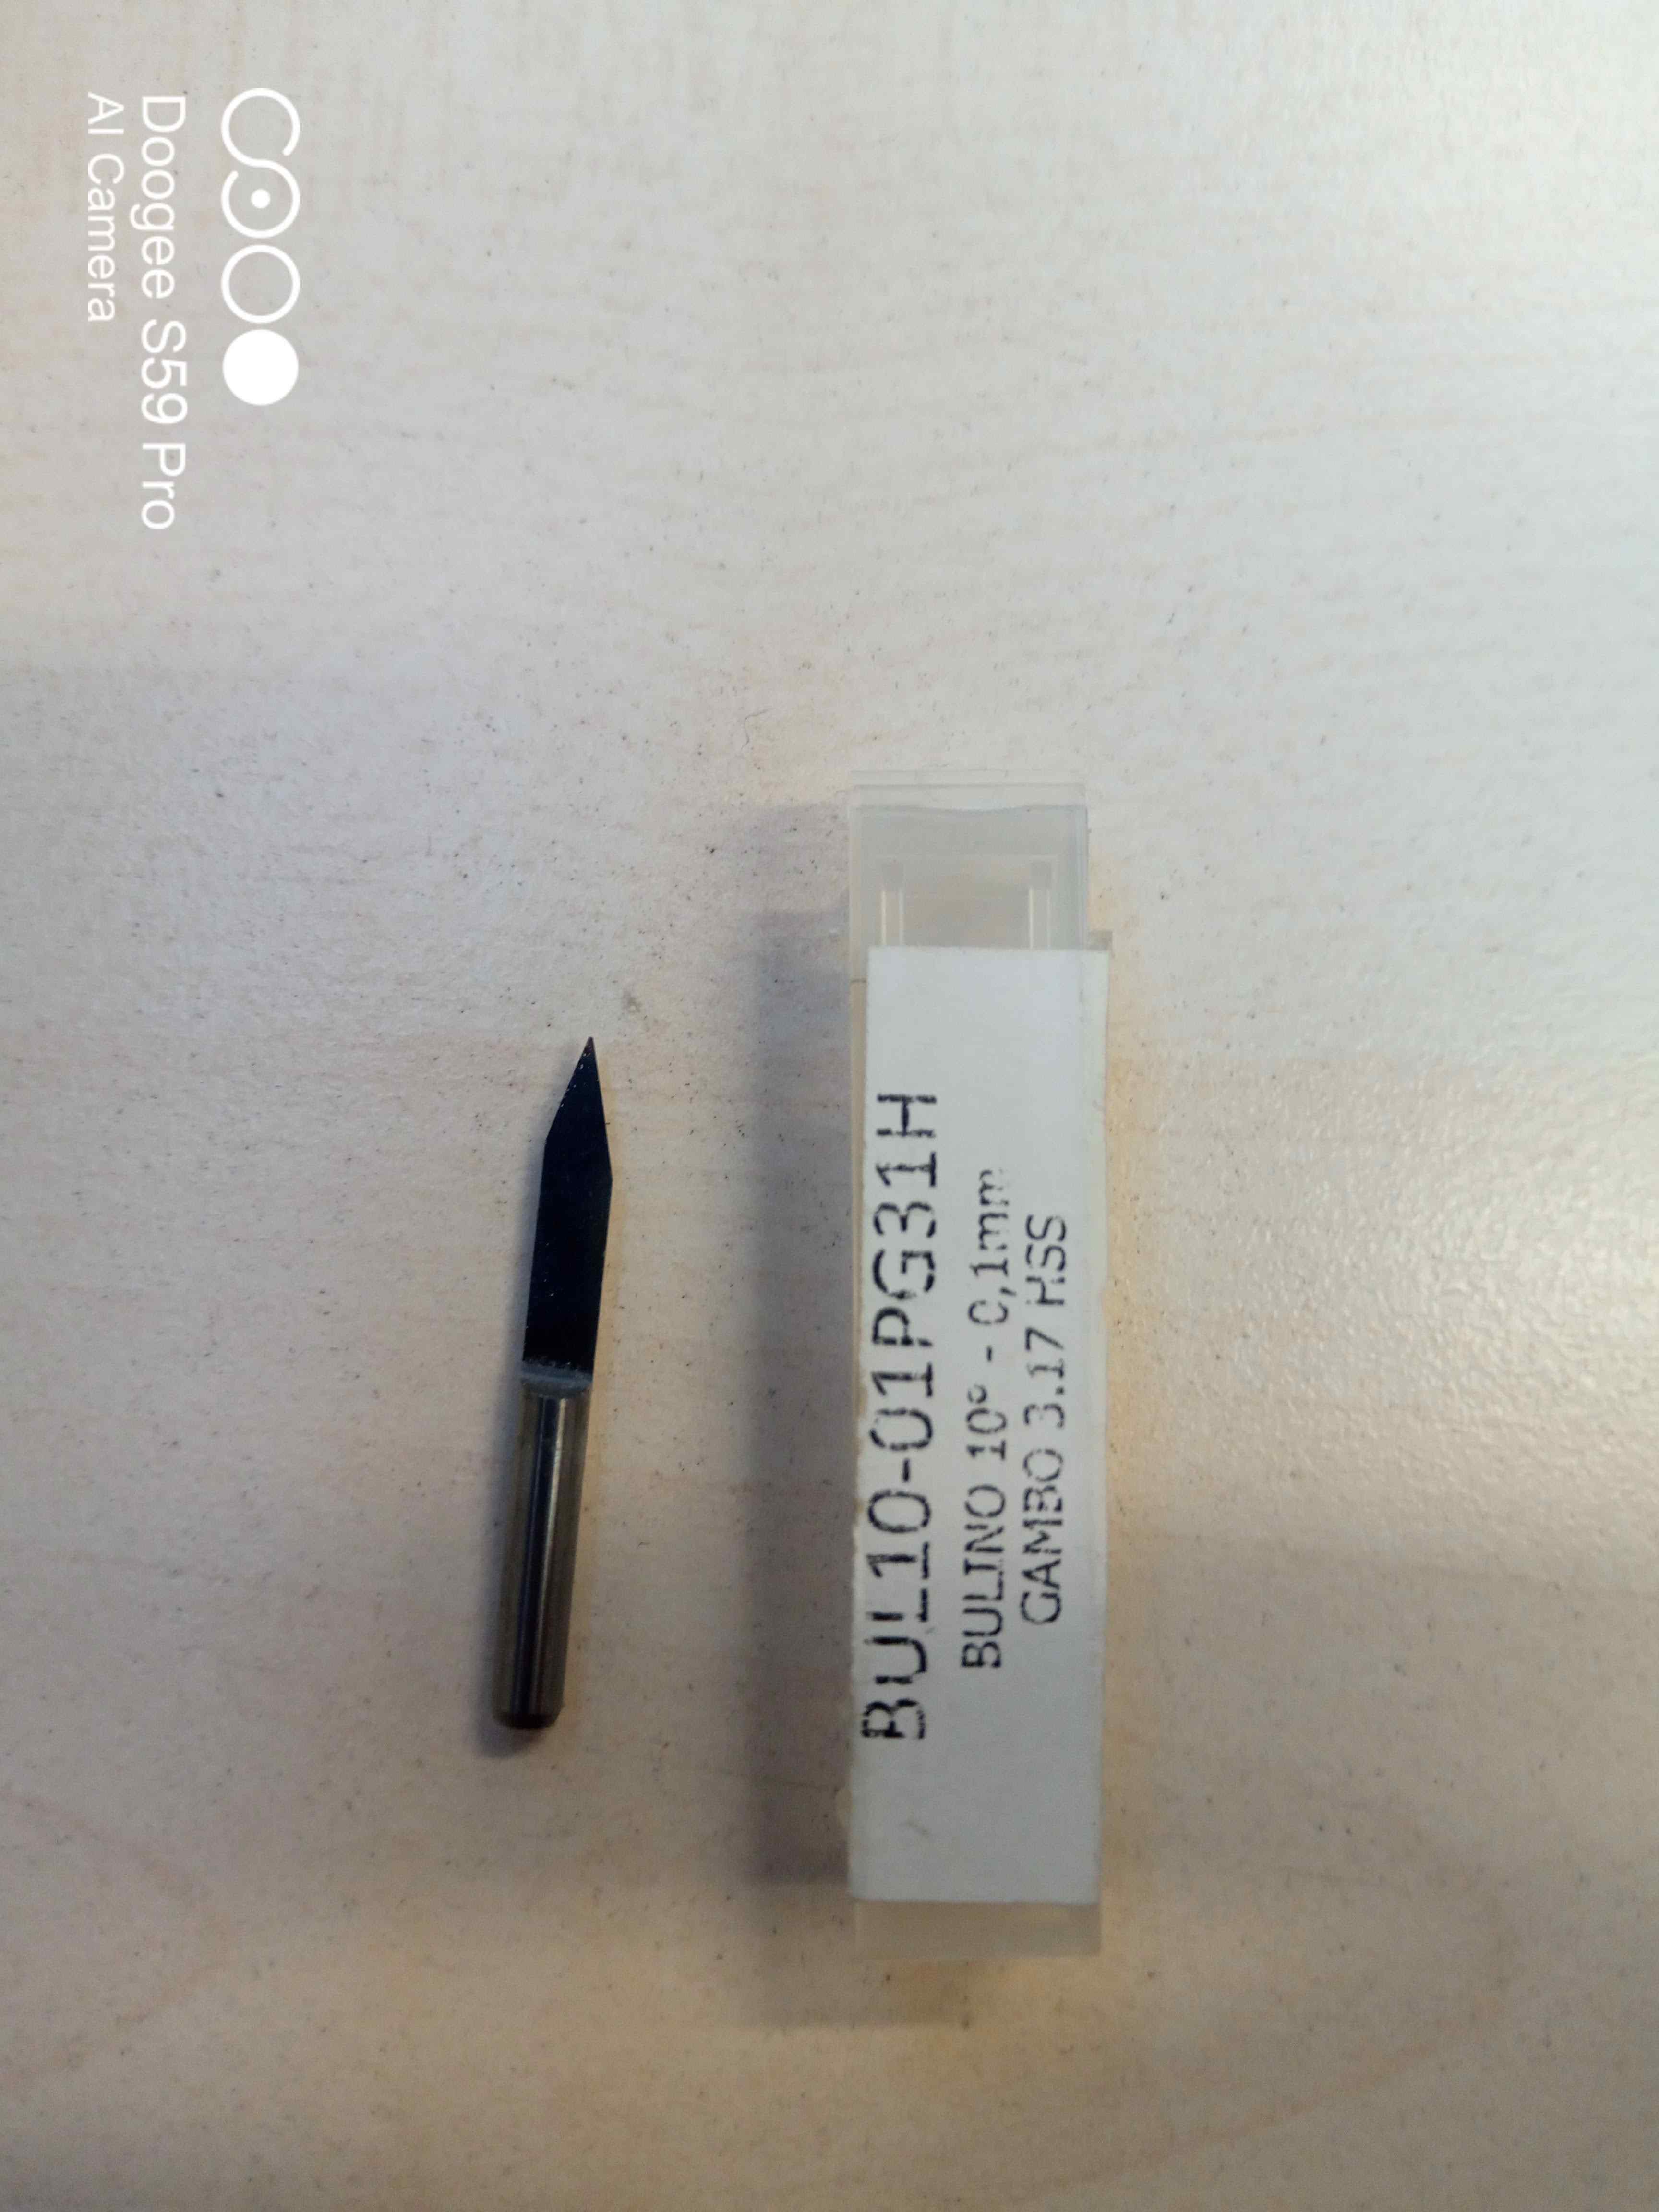
- 2. Tool Diameter for cut outline- 1/32 drill bit – 0.0312 mm
- 3. Image Size: 37.339 x 12.800 mm (7351 x 2520 px)
- ii. Speed: 4 mm/sec.
- iii. Depth of Cut:
- 1. Trace cut – 0.1016 mm.
- 2. Outline cut – 0.6096 mm (minimum) /1.8287 mm (maximum)
- iv. Tooling:
- 1. FR-1 PCB plates for milling
- 2. Wrenches for mounting and unmounting drill bits to chuck of the machine.
- 3. Drill bit of 1/64 for mill trace cut
- 4. Drill bit of 1/32 for mill outline cut
- 5. Spatula for unmounting the PCB plate off the Overlay / sacrificial layer.
- 6. Cutter to remove the PCB
- 7. Vacuum cleaner for cleaning


