To begin, thank you for consulting my blog. The objective of this page is to show how I was able to create my personal website, although it was my first time.
In this page we have three parts: the part how to clone your Fab Academy website; the part how to modify it locally and the part how to push your work into the git lab or upload it.
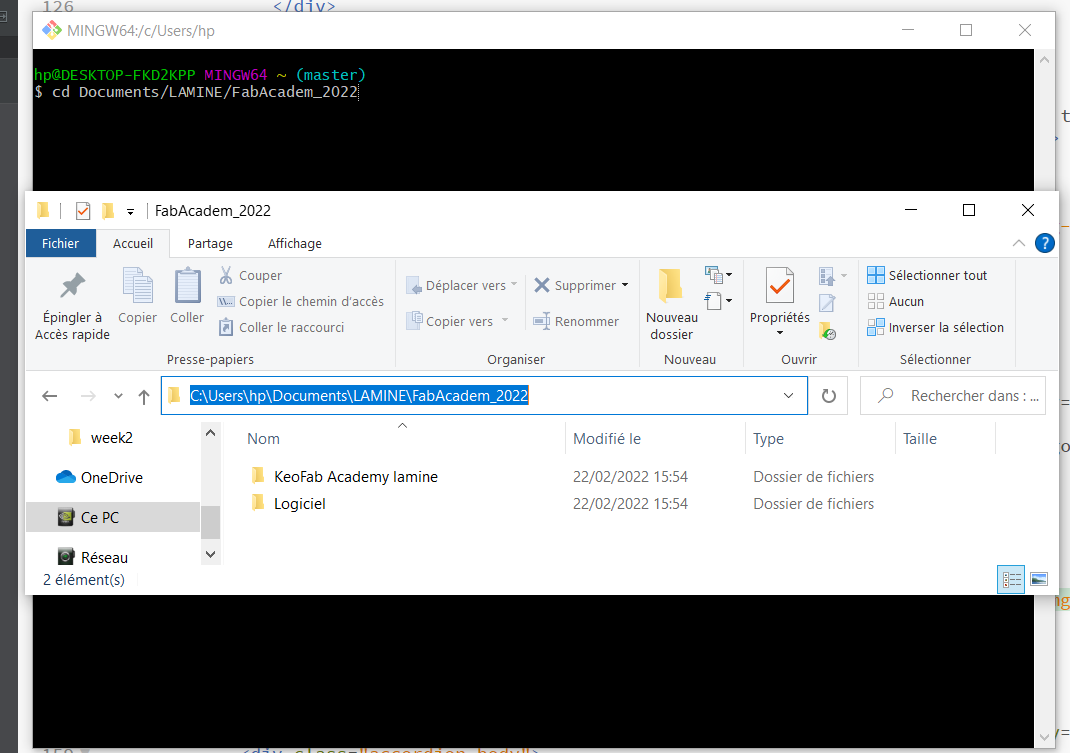
The first part: how to clone your website?
First I created my gitlab account to connect to the fabcloud, then I created my SSH key which will secure the connection between my computer and the Git Lab; Also to avoid my website asking me for a code each time I want to push. Indeed to be able to create this SSH key I must download the git bash. the git download link (https://git-scm.com/download/win) . Finally I will clone my website in order to modify it locally.Follow the procedure.
First I created my GitLab account through the link (https://gitlab.com/users/sign_in) .It's very easy to use your google view account that you already use during the registration at the fab academy.
then Download the Git; the link (https://git-scm.com/download/win).
Install the git , the software will install the git bash and the gitUI. For the moment we will use the git bash.Open the git bash.
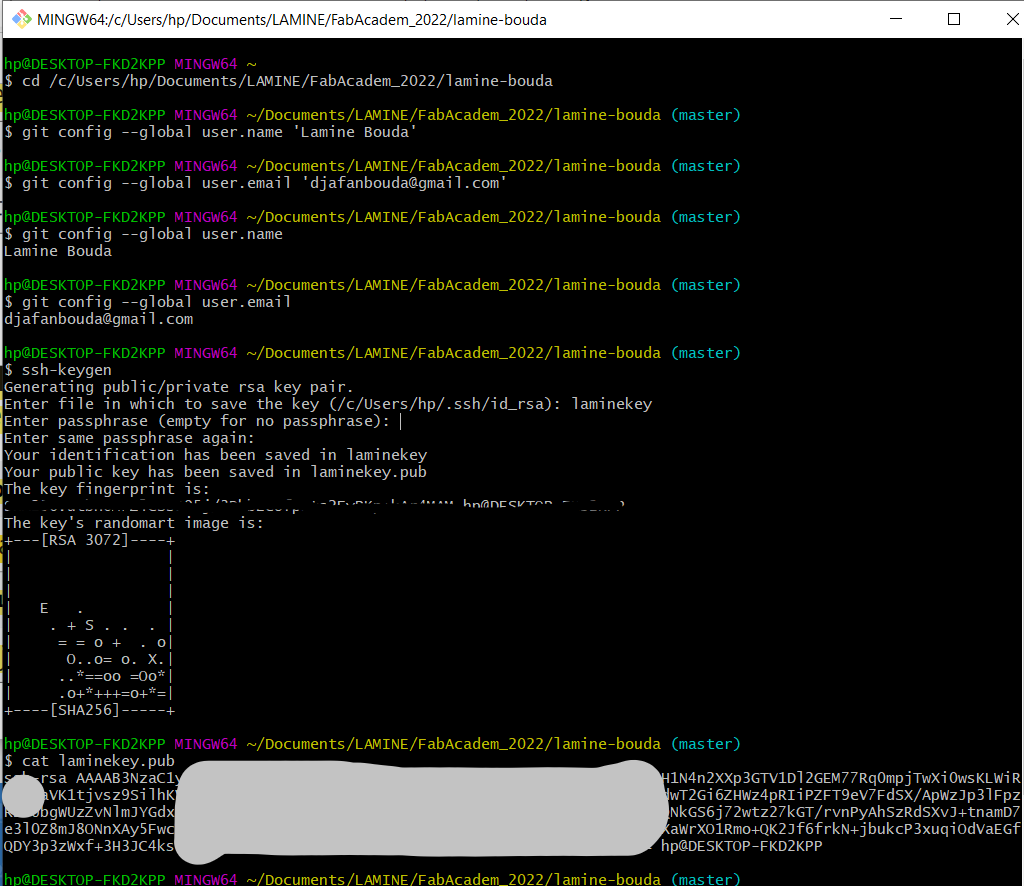
Type the following commands to identify yourself:
git config --global user.name "your_username"
and hit enter;
git config --global user.email "your_email"
hit enter again;
Secondly.I type the command to initialize.(Creates a local repository from the specified name).But once in front of your folder is master you no longer need to type the 'git init' .
and enter again;
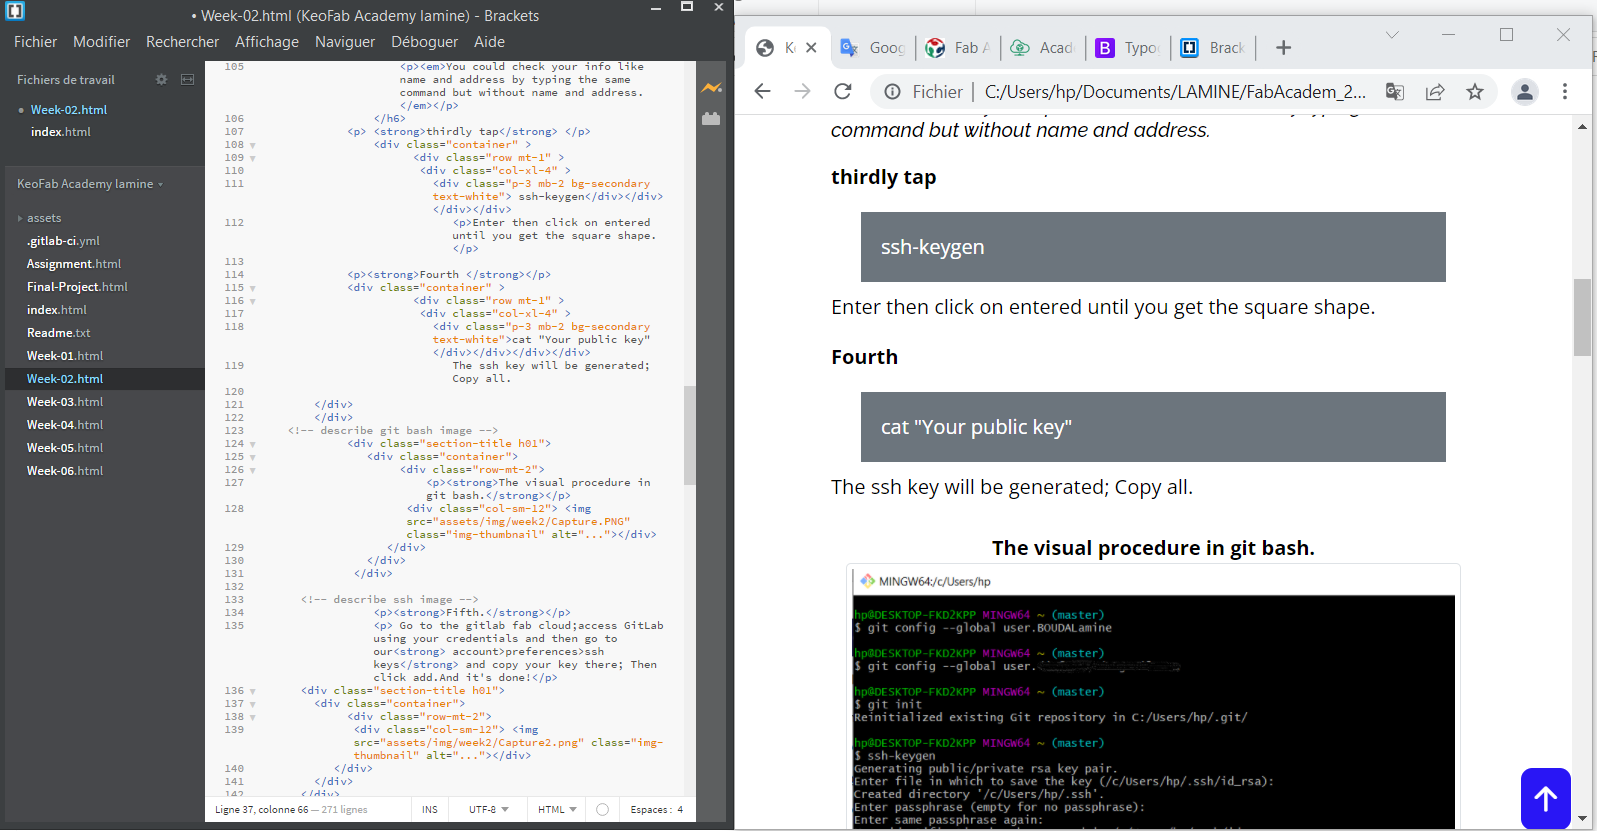
You could check your info like name and address by typing the same command but without name and address.
thirdly tap
Enter then click on entered until you get the square shape.
Fourth
The visual procedure in git bash.
Fifth.
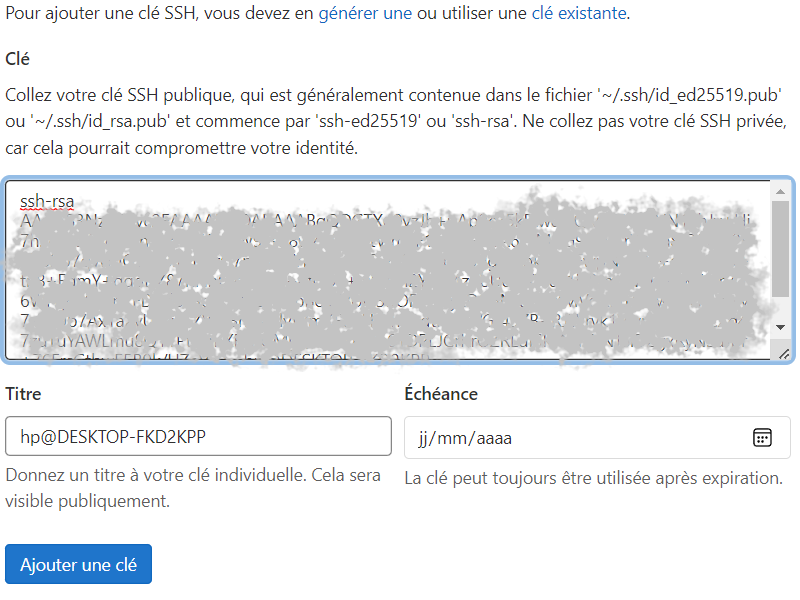
Go to the gitlab fab cloud;access GitLab using your credentials and then go to our account>preferences>ssh keys and copy your key there; Then click add.And it's done!
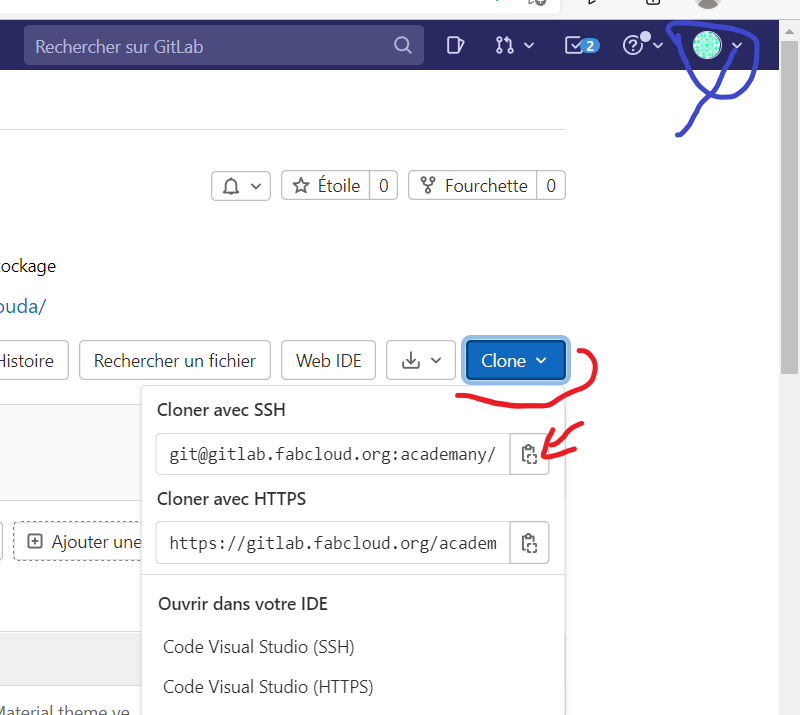
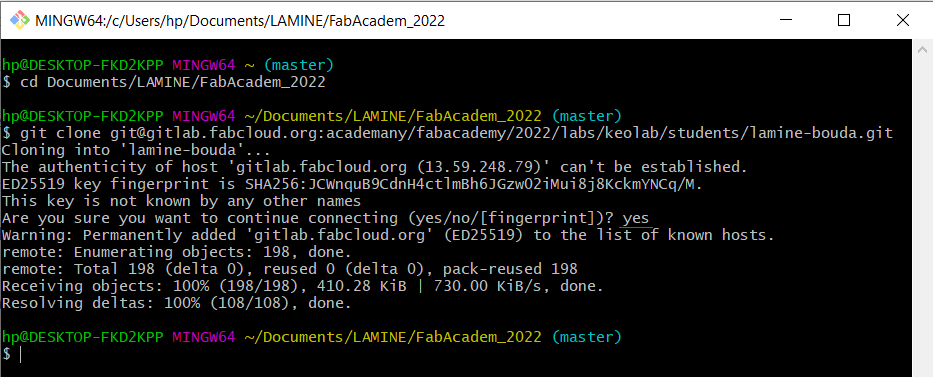
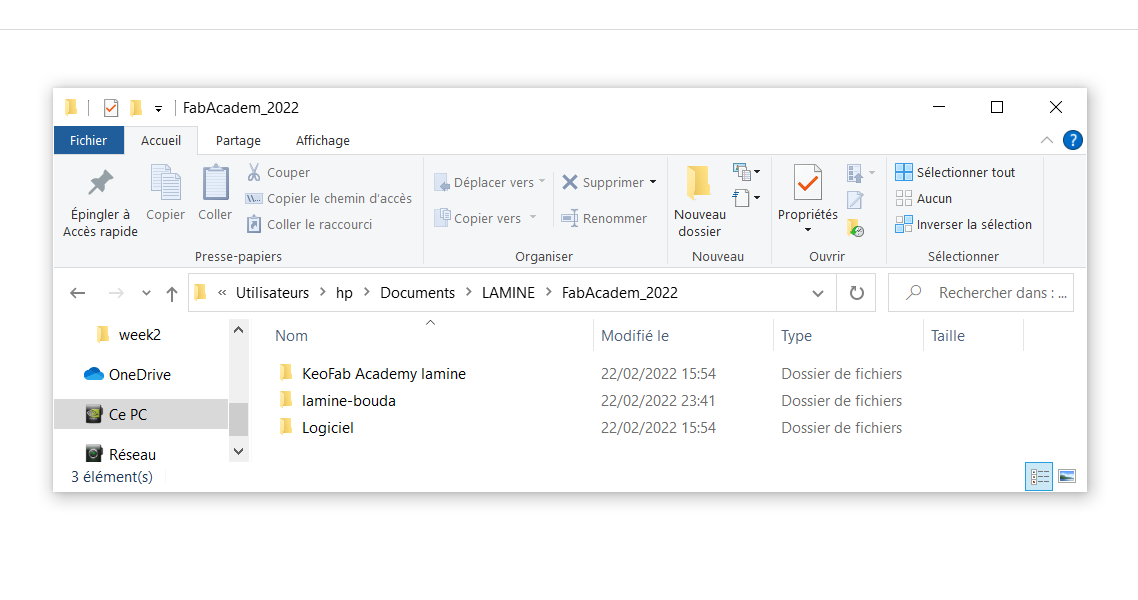
Finally your website has been successfully cloned. It remains to modify it.
The second part: how to modify the website locally?
I remind you of the software I use.
Brackets to edit the code
Template free download site "bootstrap template free"
The bootstrap site to copy "bootstrap" html codes.

The third step
In this part I would use commands like
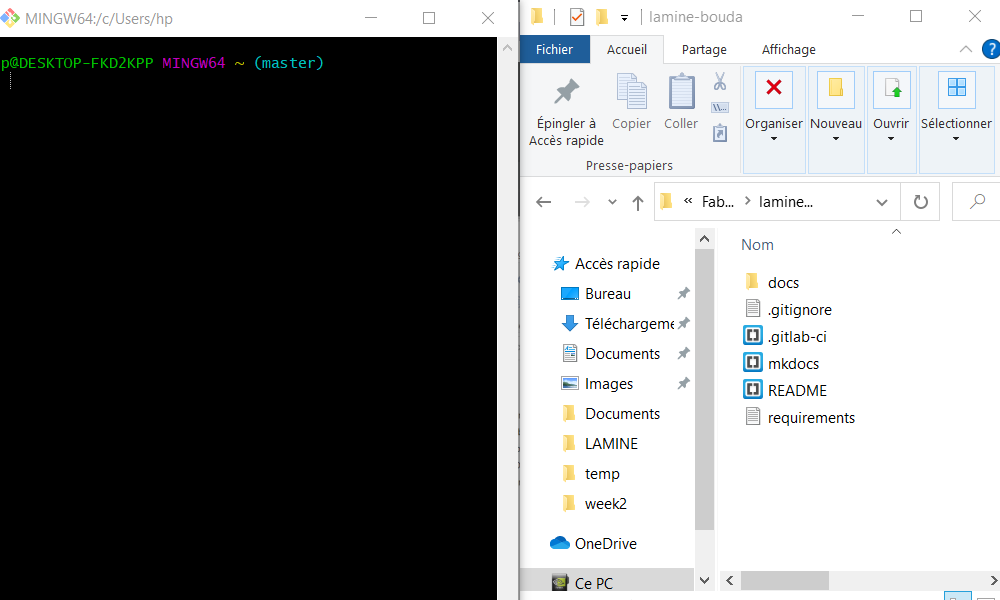
Let's open git again
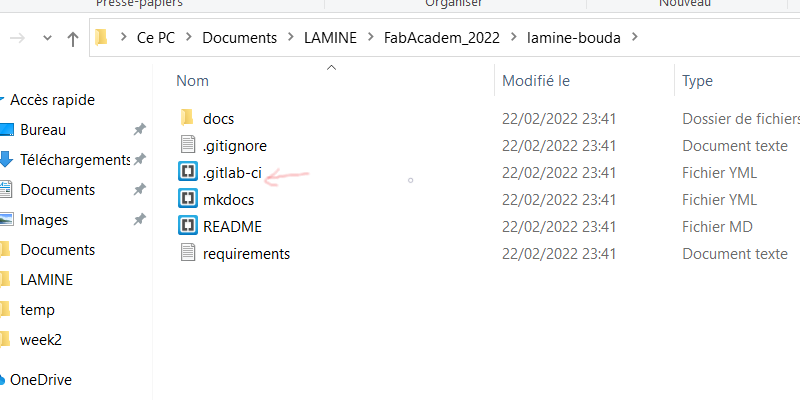
In my clone folder I will remove the things I don't need. Let's first check if the .gitlab-ci file is present in the unclone folder. Otherwise you could delete everything except him.While working on git we have to stay always in our folder.
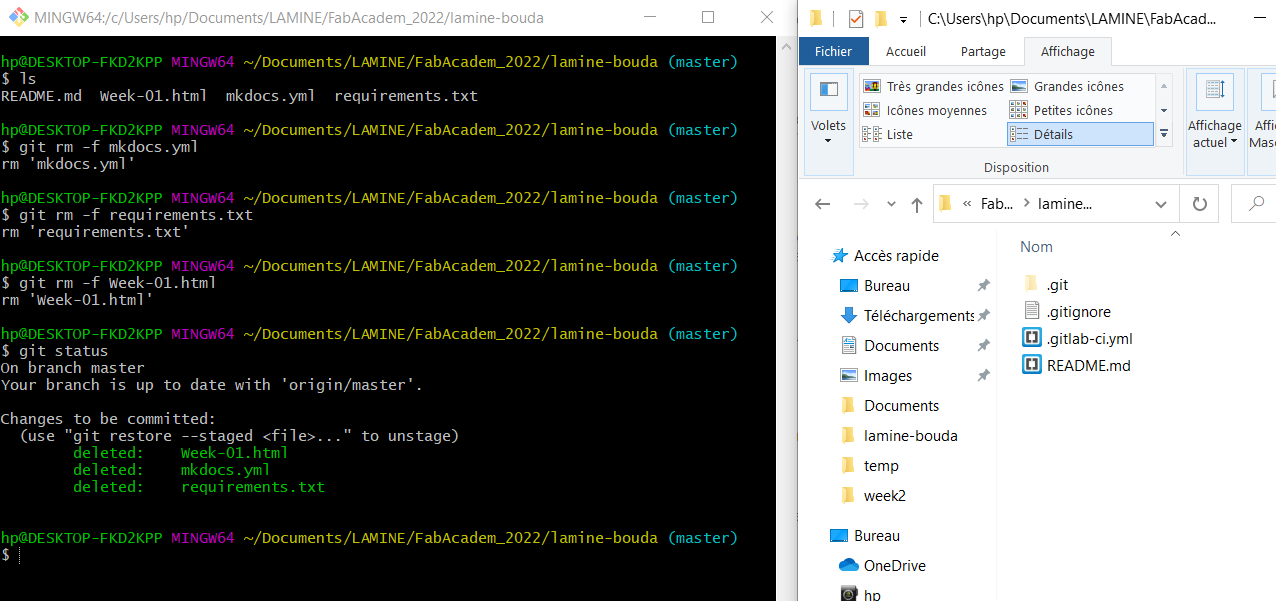
Then let's proceed with the cleaning. Note that the clone folder is different from our ordinary folders. In the clone folder if you delete something as usual you should use git bash to delete the same elements. I will delete the contents of the clone folder , then replace it with the contents of the template I modified.
In the beginning
After cleaning
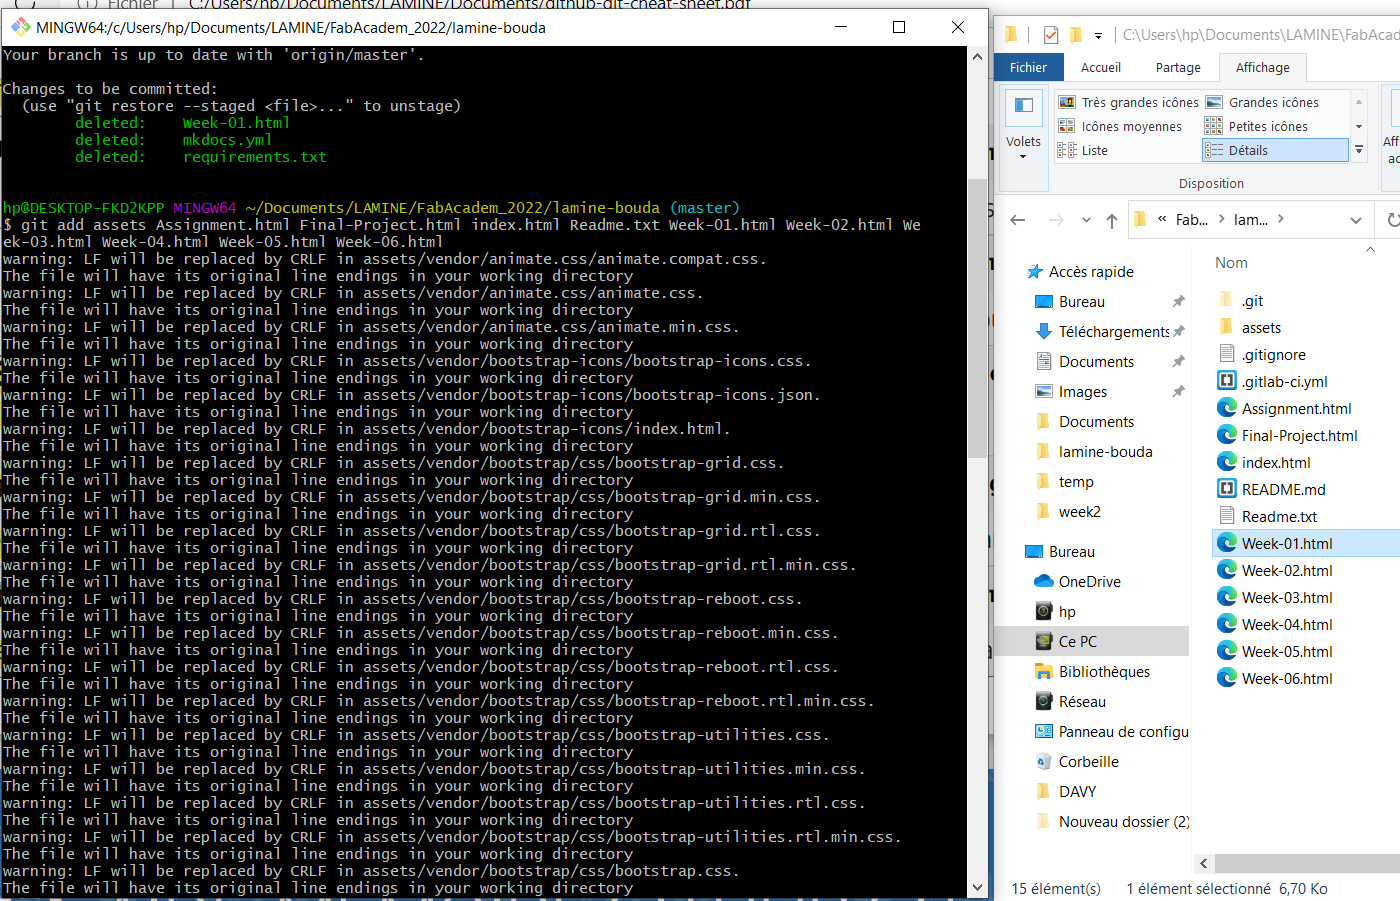
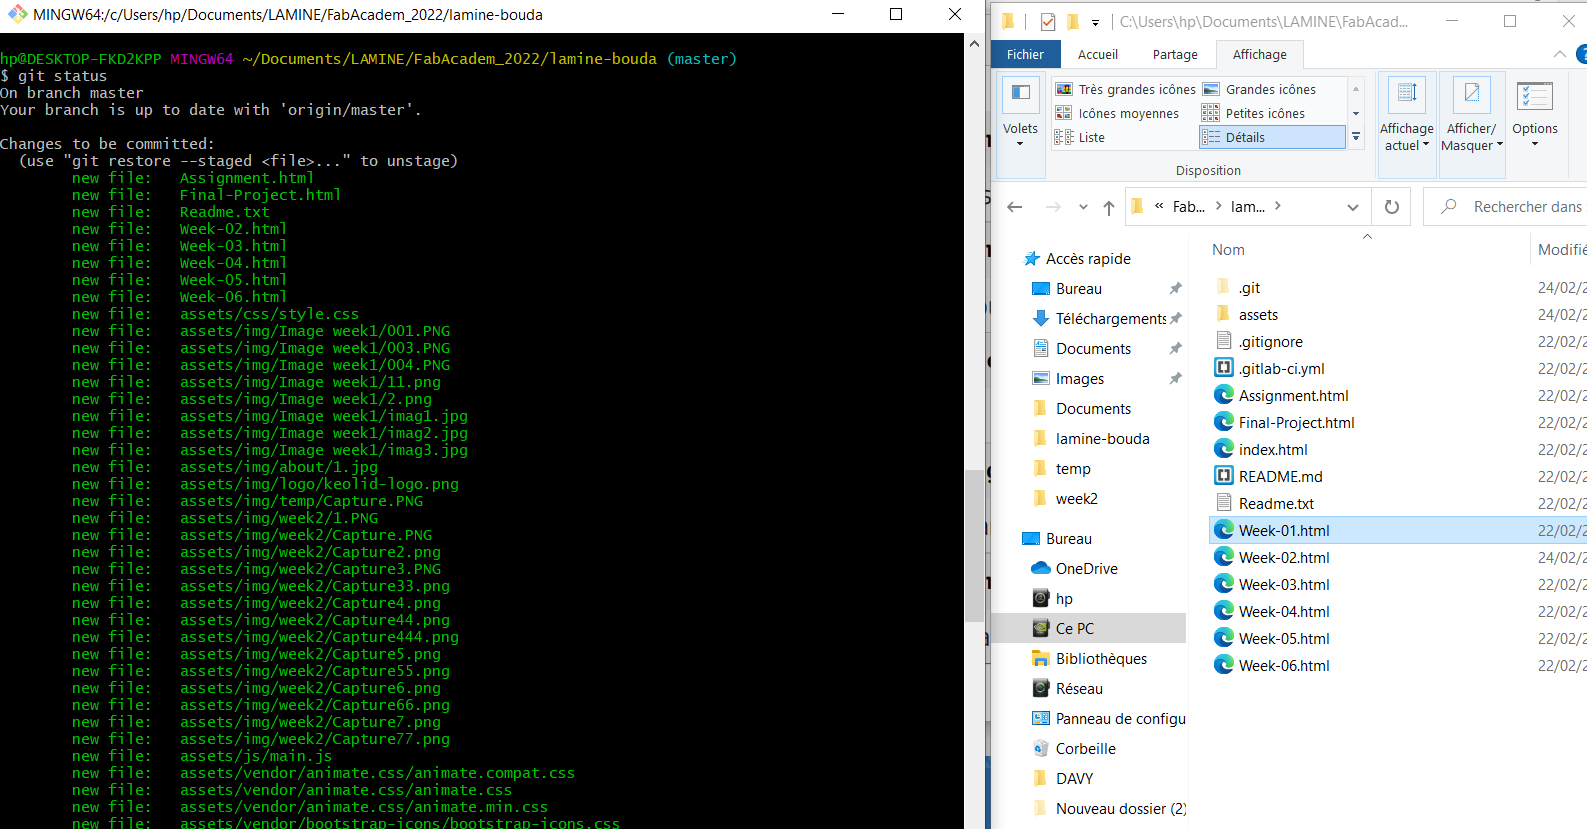
Let's copy the other elements in the clone.There are two steps. We will locally copy our folders to the clone and then use the command git add "folder name" to confirm.
I will type the command git statusto see the changes.
I will type the command git merge
Then git commit -m "what you are doing"
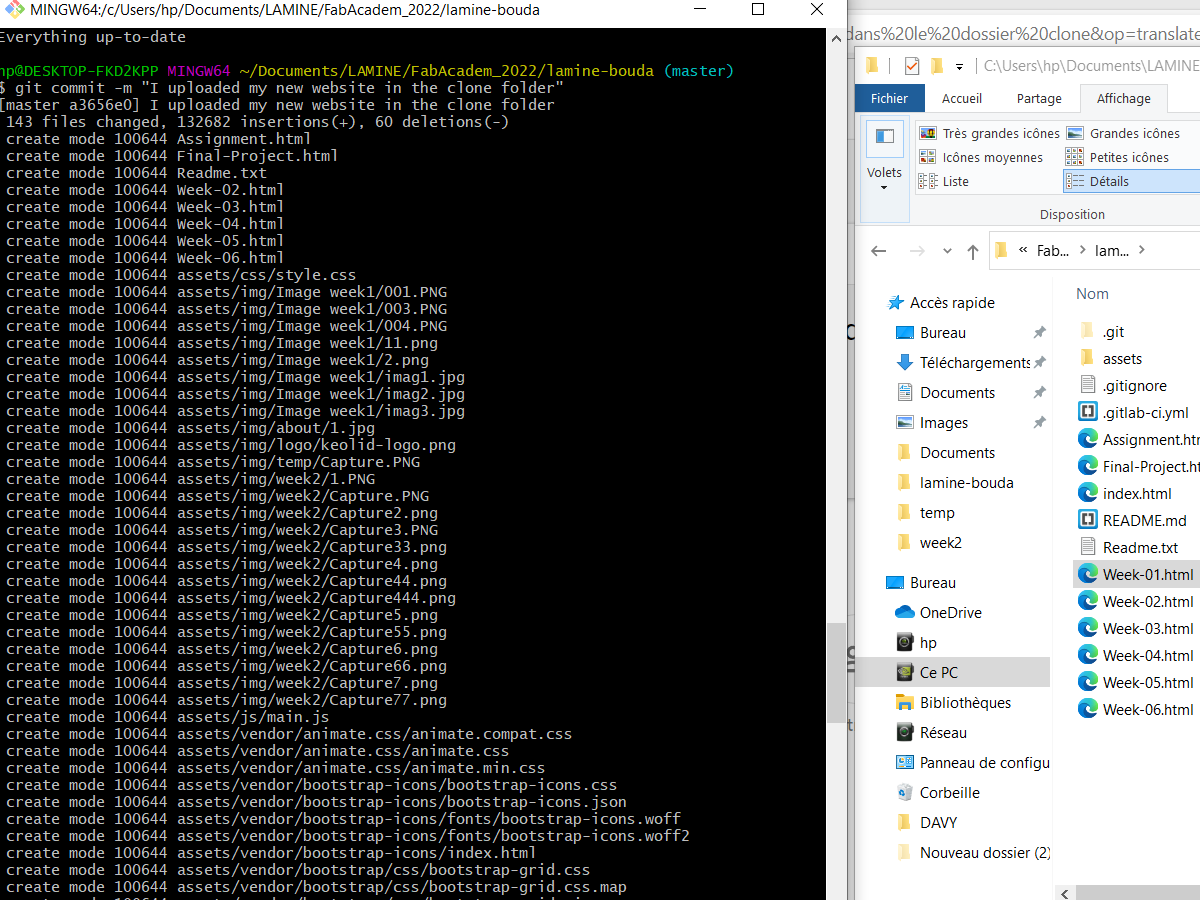
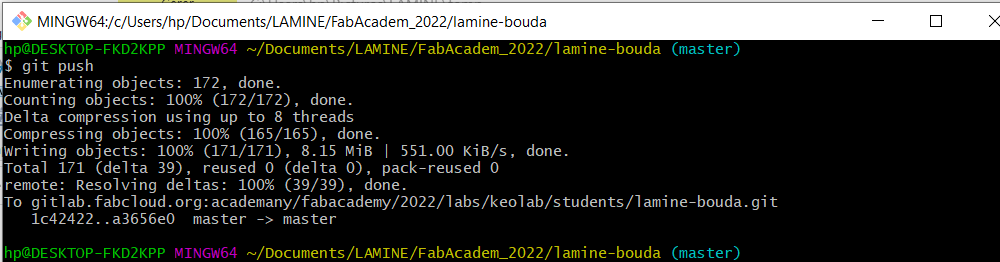
And finally git push