Computer Controlled Cutting

Recaps and Task Outlines

February 9nd, 2022, the course continued talking about:

  1. Creativity can come from simple tool like vinyl cutter and laser cutter
  2. Undestand their output characteristics
  3. Many CAD software can help to provide input for both tools

The objective of weekly assignment are:

  1. Complete the group assignment
  2. Complete the individual assignment
  3. Share progress of potential final project

Learning Outcomes

After this course, I am able to

  demonstrate and describe parametric 2D modelling processes
  identify and explain processes involved in using the laser cutter
  develop, evaluate and construct the parametric construction kit
  identify and explain processes involved in using the vinyl cutter

Group Assignment

Group assignment can be found HERE.

Laser Cutter

On progress

Characteristic

On progress

2D Parametric Design

On progress

Inkscape

On progress

Fusion360

On progress

Vinyl Cutter

How Does it Works?

The equipment that we use is ScanNCut SDX1200 that can do Scan and Cut. This device comes with a Mat sheet which is a 12 x 12 inch adhesive sheet where we place our sticky paper like sticker on. Added to that, it also comes with a stylus, a plastic spatula, and a blade. Basically SDX1200 provides some interesting pattern in its storage that we can use anytime. But it also provides us ability to cut our own design on adhesive paper by using several media tansfer like Cable (peer to peer), Flashdisk (USB), and Wireless (peer to peer). This tool cut the adhesive paper by moving the blade according to pattern path.


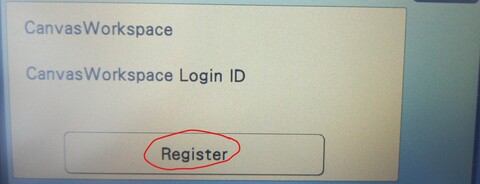
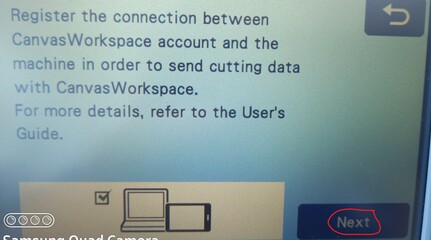
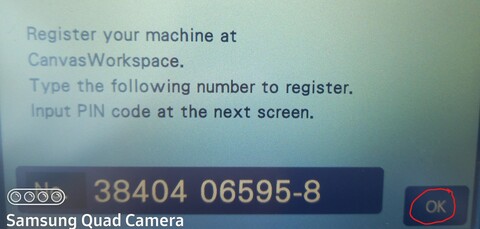
We can have pattern cutted on flat-colored adhesive paper (white, red, blue, green, and so on) directly using pattern that we design on our computer. But we can also make colorfull pattern by using scan feature available in this machine. The producer comes with own 2D CAD design software which is Brother CanvasWorkspace. This software requires us to register on their website prior using it as standalone software. But I prefer to use Inkscape as I am more familiar with it. The detail explanation is presented after the design explanation.
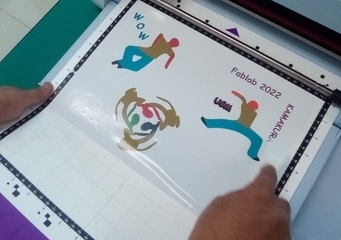
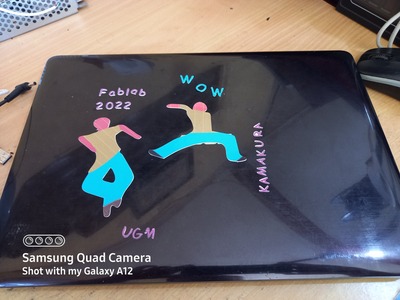
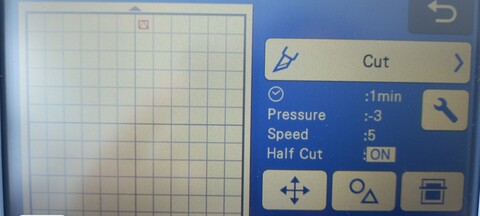
Settings

I use factory setting for speed and pressure cut where speed is 5 and pressure is 3. Later I realized that I can do better way by using Half-Cut to avoid the cutter cuts the adhesive paper including the non-adhesive part that can potentially touch the mat sheet. I explain about this after this sub-section.

Logo Design

I use inkscape to design simple logo that I would like to use as sticker on my laptop cover. I use rectangular to limit size of all objects to 10 x 10 cm. Then I draw 3 different sticker logo that contains human (people), text, and other logo (fablab) that I downloaded from internet. Again, I used many layers for this when creating all the objects.
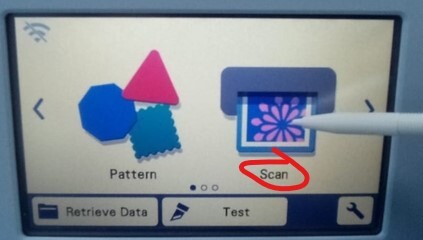
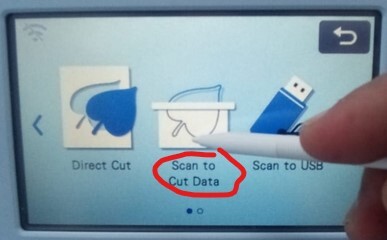
           

Scanning

Before the cutting process, I print the logo design using ordinary printer which unfortunately has low color quality. Then the scanning process goes like this
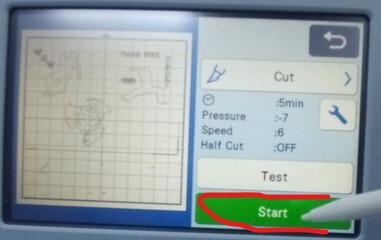
  1. Pull the rear tray before proceeding to any process.
  2. Put the printed adhesive paper on the Mat sheet and press using spatula to make sure they are glued together tight enough.
  3.      

  4. Press load/unload on the panel. The machine will be automatically pulling in the Mat sheet and push it out again.
  5. Select scan button from the screen.
  6. Select scan to cut data to start the scanning process. In the screen you would see dash-line circle with word "Recognizing" displayed, it means you do it with the right way.
  7. When the scanning process finish, on the screen you would see options shown below. There are 3 ways that the cutter propose to you as marked with red-colored rectangle. From left to right, the option is

      NOTE:To make it easy to observe the result, I use different image than what I have for this task. Here I used two different characters printed on adhesive paper.
    1. This will combine your objects and trace their most outer boudaries/edges as path to cut.
    2. This will search for any possible boudaries/edges on your objects and trace it as path to cut. The edges can be on the inner, middle, or outer side of the objects. It is a good option when we also want create hollow in an object.
    3. This will estimate the middle trace of any possible boundaries/edges. A bit similar to option (b) but it will have one path to cut like point (a). Imagine when your object has thick edges/boudaries, this option will use the middle of that edges instead of the most outer or most inner part of the boundaries.
    In this case, considering the objects that I prepared, I chose option (b).
  8. Click [OK] then the scanned image will be stored in the machine and ready to use for cutting.

Cutting

Mat sheet will be placed automatically on the same position before we do the scanning process. Please Do Not move sticker/adhesive paper on the mat sheet. Because their position already recorded while in scanning. Then do steps below for cutting.
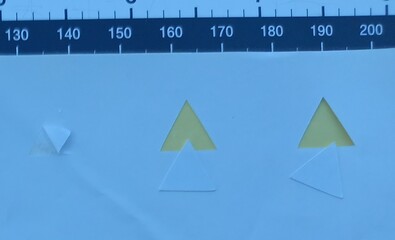
  1. Push [HOME] button on the screen panel. You will get some options displayed on the screen.
  2. Select Retrieve Data and it will pop up some more options that ask about from which source I am gonna retrieve the path to cut. I chose from internal (red-colored rectangle).
  3. Choose path that was scanned which in my case M003 then [OK].
  4. Choose what action to do, then click [START] to start the cutting process. On the display the time consumption for cutting was shown, it was around 3 minutes.
  5. When the process is finished, then push [UNLOAD] button on the panel and peel the logo. In this case, I do not have transfer tape so I just use spatula to take it out from mat sheet.
Here are the logo glued to my laptop cover, I cover the laptop logo on purpose... (^v^)

Half-Cut

Half-Cut is one of feature that this ScanNCutter device provides. It can cut the adhesive paper without cutting the non-adhesive paper at the bottom. But this feature also needs adjustment according to paper we use which is mainly the Pressure. Here I use glossy adhesive paper so I do some testing to find suitable pressure. By setting to ON and speed with 5, then I adjust the pressure with values -3, 1, and 2. The results are shown below according to its order.

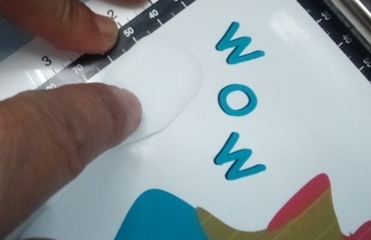
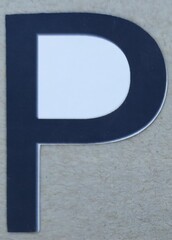
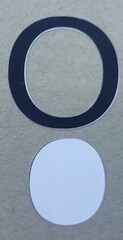
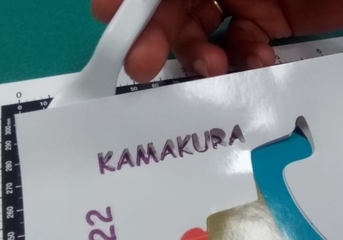
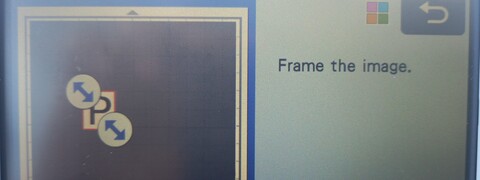
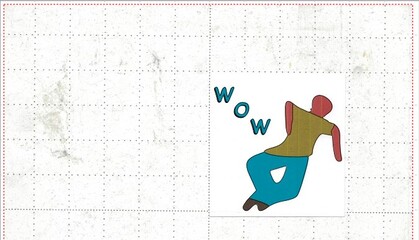
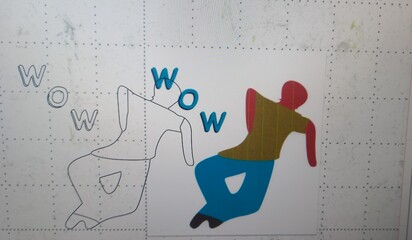
With pressure is -3, the machine can not cut completely the adhesive part. When I tried to peel it, part of the object left on the non-adhesive part. Then I changed its value to 1 and 2 consecutively the the adhesive part can be peeled easily without leaving any part on non-adhesive part of the paper. But, I when I touched the non-adhesive part with spatula, I can feel that the cutter left cutting-mark on the non-adhesive paper for pressure 1 and 2. But pressure with value 1 is lighter. Hence, I chose pressure equals to 1 with as my setting for next processes.

Then the process runs as what I did in scanning and cutting. It is just I realized that the scanning result can be damaged when the mat sheet is dirty. Then I found that when doing the scanning, I can select ROI (Region of Interest) to scan, in other words, only the area of image that we are interested in. Here is an example of object with P character. If you see Two Arrows at the left-top and right-bottom of the scanned image, drag them one by one to get ROI you want.

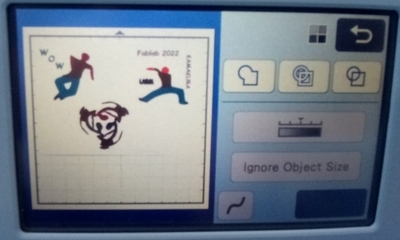
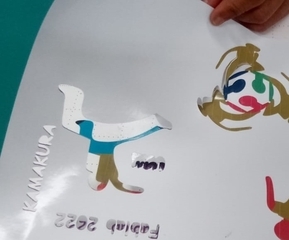
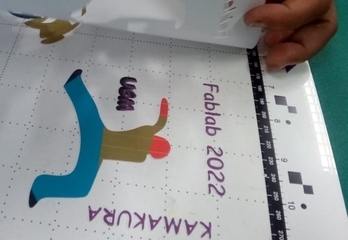
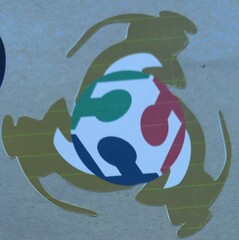
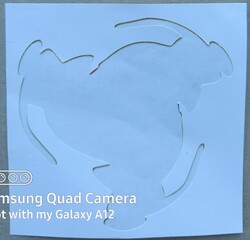
Here is another example of Fablab academy image that I scanned and cutted with my setting.

I tried to overlay the boundaries of images scanned by the machine with original images. I did this because I want to know why at some part of my images, the boundaries it was cutted did not match with original image when viewed visually. I do this with 2 ways:

  1. Importing scanned trace to computer
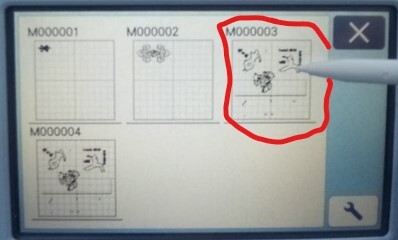
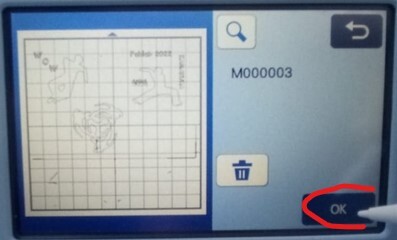
  2. I use Brother CanvasWorkspace software to do this. The trace which is called FCM file is fetched wirelessly. Then the scanned of original images was also can be fetched from the cutting machine.

    To prove that their are correct images from machine, I tried to split them as can be seen below. It seems that the cutting machine already did very well job, the mistake maybe caused by the printing result from my paper printer. As the color "defrost", it seems that the boudaries of my original images wider than it should.

  3. Scanning mat sheet as background on the cutting machine
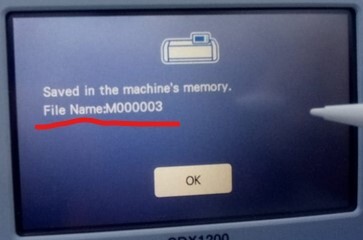
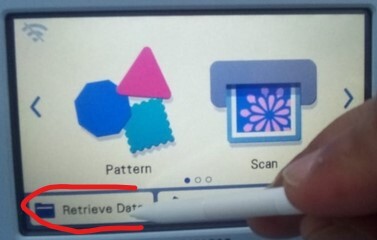
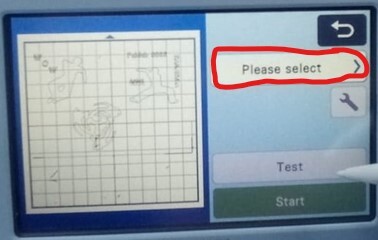
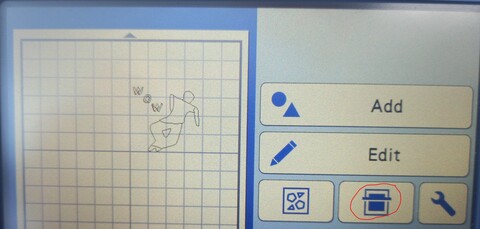
  4. In the menu of cutting machine, we can find a button to scan mat sheet again as background for trace/path that we already scanned as shown by red mark below. The result of this action is shown beside it.
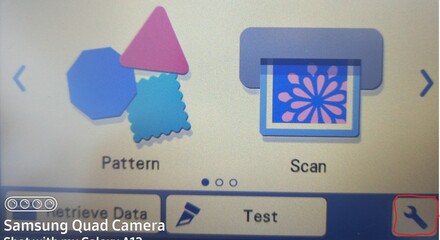
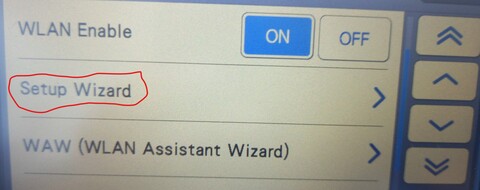
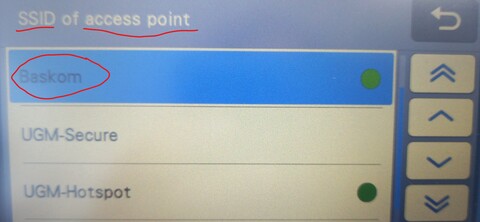
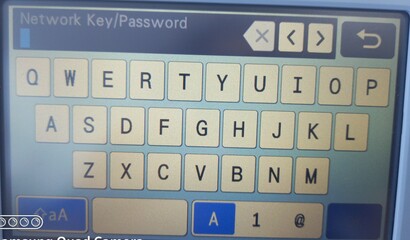
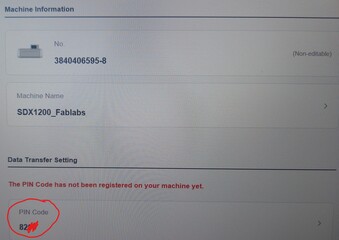
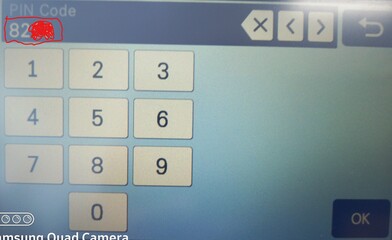
We actually can import the FCM file from CanvasWorkspace, but when I tested it and overlay it with mat sheet that I scanned, the trace to cut is smaller than the actual size of object. I am not sure about this result, but I am not going to recommend this. Take a look at picture below.

Wireless Data Transfer

Sequences below to show how a computer can communicate with the cutter machine. Actually, the machine provides 3 ways to communicate with external device which are:

  1. via USB (flashdisk)
  2. via cable (peer to peer)
  3. via wlan (peer to peer)
Wireless data transfer can be done using Brother CanvasWorkspace installed on a computer/laptop. After installment, we should create an account and log in to the software. There is no limitation of how many users can install the software in different computers. But it is better to use different account to distinguish them. Here are the steps to follow:
  1. Back to HOME on vinyl cutter's machine
  2. Then scroll down and select number (1) which is Network.
  3. Then click [ON] on WLAN Enable option then click Setup Wizard
  4. Choose SSID available around you. You can also use broadband, like what I do.
  5. Then input your SSID's password, if they are correctly written then it is done.
  6. You should also register the machine with your computer by selecting number (2) which is CanvasWorkspace Register
  7. If you are not registered, you would get this notification
  8. The identity of your machine will appear (11 numbers). This identity also available on your computer.
  9. Then go to your laptop and open CanvasWorkspace software. Then choose menu [HELP]>[Account Settings]>[Machine Registration]. Copy the pin code (4 numbers) that you can find at the bottom of the window.
  10. Go to your machine again, then paste this Pin Code to your vinyl cutter machine
  11. When it is done, this message will pop up. Make sure that you see that message at the end of registration.

Scanning and Cutting Colors

Here are tip whenever you want to scan and cut colored objects:

  1. Do not use dark color except for strokes as it will be considered path to cut. Consider to use brighter colors.
  2. Use transfer tape to ease peeling process.
  3. Avoid to have small hollow on object as it will not be detected in scanning process.
  4. For clean work, consider to use half-cut, especially when the sticky paper is thin.
  5. Use appropiate set of tool for peeling instead of what the company provides.
  6. Reduce pressure and speed when working with detail in objects.
  7. Use thin objects' edges/boudaries for clean cut after scanning. Hopefully, scanning process can detect them.

All files involved in this weekly task can be found on below link:

[Laser Cutting] [Vinyl Cutter] [FCM-Image Vinyl]