Week 5 - 3D Scanning and Printing
group page // repo source files // objectives
Contents
hero shot >
(note: no file for scan in repo; they’re huge. We’re pinching electrons here)
objectives >
- Linked to the group assignment page
- Test the design rules for your 3D printer(s)
- Document your work and explain what are the limits of your printer(s) (in a group or individually)
- Document your work to the group work page and reflect on your individual page what you learned
-
Explained what you learned from testing the 3D printers
- Documented how you designed and made your object and explained why it could not be easily made subtractively
-
Included your original design files for 3D printing (both CAD and common format for 3D printing)
- Documented how you scanned and prepared an object (for 3D printing)
- Included your hero shots
files >
design rules >
I own an assortment of printers:
- 2x Ender 3
- 1x Prusa Mk3s
- 1x Elegoo Mars 2P
- 1x Cetus MkI
For this exercise, I benchmarked one of my Ender 3’s, which lives in my apartment. I printed each of the linked .stl’s on the 3d printing page.
The results of my benchmarking can be seen on my fablab’s group page.
additive object >
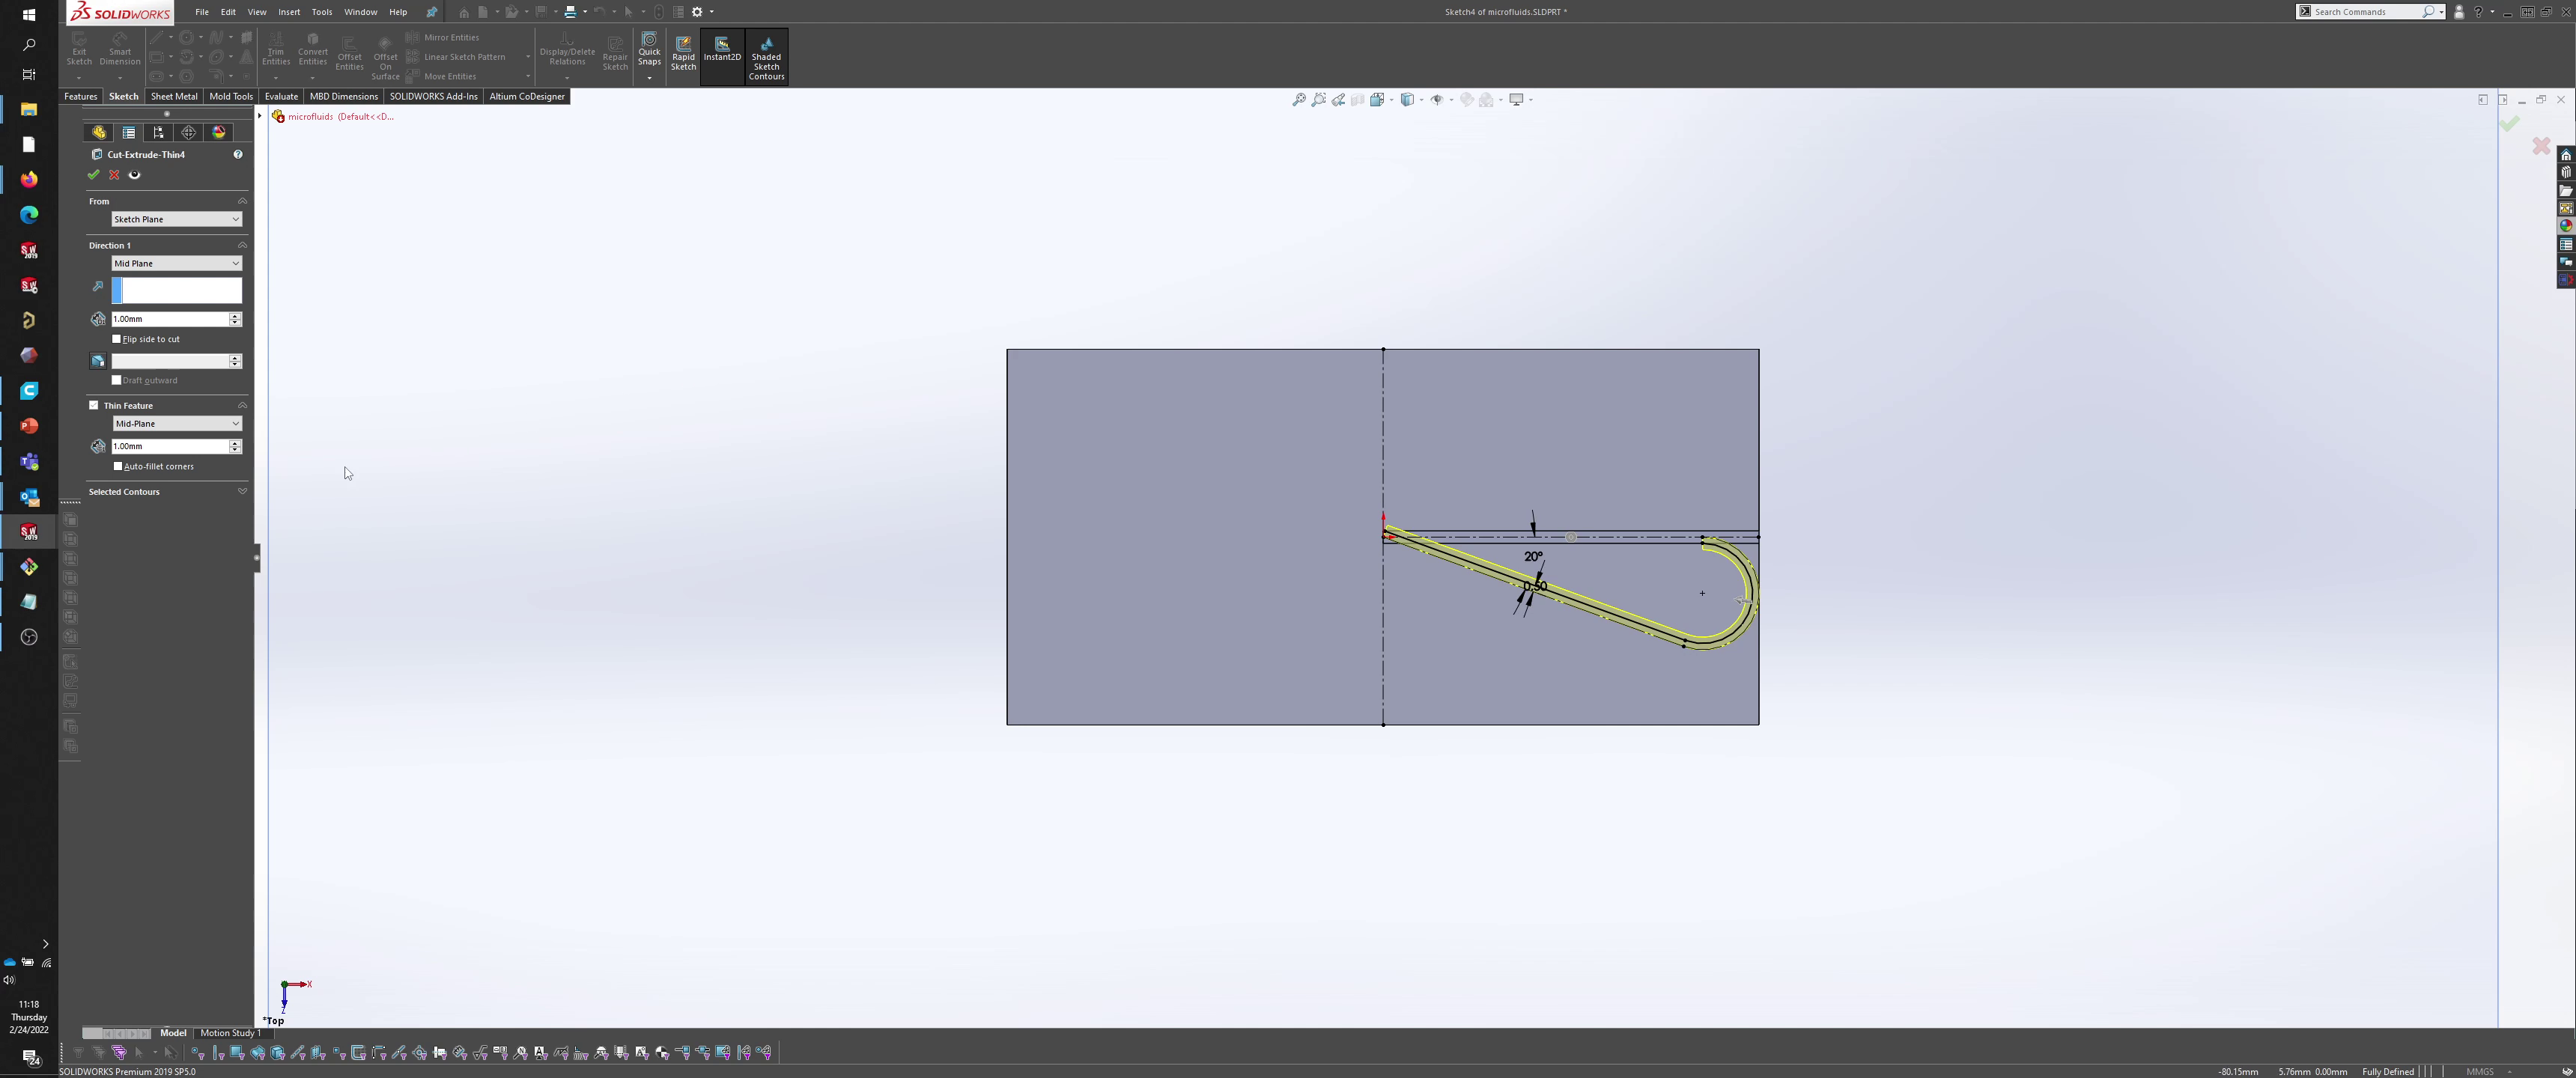
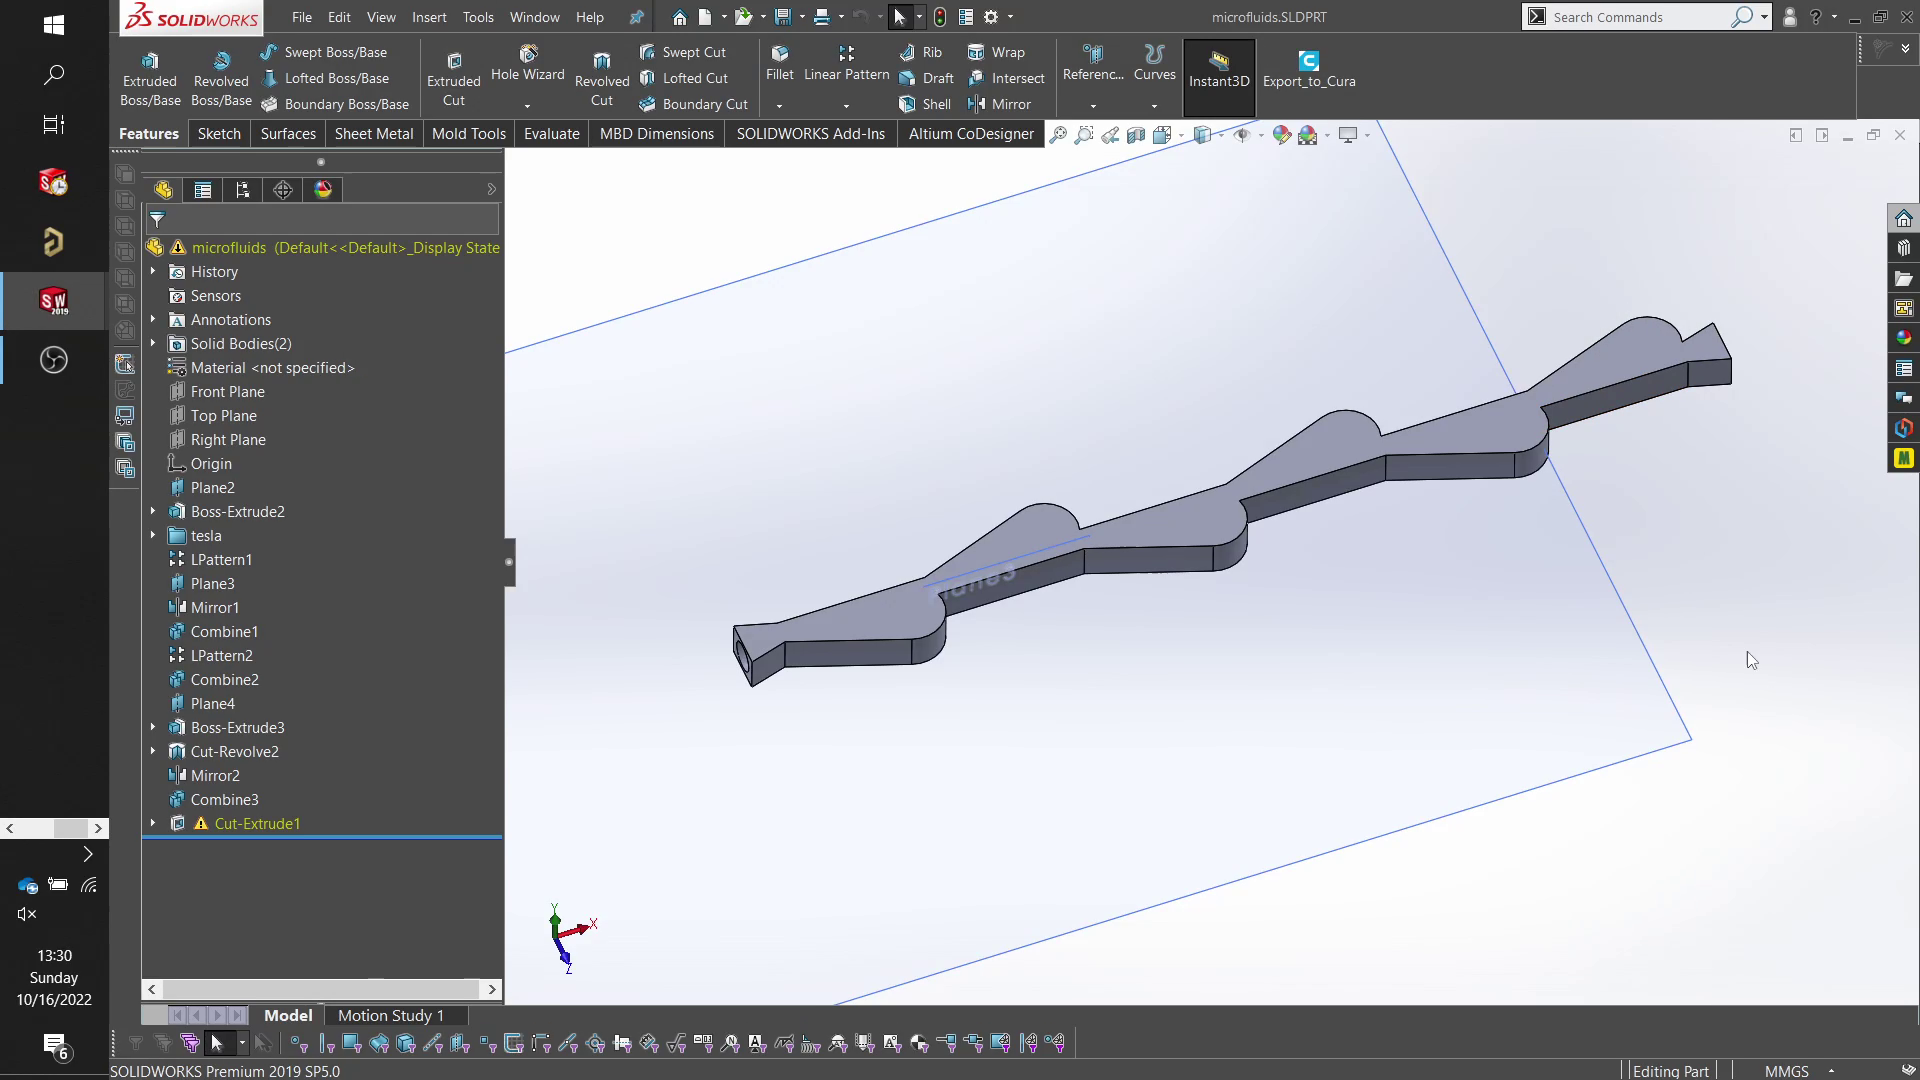
To demonstrate something that would be difficult to make subtractively, I chose to make a microfluidic device. The idea is that some of the microfluidic channels in the print can be drilled, but not all (the bit would have to be angled around a corner, but that’s physically impossible. Alternatively, a drill could come in from the outside, but that would result in an extra hole).
I chose the Tesla valve as my demonstration structure.
cad >
After doing a bit of research on how the Tesla valve works and getting a feel for the geometry, I began implementing a design in SolidWorks.
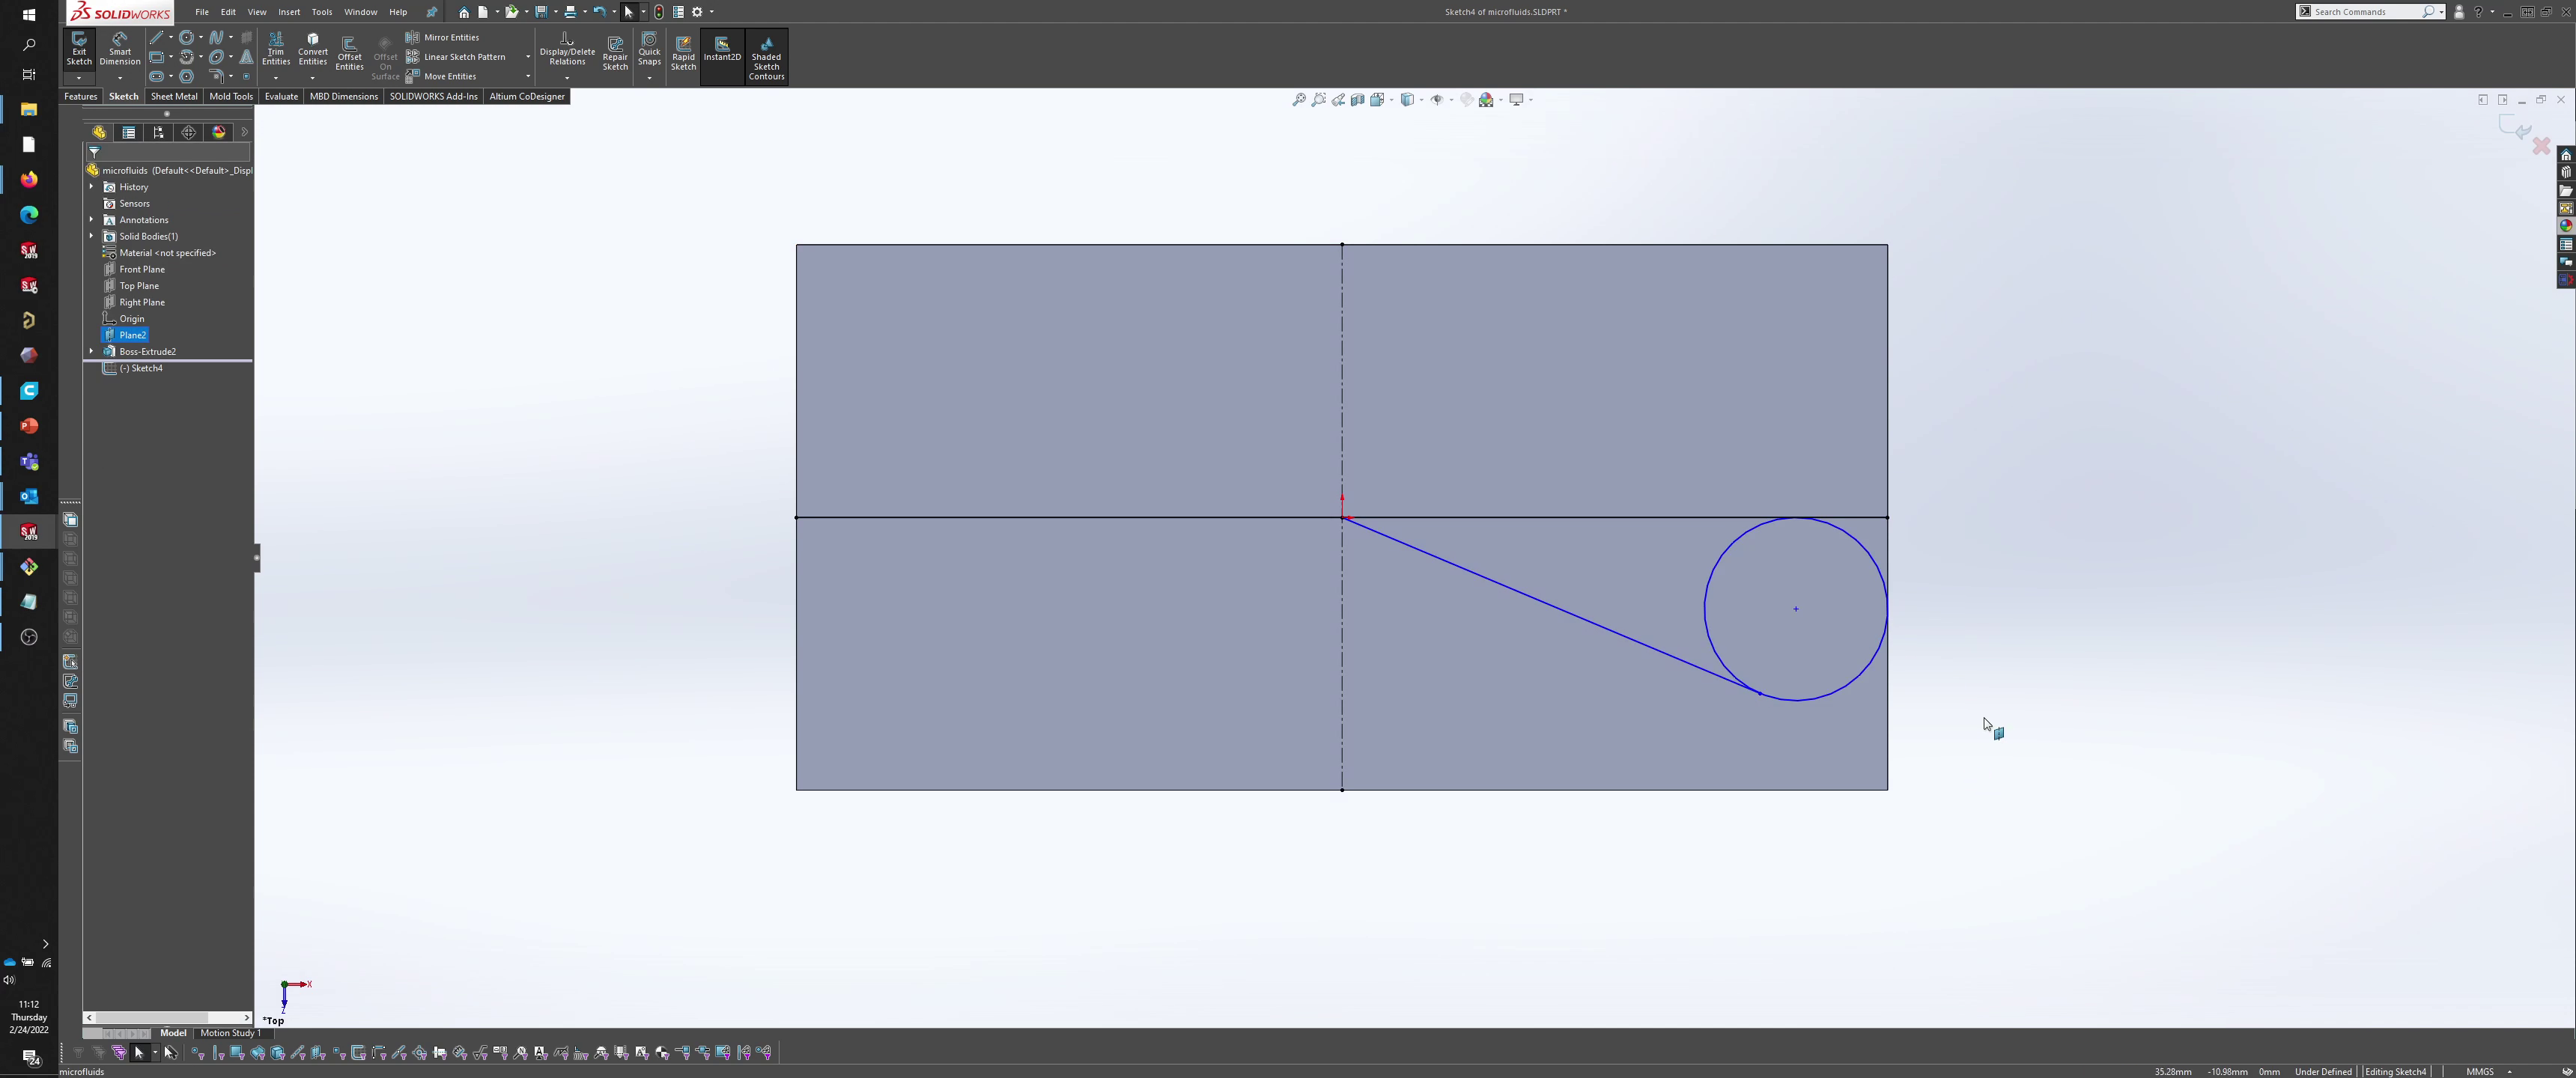
SolidWorks has a great feature called thin extrusions, which can be used to make extrusions off single line sketches, rather than closed loops.
This used to really annoy me; when I first started my MCAD journey, spending a ton of effort working on a complex sketch only to figure out I hadn’t closed it properly was a big problem. I usually spent a lot of time debugging my sketch, looking for discontinuities. If the sketch was otherwise fine, SolidWorks would suggest a thin extrusion.
Anyways, thin extrusions are more than just an undesirable outcome; they’re also a useful feature.
For geometries with uniform width, thin extrusions can be much quicker to put down and manipulate than defining multiple closed contours. They also prevent additional bugs from overlapping closed contours.
The Tesla valve is a “path-like”, simple geometry, which is a great place to use thin extrusions.
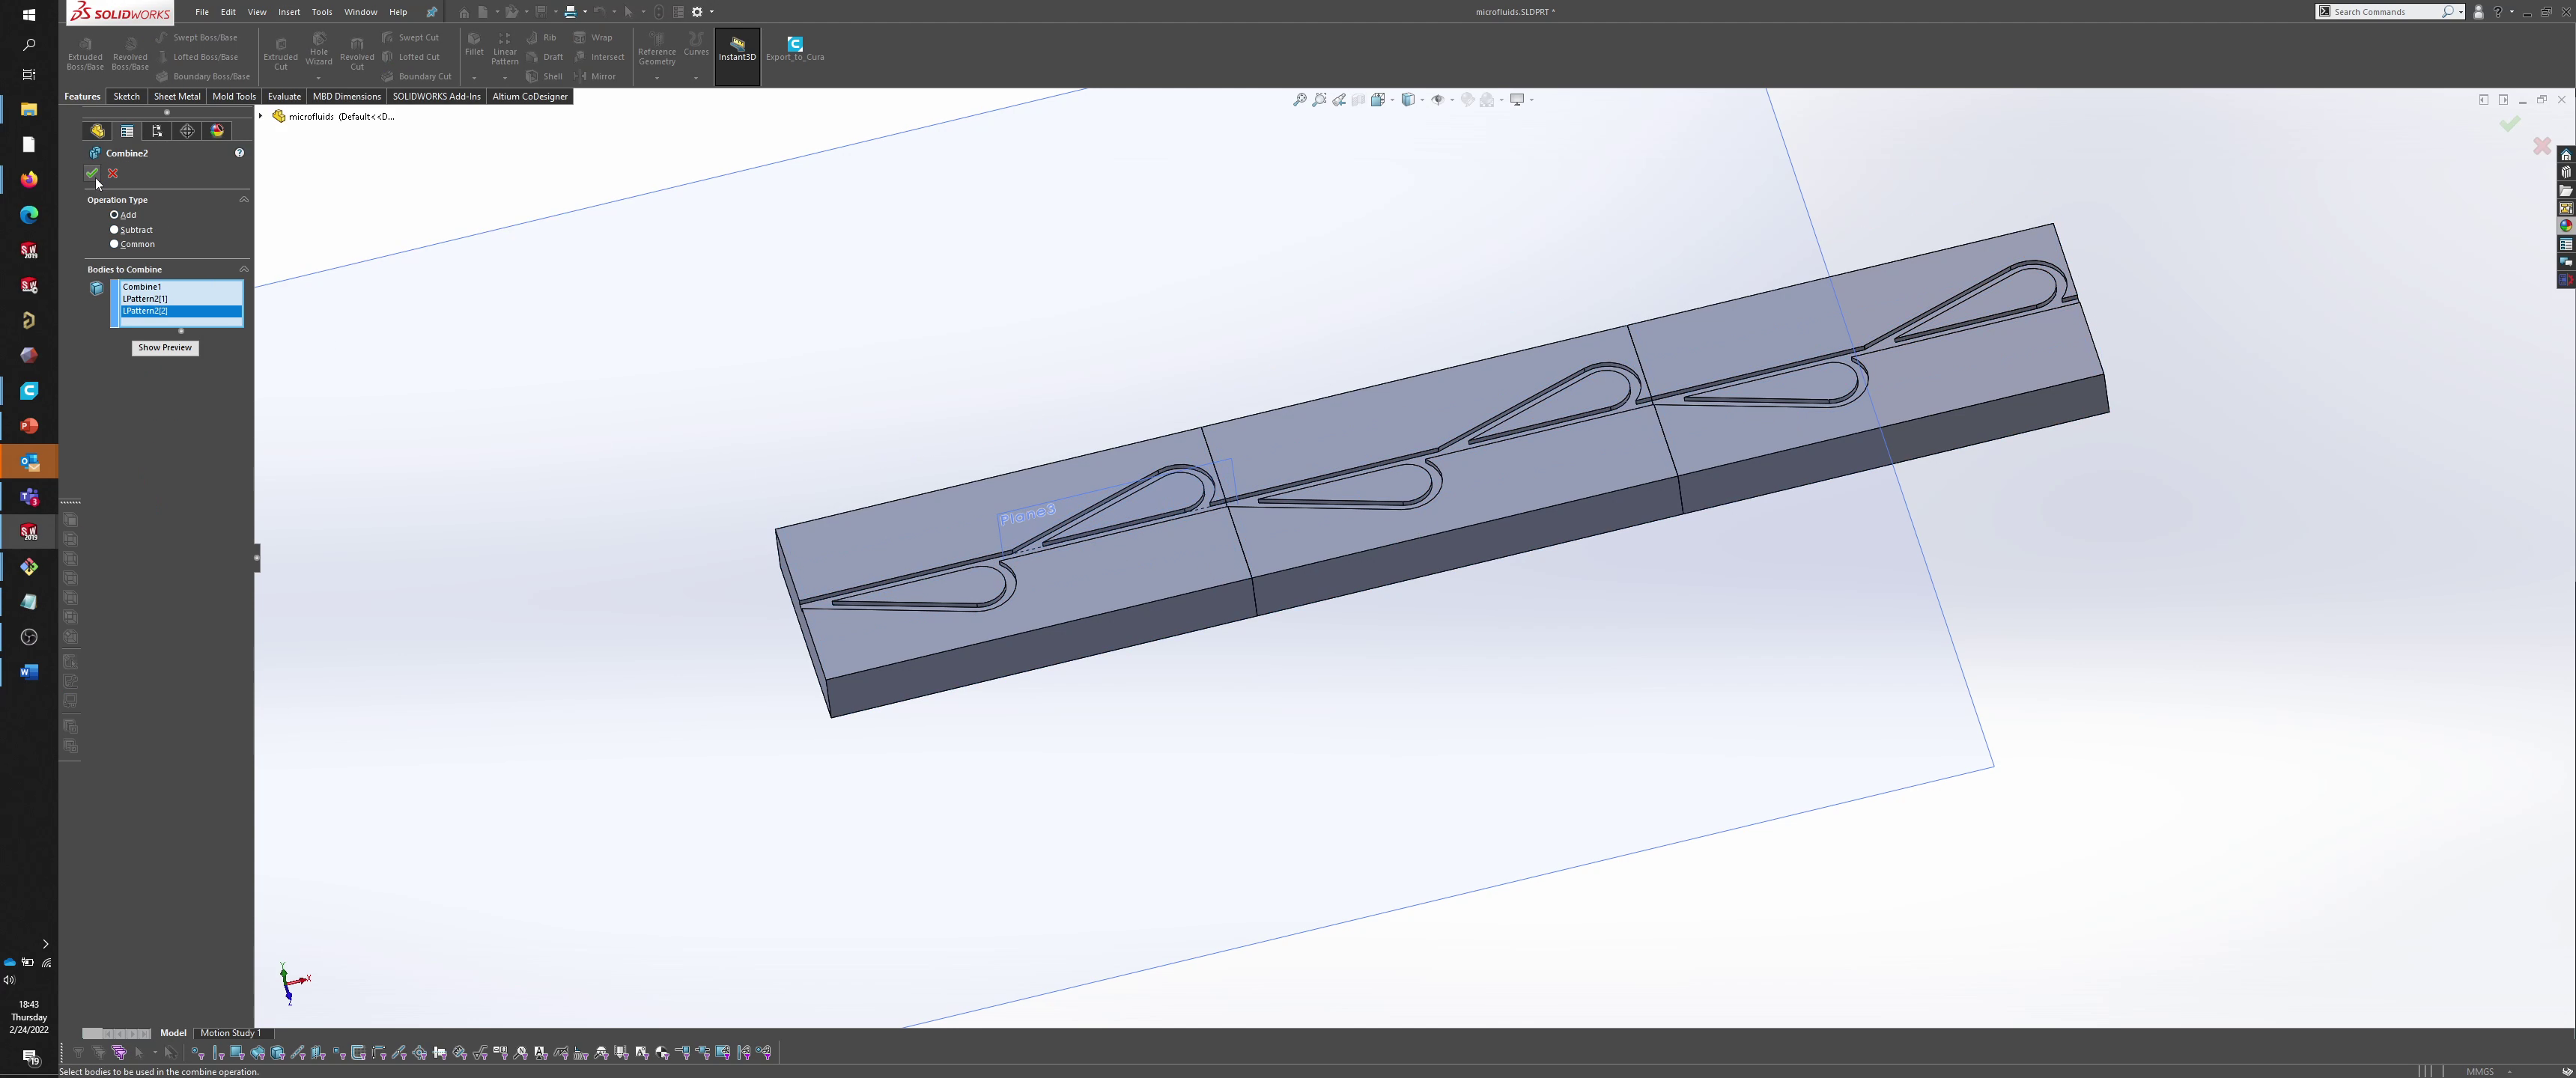
Patterning the body to extend the tesla valve, and then finally combining into one single body.
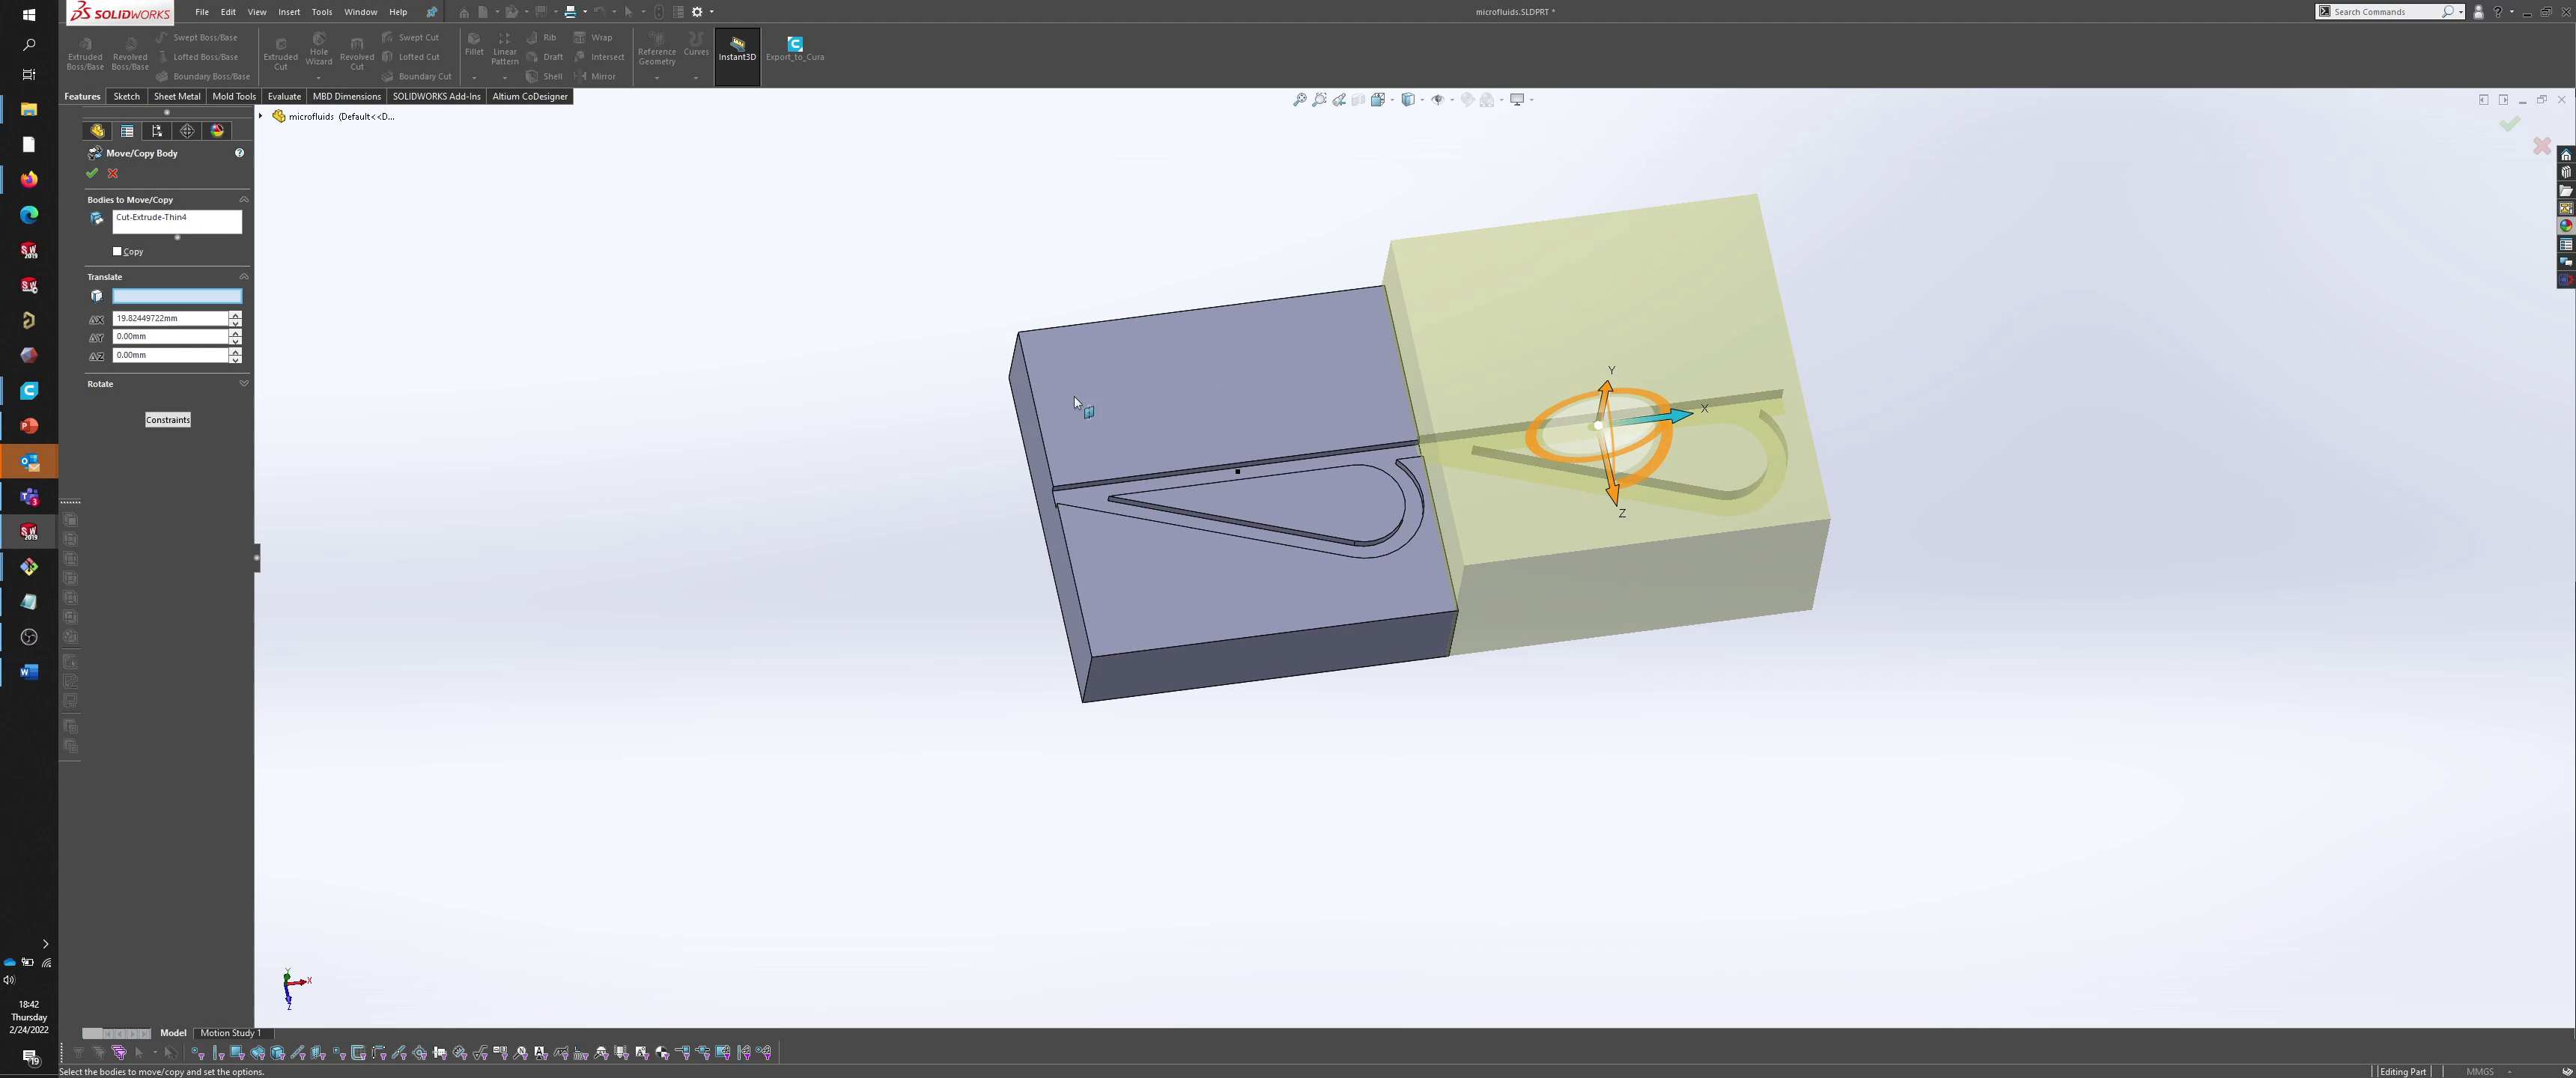
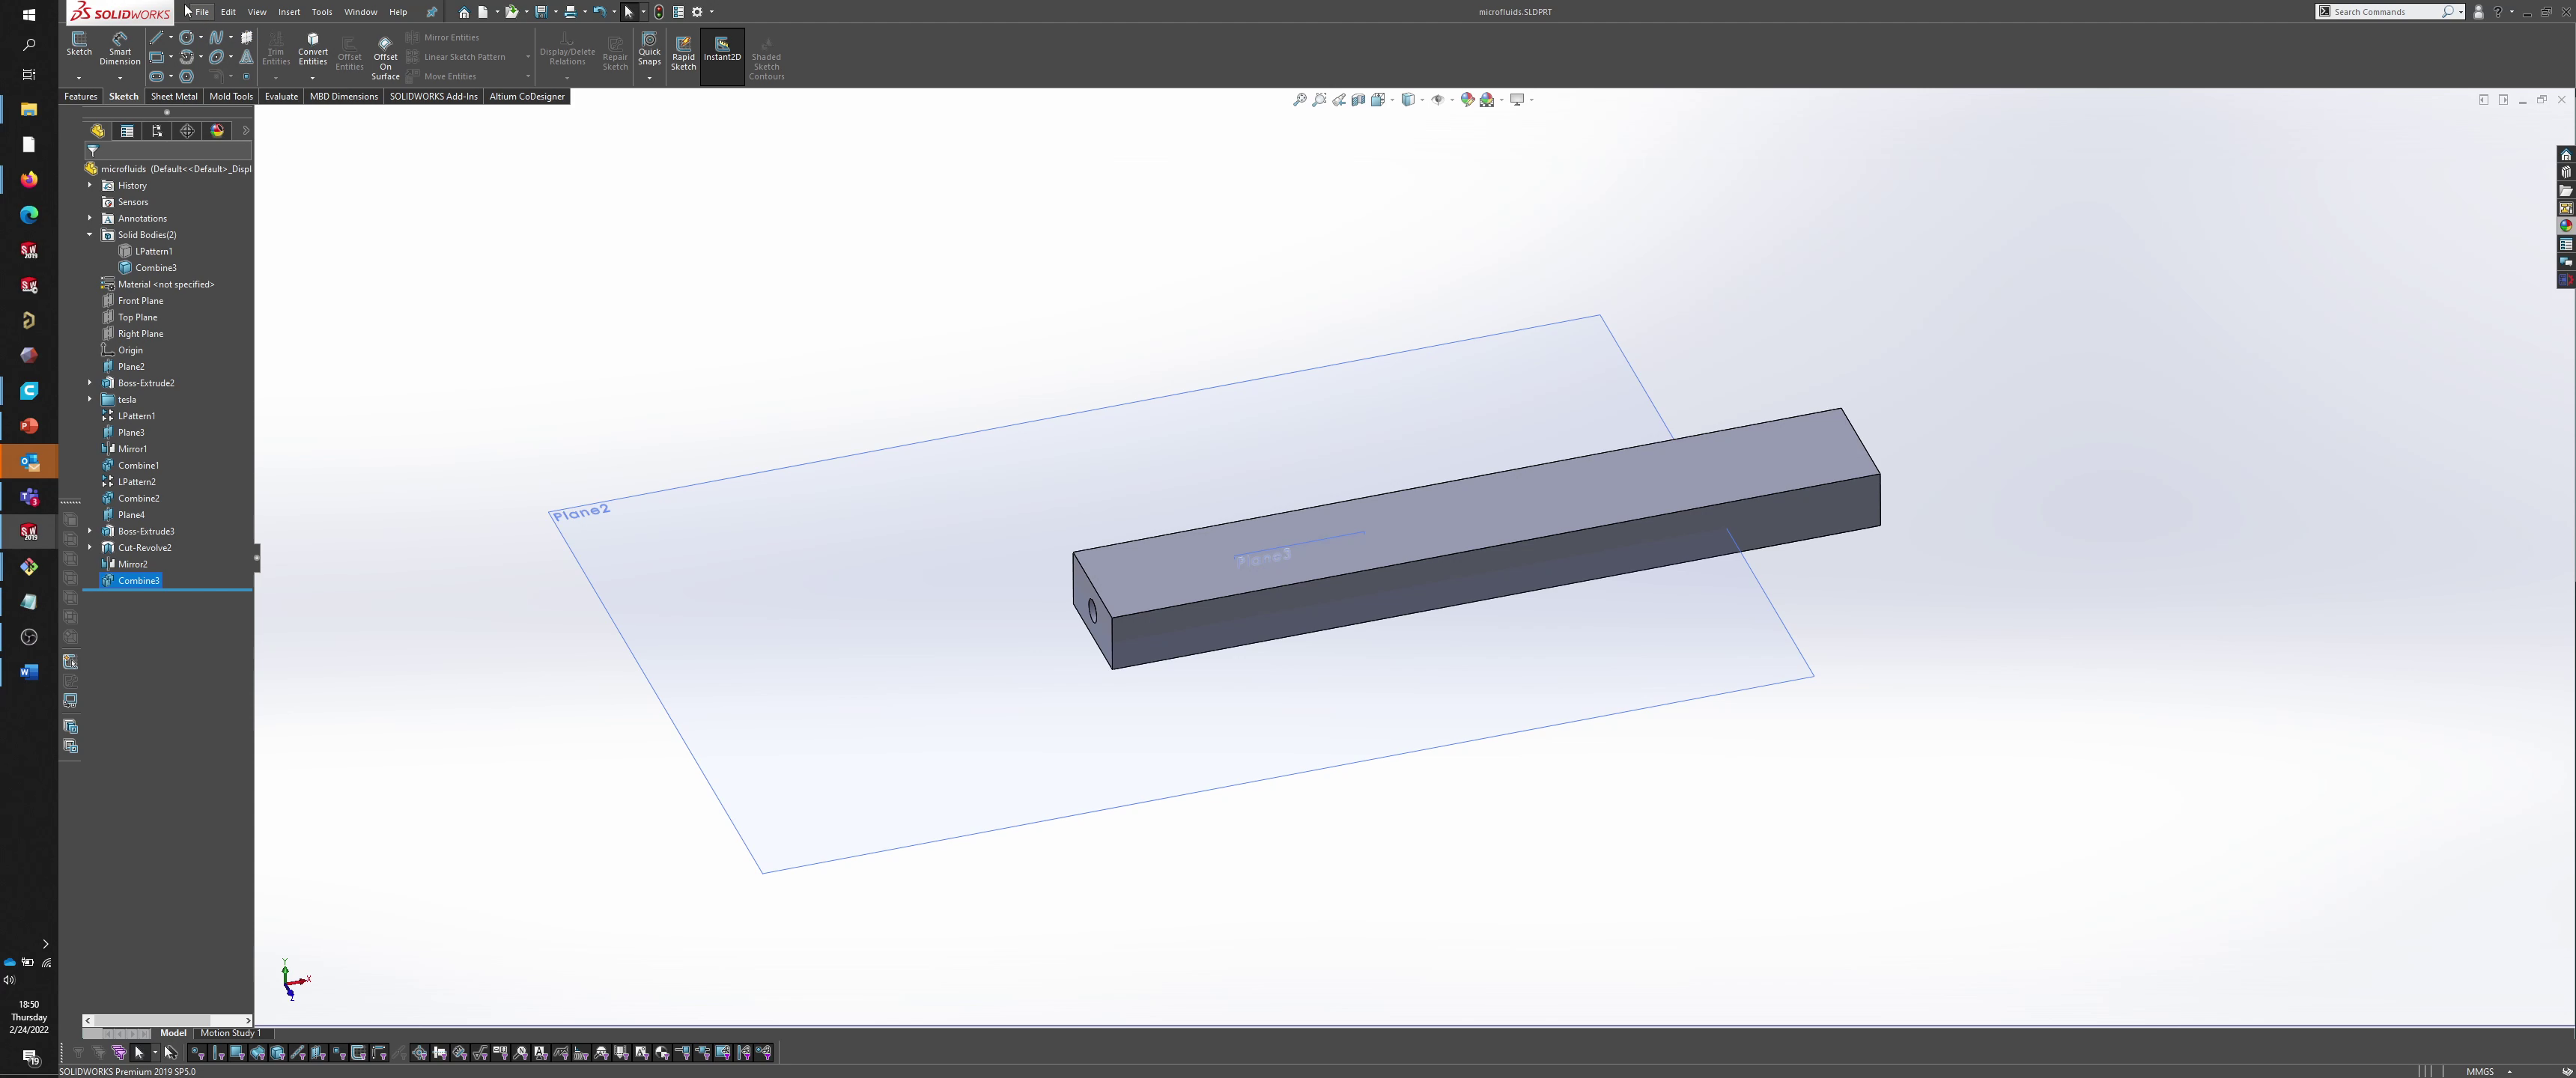
I later slim down the design to fit the form of the valve a little more.
printing >
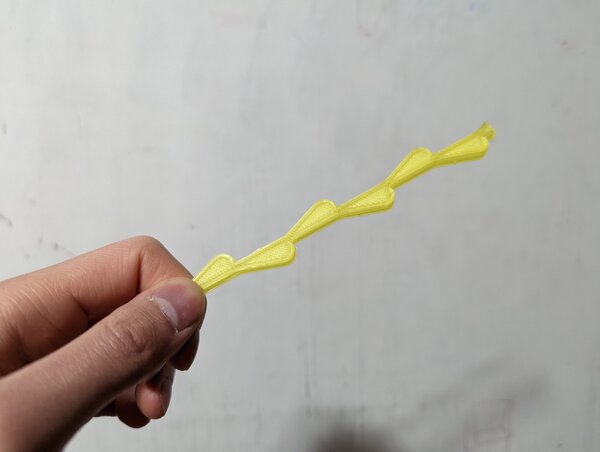
First attempt at the print. Forgot to use brim for bed adhesion; part happened to have a large surface area, so some warping occurred.
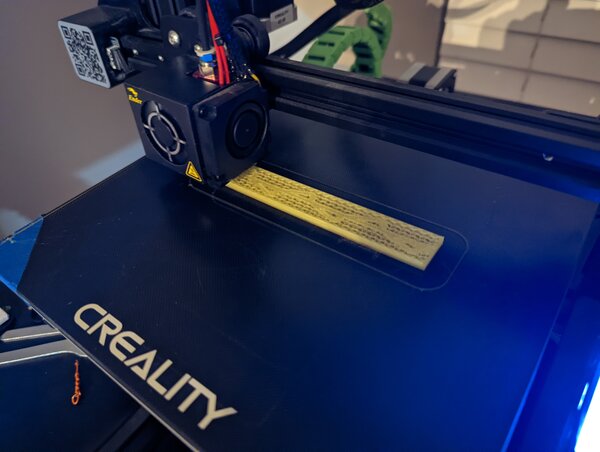
Reduced the area of the print but extrude-cutting the profile of the “valvular structure” (quoted from Tesla himself).
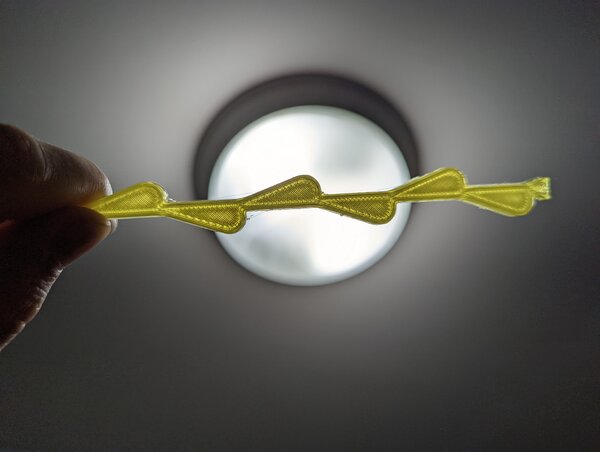
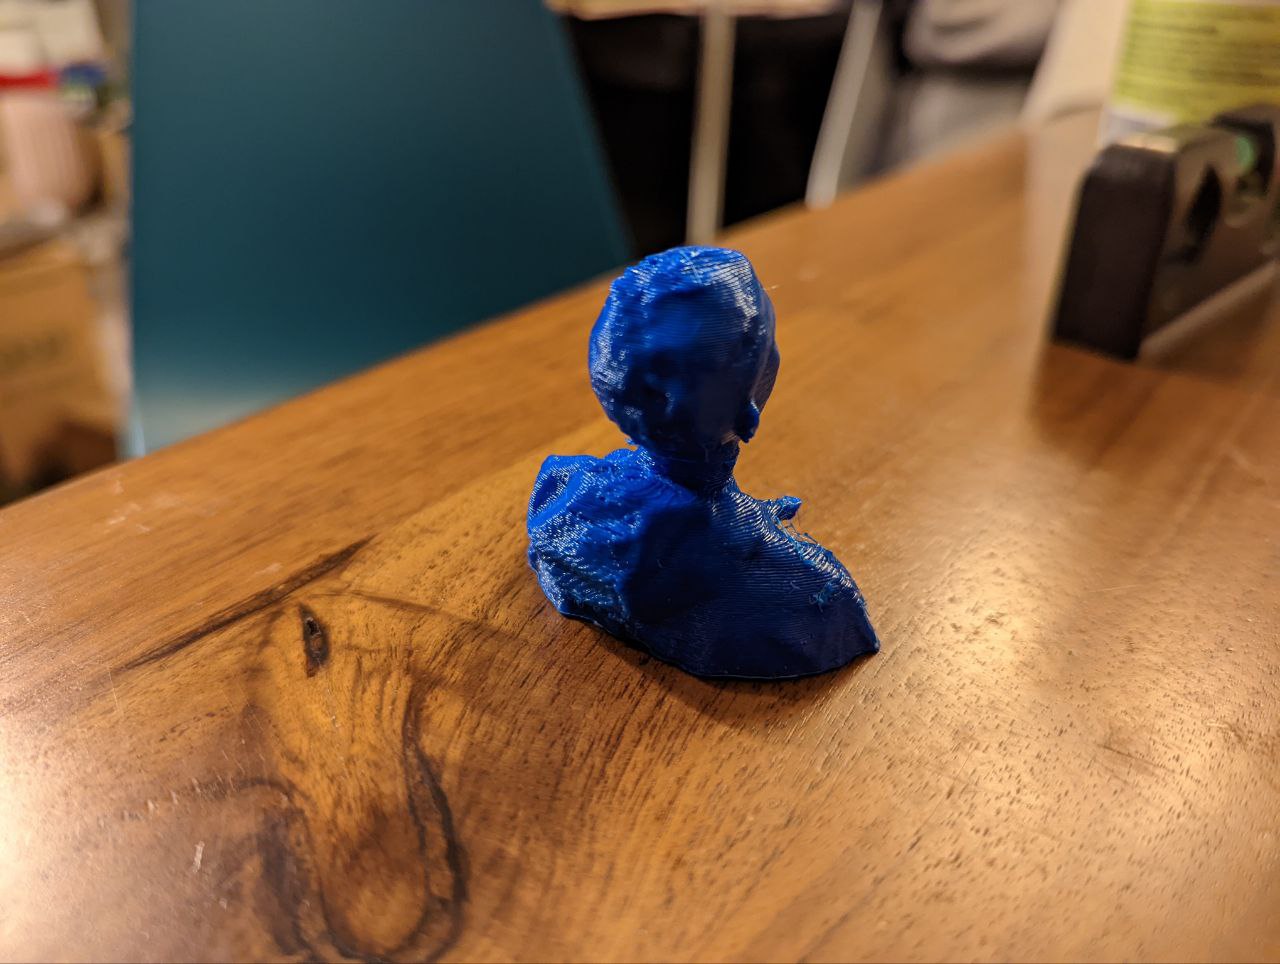
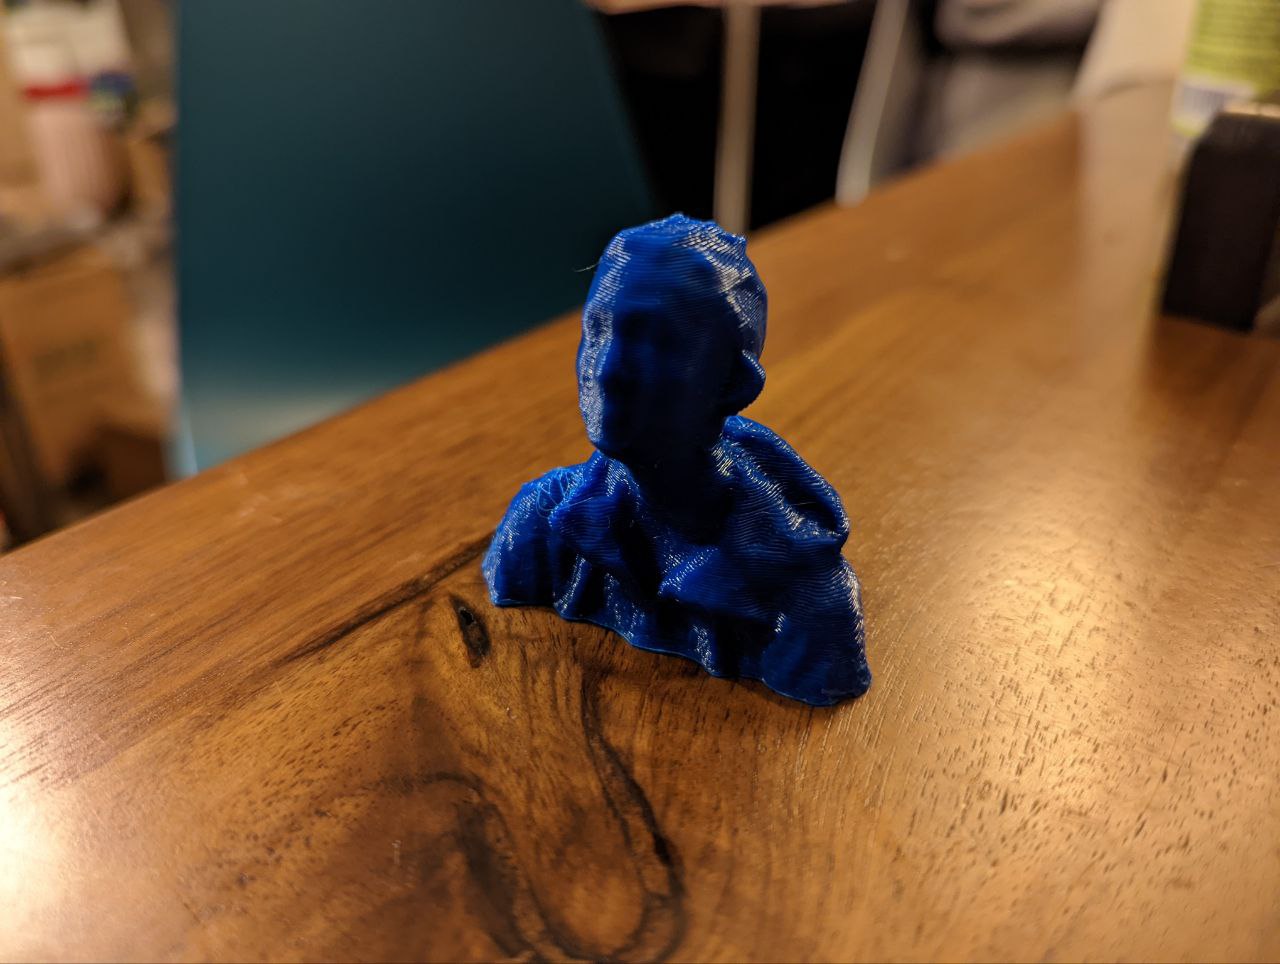
Hero shot:
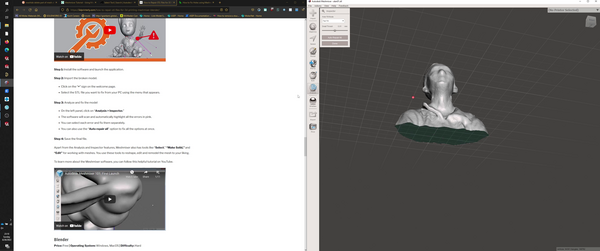
scanning to printing >
I followed this sequence:
- scanned with reconstructme
- cleanup with meshmixer
- gcode with cura -> printing
scan >
While I was visiting the MSI fablab, Dan helped scan me with a kinect in real-time. I rotated slowly on a swivly chair similar to how Dan did his scan for his assignment.
We usedreconstructme. The software exports in .obj, .ply, and .stl.
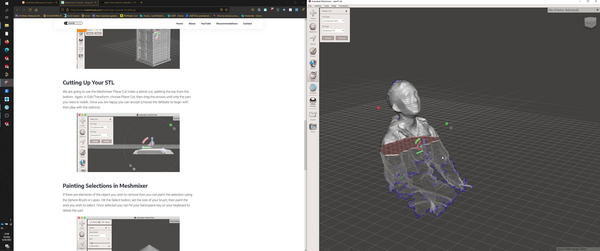
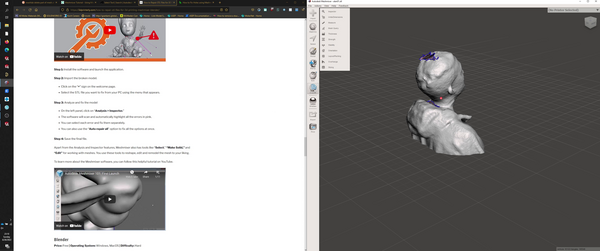
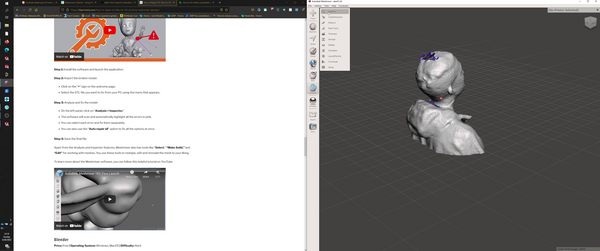
cleanup >
I used meshmixer to clean up the generated model and close open surfaces.
It took me a bit to get used to the controls, but it’s reminiscient of some of the selection tools used in other 3d environments, whether that’s Microsoft’s 3d VR tools or Planetary Annihilation, a 3d RTS game that takes place on spherical maps.
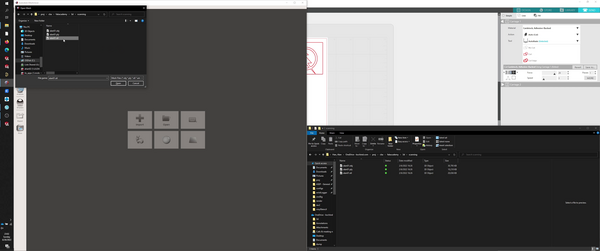
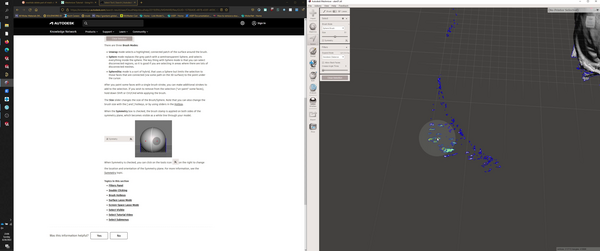
importing file >
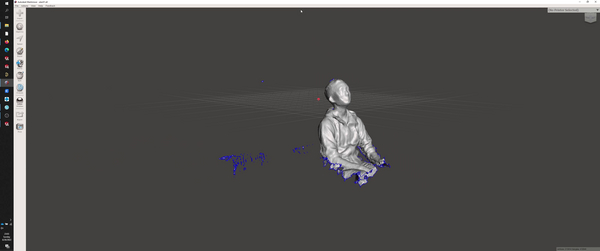
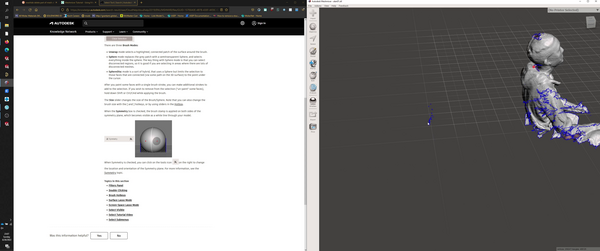
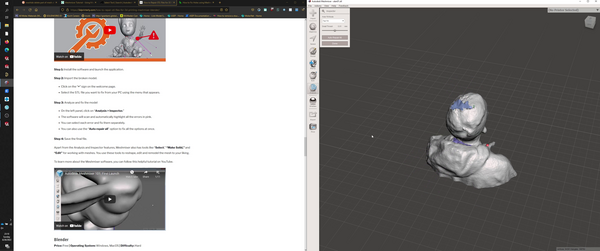
spherical select and deleting stray triangles >
cutting the stl with a plane >
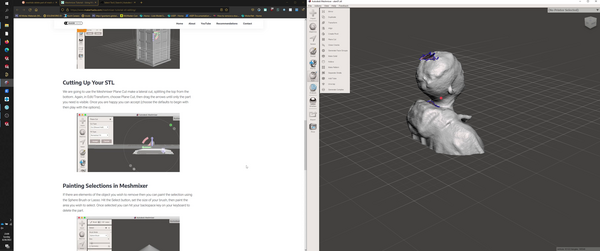
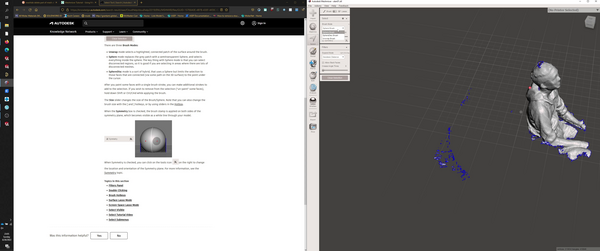
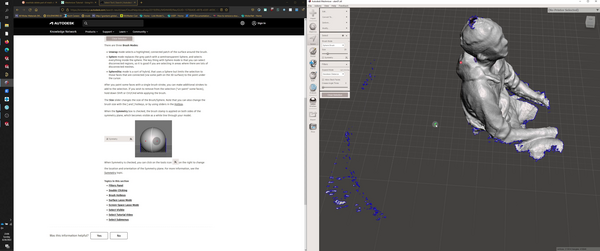
patching holes >
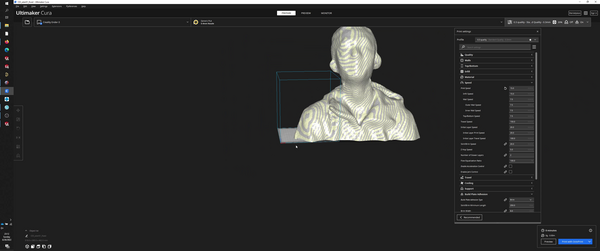
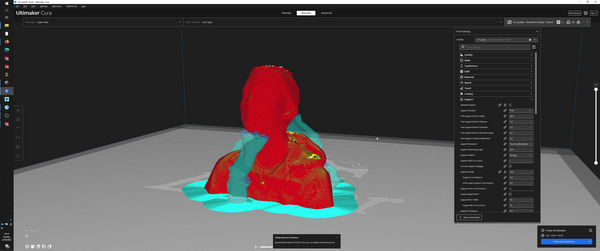
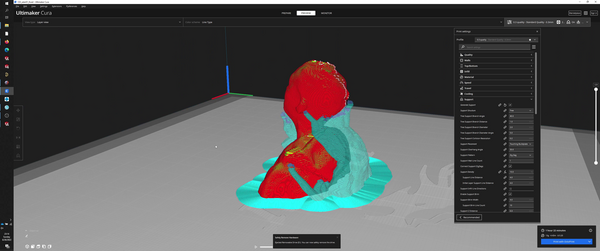
gcode >
cura, like normal.
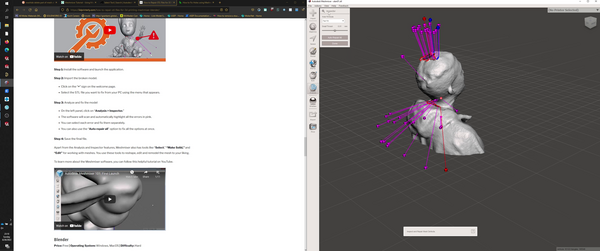
resizing imported .stl >
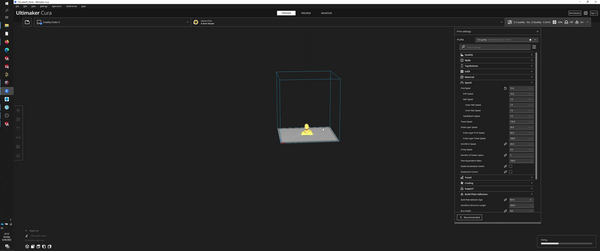
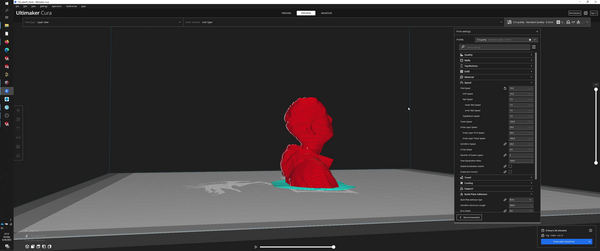
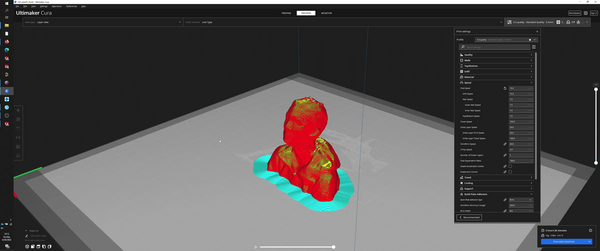
realizing that I need supports so I don’t look sad >
printing >
I’m blue, da ba dee ba da dai…