Week 4 - Electronics Production
group page // repo source files // objectives
Contents
- hero shot
- objectives
- feeds & speeds (group page)
- process
- order/fab boards
- populate boards
- program fabtinyisp
- programming a target board (tada!)
hero shot >
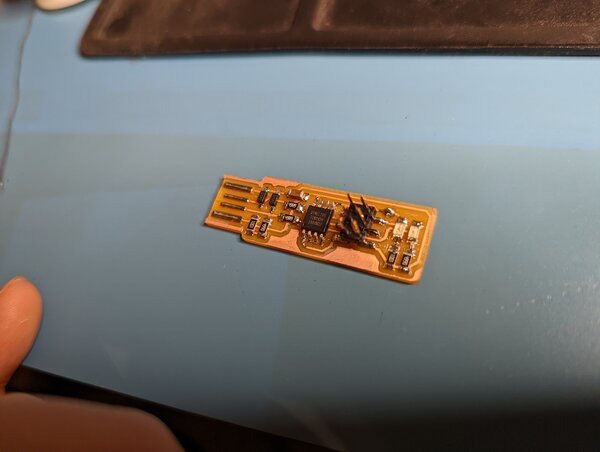
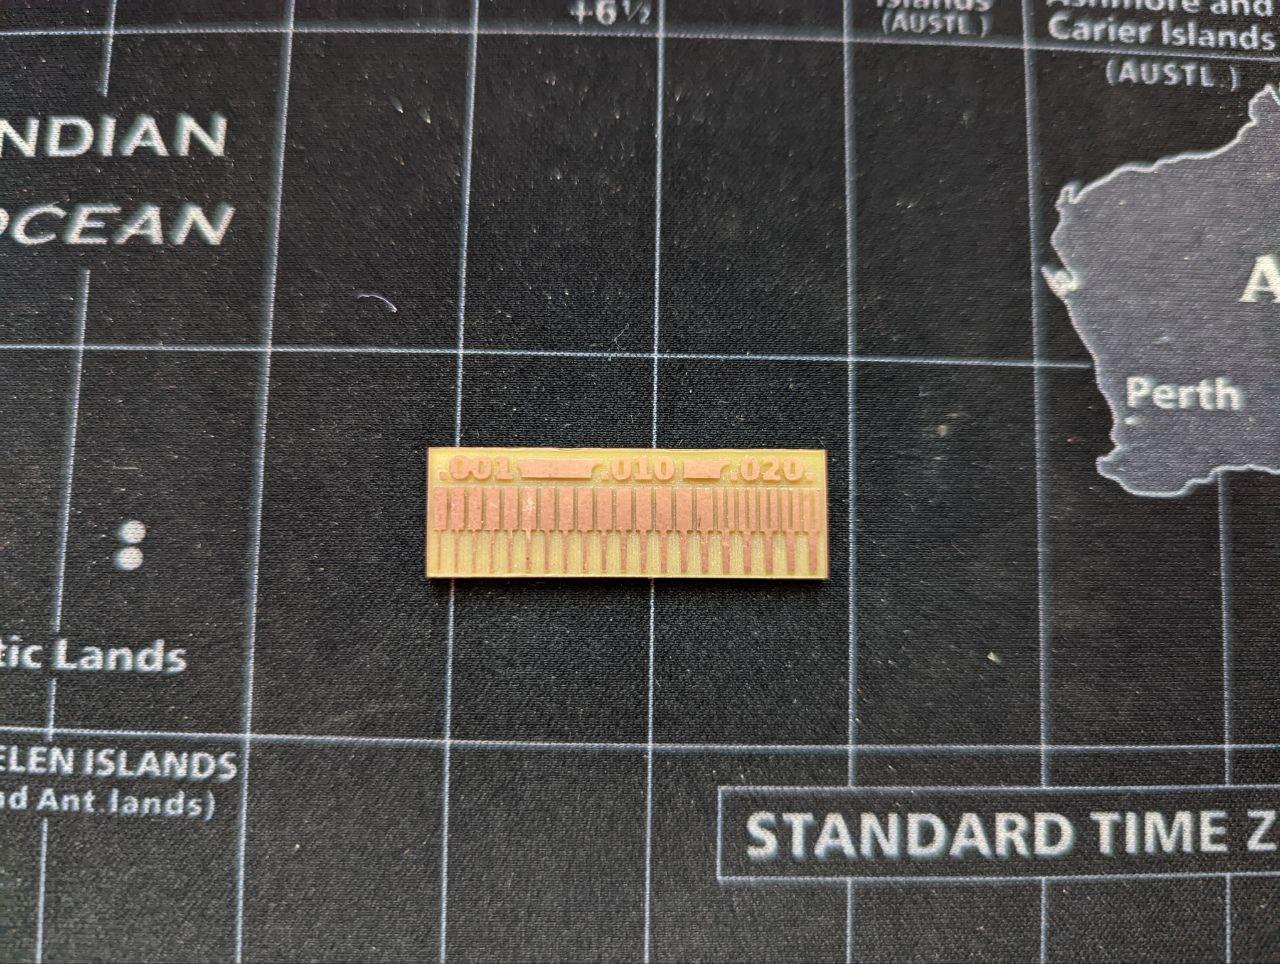
benchmark
objectives >
- Linked to the group assignment page
- Characterize the design rules for your in-house PCB production process: document feeds, speeds, plunge rate, depth of cut (traces and outline) and tooling.
- Document your work to the group work page and reflect on your individual page what you learned
- document your work (in a group or individually)
-
Documented how you made (mill, stuff, solder) the board
- Documented that your board is functional
- Explained any problems and how you fixed them
- Included a ‘hero shot’ of your board
feeds & speeds (group page) >
The group assignment page documents design rules for our PCB fab processes.
process >
meta >
I started off by designing the eval board for the attiny44a, to take out two birds with one stone (efab and ecad).
However, Dan recommended that I take a look at the FabTinyISP instead, something the instructors suggested since efab has a high learning curve. I followed this tutorial.
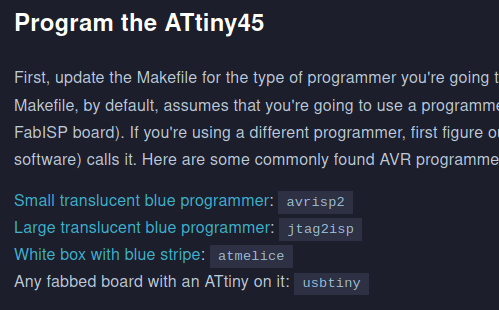
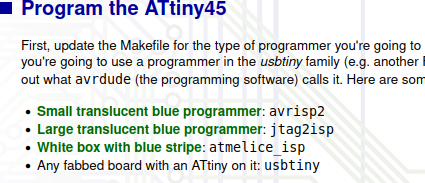
I initially followed this other one, but it had a typo in the programming section that cost me some time troubleshooting:
incorrect, white box with blue stripe atmelice:
correct, white box with blue stripe atmelice_isp:
order/fab boards >
- order
- mill
The milling process was the hardest workflow I’ve had to deal with so far in the class. I had some unfortunate experiences with 1/64” bits that Dan can attest to, as well as some others that he can’t. I learned a lot about what not to do throughout this process. Hopefully this is a promise of a long life for my still intact bits!
I referenced quite a few resources attempting to get things to work. Some prominent sources:
- https://fabacademy.org/2021/labs/barcelona/students/tarek-galal/assignments/week04/
- https://fabacademy.org/2021/labs/barcelona/students/adrien-laveau/assignments/week04/
I should make a dataviz tool that takes a web journey and transforms it into something embeddedable… would result in easier and more thorough documentation. I’d call it breadcrumbs, or something.
The first workflow I attempted looked like this:
- mods
- generate .rml from .png
- set speed
- simplyfab20
- manual jog
- set xy home
- send .rml files
- MDX-20
- set z home
The second workflow (that actually worked) looked like this:
- mods-ce
- set speed
- manual jog
- set xy home
- send commands generated from .png
- MDX-20
- set z home
Things I learned to watch out for while milling:
- the MDX-20 has 2 collets; make sure to tighten both before starting job
- to be doubly sure, remove shield (collet will be easier to access), check collets and also pull on bit to see if it will come out
- if the trace cutting is generating excess debris, it’s possible that the bit is loose and you’re about to lose it (if you haven’t already)
- lift the z a little off the board when experimenting with new workflows
- the MDX-20 has behaved erratically before (either due to buffer or dumb control software) and can easily break the 1/64” if it decides to move xy w/o lifting z
- safety mechanism must actively be worked around to zero the bit onto the work; if you remove safety, then spindle also moves away from work
- need to make sure board is secure by pressing down evenly over areas of double-sided tape
milling setup
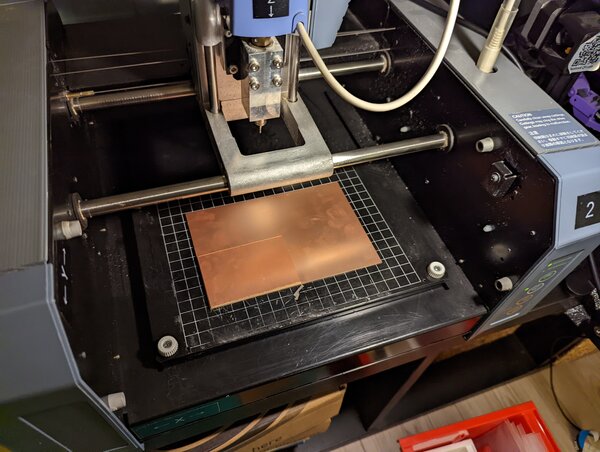
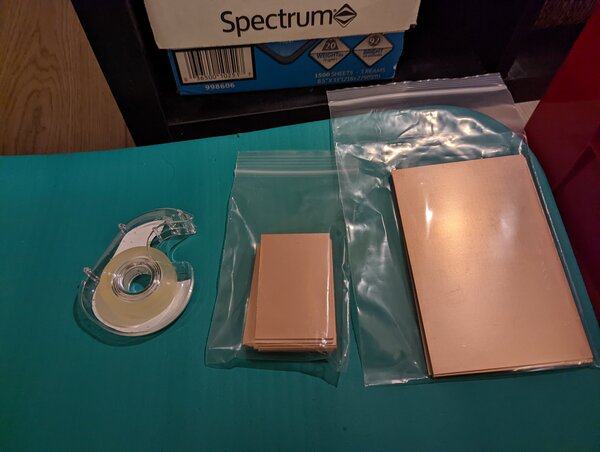
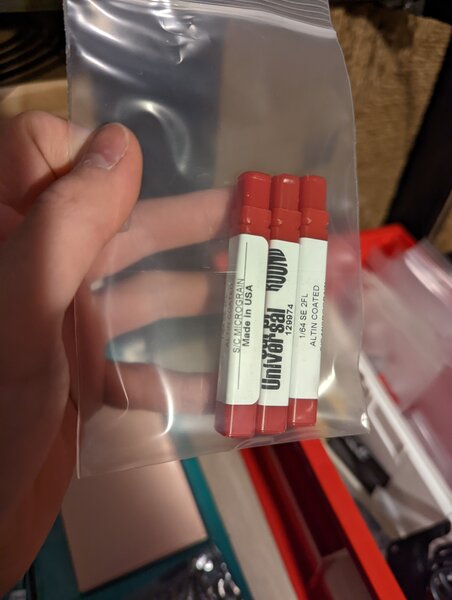
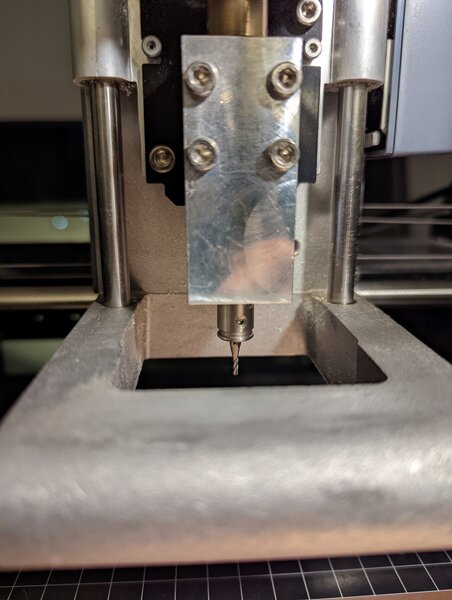
first broken 1/64”. The entire board and sacrificial board lifted off the plate! Spindle attempted to home, but board was in the way.
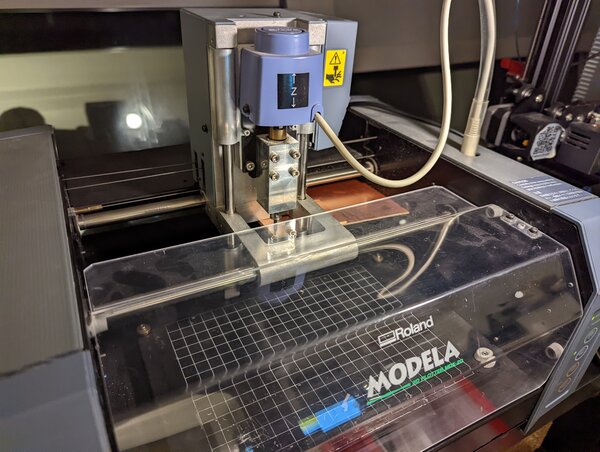
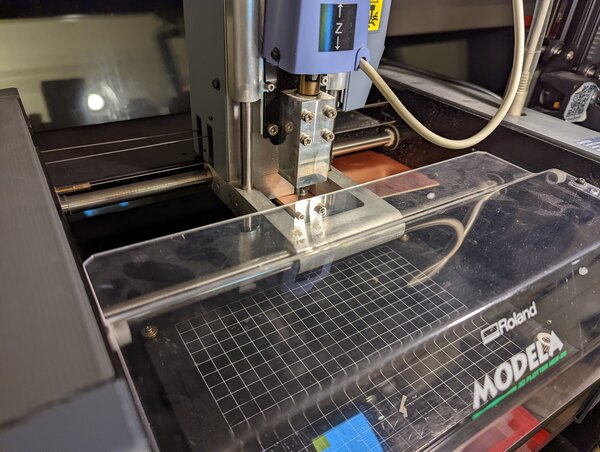
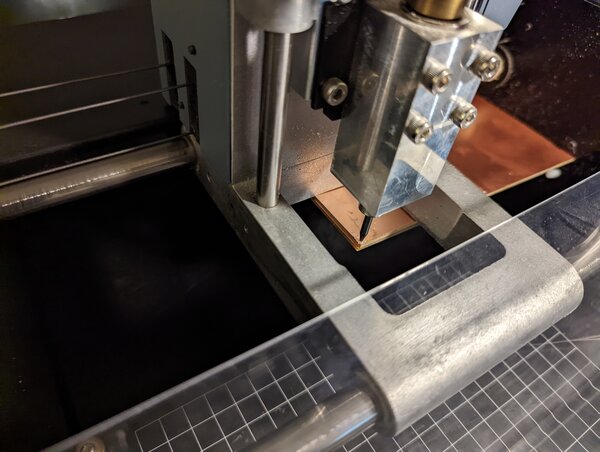
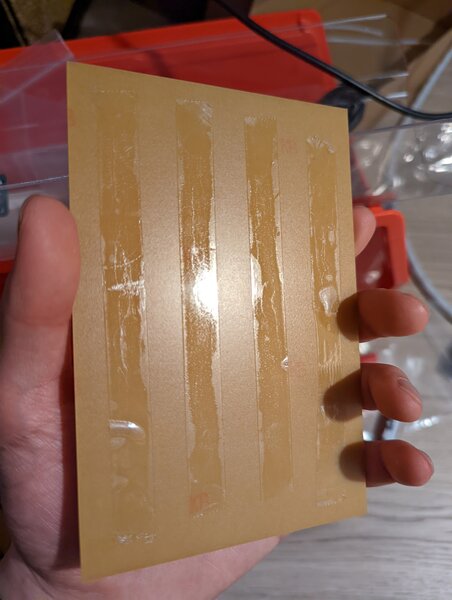
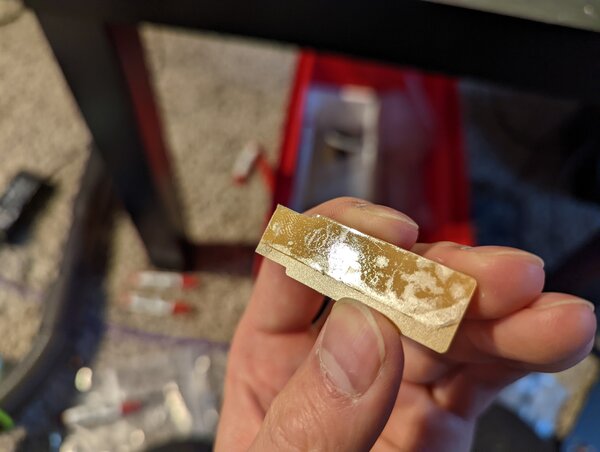
Since the sacrificial board lifted off the plate, I took a picture of the doublestick tape on the backside. Relevant to another failure; board did not adhere well to plate and moved with bit.
test pattern using the broken bit to mill.
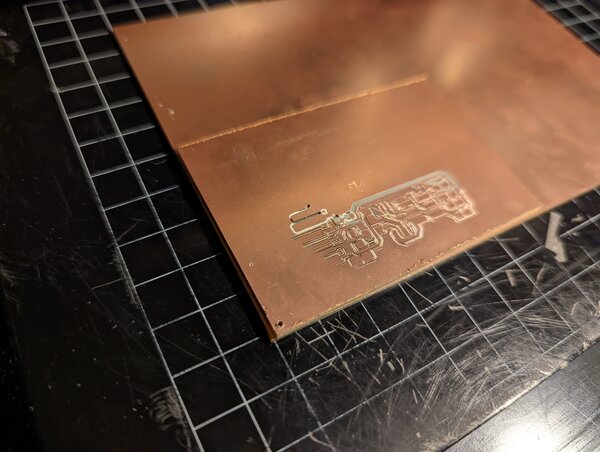
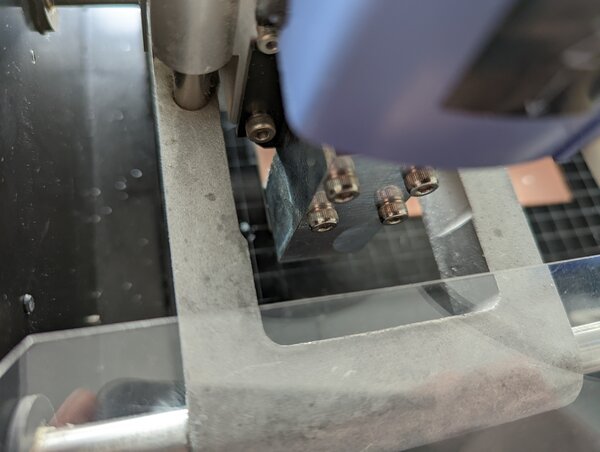
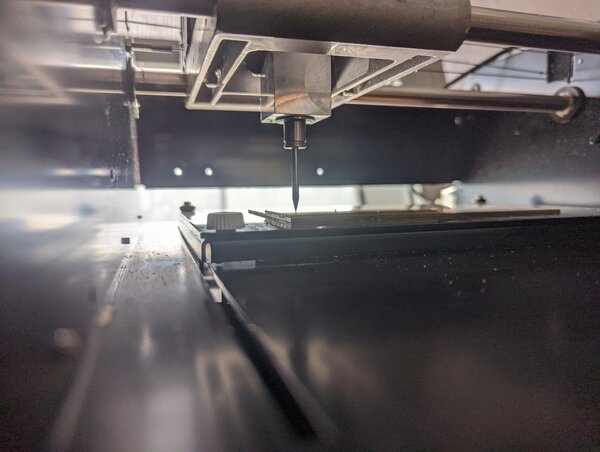
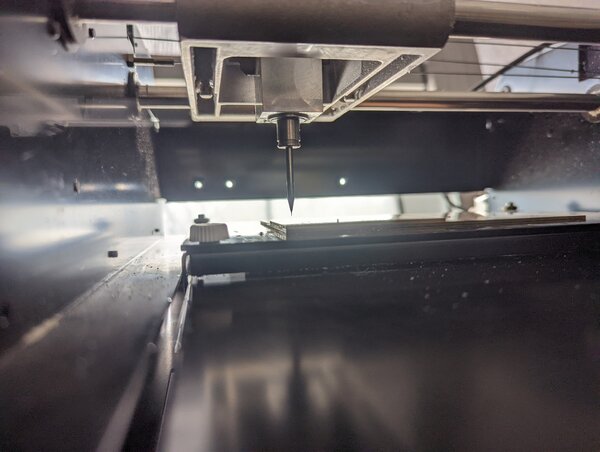
erratic behavior, jogs didn’t include a z+ movement which led to cutting the blank. The machine was also homing between every few moves as well.
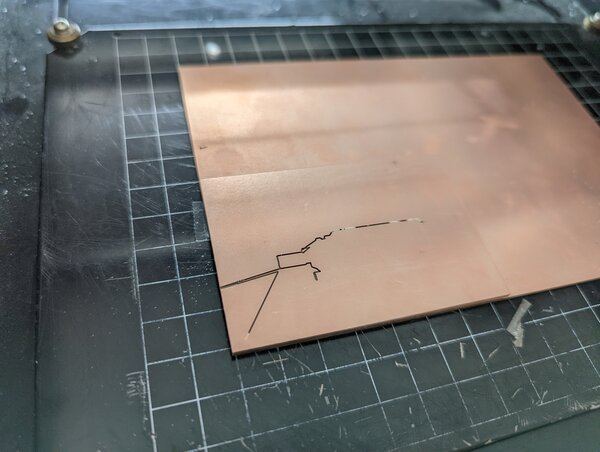
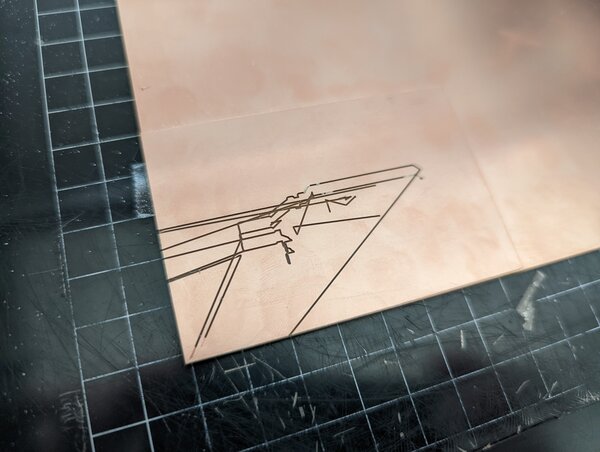
first successful mill (on the erratic behavior pattern)
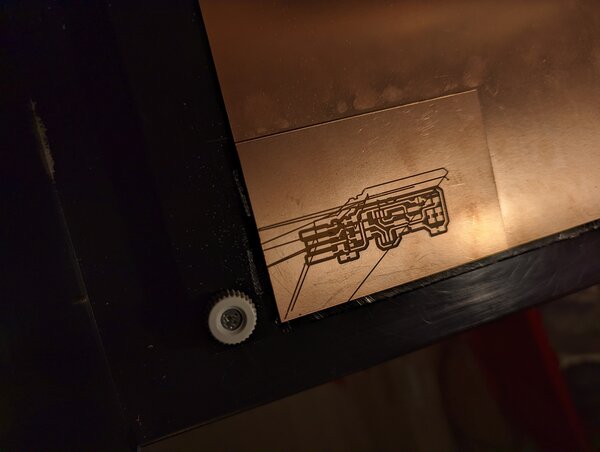
third broken 1/64”. bit was loose, can only conclude that collets weren’t properly tightened.
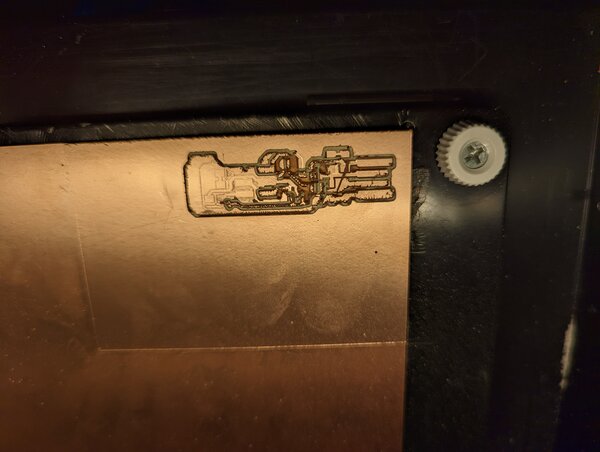
machine working properly here.
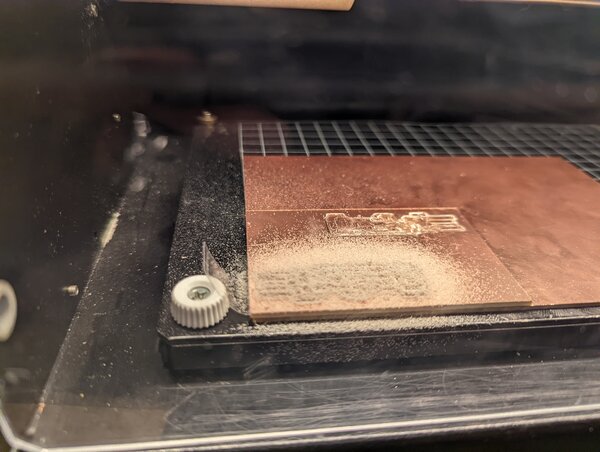
success!
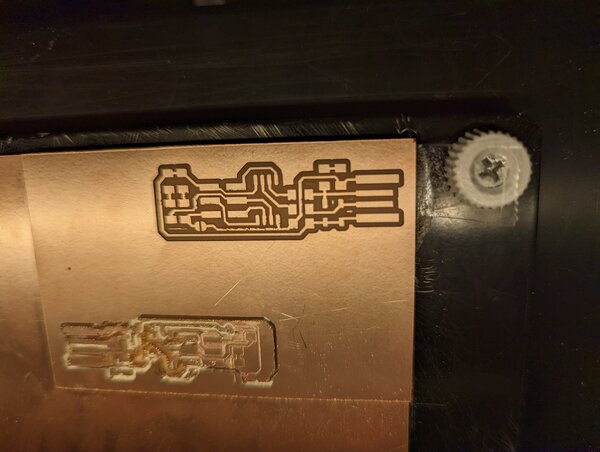
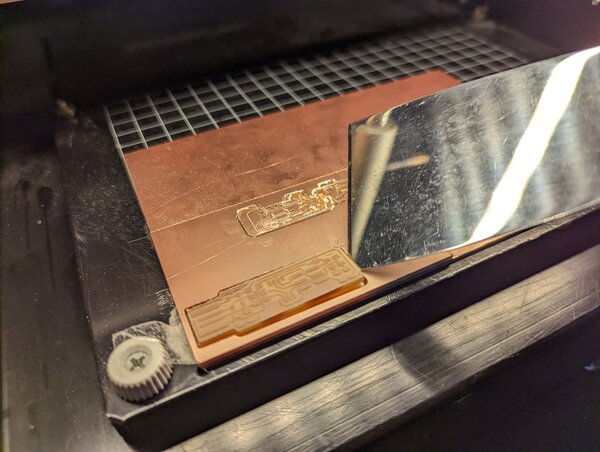
milling outline
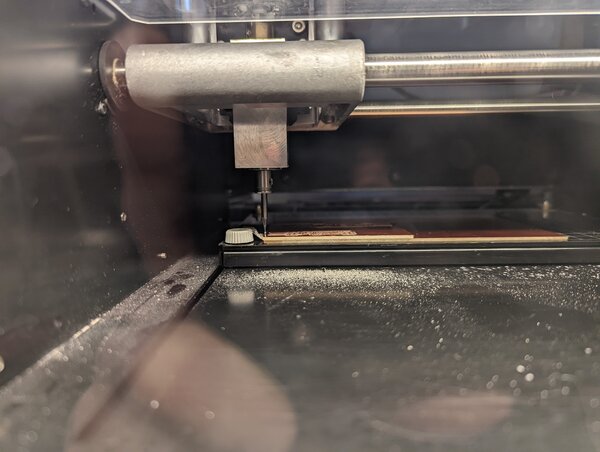
success again!
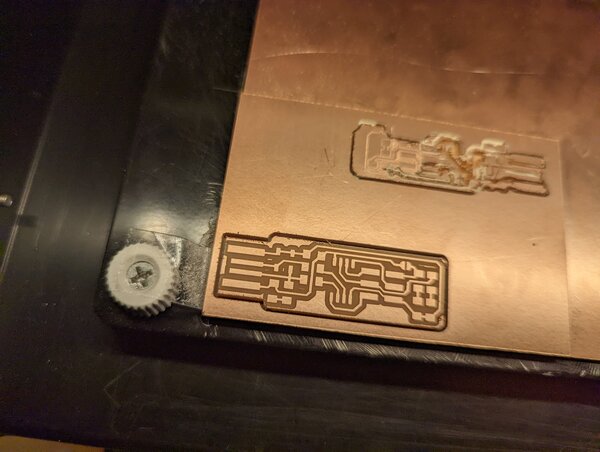
lifting milled board
backside
populate boards >
- solderstencil (for small pitch pads)
- solderpaste
- populate (or stuff) board
- solder/reflow
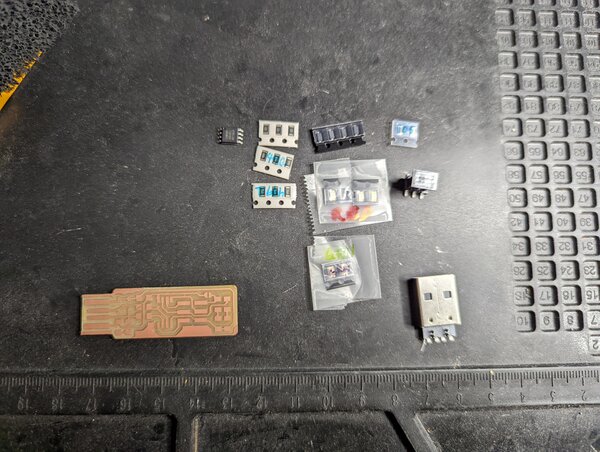
components and board
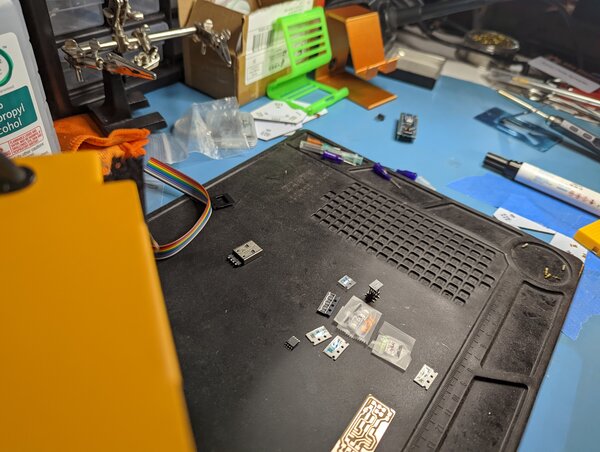
workspace
soldering
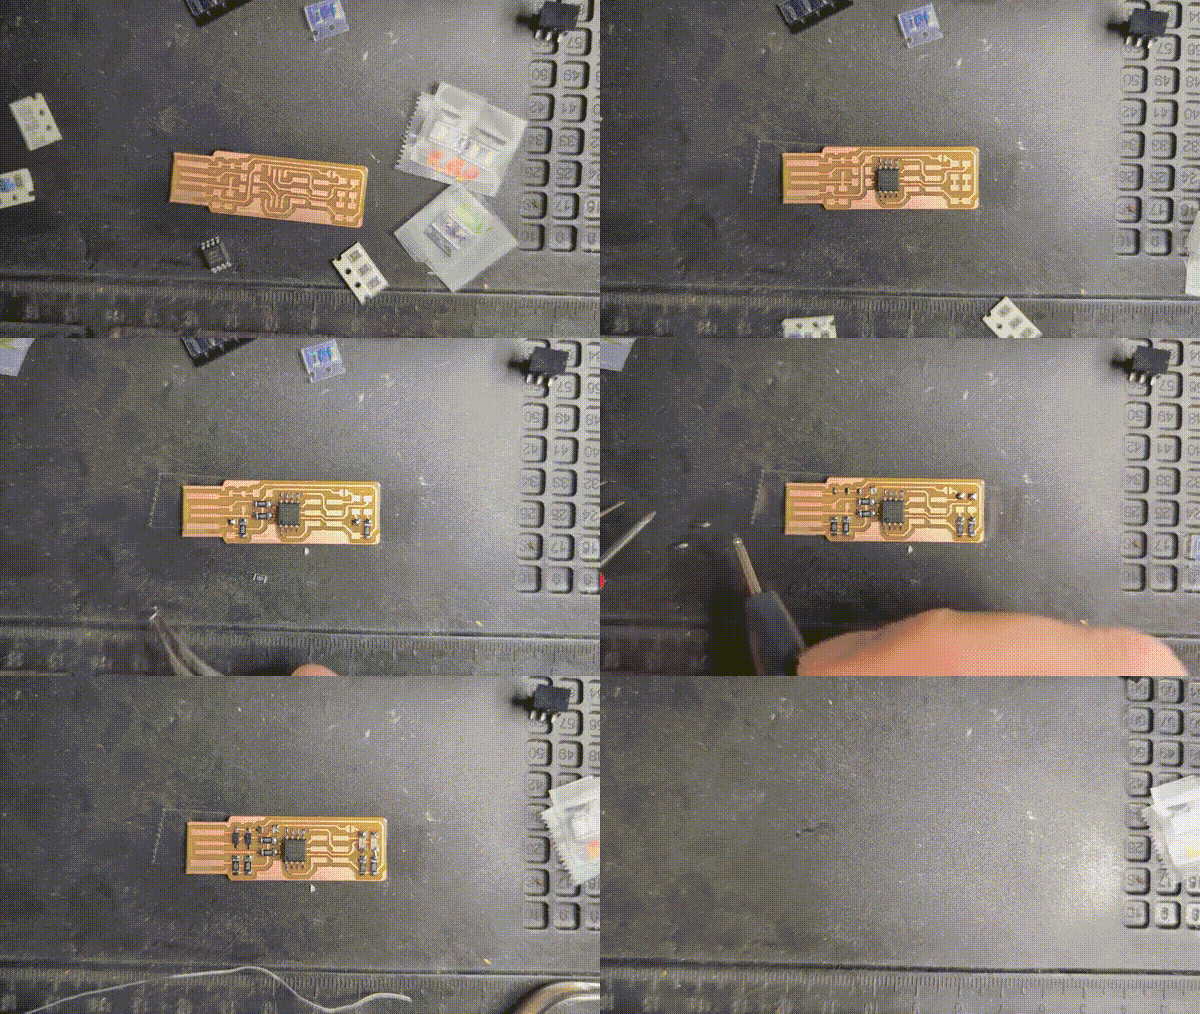
finished!

program fabtinyisp >
- plug into ISP header
- program
- success?
somewhat uneditted asciinema recording of my programming process and subsequent errors
I had a few issues getting the device to program, turns out, the documentation I was following had a typo that took half an hour to figure out. I’ll document the problem in more detail in a bit, but found the following discrepancy: the fabcloud tutorial advises ‘atmelice’ while the mit class tutorial advises ‘atmelice_isp’.
Did finally manage to get it to program, but then wasn’t able to recognize device on system (didn’t show up in lsusb, saw error messages in dmesg).
able to recognize! on using “lsusb”, I can see “Multiple Vendors USBtiny”.
programming a target board (tada!) >
stuff:
- 1x USB 2.0 extension cable (fabtinyisp)
- 1x USB mini cable (arduino nano)
- 1x 6-pin ICSP cable
- 1x FabTinyISP
- 1x target board (arduino nano)
(revisiting assignments after the 2022 cycle)
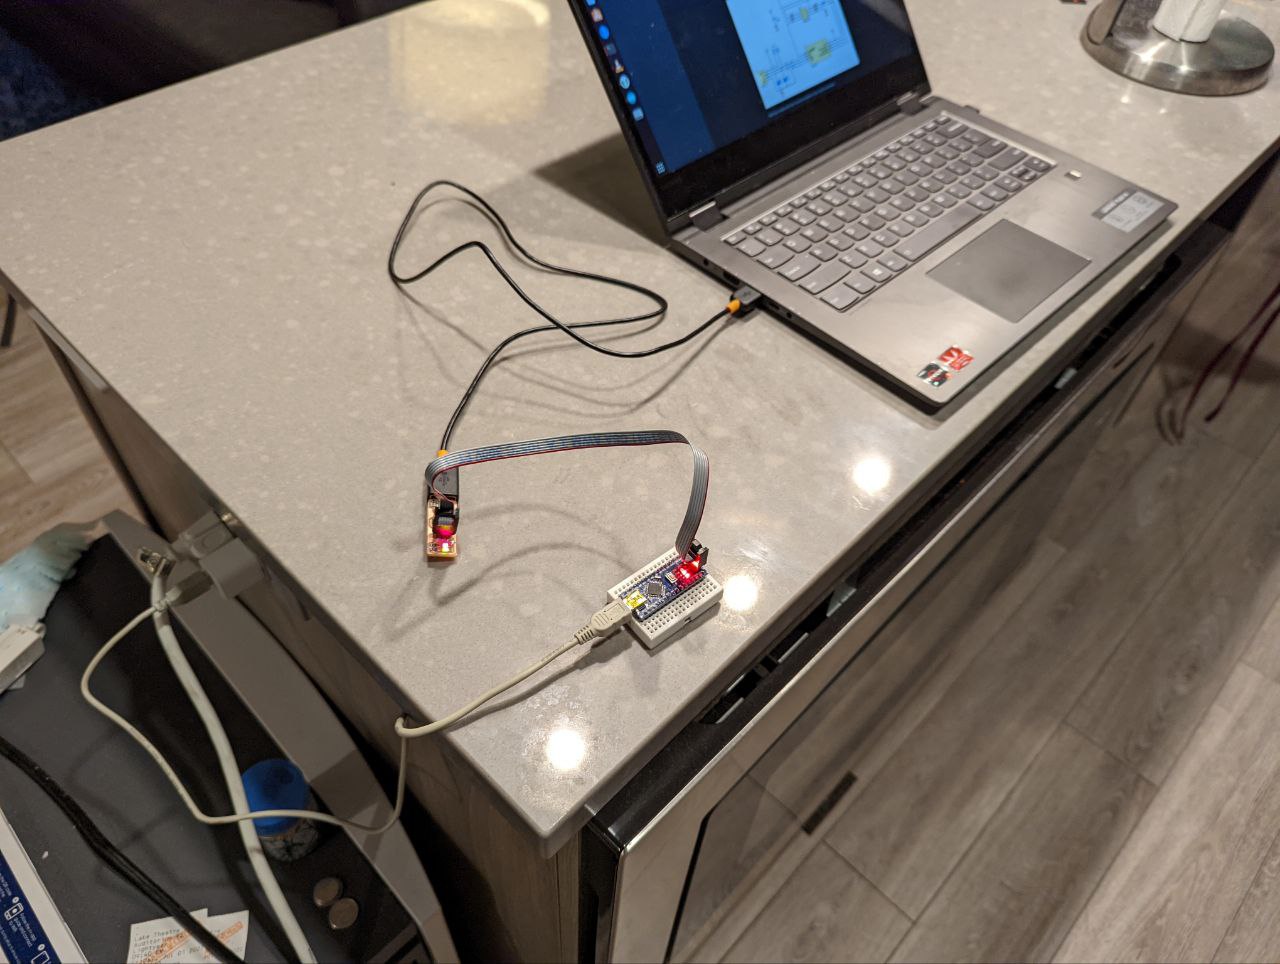
nano is plugged into wall outlet for power, fabtinyisp is plugged into computer usb port, ICSP headers are connected
modifying the makefile and programming an arduino nano
verifying that the arduino nano is still recognized by computer via lsusb