Week 11 - Mechanical Design, Machine Design
group page // repo source files // objectives
Contents
- hero shot
- objectives
- outline (and links to existing work)
- foam crawler
- Urumbu hanging xy pen plotter
- Urumbu foam crawler pen plotter
- crunch
- hero
- thoughts
hero shot >
objectives >
- Documented the machine building process to the group page
- Documented your individual contribution to this project on your own website
- Linked to the group page from your individual page as well as from group page to your individual pages
- Shown how your team planned and executed the project (Group page)
- Described problems and how the team solved them (Group page)
- Listed future development opportunities for this project (Group page)
- Included your design files (Group page)
- Optionally included an aprox. 1 min video (1920x1080 HTML5 MP4) + slide (1920x1080 PNG) (Group page)
outline (and links to existing work) >
- foam crawler
- xy hanging urumbot
- urumbu foam crawler
- (my creation here)
foam crawler >
printing - FDM >
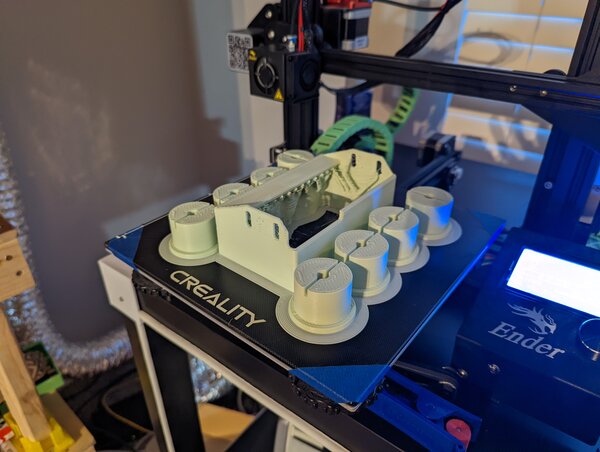
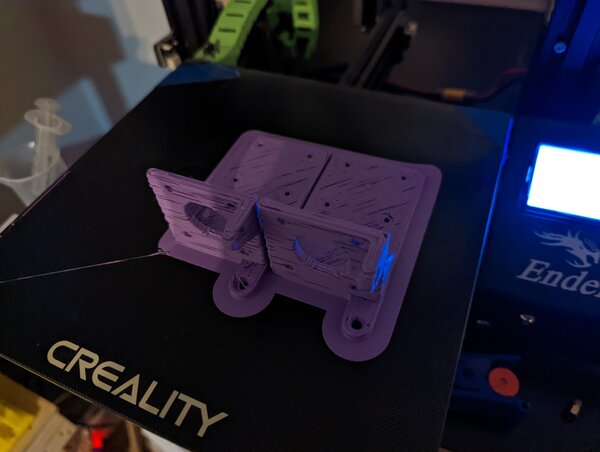
The parts were printed by Dan @ 0.3mm layer heights using a 0.4mm nozzle. For bigger prints, I’ve swapped to 1.0mm nozzles to print at 0.8mm layer heights before. I applied the same practice here.
Some of the parts lose enough resolution when sliced with a 1.0mm nozzle that it remained prudent to use the 0.4mm nozzle for those prints. I divided all of the printable parts into 0.4mm and 1.0mm layer height prints.
It’s been awhile since I’ve used the 1.0mm nozzle for printing, so I had to relearn some of the slicing settings for accomodating a bigger orifice, but not necessarily higher thermal conductivity. The key is to keep the speed capped at 25mm/s - 50mm/s (on my Ender 3 w/ a stock brass 1.0mm, at least). I need to run some more experiments to draw better conclusions here.
job 1 >
job 2 >
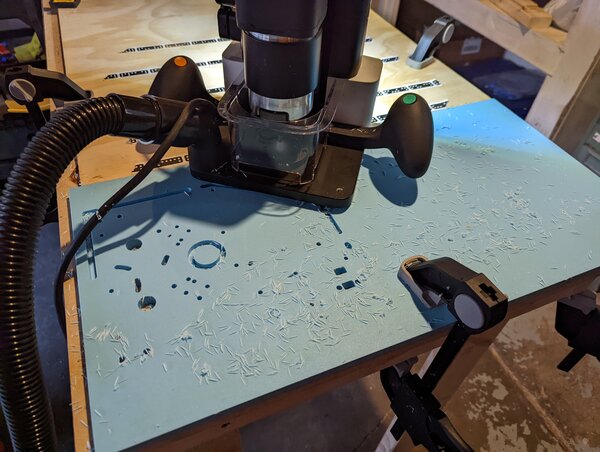
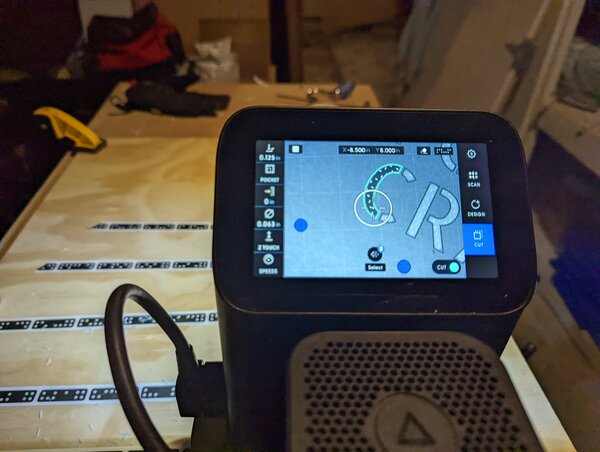
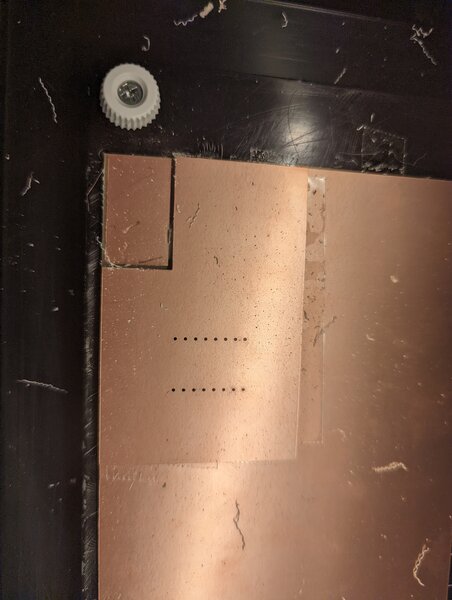
machining side panels >
I obtained an assortment of hdpe sheet stock from Dan in prep for this project. The mcad calls out 1.27mm thick hdpe, but a variety of commonly sourced thicknesses will work as well. The machine was designed to accomodate various thicknesses by compensating through adding or removing washers.
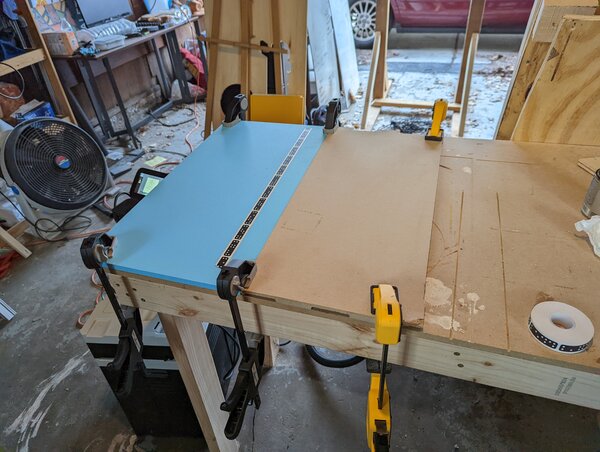
As usual, routing feels much longer when you have to stand there vs letting a machine handle the work. Spent ~2-3 hours in the shop, went from warm outside to very cold. Will want to plan ahead and bring layers from the get-go next time.
I used 1/8” bits for most of the finer features on the inside of the side panel, and used 1/4” for the bigger hole and the perimeter of the panel.
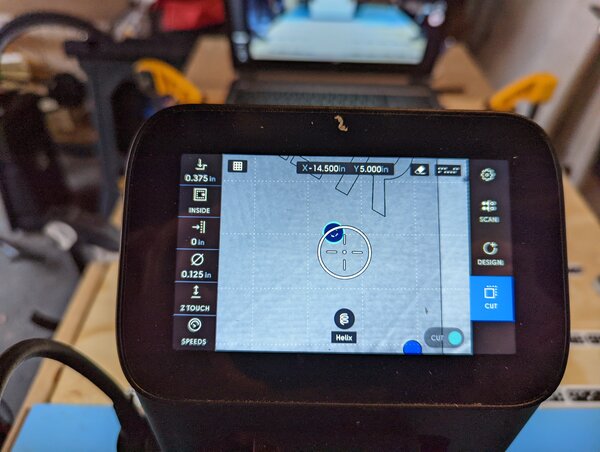
I should spend some time reevaluating speeds and feeds (at the time of writing, efab, cncBig, and mold week were my points of contact with speeds and feeds, and for various reasons haven’t evaluated in depth because either: default numbers mods were good enough; material being machined was forgiving enough; fear of breaking endmill in case I did math wrong.)
I accumulated a lot of hdpe material around the endmill a couple of times (probably due to not optimizing for speeds and feeds)
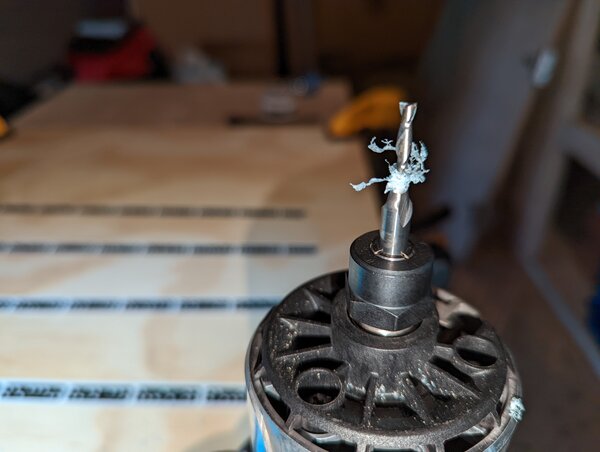
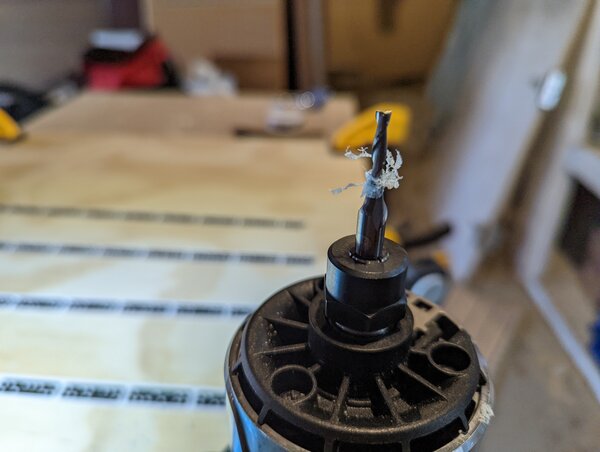
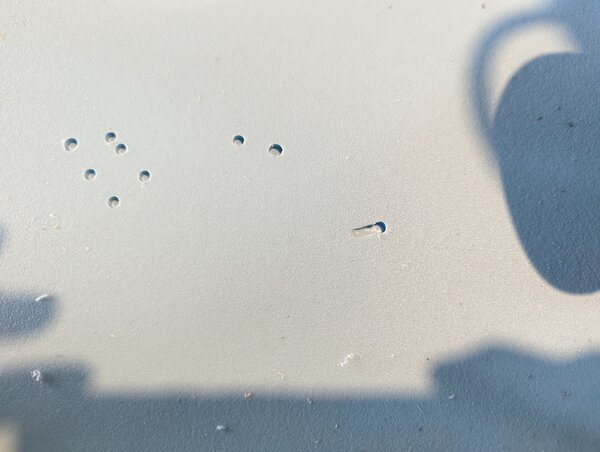
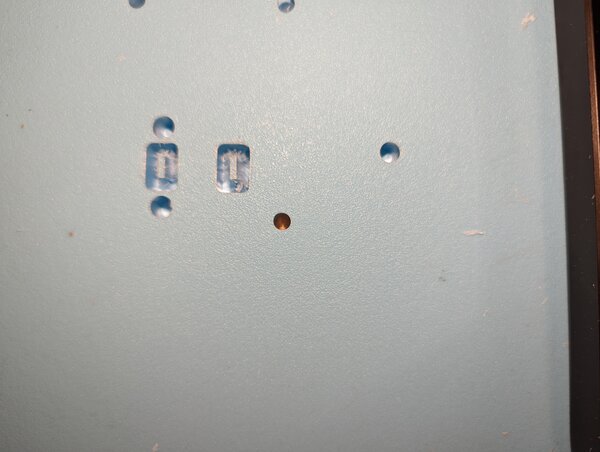
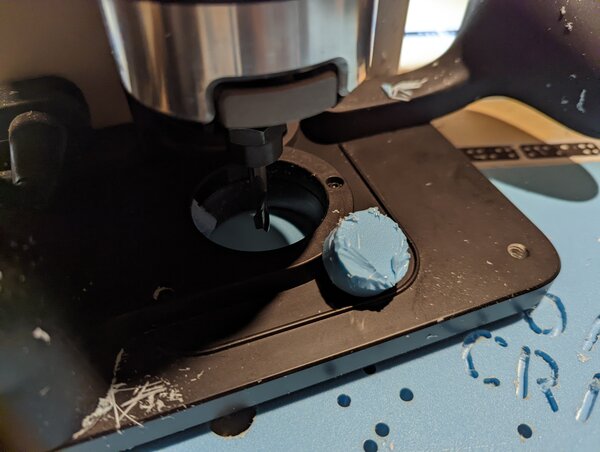
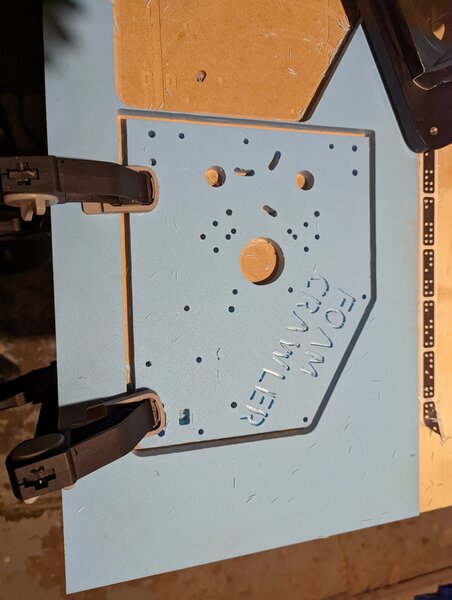
beware of islands >
At one point, I went to clear the material. Need to be aware of cutting islands; they can be large enough that the vacuum can’t clear the space, but small enough to obviously be trouble for the spindle and endmill. Without a protective shield, the endmill could fling something at your face, which would be bad. Wear safety glasses, and a shield if you have one.
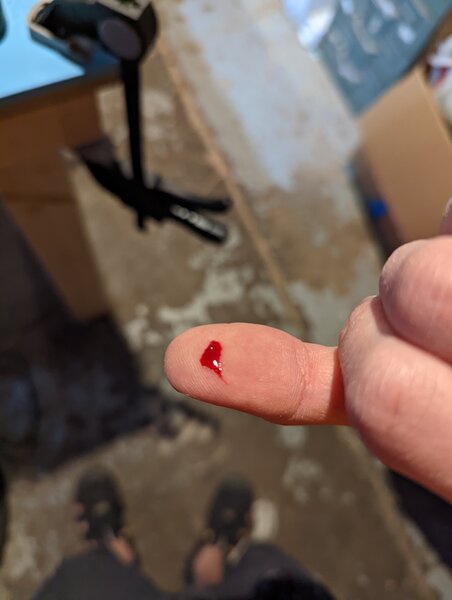
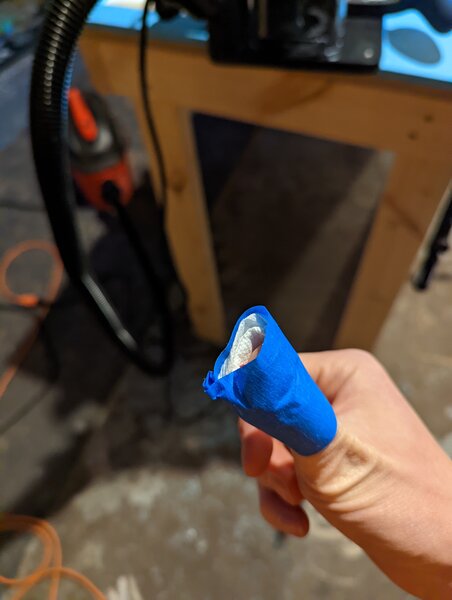
ouch >
I made sure to unplug the spindle so I couldnt’ accidentally turn it on, but I cleared with my bare hand. Endmill is sharp, but not such that it’ll cut you while holding it in your hand. However, since I had been machining for a bit, it was also hot, so that combo left a deeper cut in my thumb. I’m alright, it’s healed quite a bit, but taught me a lesson about assumptions in the shop.
always be wary of endmills. Even if the machine is powered off, they’re sharp. Even worse, immediately after a job, they can be quite hot. Hot + sharp = medical attention.
“medical attention”
finishing touches >
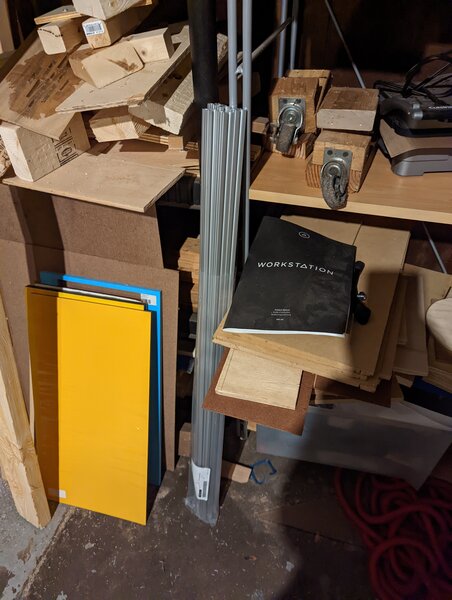
cutting metal lengths (aluminum and steel) >
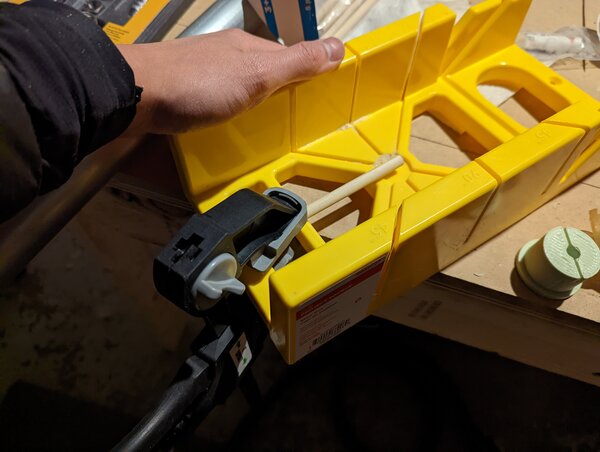
I have a workable enough solution for both constraining work pieces and making sure pieces fall predictably after being cut (you really don’t want some sort of kick-back scenario with metal in particular).
For cuts tolerance, Dan advised keeping cuts under required dimensions rather than over so I can compensate w/ washers if needed. I kept kerf in mind as I was cutting, something I am familiar with from cutting a lot of 2x4 for various furniture projects.
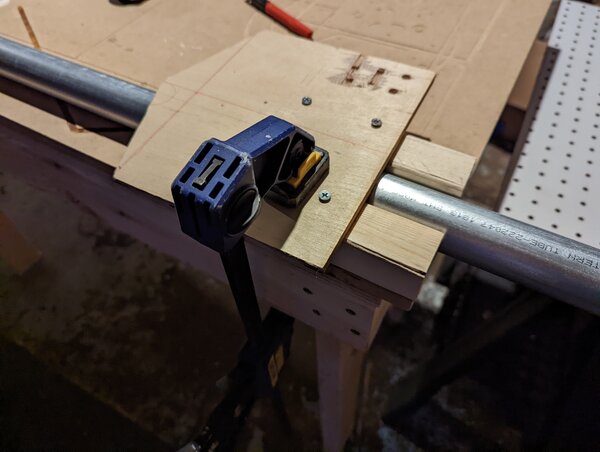
Cutting the maker slide wasn’t too bad, except that it was flanged and made it a bit harder to clamp normally to the side of the miter saw.
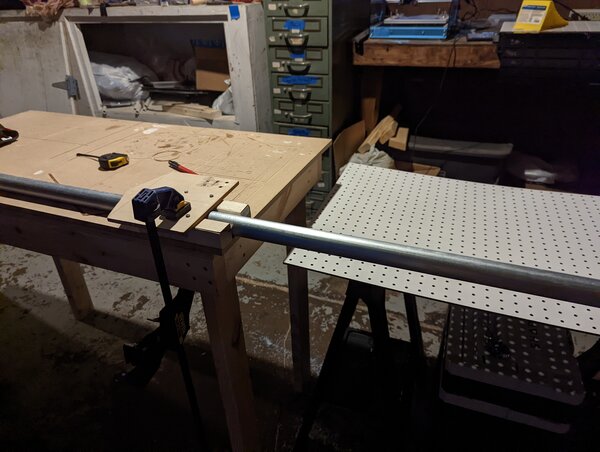
Cutting the aluminum conduit was a bit more difficult because the table the miter saw is constrained to is only ~8ft long, and the stock I bought was 10ft long. The position of the miter saw also dictates how long of a piece I can cut.
Good thing it’s only constrained to the table using clamps!
I don’t know how I forgot about this, but it came in handy for cutting the conduit. A perk of having a reconfigurable workshop.
For some reason, the aluminum conduit threw sparks when I tried to cut with my saw blade. Is it a different alloy, w/ different hardness properties? I donned some of my casting gear I haven’t gotten a chance to use for intended purposes yet, and it protected me fairly well from the sparks.
making sure the roller will be caught by something when it falls (but not supporting it before it does to avoid binding the saw).
finished lengths.
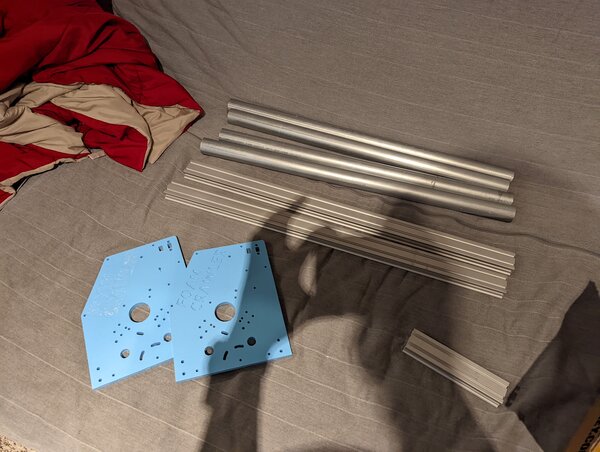
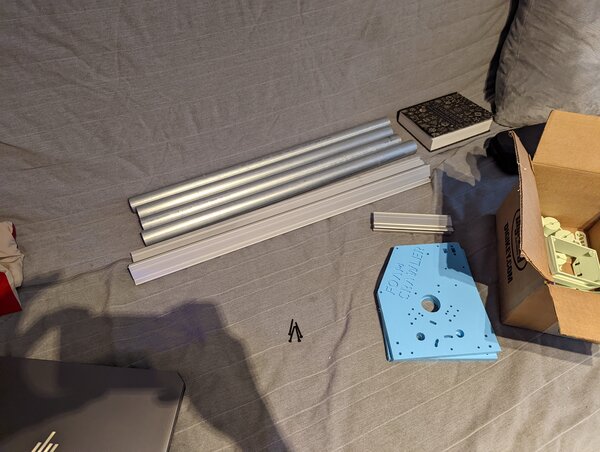
After further discussion, I learned that the conduit is in fact steel. That makes a lot more sense; steel is fairly economical and the conduit was reasonably priced. It was also quite heavy. This was an important lesson for me.
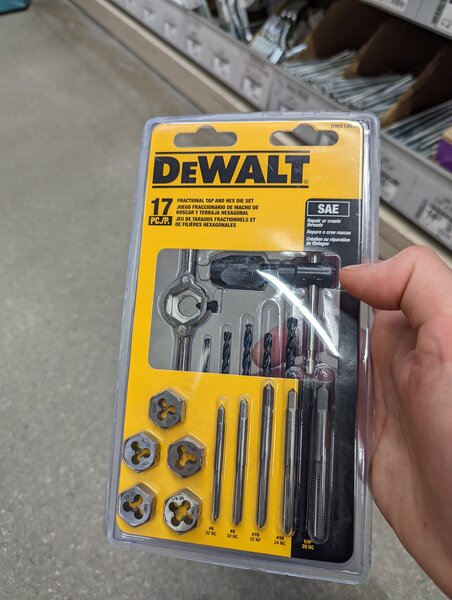
tap and die set >
Dan taught me how to use a tap and die set. I unfortunately broke one of his taps, and went out to buy a replacement metric kit to swap the broken tap.
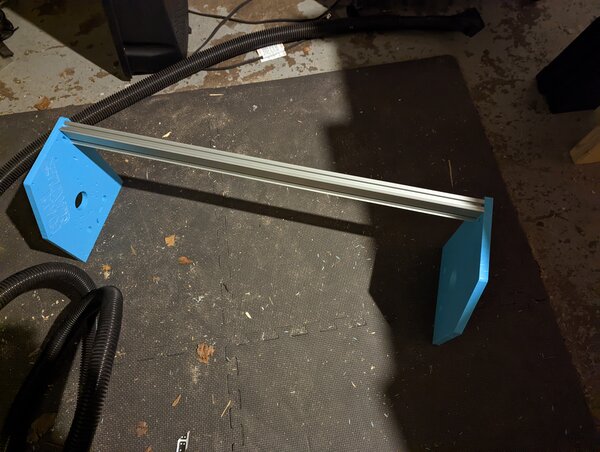
With the aluminum tapped, I assembled the beginnings of the frame.
friction fitting rod to plastic >
The FDM rollers were unfortunately sized a little too small, so I stuck my metal rod onto my hand drill and heated up the hole, enough to press the rod in and create a snug fit.
attempted to saw steel rods, learned that they are in fact steel rods >
I used these FDM printed parts to semi-constrain the metal rods for the miter saw. I had thought these rods were aluminum, but discovered that they are in fact steel rods after attempting to cut them. The rod shot across the garage, and luckily no one was hurt (I was the only one present, and I had taken precautions to make sure the saw plane wasn’t aligned with collateral).
miter saw missing a tooth (seriously, avoid cutting steel if you don’t have the right tools) >
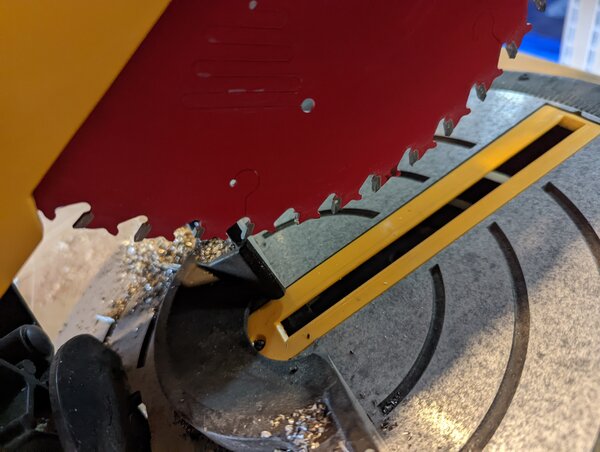
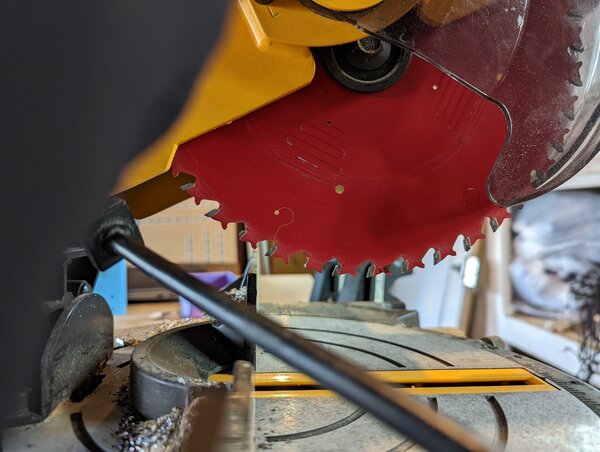
This won’t do for my final project. After talking to Dan about my limitations processing steel rods, we concluded that sourcing some wood dowel rods would be fine to get the machine to work. I proceeded to visit Michaels, a local craft shop chain.
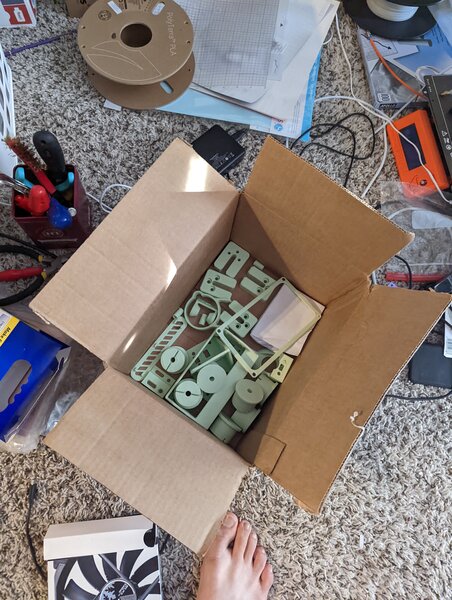
resupply - misumi & openbuilds >
A complete BoM is important for replicability. The more steps there are in the process of getting something done, the more room there is for error to accumulate and go uncorrected.
- makes budgetting harder
- supply side planning harder
Having said that, I probably should’ve looked at the entire scope of both Foam Crawler and Urumbu from the get-go. Waited Unfamiliar systems tend to intimidate me, and I should prioritize looking at things to dispel fear of the unknown immediately after hearing about something.
Urumbu hanging xy pen plotter >
While waiting on some parts to proceed with the Foam Crawler, I shifted gears and worked on the urumbu side of things. The machine assignment is supposed to be a collaborative assignment where we all partly contribute to building a machine. However, according to Blair, it does not need to be a “vertical slice” (eg it is possible for each member to specialize on only one of the following: mcad, ecad, software, etc.).
Since we are building Dan’s final project from a previous cycle, the idea is to both aid Dan by ironing out bugs in the build process, and contribute some variation/improvement that allows us to fulfill the assignment. Possible paths:
- Kyle-pierre wants to create an acrylic bending machine variation
- I may hello-world the machine by using the motion system to create a pen plotter variation
- Blair also suggested I take a stab at the decentralized machine architectures that have been floated by CBA and fabnet
My plan is to accomplish both the pen plotter and the decentralized machine arch (urumbu), but they are branches that merge at the end.
Assuming murphy’s law, planned on implementing most basic urumbu machine example (tension driven pen plotter).
Initially aimed to hello-world urumbu using a corexy motion system, but tension driven appears to be the lowest barrier to entry (3d printed parts and fishing line from walmart).
personal supply chain >
My car is in the shop undergoing repairs, which has thrown an unexpected hurdle into my weekend. My lab footprint consists of a few spaces, but losing my car effectively renders all of them inaccessible except for my apartment.
murphy’s law:
- car broke
- cordless drill at apartment broke
- used a hand rotary tool in its place
- printer is underextruding
Entropy is giving me a run for my money.
Fabacademy and the past year or so have been an eye opening experience towards supply chain resiliency on multiple levels. I hope to continue fortifying my ability to do things as I continue through fabacademy, and beyond.
printing >
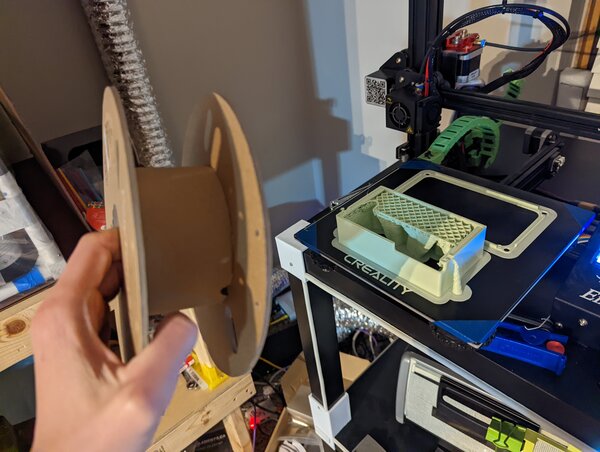
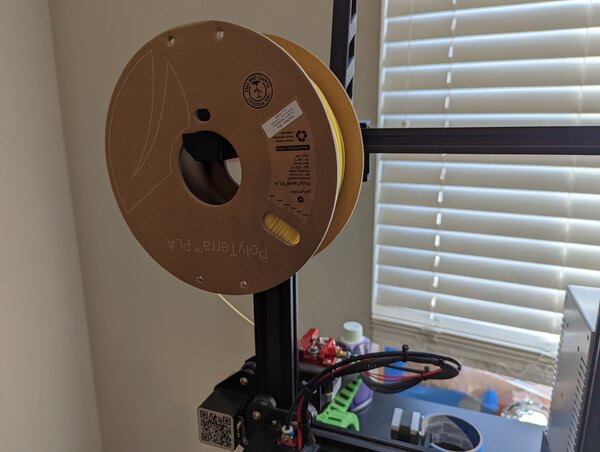
alternative PLA extrusions >
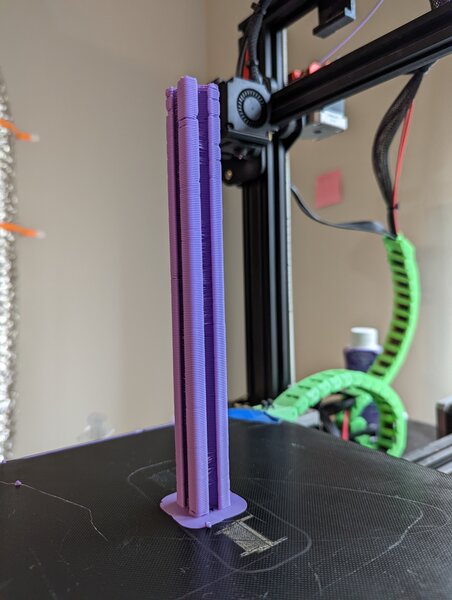
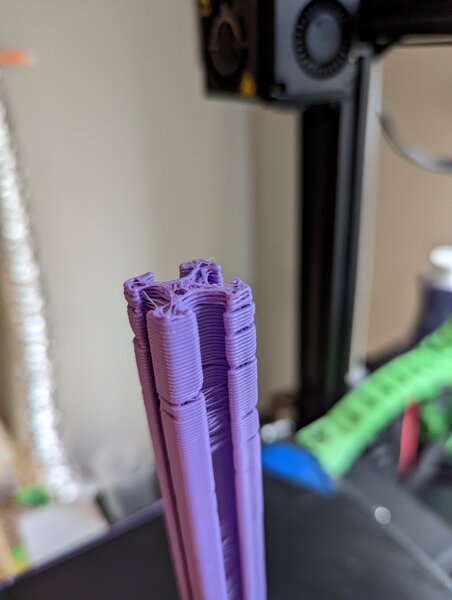
the extruder had been grinding a bit, which explains the ocassional underextrusion.
motor brackets, and printer problems >
the problem appears to be worsening…

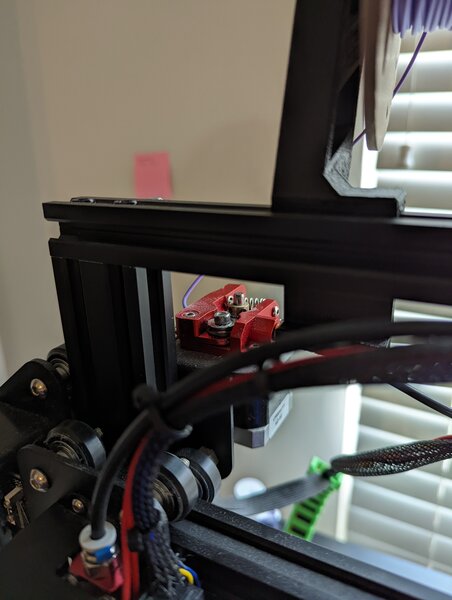
troubleshooting printer >

assembly >
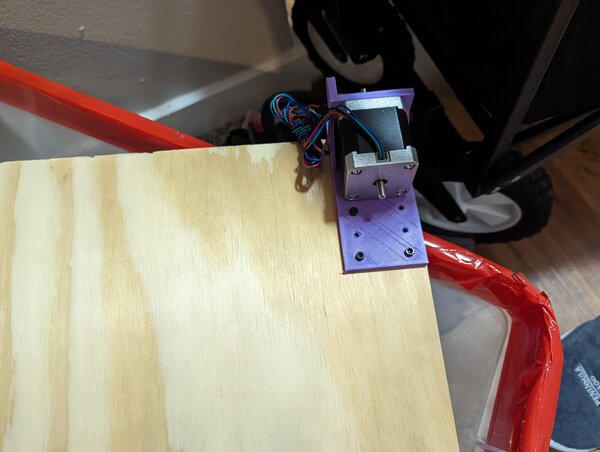
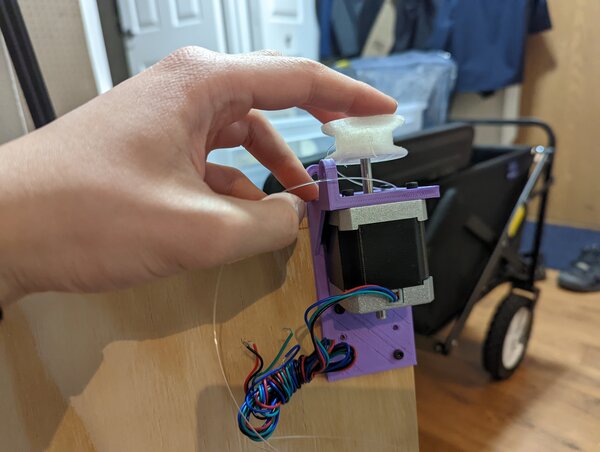
mounting motor >
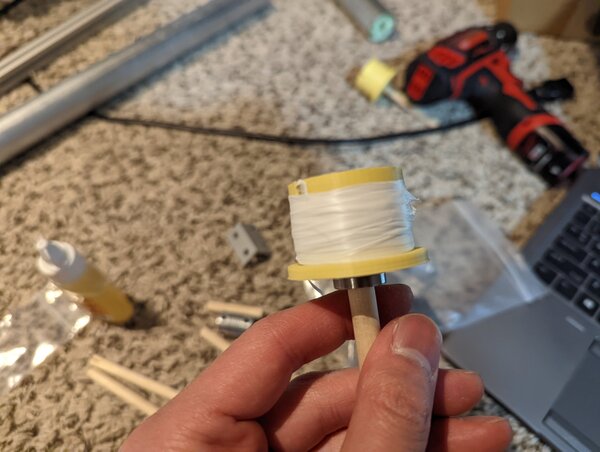
fishing line >
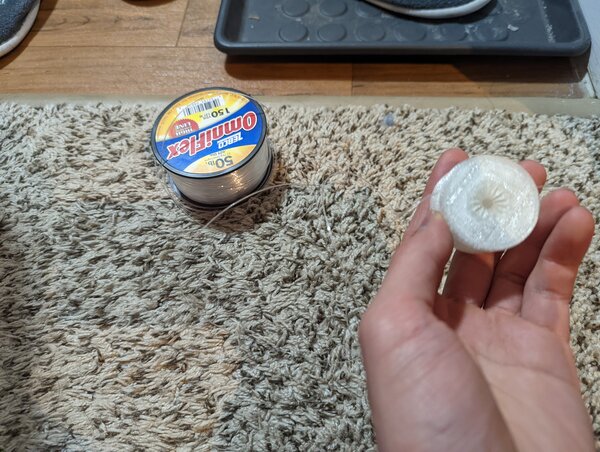
pen carriage >
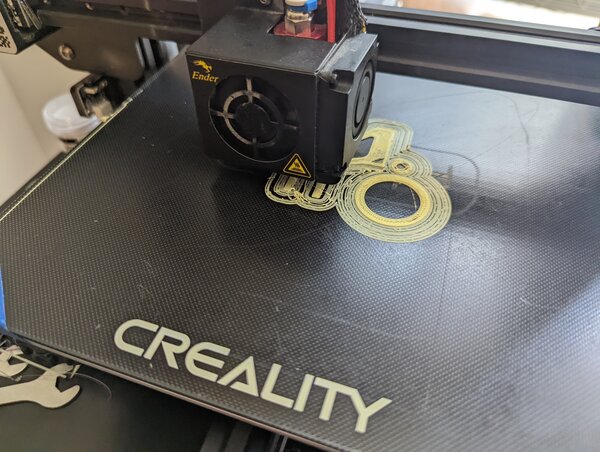
with the printer having issues (but trying to stay on schedule), I resorted to hot glue to keep the pen carriage together. I had some decorative gold hot glue from c2e2, so I used that.

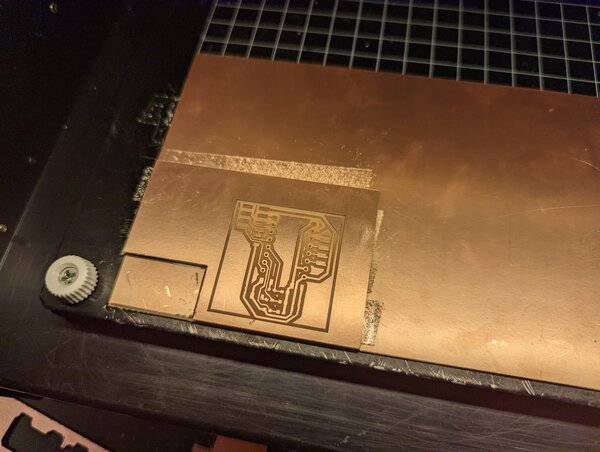
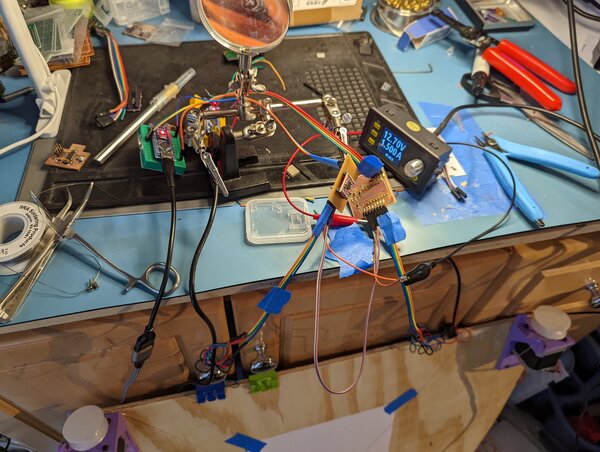
electronics >
As a compromise between sourceabililty and performance, I selected the a4988 stepper driver for my Urumbu motor control boards.
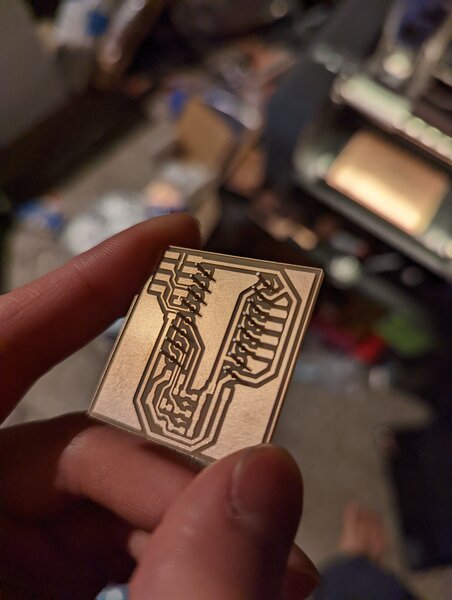
finished urumbu hang bot >
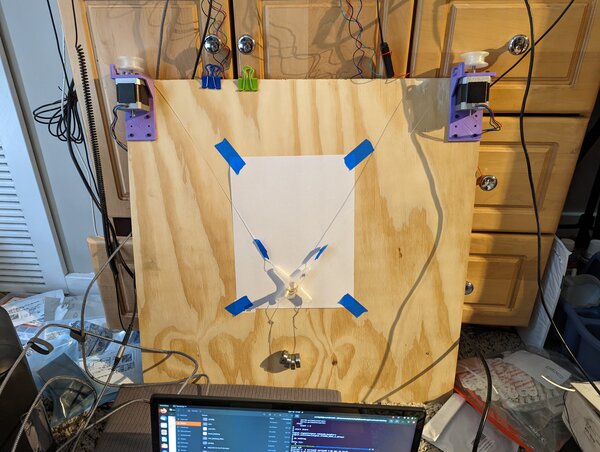
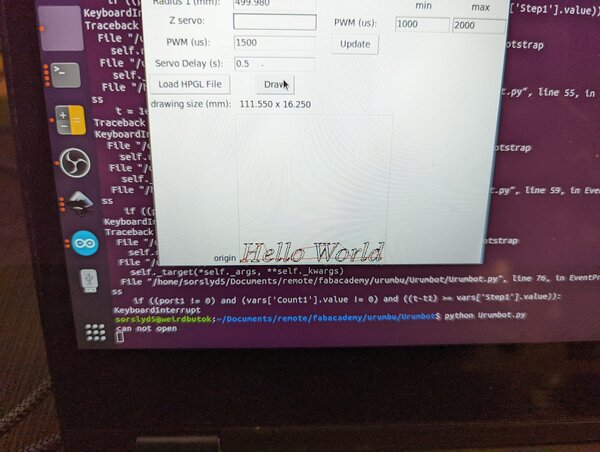
As you can see, I used my benchtop psu to supply 12.7V w/ a limit of 1.5A to the urumbot to test out the urumbu architecture. The a4988 needs at least 8v for its motor voltage, and depending on the steppers, can draw some 100s of mA. 1.5A seems suitable for 2 stepper motors, which can also current spike initially.
I run Urumbot.py to test things out.
Urumbu foam crawler pen plotter >
After finishing my work on the Urumbu hanging xy pen plotter, I redirected my efforts towards completing an Urumbu foam crawler.
printing >
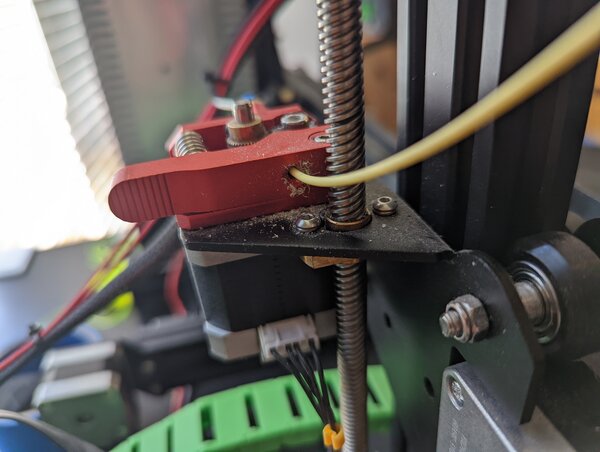
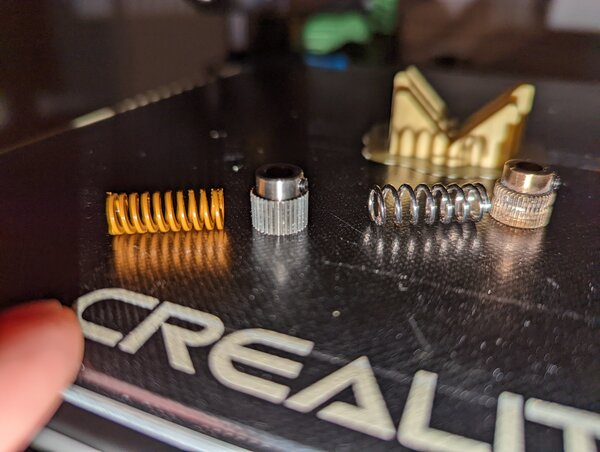
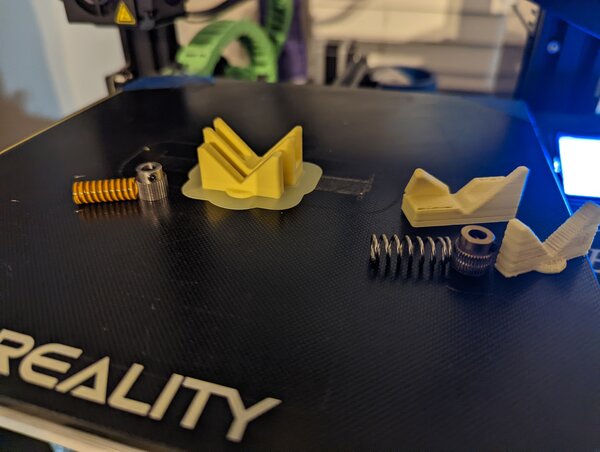
FDM rod clamps (printing problem culprit identified!) >
Since I identified excess PLA dust collecting near my extruder, I did some digging and obtained new steel hob gears (vs the brass gears I already had). I swapped out the spring for one of the stronger yellow-coated ones as well.
The result is quite dramatic.
looking at the hob gears, you can see a discolored track on the right one. This is the brass gear, which has a worn groove where the filament path goes. This makes it difficult for the gear to grab onto the filament (teeth are ground away), which explains the underextrusion.
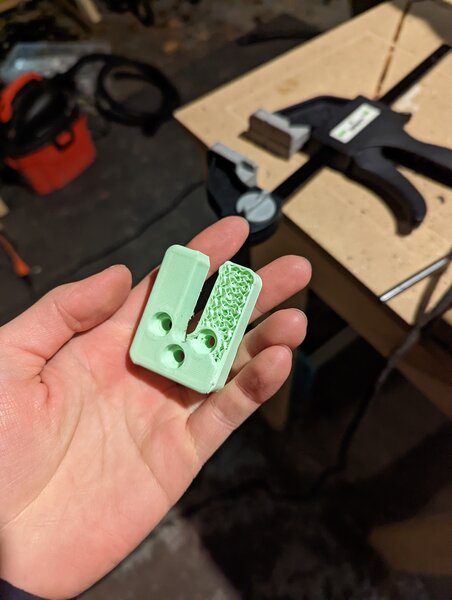
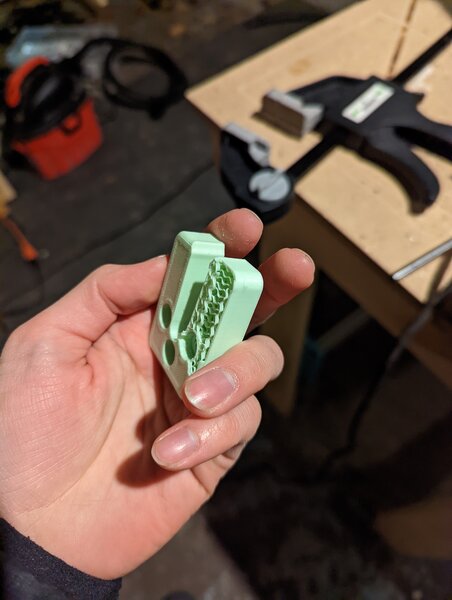
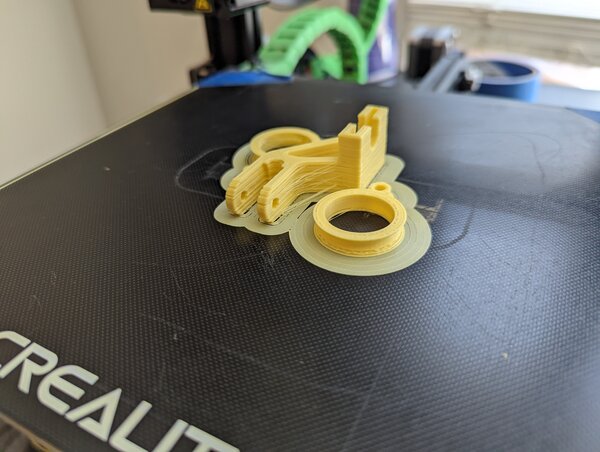
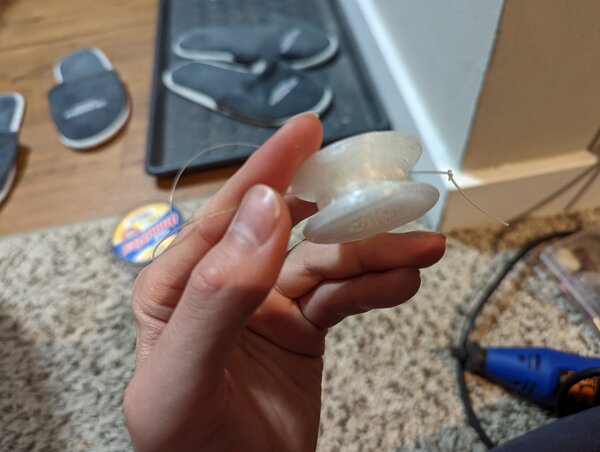
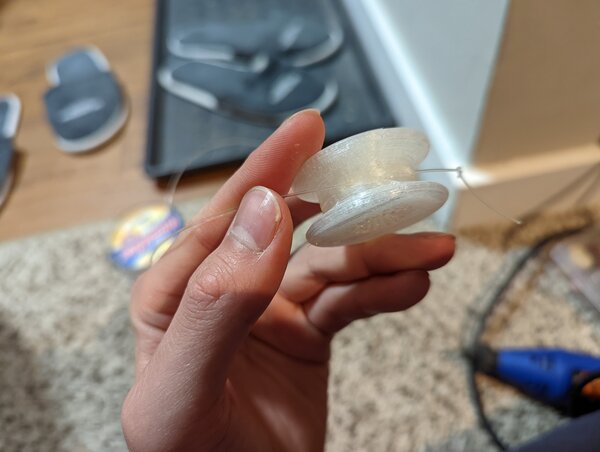
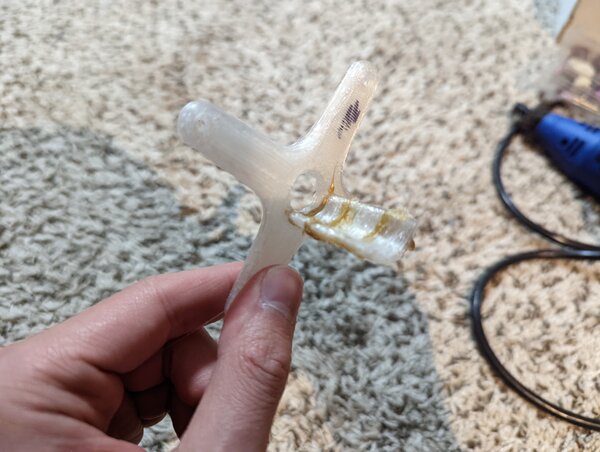
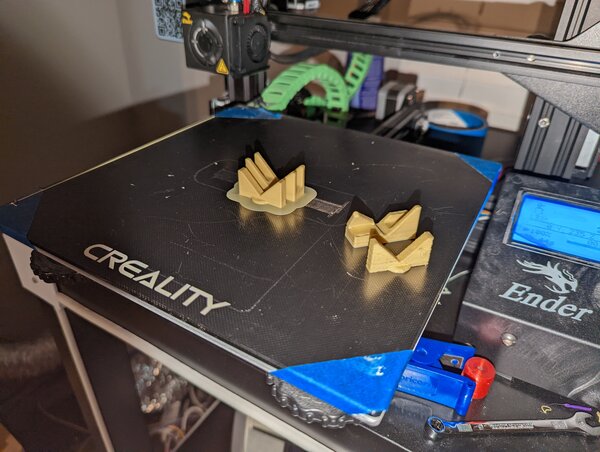
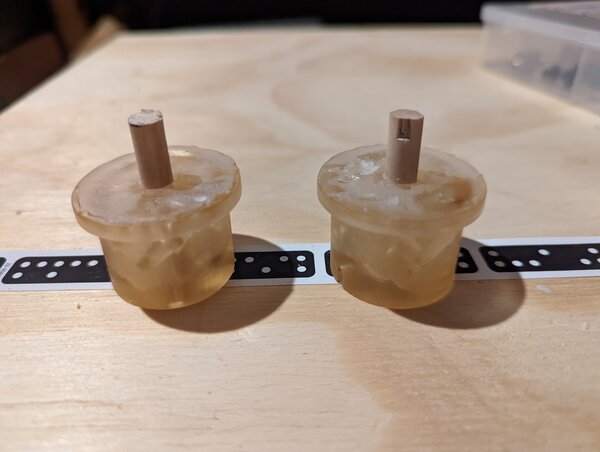
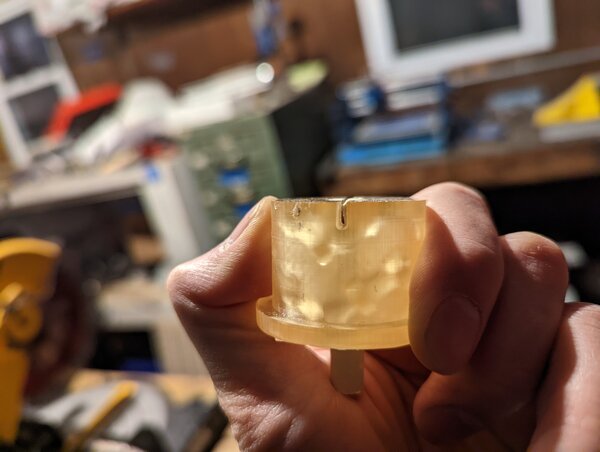
SLA rollers >
As the deadline approached, I began printing SLA rollers to compensate for how many working FDM printers I had available to me at the time. A lesson in achievable bandwidth when it’s crunch time.
SLA printing has its own set of challenges apart from FDM. For example, since parts are lifted out of a vat of resin instead of built up from a stationary bed, liquid resin can pool on top of the model if sufficient drainage isn’t available. This can happen from multiple vectors:
- resin is more viscous than normal, either due to colder temperatures or other reasons (old resin?)
- drain holes weren’t provided
- top of part is flat and traps resin, gravitationally
- support doesn’t provide sufficient clearance, leading to microfluidic forces trapping resin between support and part
The parts shown below are victim to at least the last 2 reasons.
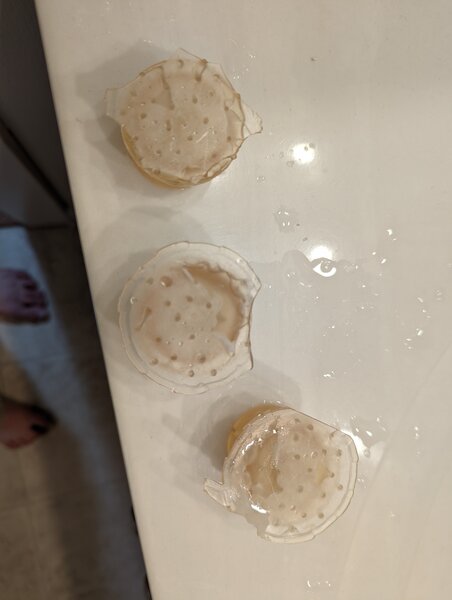
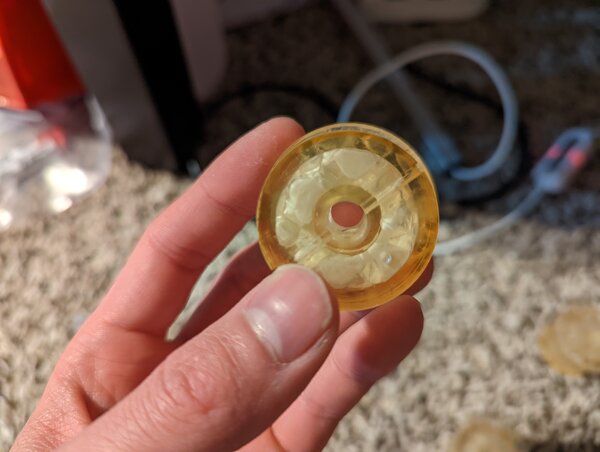
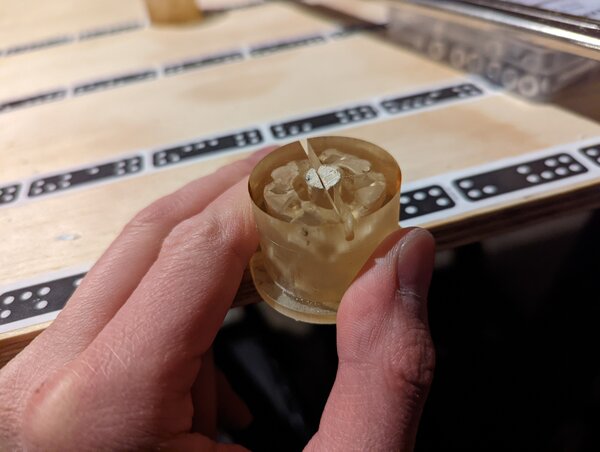
Otherwise, the parts came out fine. It’s hard to tell from the picture, but the finish is very reflective and transparent. I tried printing these parts with some amount of infill, so there are cavities visible from the top of the part.
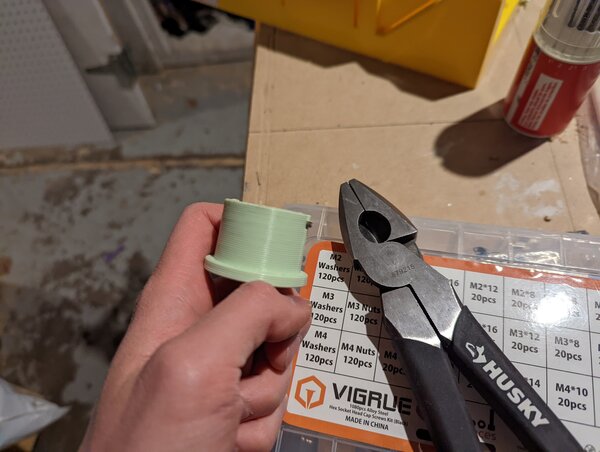
fitting wood dowels into rollers and keying >
Previously, on the roller saga…
I discovered that the metal rods I had on hand were in fact steel, and would be impossible for me to process safely at my garage makerspace. Dan and I concluded I would need to source some wooden dowel rods.
clamping rods to cut
With the wooden rods, I try to speed up the process by experimenting insertion via mallet.
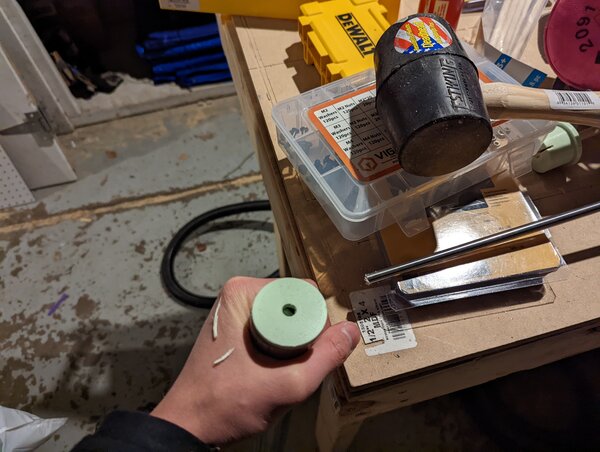 I quickly learn that mallets are the wrong way to go.
PLA >
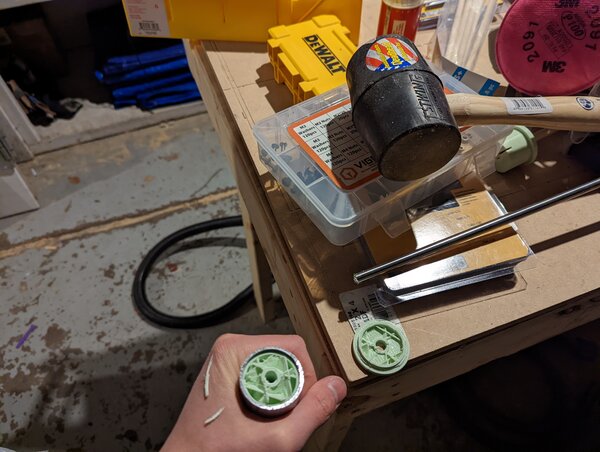
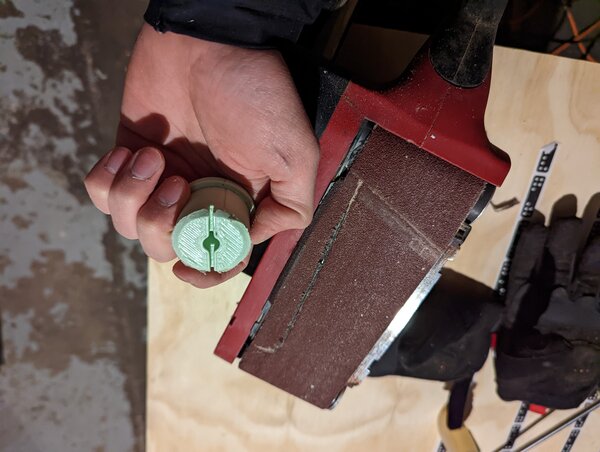
Sanded off the edges to create an easier fit into the roller tube itself.
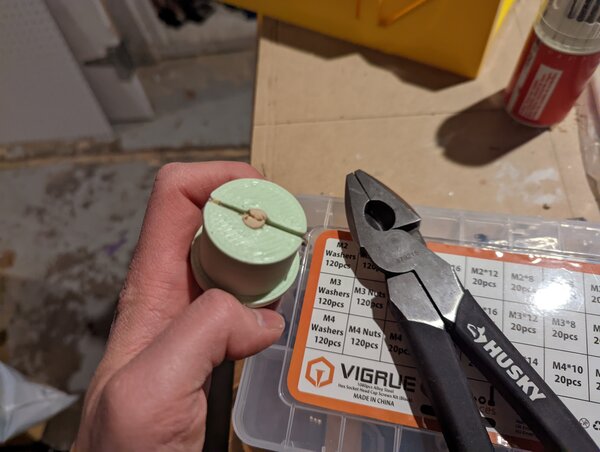
I experiment with a variety of ways to key the rods so they don’t slip under load.
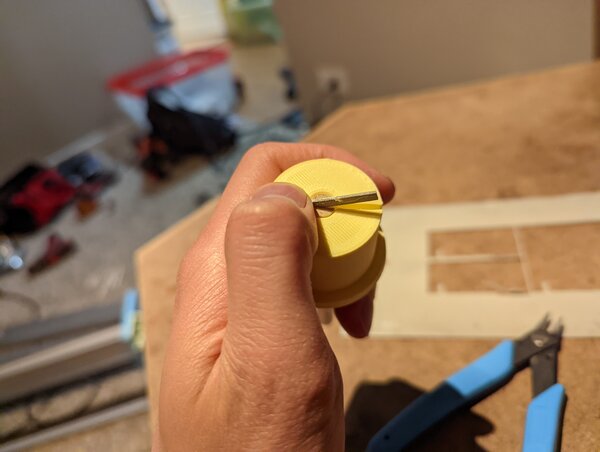
I learned that the mallet is ok to use, as long as there is some give so the forces don’t exploit the layer lines. Perfect for keying the roller with a nail.

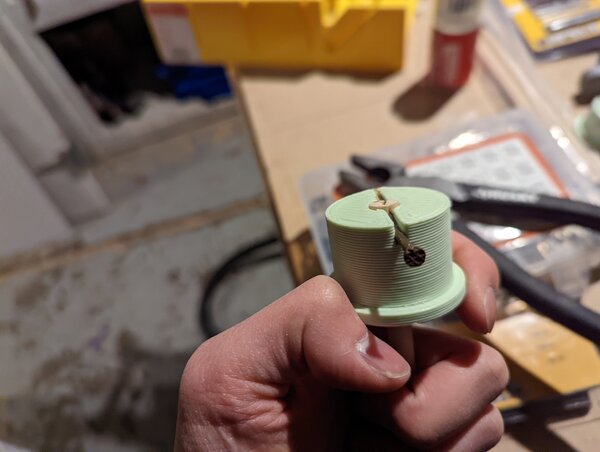
I clip off the end of the nail to clean the roller, ready for use.
This process wasn’t the easiest; the mallet could still break the printed part, and I didn’t have much time or spares.
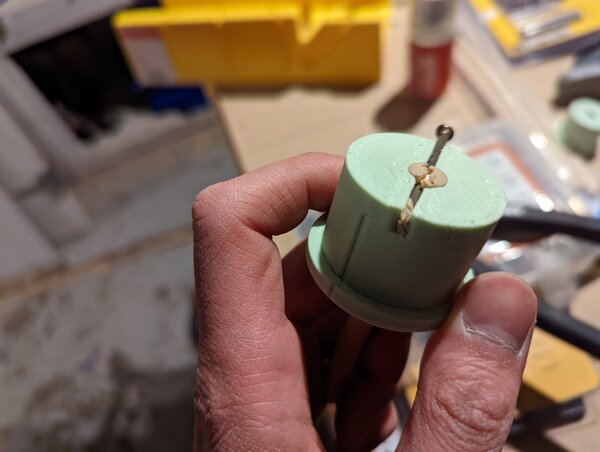
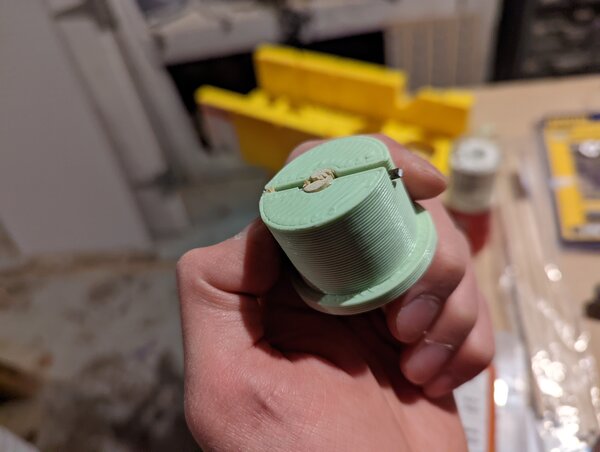
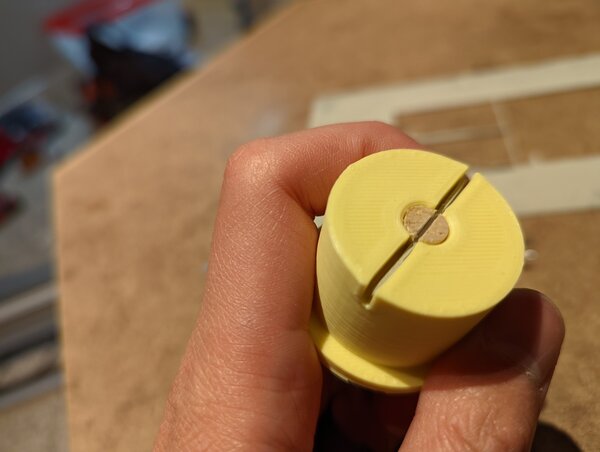
Scanning the garage and the mountains of random junk I own, my eyes landed on some scrap metal from work. The small excess tiebars could be thin enough to press in normal to the face of the roller, which means I wouldn’t need to use excessive force.
I went home to continue work, and tried my idea.

Perfect.
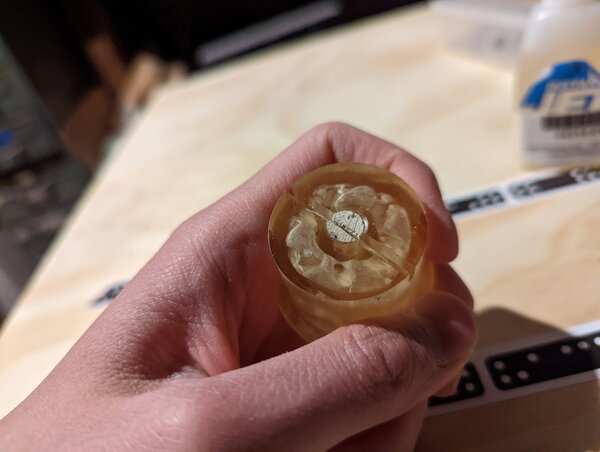
SLA >
Using the same friction fit technique I used earlier, I insert the rods into the rollers.
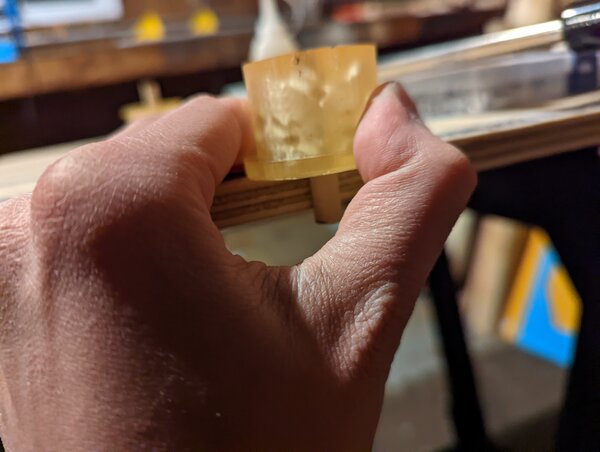
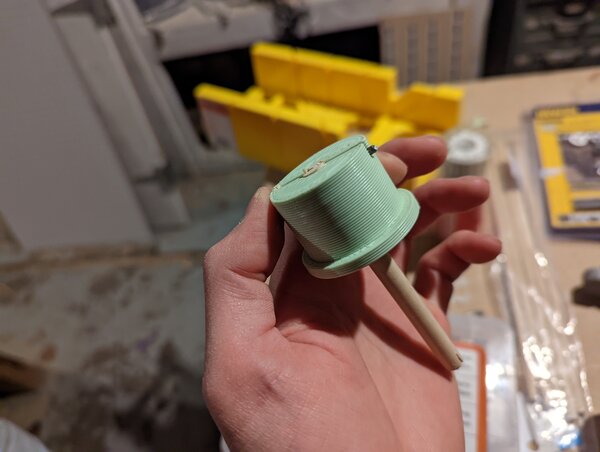
adding some traction >
I was experiencing some slippage when fitting the rollers into the steel conduits tubes. Luckily, I had some plumber’s tape onhand from a previous shower head project. By wrapping it around the roller, I was able to create a snug fit and stop the slippage.

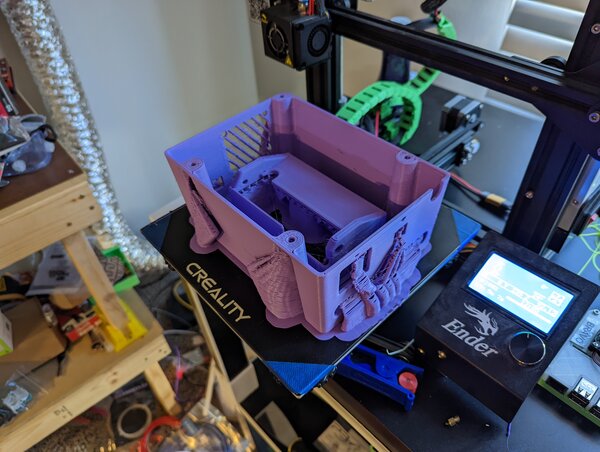
crunch >
I’m sure we’ve all been here. You’ve run out of time, and so you start cutting corners. One of the corners I cut between my rollers and the final machine was documentation. Assembly took a fair amount of energy, and I couldn’t stop to take pictures as I went. However, I did document the final result.
hero >
thoughts >
I’ve learned a lot of lessons through my fabacademy journey thus far, but I think rarely do I stumble into a true paradigm shift.
I’ve had a few throughout my life as a maker:
- when I first learned that a microcontroller was a tiny sand golem you could enchant to do your bidding
- when I first met my Supervisor Vic, over the phone for my first interview to work on 3d circuits
- and then again, when I met Prof. Neil and the CBA, and was introduced to the 3rd digital revolution.
Machine building goes into the same category as the microcontroller.
Although I had assembled my Prusa and Ender 3’s, building a machine from the ground up with parts you’ve had to choose is another feeling altogether. The mutability of this machine construct implies that digital fabrication is at your fingertips, that with the right time and materials, you can precisely shape the spells that shape reality.
How neat is that?