Molding Casting
Molding and Casting
This week's assignment requires designing a mold around the material and the tools we can use to create shapes in various types of materials.
This week molding and casting were explained to us. Although the global and local conferences were clear, I have to be honest and say that I would have found the photo or video demonstrations more helpful than the crude explanation of how the machines work to make a wax mold. Sketches were made, containers of solutions were shown, but I expected real demonstrations of pouring the liquids and more vivid images. However, I was quite excited about what was to come, and at the same time, I was aware of the tight time frame we had to stick to deliver everything that was asked of us.
Jorge pointed out that we have to be careful what we mean when we say positive side and negative side because the positive on the wax mold is negative on the silicone mold, which is the positive mold!
Once the demonstration was done, the objective was to draw something that afternoon and then be able to mill it on Saturday morning. It was time to make a decision, but this decision was not easy to make. I wanted to make a two-part mold, preferably with two non-identical sides. I found this to be more challenging for me. I investigated what the students of other years did and, in the end, I decided to do something simpler.
3D Design and Milling
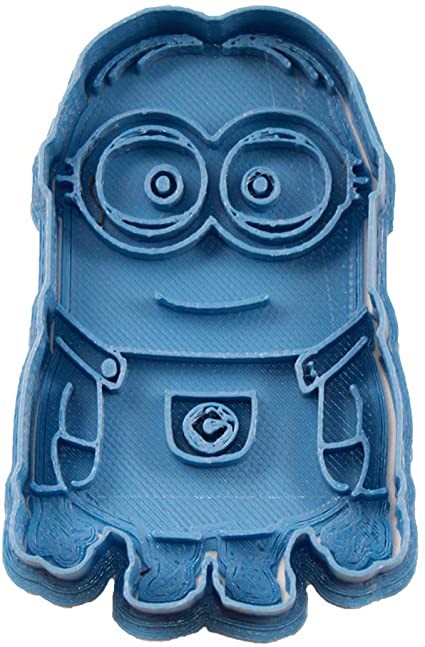
I designed the positive mold using Tinkercad and Fusion 360, ensuring proper wall thickness and draft angles to allow for easy de-molding. For the milling process on the Roland SRM-20, I used Mods to generate the toolpaths:
- Roughing Path: 1/8" flat end mill, 1.5mm stepover, 3000 RPM, 15 mm/s feed rate. This removed the bulk of the wax efficiently.
- Finishing Path: 1/8" ball end mill, 0.2mm stepover for a smooth surface finish, 4500 RPM, 10 mm/s feed rate.
Molding and Casting Process
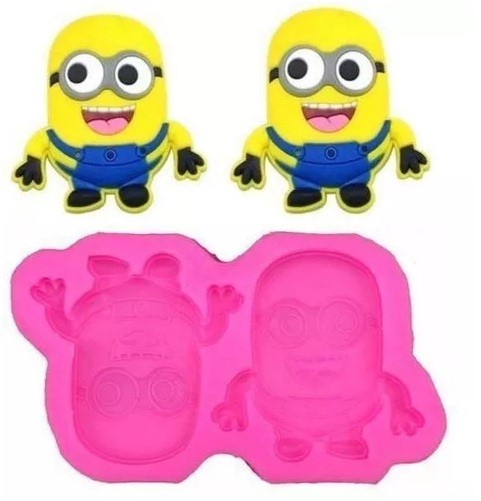
For the flexible mold, I used Smooth-On OOMOO 30 silicone. The mixing ratio is 1:1 by volume, which makes it very user-friendly. I carefully stirred the two parts to avoid air bubbles and poured it from a height in a thin stream into the wax mold.
Once the silicone cured (about 6 hours), I removed it from the wax to reveal the negative mold. For the final cast, I used Smooth-Cast 300 liquid plastic (mixing ratio 1:1 by volume). The pot life is very short (3 minutes), so I had to work quickly to pour it into the silicone mold.
The result was a solid white plastic copy of my original design, demonstrating a successful transition from 3D model to wax, then silicone, and finally the cast part.
YouTube Tutorial
Class documentation:
Orange and Violet Simple Startup Business Animated Presentation de Cindy Marilyn