Electronics Production
Electronics Production
-
Group assignment:
- Characterize the design rules for your in-house PCB production process: document feeds, speeds, plunge rate, depth of cut (traces and outline) and tooling.
- Document your work (in a group or individually)
- Document your work to the group work page and reflect on your individual page what you learned
-
Individual assignments:
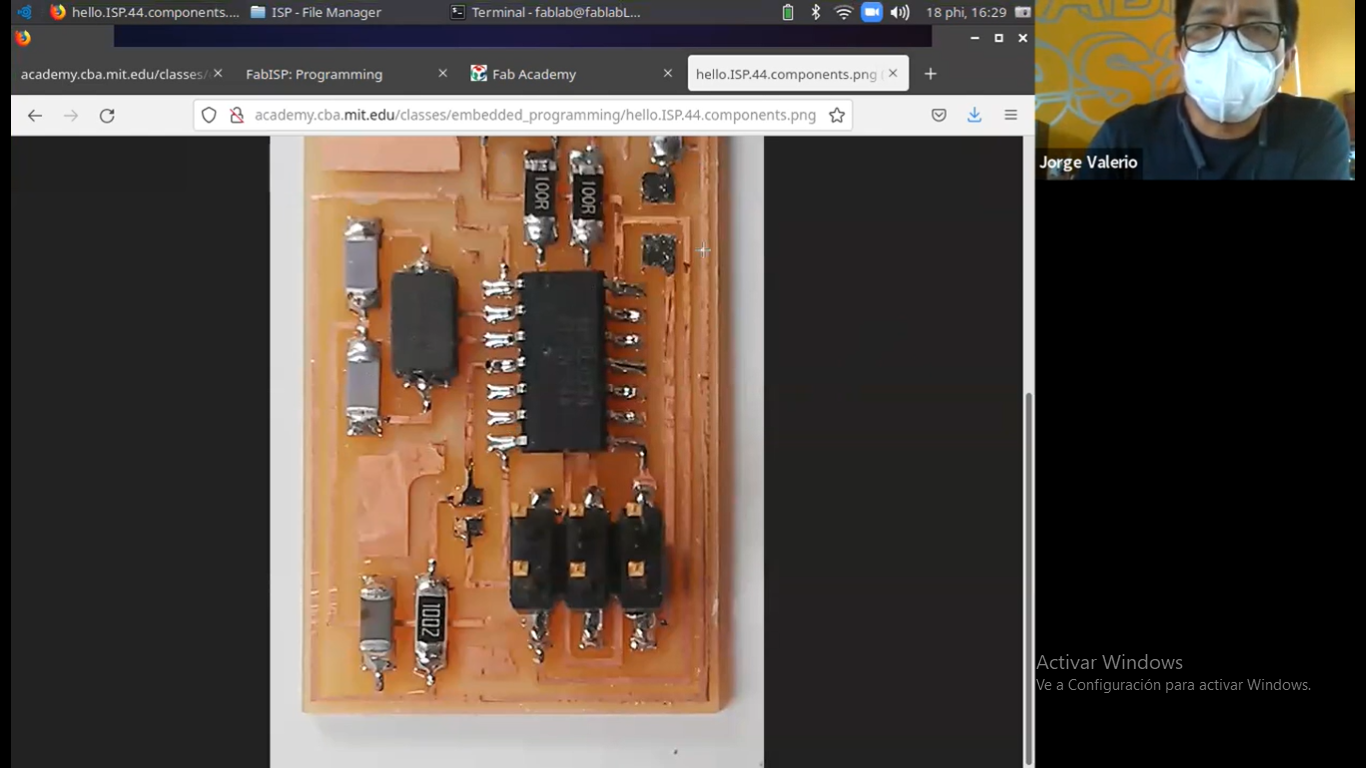
- Make an in-circuit programmer that includes a microcontroller by milling and stuffing the PCB, test it to verify that it works.
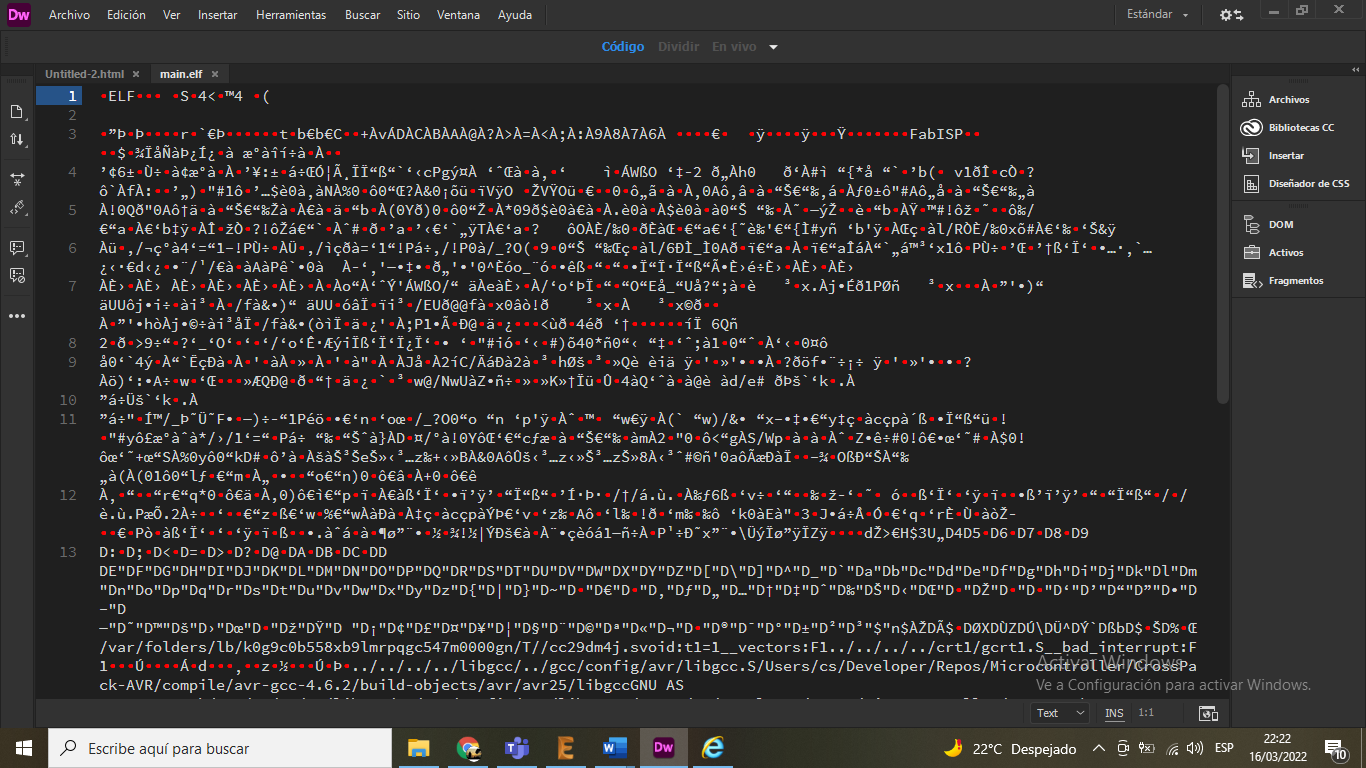
FabISP: Programming
- To program the FabISP, you first need to install the necessary software for your operating system and download the firmware.
- Then you edit the Makefile
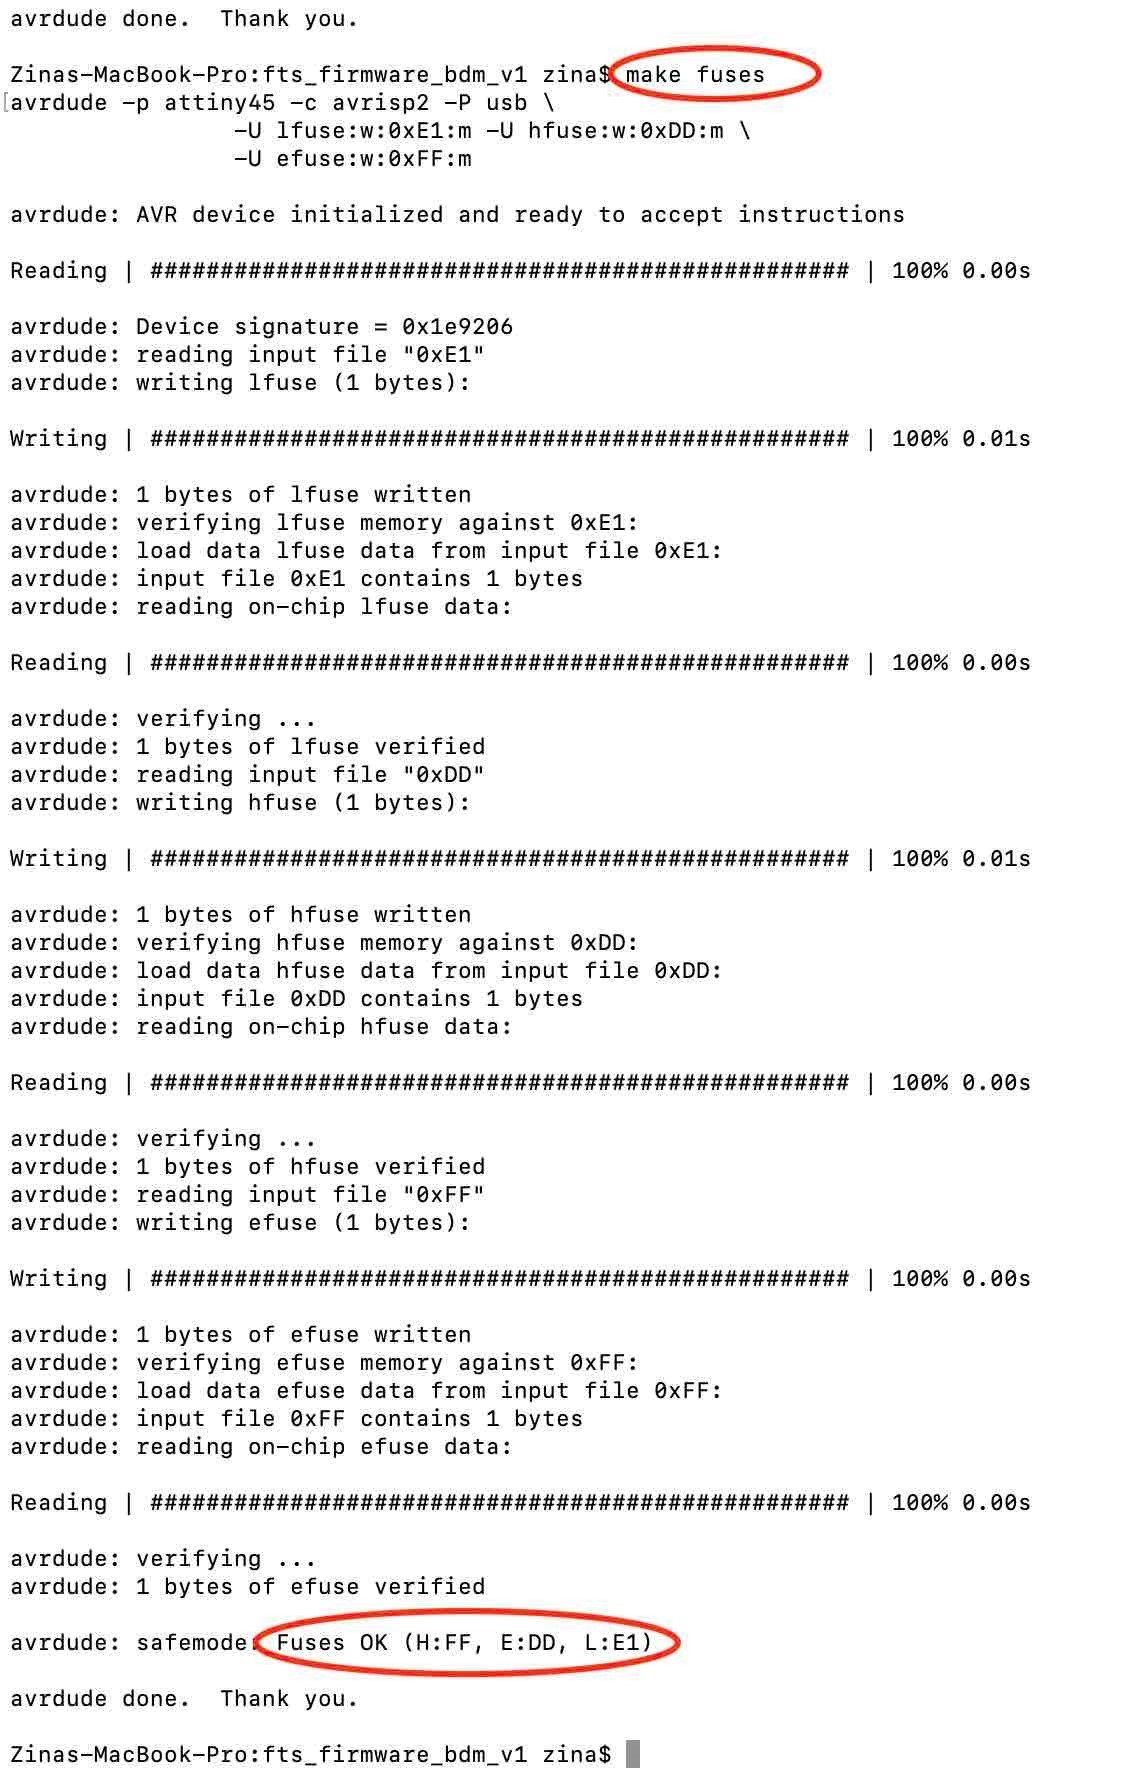
- Set the fuses / program the board
- Verify that the board is working properly
- Then you need to open up the jumpers to make it a programmer
During this week, I learned the entire workflow for professional PCB production, from design to milling and soldering. We used the Roland SRM-20 milling machine, which provides high precision for small components.
I used mods to generate the toolpaths for the traces (1/64" end mill) and the outline (1/32" end mill). The settings were critical to avoid breaking the thin traces.
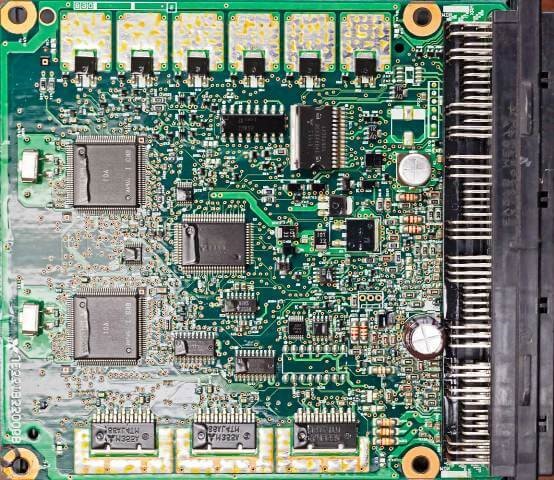
The soldering process (stuffing) required a lot of focus. I used a fine-tip soldering iron and solder wick to ensure no bridges between the microcontroller pins.
Finally, I verified the board using a multimeter to check for continuity and short circuits before connecting it to the computer. The board was recognized immediately as a USB device!