Applications And Implications
Interface and Application Programming
This week Neil talked about all the possible things we could look into, including folding furniture, different composite applications, robots, and different ways of making electronics. I reviewed what previous lab students had done for this week...
I found a lot of documentation so I decided to keep researching, researching and so I started thinking and thinking what to do and I think I managed to design something in Inkscape to do in the lab.
We were free to choose what to do in this week's homework. We needed to design and produce something with a digital manufacturing process using a machine that we have yet to see.
The class has presented us with several options to choose from, and I've decided to make a somewhat special build.
I decided to make a personalized transfer t-shirt with a funny image and a fabric skull using screen printing.
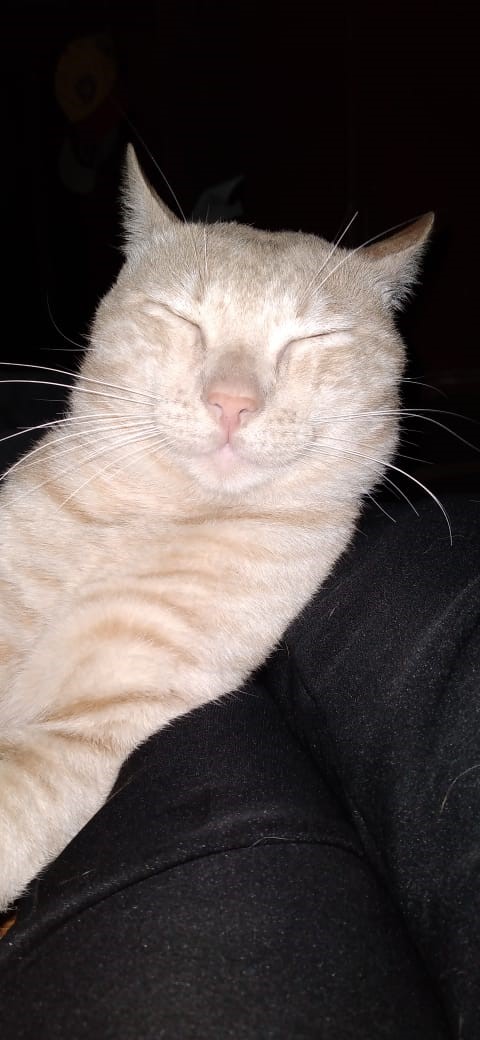
I present to you my sleepy ham.....
Skull Silkscreen:
First to win look for an image that I like and find a skull something easy ....
I proceeded to vectorize it
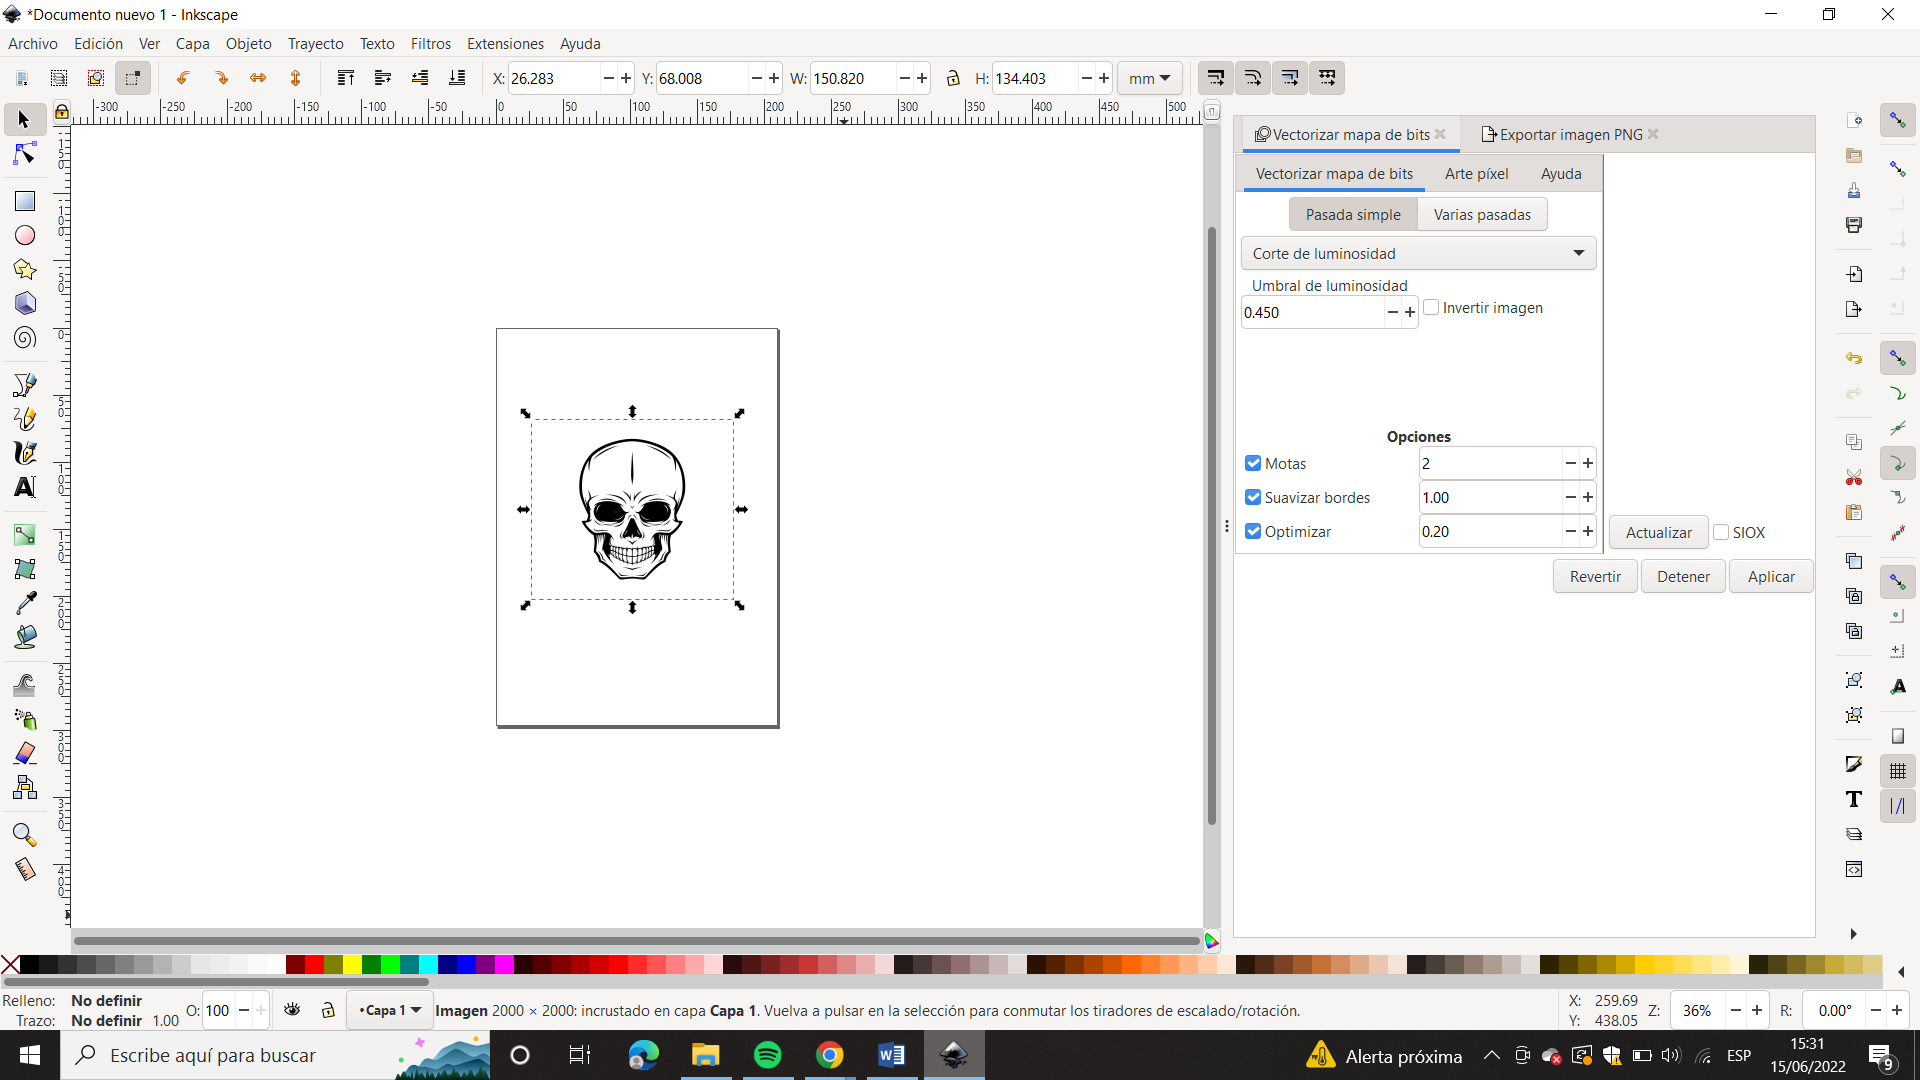
After vectorizing the image, we proceeded to create the development lenses...
Very well it went wrong..... asking for help to create again and it came out better.....
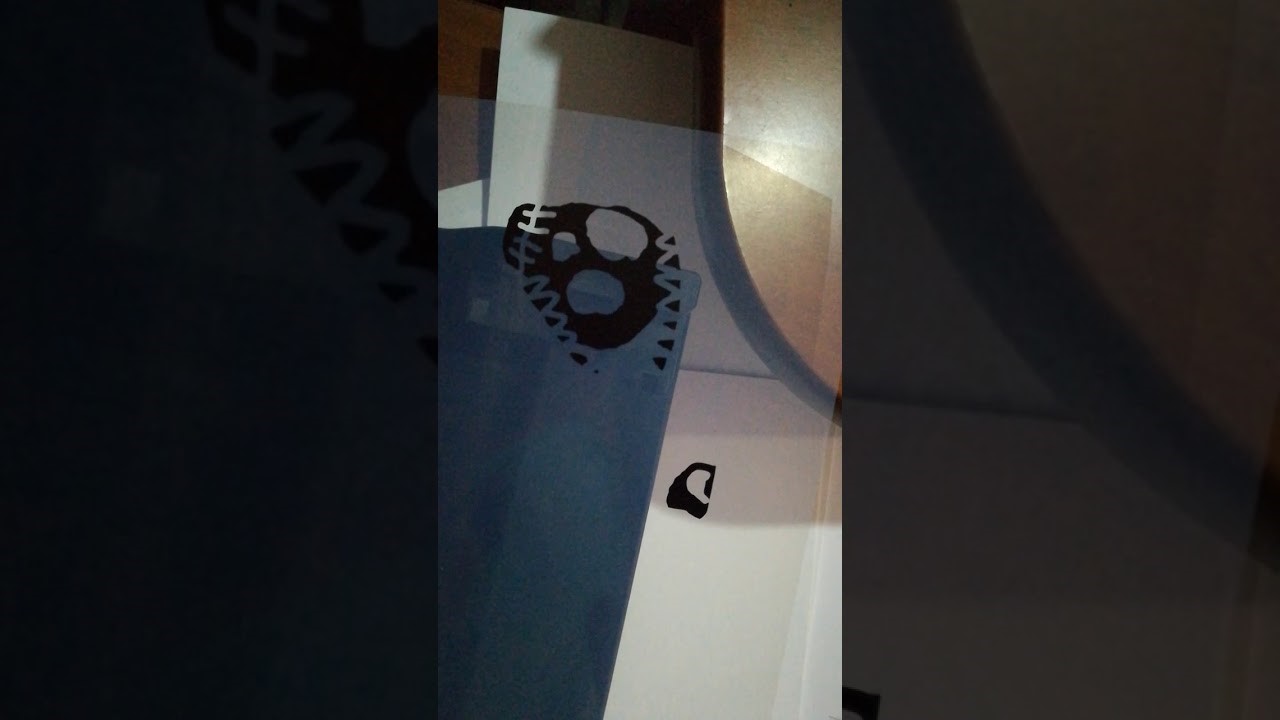
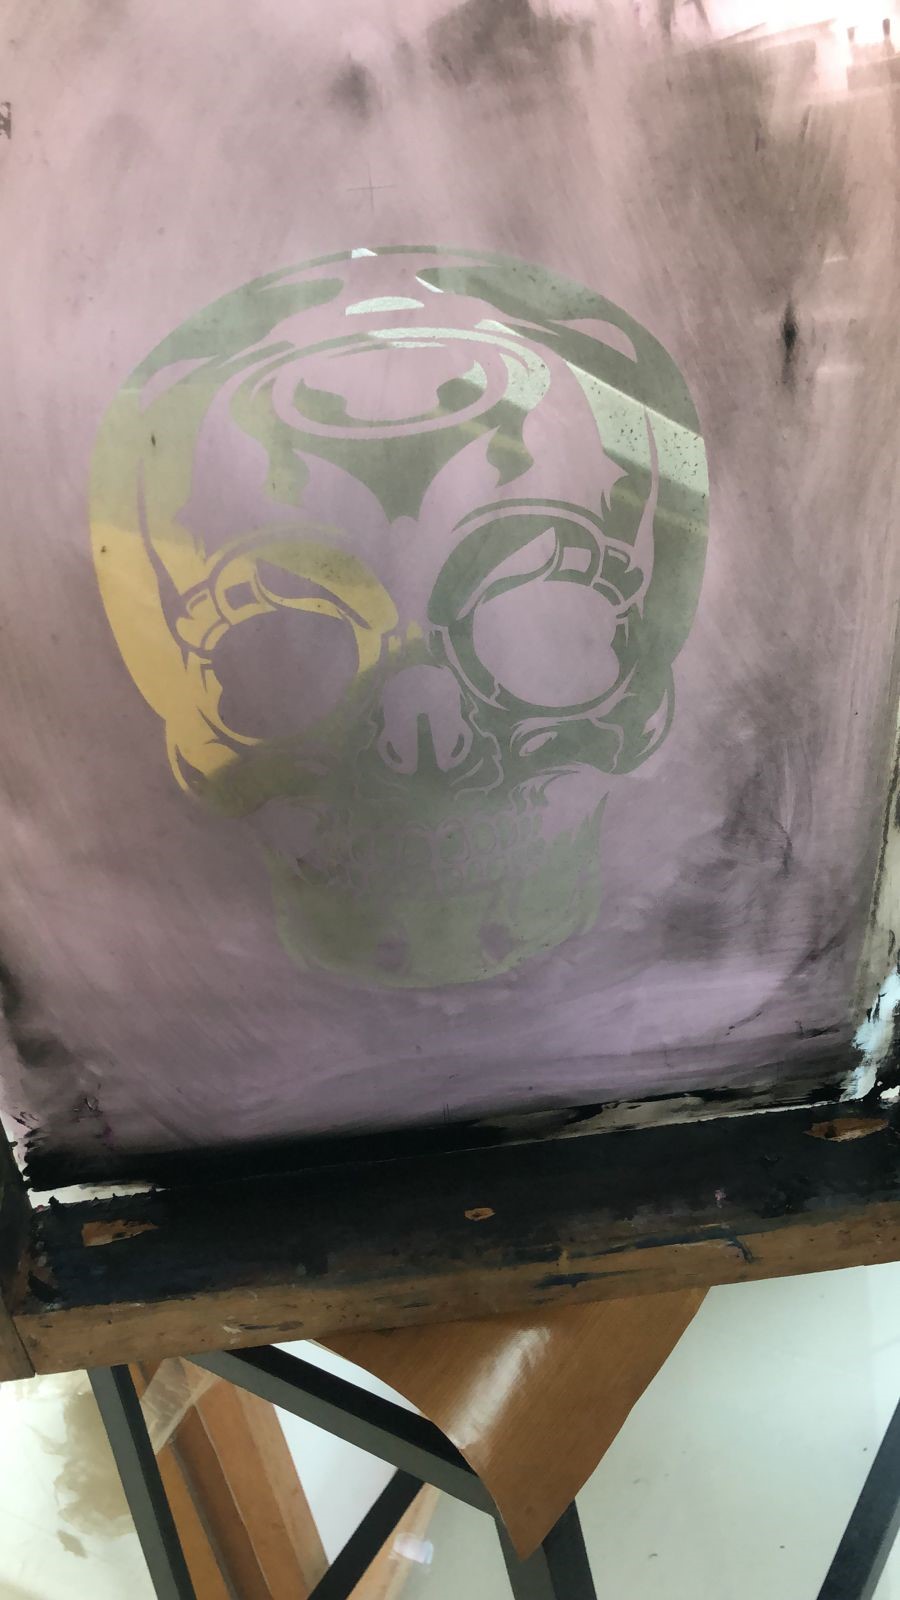
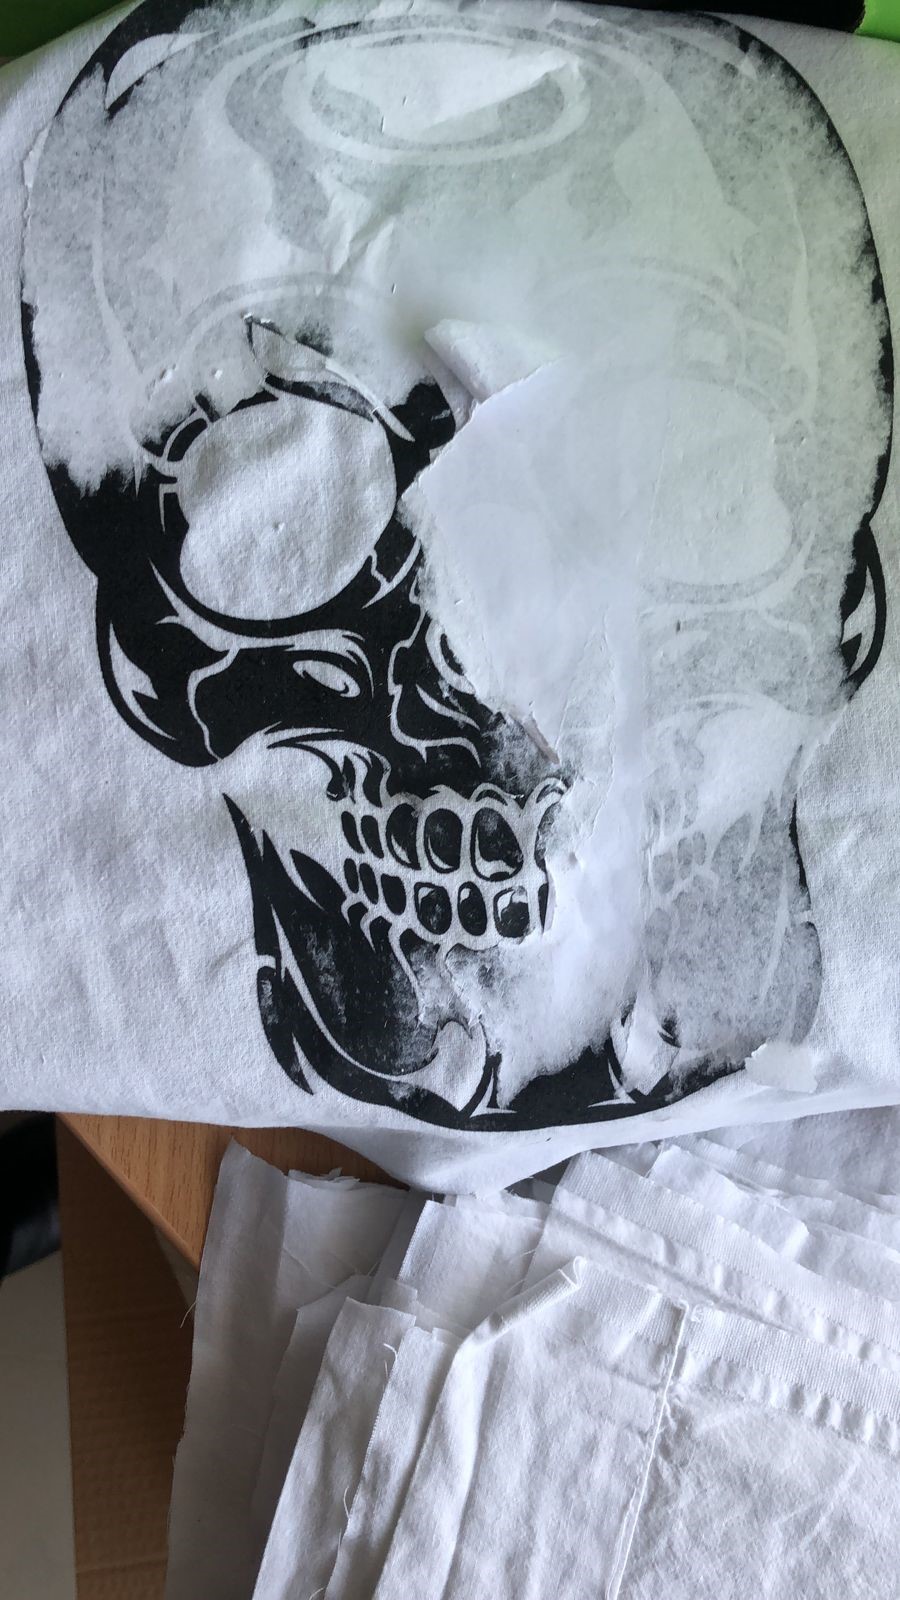
Then he proceeded to develop the image in the frame... first place the image with emulsion.... and then to the insolator with weight (no images were taken since to develop it he needed the dark room without light), but our frame came out with the skull design...
The Screen Printing Workflow
For Wildcard week, I explored Silkscreen Printing. This involves creating a stencil on a mesh screen and using a squeegee to force ink through the unblocked areas. The technical process included:
- Emulsion: Coated the screen with a light-sensitive photo-emulsion in a darkroom environment.
- Exposure: Placed my laser-printed vector design (on transparency) over the screen and exposed it to UV light for 8 minutes. The light hardens the emulsion, while the black design keeps it soft.
- Developing: Washed the screen with high-pressure water to remove the unexposed emulsion, creating the physical stencil.
- Printing: Used textile-grade plastisol ink and a 70-durometer squeegee to transfer the design onto a T-shirt.
This process successfully bridged digital vector design with traditional physical manufacturing techniques.
For transfer, I proceeded to look for a photo of my little ham and print it on transfer paper