3d Scanning Printing
3D Scanning and Printing
-
Group assignment:
- Test the design rules for your 3D printer(s)
- Document your work and explain what are the limits of your printer(s) (in a group or individually)
- Document your work to the group work page and reflect on your individual page what you learned
-
Individual assignments:
- Design and 3D print an object (small, few cm3, limited by printer time) that could not be easily made subtractively
- 3D scan an object, try to prepare it for printing (and optionally print it)
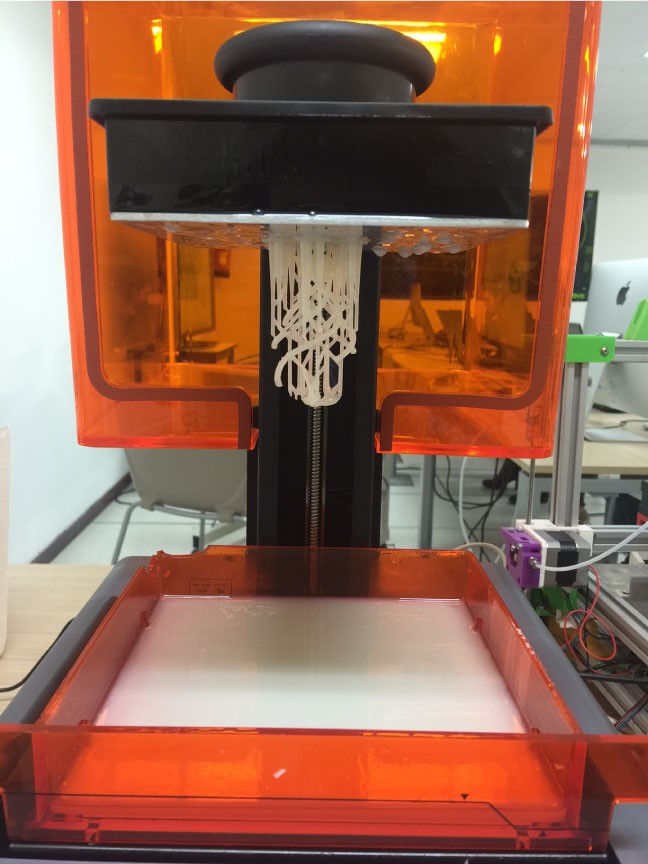
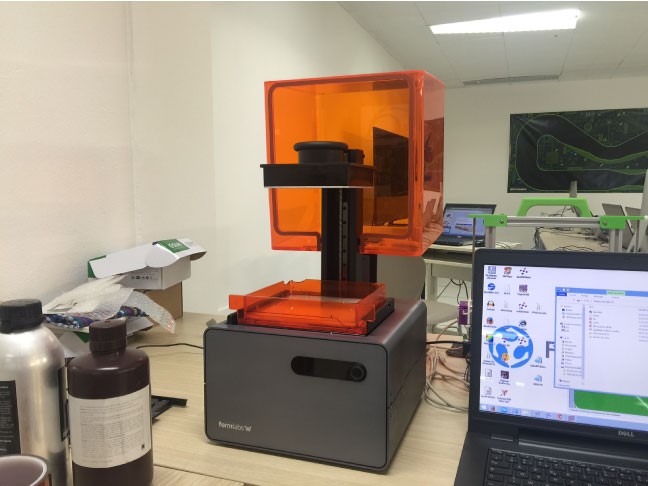
Well at the institute we don't have the machines yet but we are advancing the design, I hope that soon I can have the Fab Lab team, and be able to show them and let them see how my design is turning out.
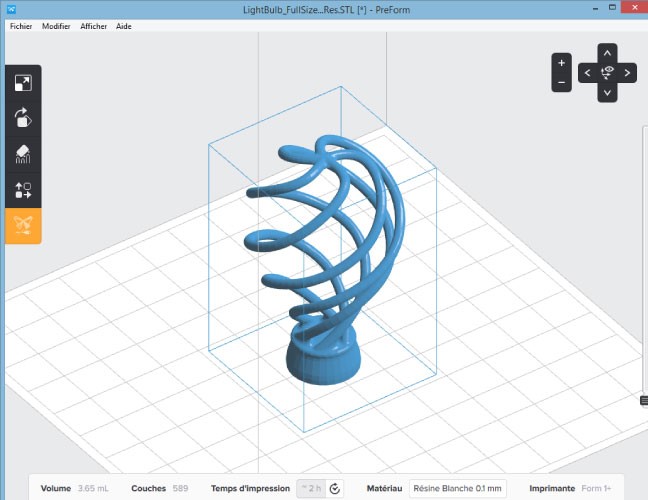
During this week, I explored the limits of 3D printing and scanning. I started by testing the **design rules** of our 3D printer using a standard test file. This allowed me to identify the maximum overhang angle (45°), the minimum detail size (0.2mm), and the bridging capabilities.
The results showed that our machine can handle bridges up to 10mm without supports. This is crucial for optimizing print time and material usage.
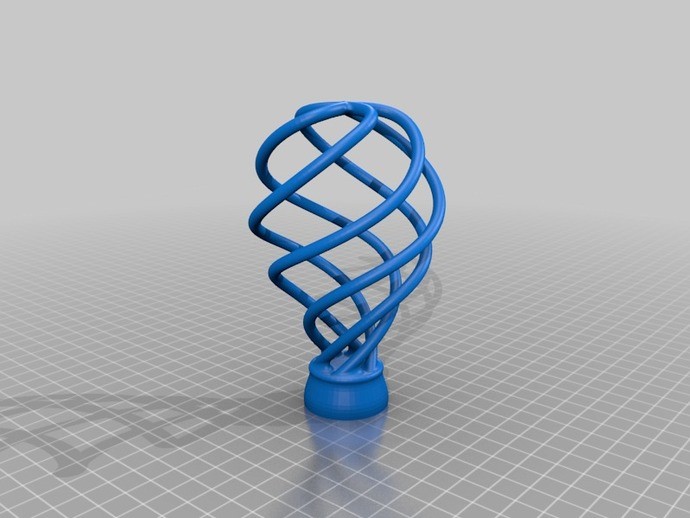
For the individual assignment, I designed an object that **could not be easily made subtractively** (using a CNC). The model features internal hollow geometries and interlocking parts that a drill bit could never reach.
3D Scanning & Photogrammetry Workflow
I used the Structure Sensor on my iPhone paired with specialized apps. The process
involved capturing multiple angles of the object and then cleaning the resulting point
cloud.


I learned that mesh alignment and "hole filling" are the most time-consuming parts but essential for creating a "water-tight" model ready for 3D printing.

I am very surprised about it. Is very pretty. And all that with my iPhone!! On the other hand, there are many things with modifications before printing. I think it's better to do it in 3D directly with some kind of software