Molding and Casting
Assignment requirements:
Group Assignment
- Review the safety data sheets for each of your molding and casting materials, then make and compare test casts with each of them.
Individual Assignment
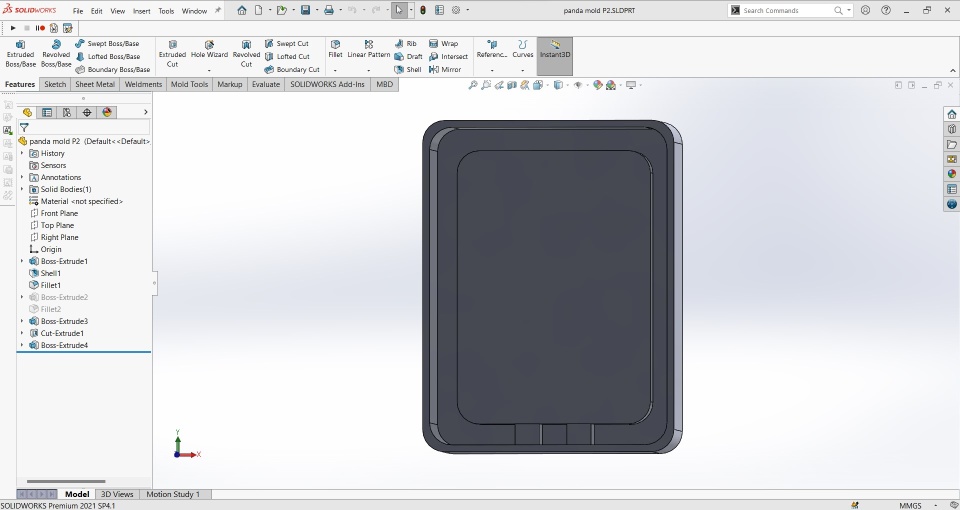
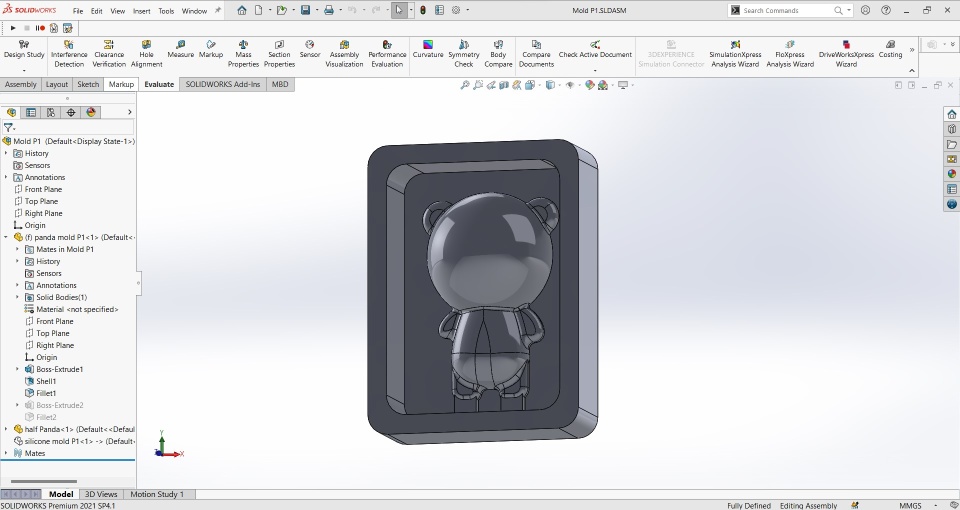
- Design a mold around the stock and tooling that you'll be using.
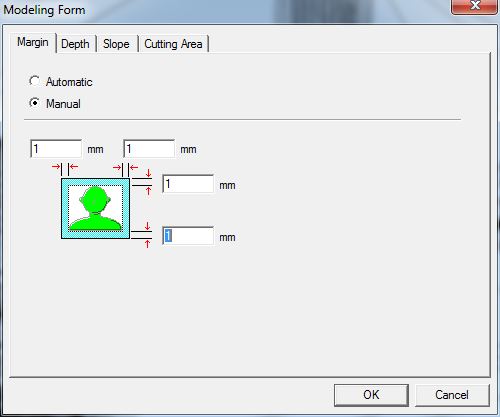
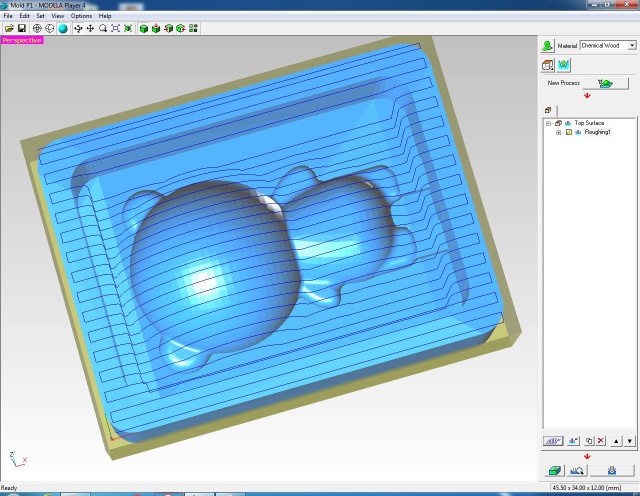
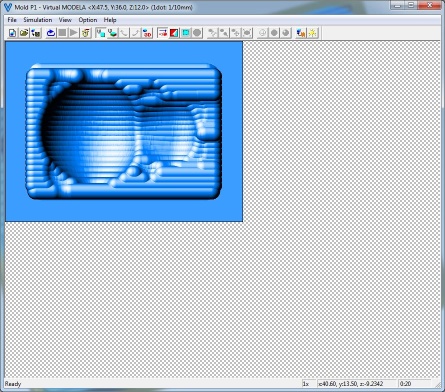
- Mill it (rough cut + (at least) three-axis finish cut).
- And use it to cast parts.
Learning outcomes:
- Design appropriate objects within the limitations of 3 axis machining.
- Demonstrate workflows used in mold design, construction and casting.
Assessment criteria
- Linked to the group assignment page and reflected on your individual page what you have learned.
- Reviewed the safety data sheets for each of your molding and casting materials, then made and compared test casts with each of them.
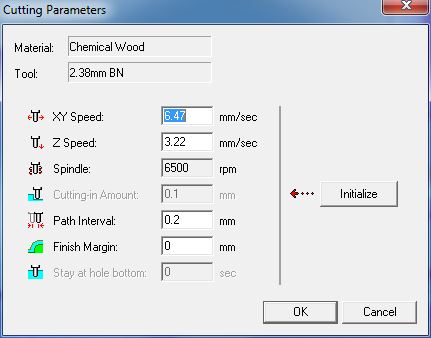
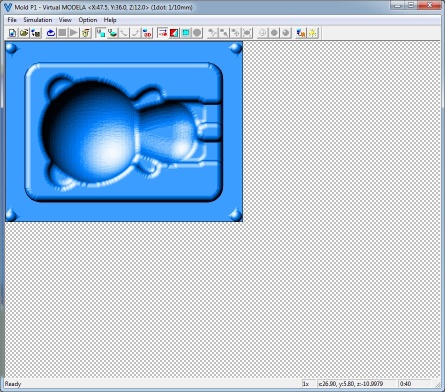
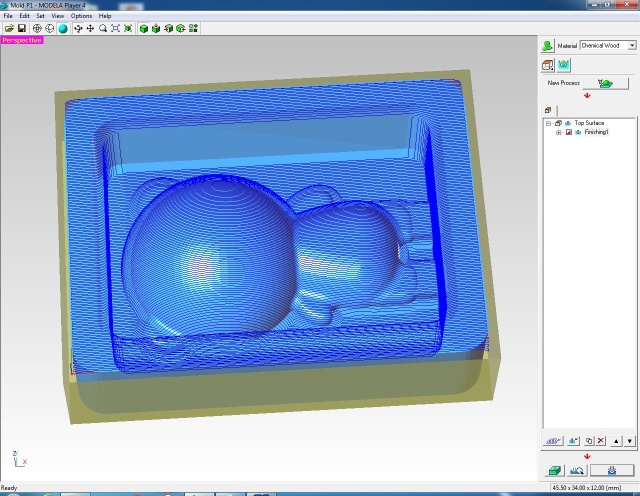
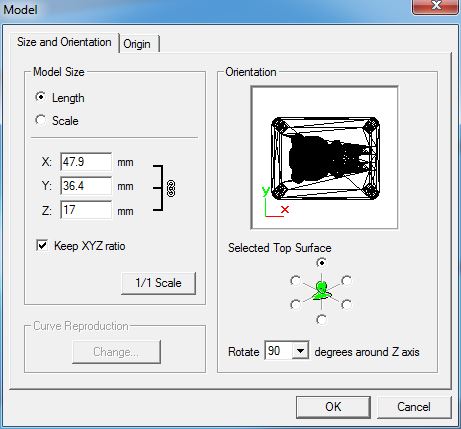
- Documented how you designed your 3D mold and created your rough and finish toolpaths for machining, including machine settings.
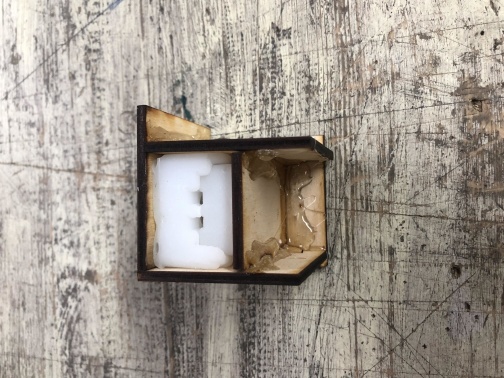
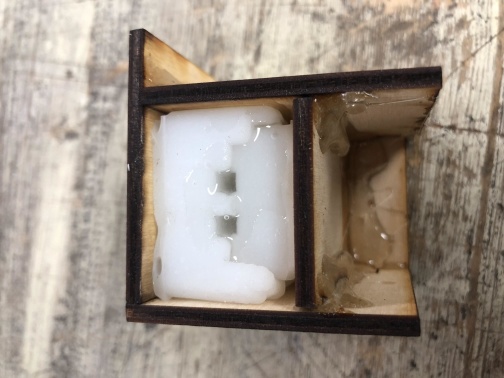
- Shown how you made your mold and cast the parts.
- Described problems and how you fixed them.
- Included your design files and 'hero shot' of the mold and the final object.
Individual Assignment
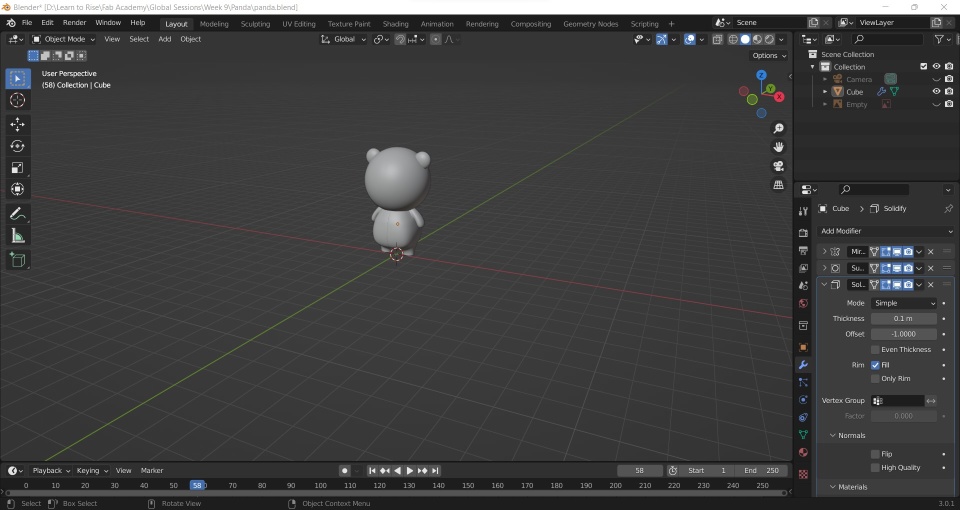
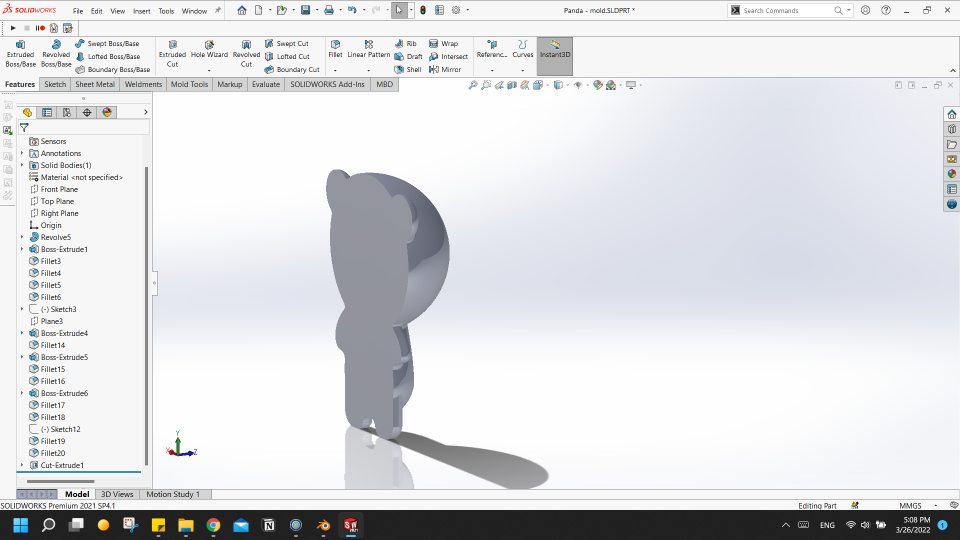
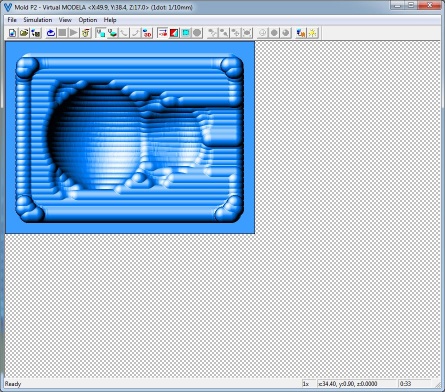
Design


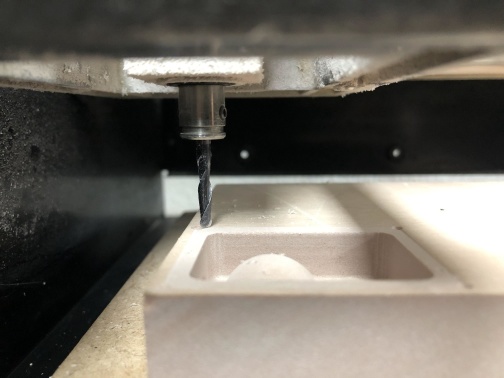
Milling


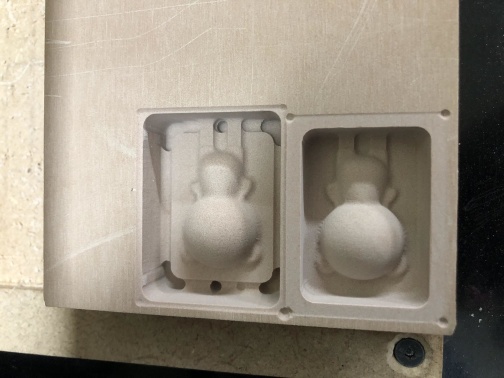


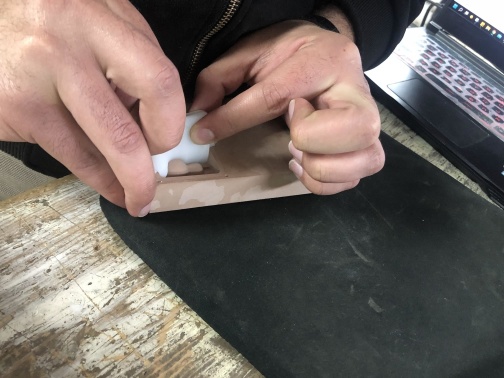
Silicone Mold


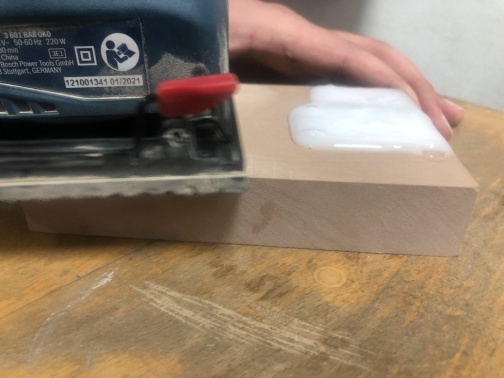


Resin part "Polyester"


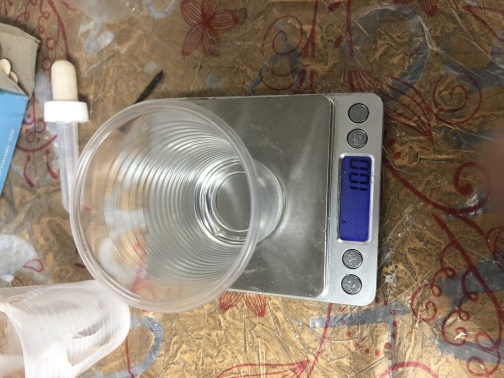
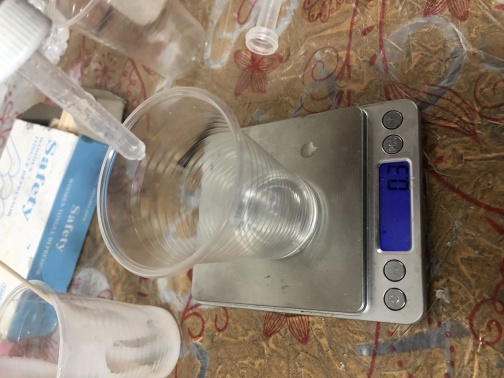


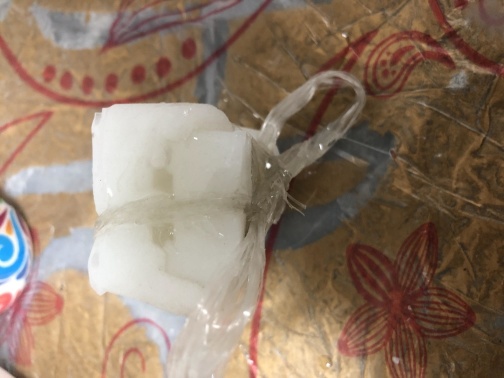


Resin part "Epoxy"