
Week 9
Molding and Casting
Let's cast some cool stuff!
-
Group Assignment
- Review the safety data sheets for each of your molding and casting materials,
then make and compare test casts with each of them
extra credit: try other molding and casting processes
Individual Assignment
- Design a mold around the stock and tooling that you'll be using, mill it (rough cut + three-axis finish cut), and use it to cast parts
- extra credit: use more then two mold parts.
Individual Assignment
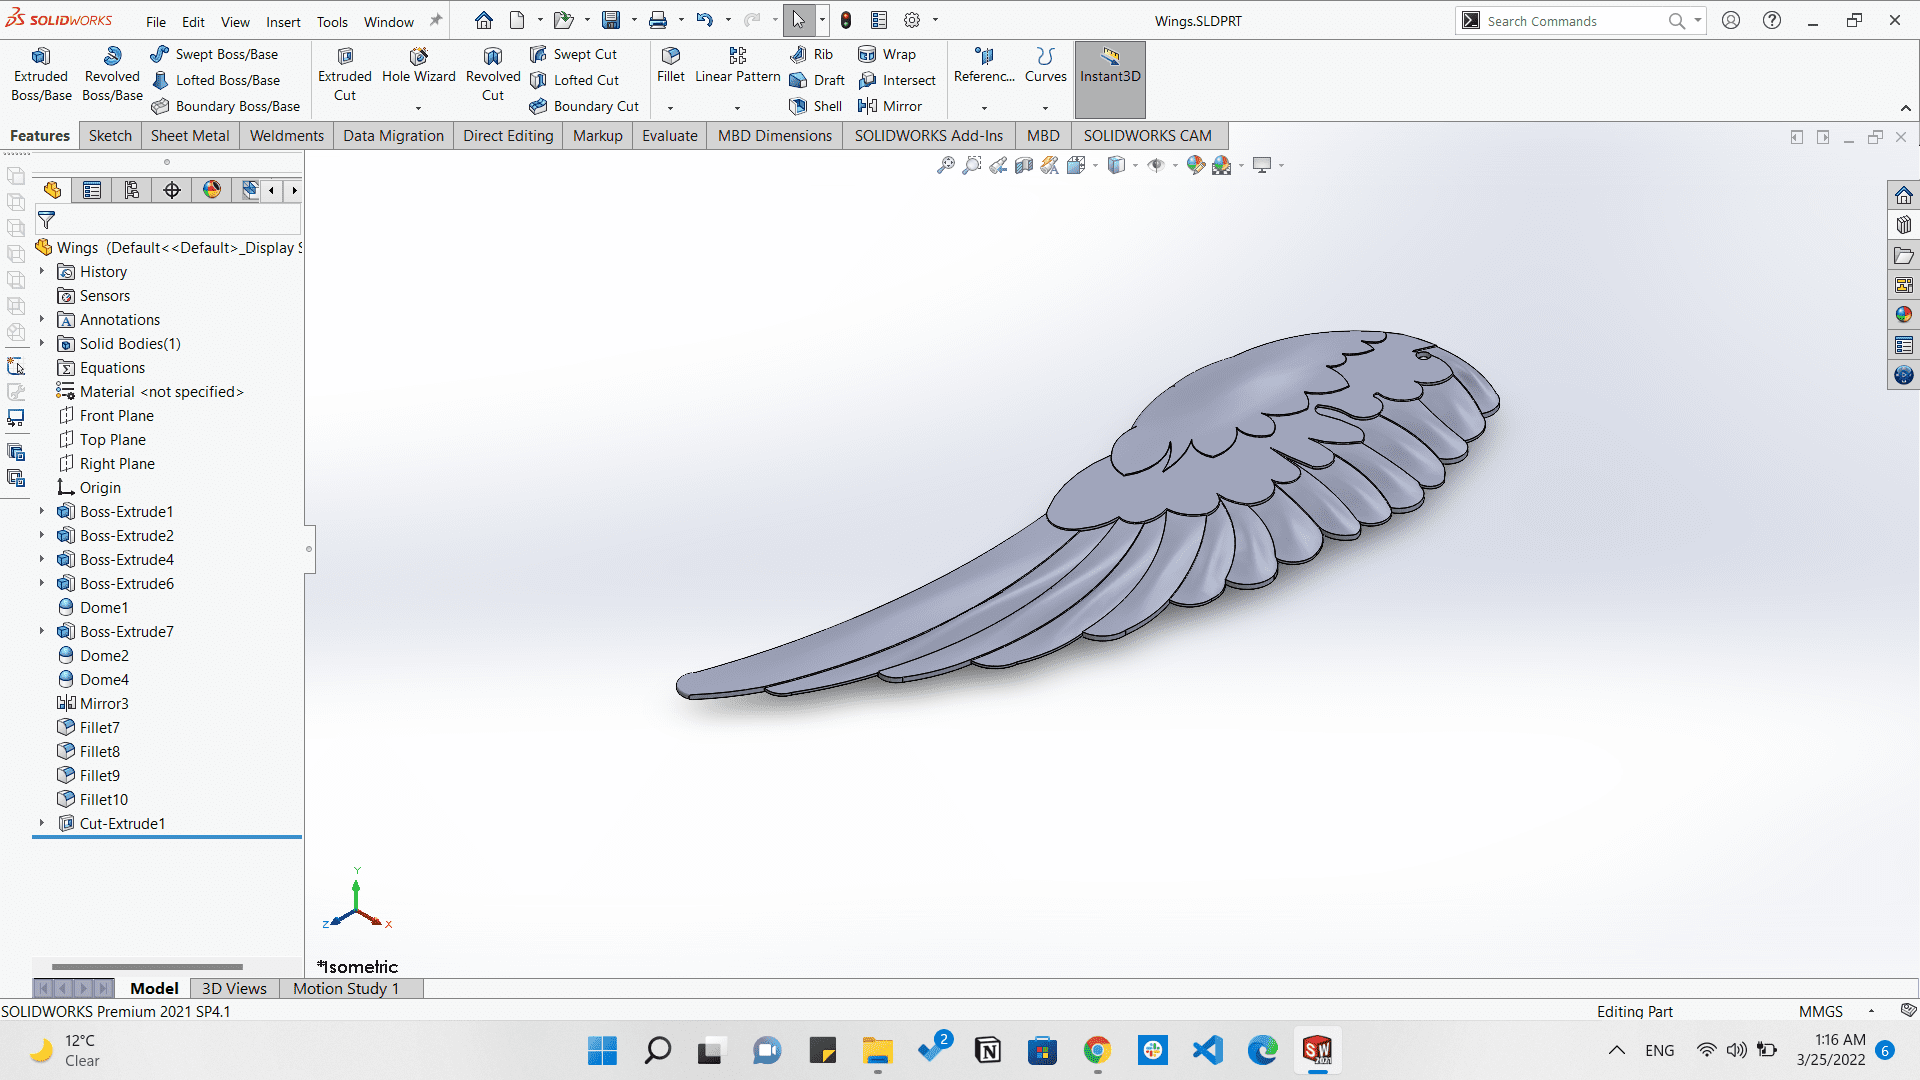
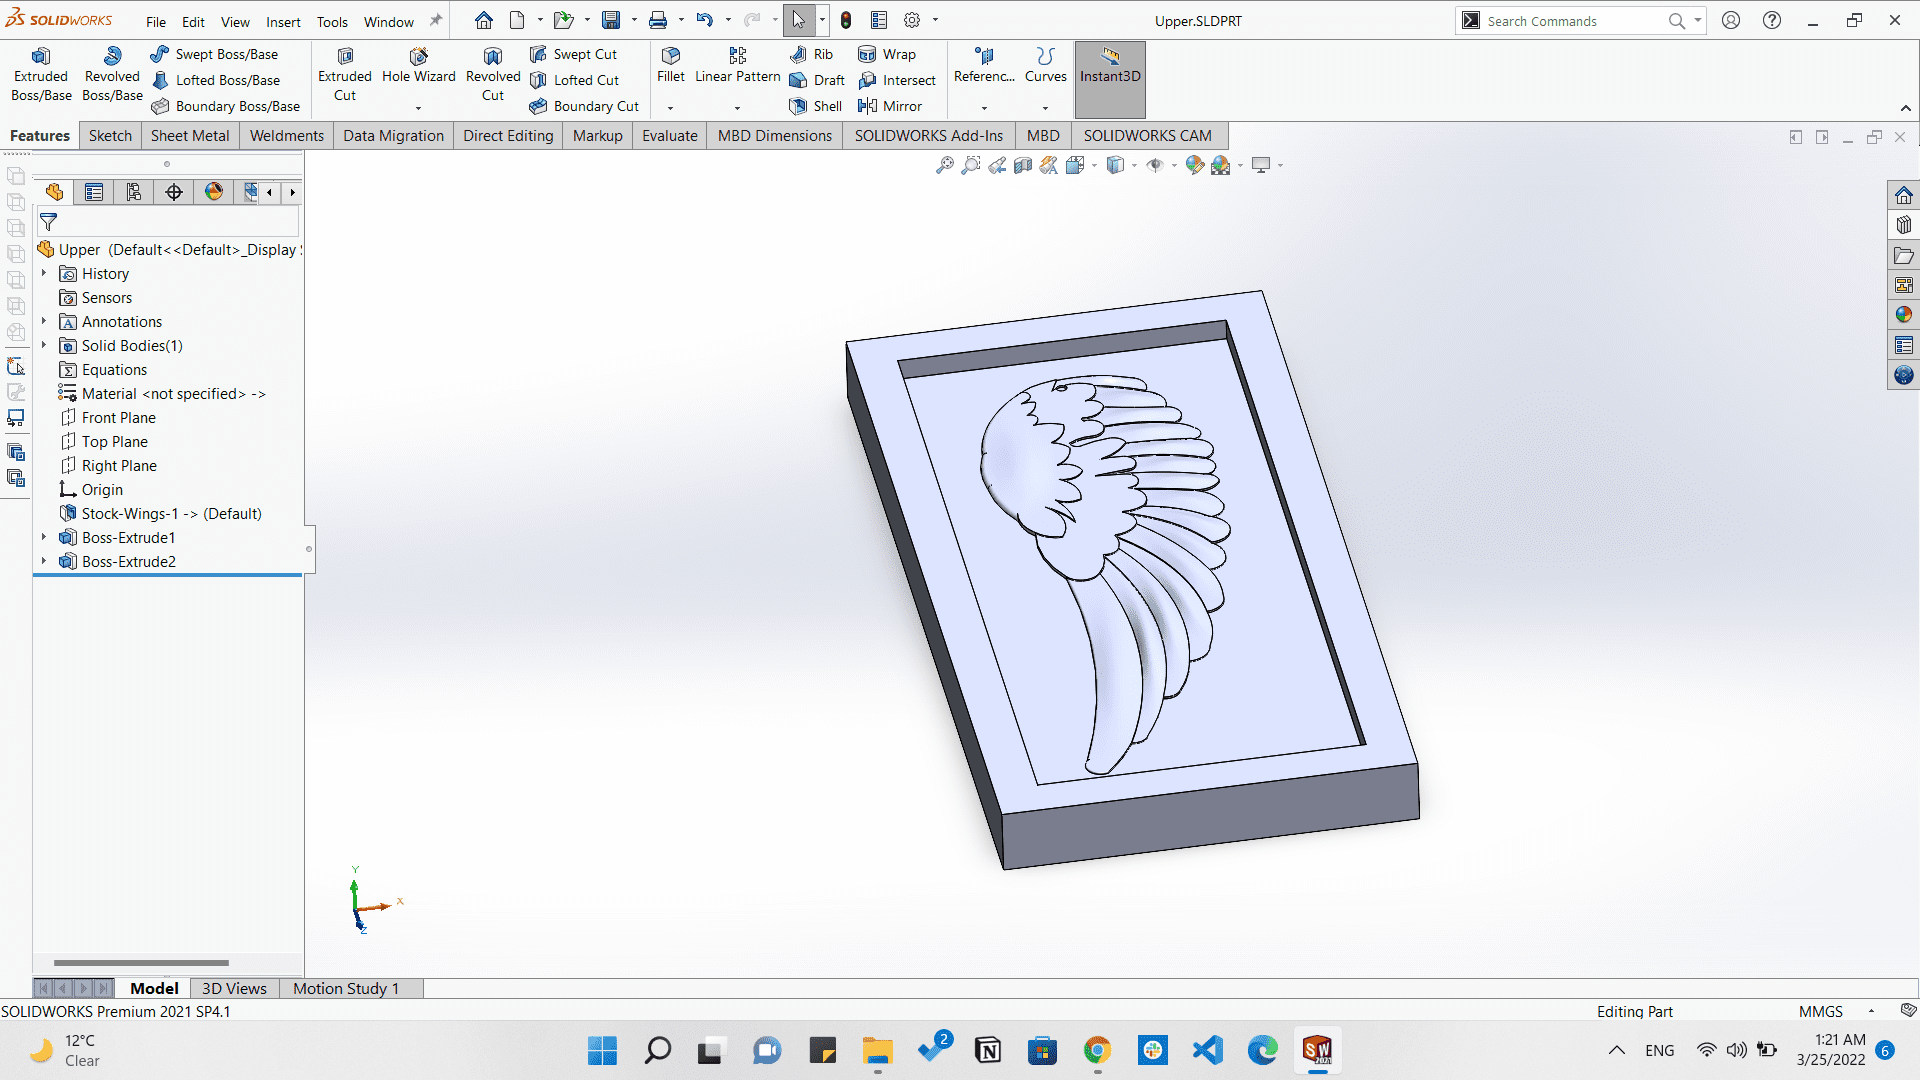
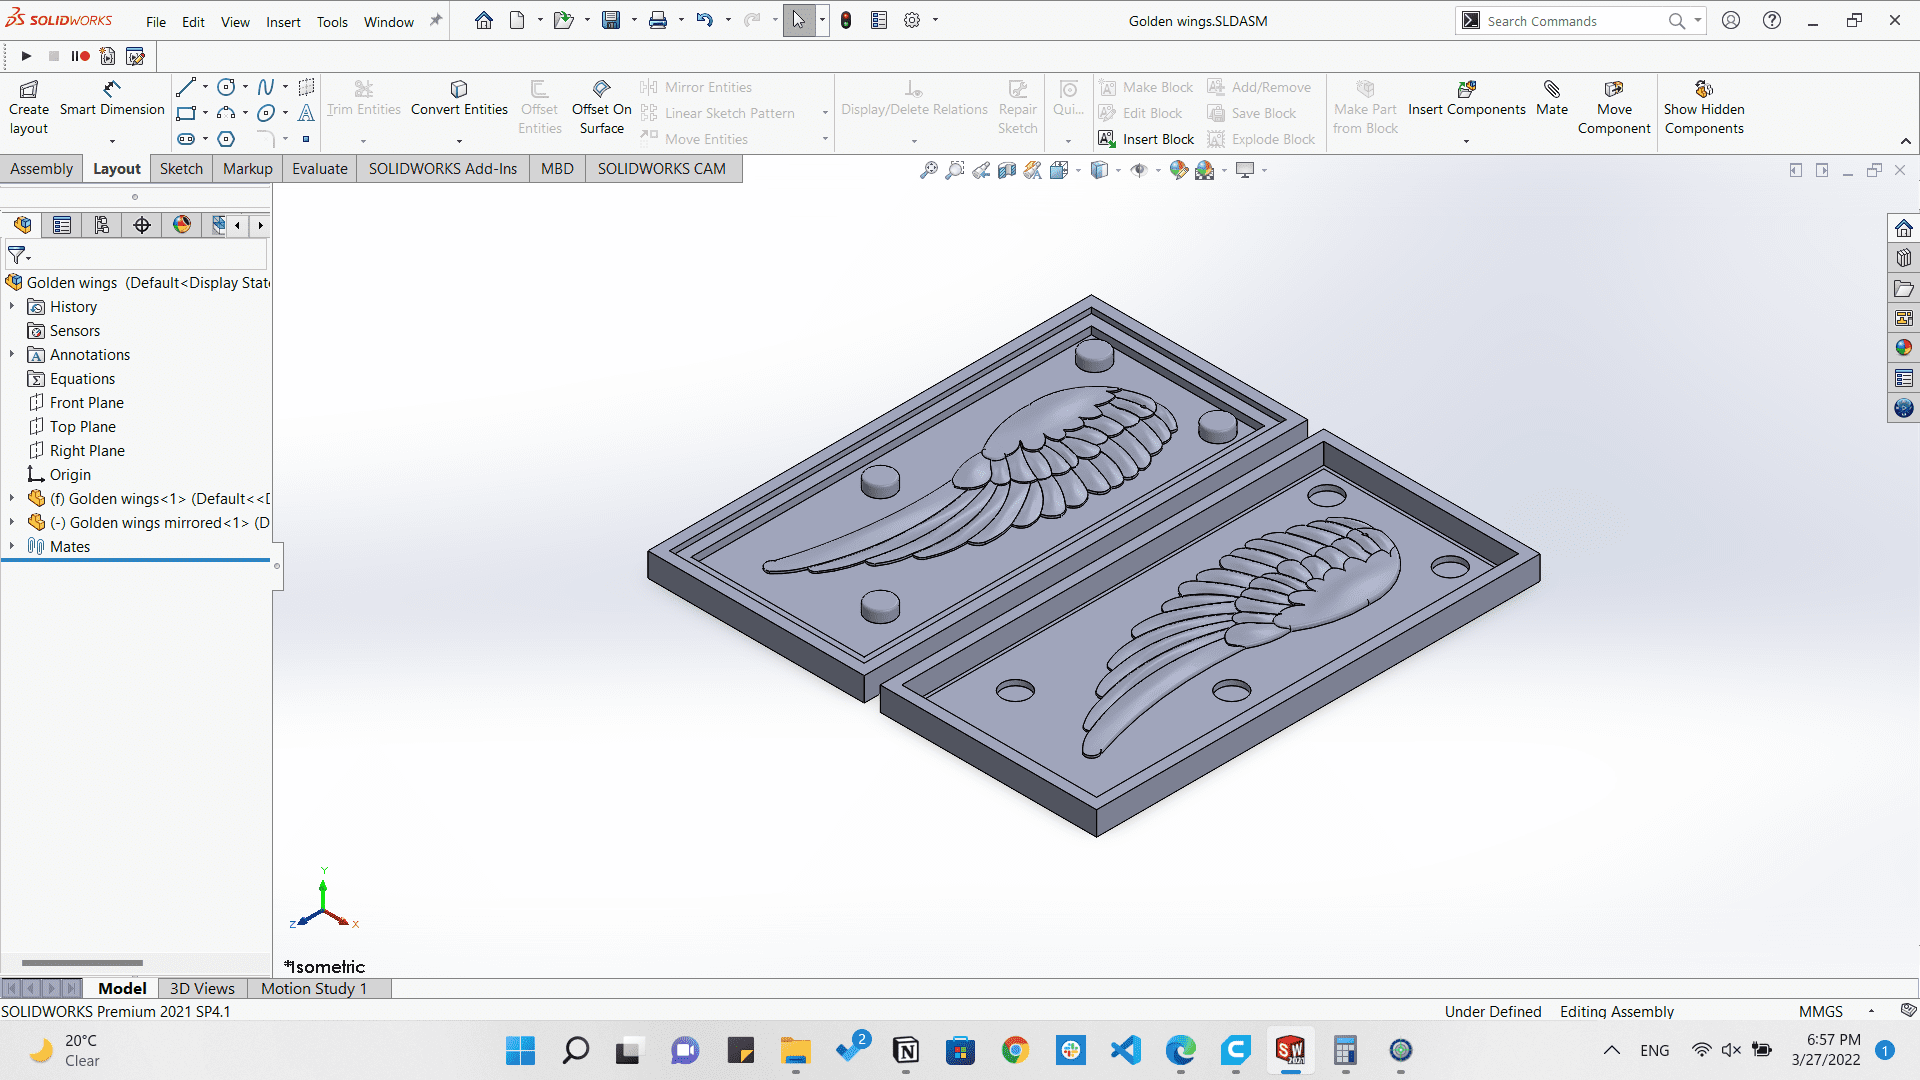
In this assignment I needed to design any shape that can be milled by our milling machine at Fab Lab Egypt. The type of milling machine isRolland MDX-20, and I thought of designing a wing of a bird that can be worn as an earing.
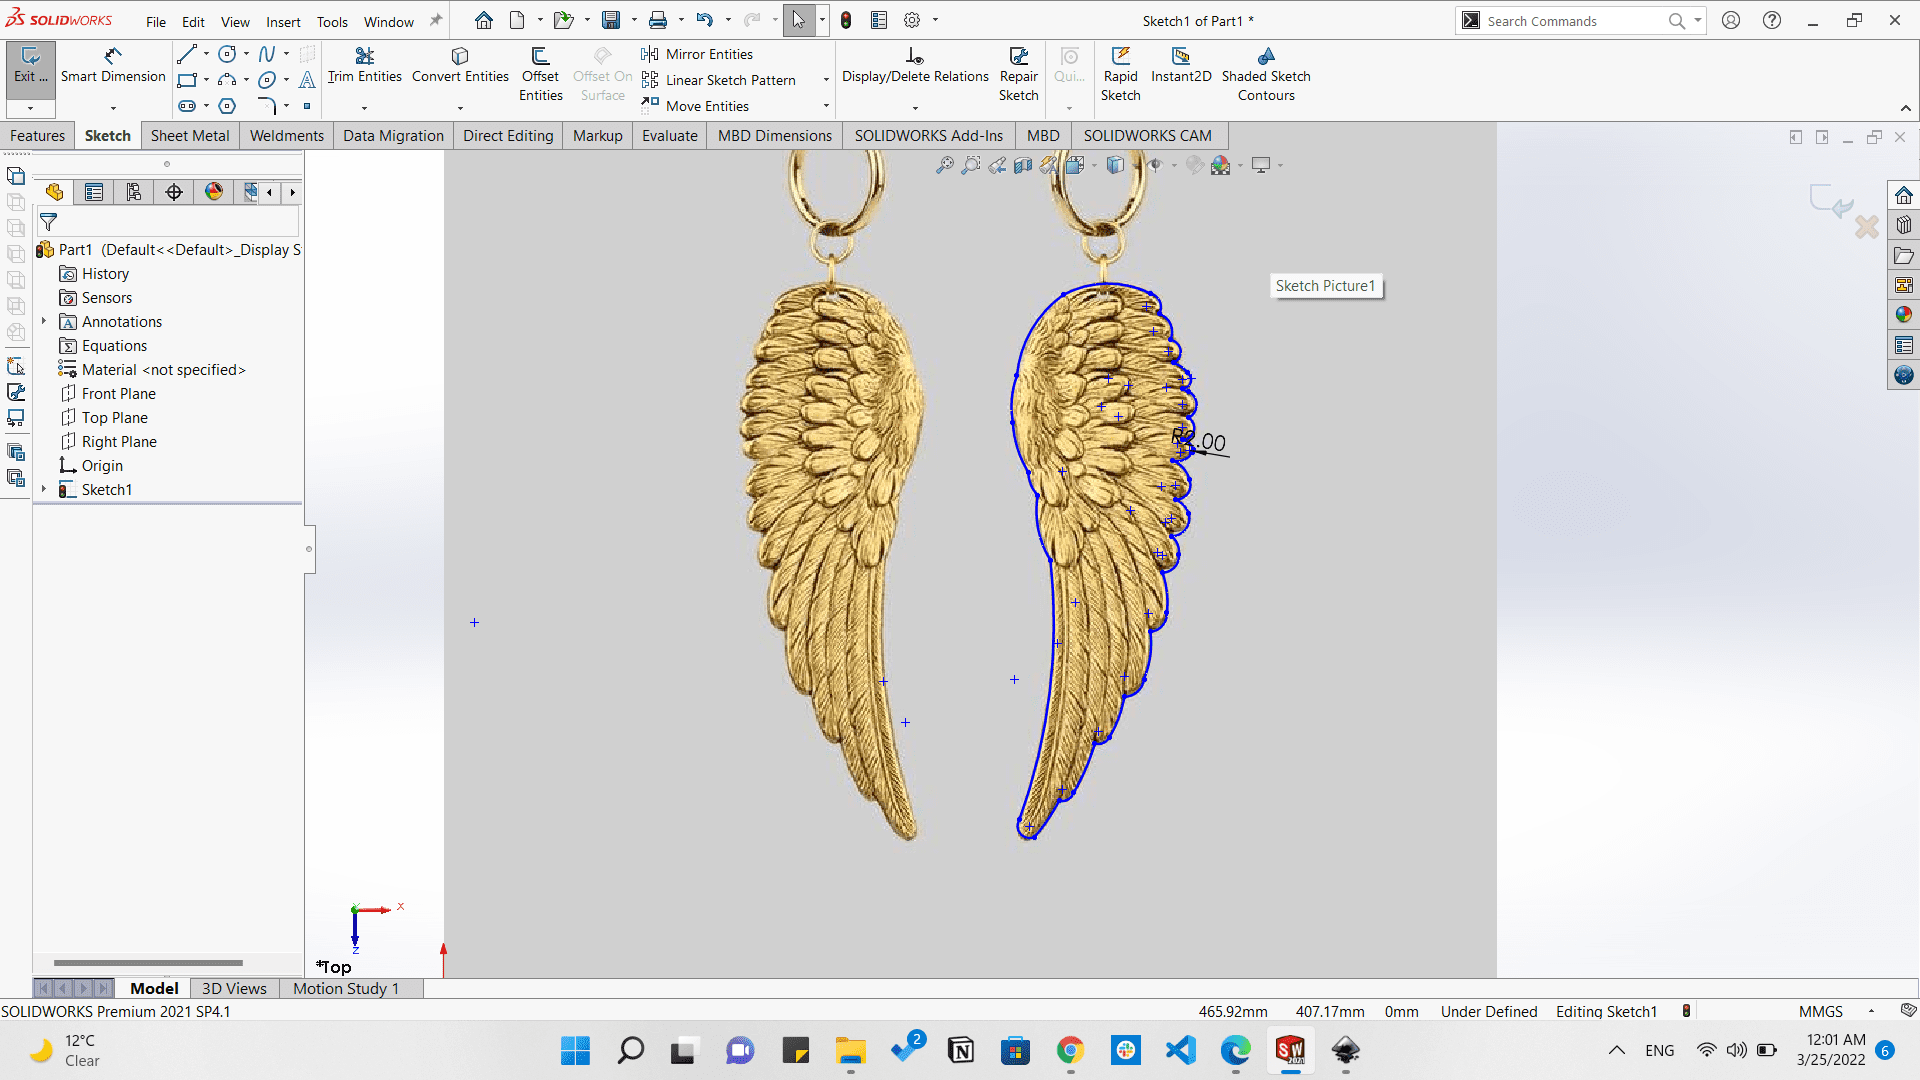
So I started designing it on Solidworks from a picture I found on Pinterest.

An amzing earing on Pinterest
Designing this part wasn't hard as it seems. As I just traced the outer shape of the wing, traced the inner feathers, And then made domes out of the sketches.

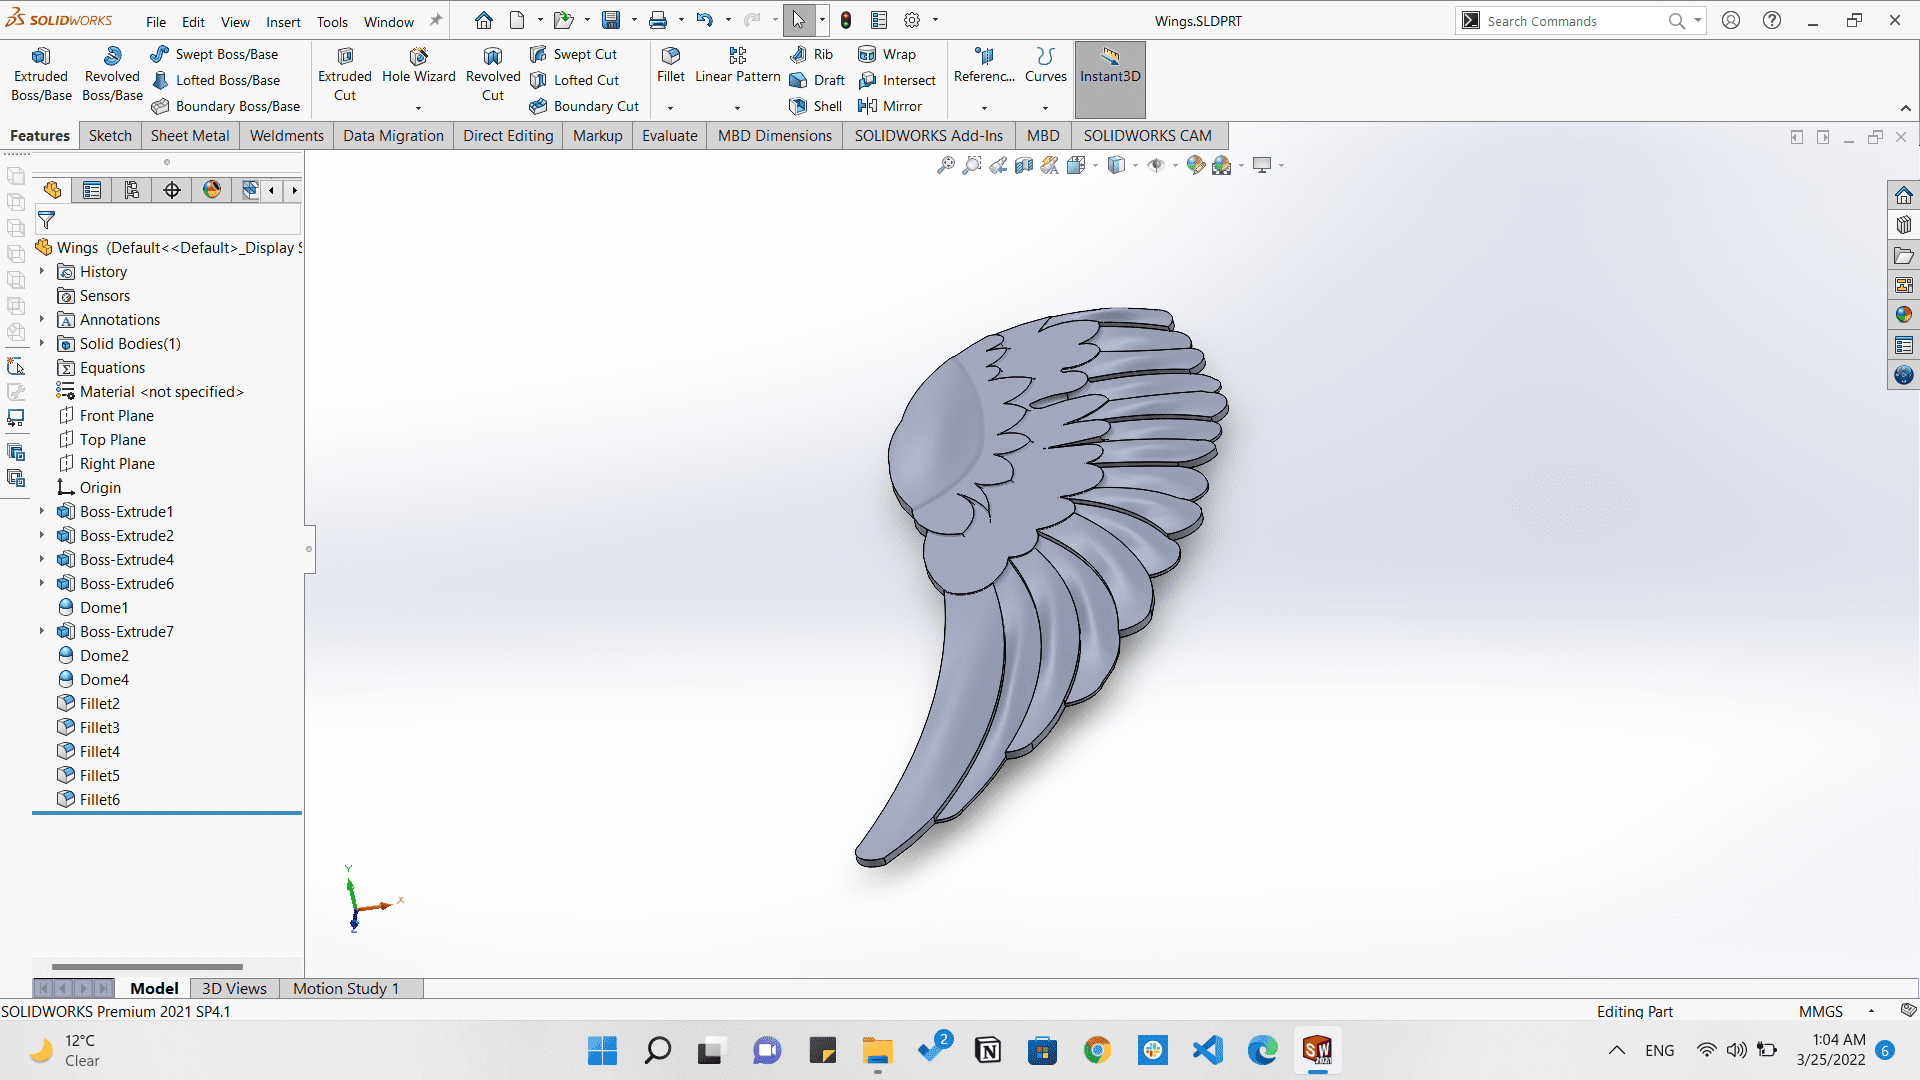
I really enjoyed designing that!
Now let's go to milling that design on modela machine.
Molding
First was choosing the material that I will mill in. And as we have here at Fab Lab Egypt a plenty of Chemical Wood so I decided to choose that. But we need first to know what is the chemical wood.
Chemical wood is the wood of any of various trees used as a chemical raw material (as for the production of acetic acid, wood alcohol, or acetone by carbonization).
Chemical wood
Resources: Merriam Webster
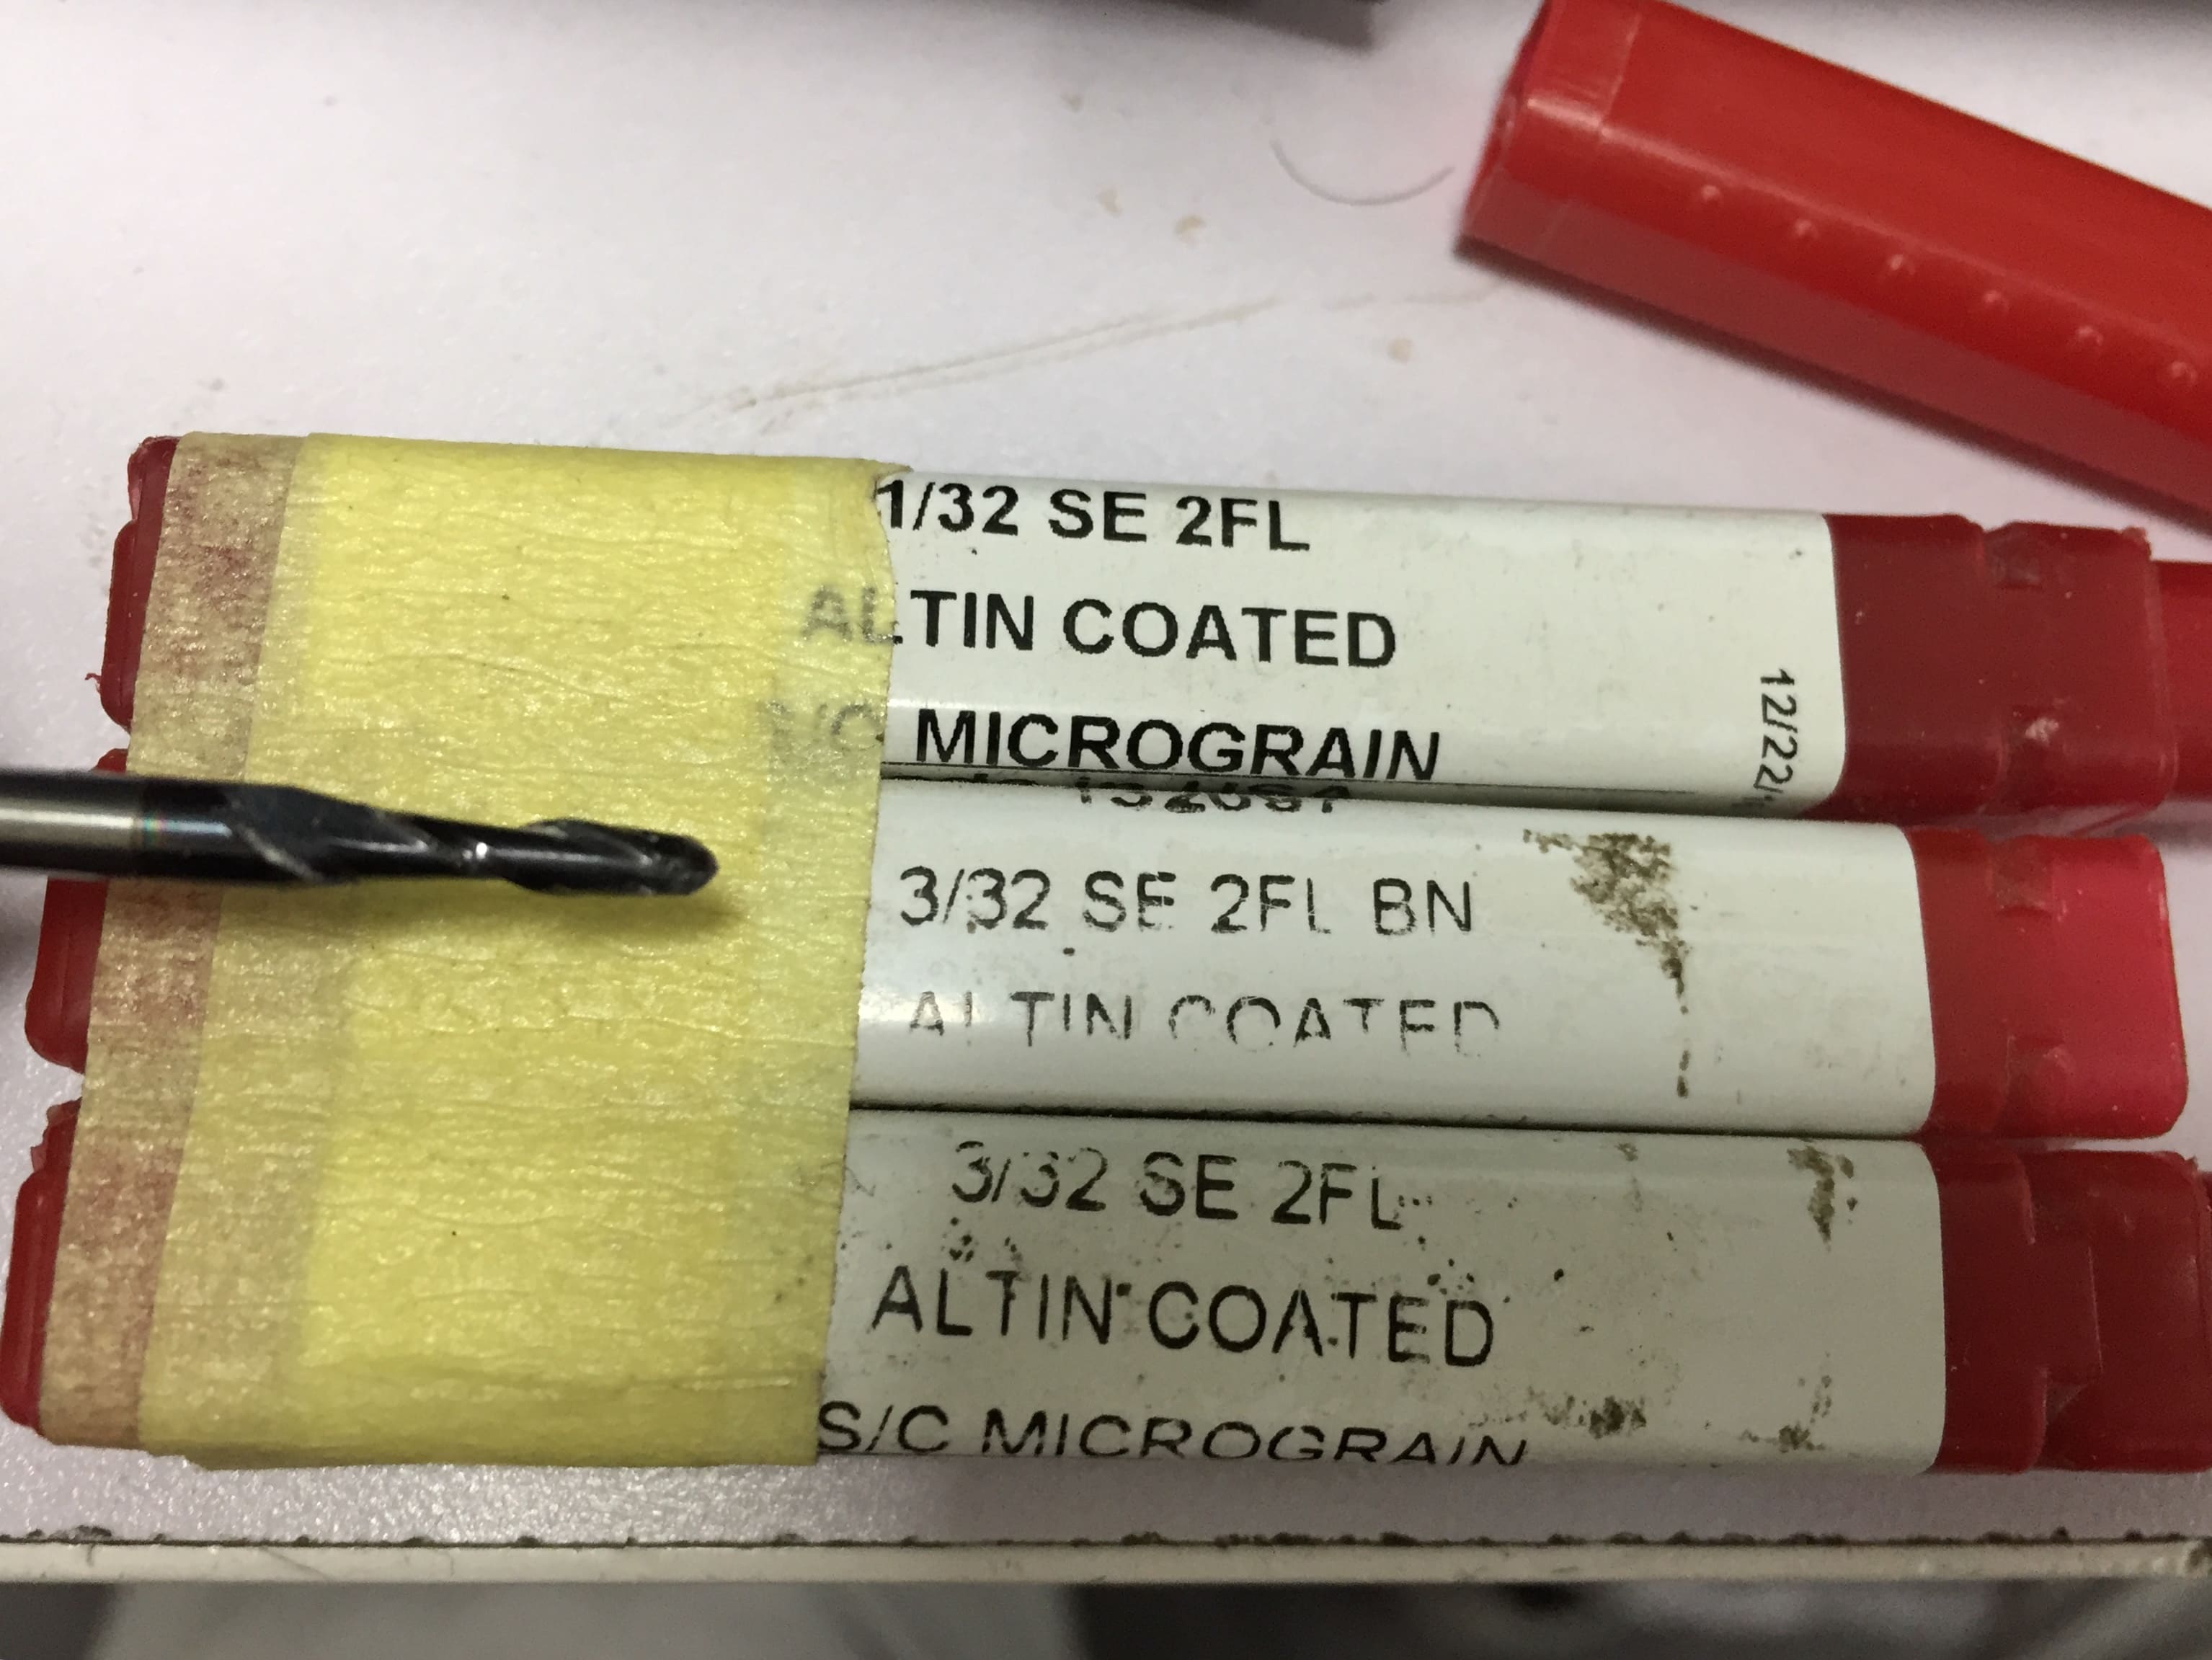
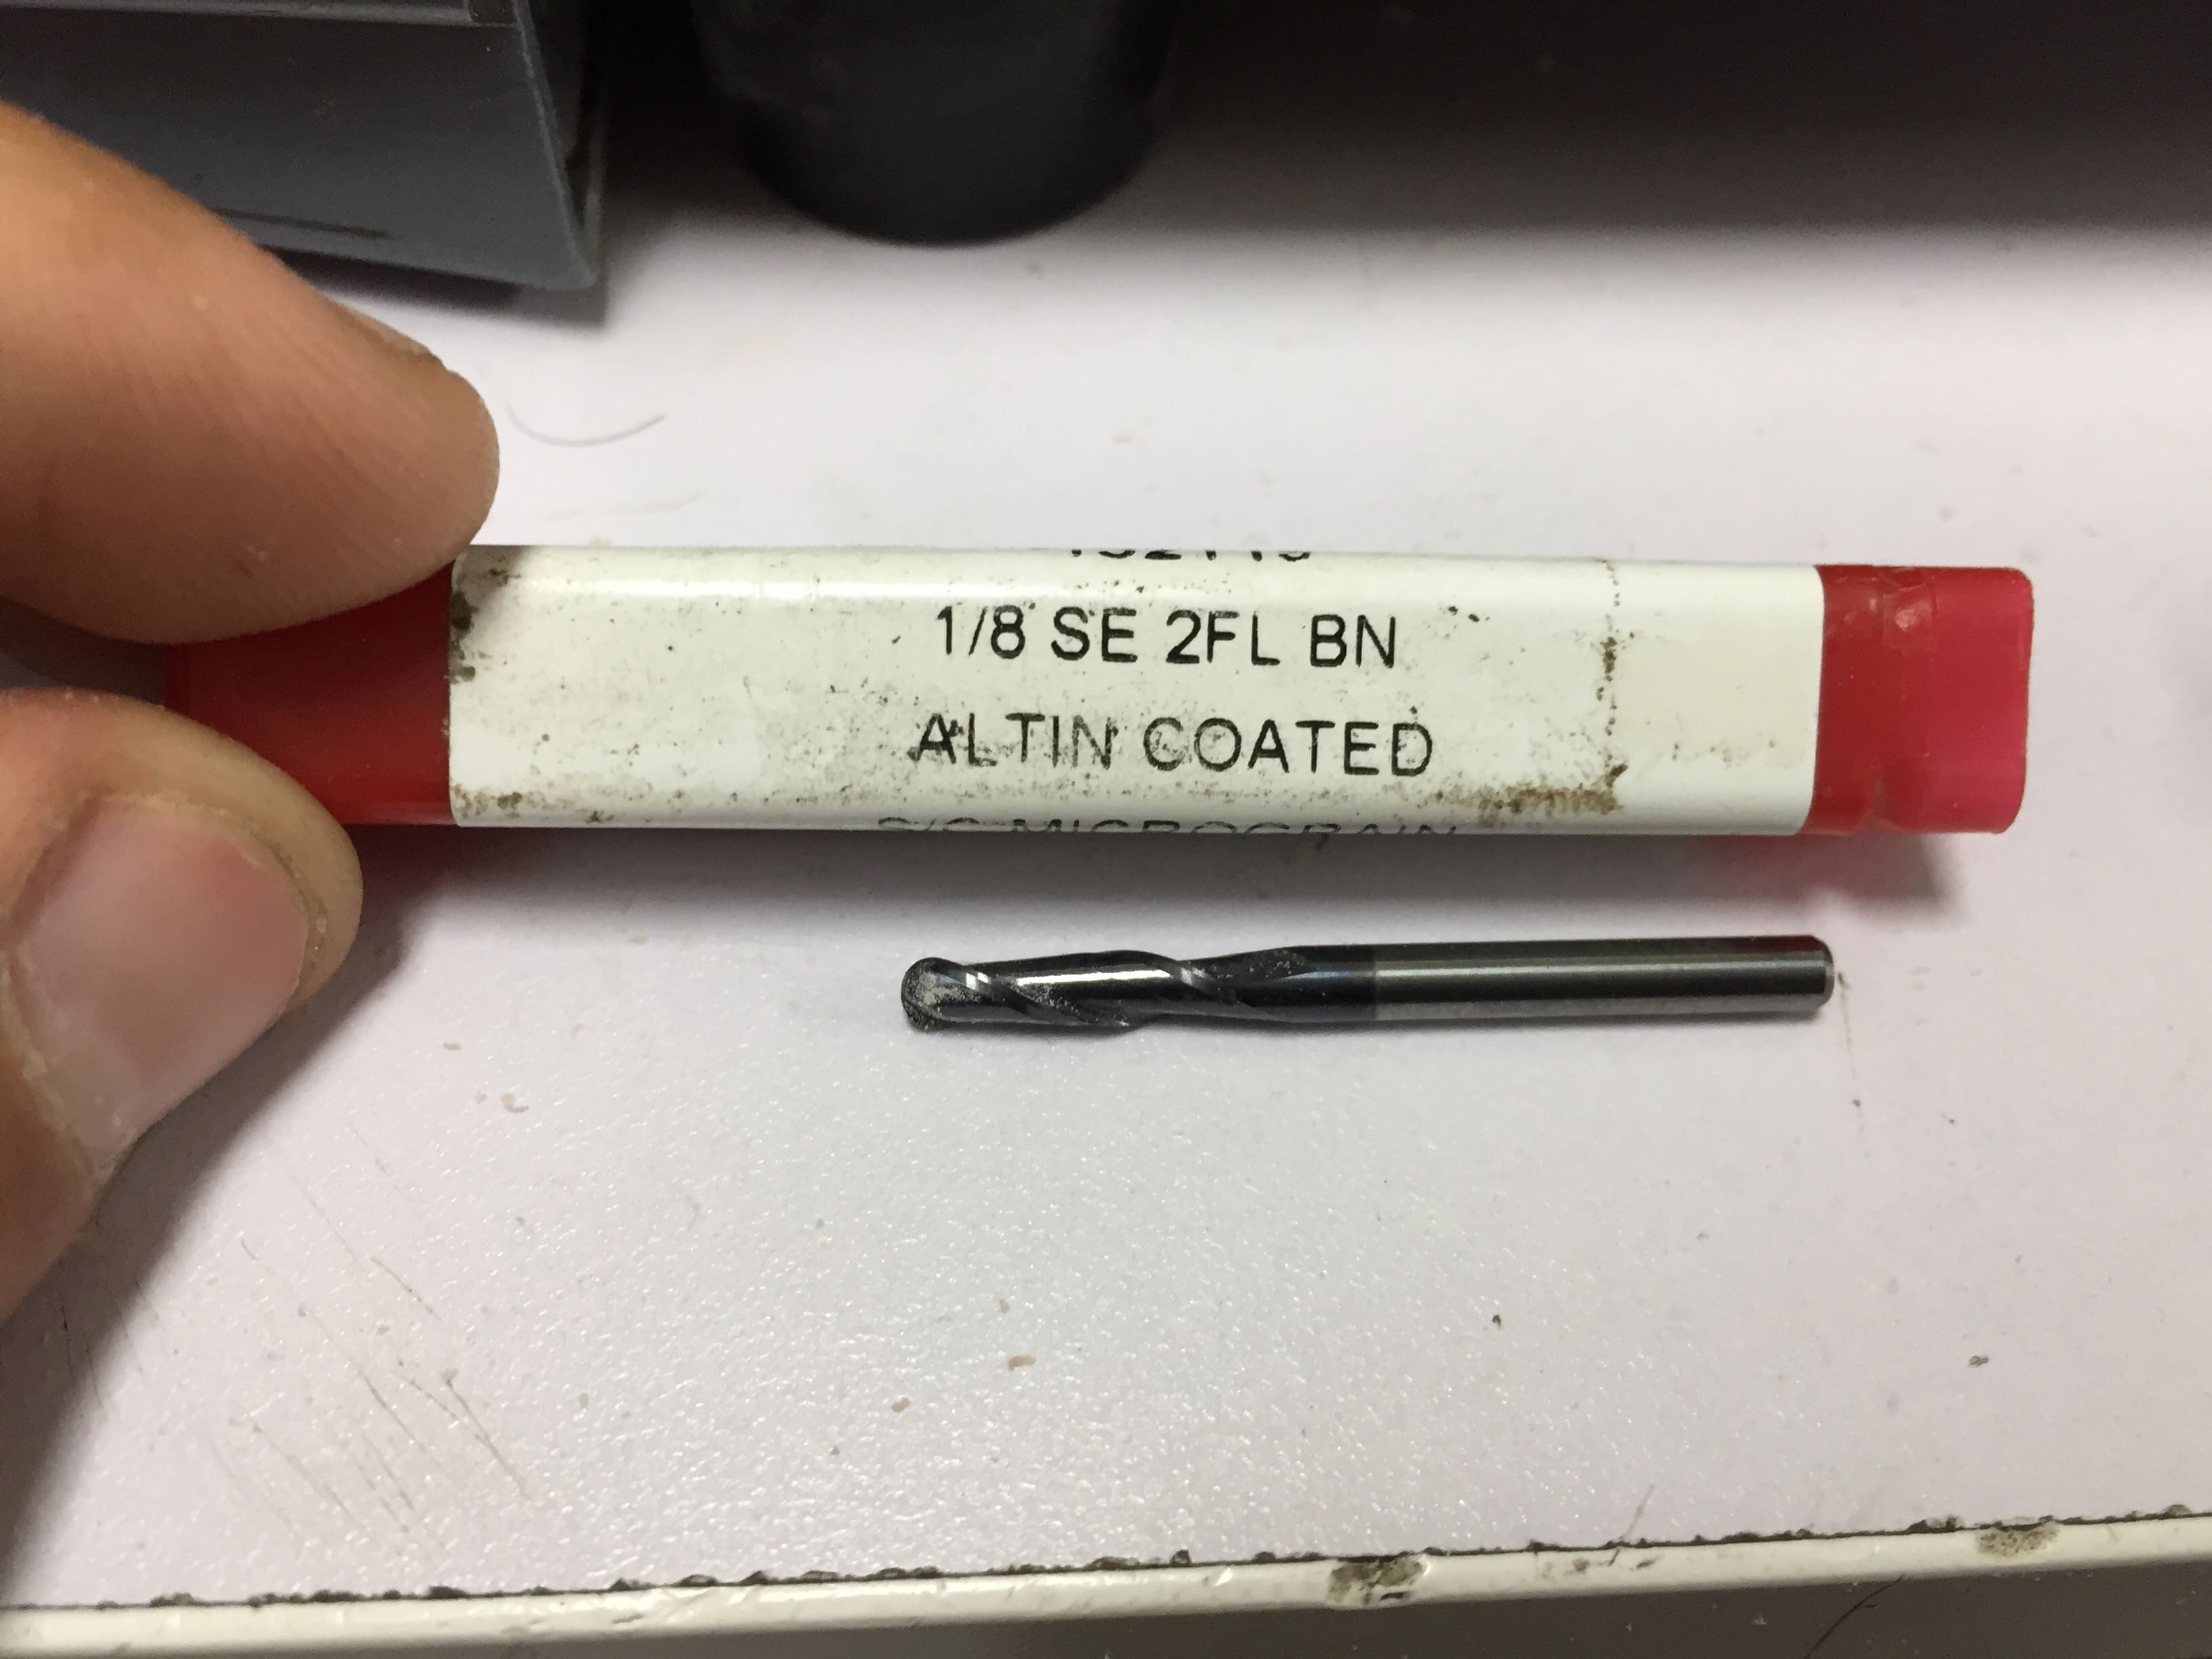
I made the design according to the bits I'm going to use. And I am going to use here:
3.175mm 2 Flute Ballnose endmill for roughing
2.38mm 2 Flute Ballnose endmill for finishing
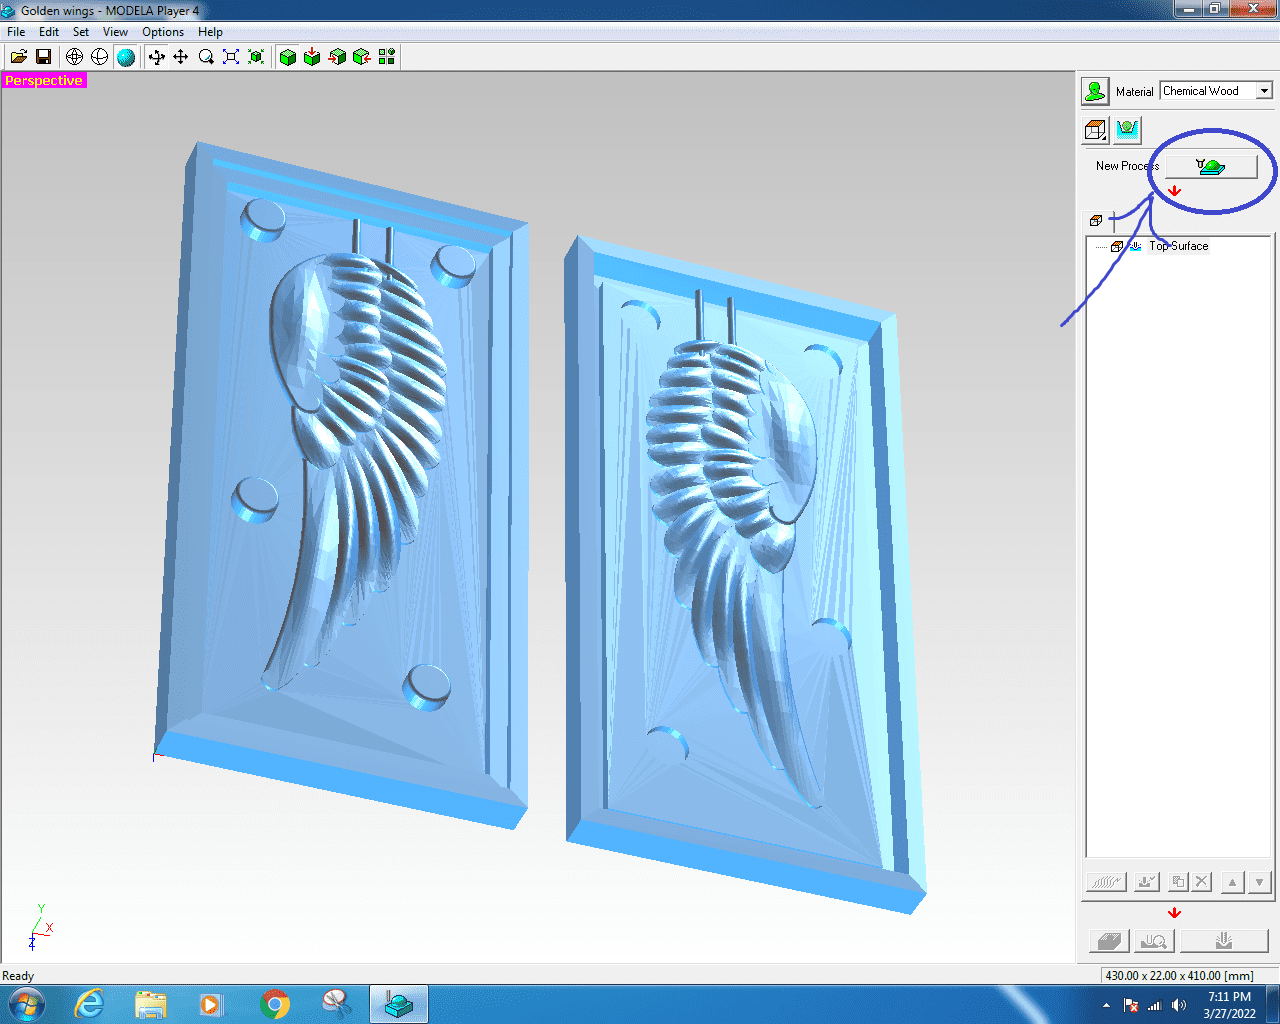
Now comes creating the toolpath and operating the machine. I made that by Modela Player 4 that makes the milling process.
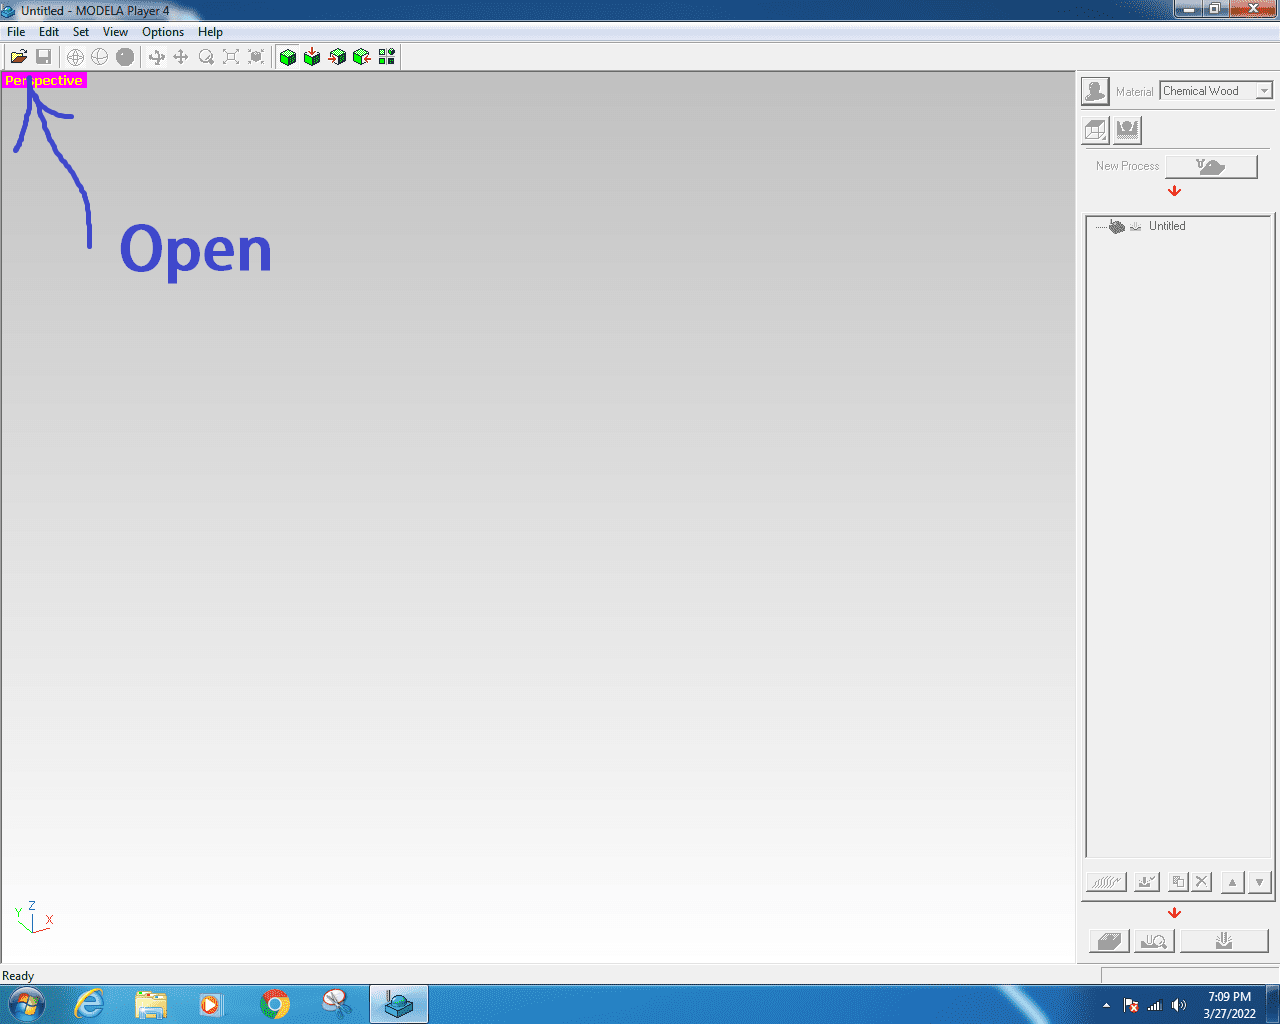
First, we click on Open to open the .stl file we exported from SolidWorks.
Open .stl file
Then we click on New process to start creating the roughing and surfacing processes.
Creating new process
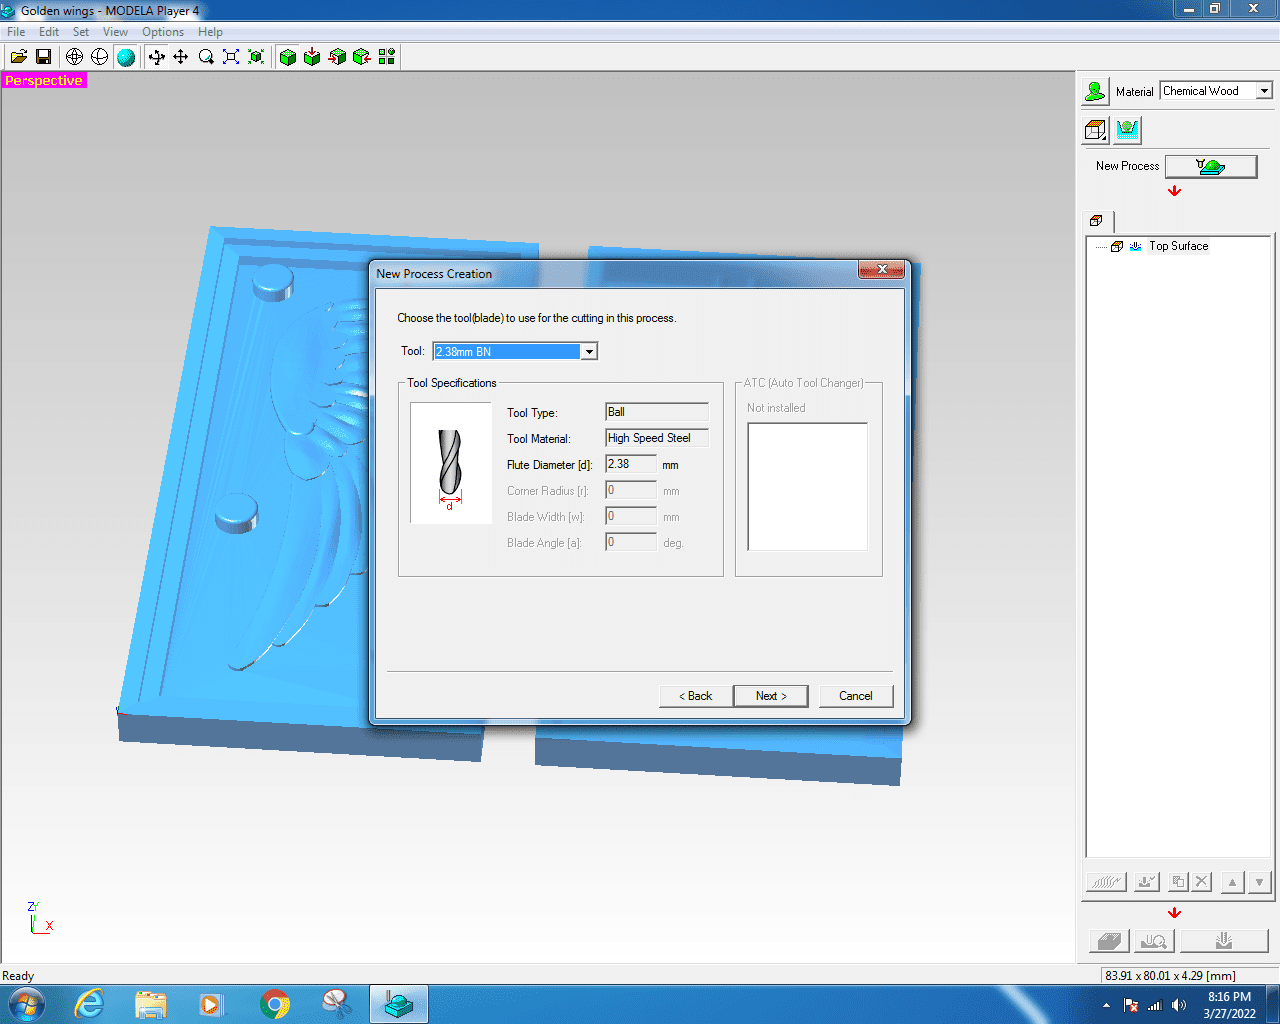
Then we need to choose the bit we are using for this process which is the Roughing process, and I'm choosing here the 3.175mm bit as explained earlier.
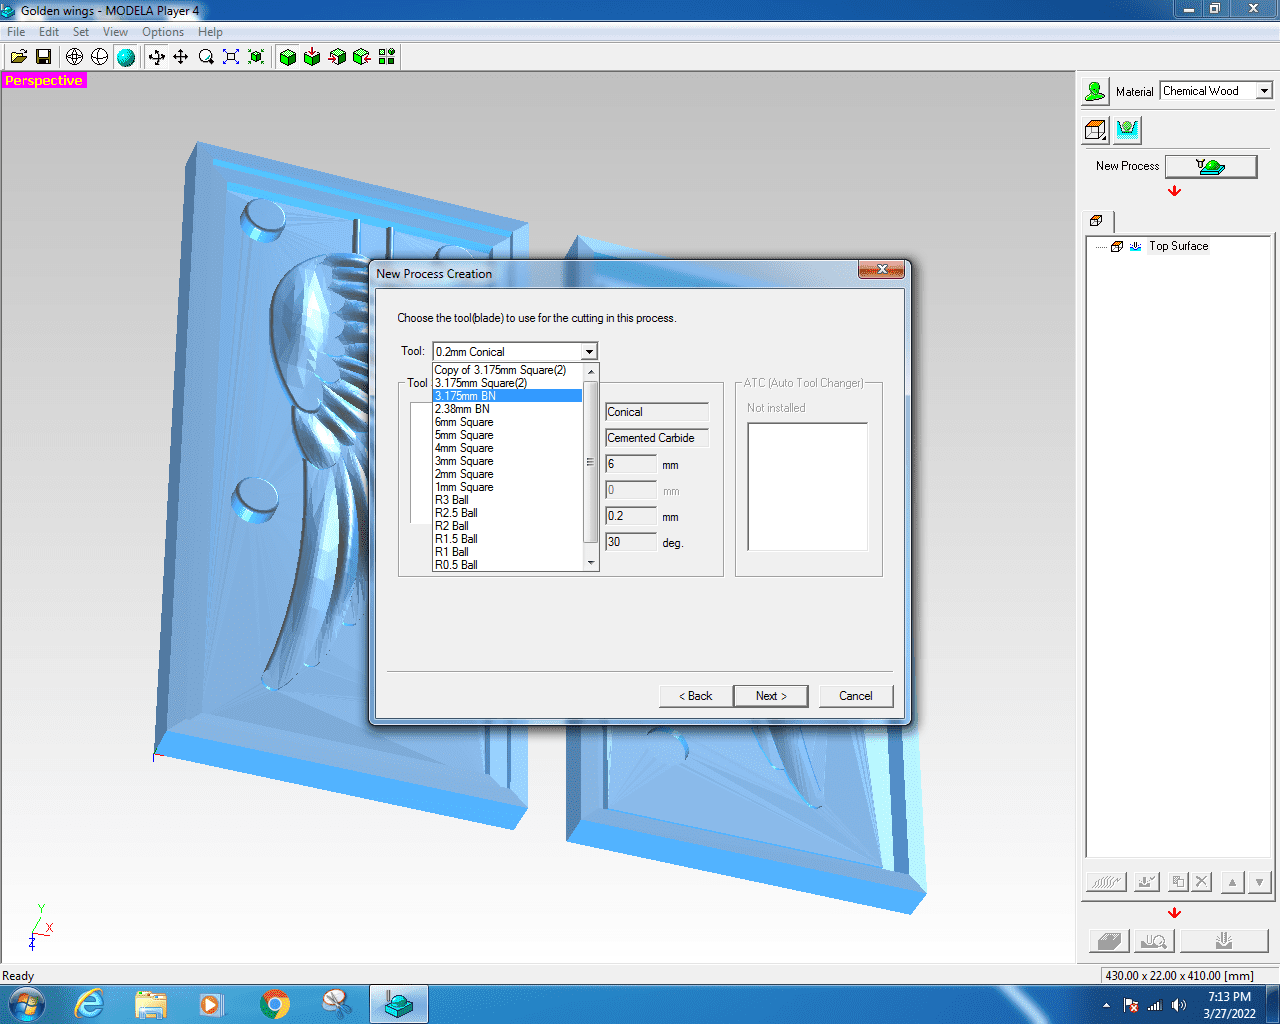
Choosing cutting bit
Here is the most important part where we set the Cutting Parameters and we need to type them carefully as they control the time of machining, speed of cutting, path interval and other parameters shown.
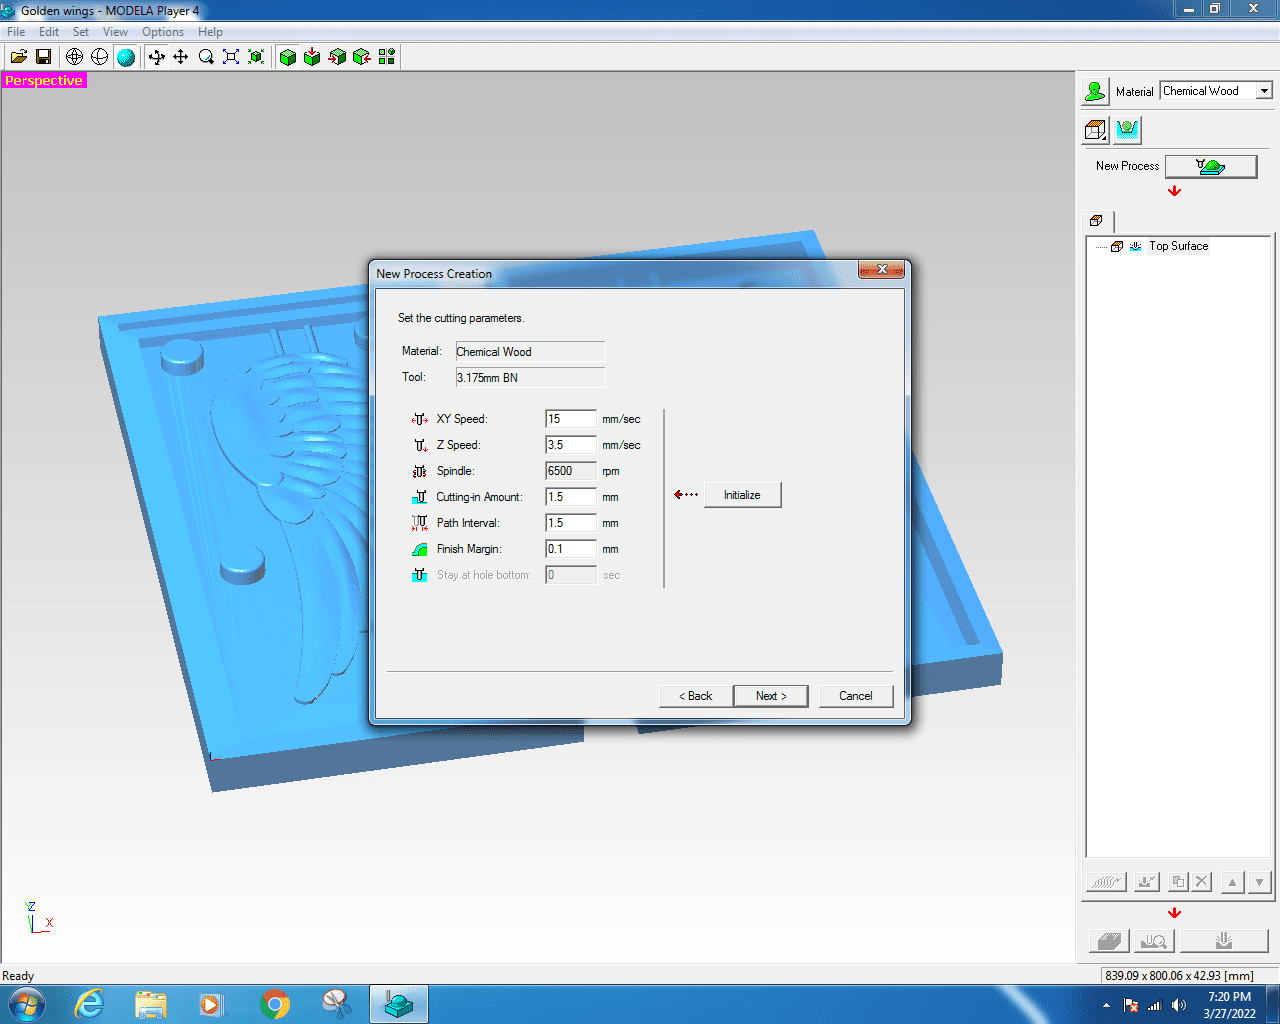
Cutting parameters
And by clicking on the simulation it can give us a simulated picture of the output of milling and the time it will consume. And as seen here it will take 29min.

Roughing simulation
And this is the cutting bit for the finishing process.
Finishing process cutting bit
And those are the cutting parameters I used for the finishing process.
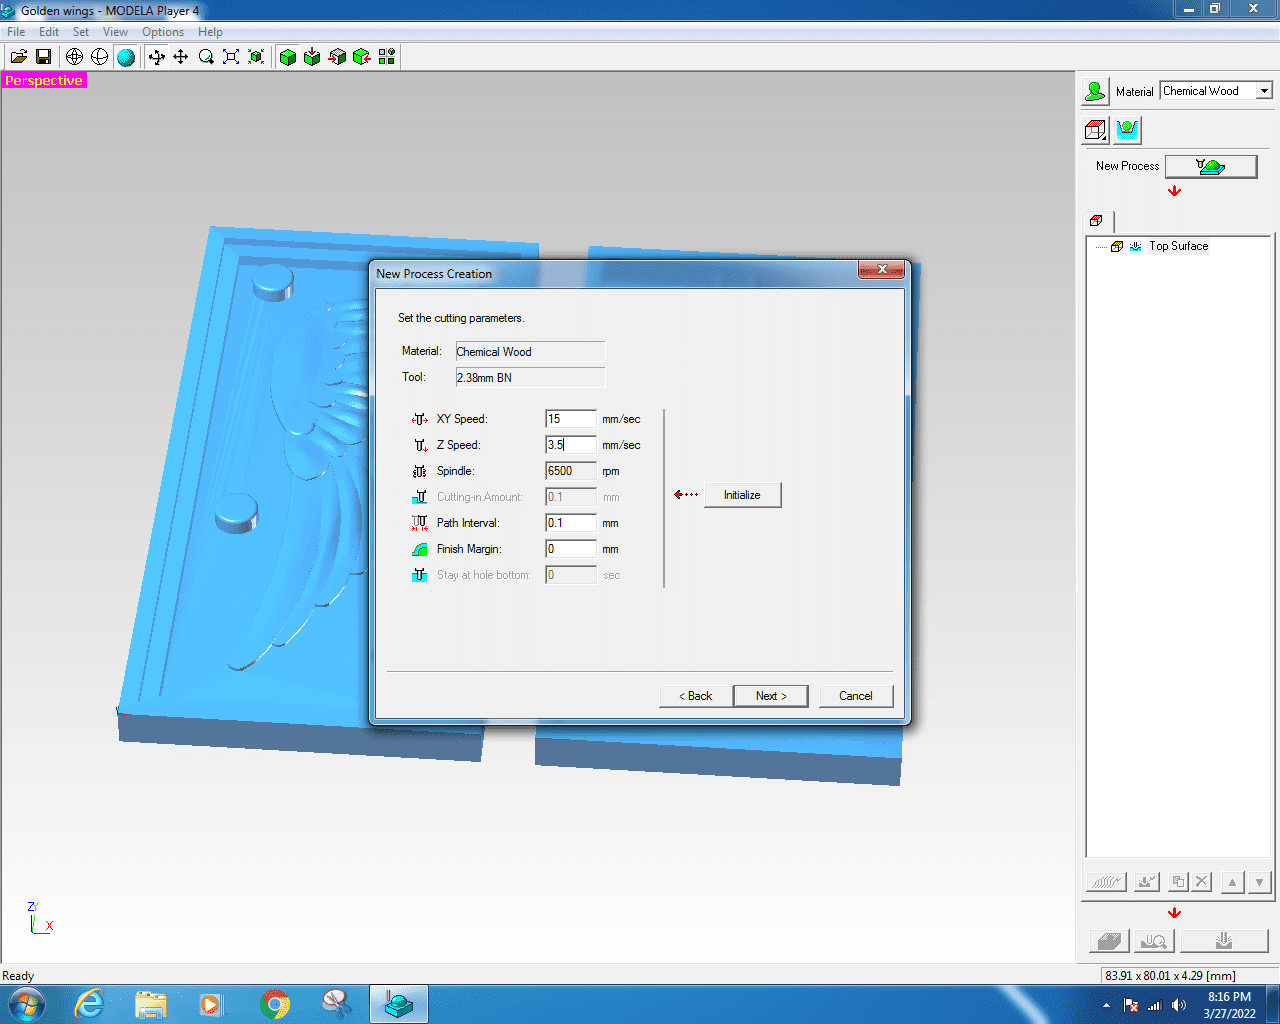
Finishing cutting parameters
And that is the simulation for Finishing process.
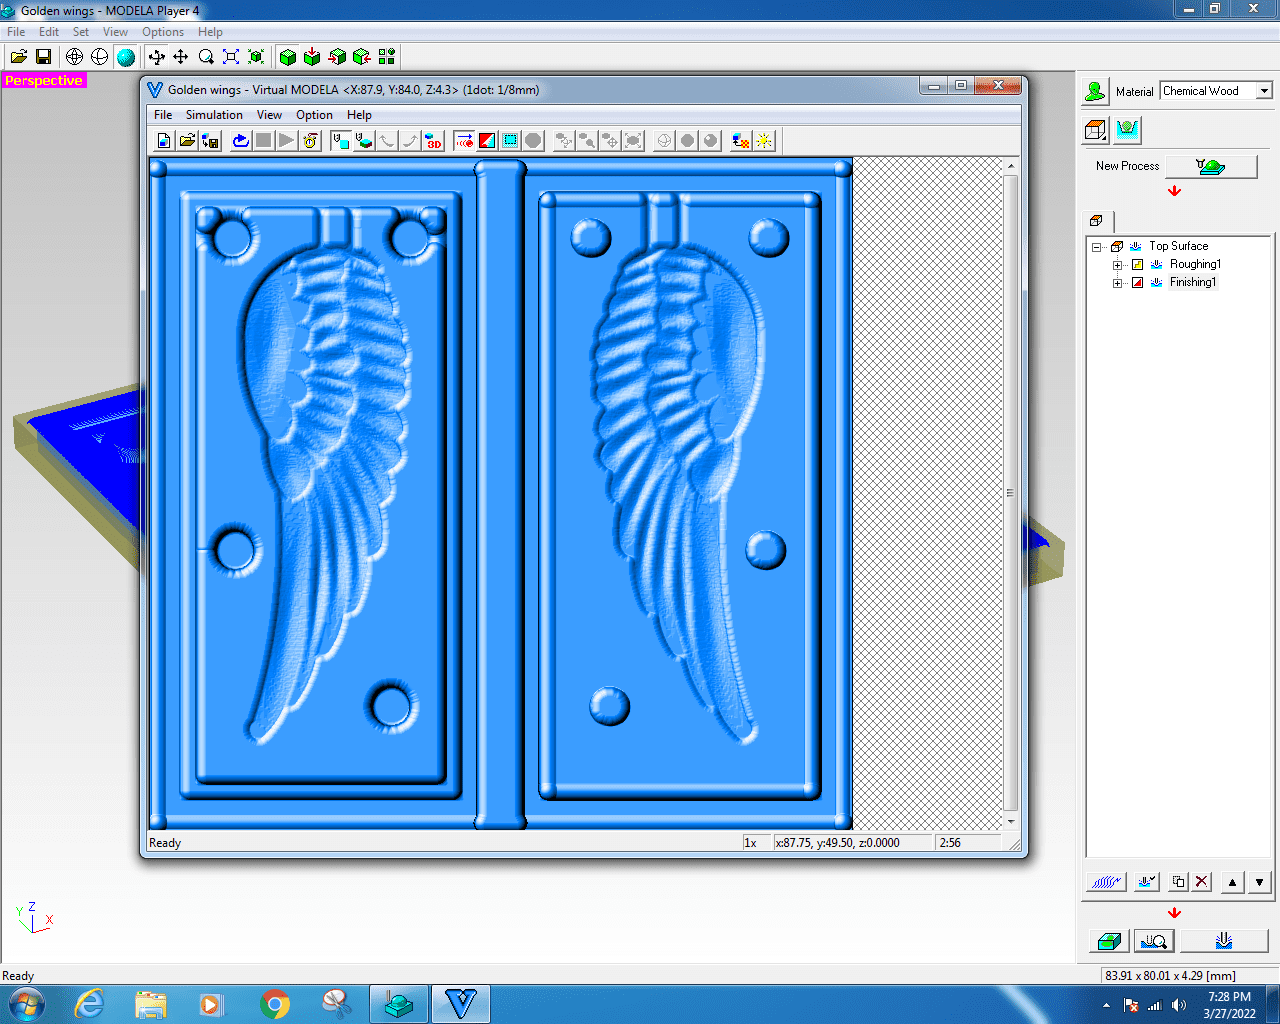
Finishing Simulation
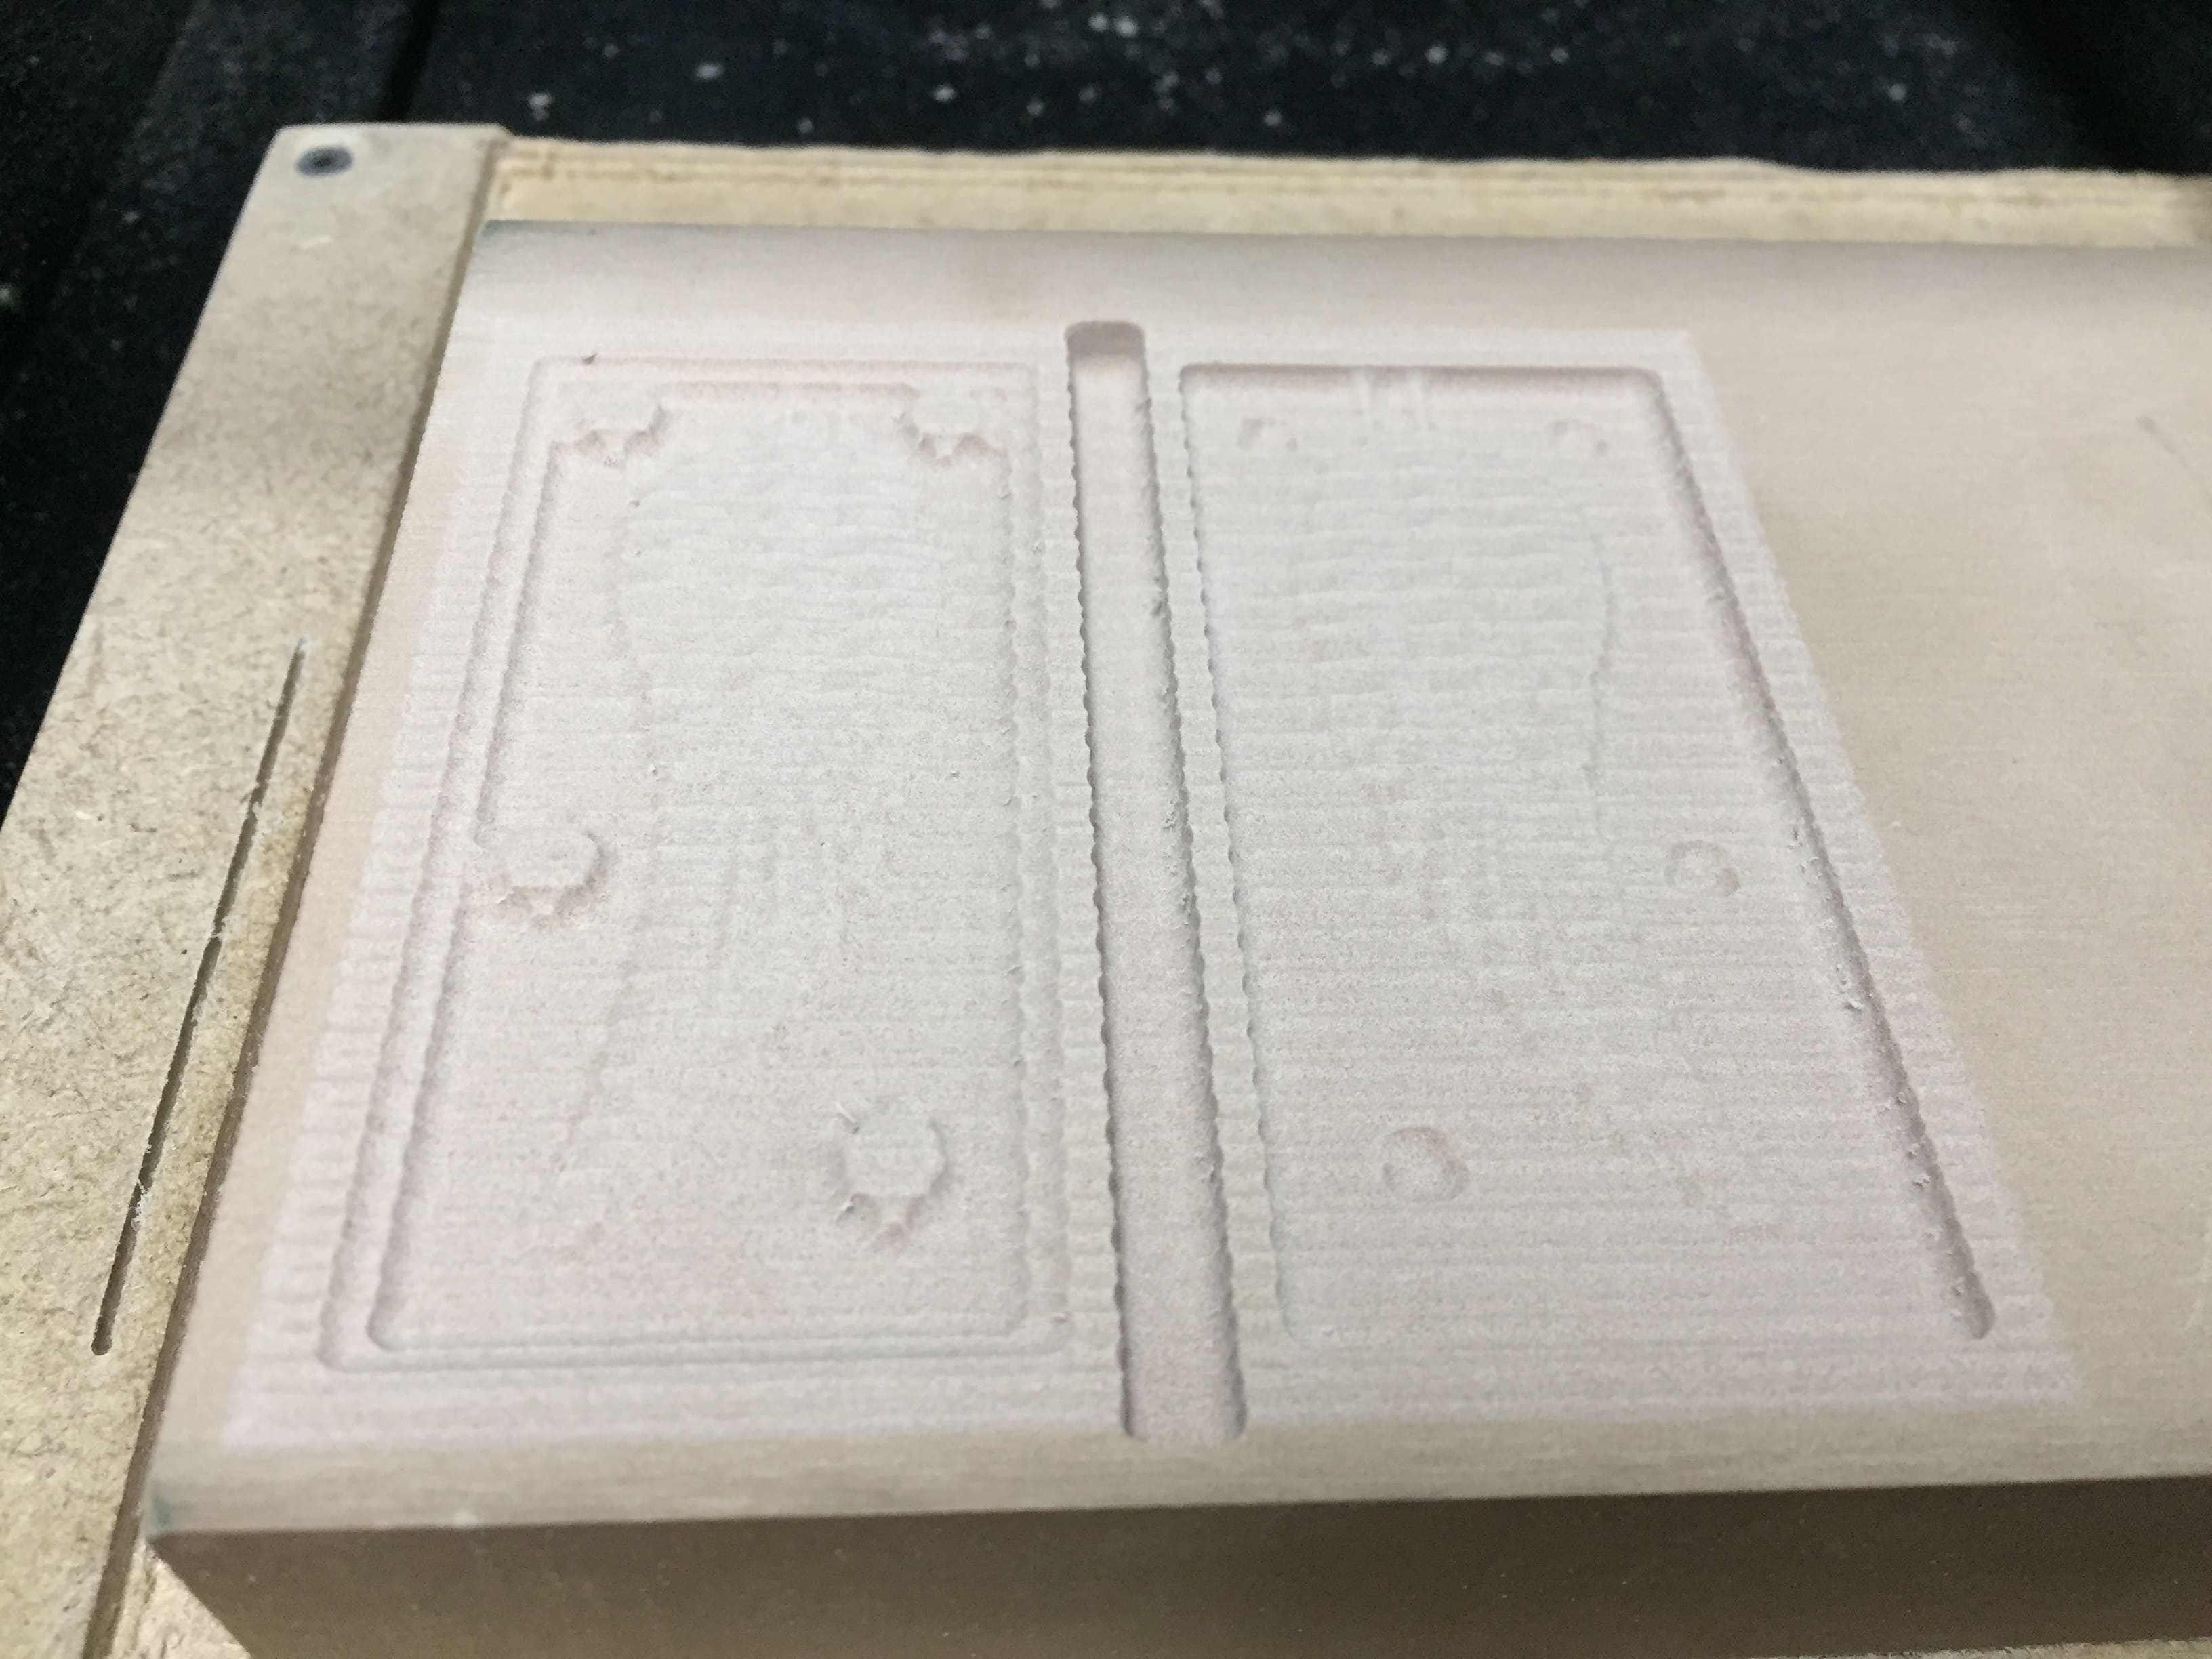
This is just a check for the dimensions of the mold we are making.
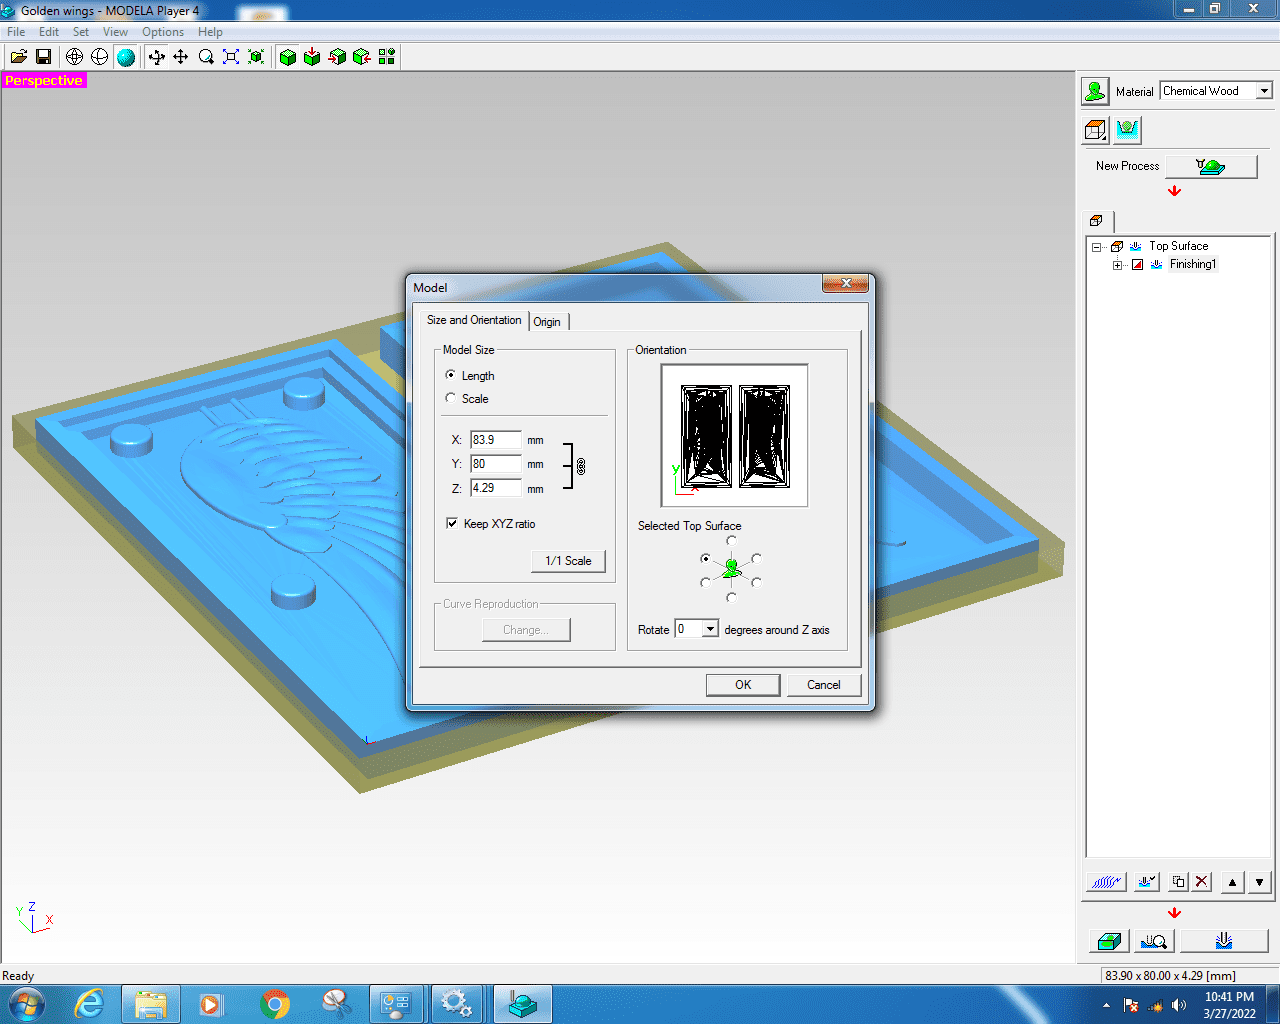
Part dimensions
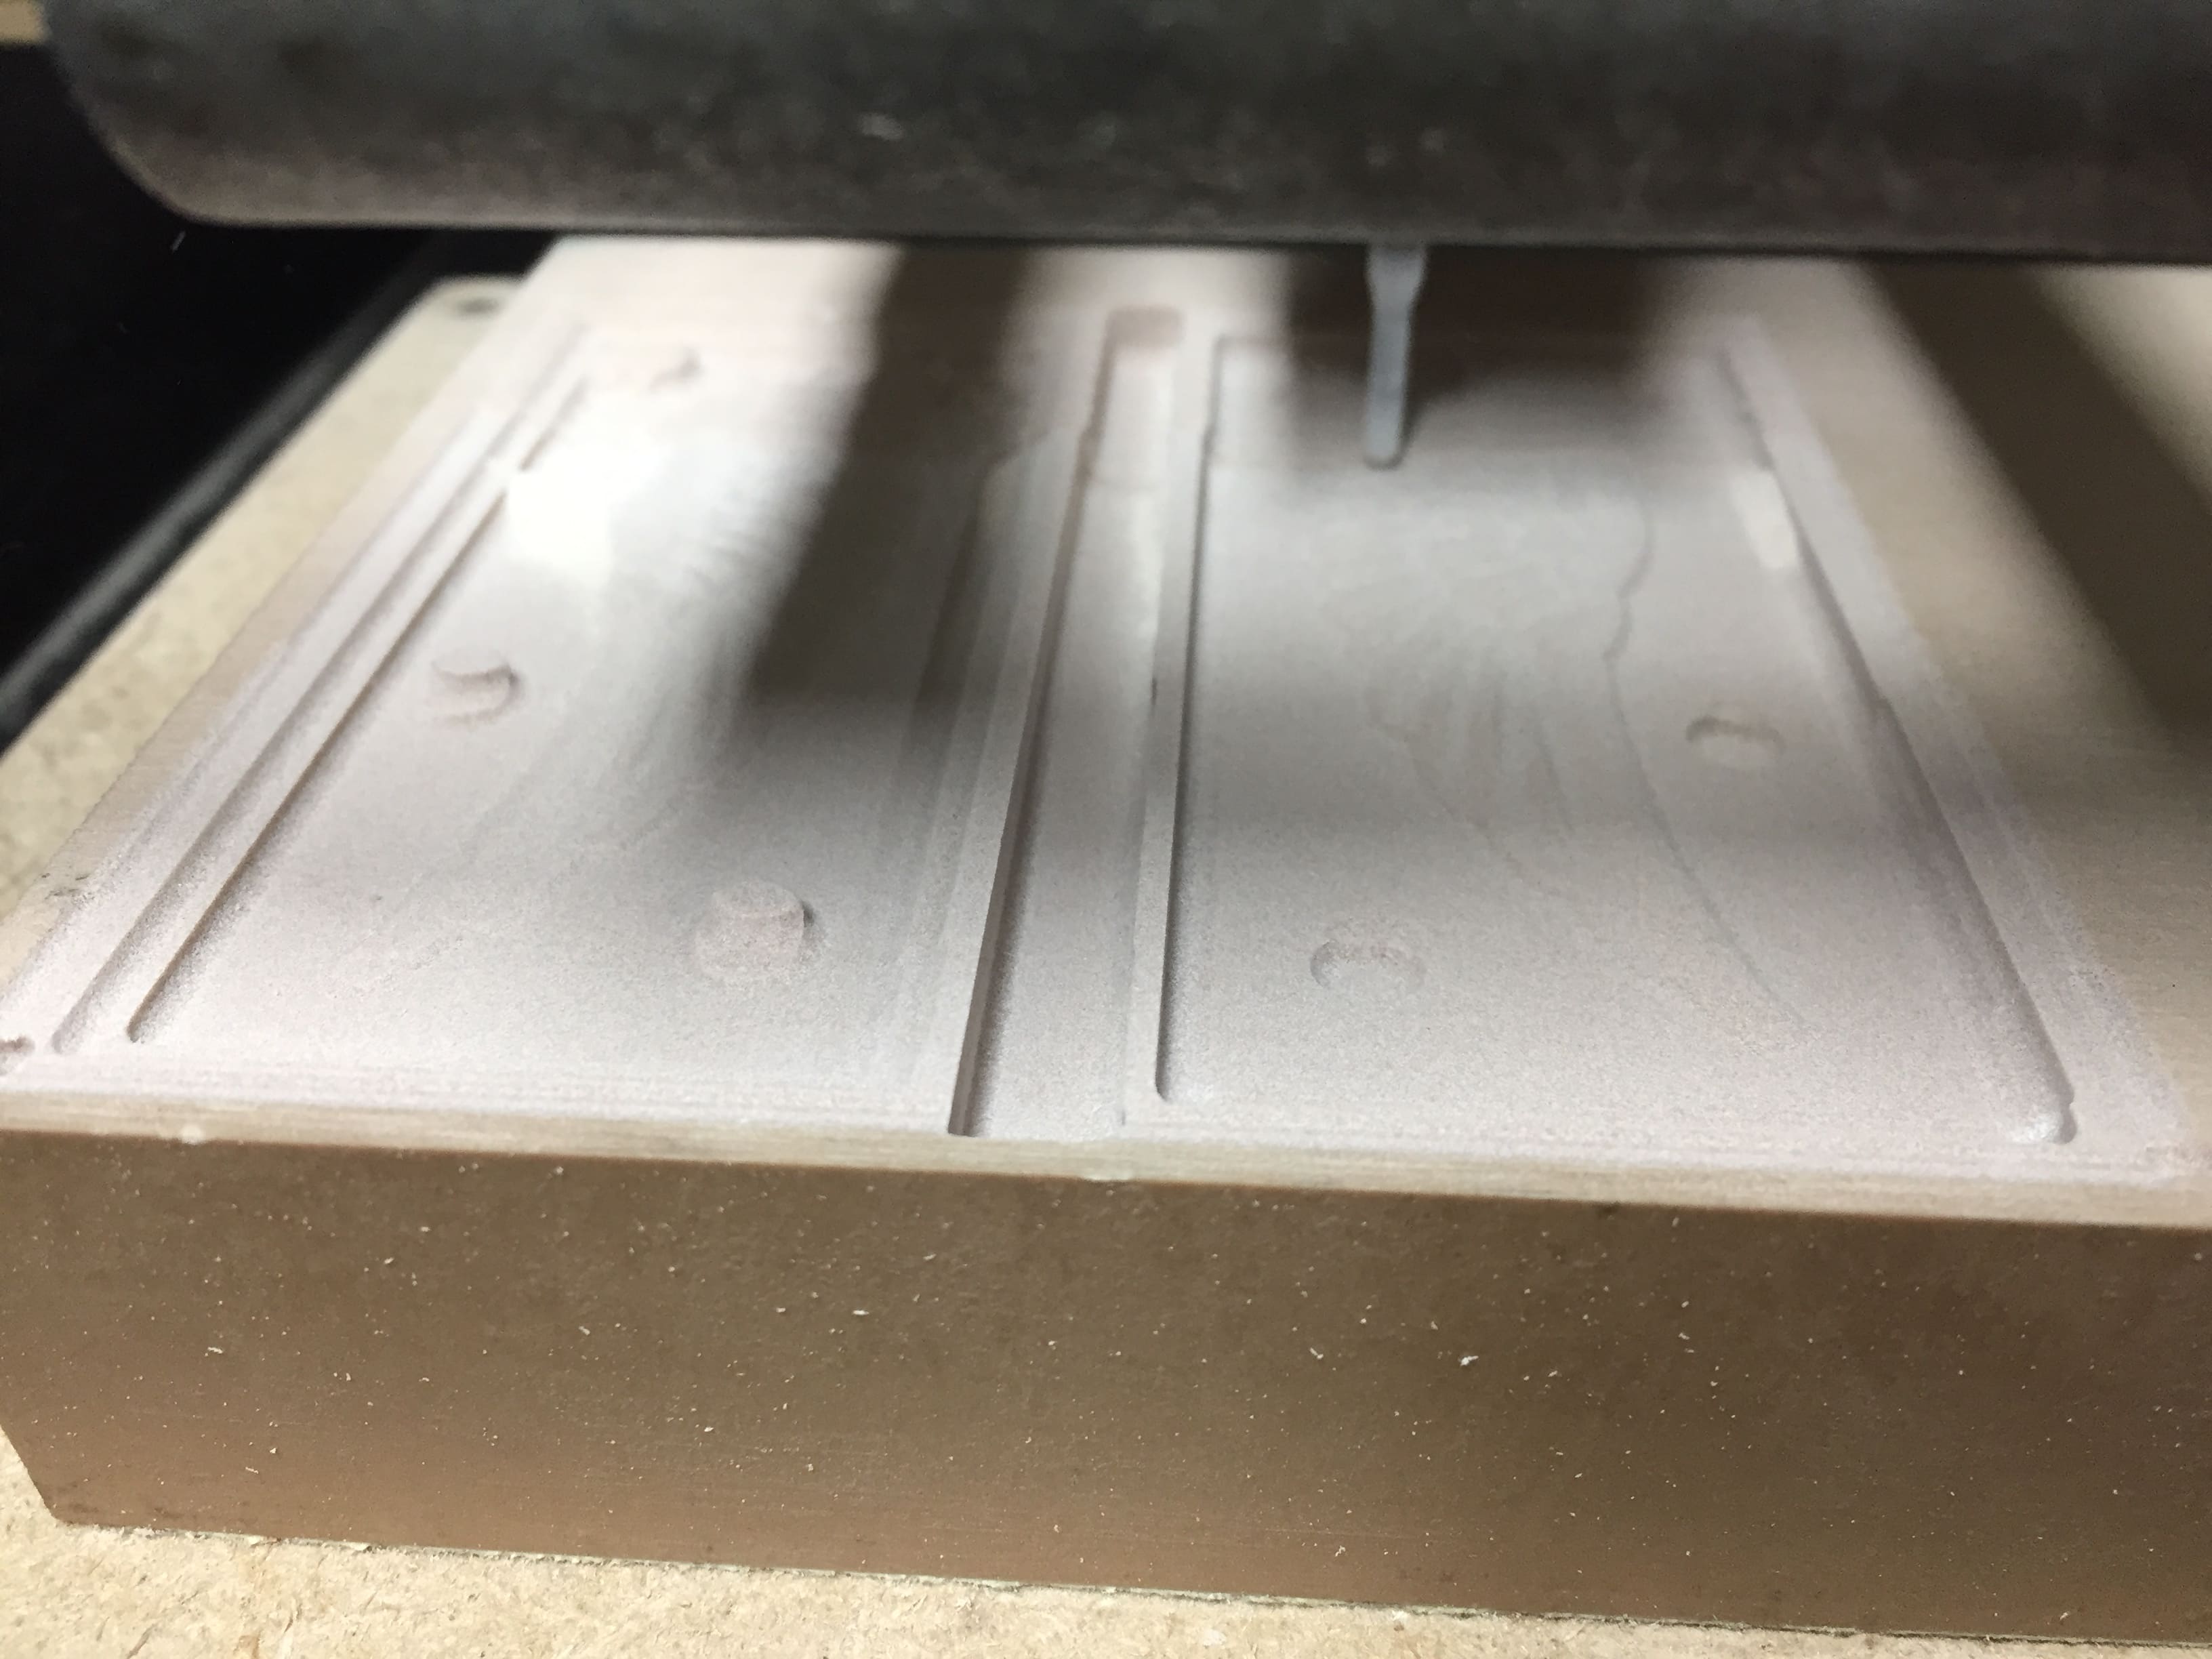
Finally we are setting the X, Y, and Z zeros for the machine.
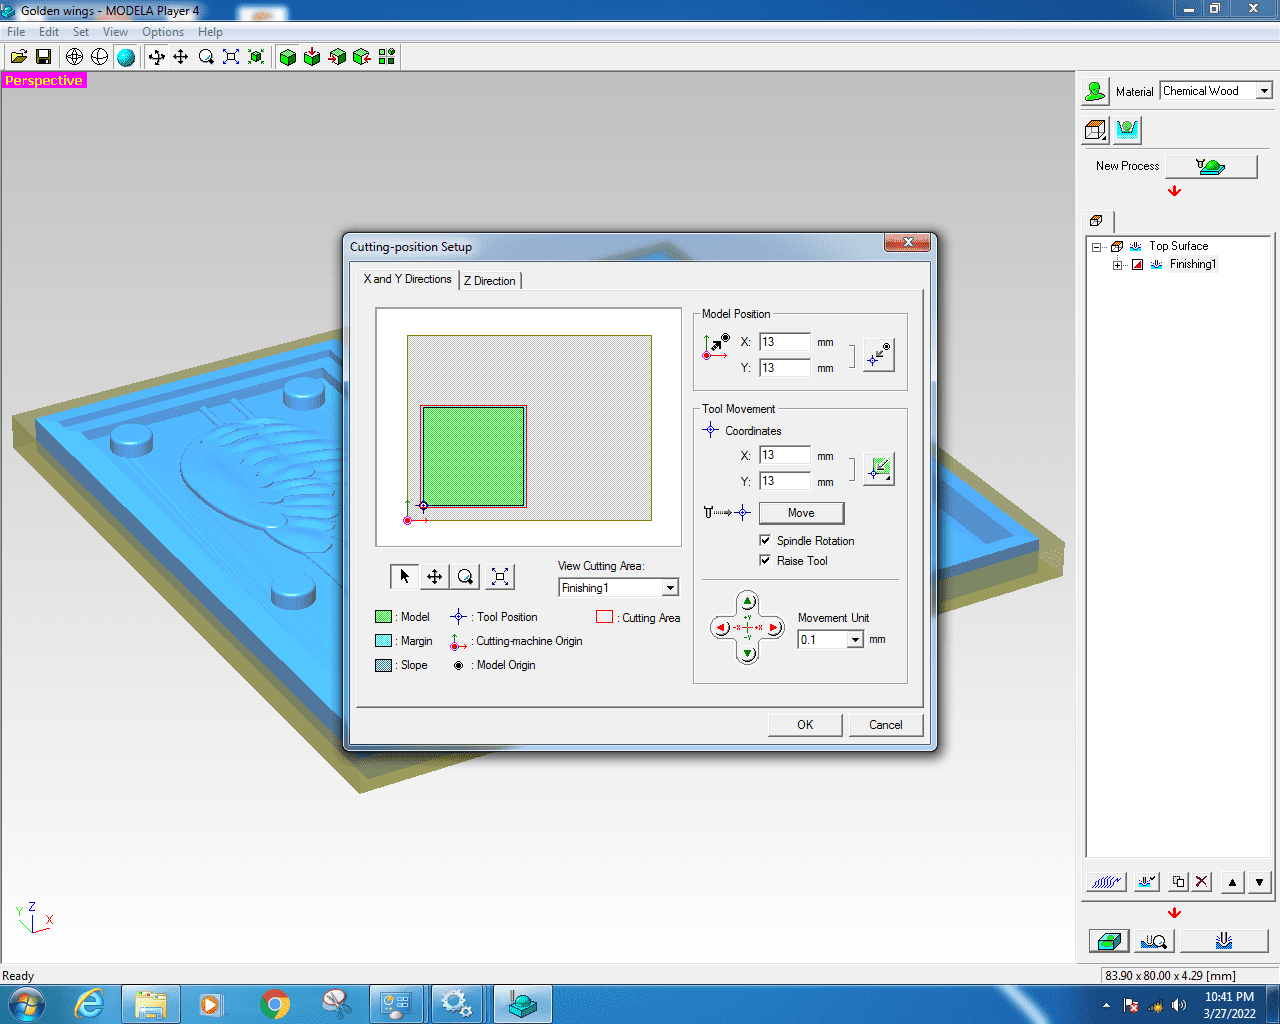
Cutting position setup
Then the roughing process starts...
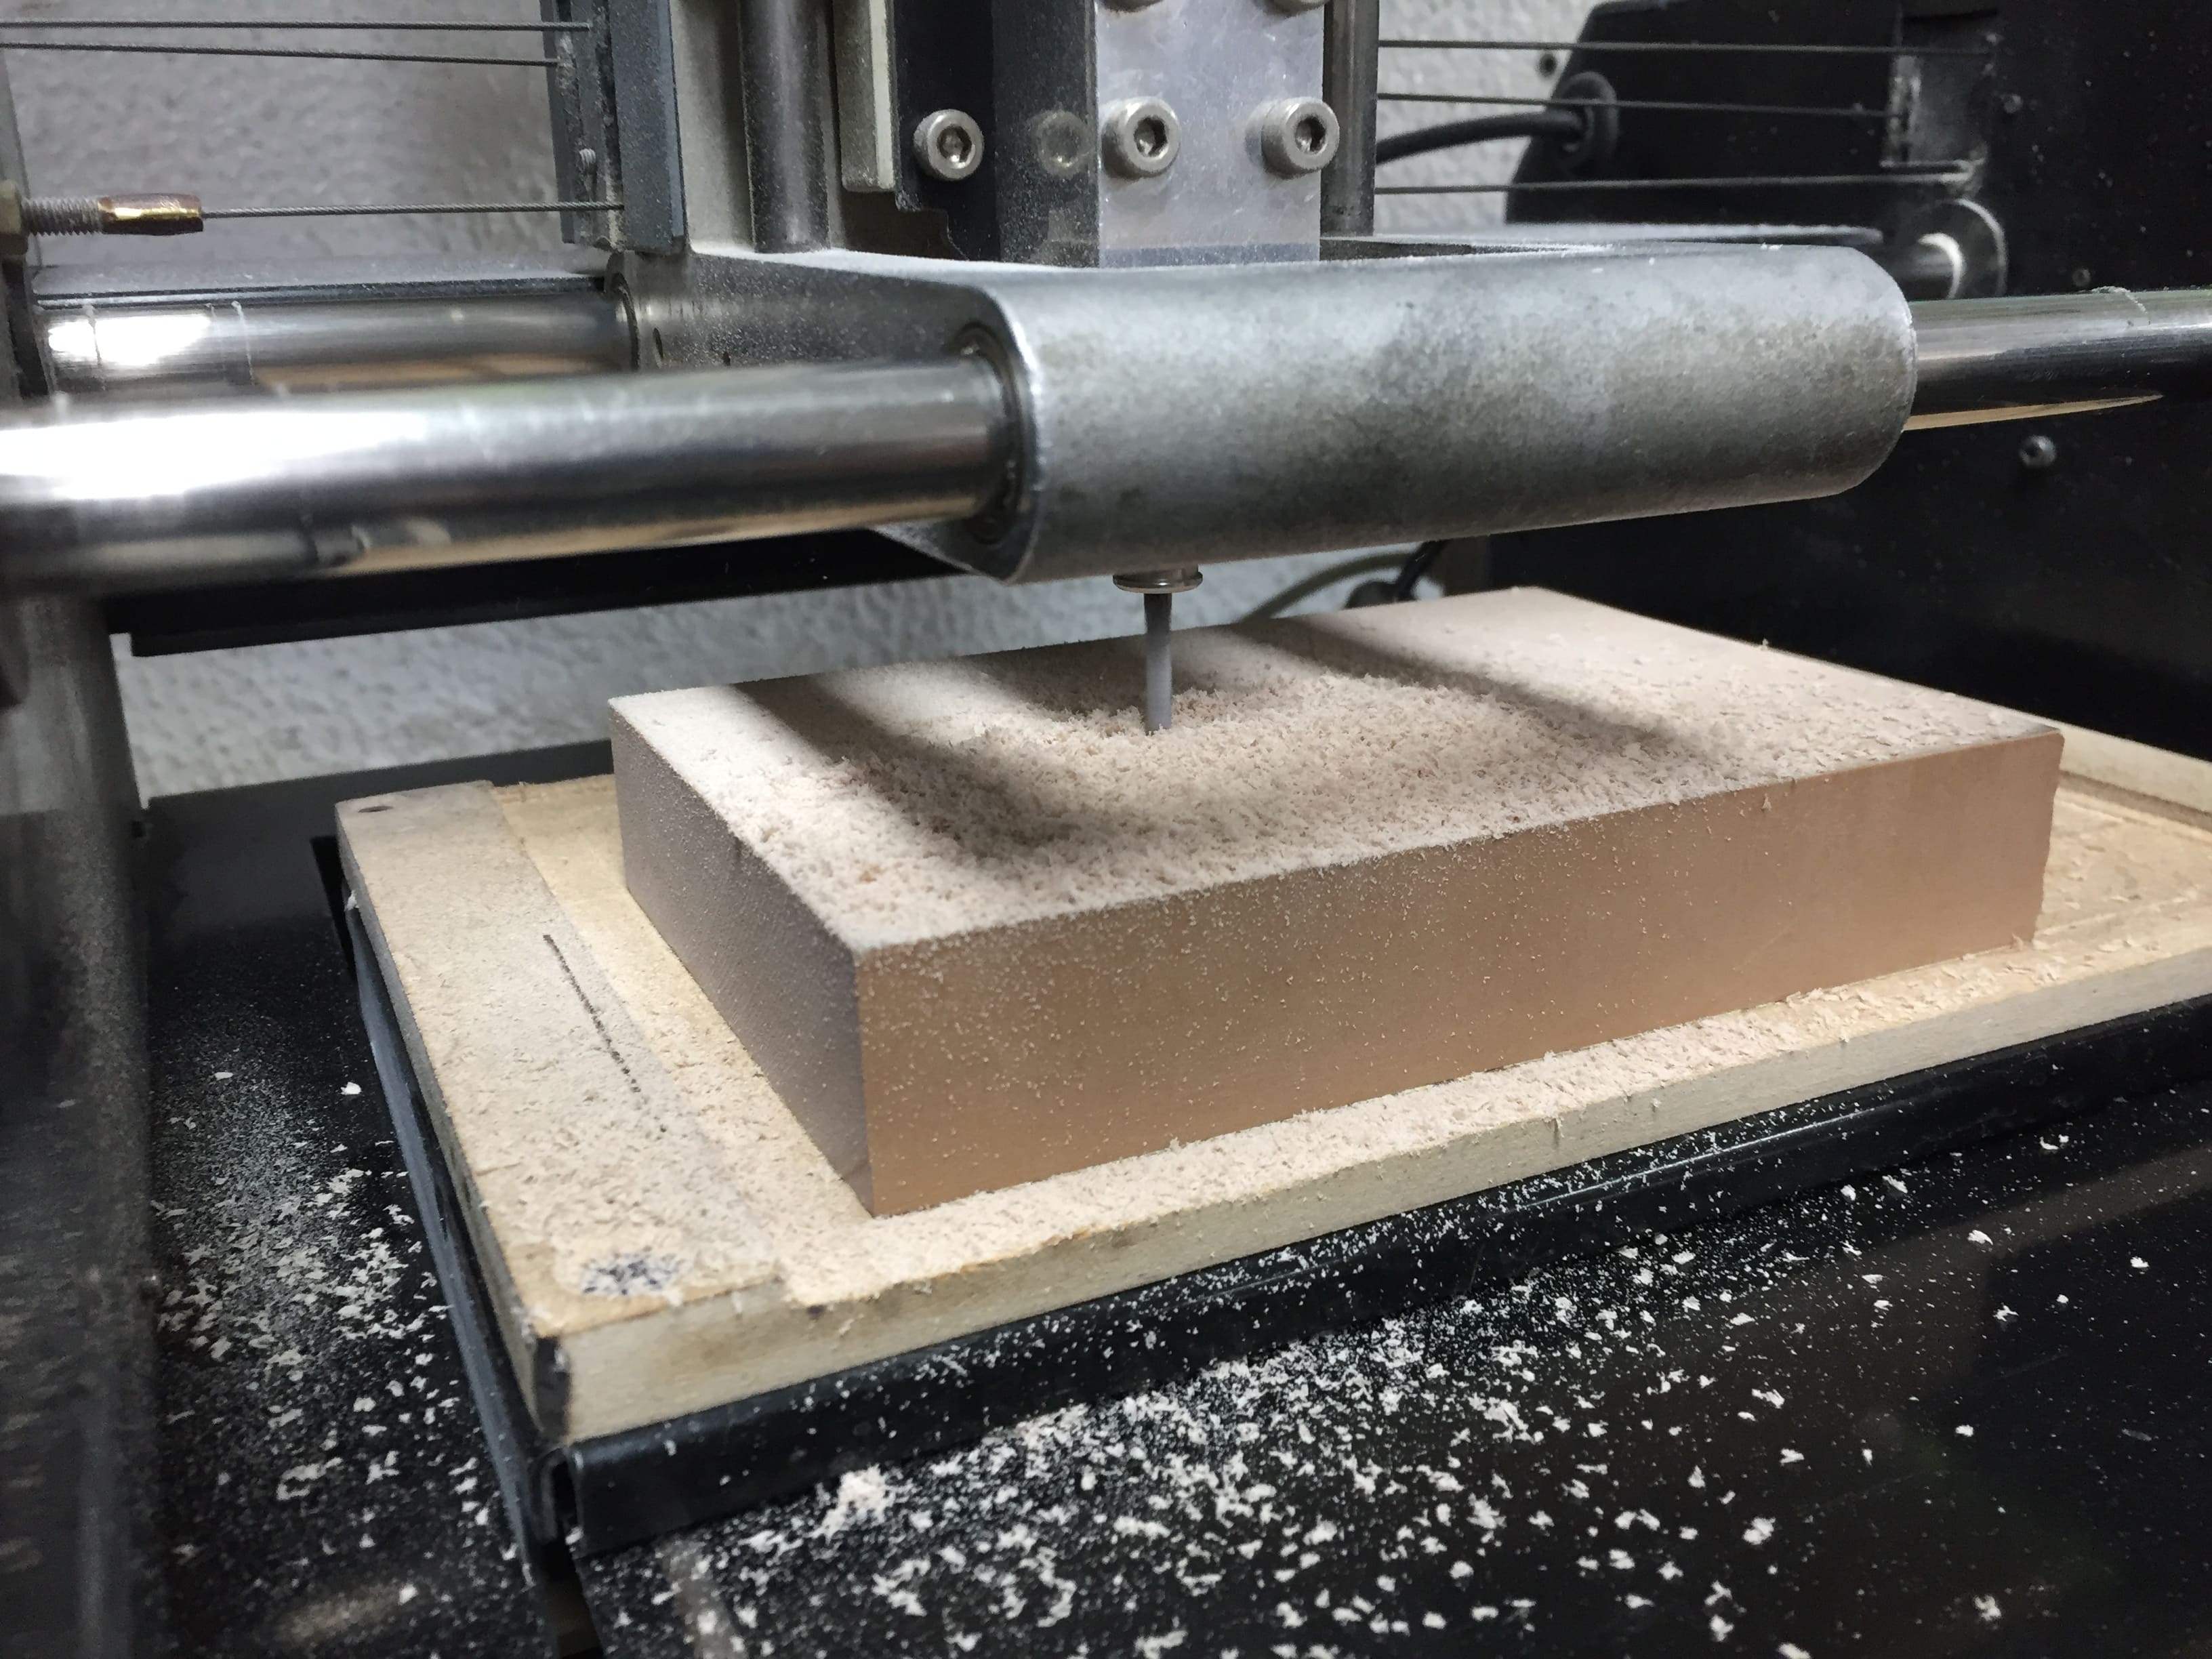
And automatically it applies a surfacing process before the roughing process...
Surfacing before roughing process
And this is how it's going...
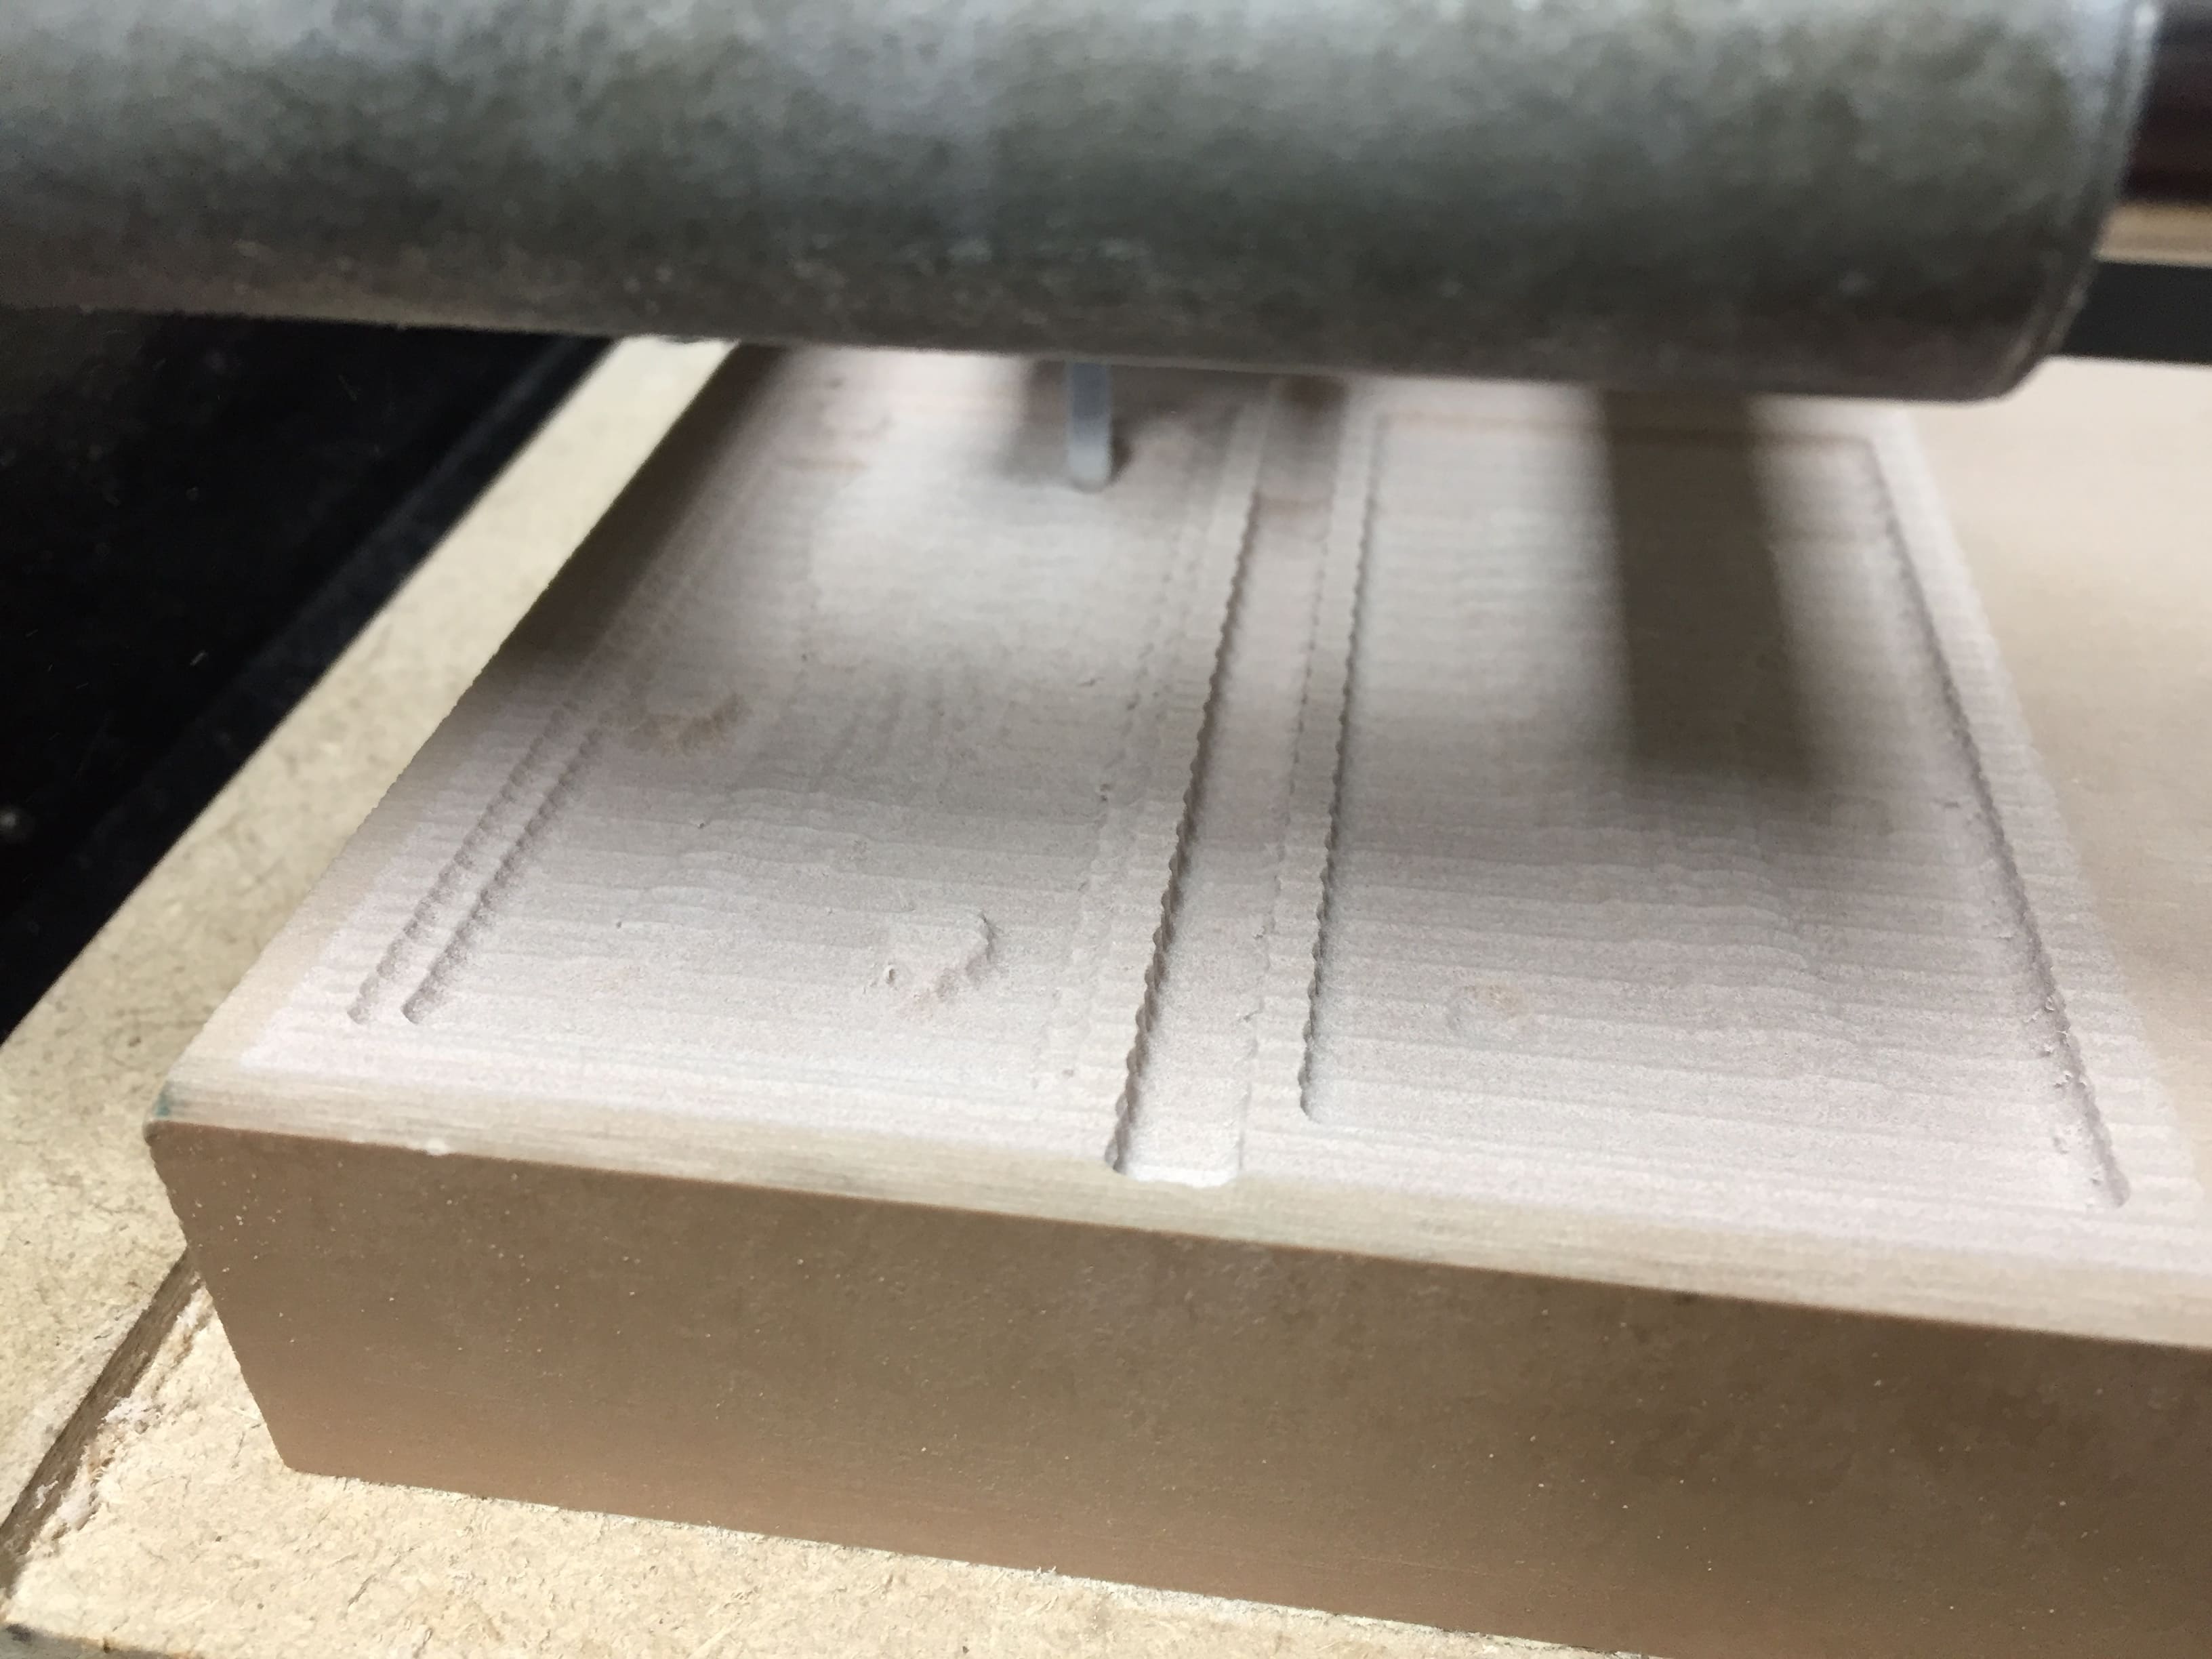
Now we have the the roughing done and the time consumed was about 30min as the simulation predicted.
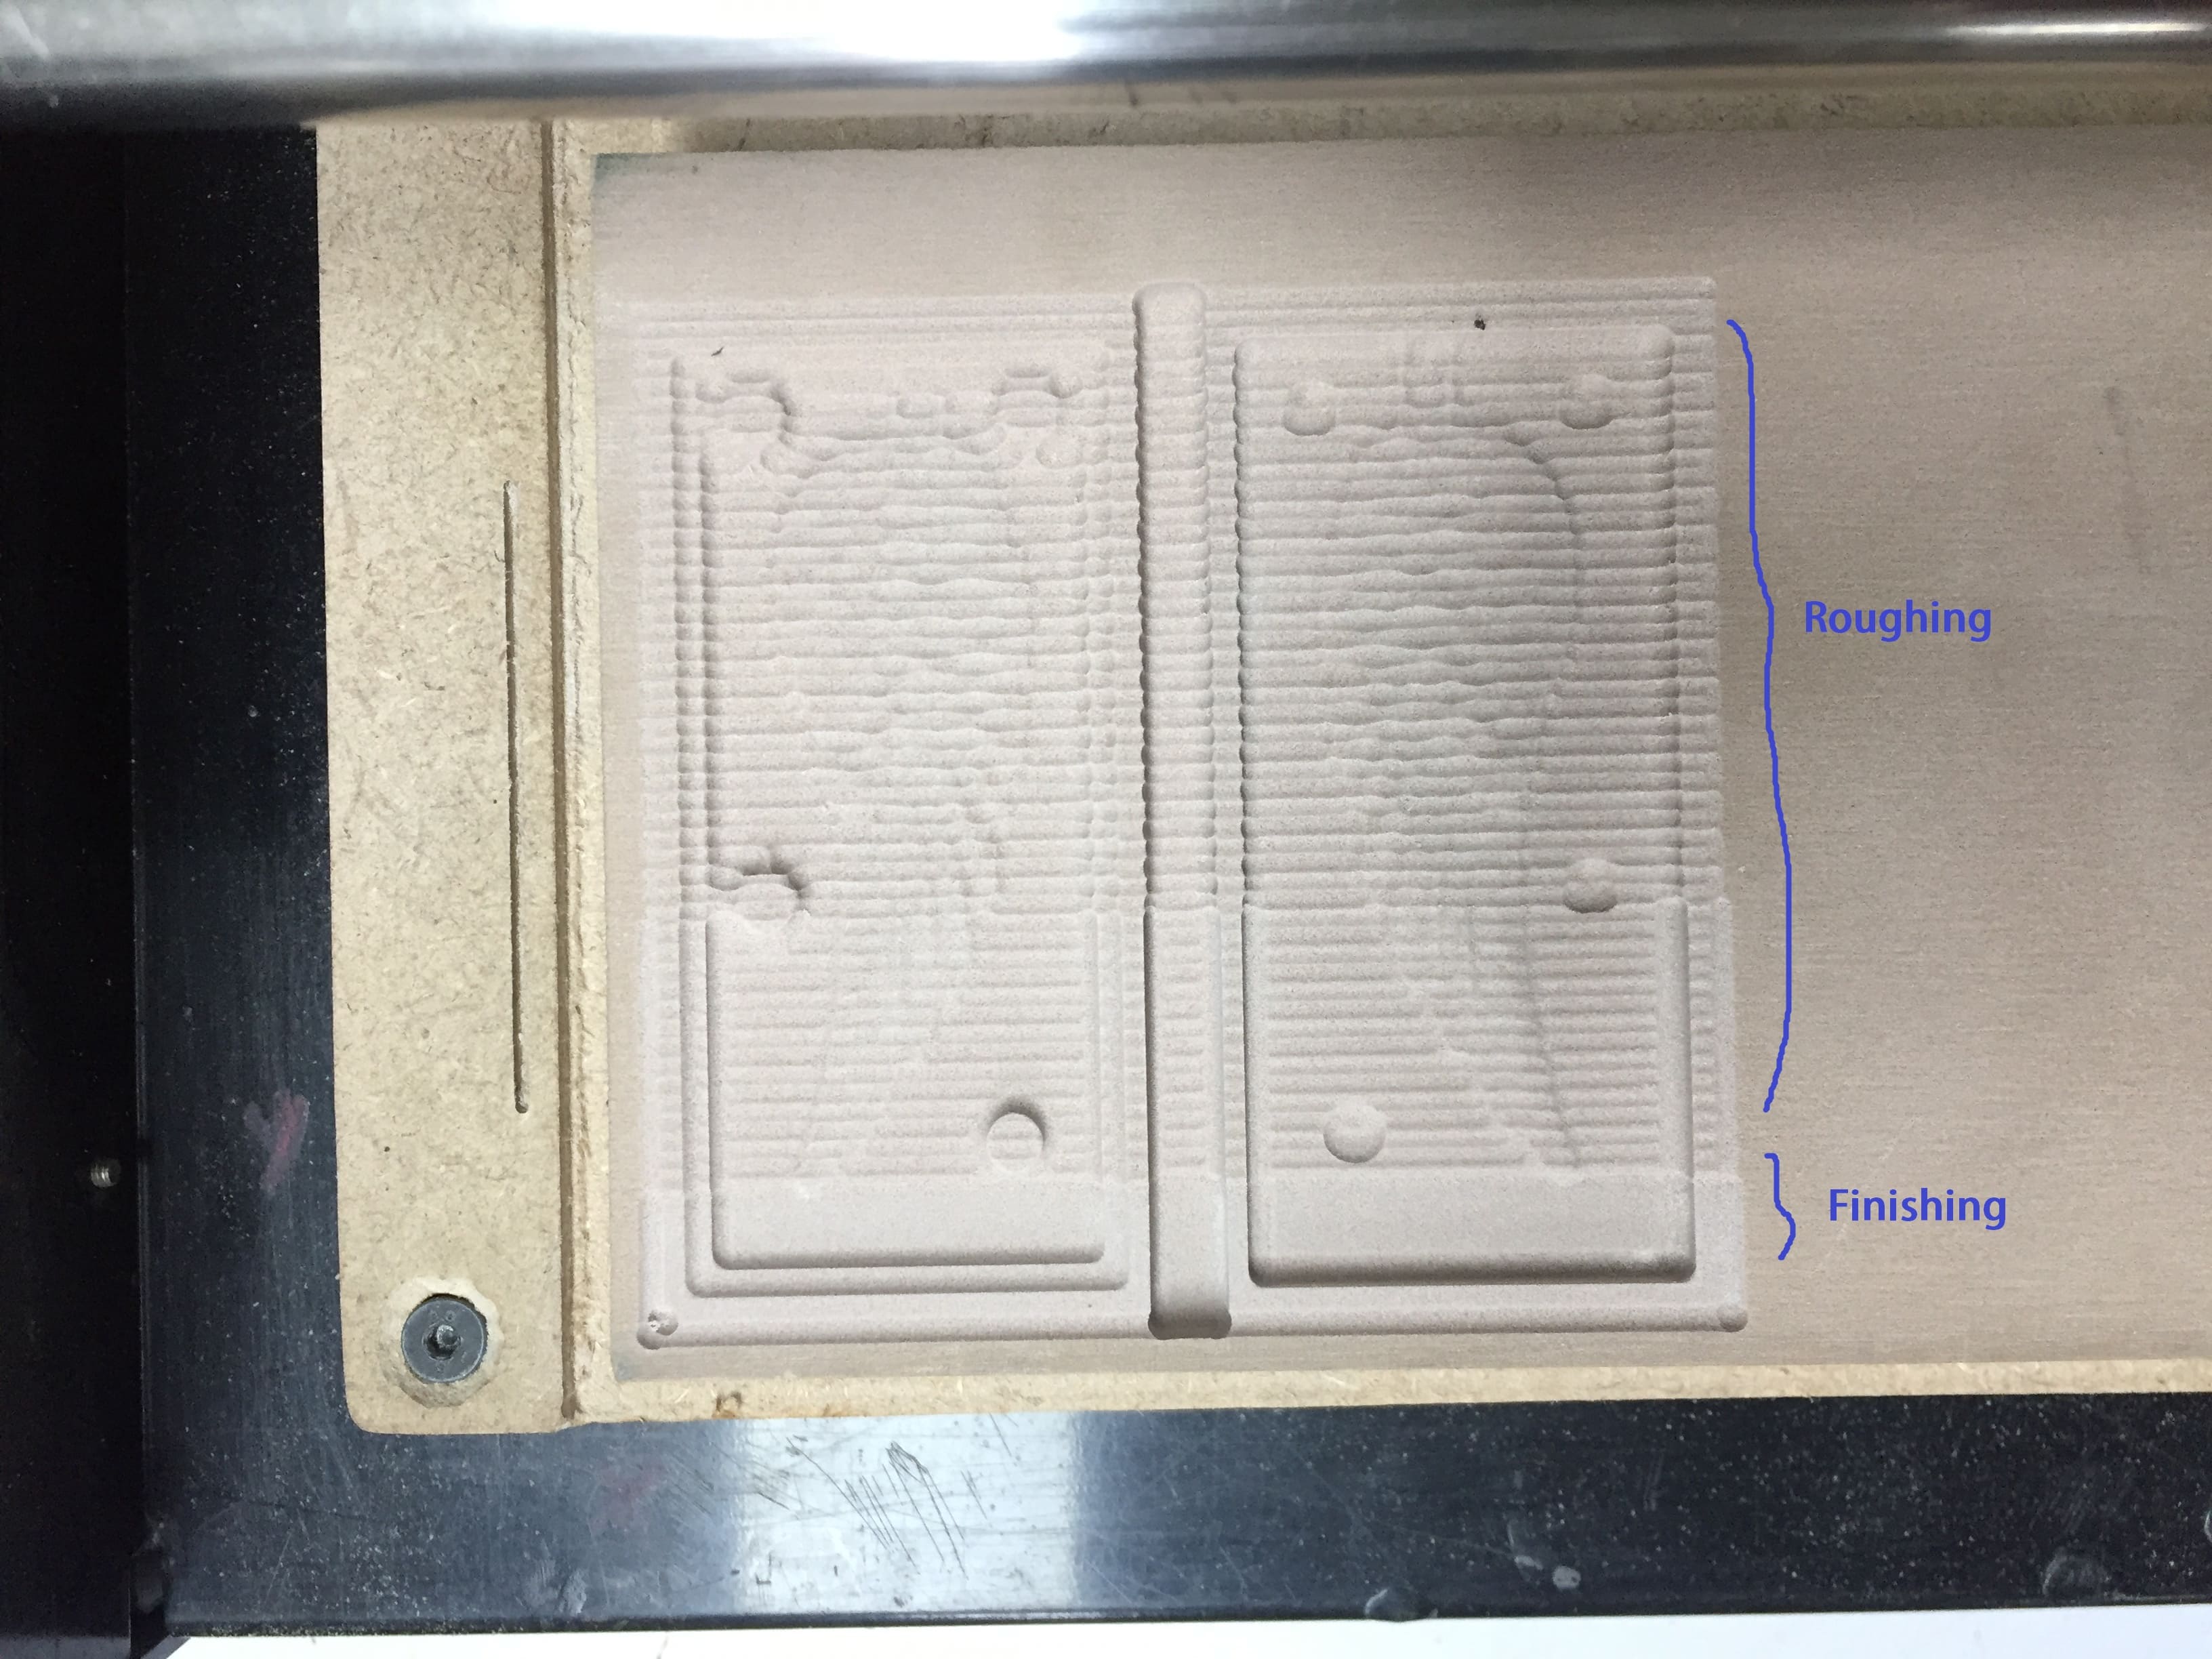
Then I started the Finishing process.
And here we can see the difference between the roughing and finishing processes, and appears clearly that the finishing process is very important as the roughing only removes the most amount of material without getting into the details.
And this is the output of the whole milling processes.
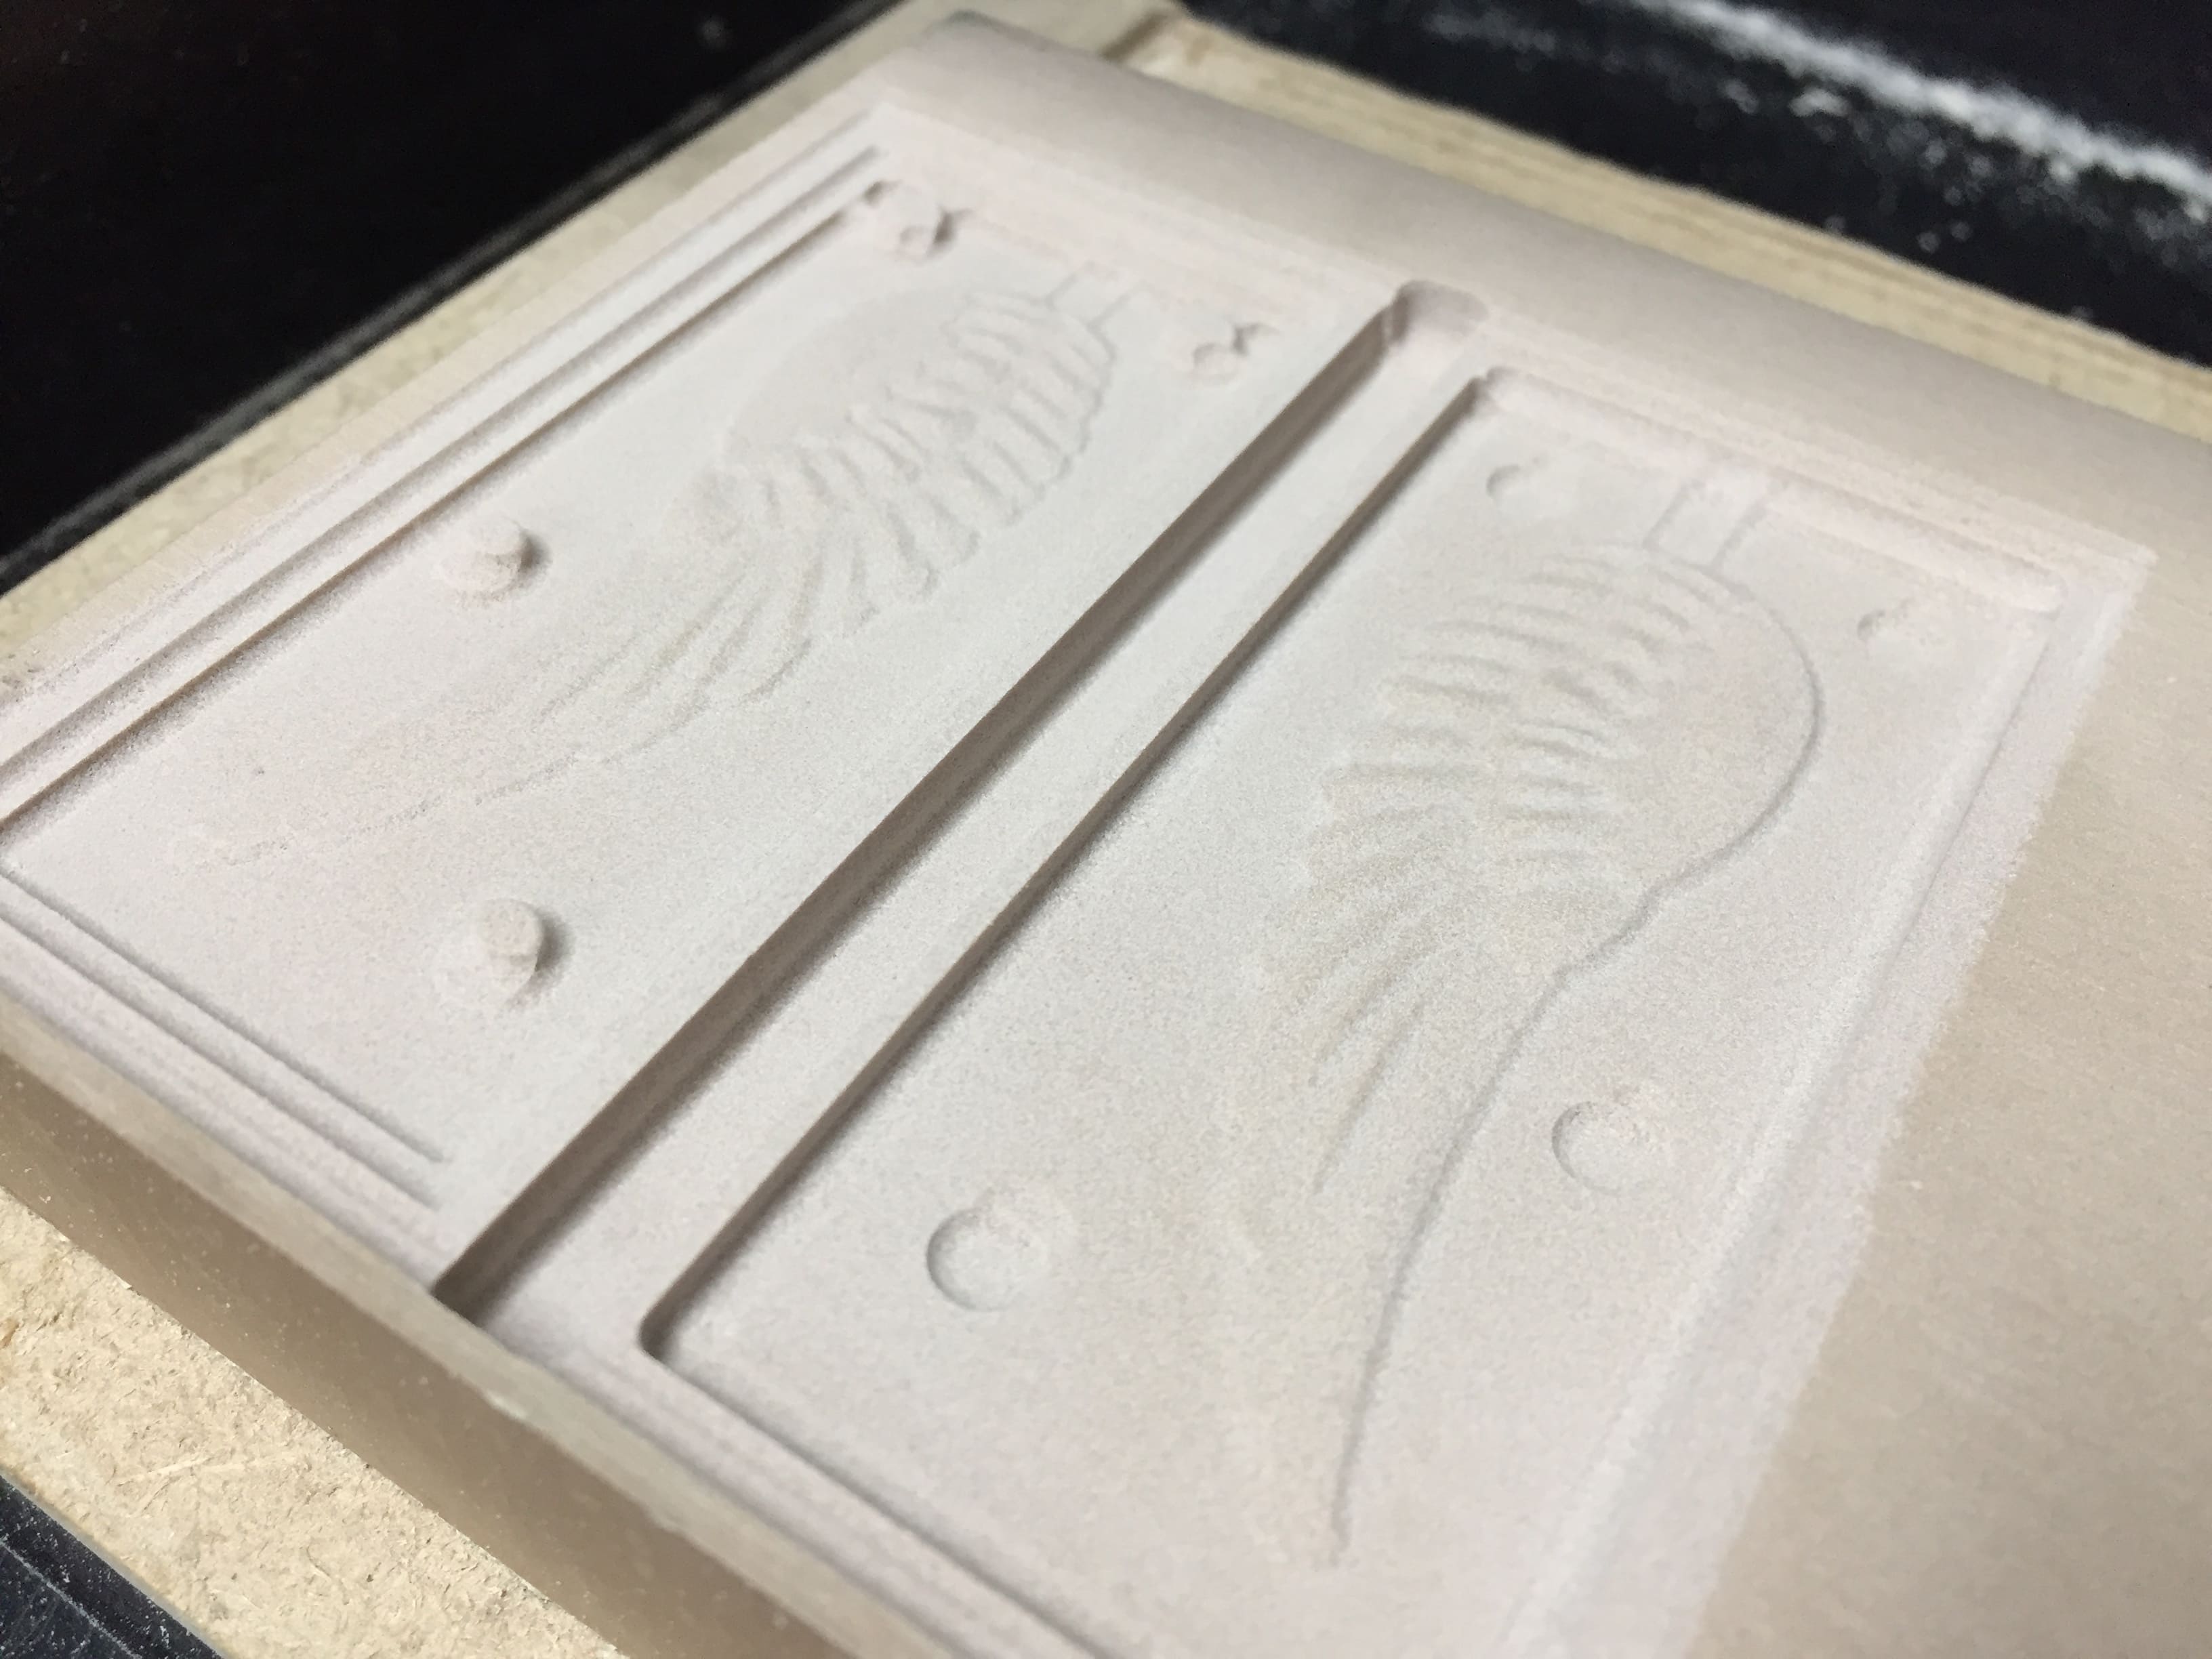
Milling processes output
Mold Making
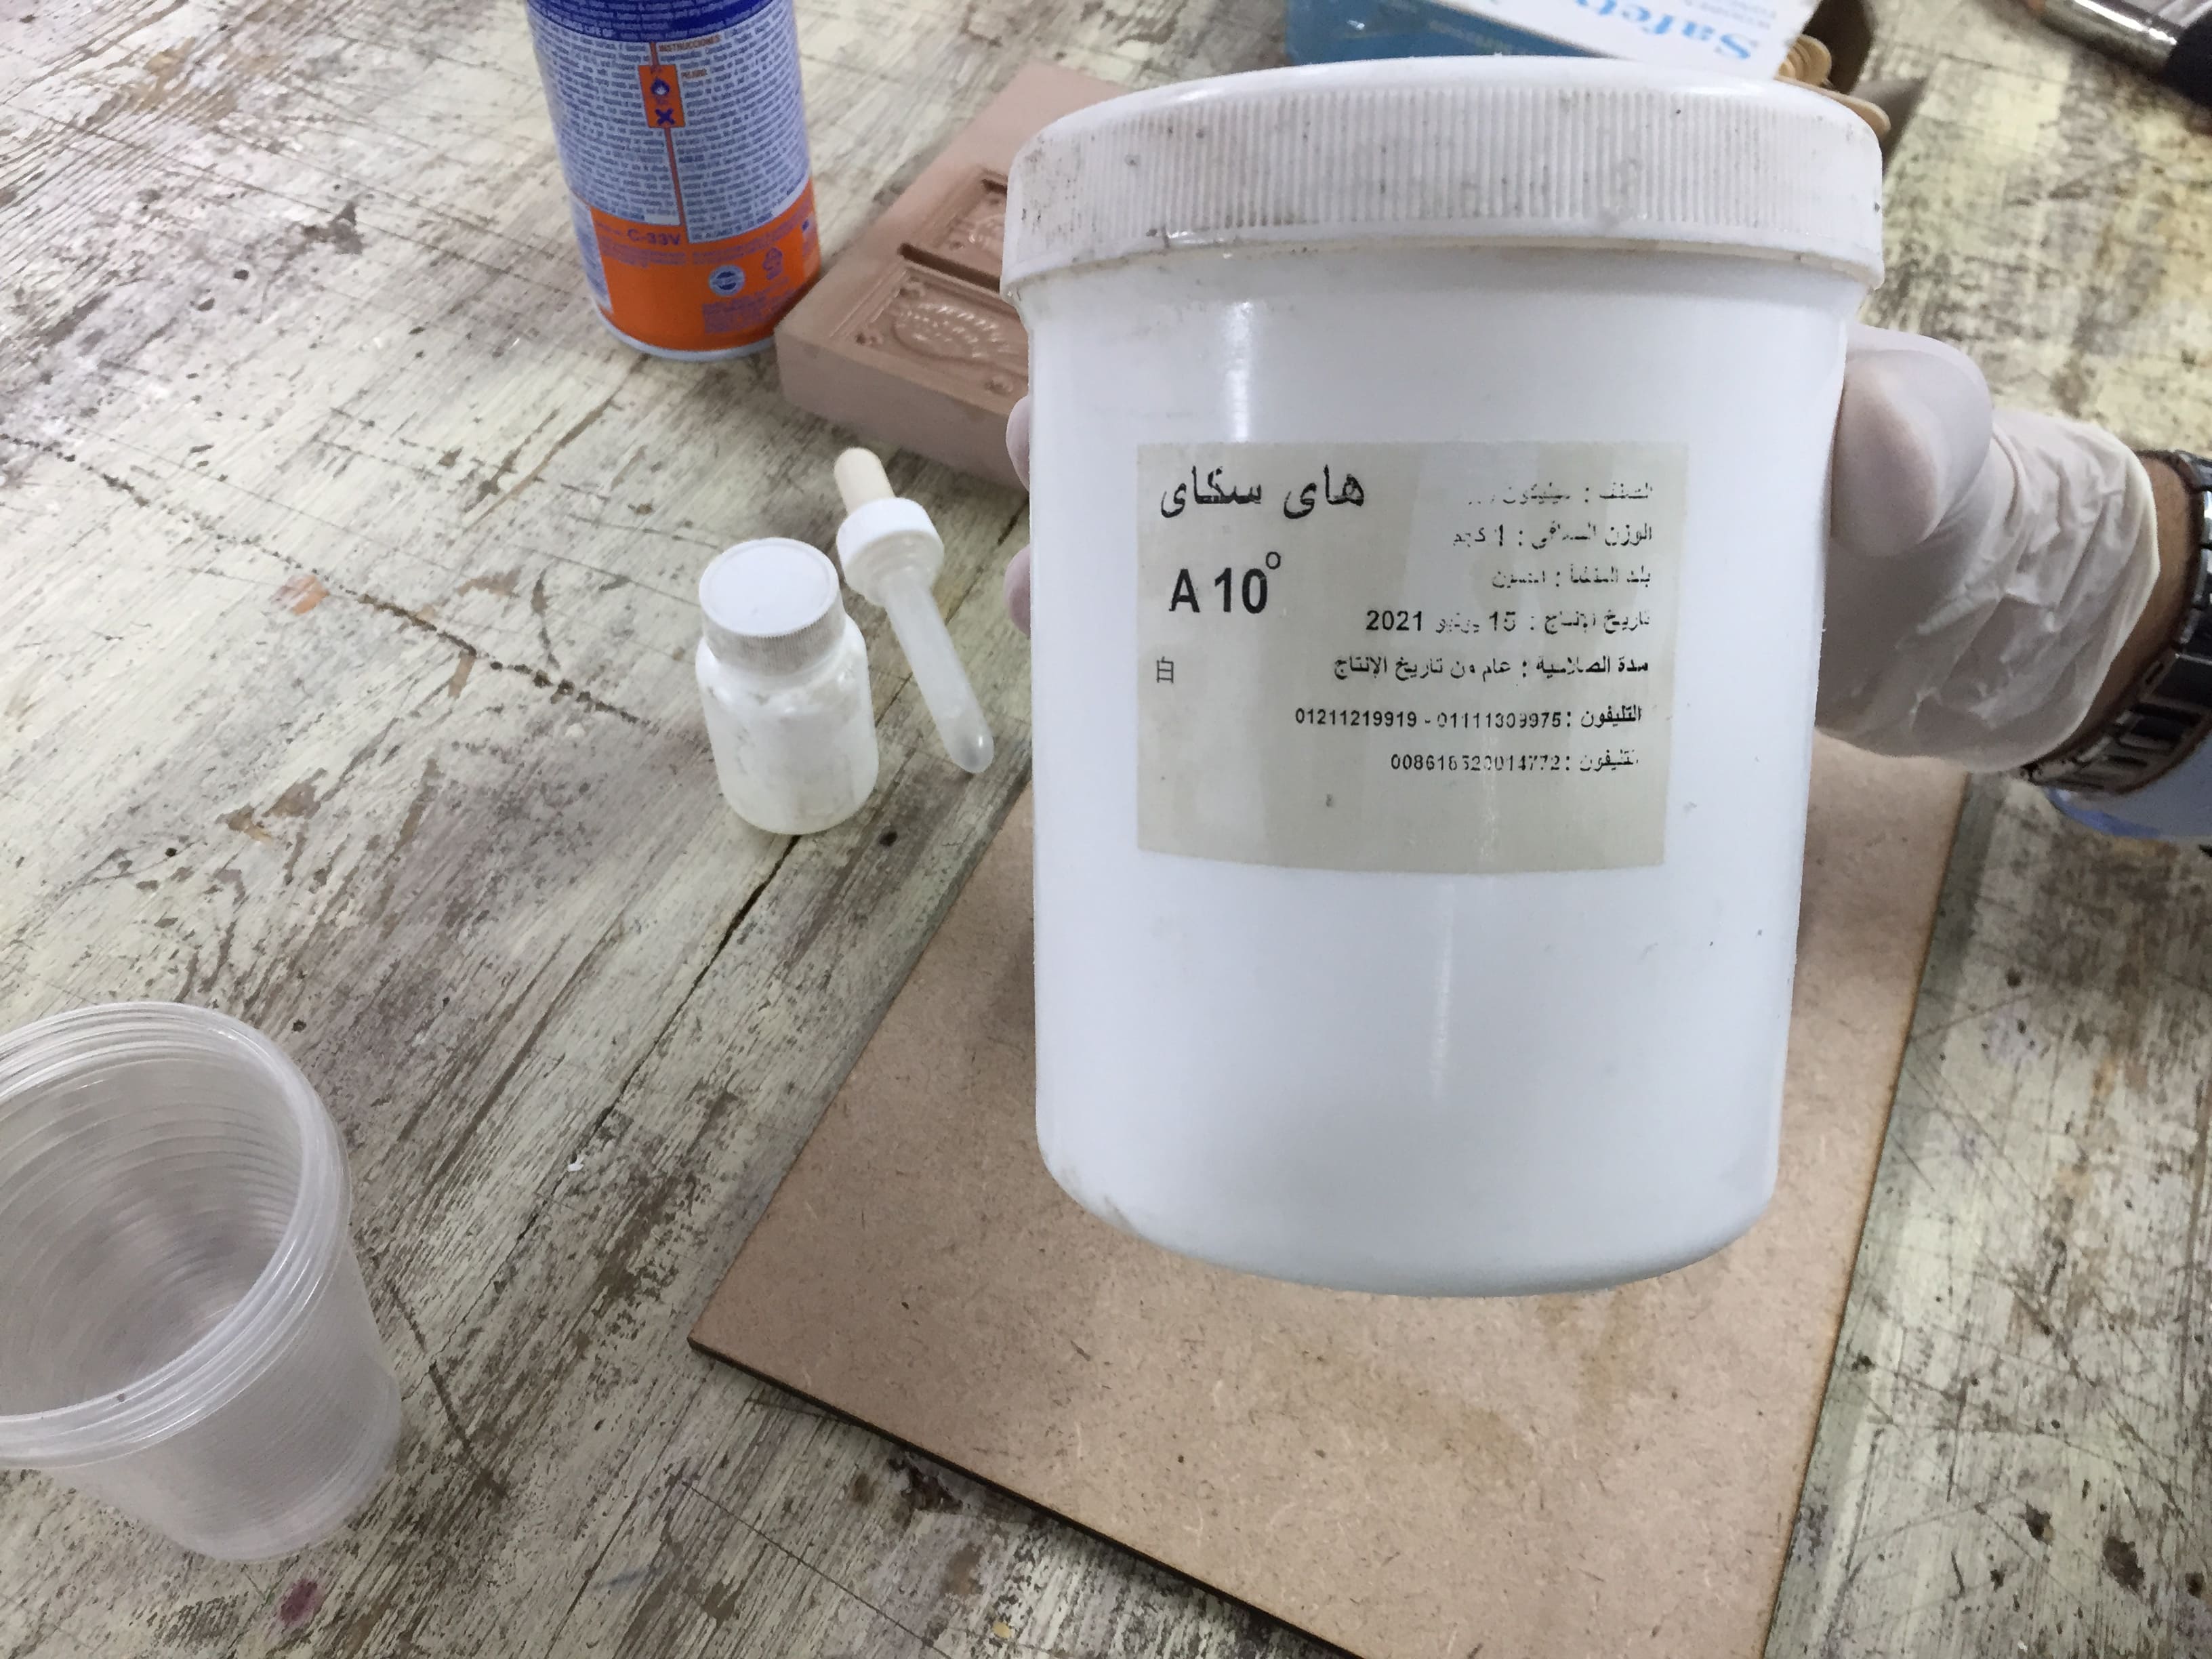
Now we are making the Silicone mold from the part we just milled. So we have a lot of ingredients we need to prepare.
- Silicone
- Silicone hardener
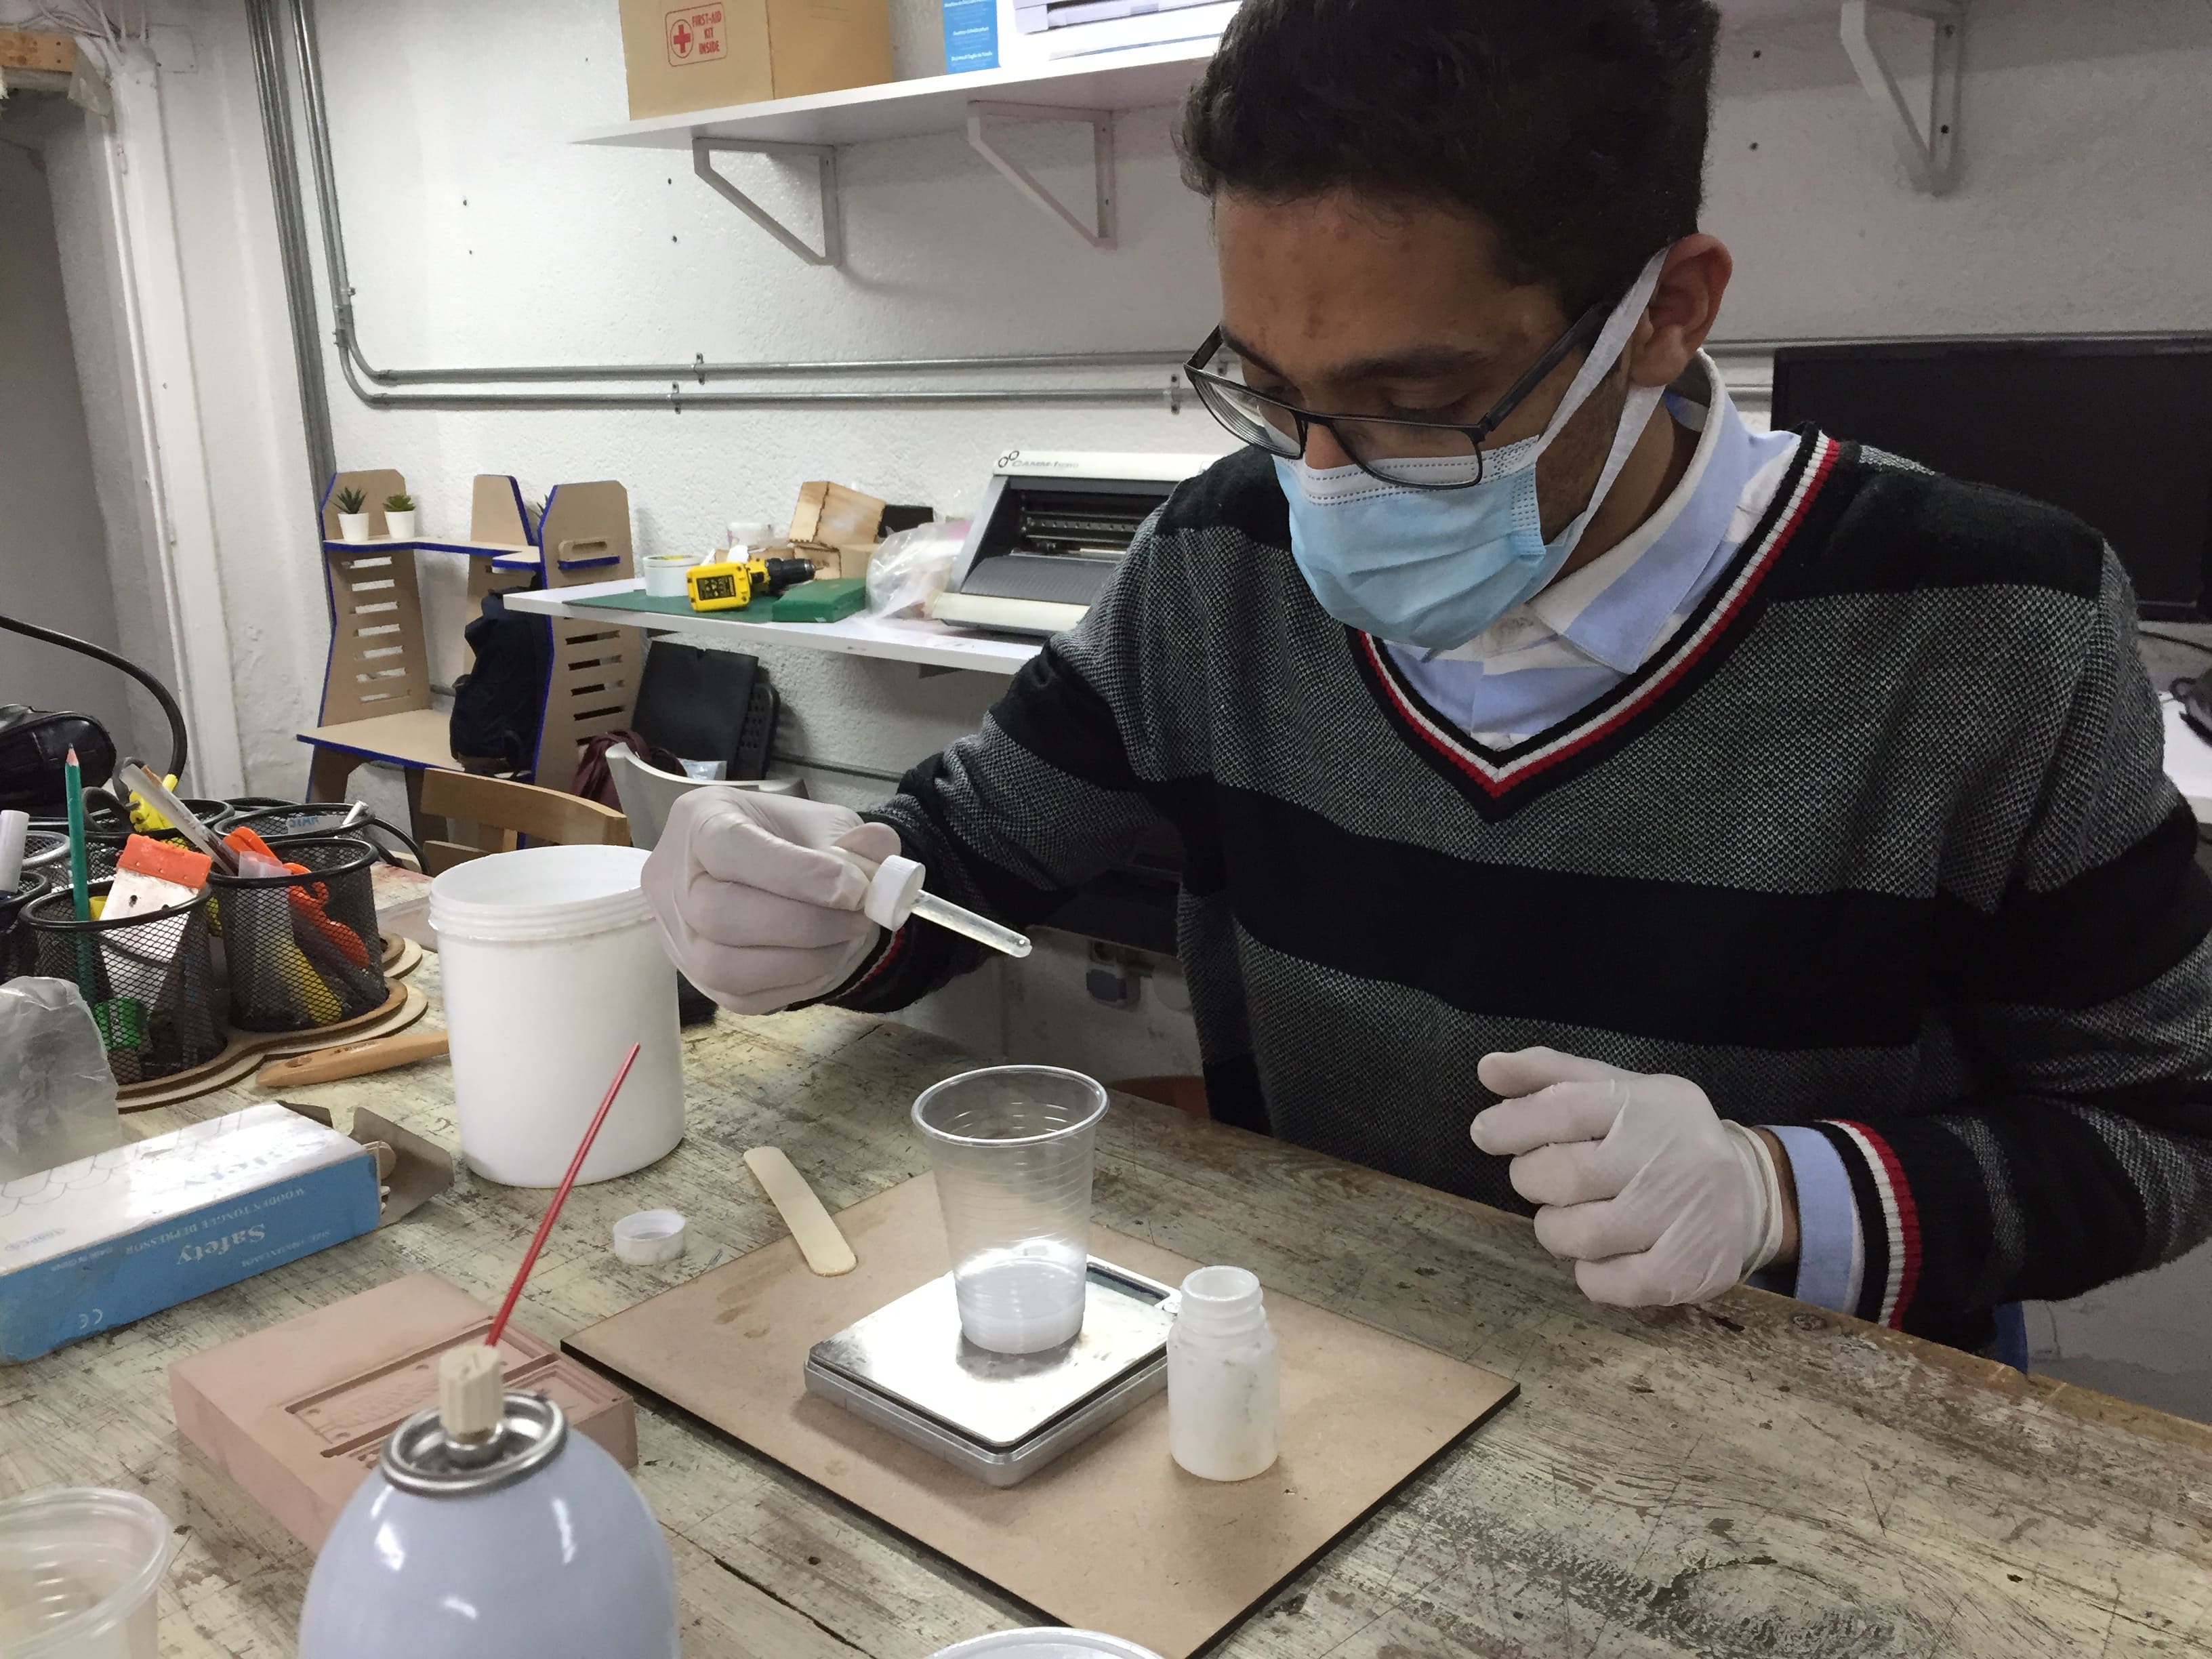
- Dropper (optional)
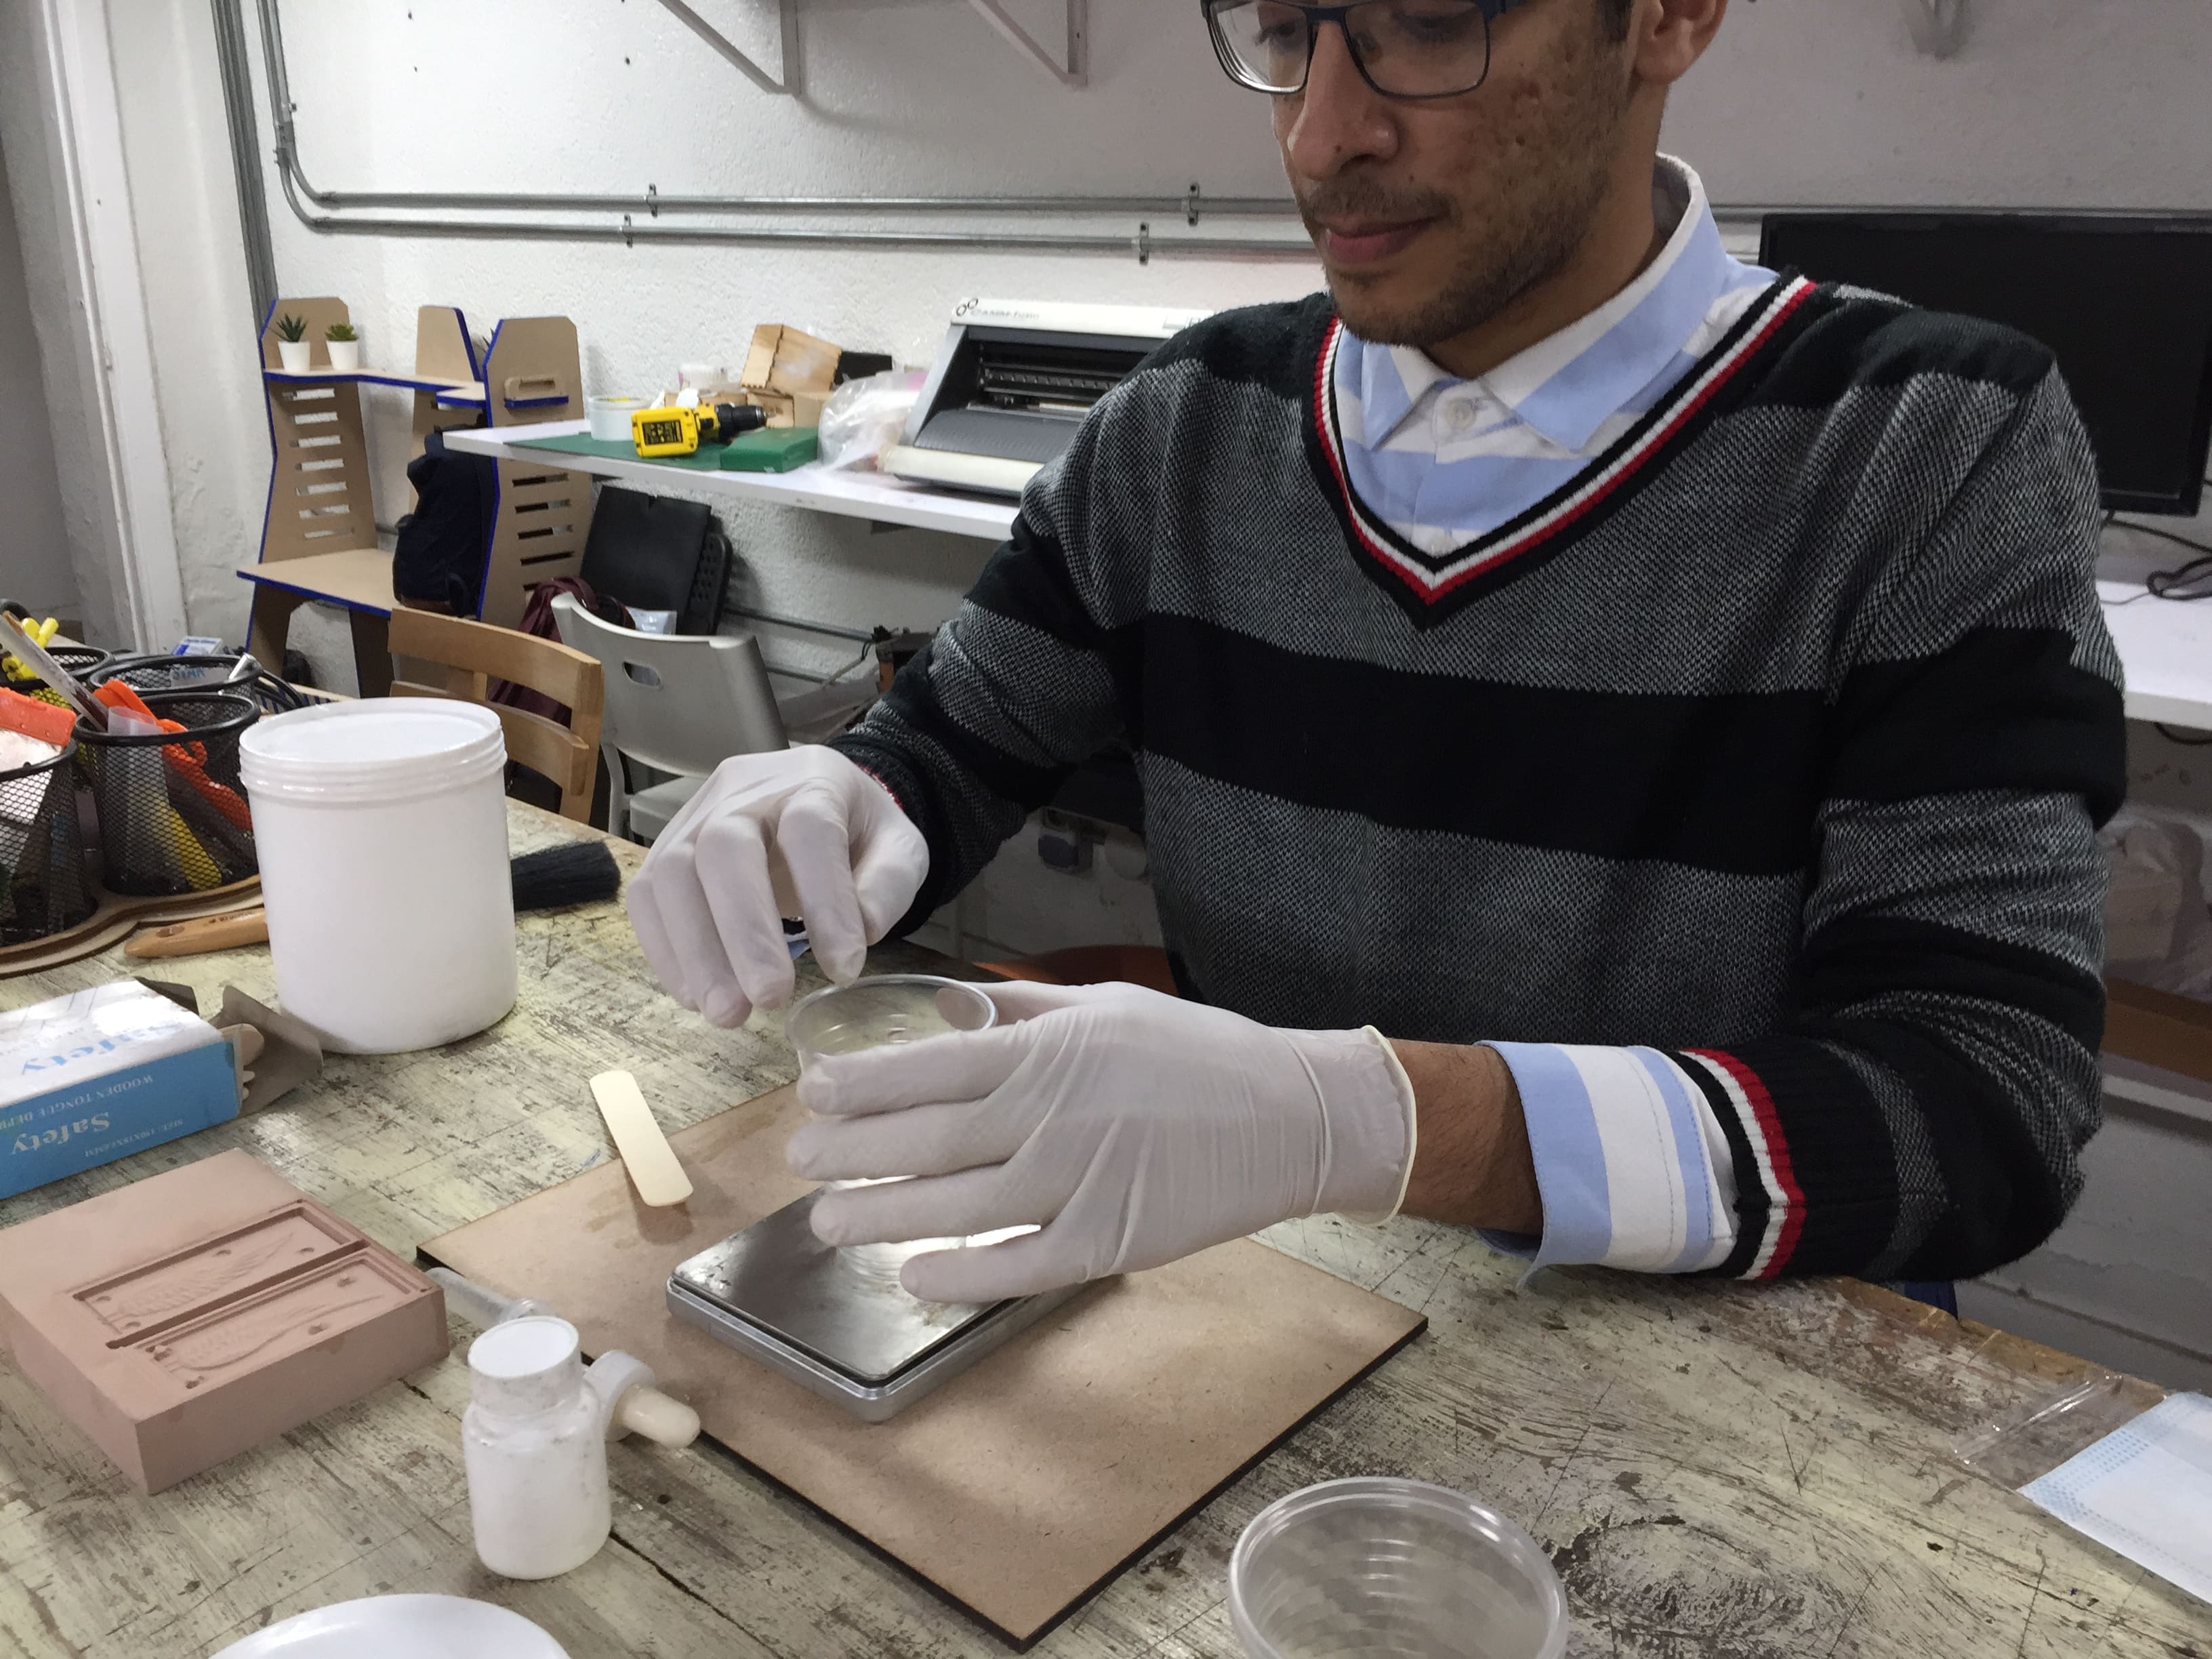
- Gloves
- Face mask
- Weight scale
- Silicone spray
- Brush
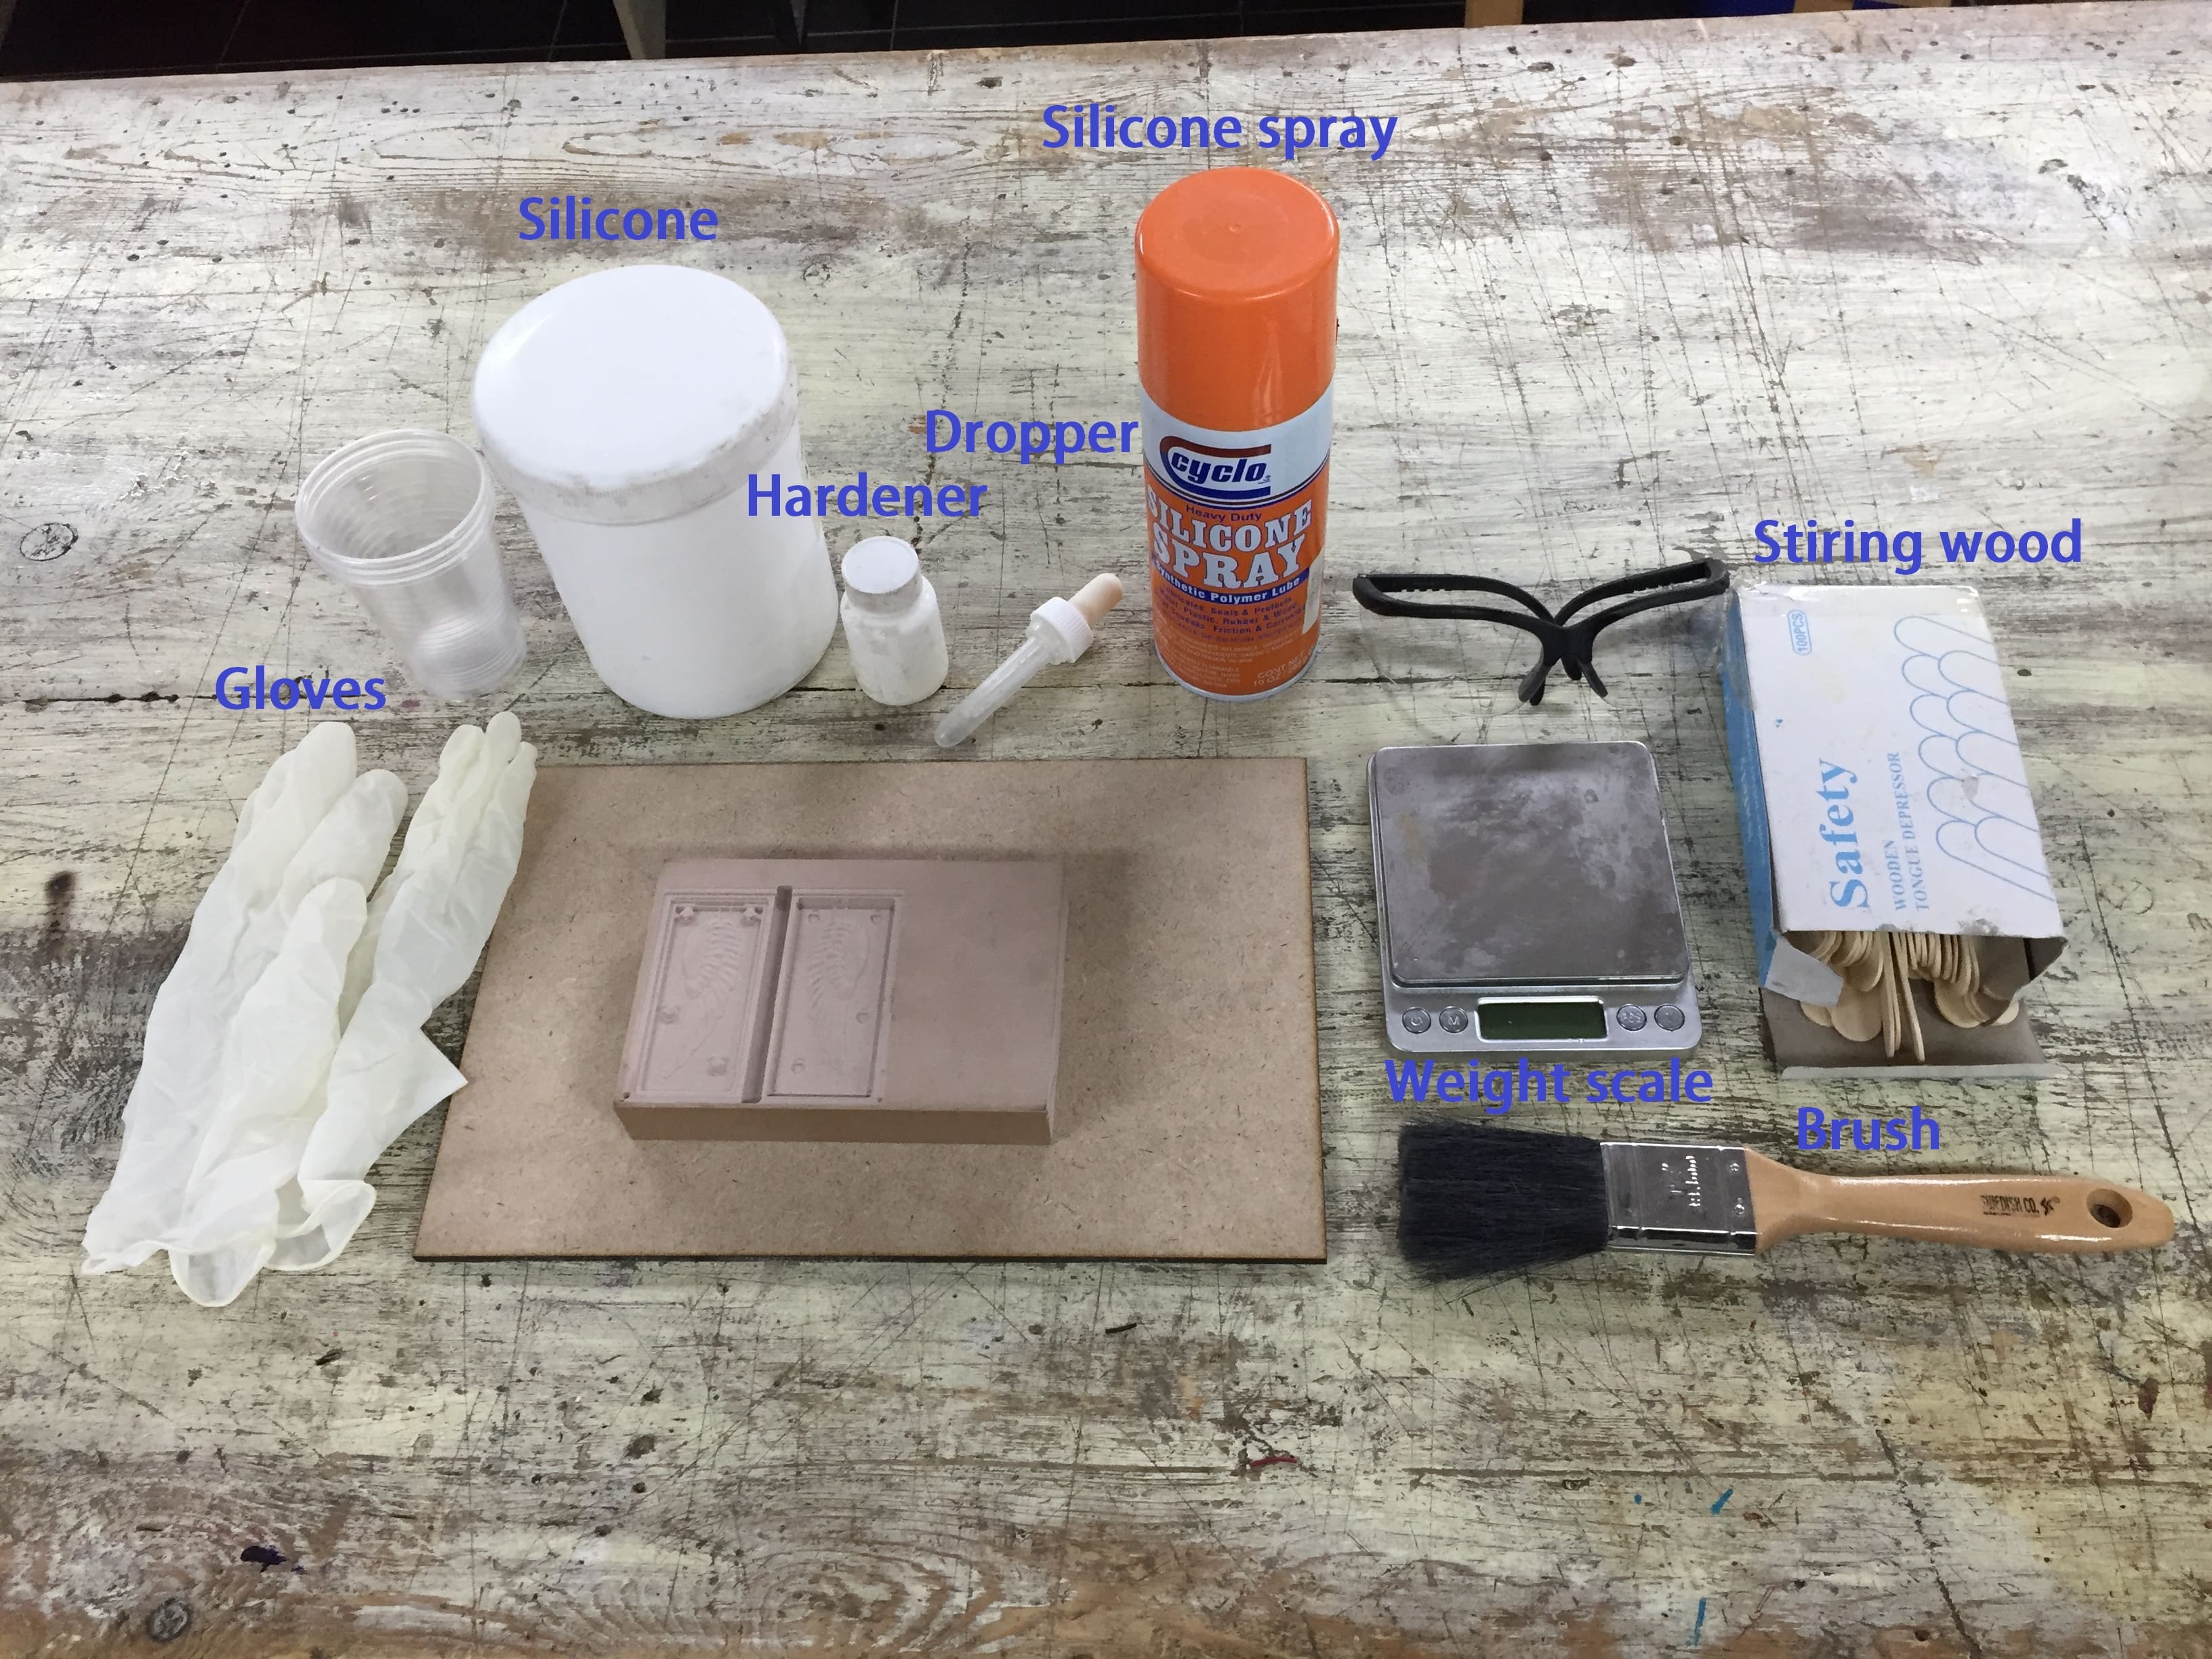
Molding ingredients
First I reomved all the wood dust by the brush so I can apply other stuff on a neat one, and actually I used a blower to do that too.
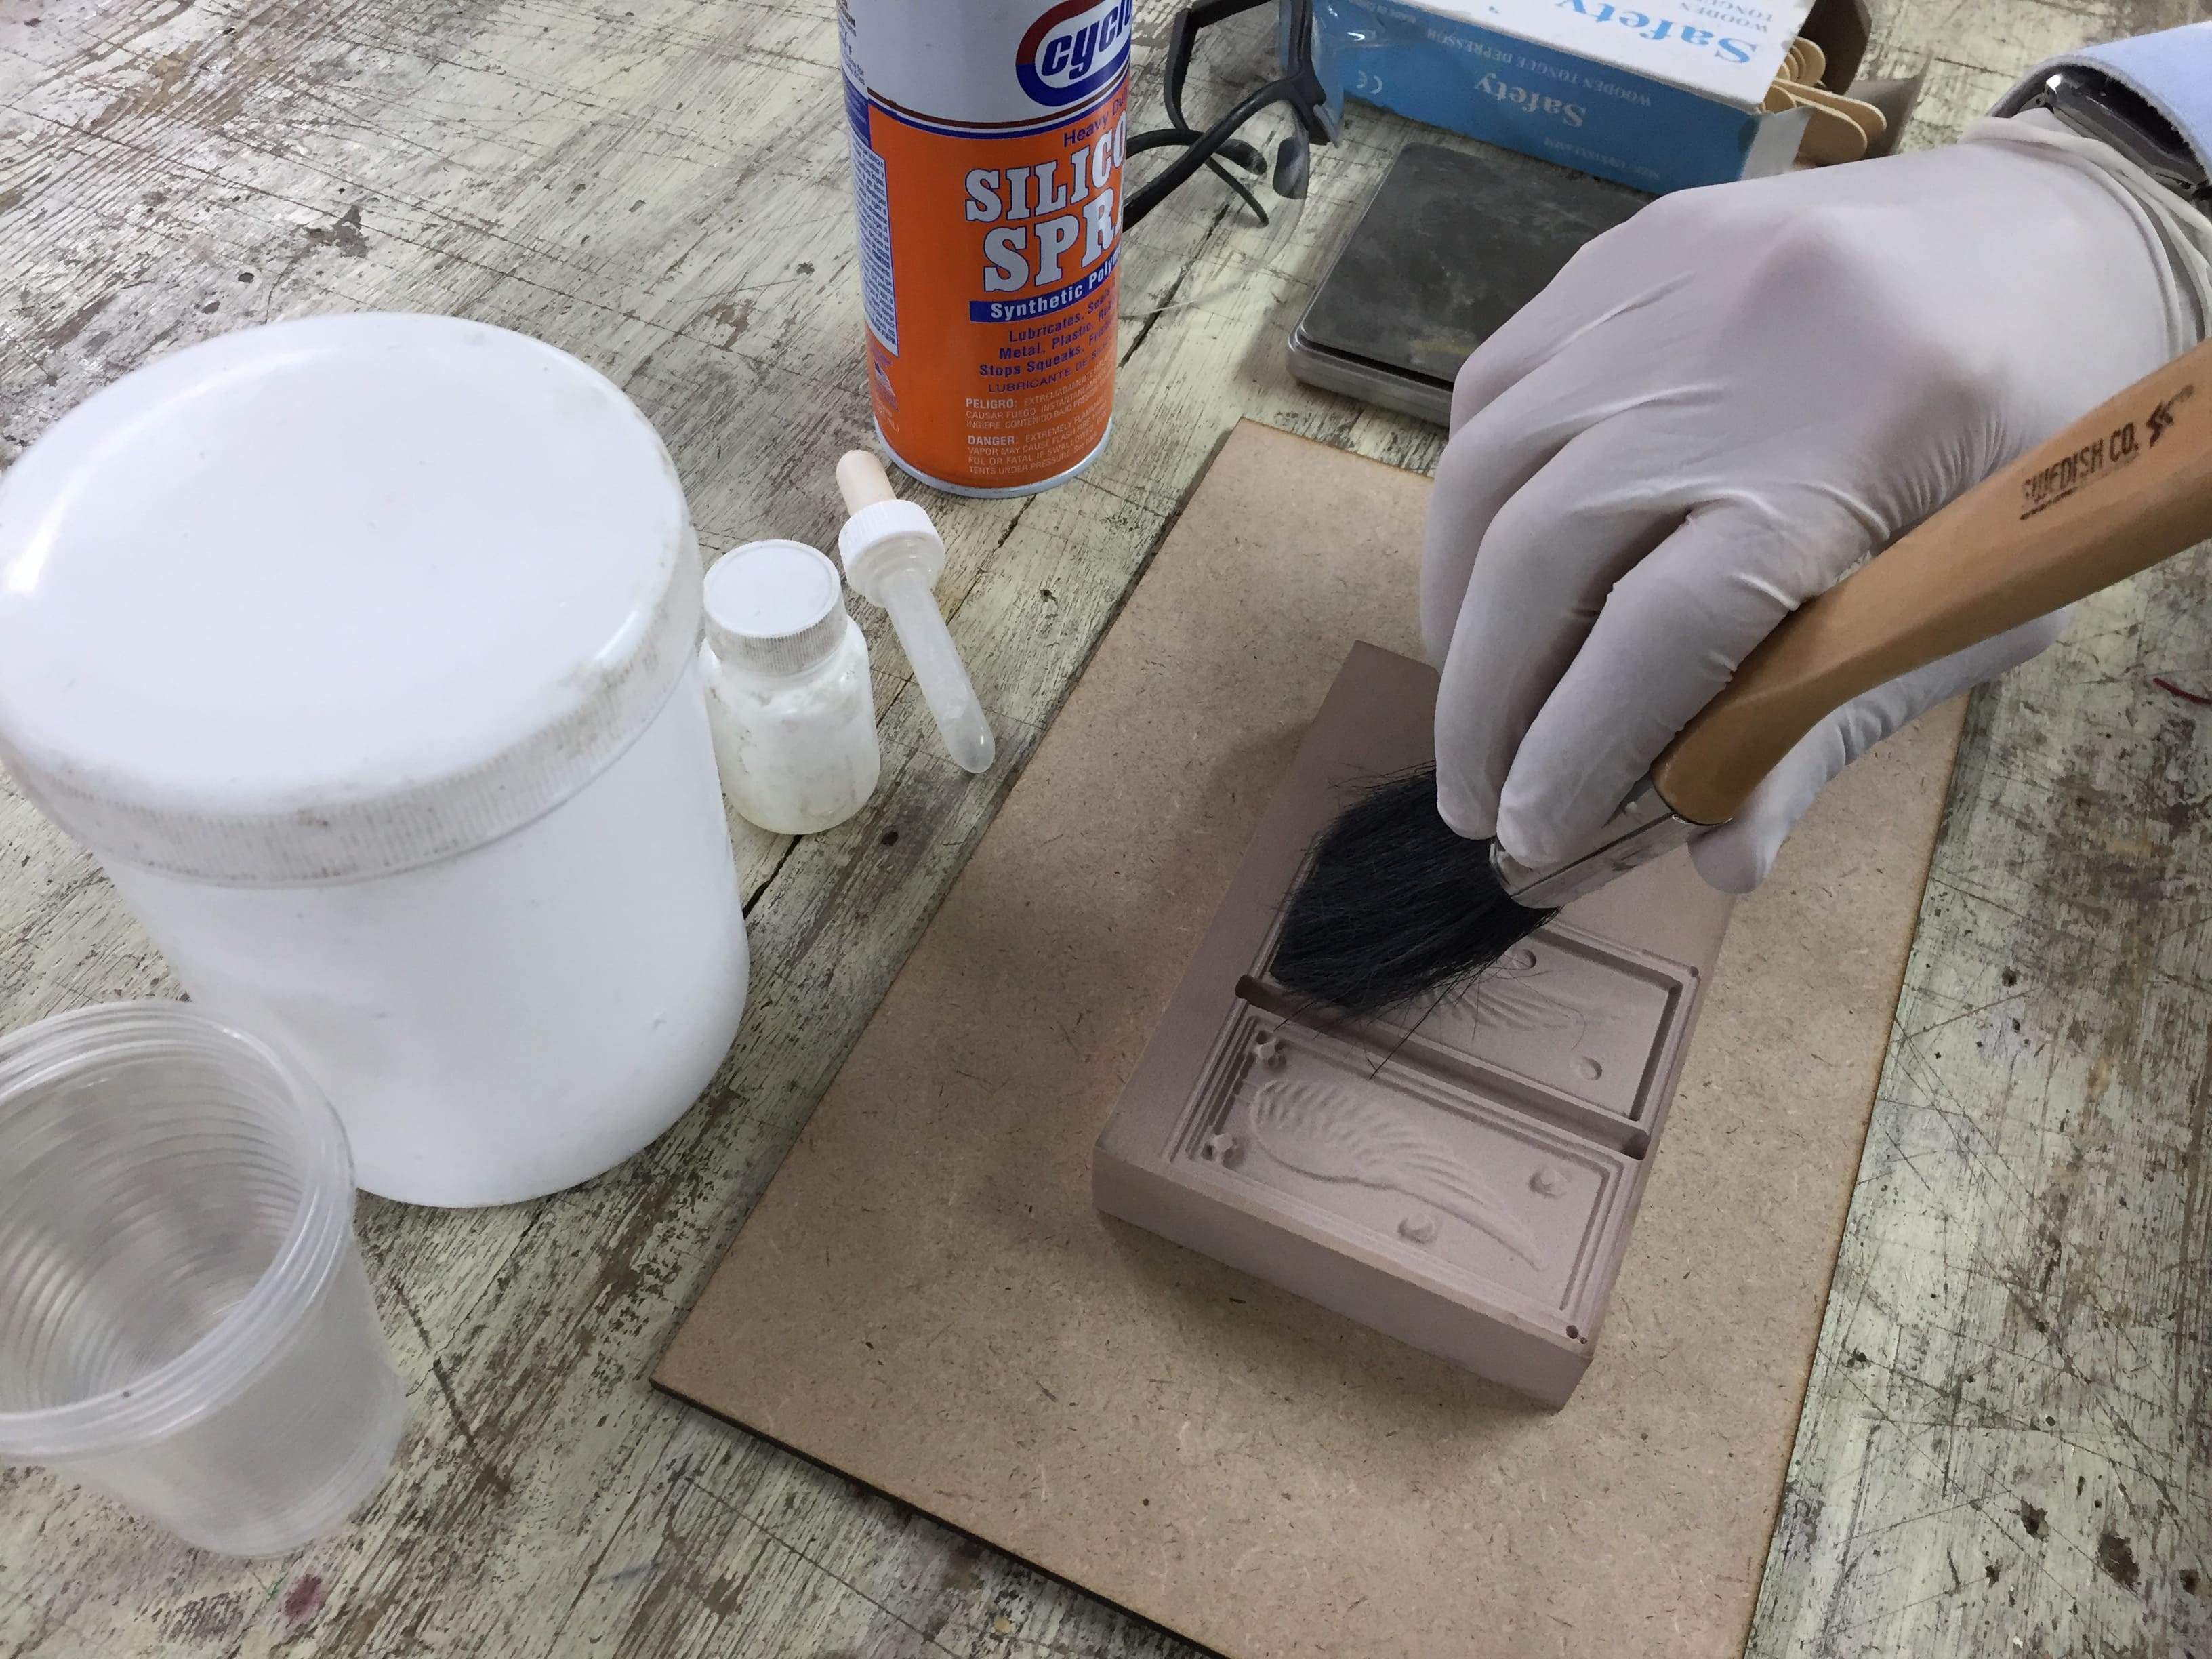
Then I applied the Silicone spray on the wood to prevent the silicone from sticking to the wood after curing and I can detach it from the wood.
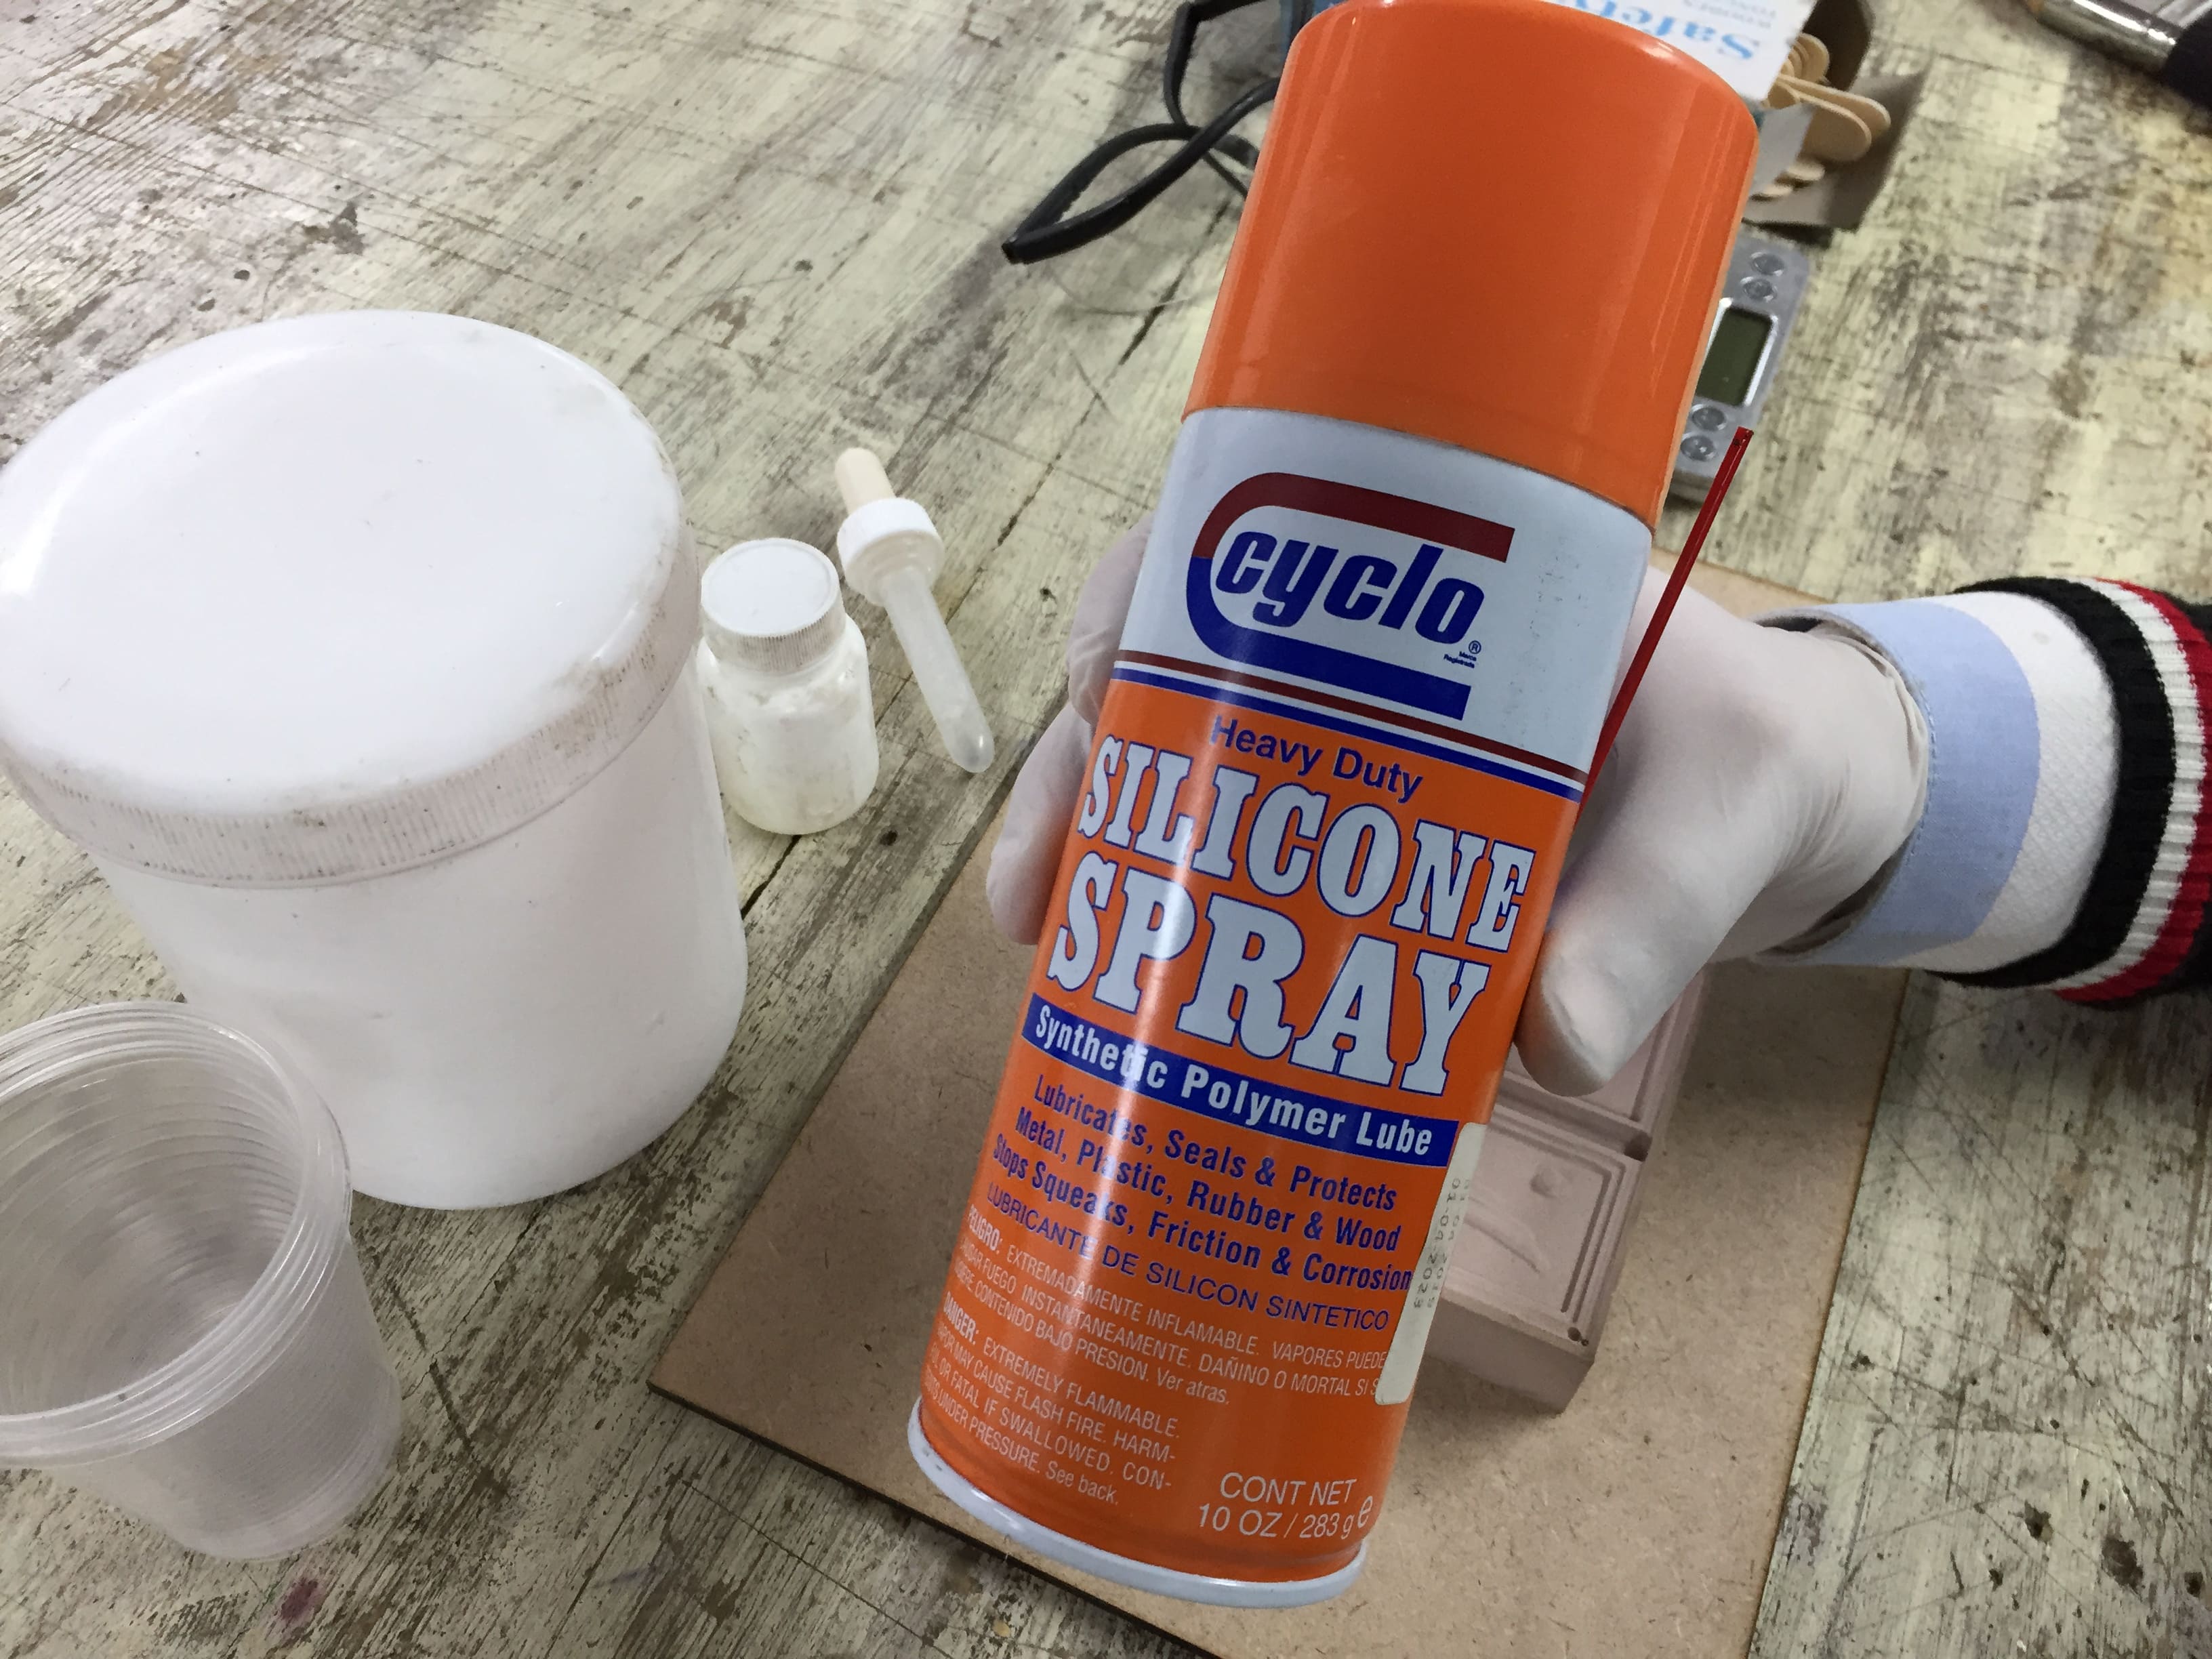
Applying silicone spray
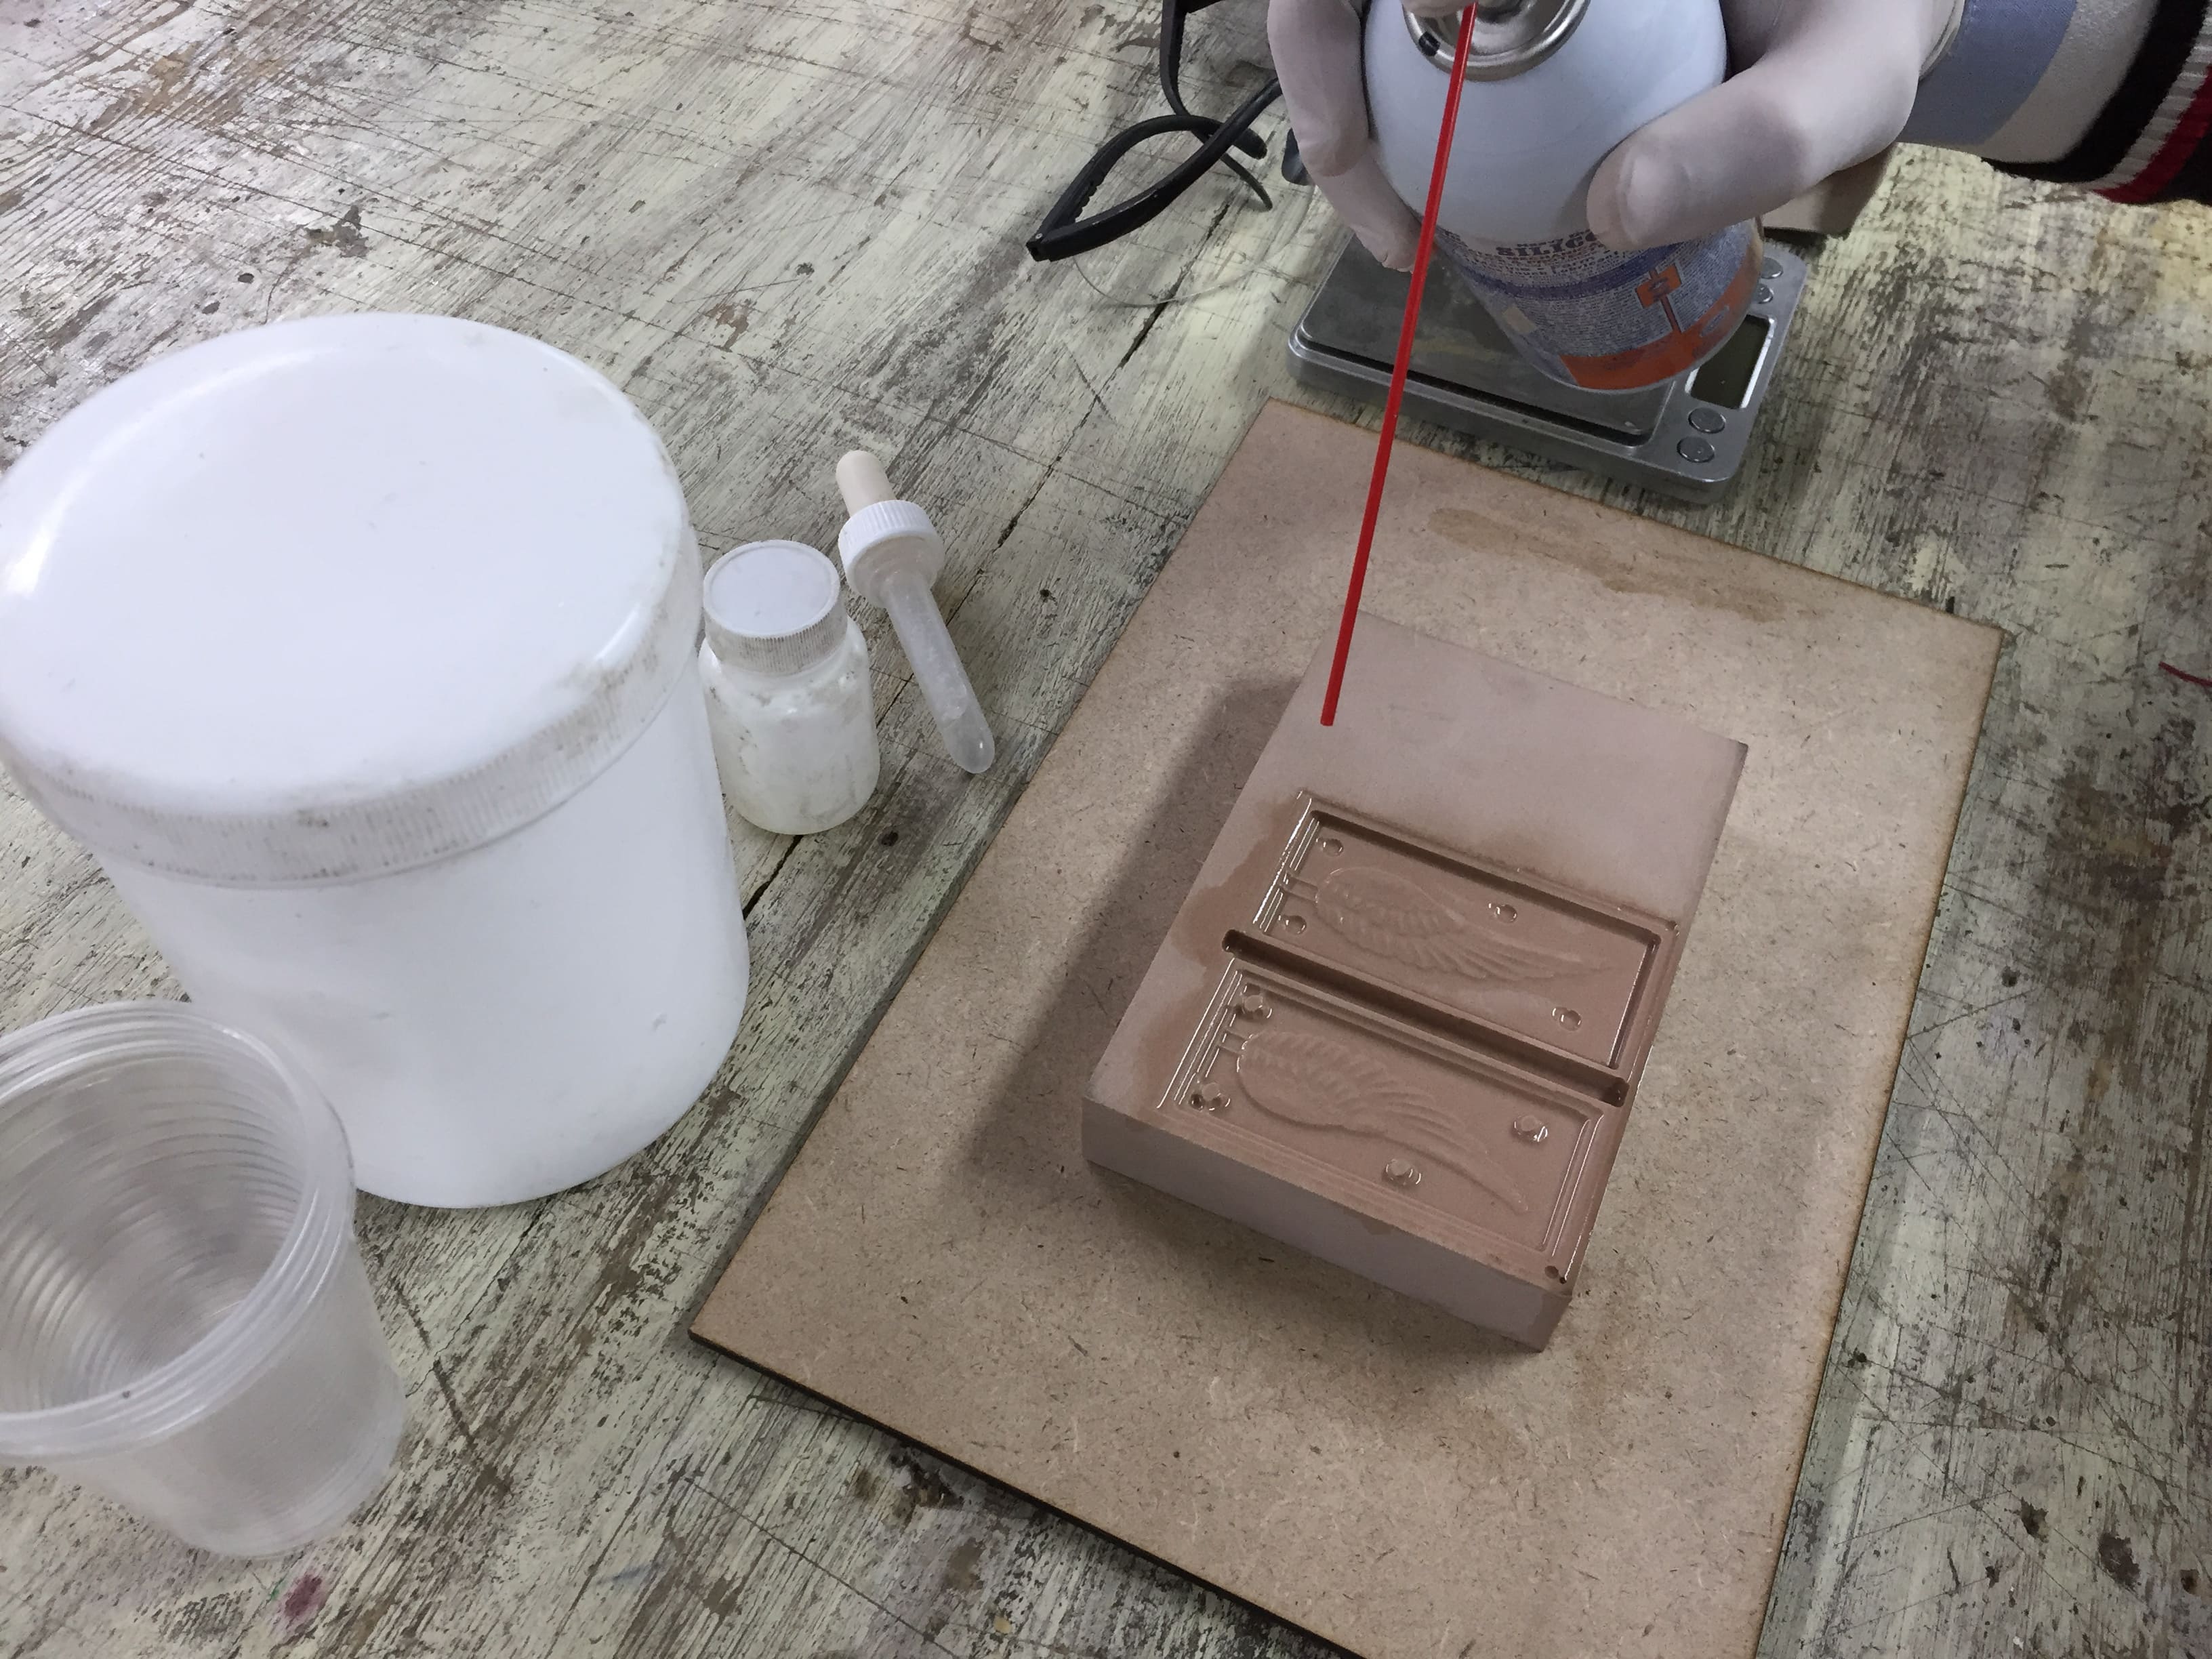
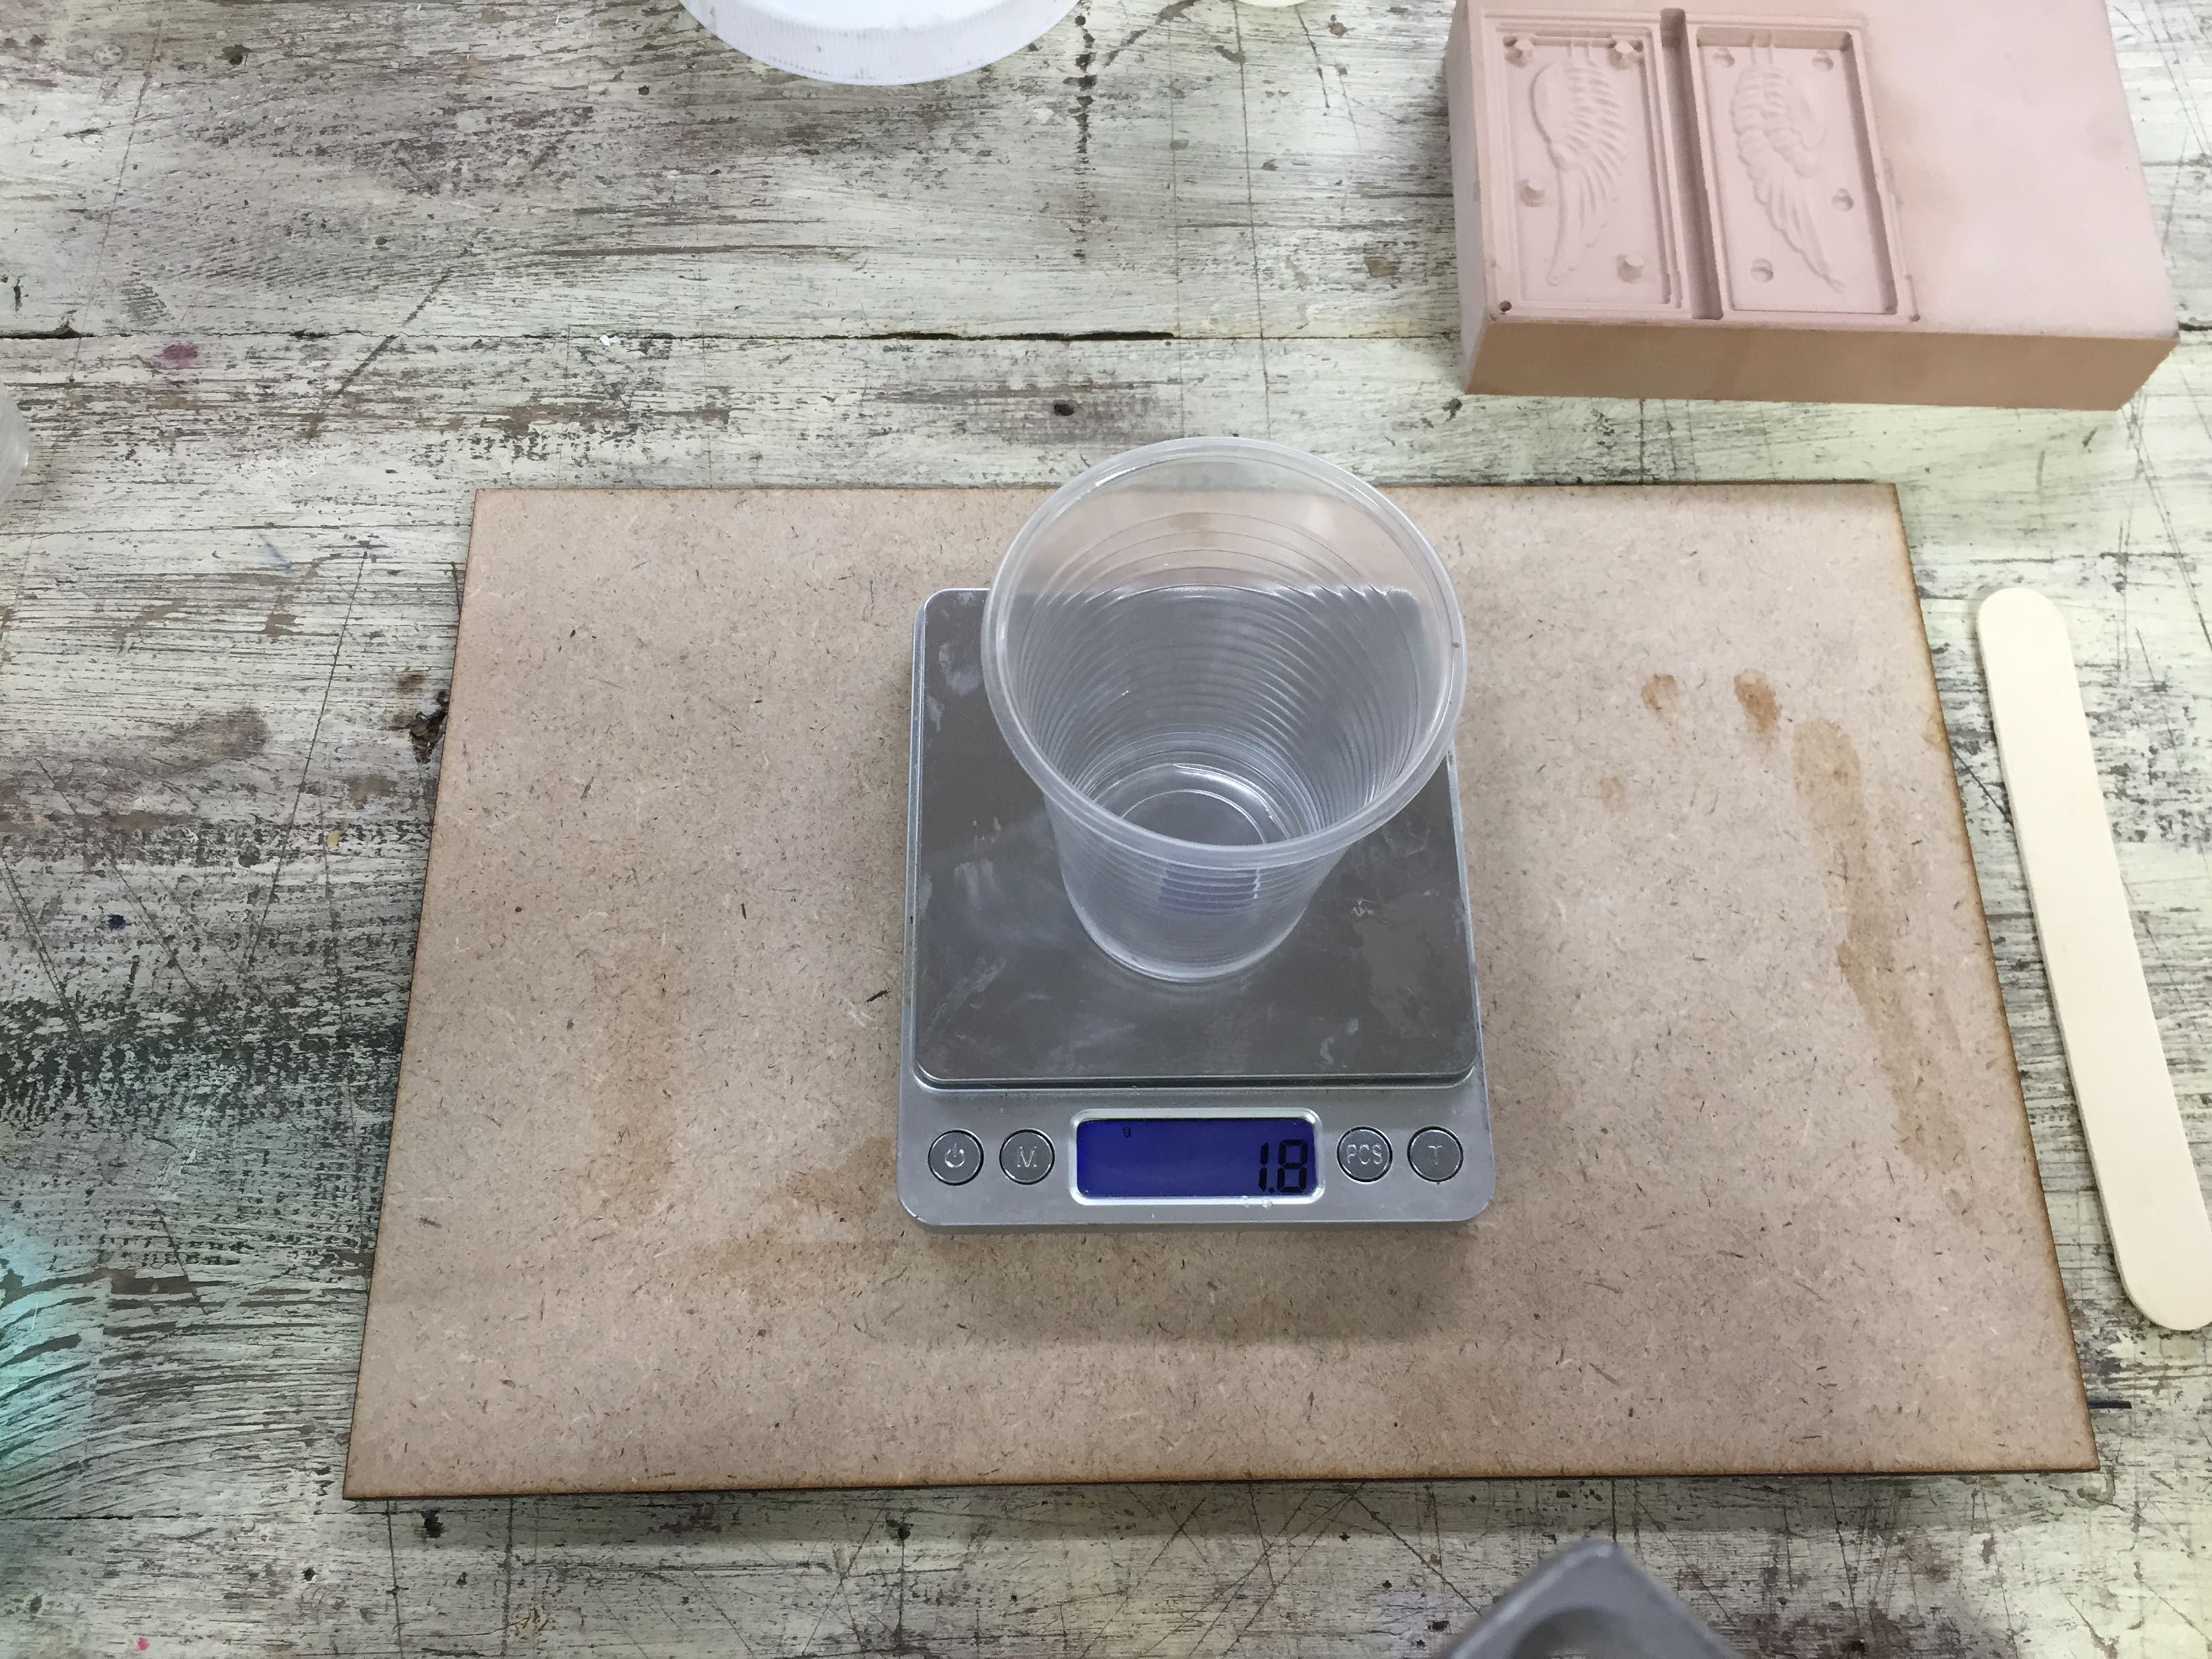
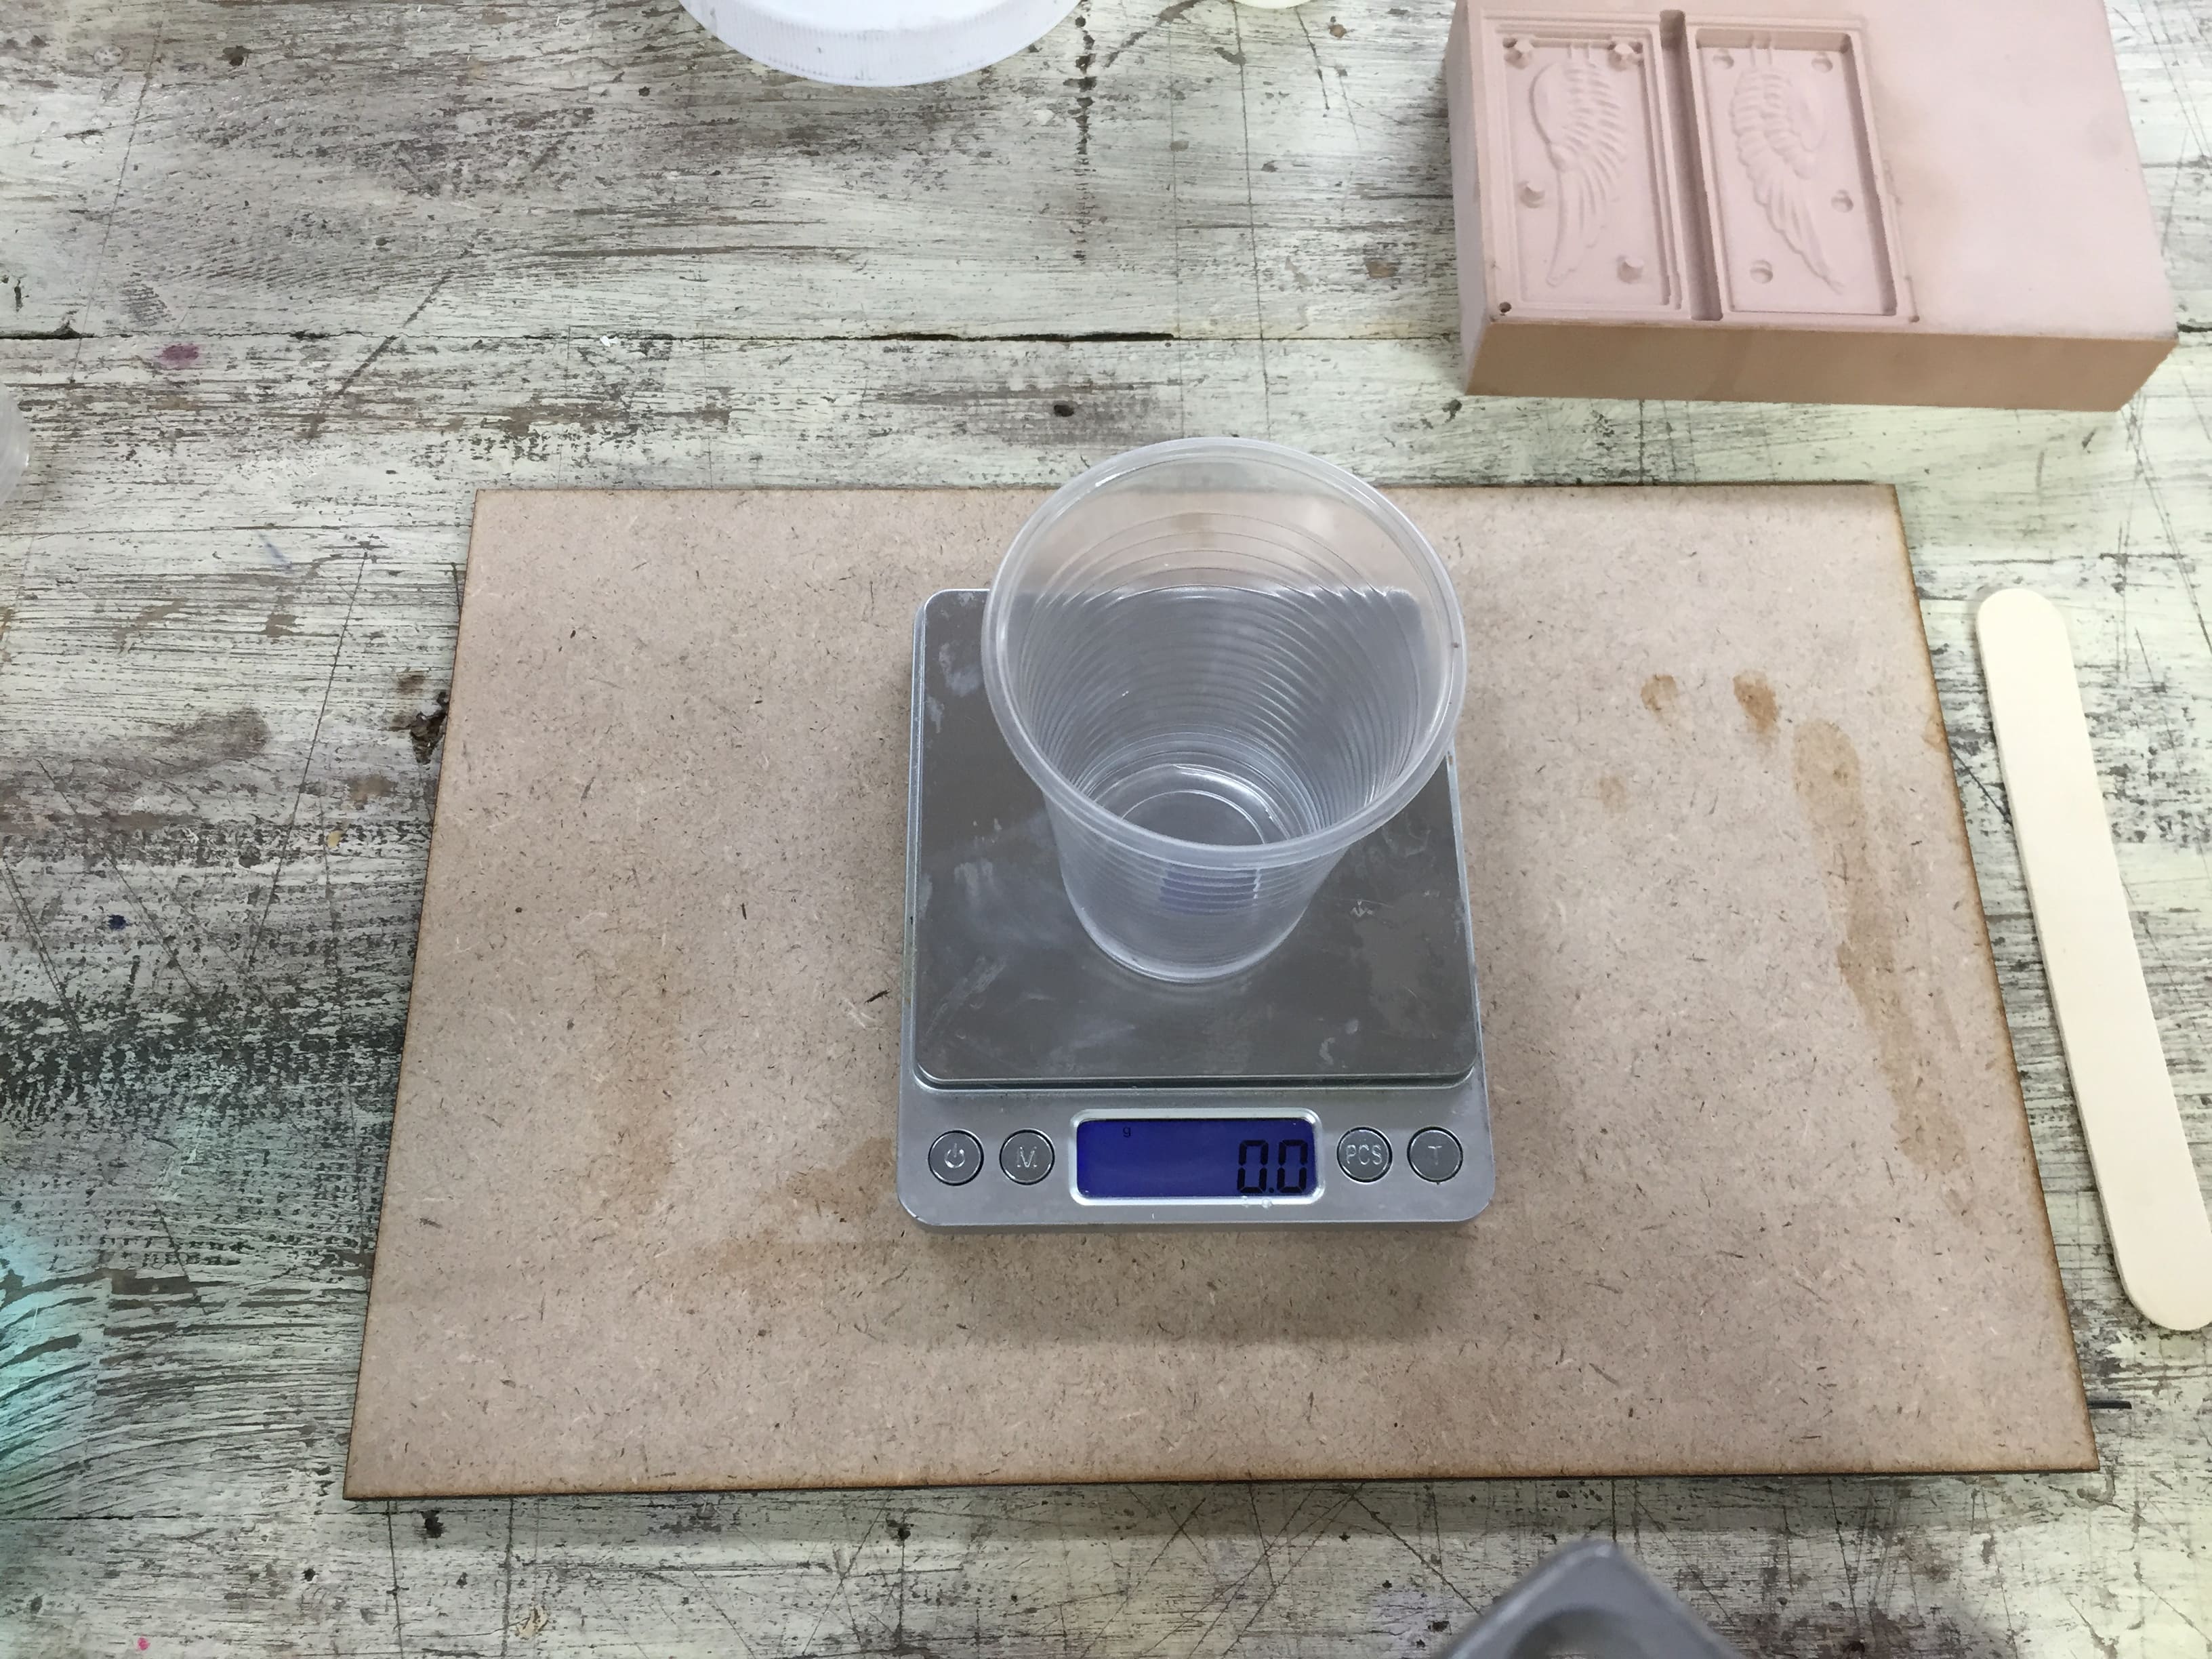
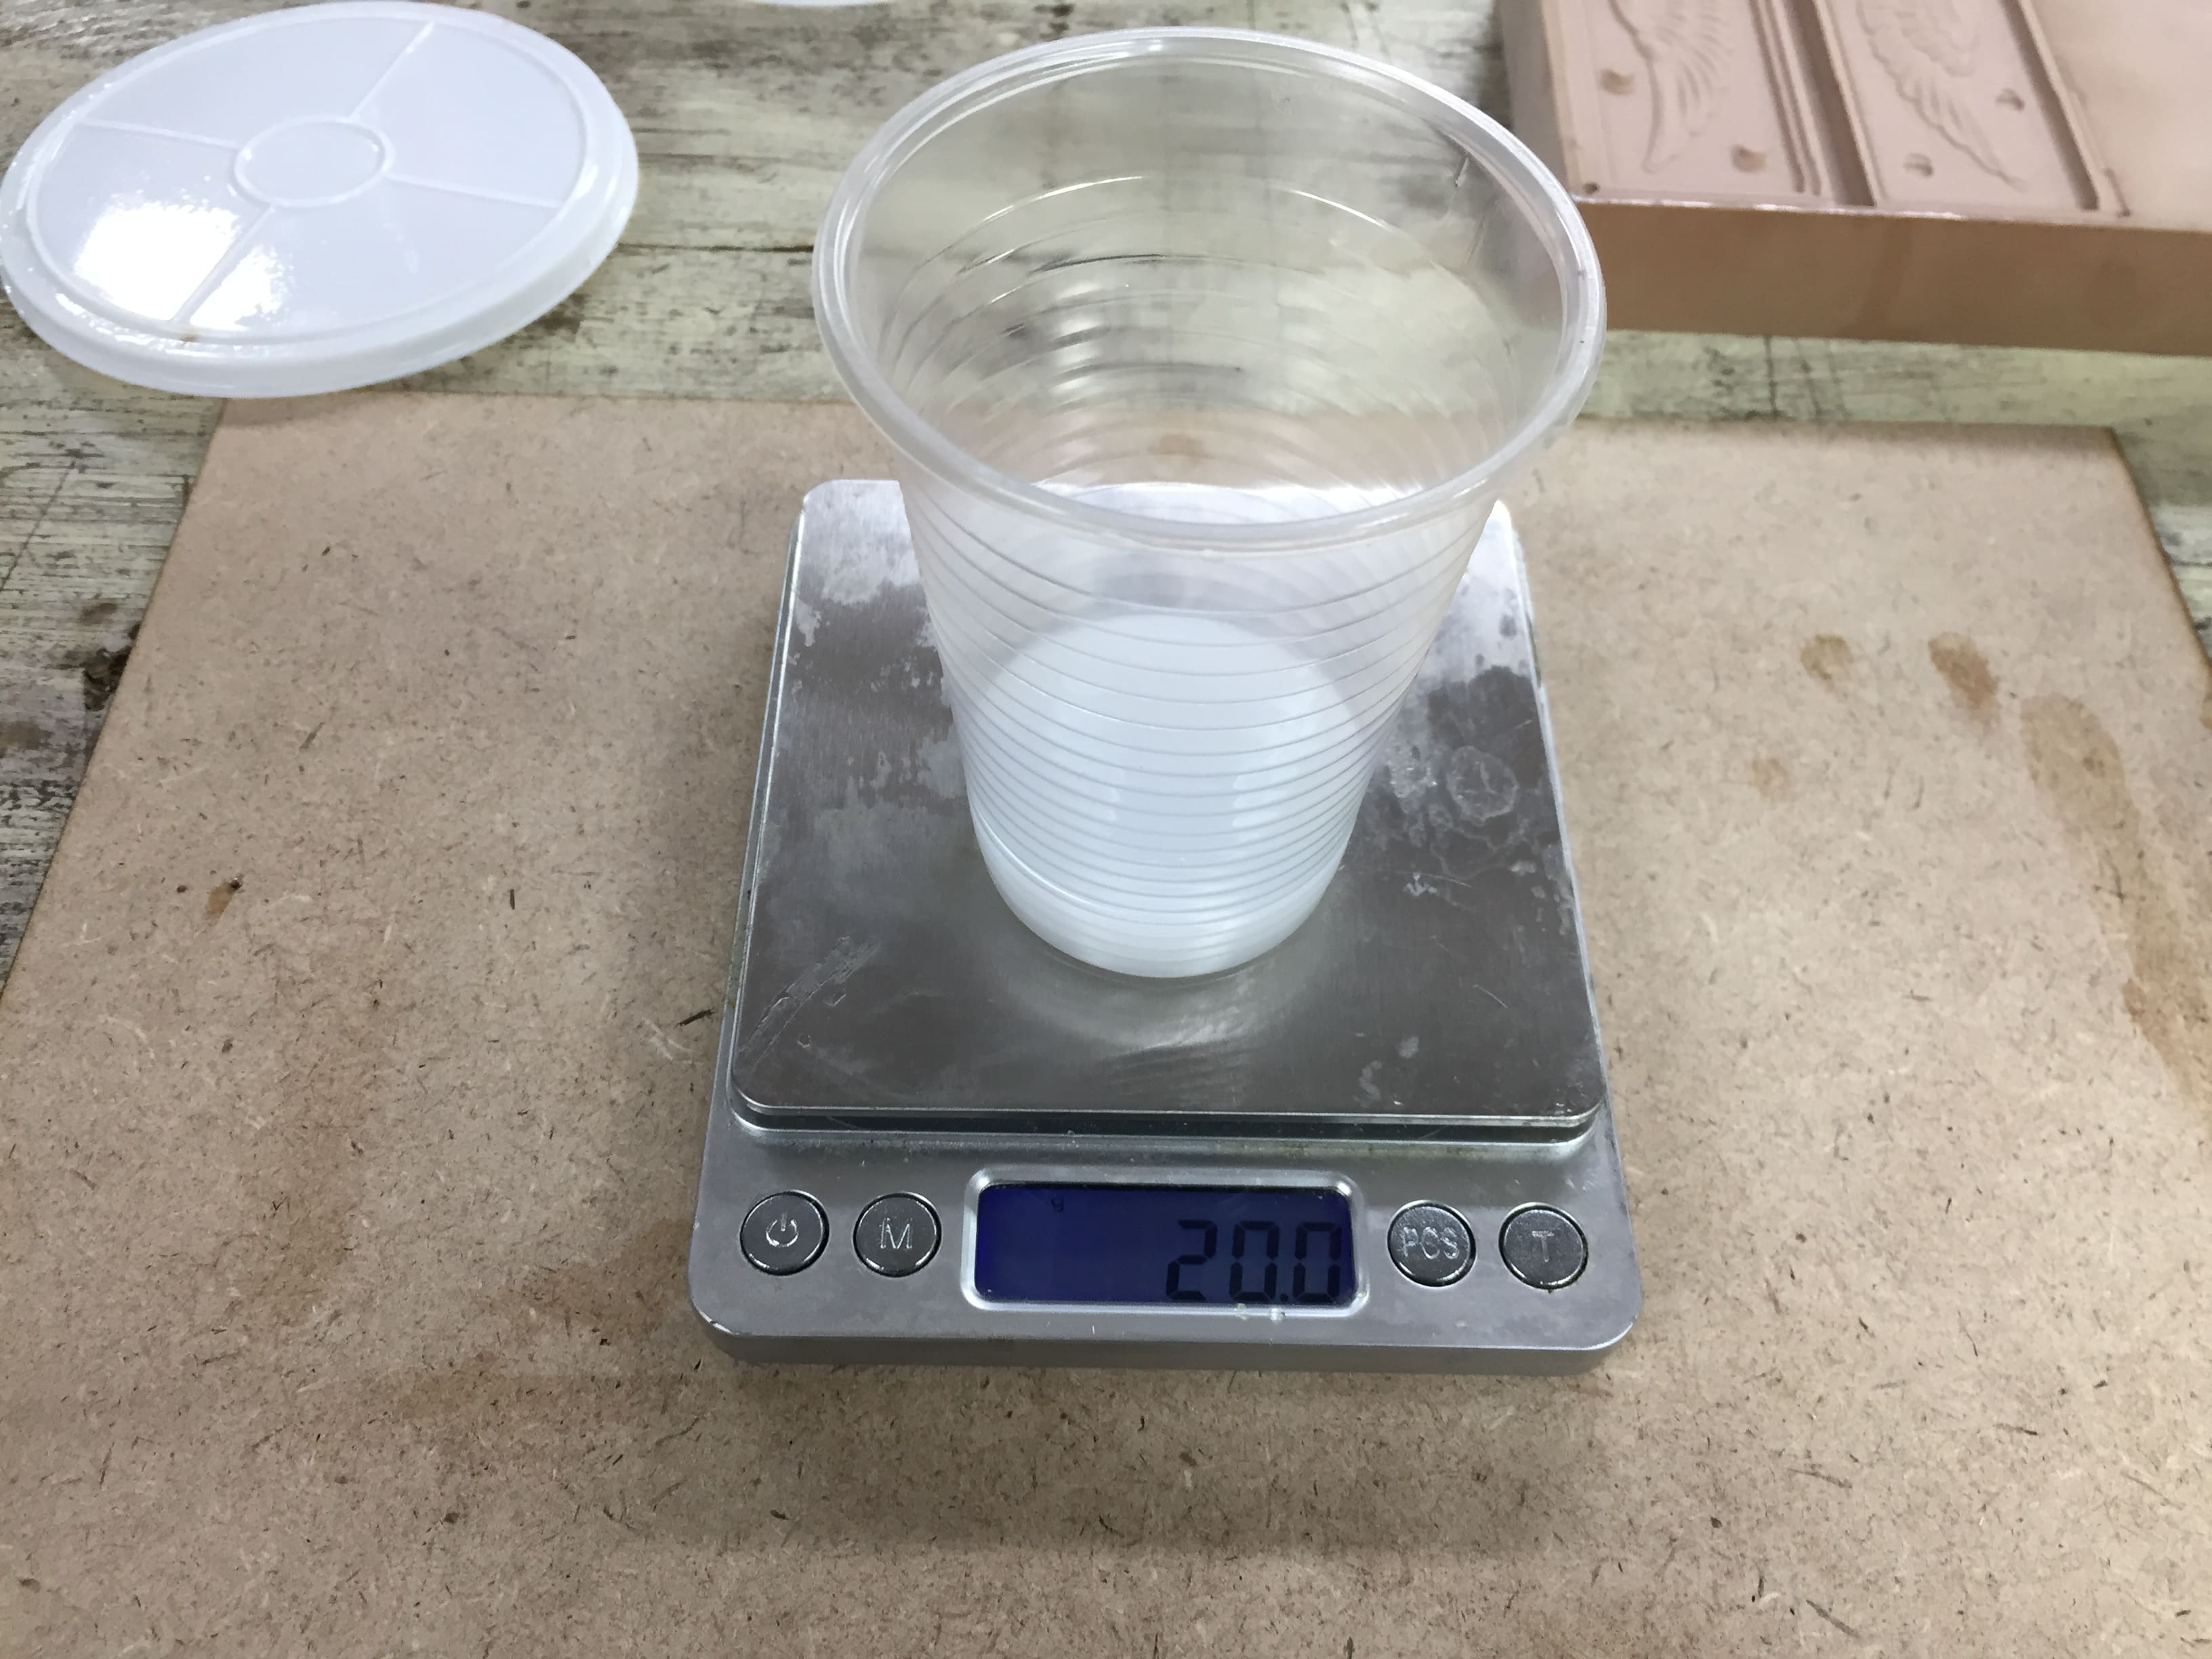
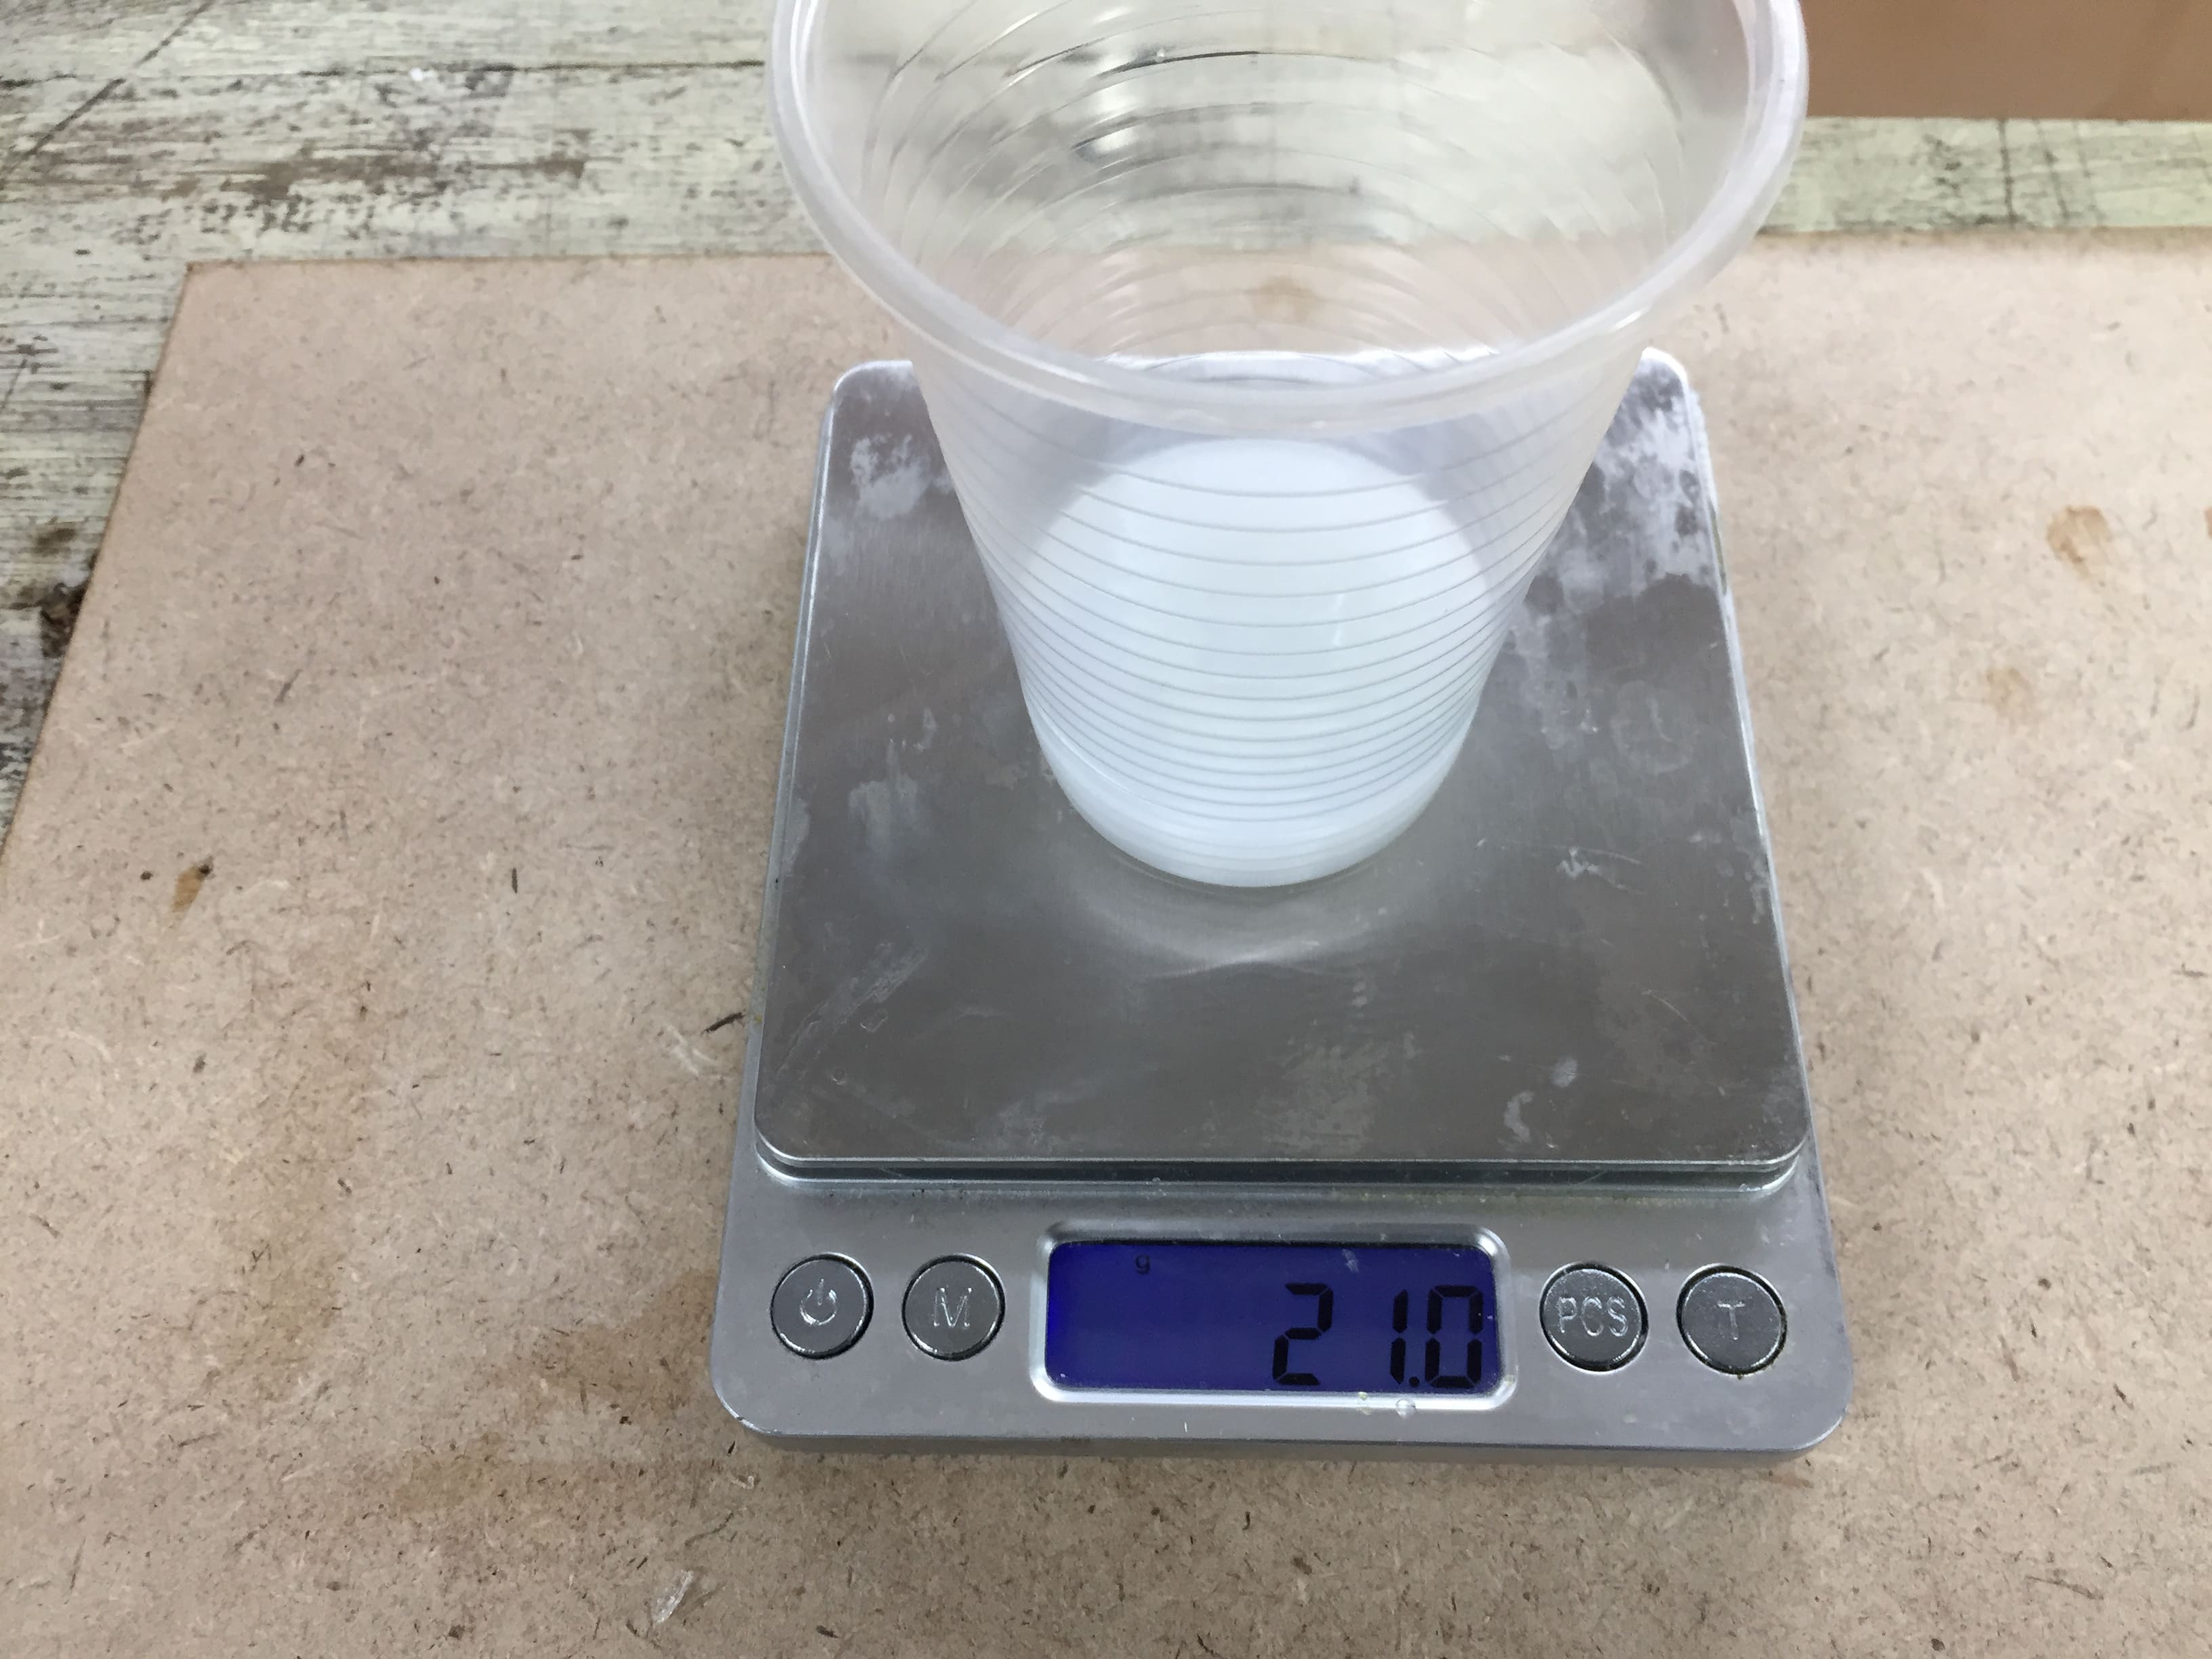
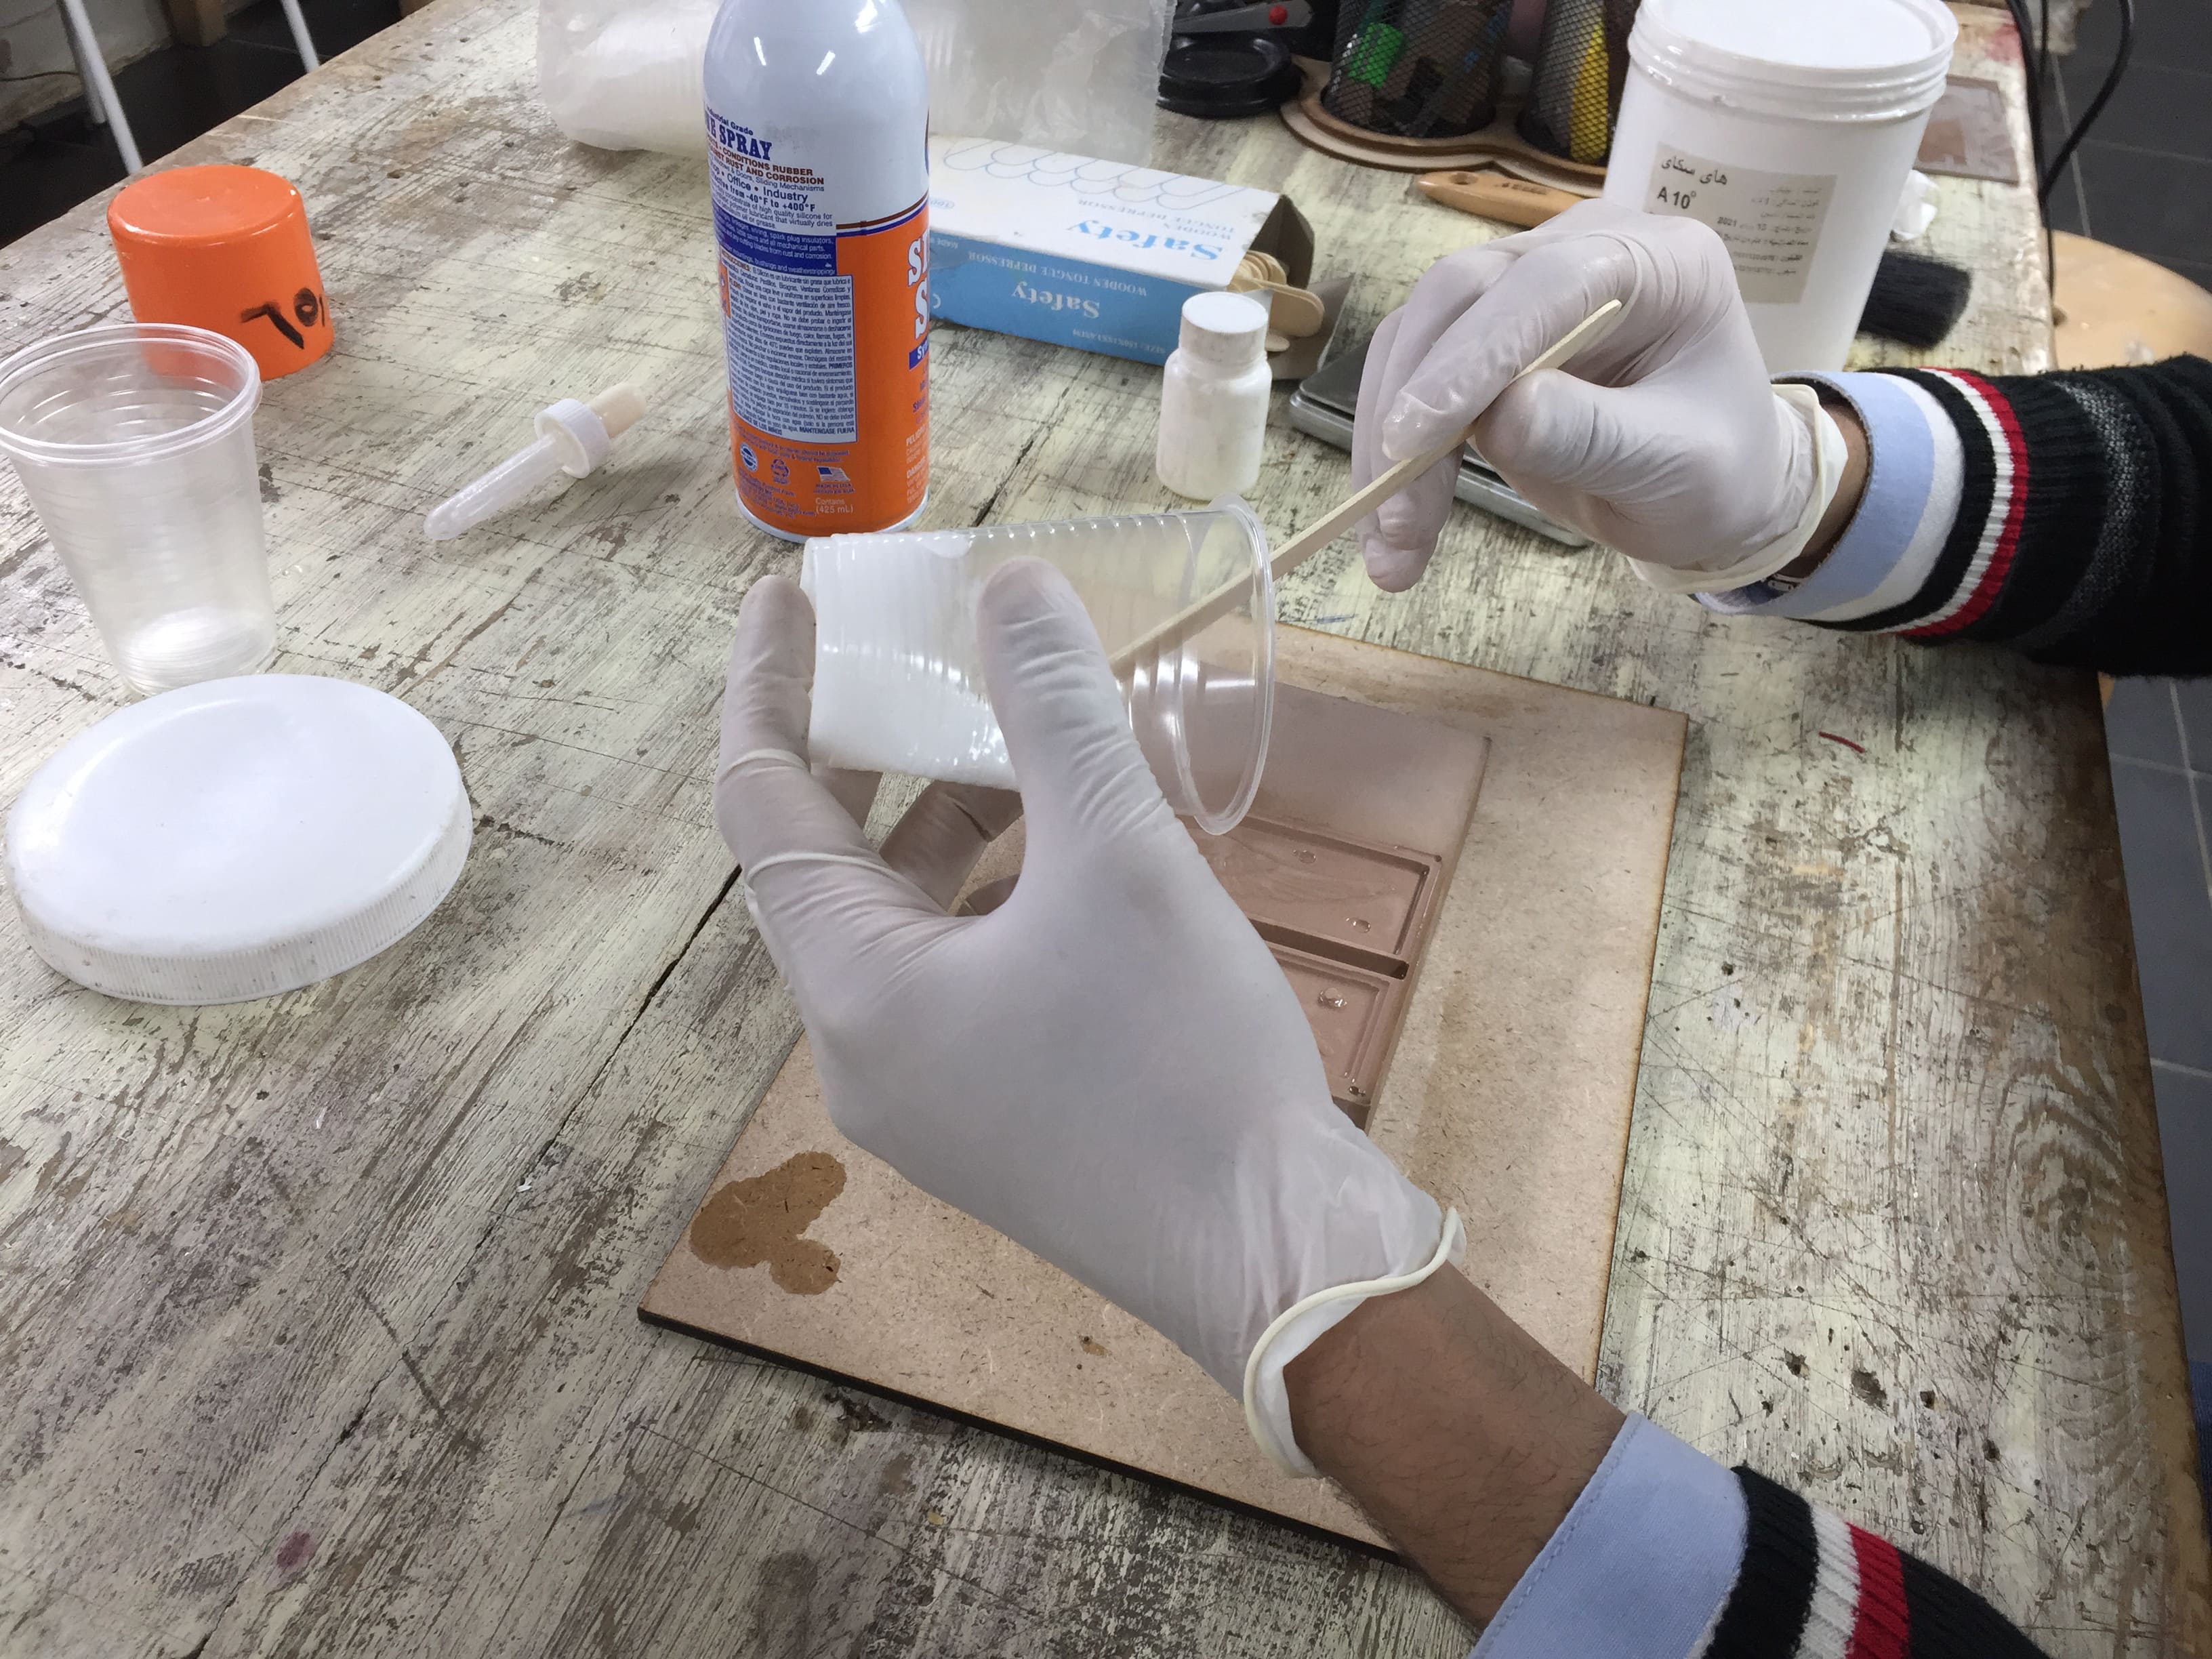
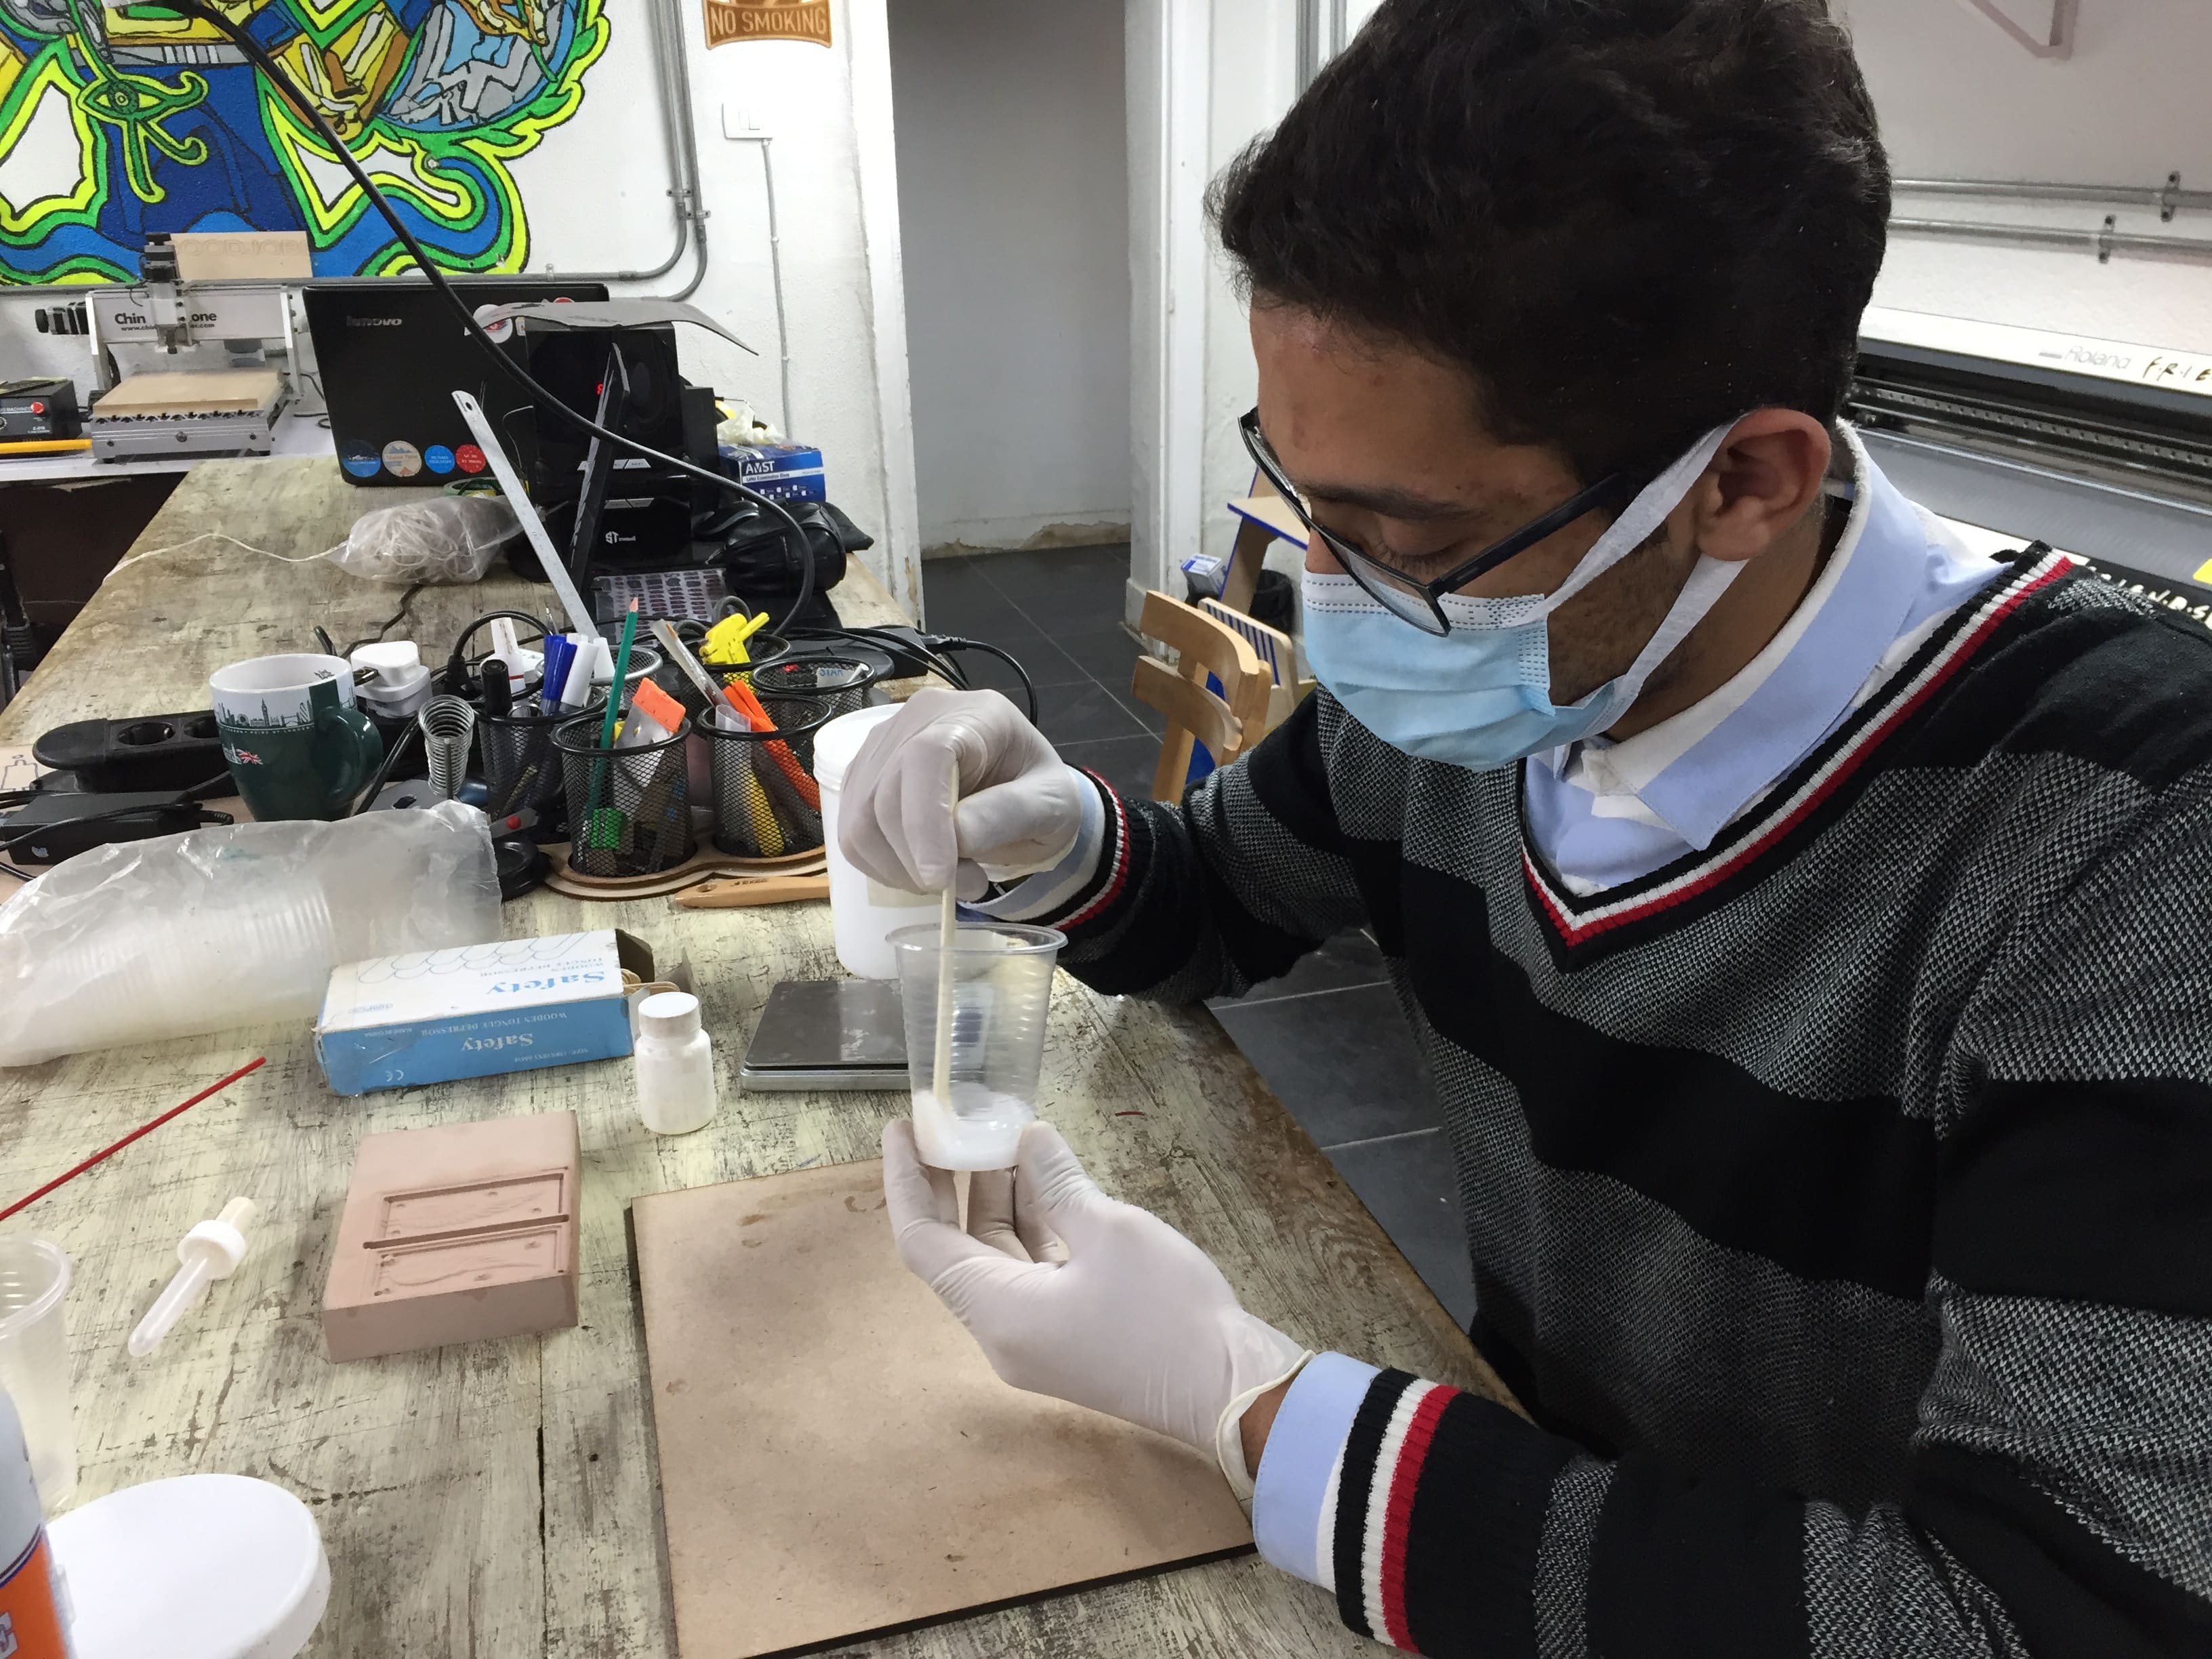
Now it's time for weighing the silicone and its hardener. The ratio is 20:1 Silicone to hardener respectively. So instead of calculating the cup's weight every time I made it subtract the cup's weight at the begining. and it was 1.8 grams.
And this is the Silicone I am using
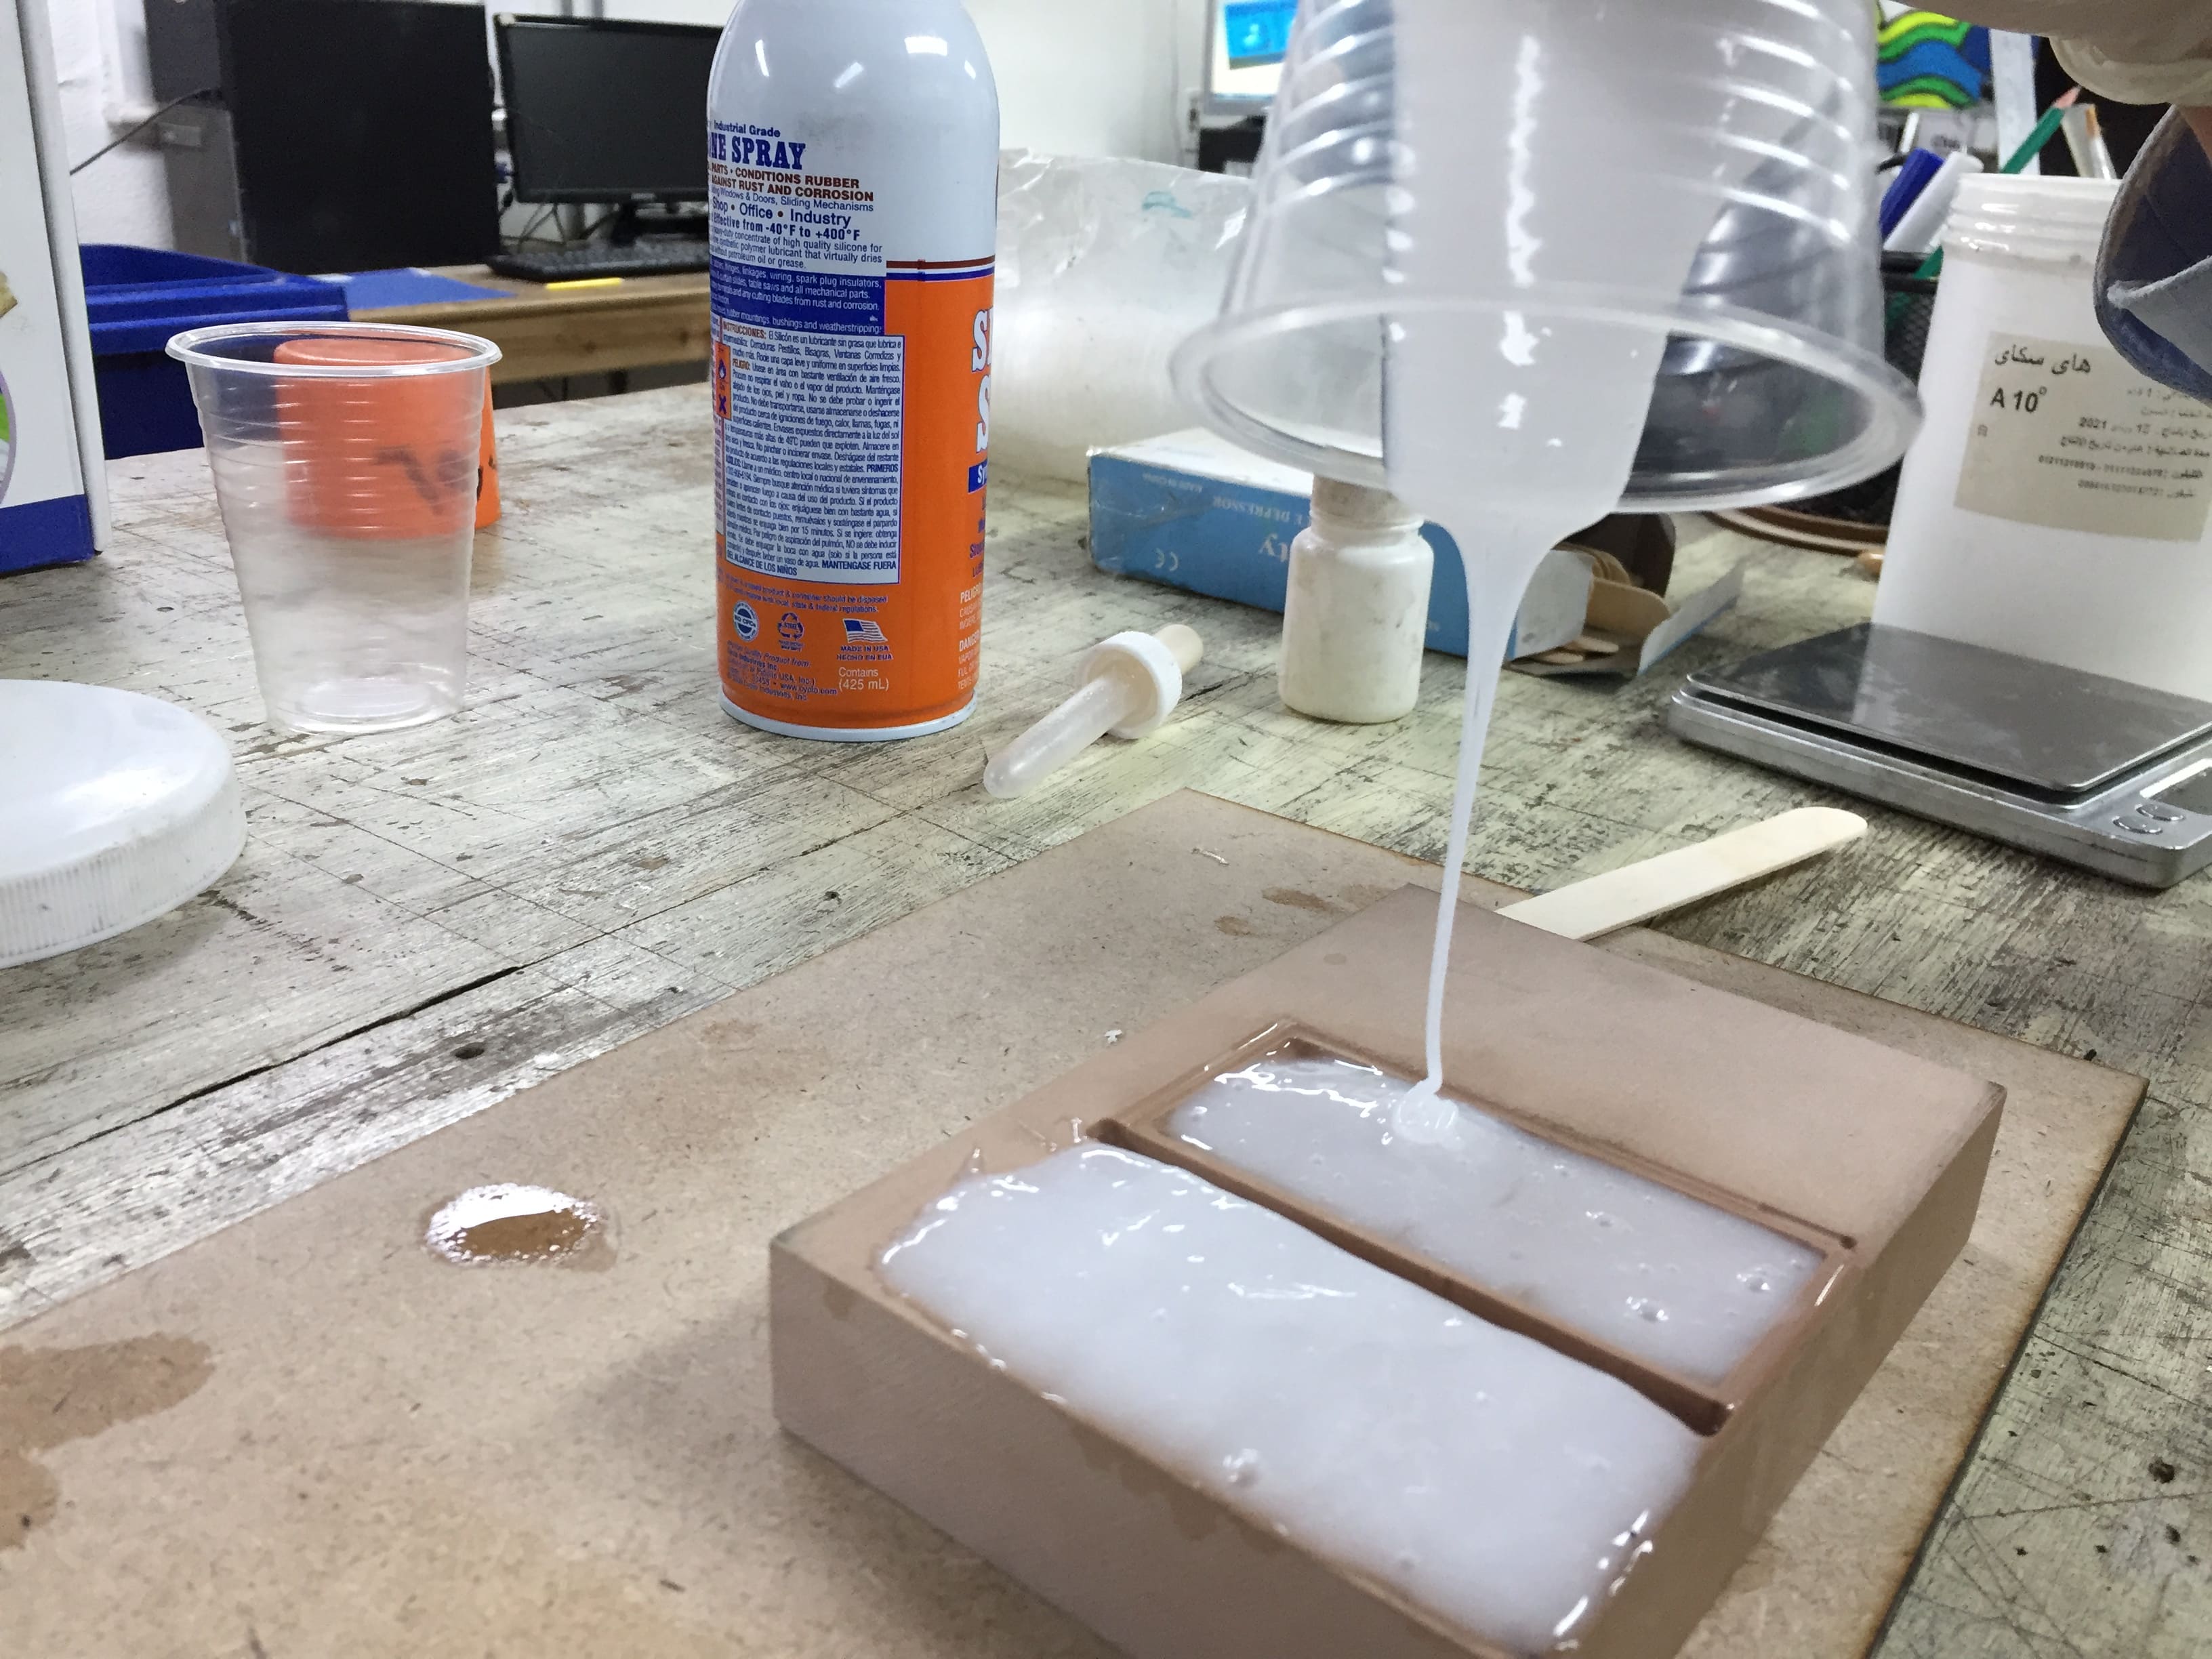
Then I started pouring it on the scale.
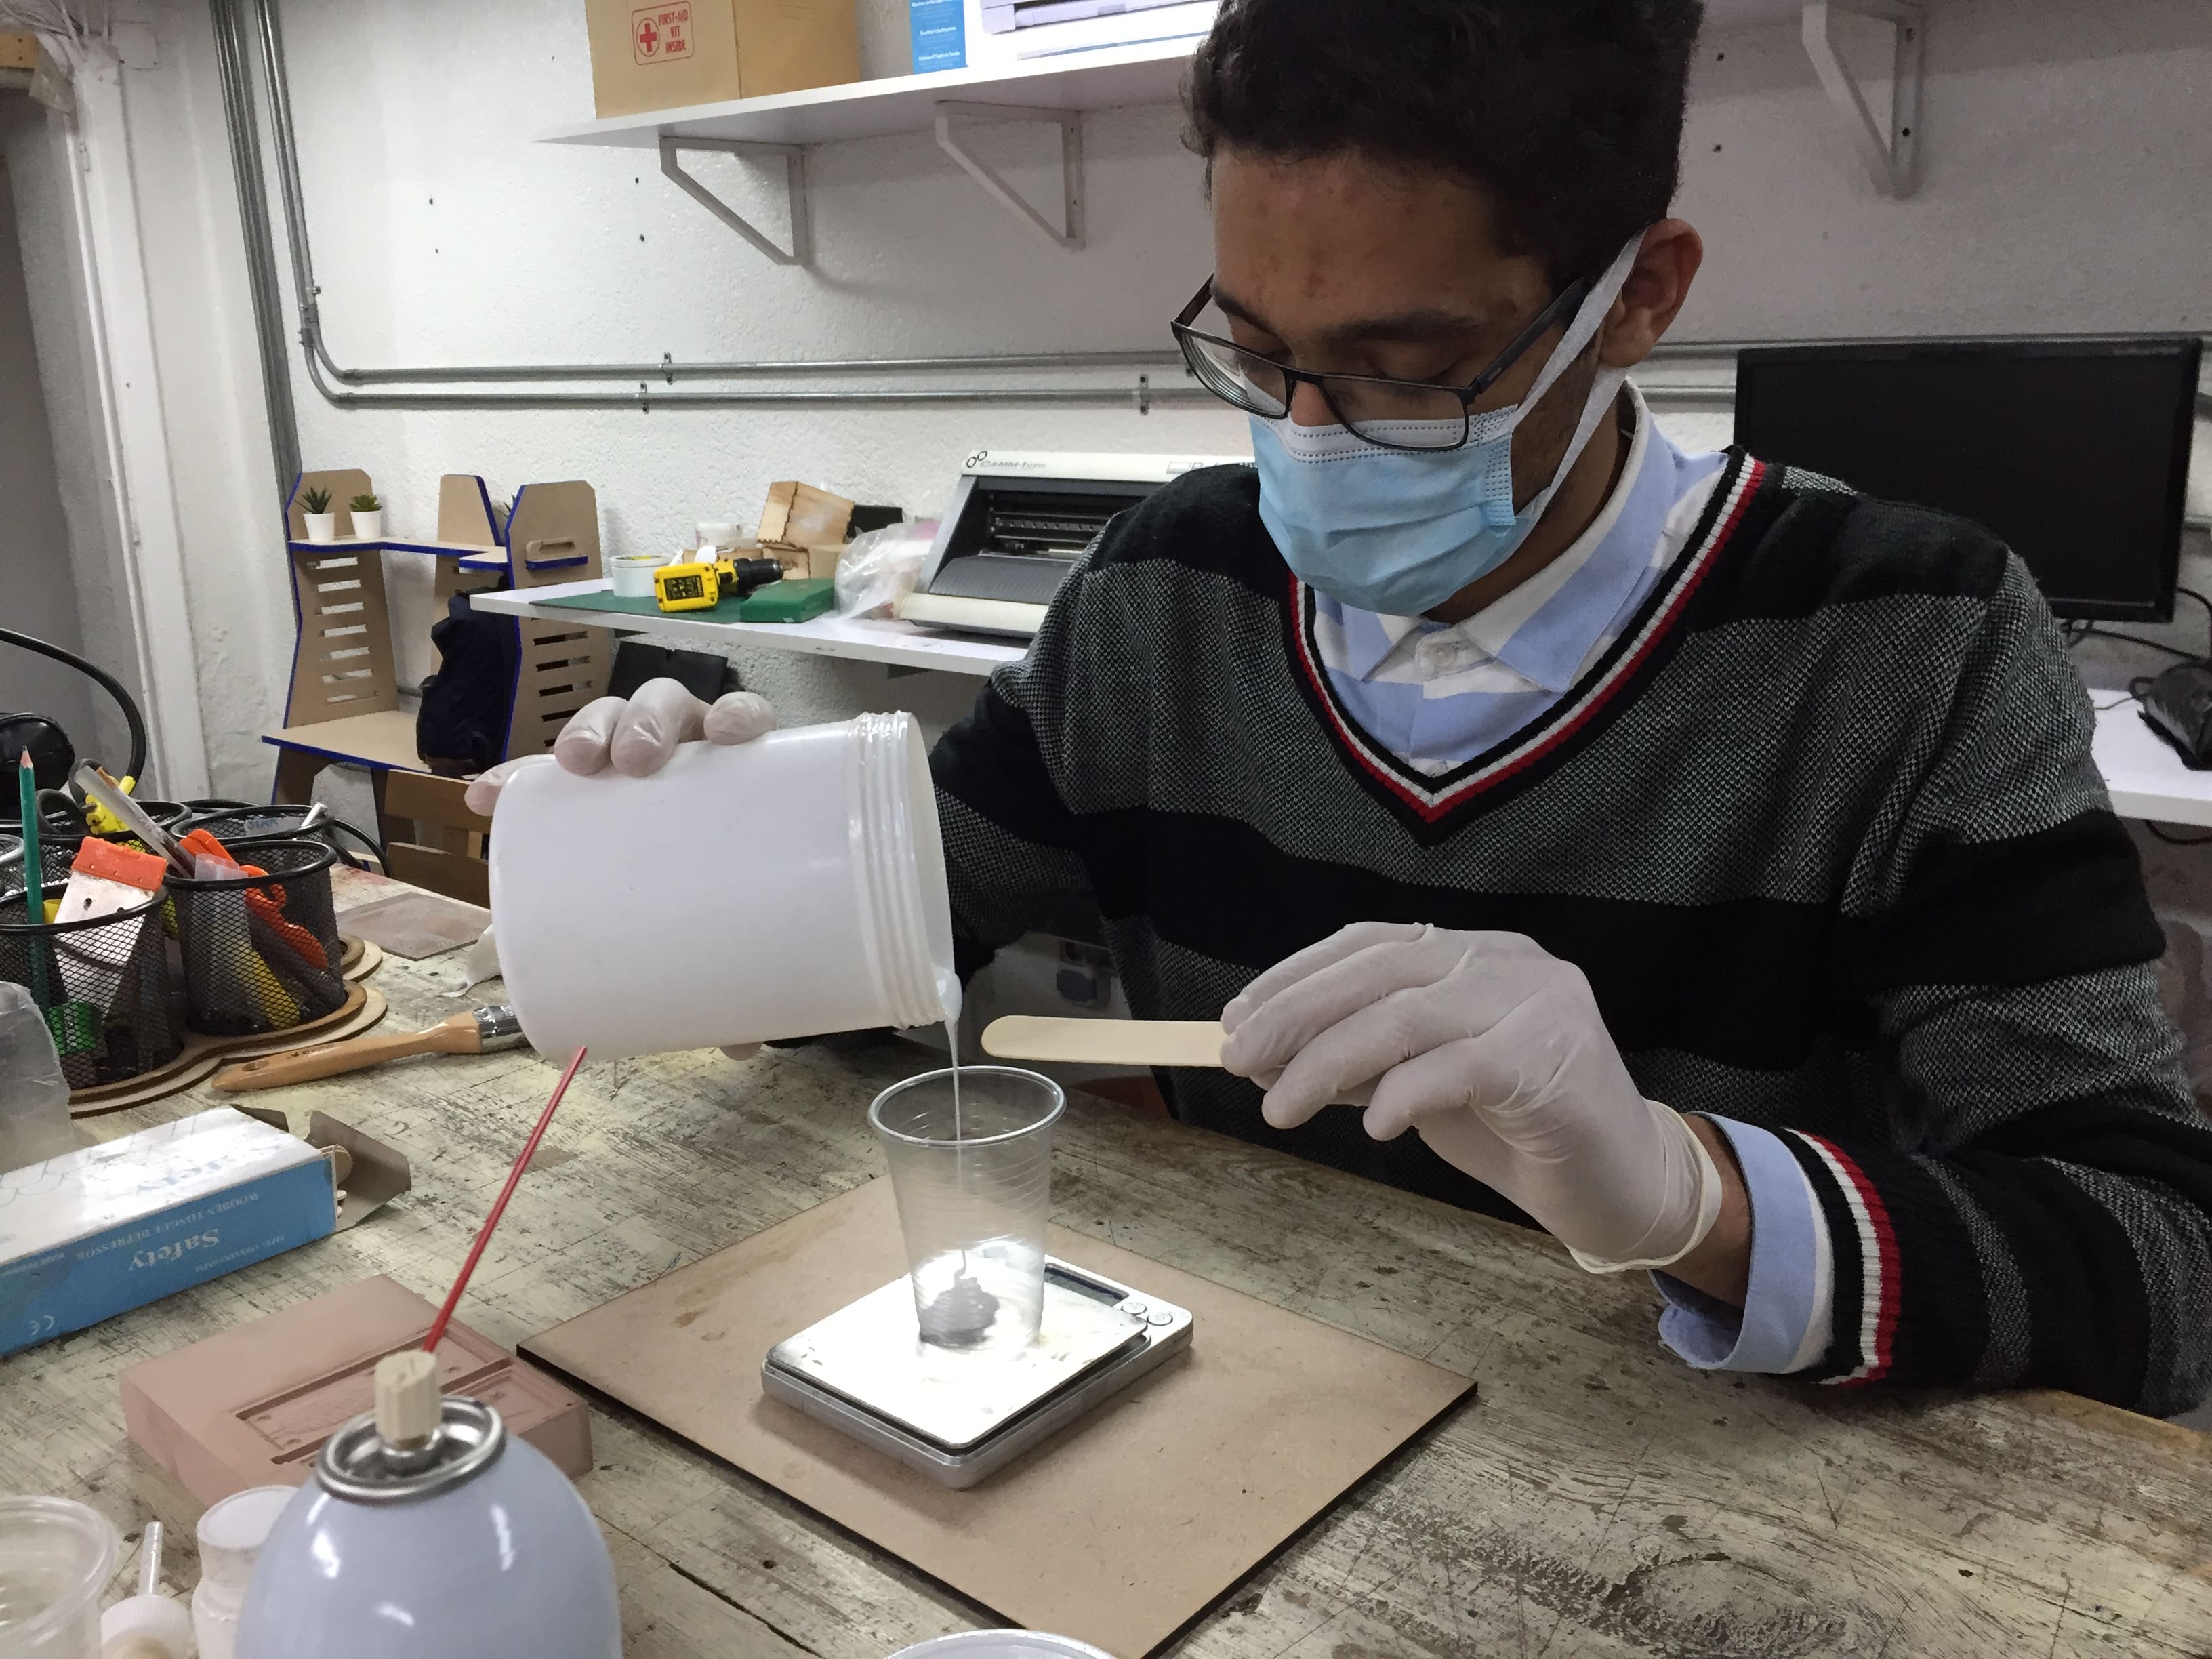
And I poured 20 grams of Silicone and 1 gram of the hardener according to the manufacturer.
Now it's all about Stiring, I just kept stiring for around 3 minutes.
Stiring, stiring, stiring,...
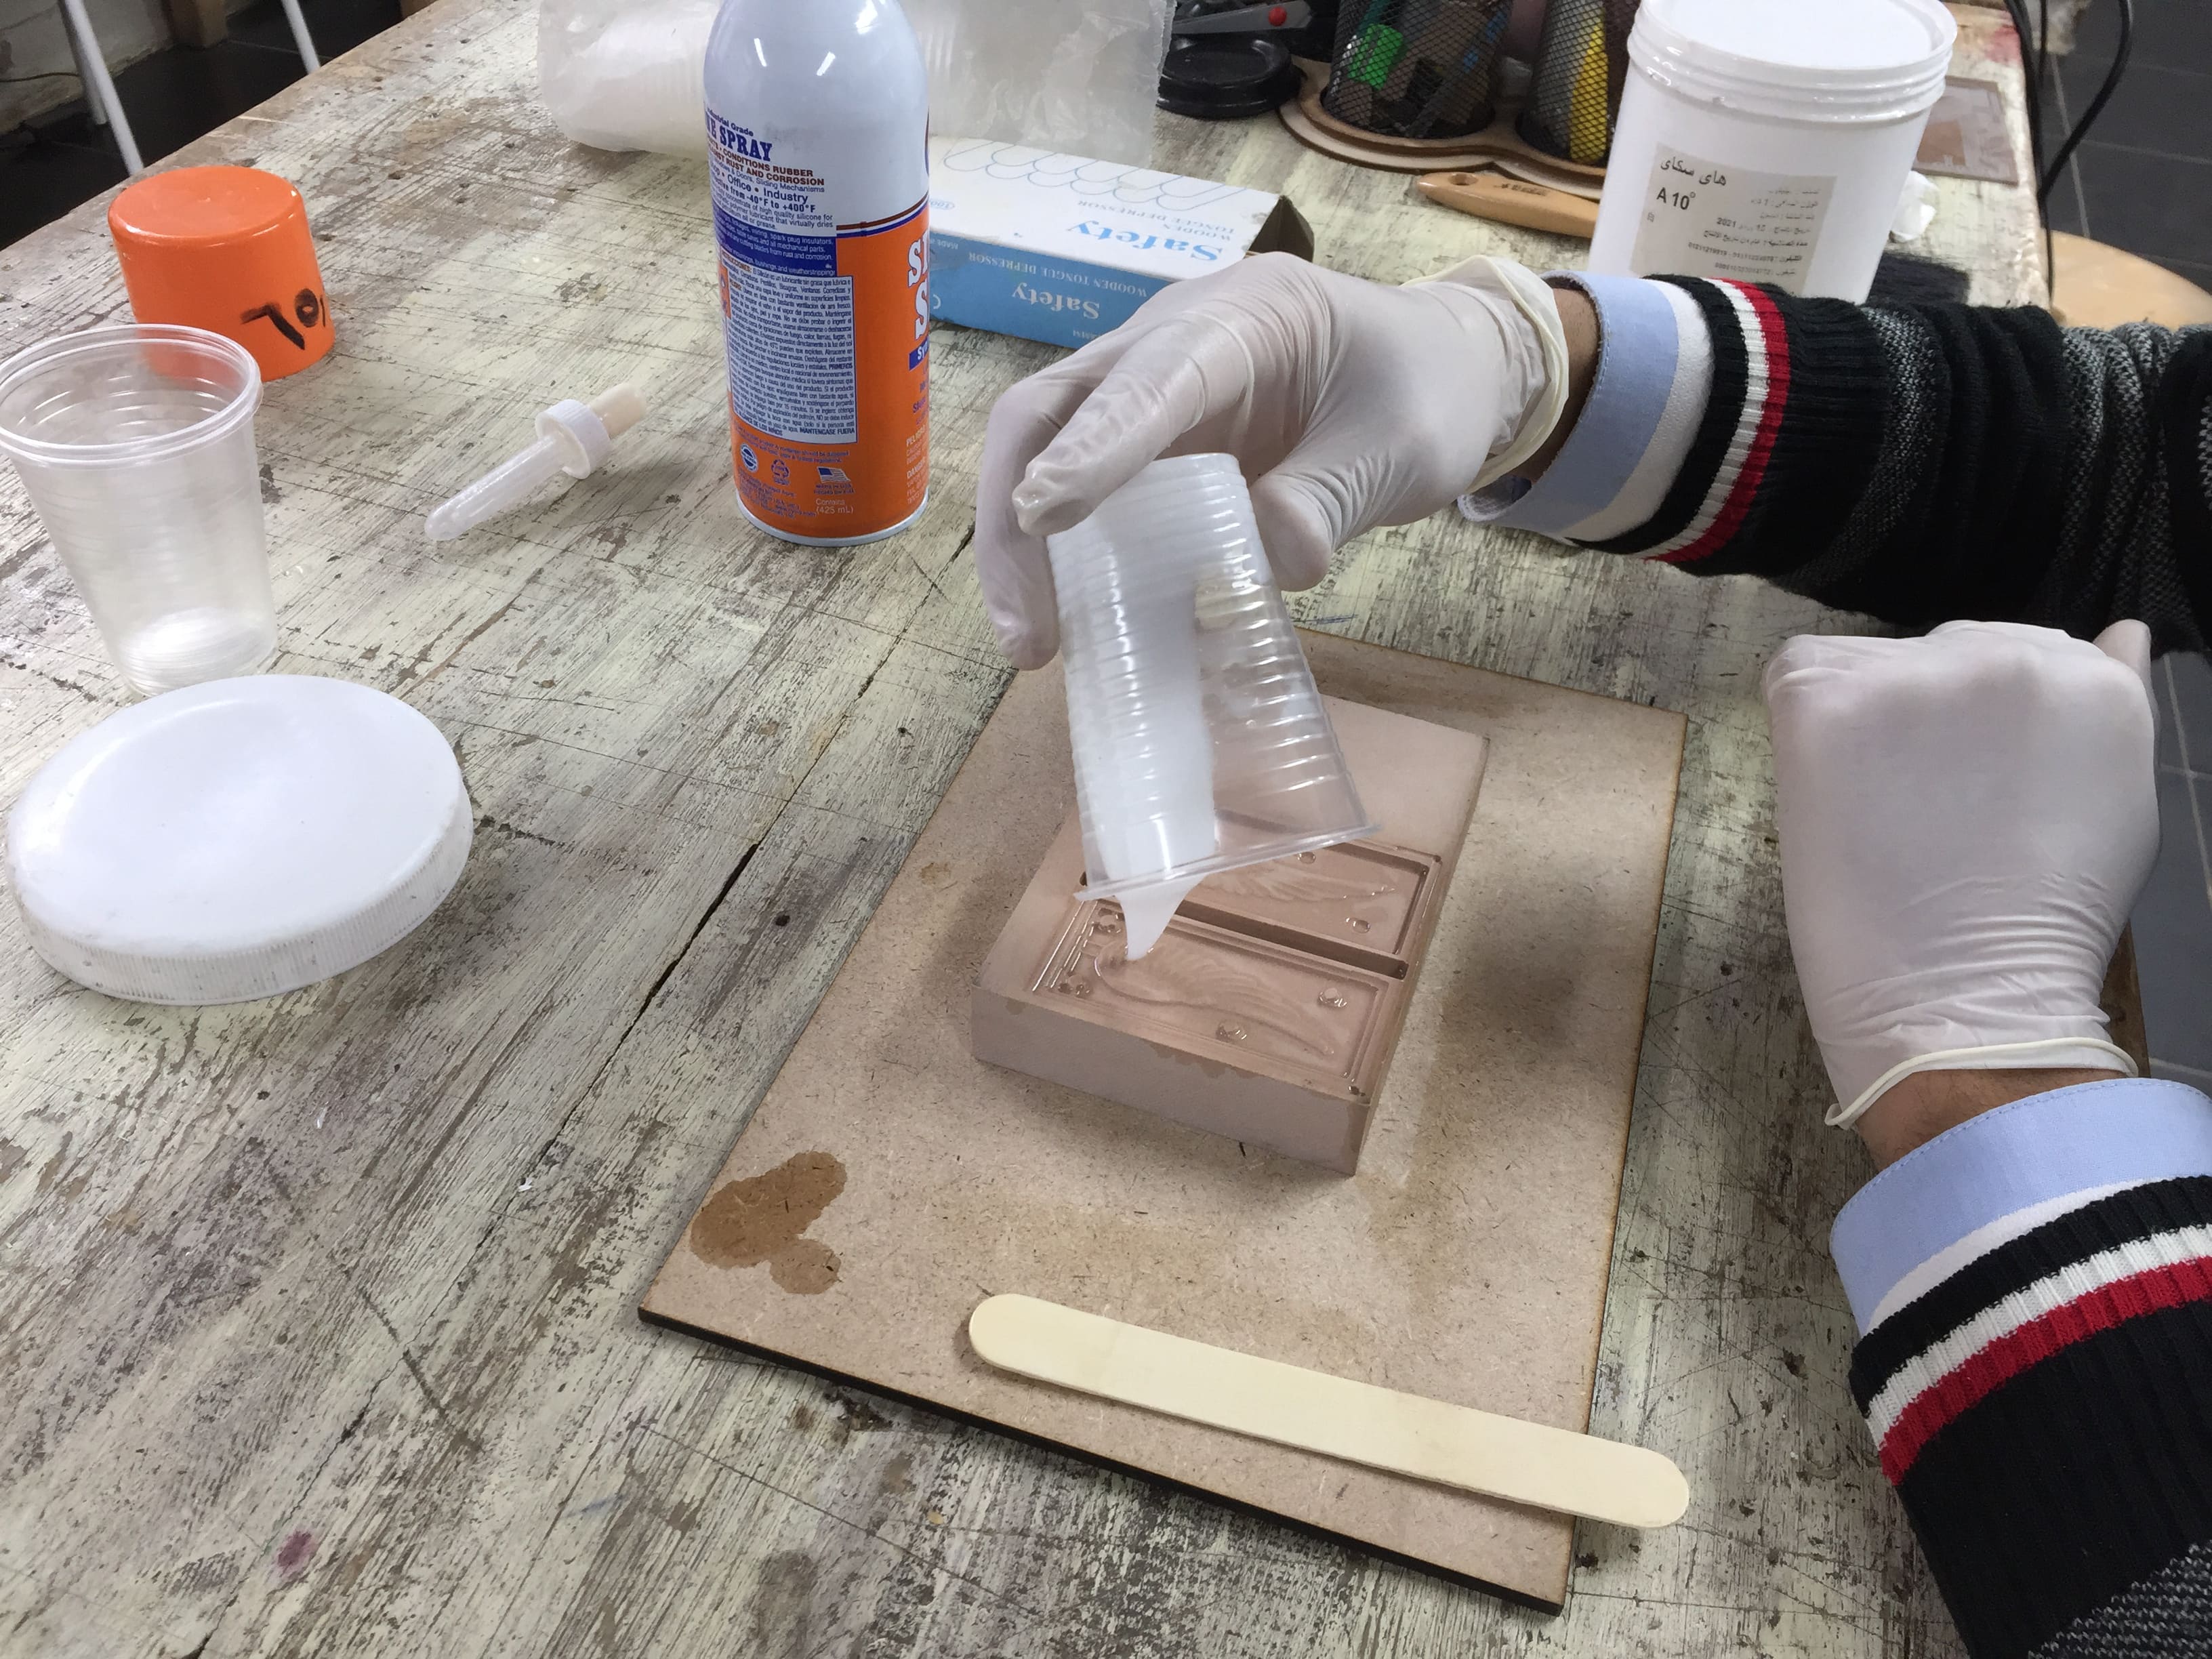
Now it's time for pouring the mixture into the wooden mold.
Now all it needs is time to harden, and the curing time for this one is around 12 hours. So I just left it...
After that I checked it by poking it several times and found that it's cured and ready for removing.
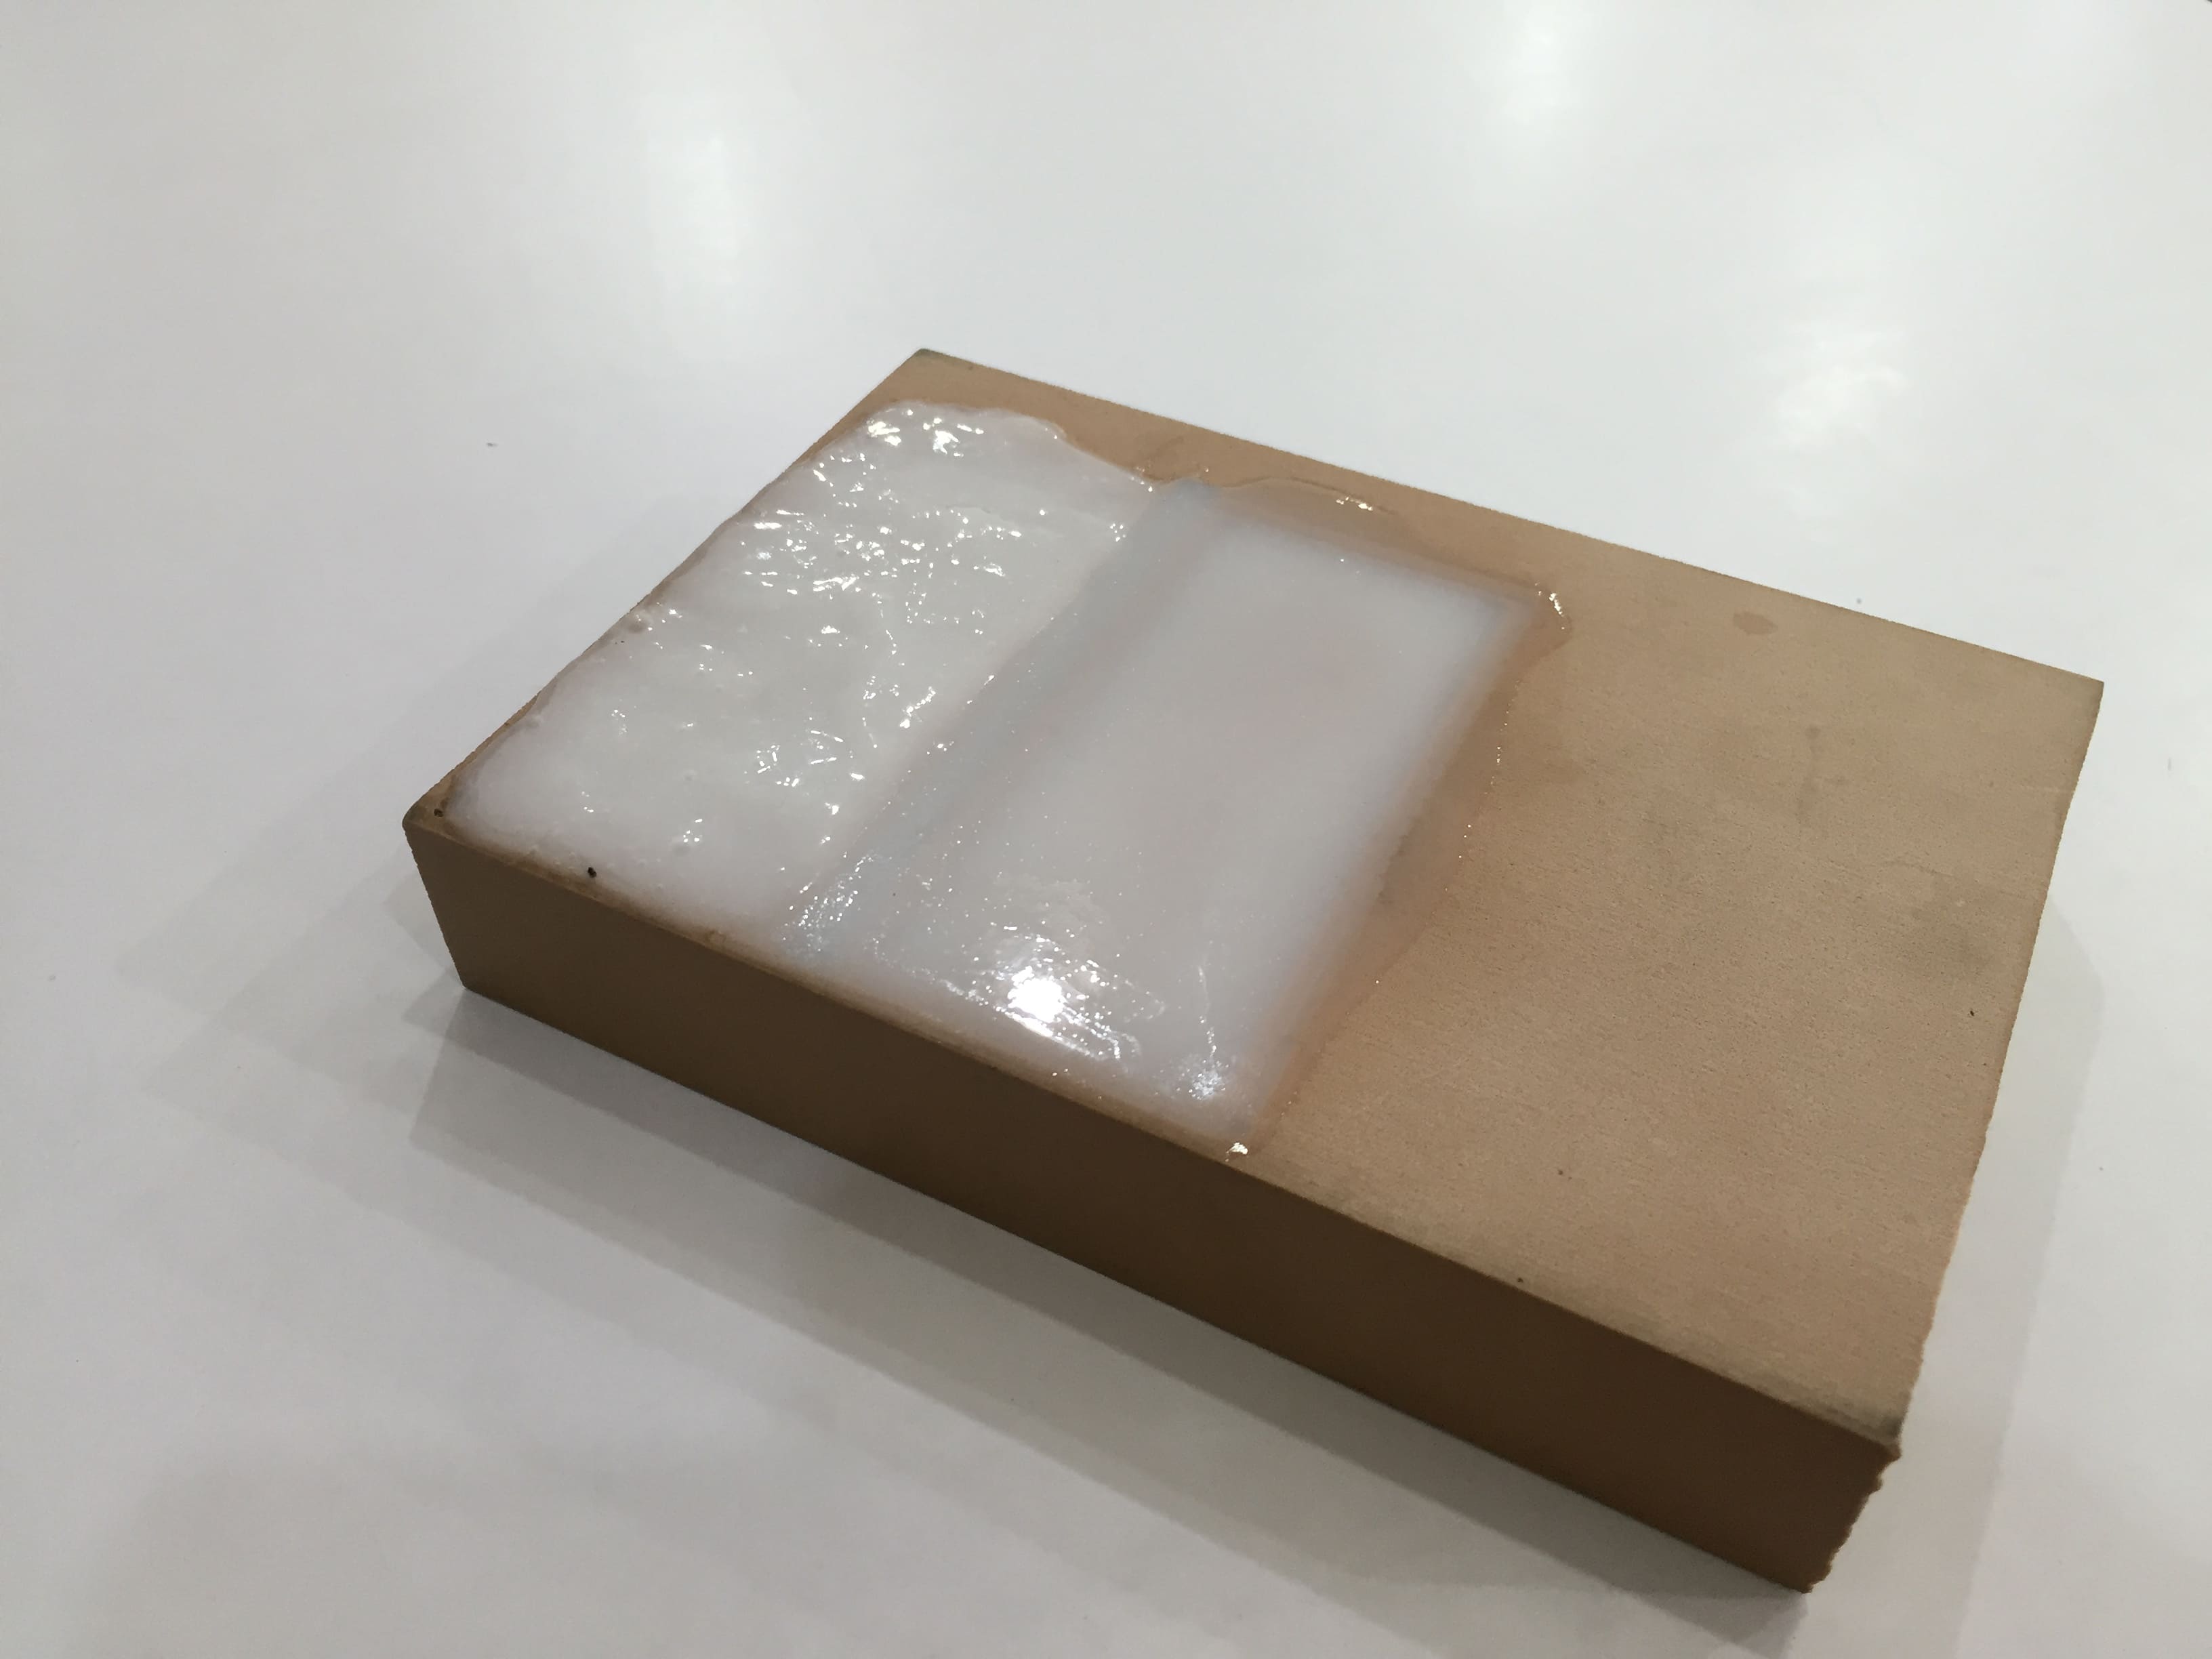
Final mold shape
So I started removing the silicone carefully, and as the depth wasn't so high in my mold so it came out without any struggling.
Silicone removal
And the output was super satisfying to me!

Silicone Mold
Casting
Now we have reached the casting part, and I am going to cast Polyester Resin as a first trial.
So I started pouring the polyester with the hardener with a ratio of 10:1 respectively.

Pouring Polyester resin
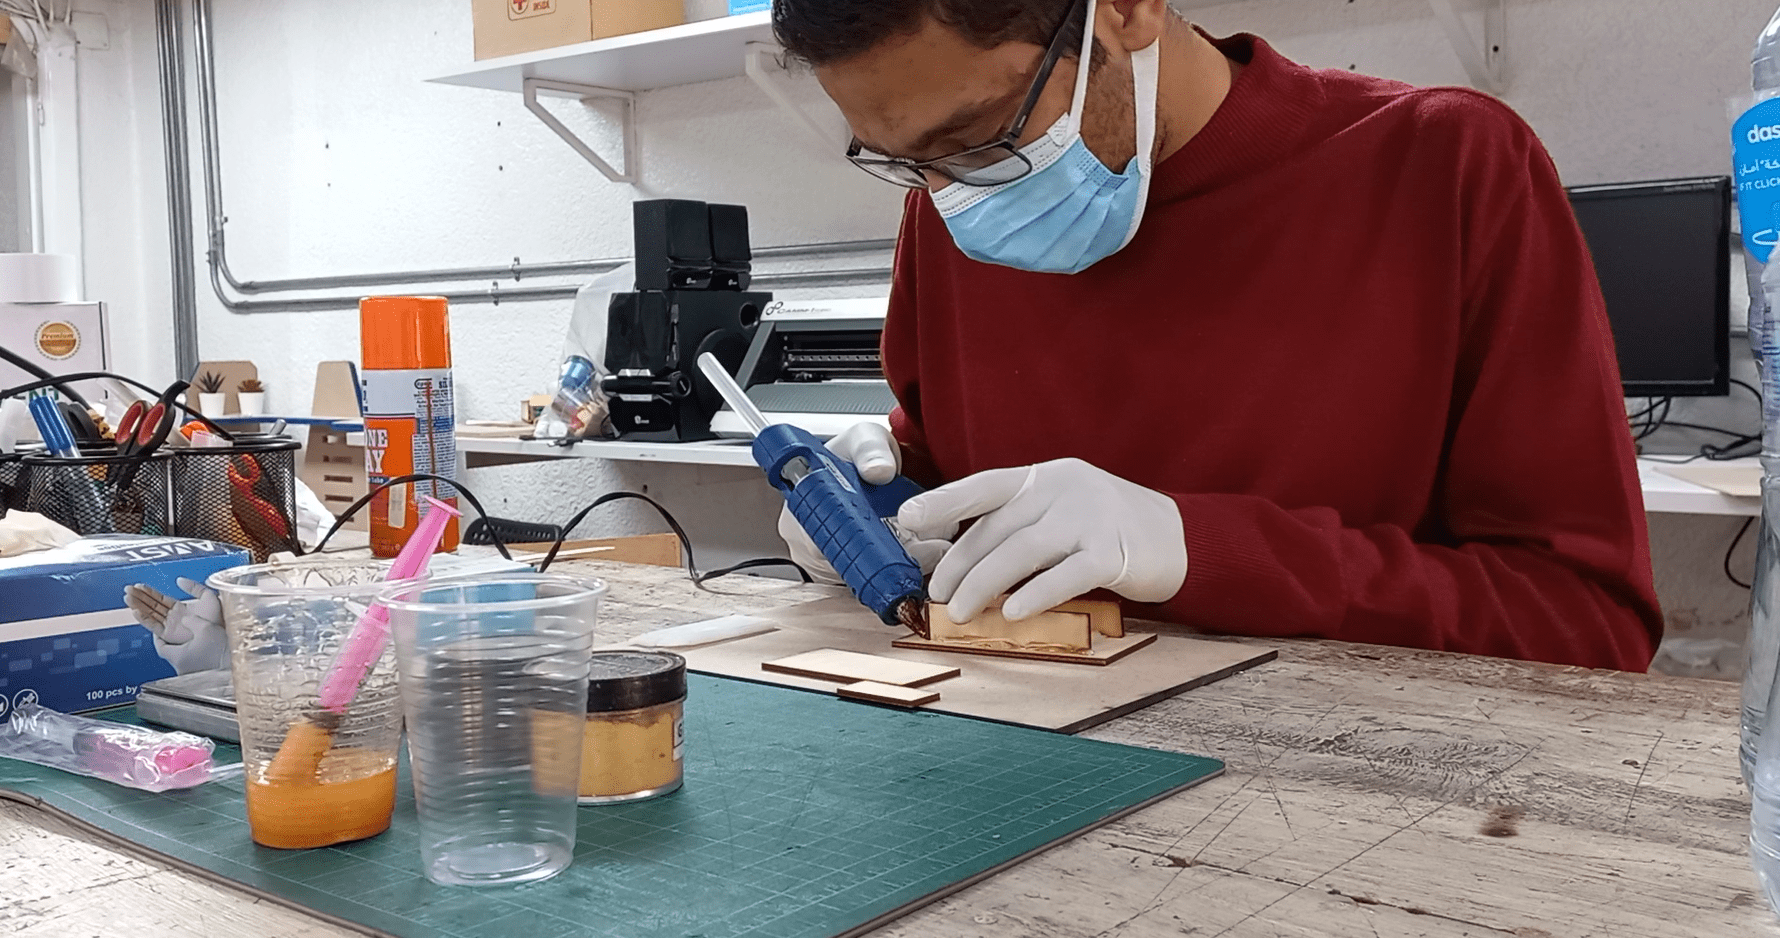
Then I thought of making a laser cut box to contain the mold while pouring the resin in it.
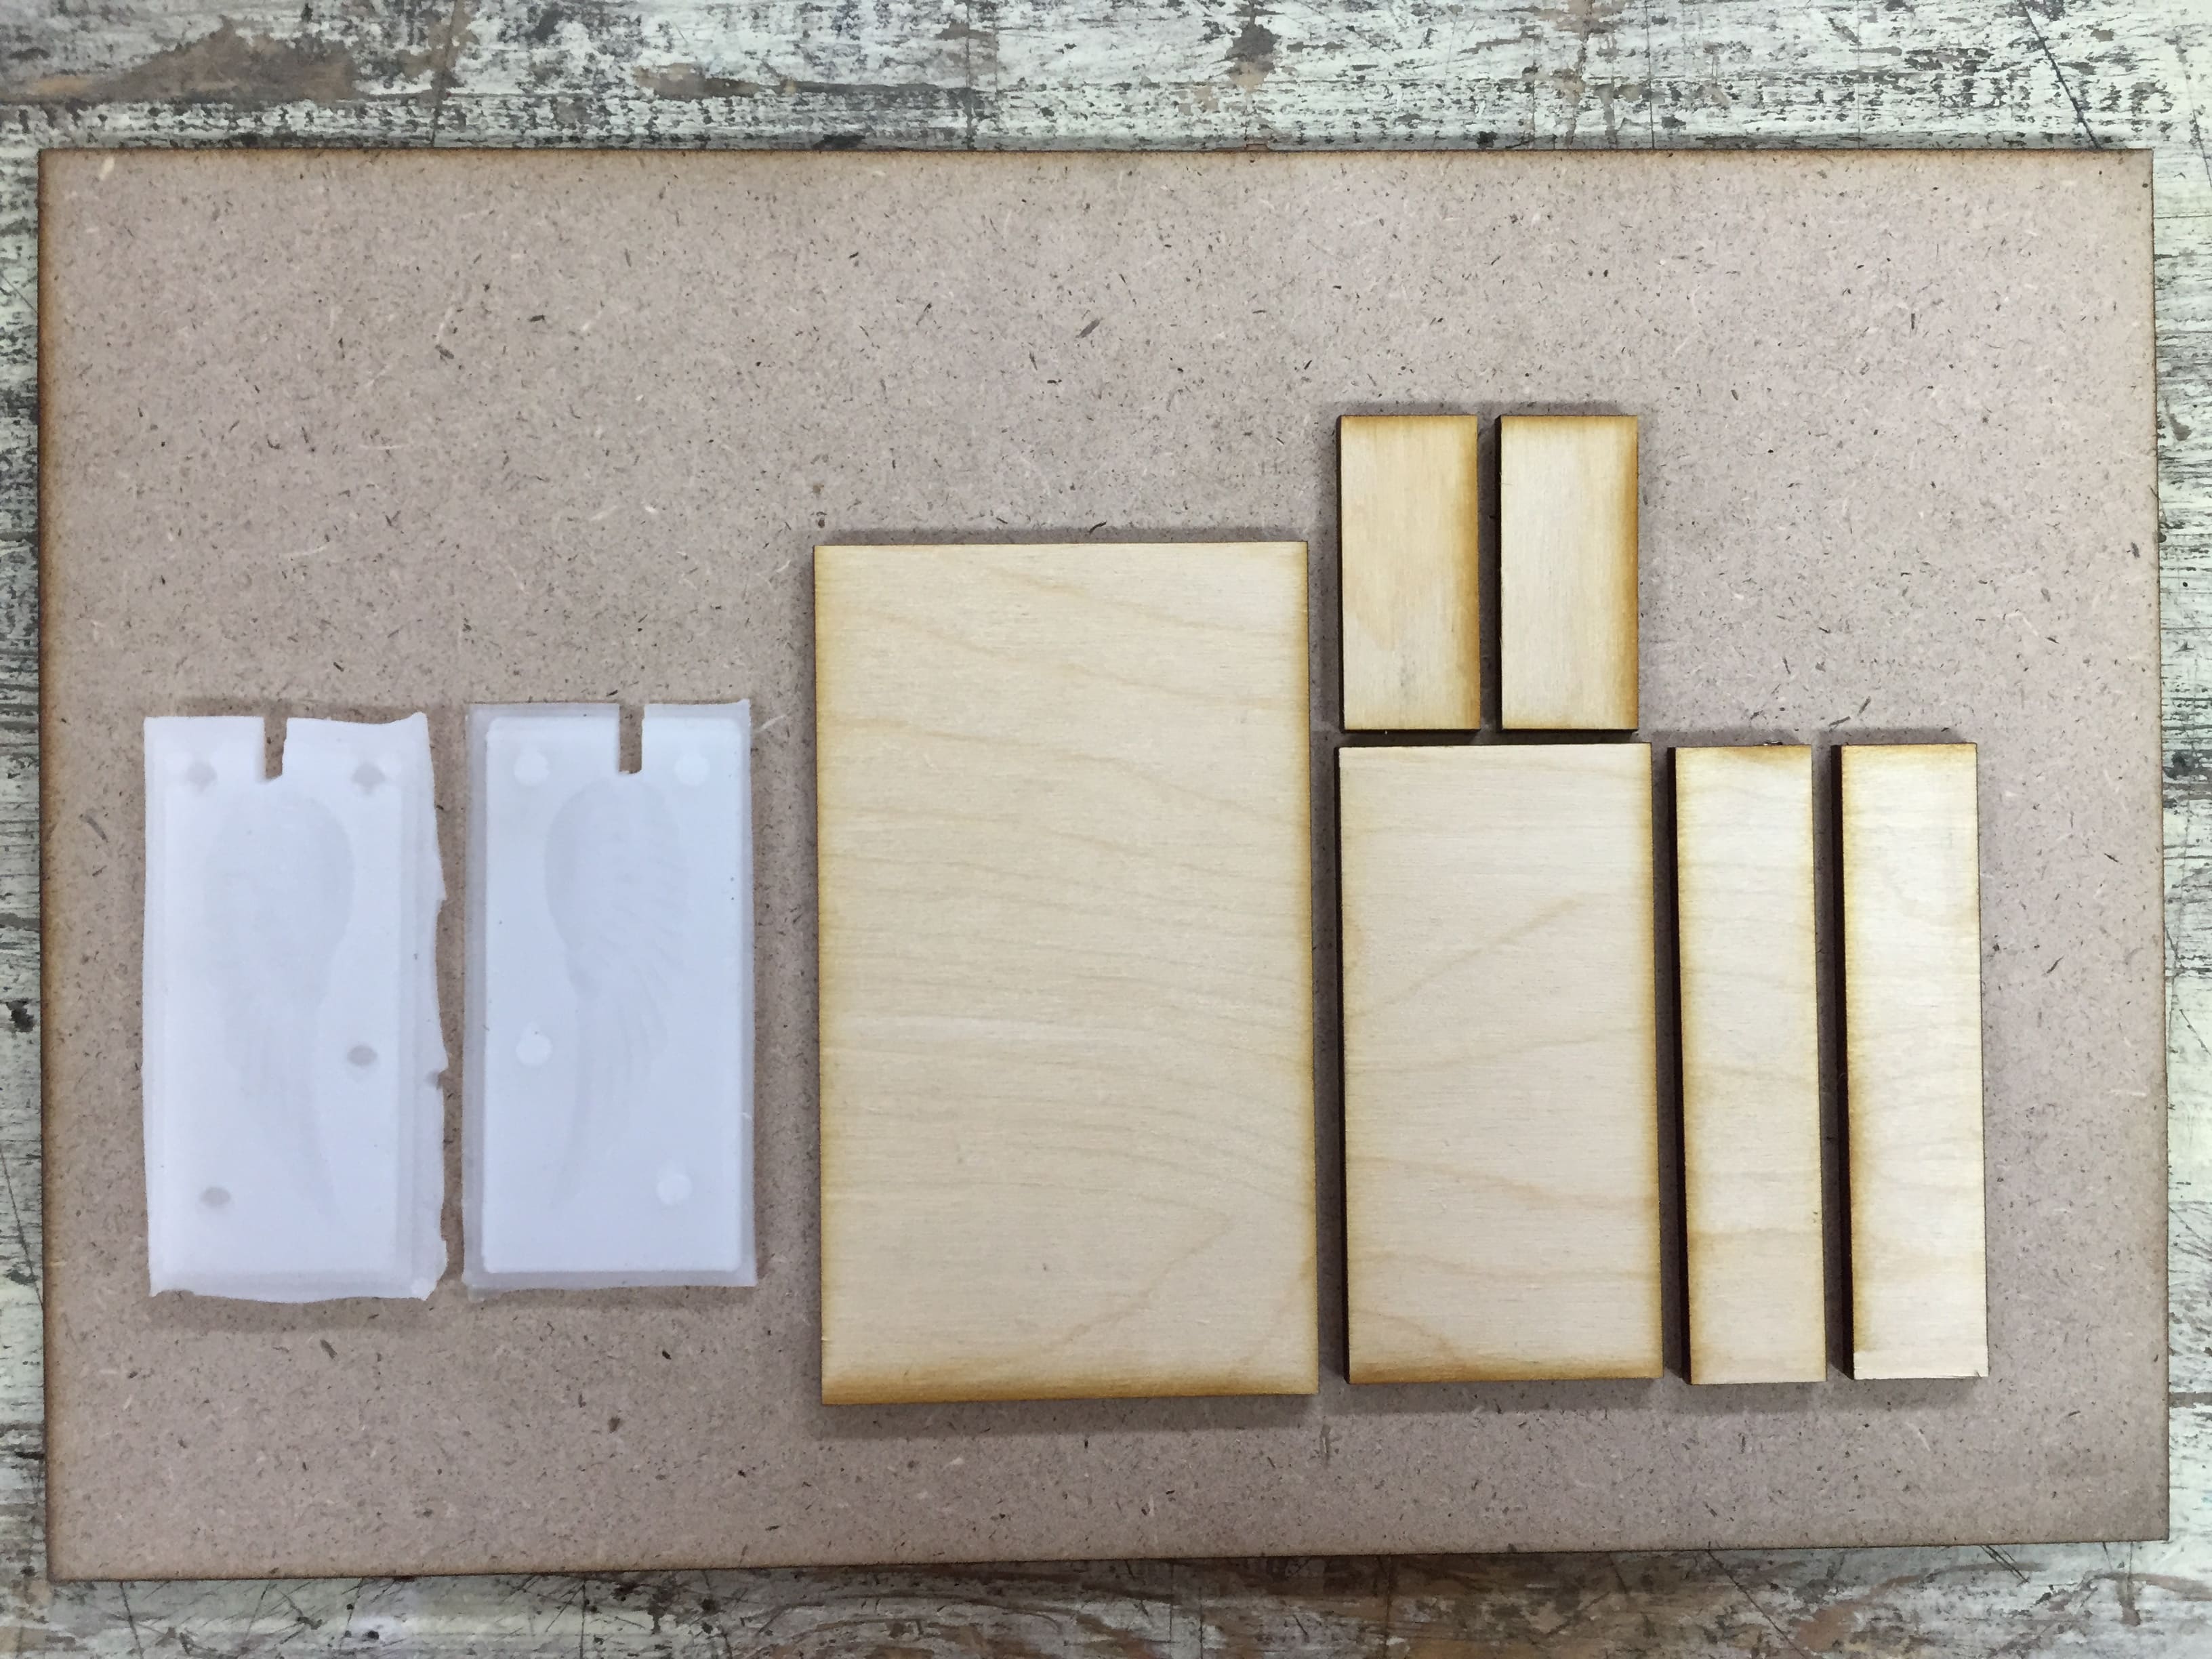
Mold containing box
And here I stared to assemble the box by a glue gun and pour the resin into the mold after a lot of stiring.
Then I thought of coloring the feathers with another color.
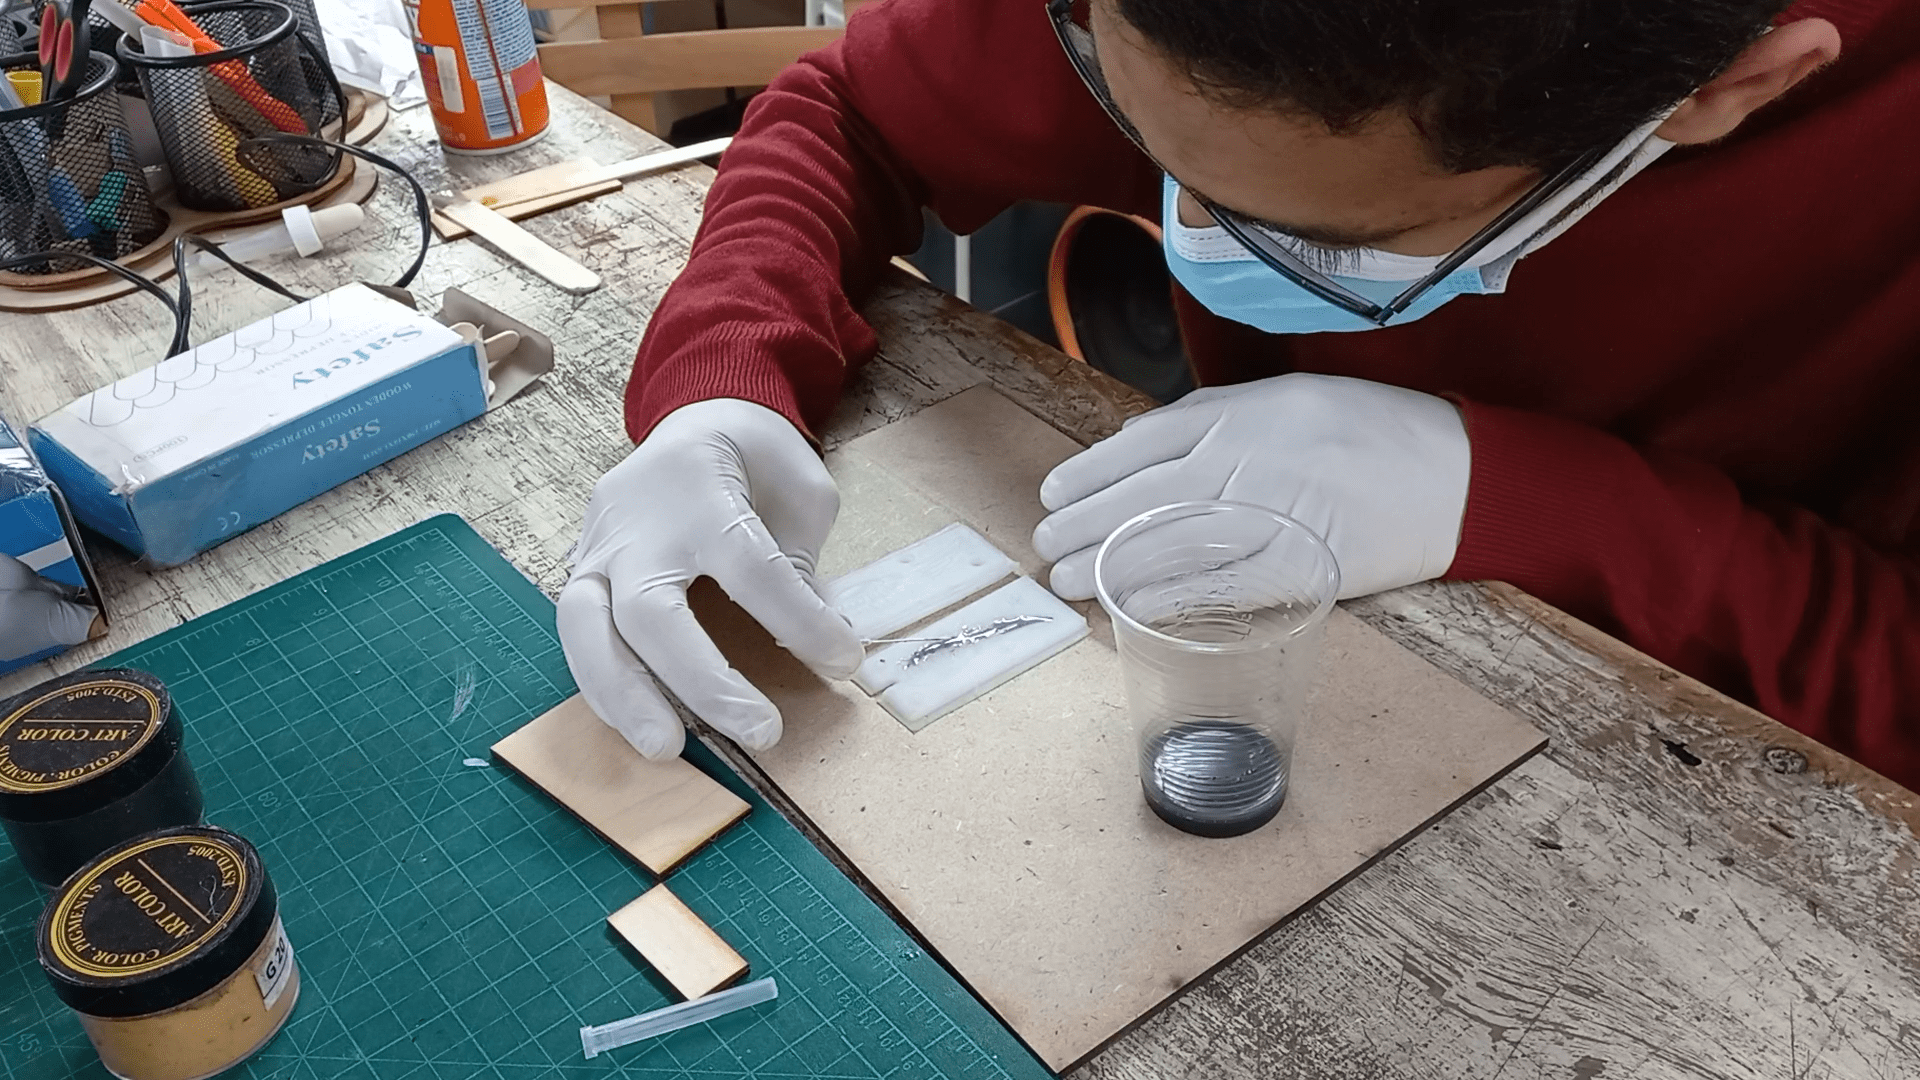
Coloring the wings
Then I just poured the rest of the resin into the mold.

But unfortunately, it didn't come out as expected.
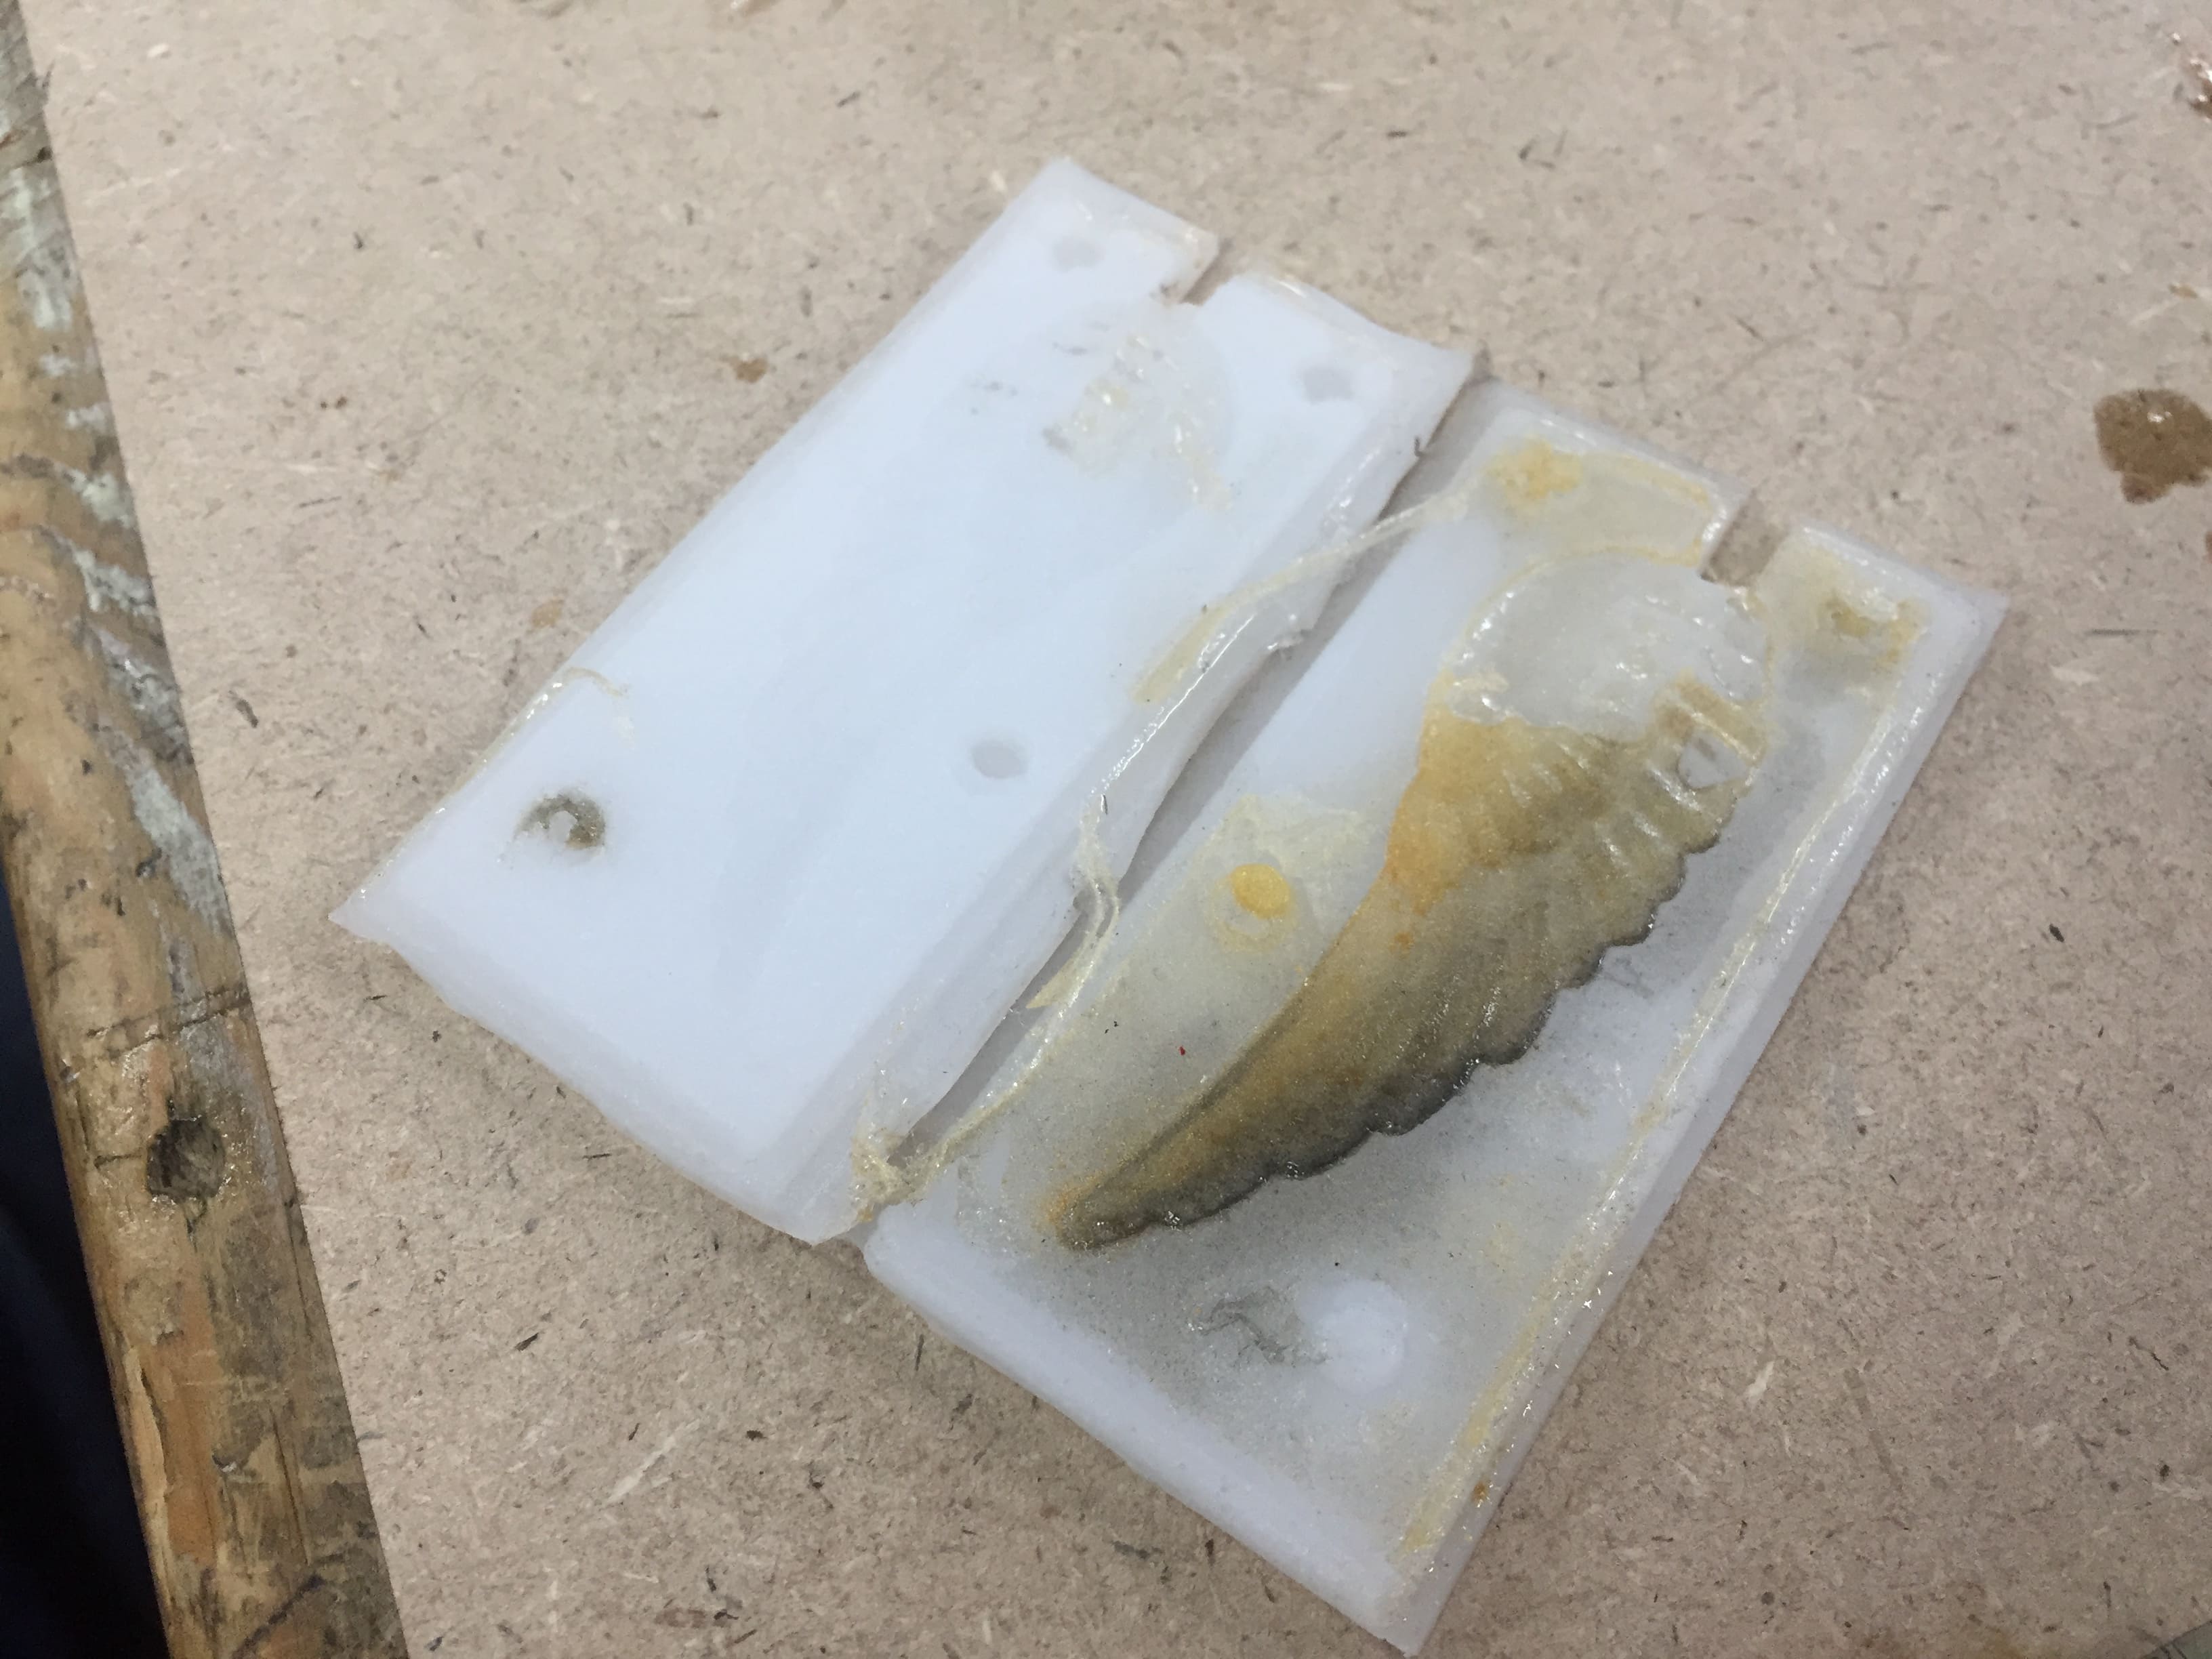
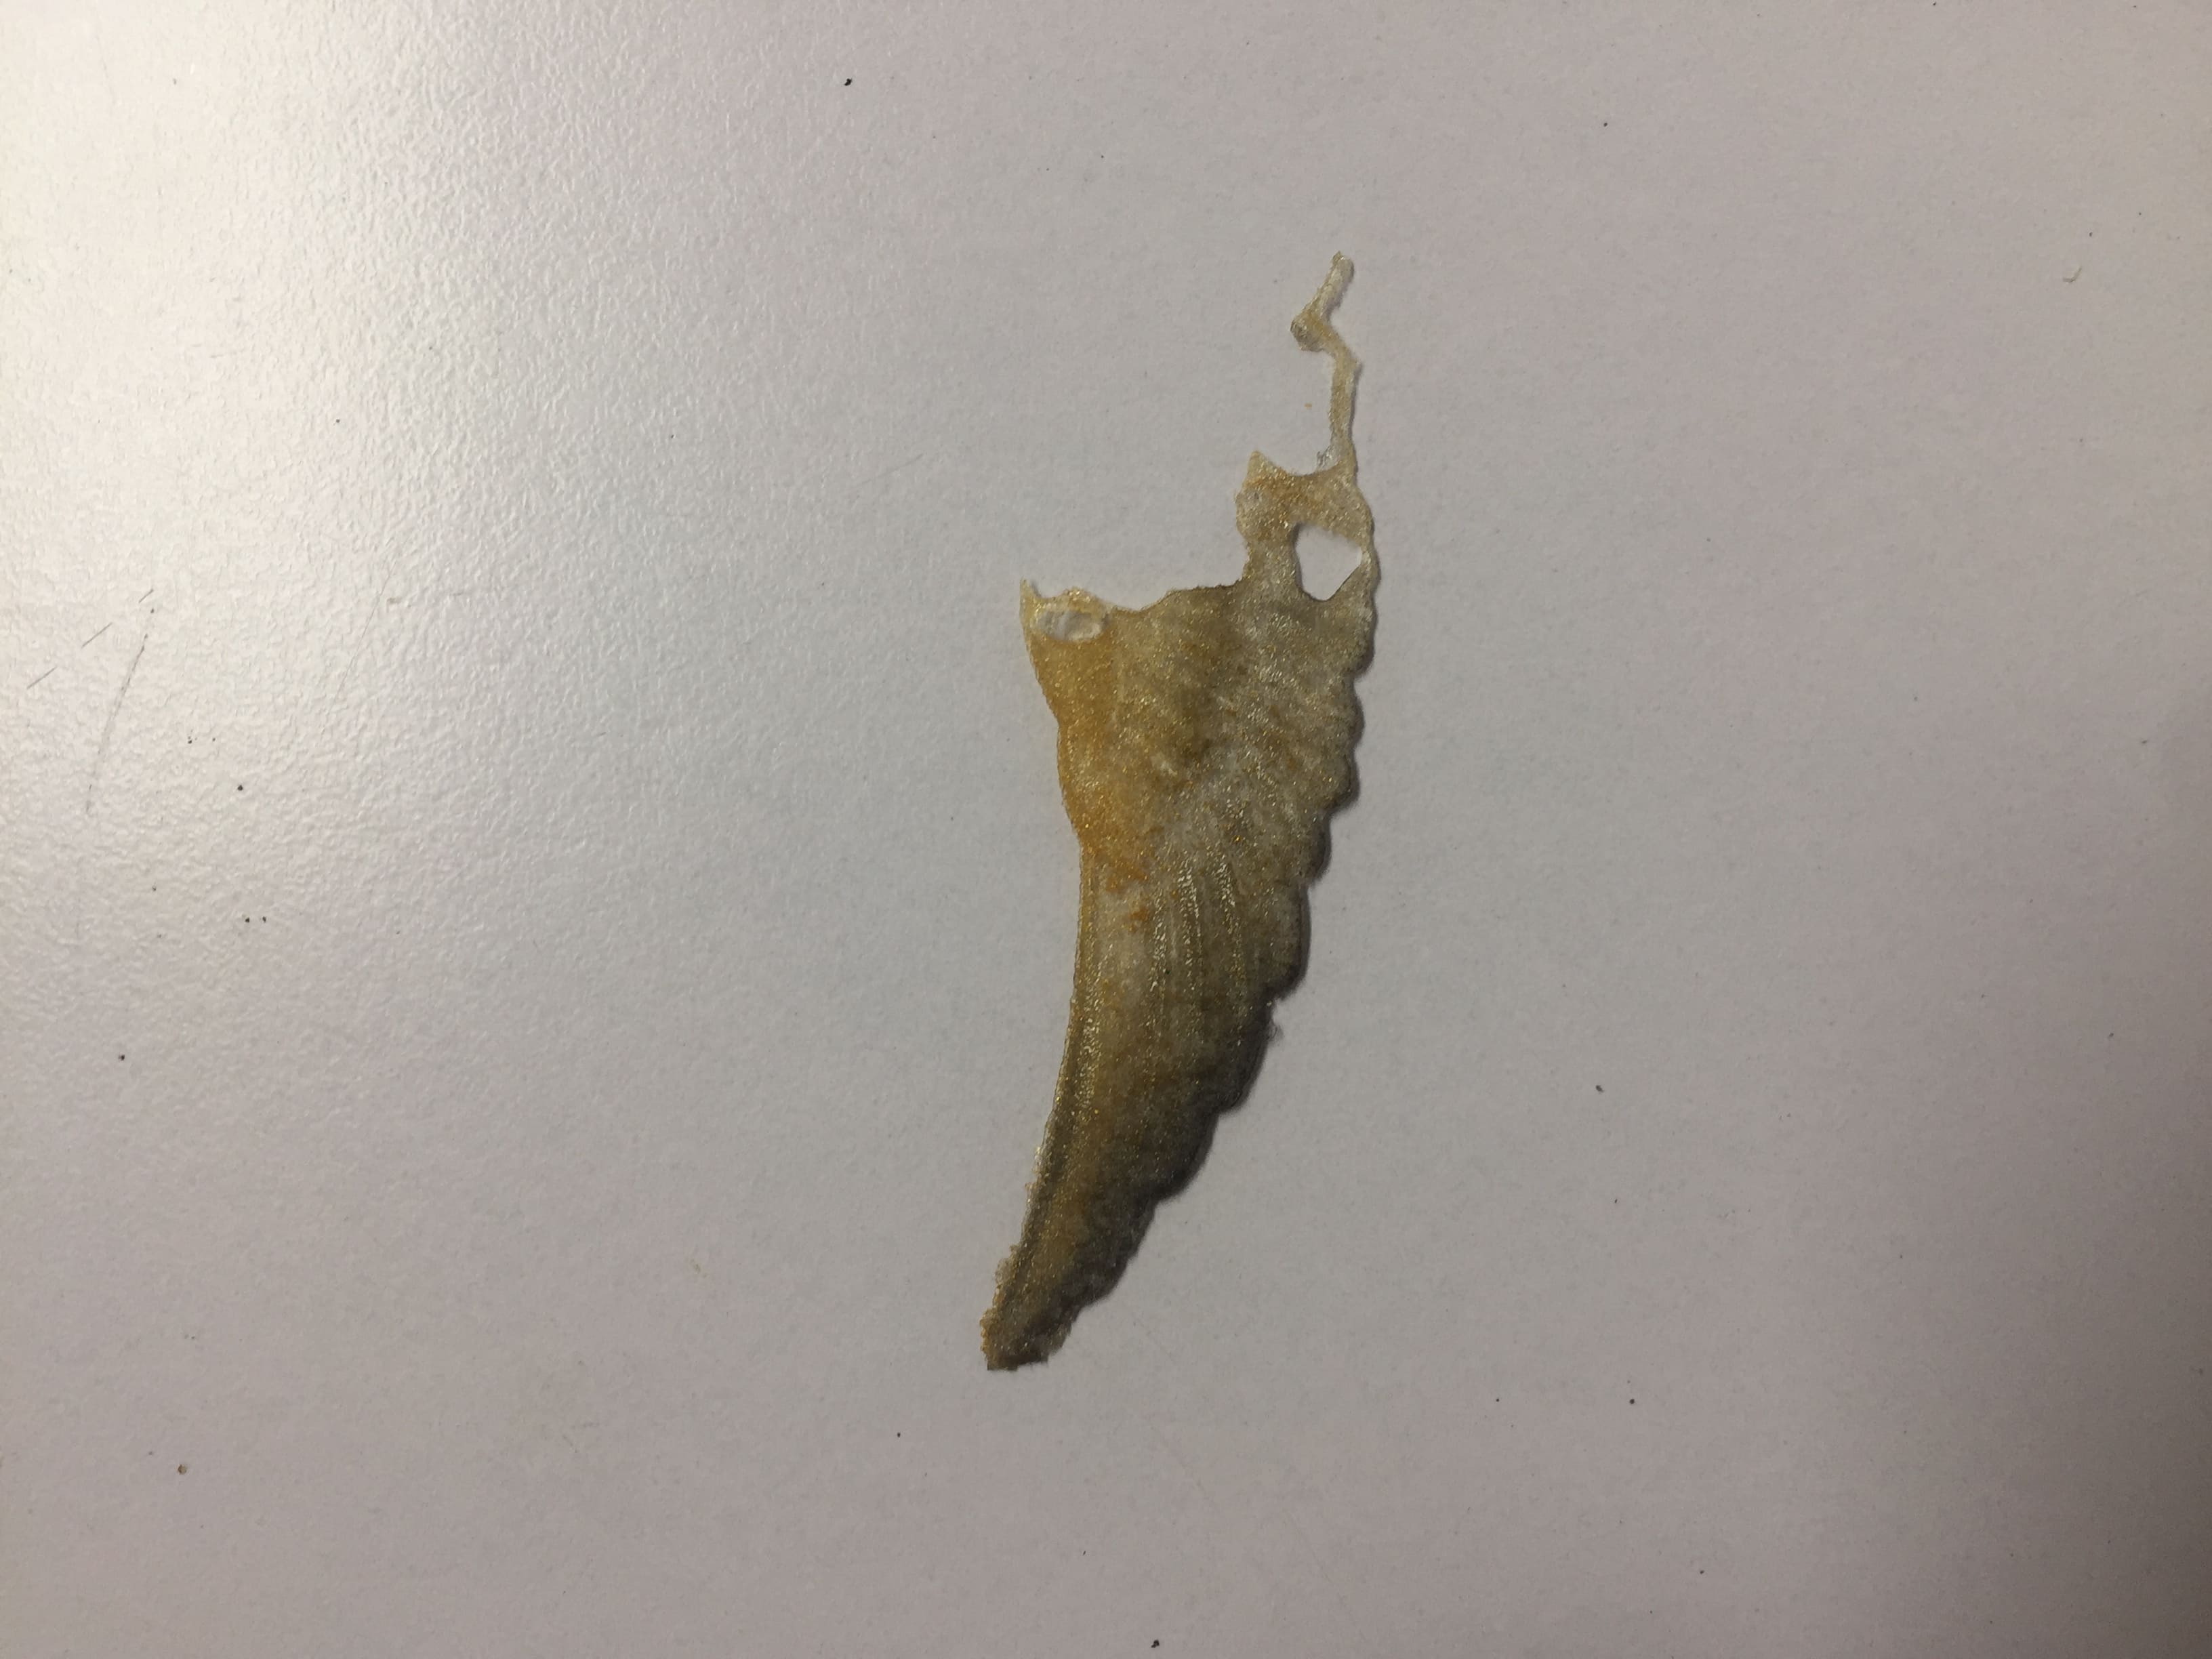
And I think the problem was the bubbles inside the cast was too much that in the curing time they came on top and made that whole empty space.
I'm doing that again soon!!