
Week 7
Computer-Controlled Machining
We are making something big this week!
- Group Assignment.
- Do your lab's safety training.
- Test runout, alignment, fixturing, speeds, feeds, materials, and toolpaths for your machine.
- Individual Assignment
- Make (design+mill+assemble) something big (~meter-scale)
Group Assignment
In the group assignment we wanted to test our machine's characteristics as the allignment, runout, clearance, and so on.
So we had a simple design conisisting of squares and circles to test on, and as we didn't have a big router machine at our lab, but we had a 30*40 cm^2 CNC router machine to test on.
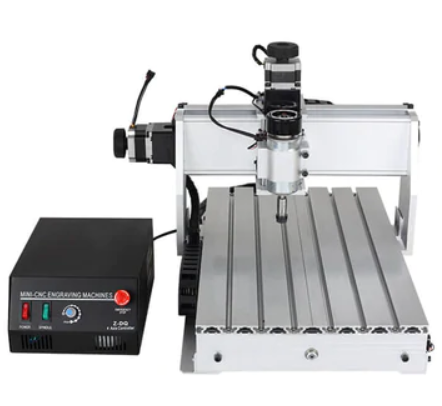
3040 China zone milling machine
The design was made by our instrucot Noha, and we wanted to make some parts to be cut from the inside and other to be cut from the outsid and some online and 1 simple part to be a pocket cut. We worked on OpenBuilds Cam online as our machine worked perfectly on OpenBuilds Control software.
Characteristics design
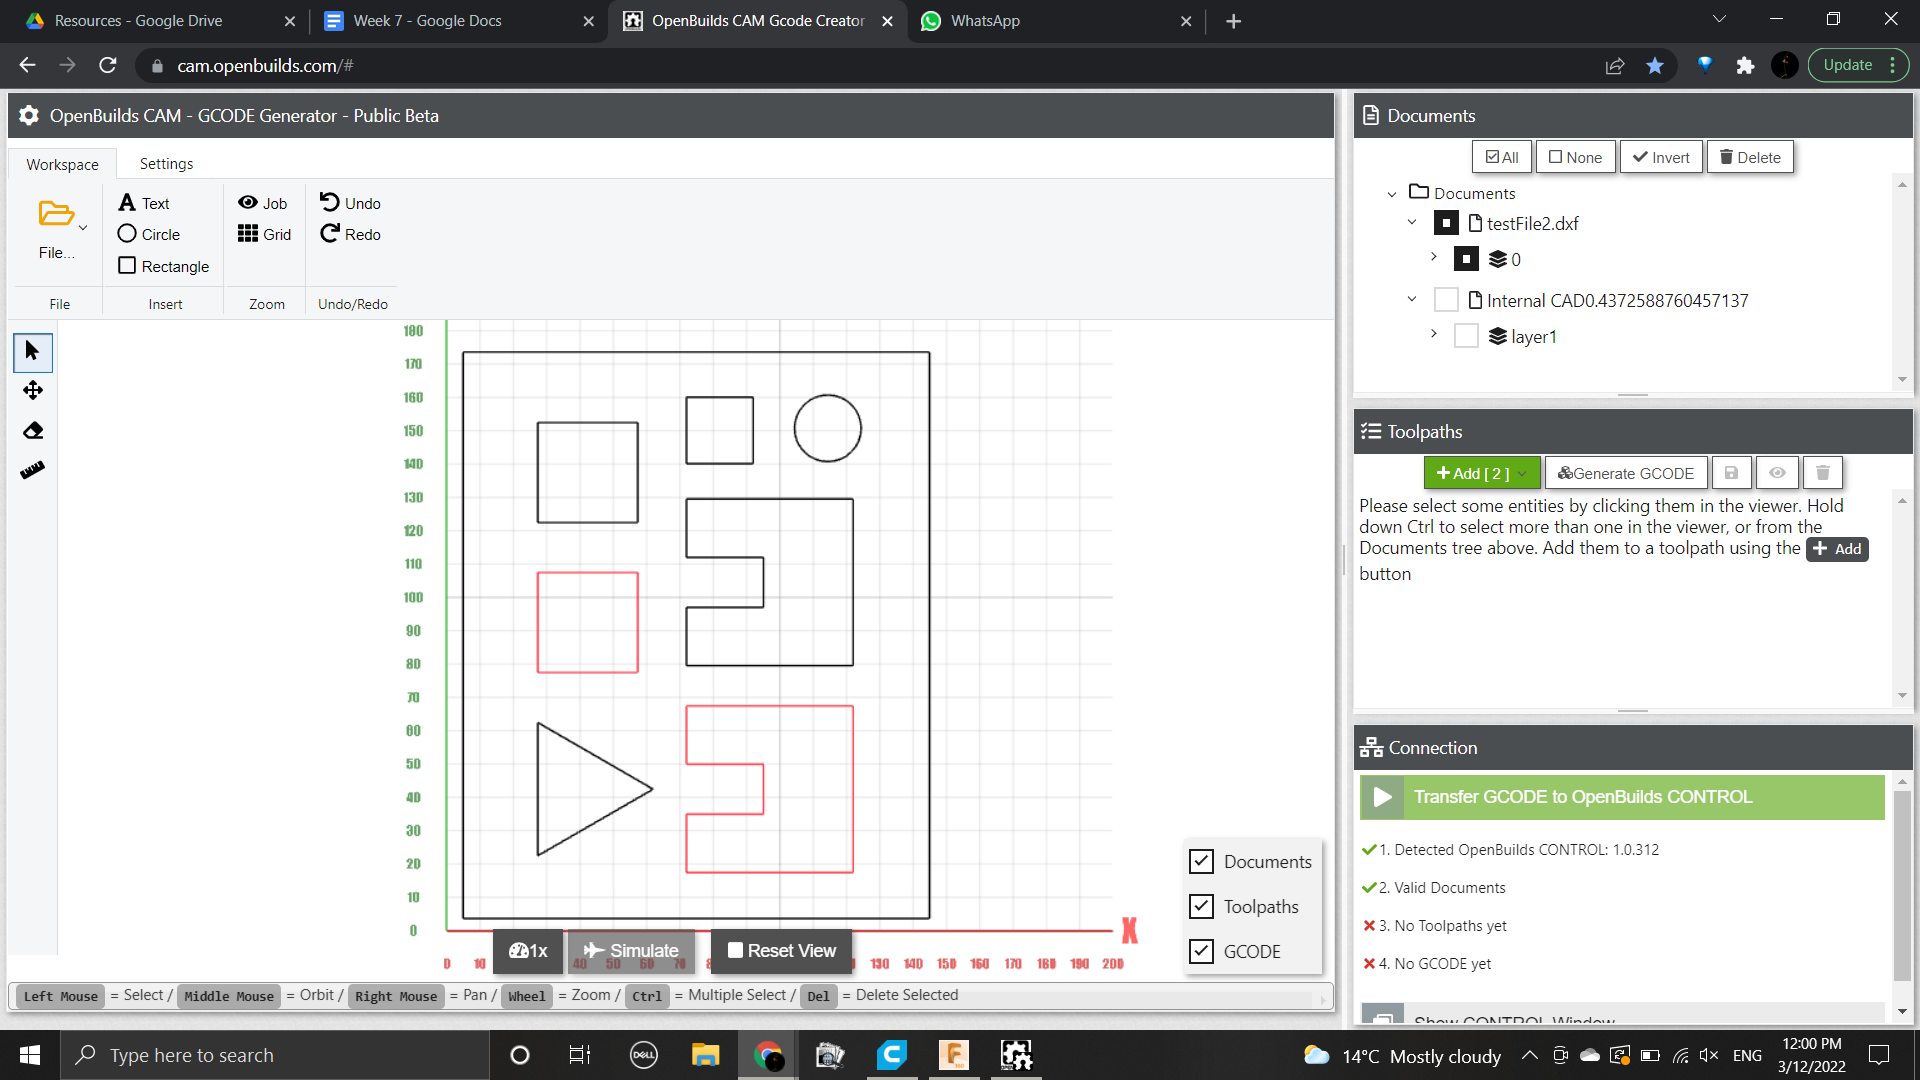
Then we started creating the toolpath by selecting the parts we want to cut from inside for example separated from the rest and click on Add toolpath and set the parameters for each toolpath.

Setting cutting parameters
-
Cutting Parameters
- Endmill diameter = 3mm
- Z safe height = 5mm
- Cut depth per path = 1.5mm
- Feedrate = 200mm/min
- Feedrate (Plunge) = 300mm/min
Now all the toolpaths for all parts was set and we just clicked on Generate G-code to generate.
All Toolpaths set
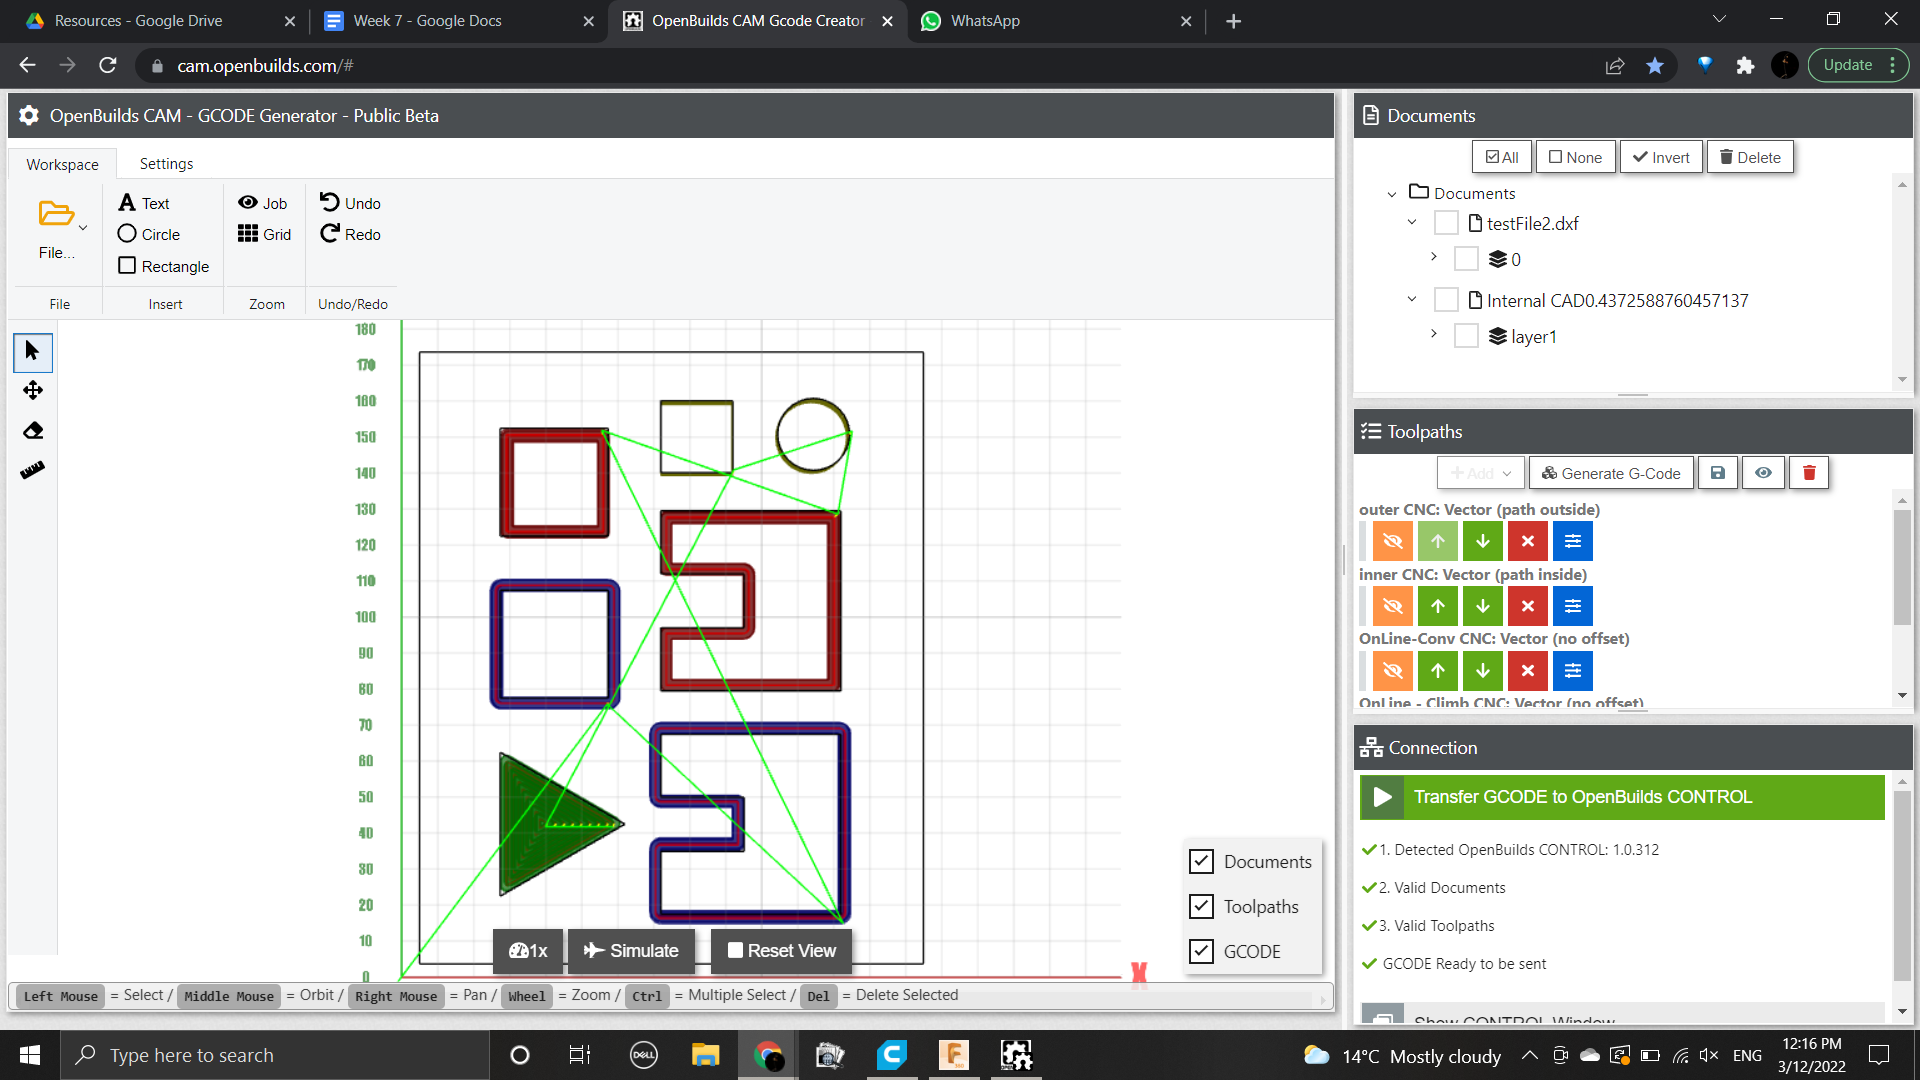
After downloading OpenBuilds Control software which is an opensource one, we imported the G-code we just made to it, set our origin point, and started milling.
G-code preview on OpenBuilds Control
We fixed a piece of MDF with double-face sticky tape.
Milling in action.


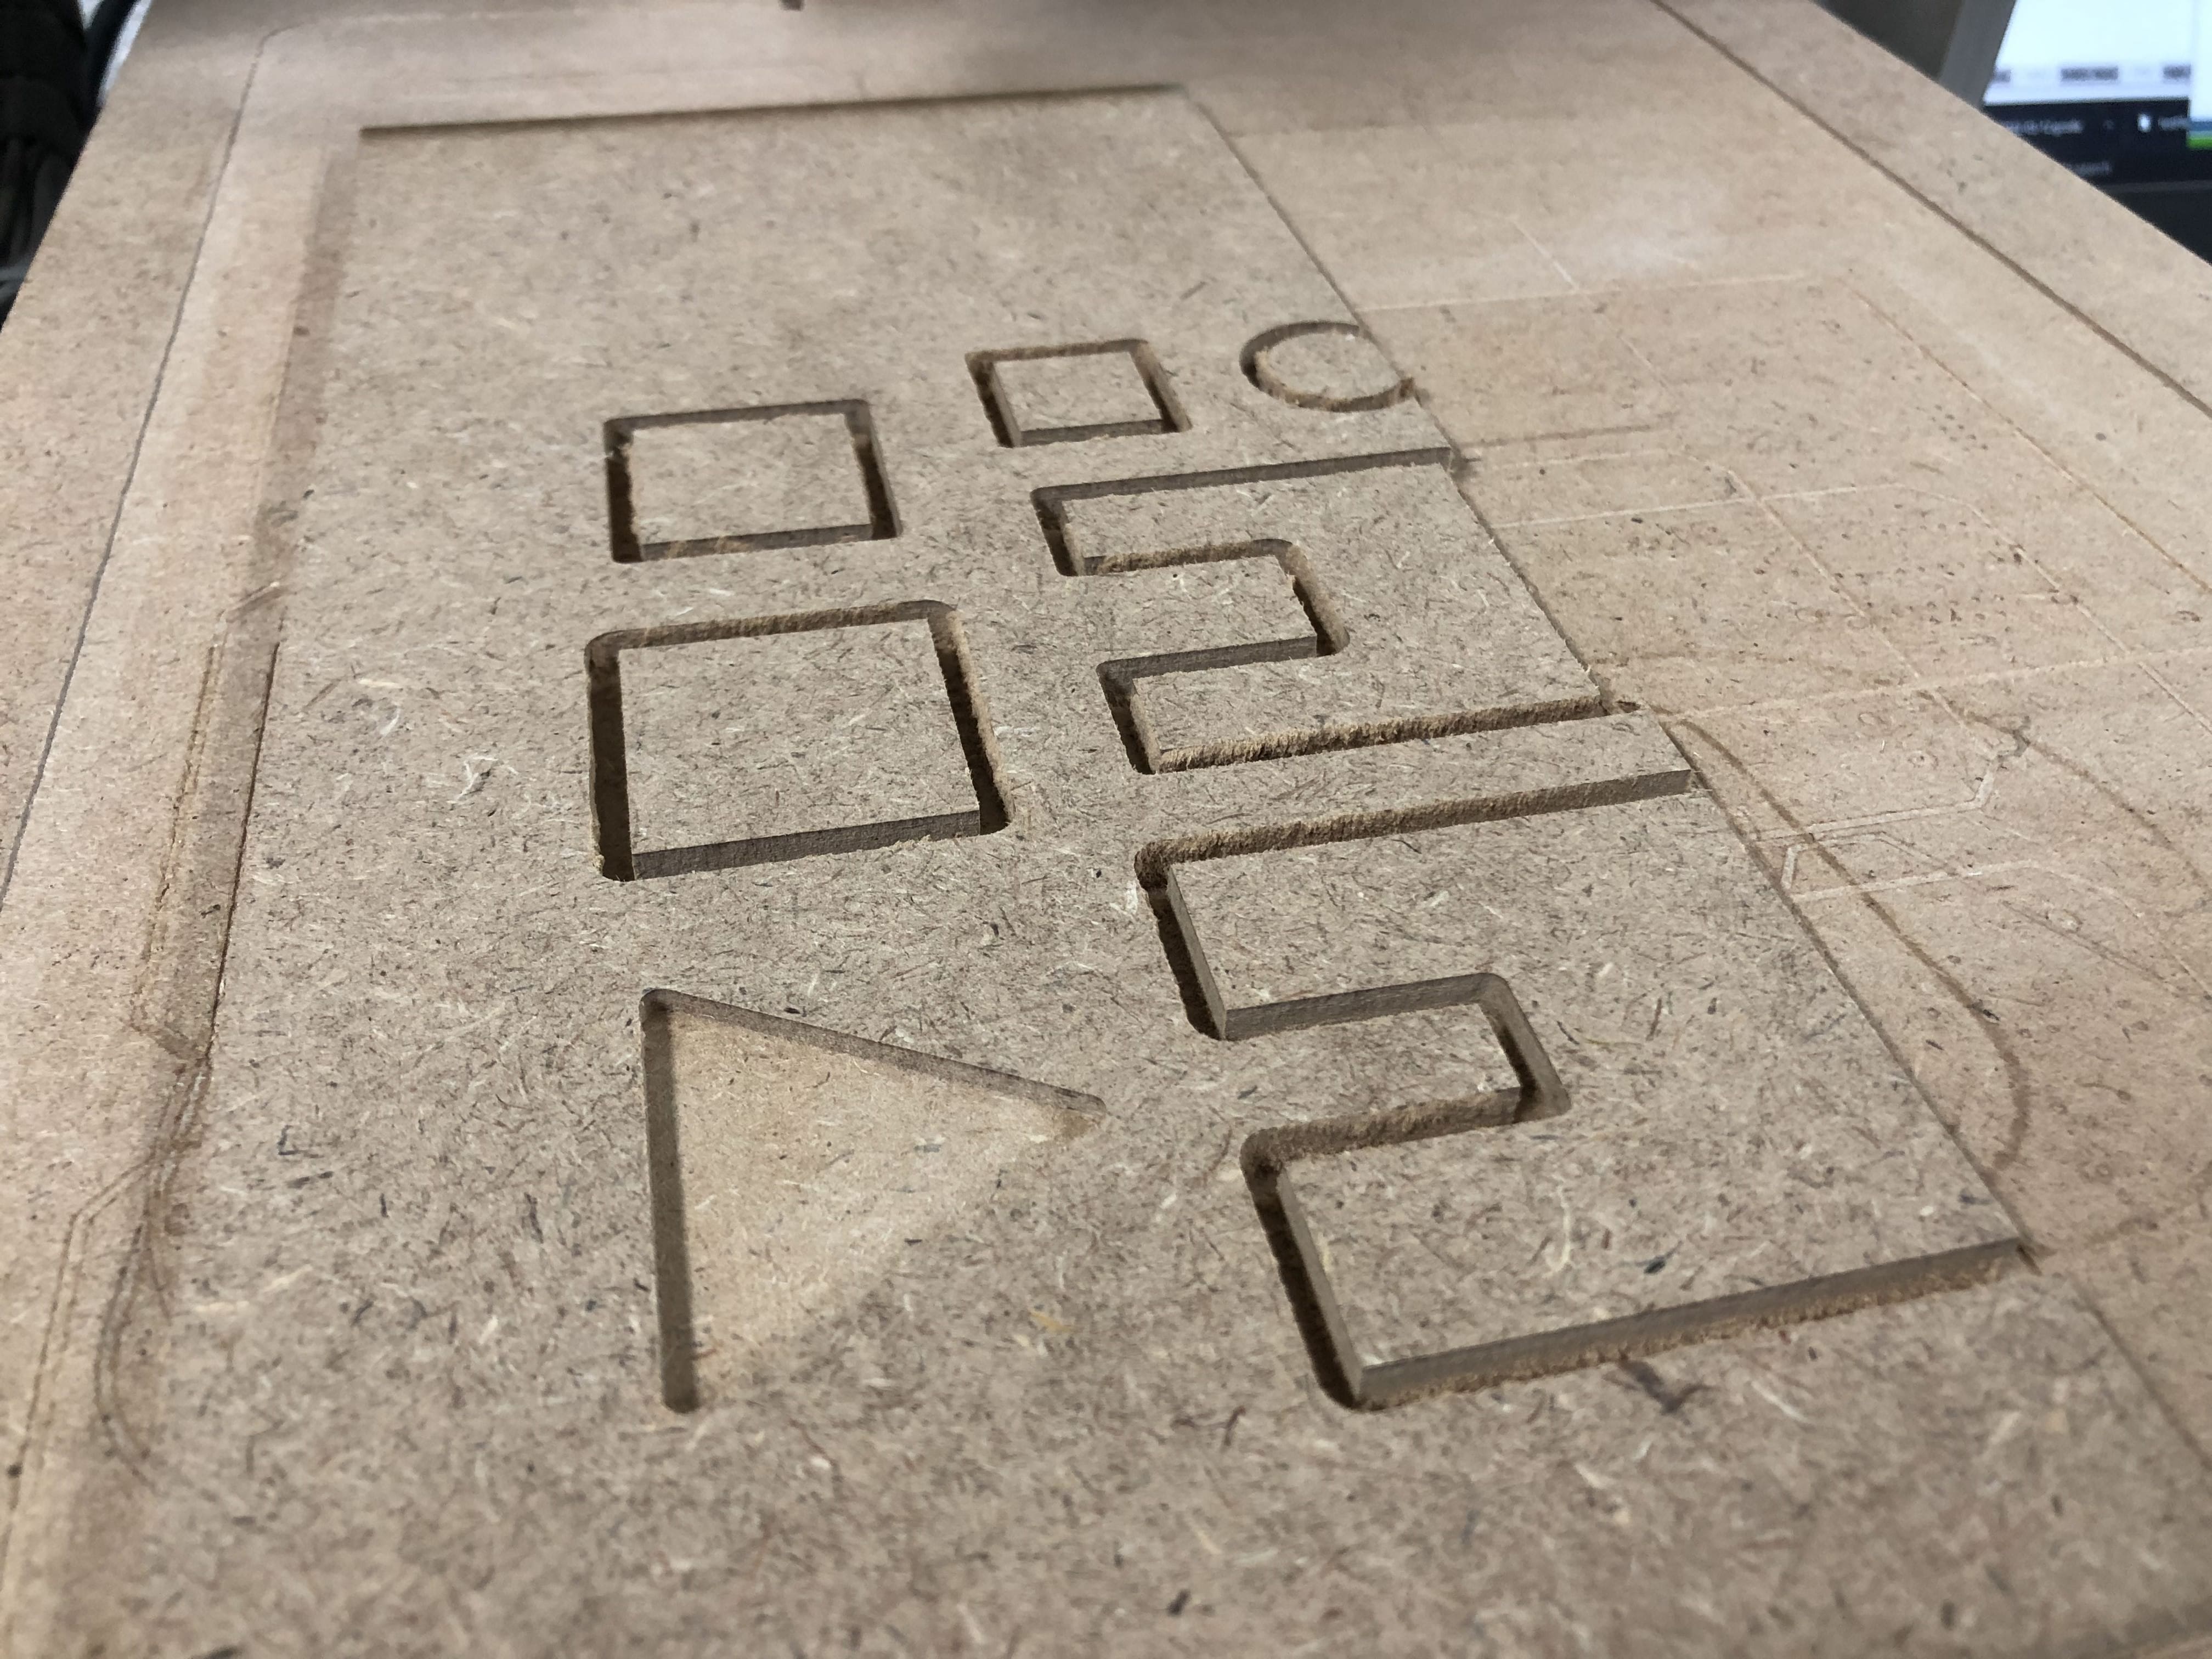
After that we just had to measure our dimensions of all parts milled, and we found that the runout is about 0.08mm. and that was a satisfting output.
Individual Assignment
In my assignment I wanted to make something that I would really love to use so I thought of a desk that can be a standing and a sitting one. And after a lot of Pinterest ideas I was able to design this lovely desk.
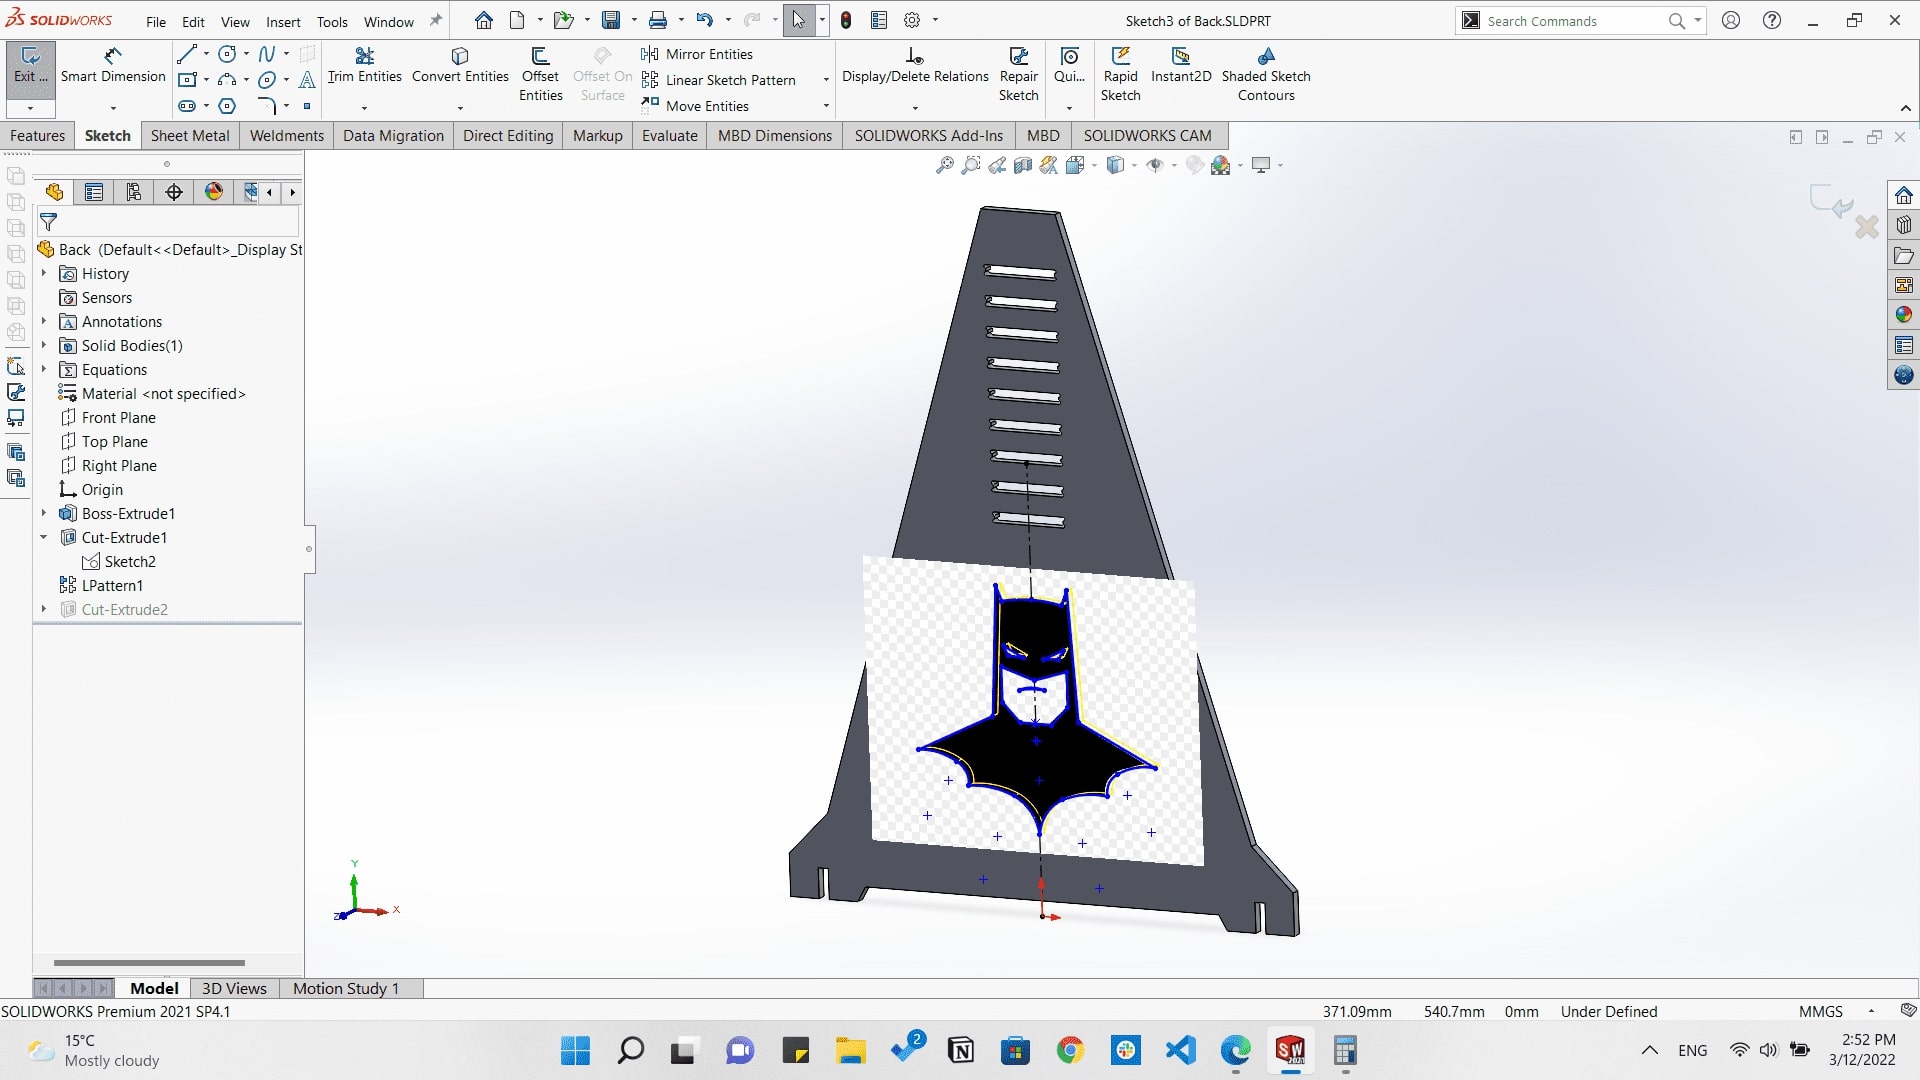
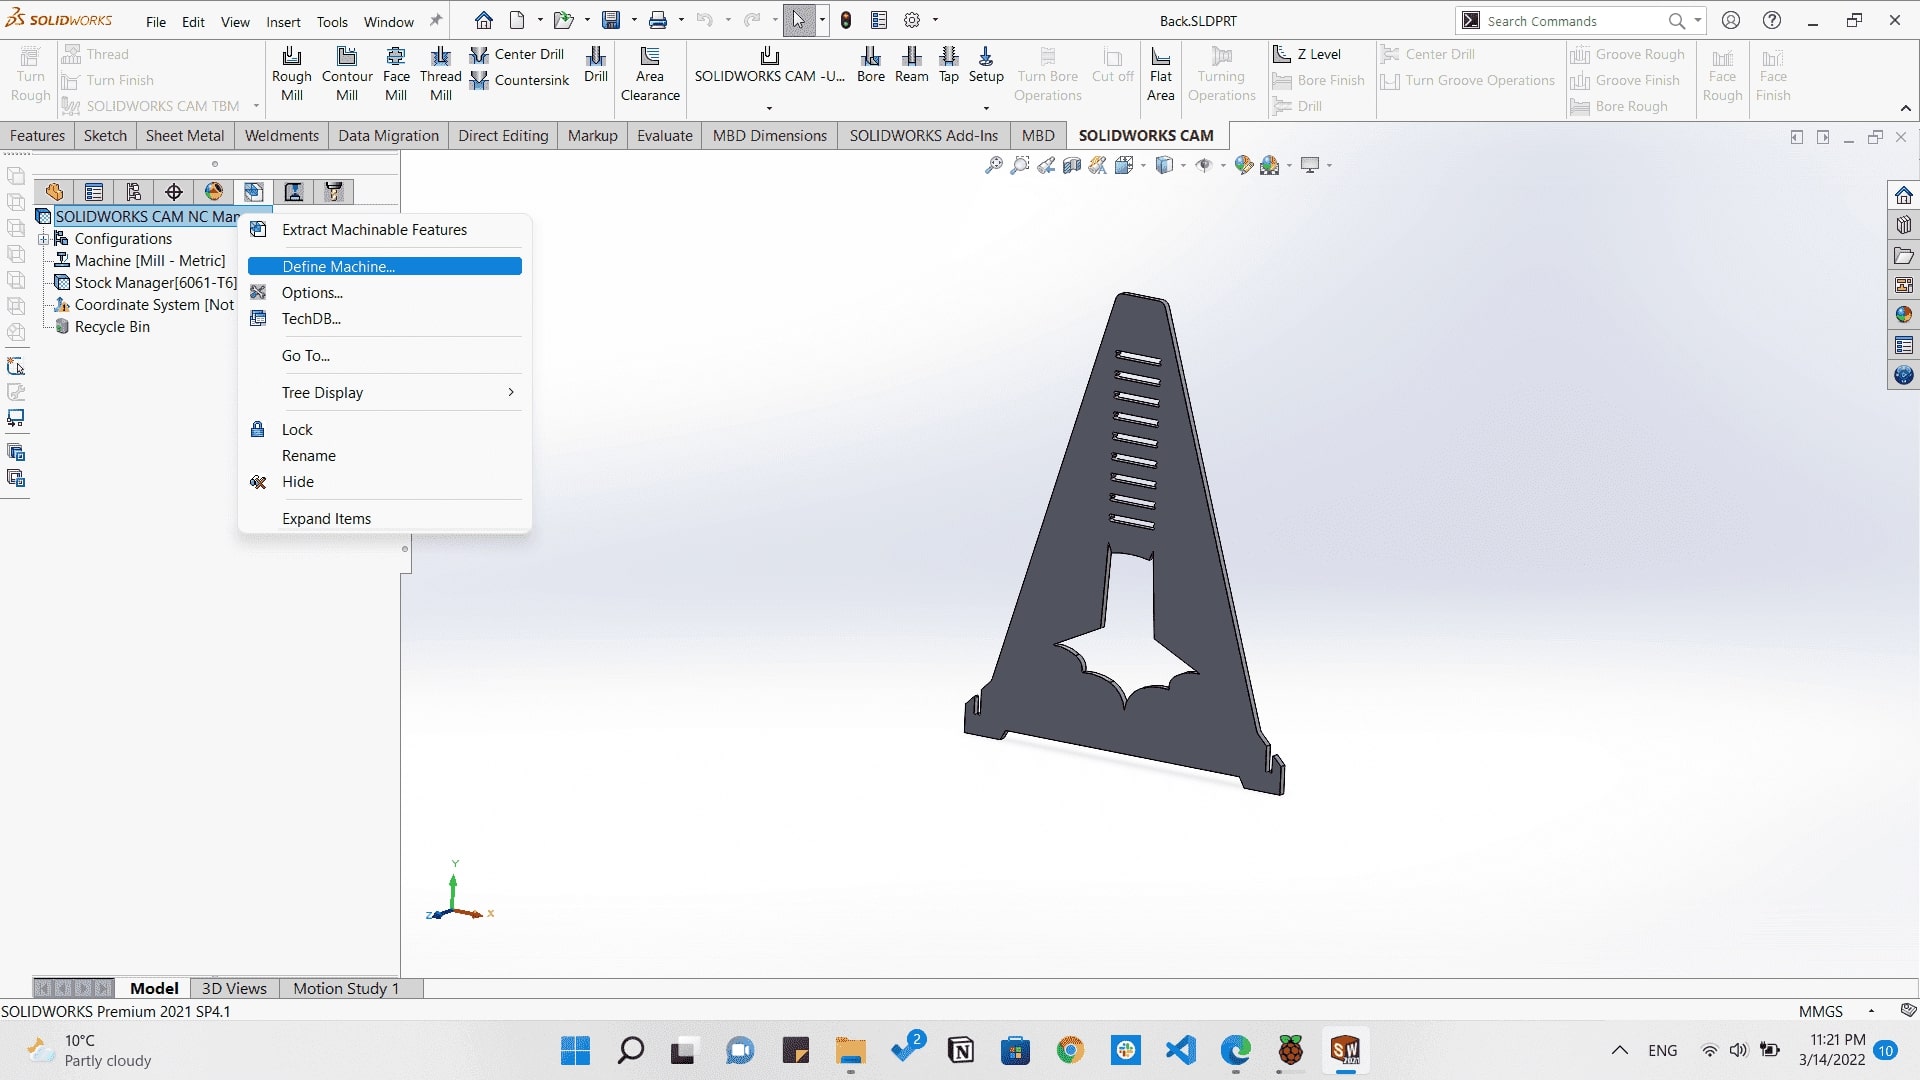
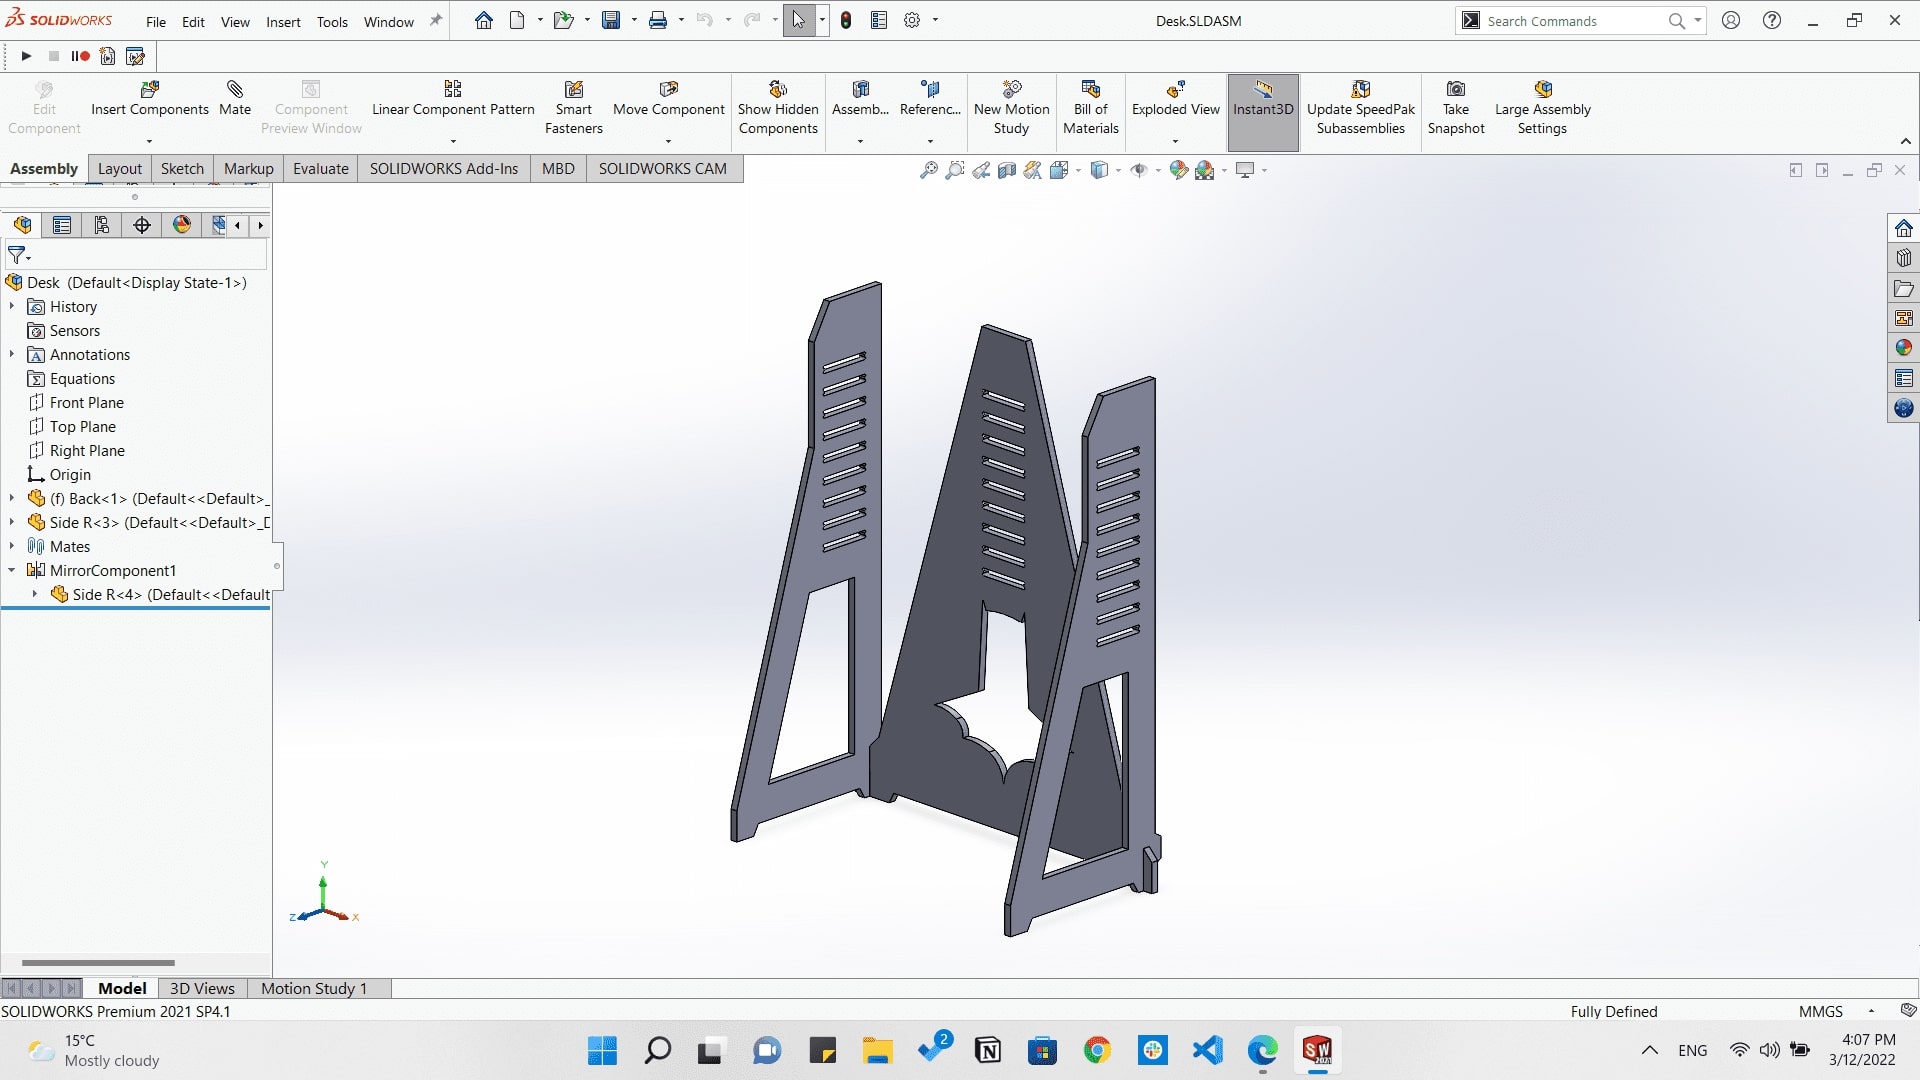
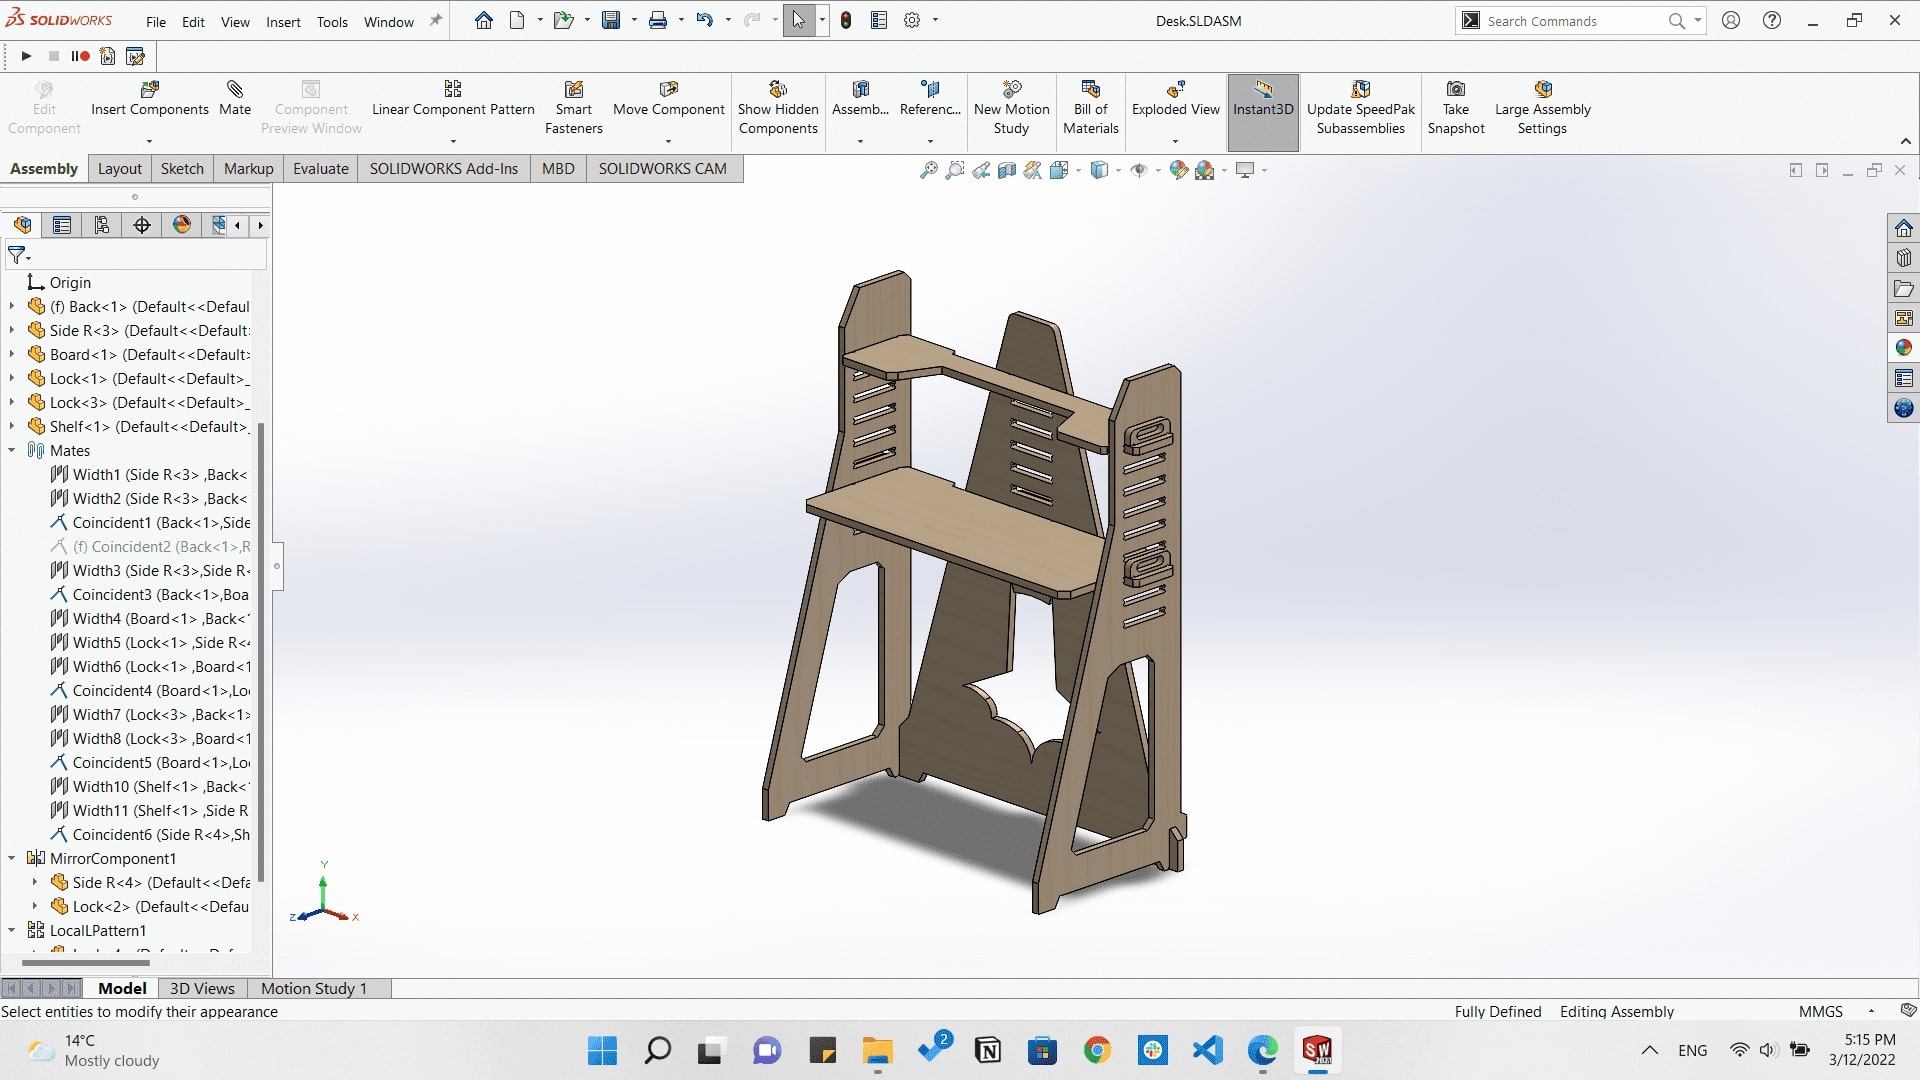
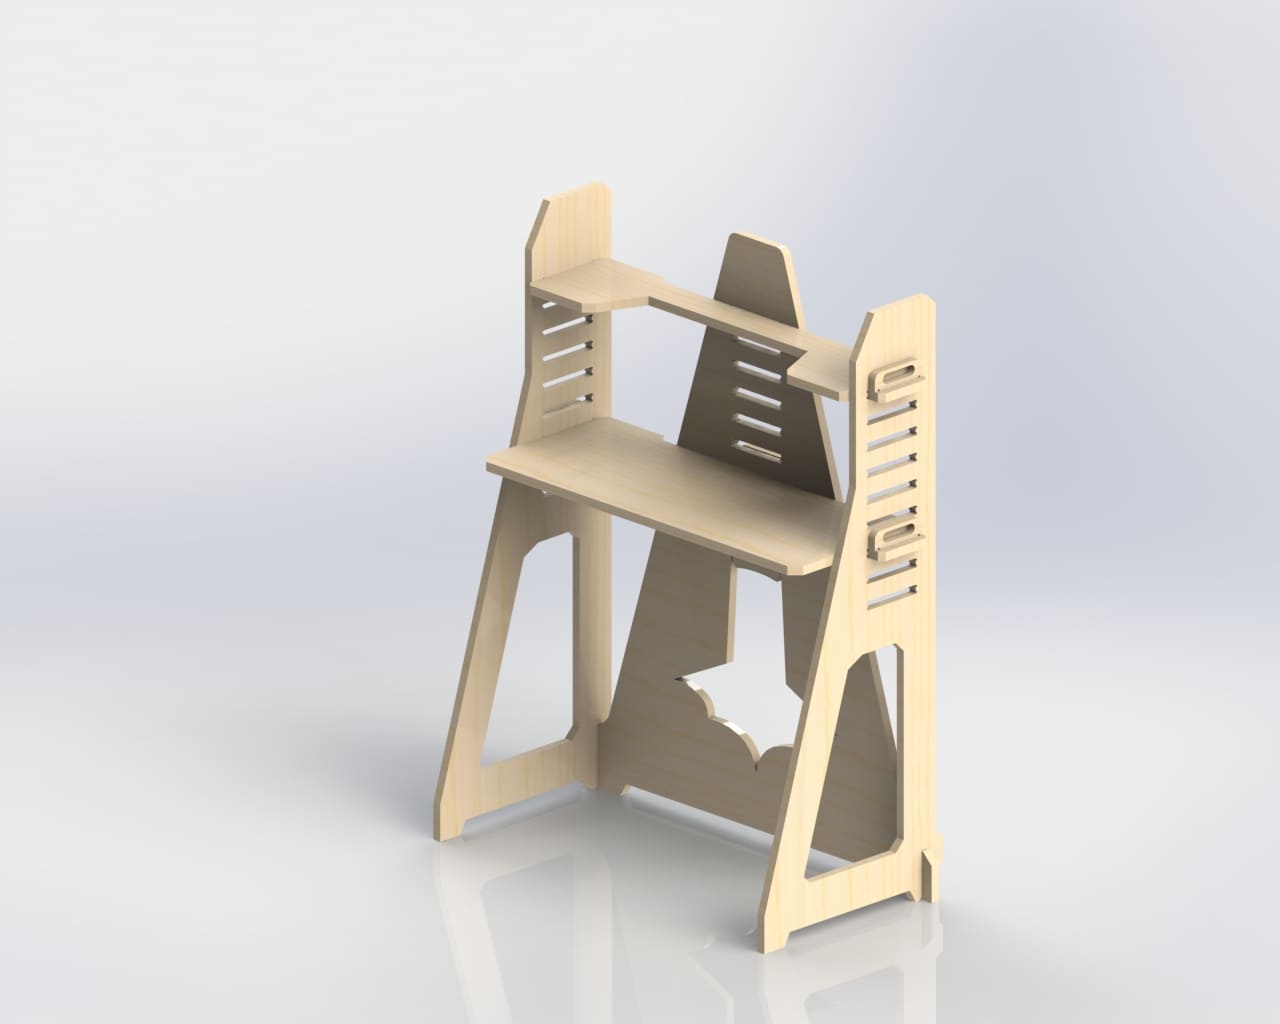
Rendered image on SolidWorks
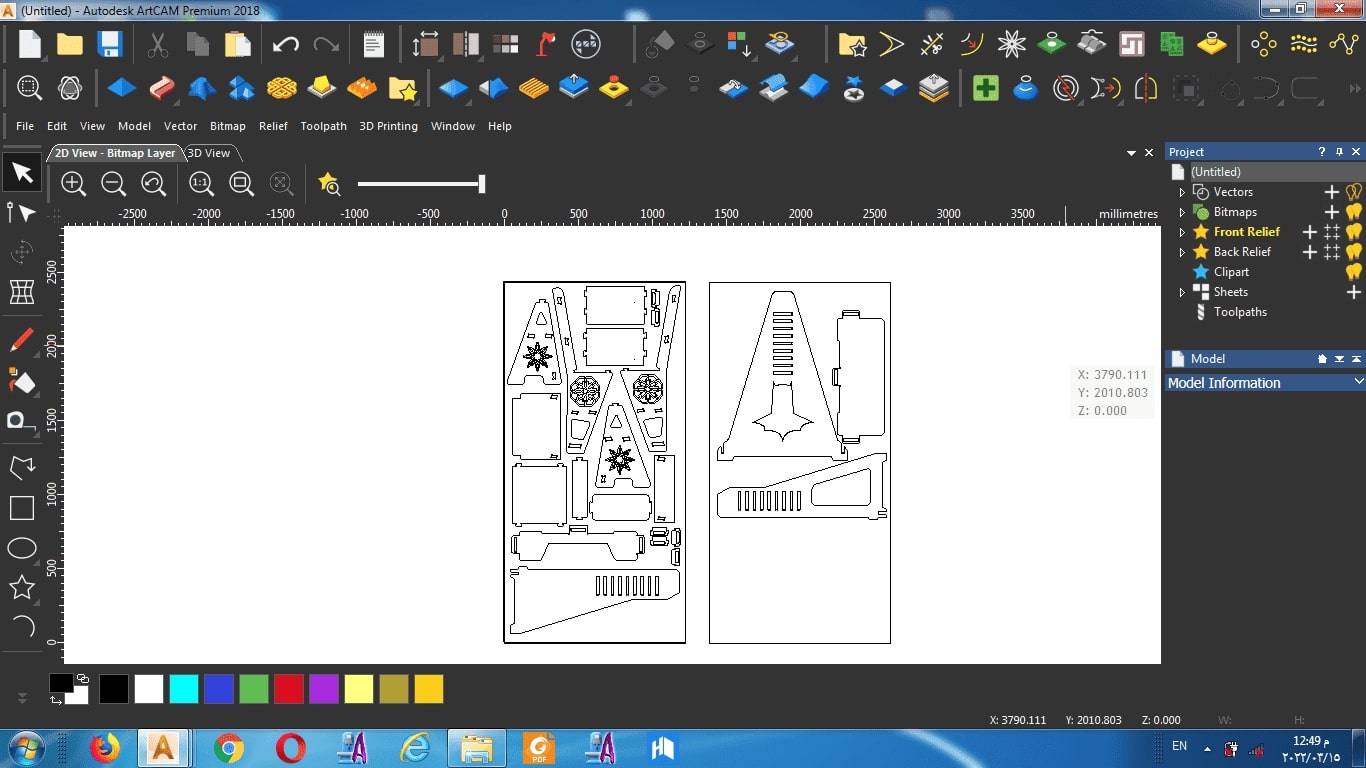
After that I decided to work on MDF wood, so I found that the sheet's size will be 122*244cm^2. So I started nesting the DXF files exported from SolidWorks on AutoCAD software.
Nesting all parts on AutoCAD
Time for Cutting!!
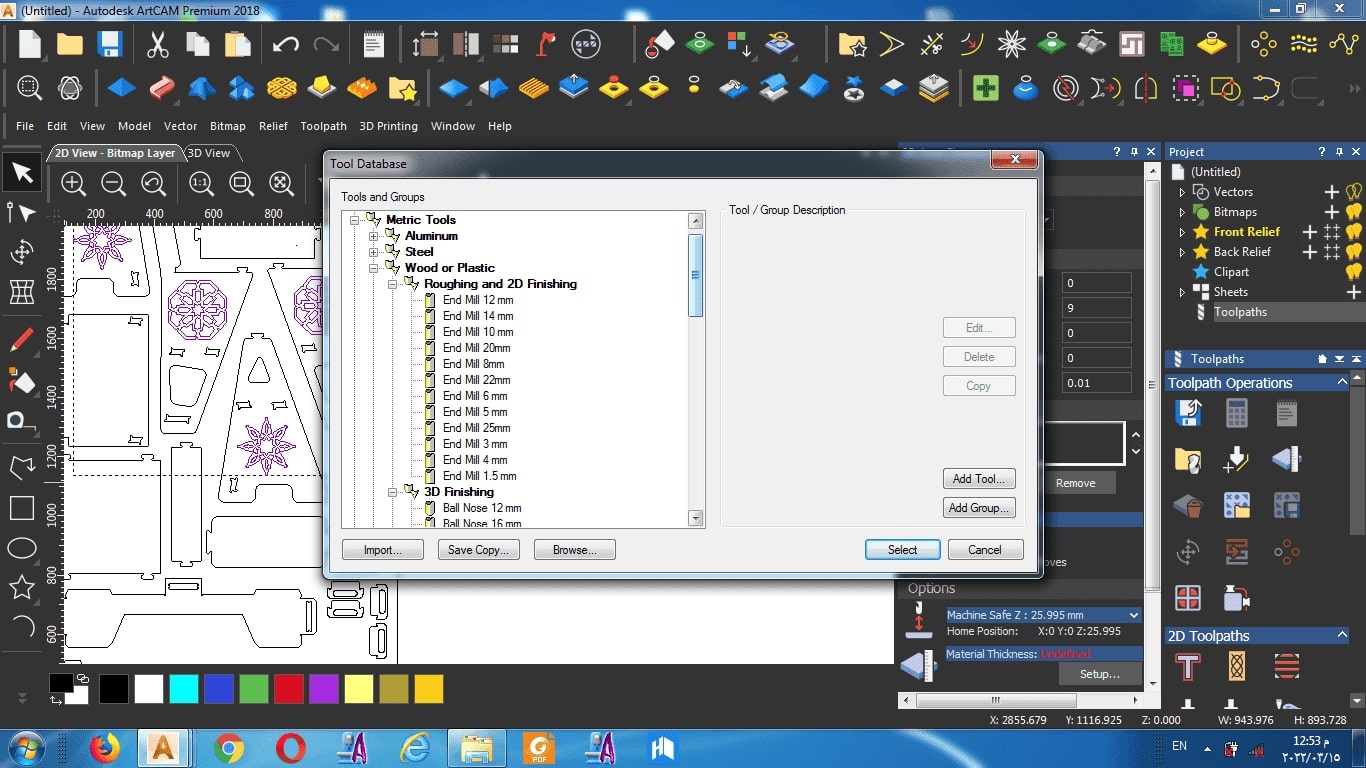
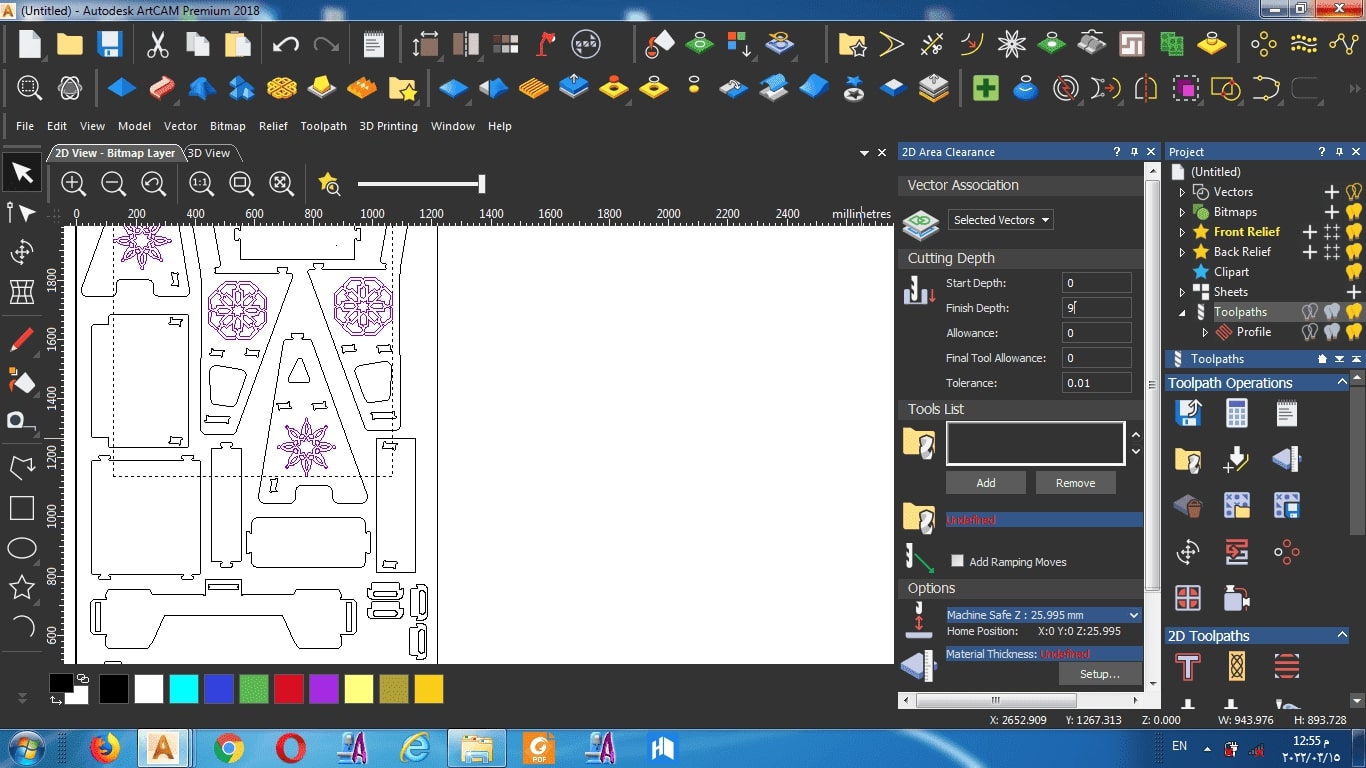
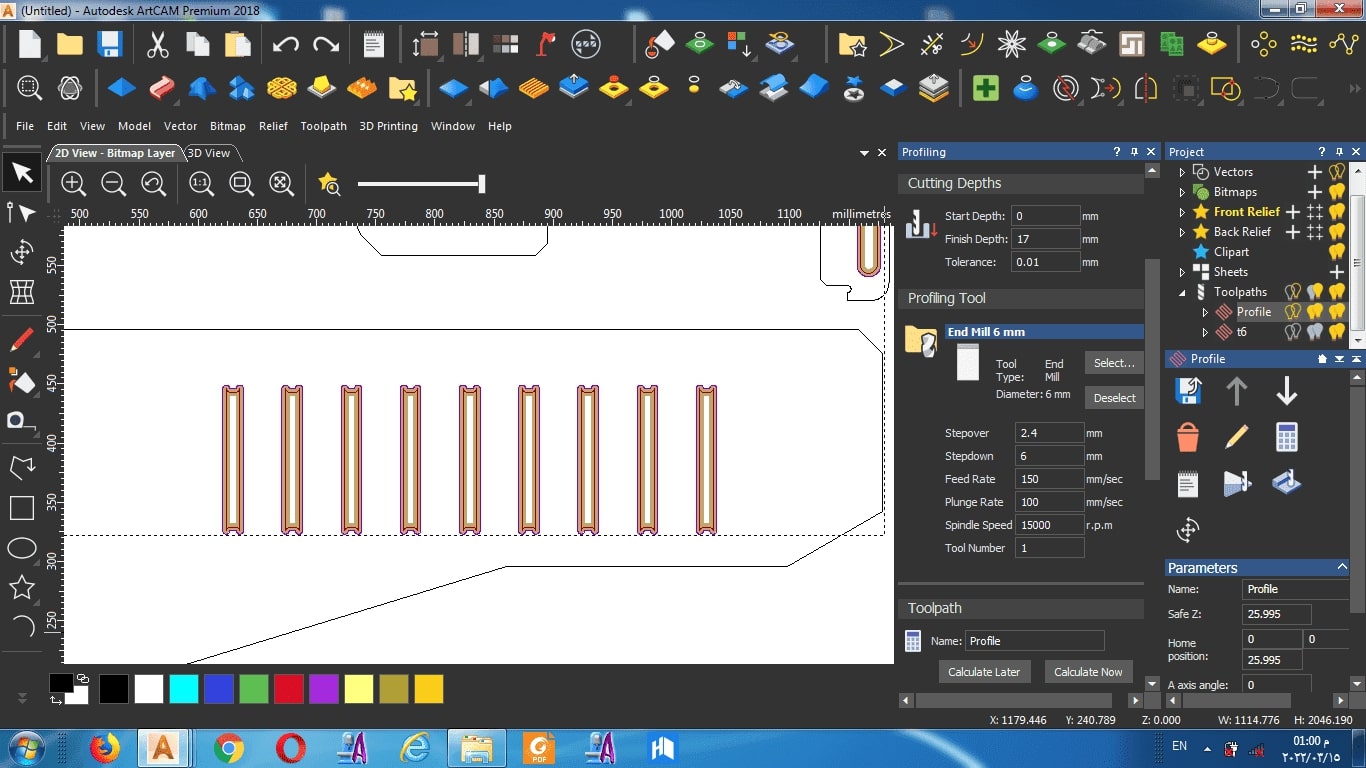
So in order to start cutting on a big CNC router machine, we have to generate a G-code that is compatable with that machine, so I found that it had to be a Mach-2 G-code which I wanted to generate from ArtCam software.
So with my collegue Moiz we decided to nest the parts again together to minimize the waste as possible

So before cutting on the router machine we need to calculate the cutter runout of the machine. Cutter runout is a common and inevitable phenomenon impacting the geometry accuracy in the milling proccess.

Geometry model of cutter runout: (a) schematic diagram of cutter runout in milling, (b) coordinate system construction, (c) sectional view of the cutter runout model
As the image shows, the runout is a slight deviation in the machine's spindle occuring due to it's long life time of cutting that makes the cuts slightly bigger than expected, so after measuring the hole cut by the machine and comparing it to the cut width in the design we have, we calculate the runout as following:
\[Runout = {Actual Cut Width - Cut Width Designed \over 2}.\]
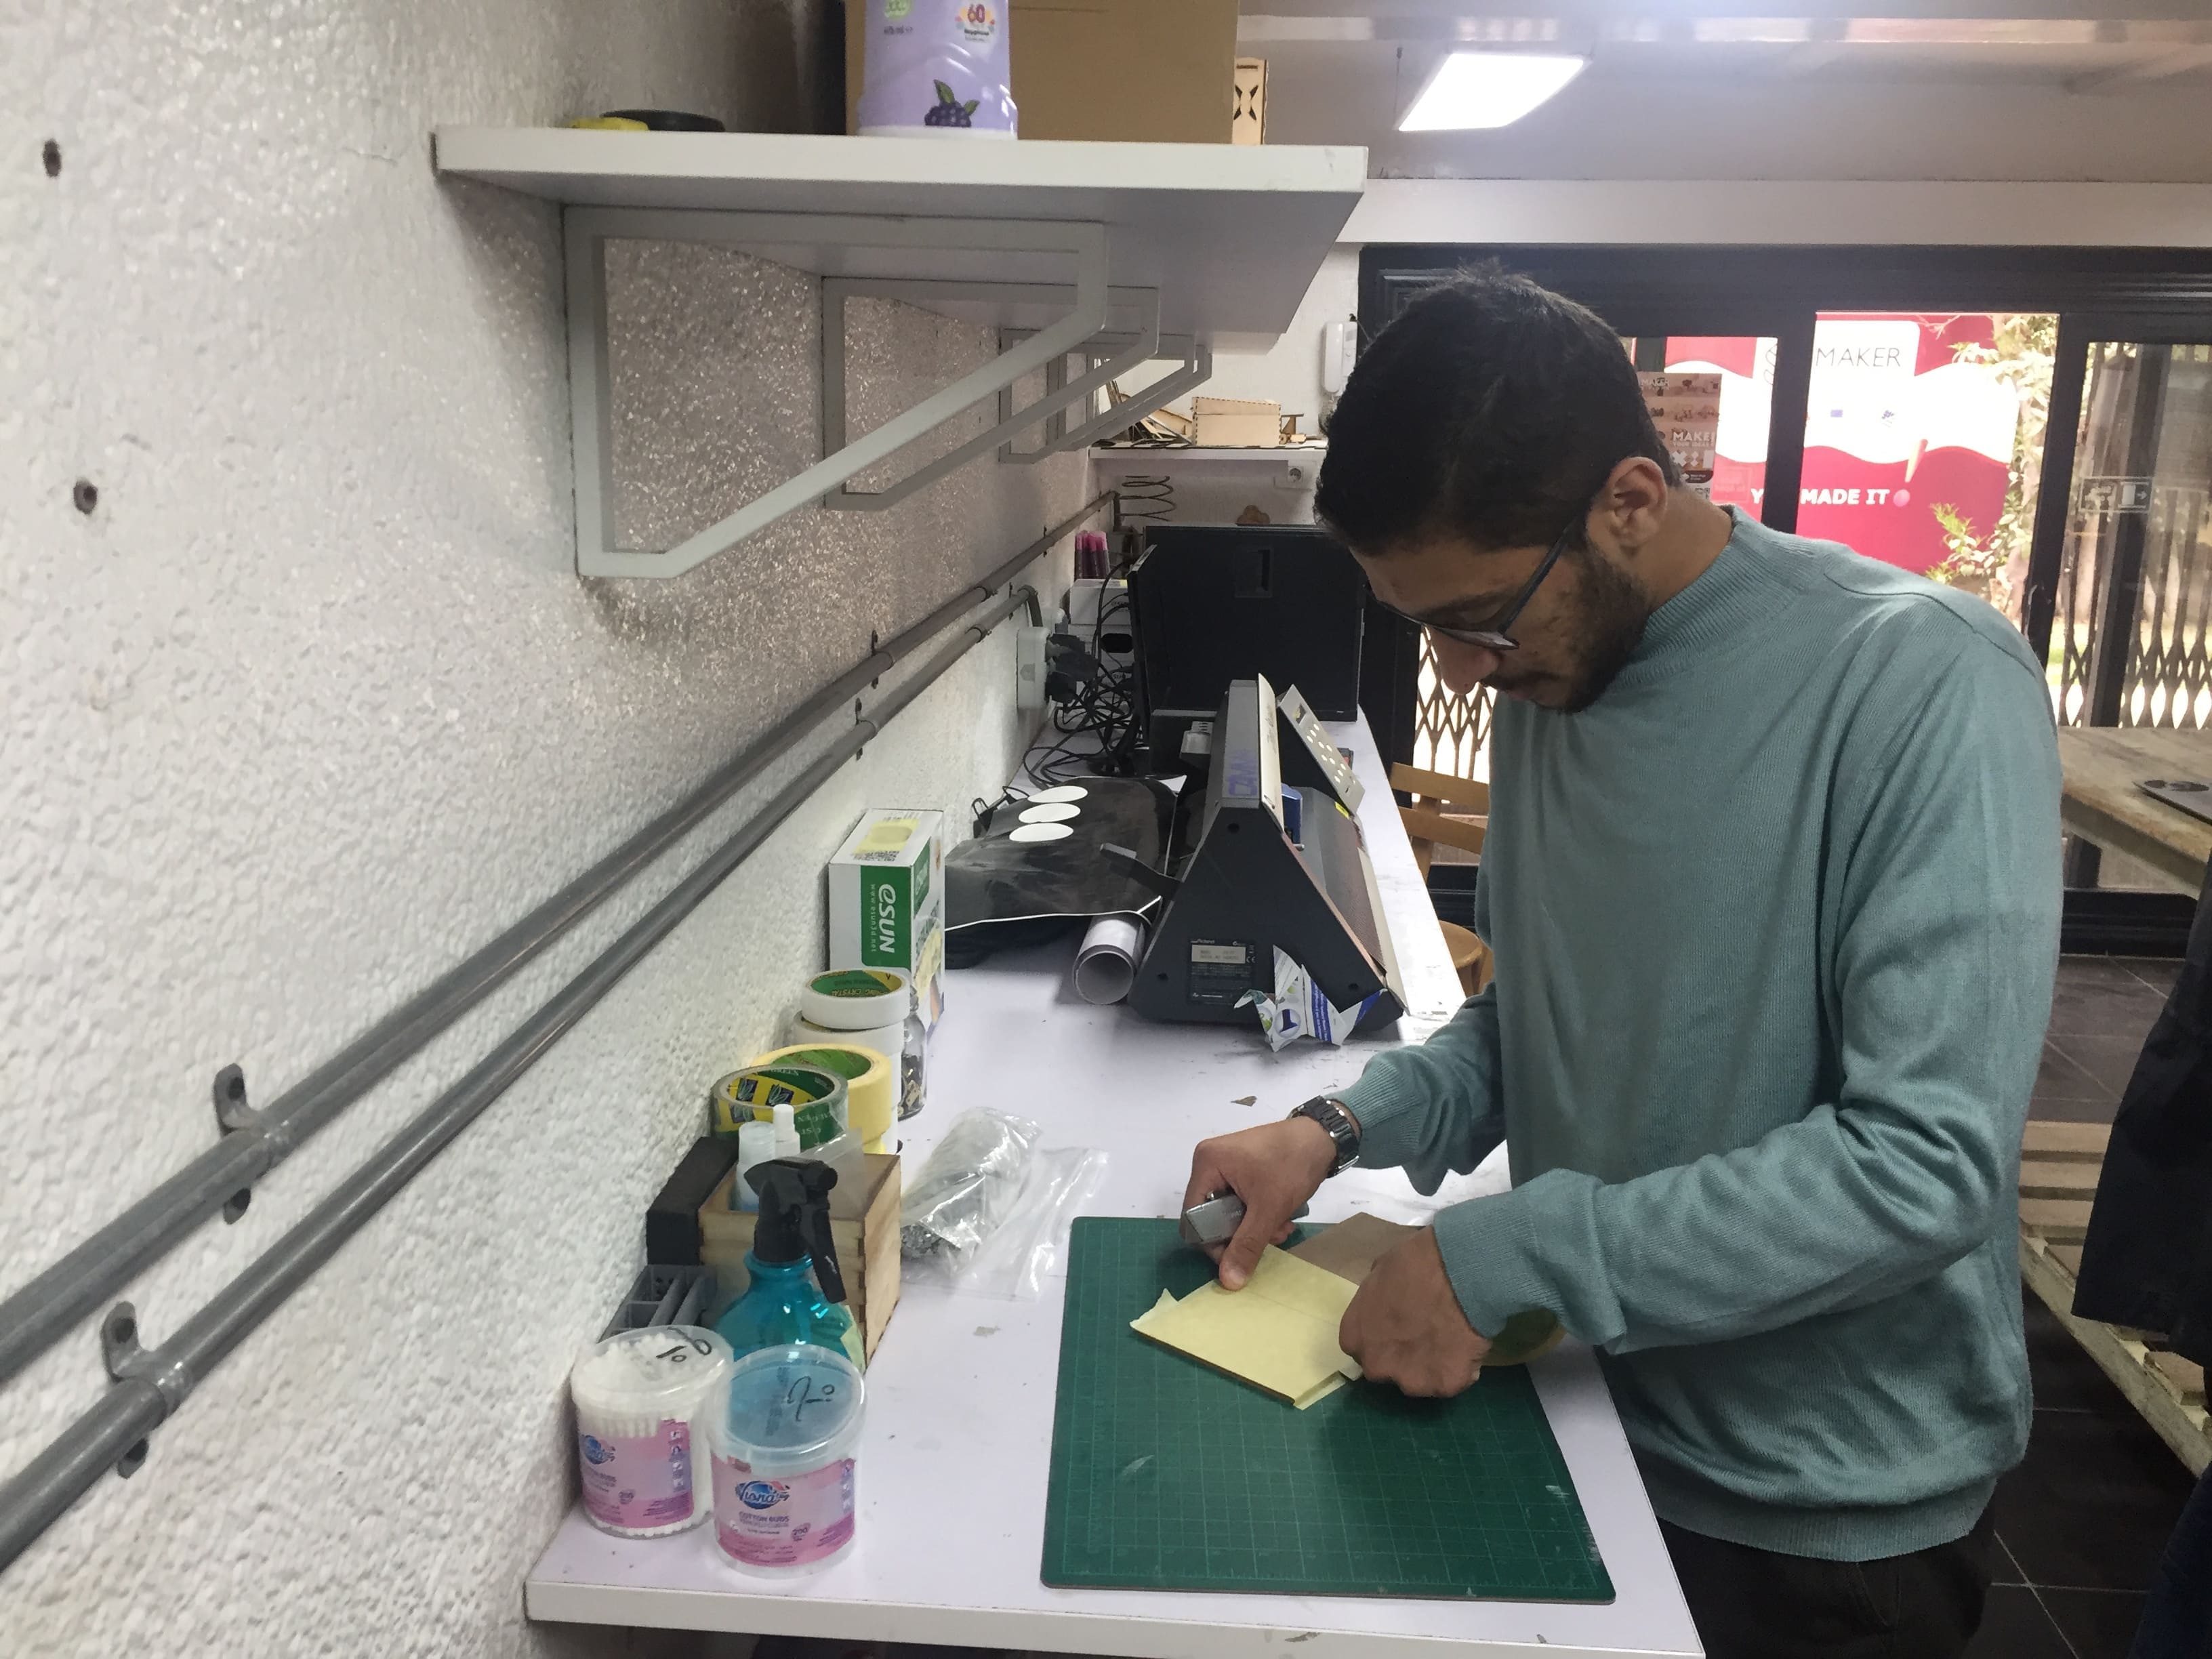
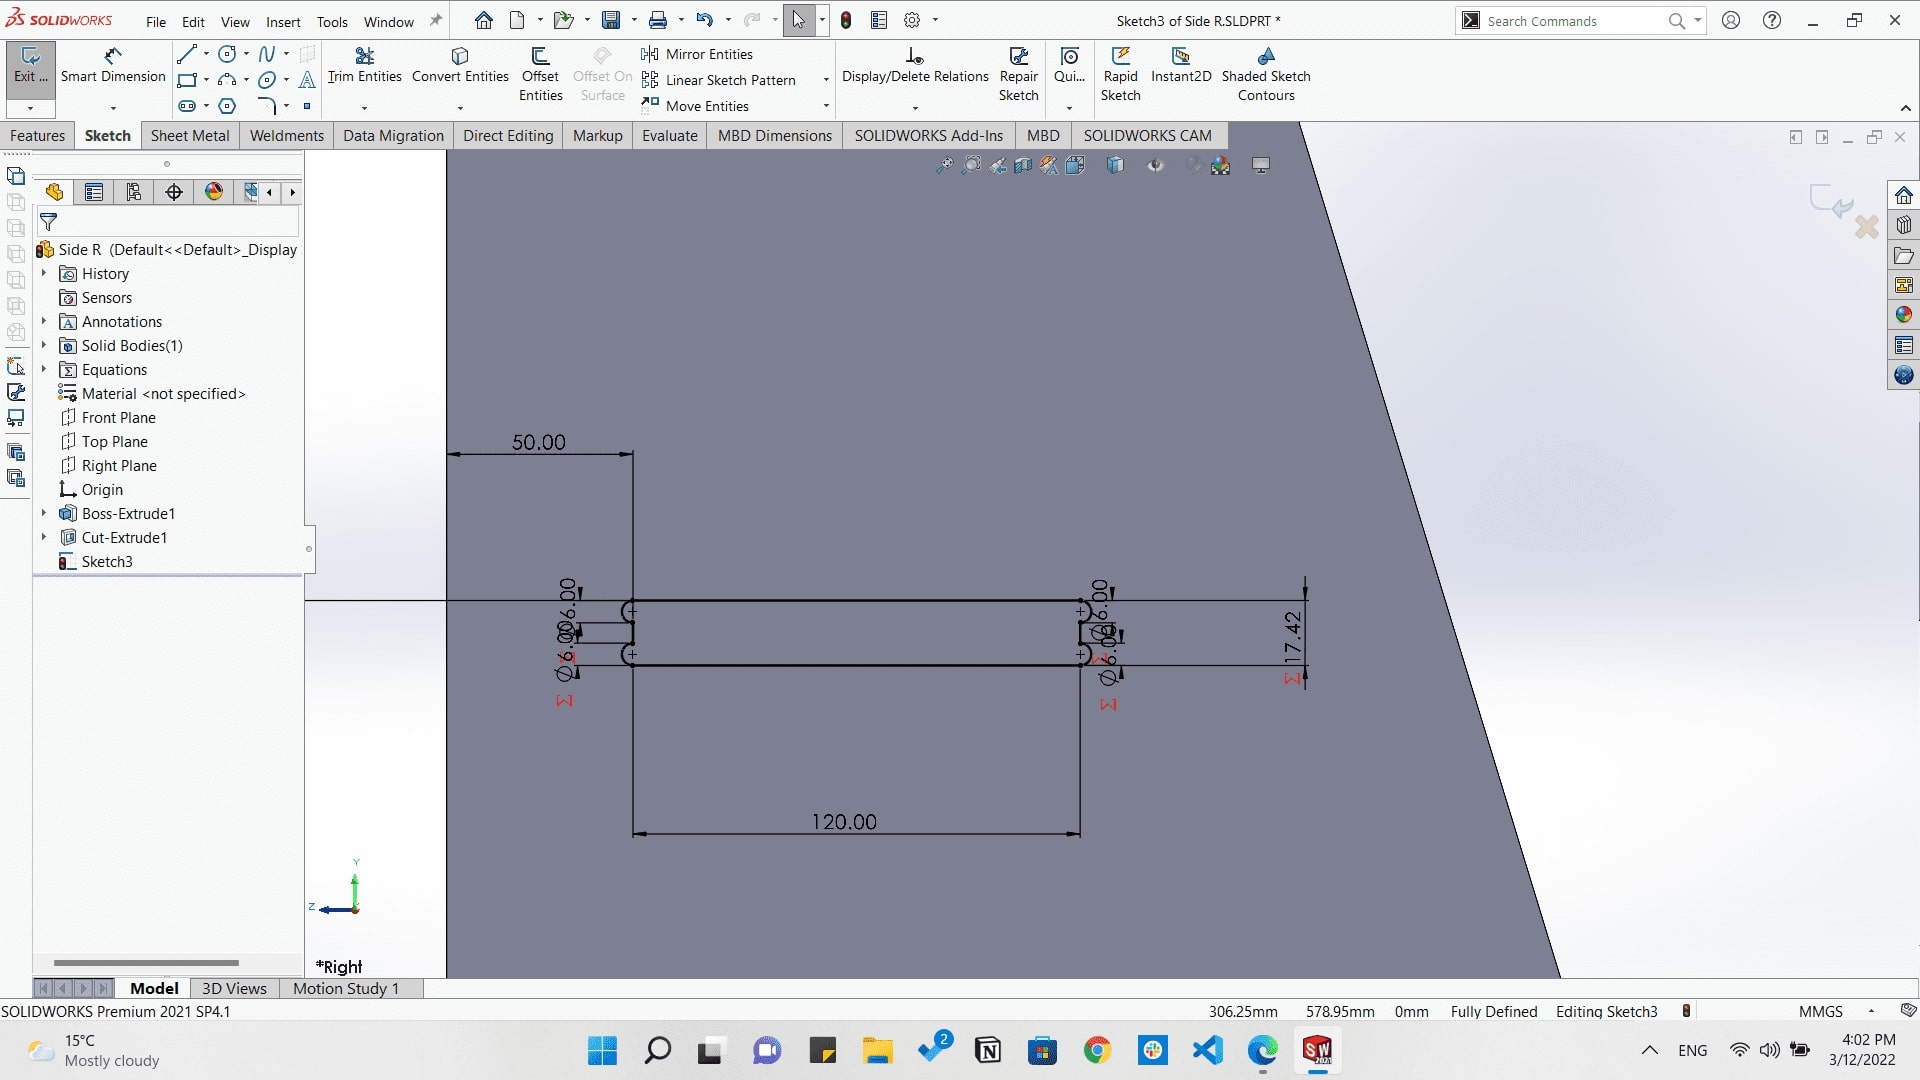
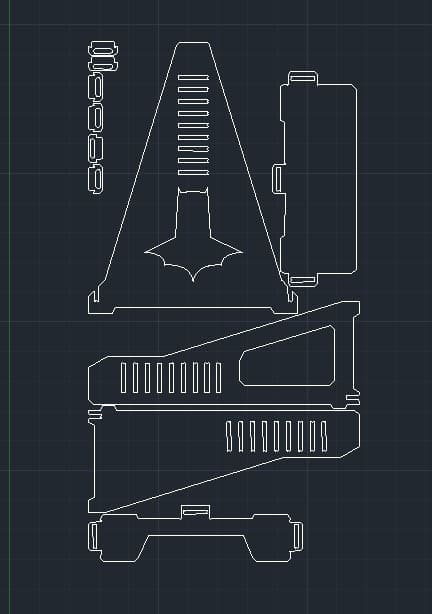
We just made a small part to test the runout of that machine to and as my design was parametric so I just edited the runout we calculated.
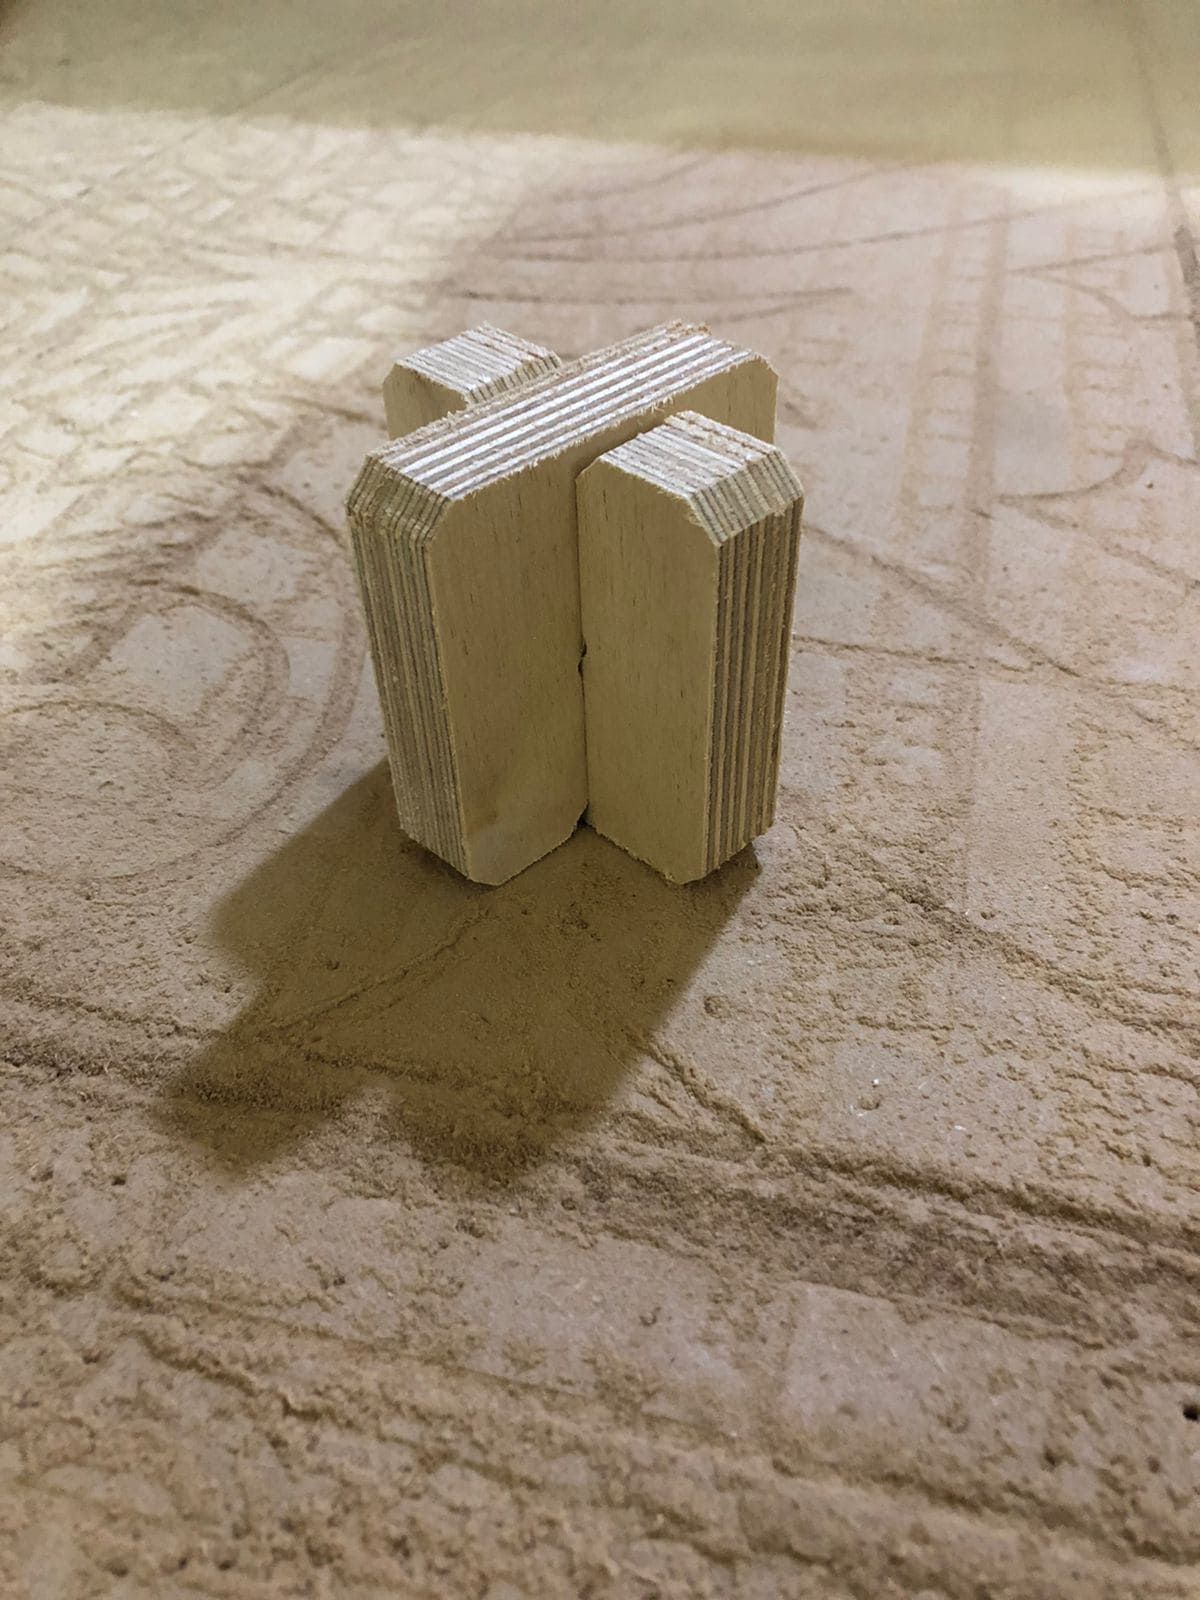
Test part
Now it's cutting time. And actually it was really fun to take over controlling the machine with a very small piece of a controller.
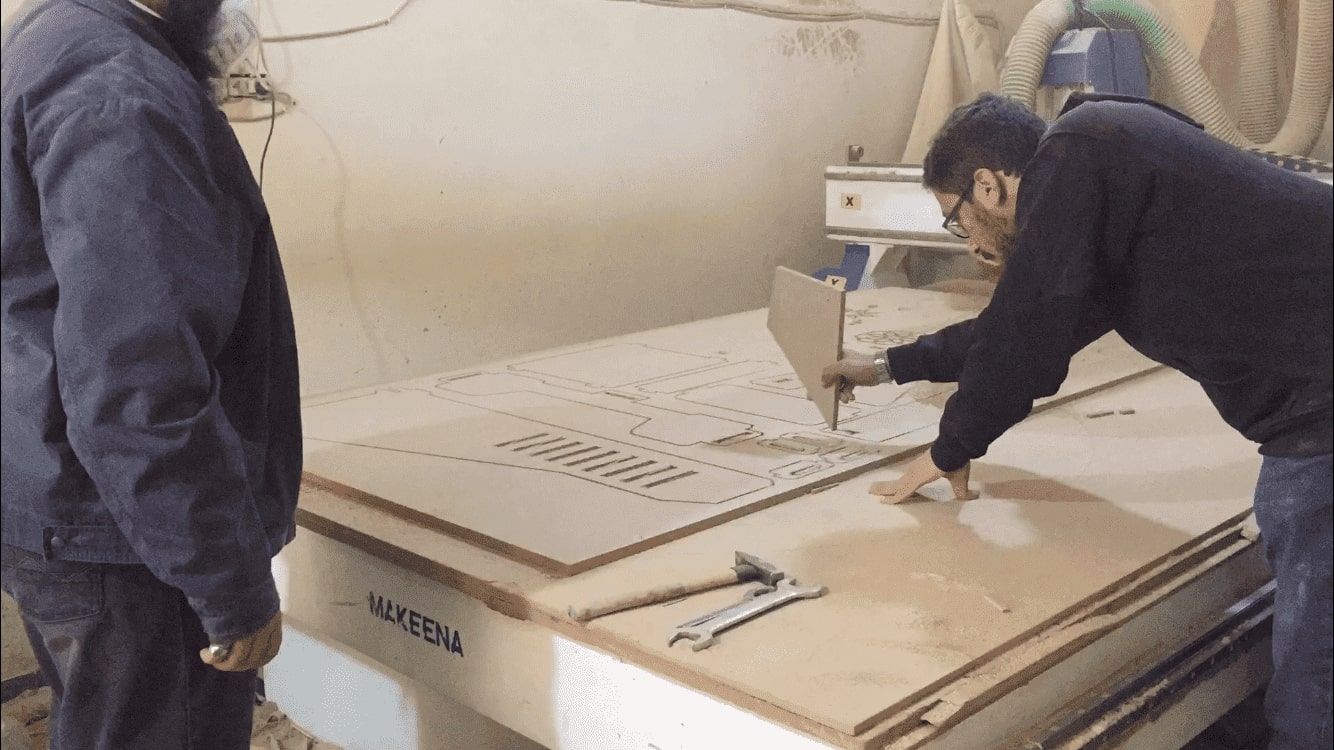
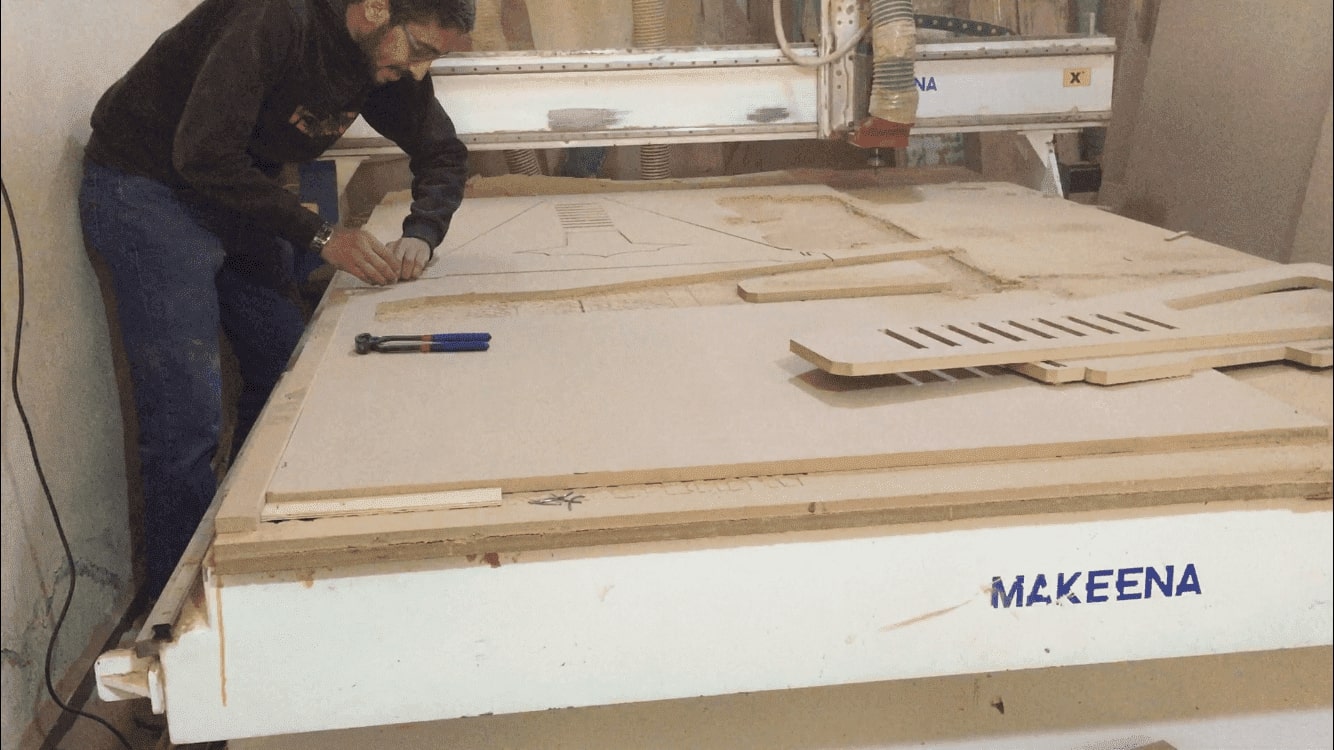
And the contolling unit actually was very easy to deal with as we just plug in our flash drive that has the file and set the origin point then start the file directly.

Router machine control unit
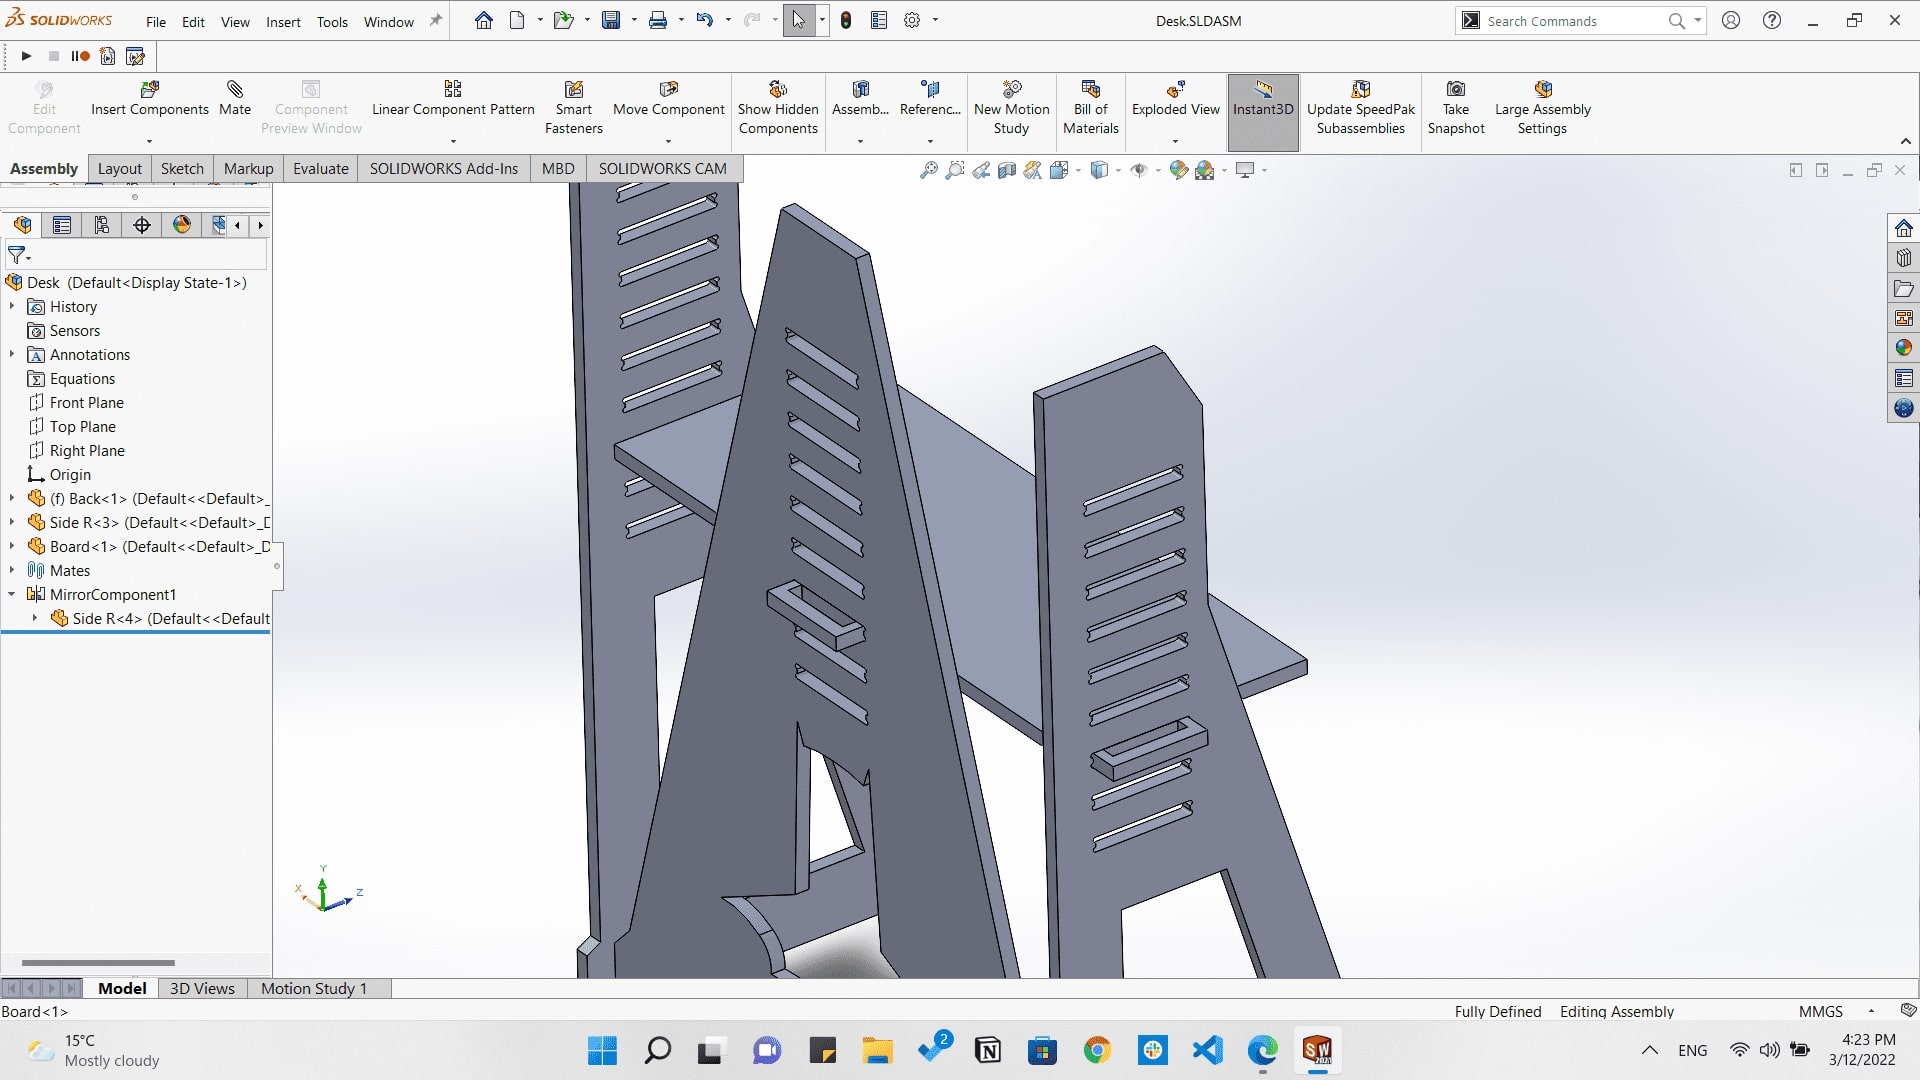
Now it's ready for the assembly.
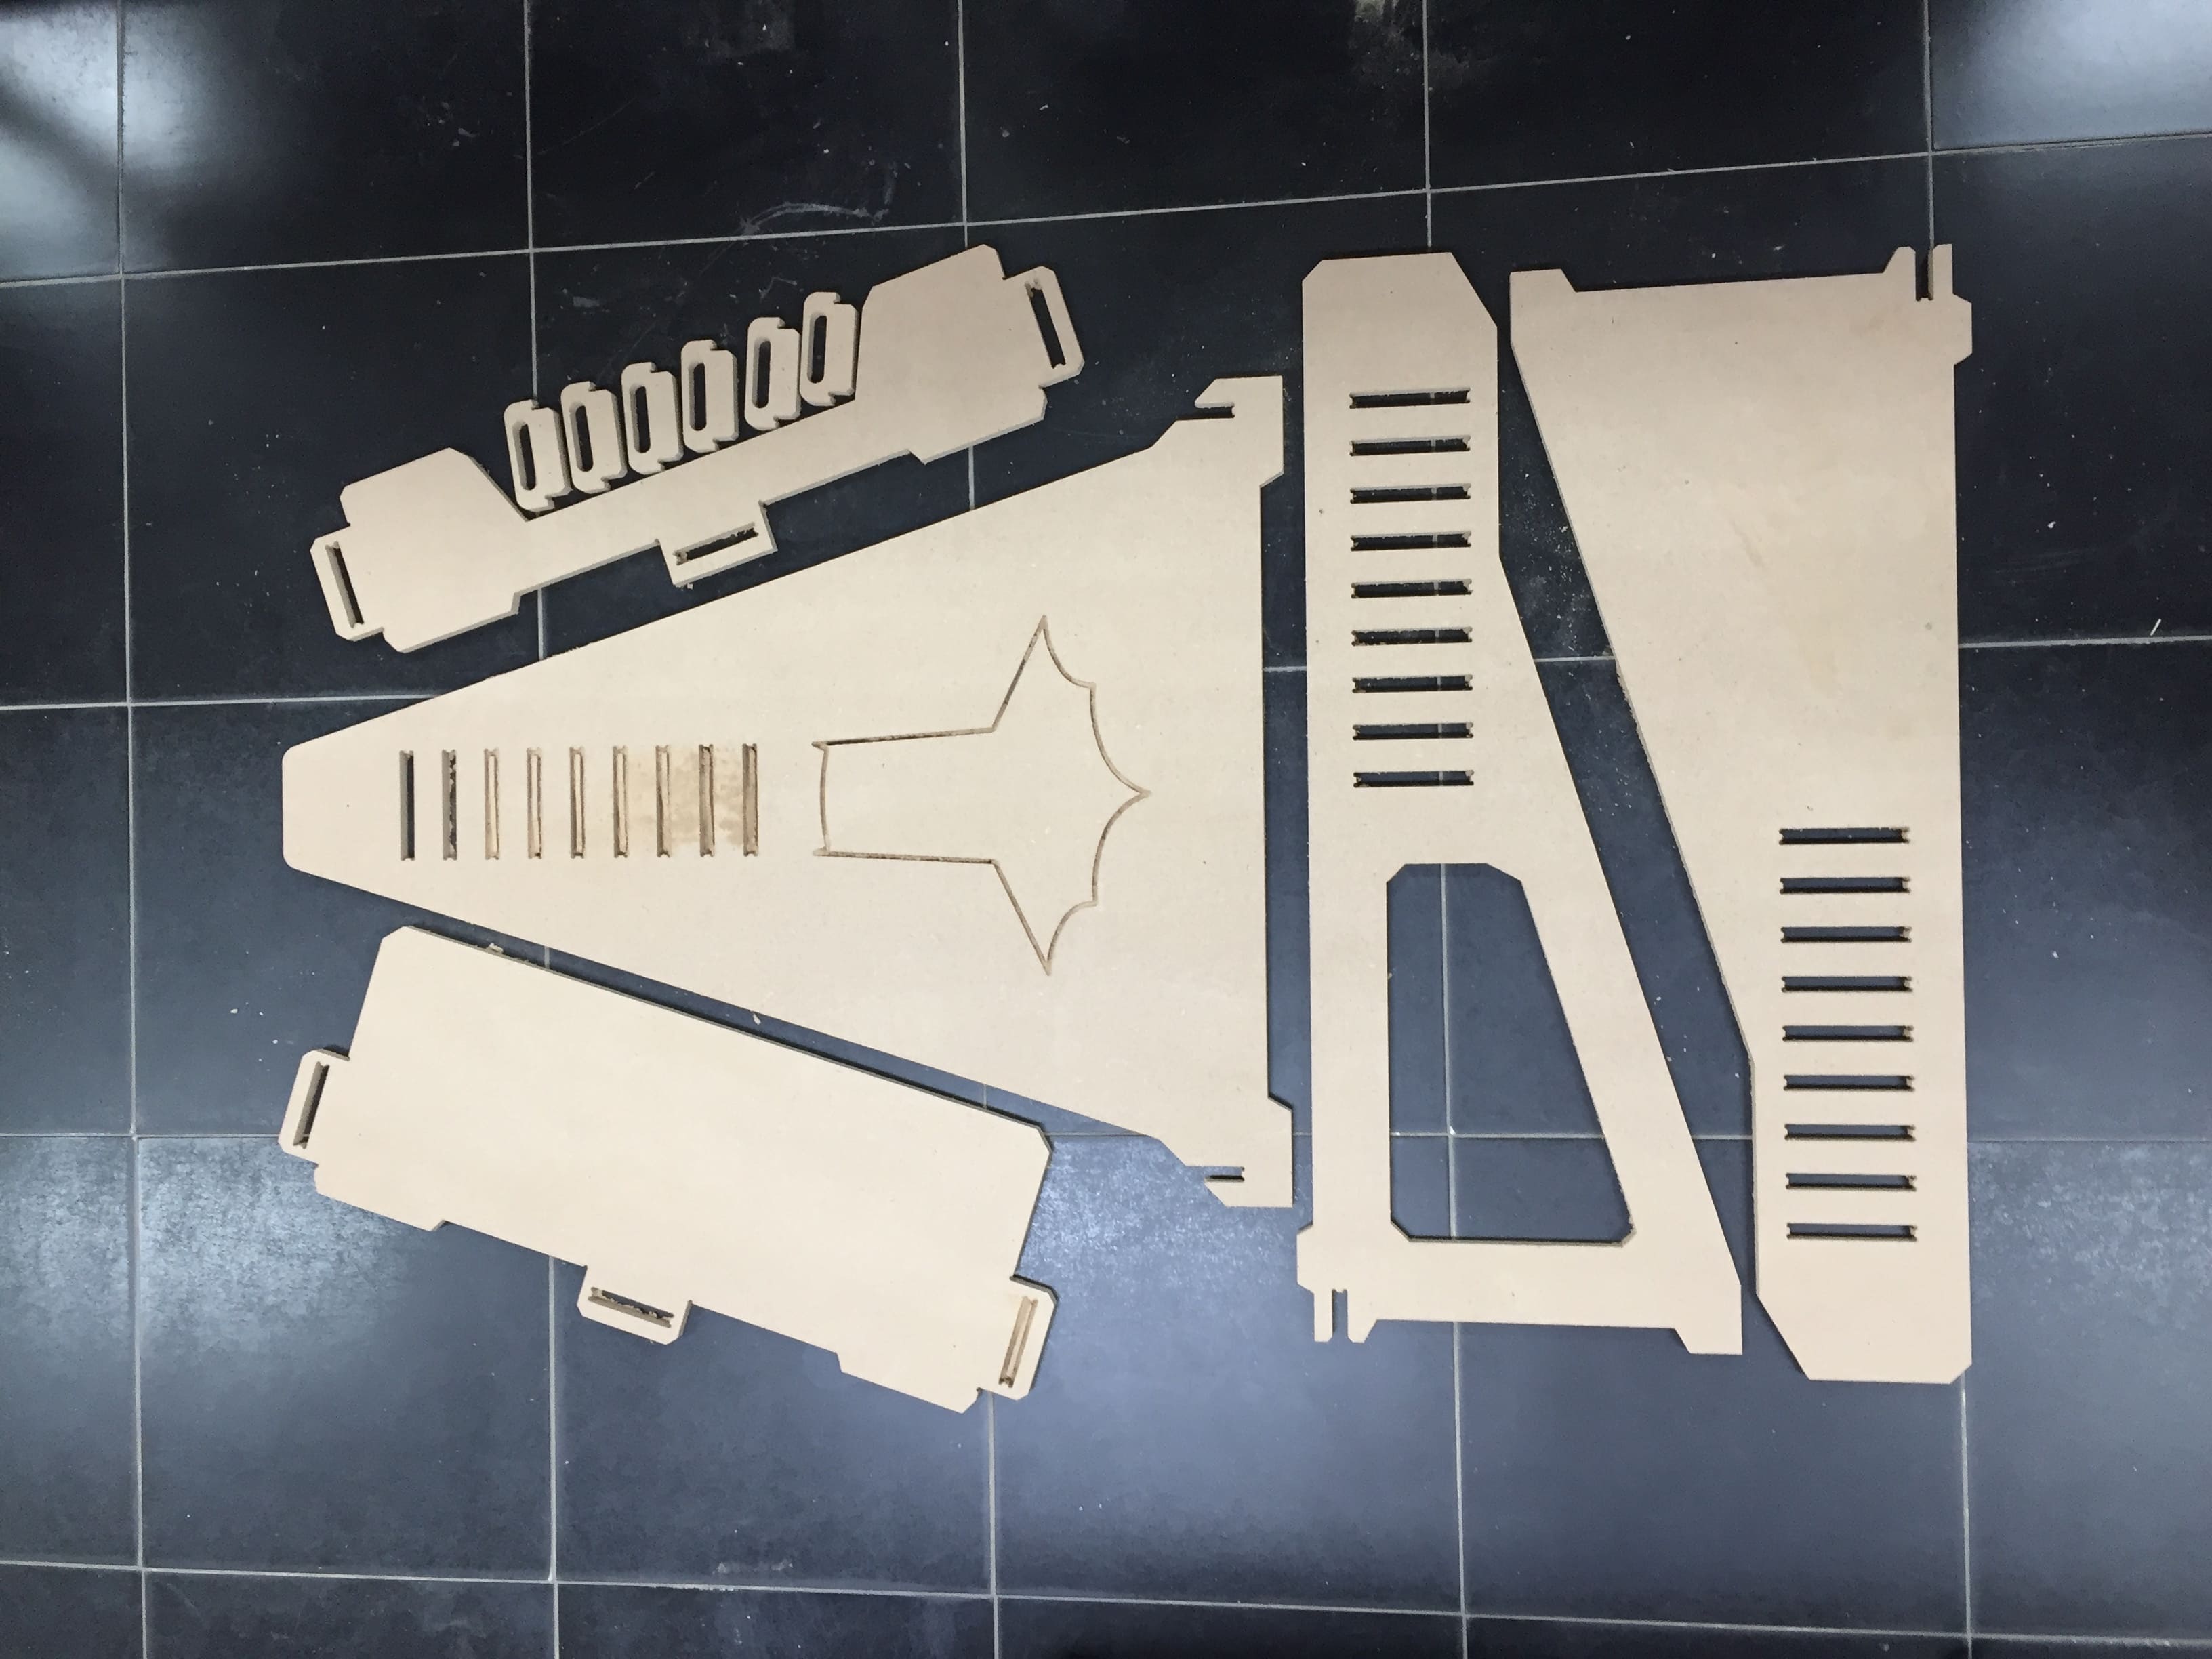
All parts ready for assembly
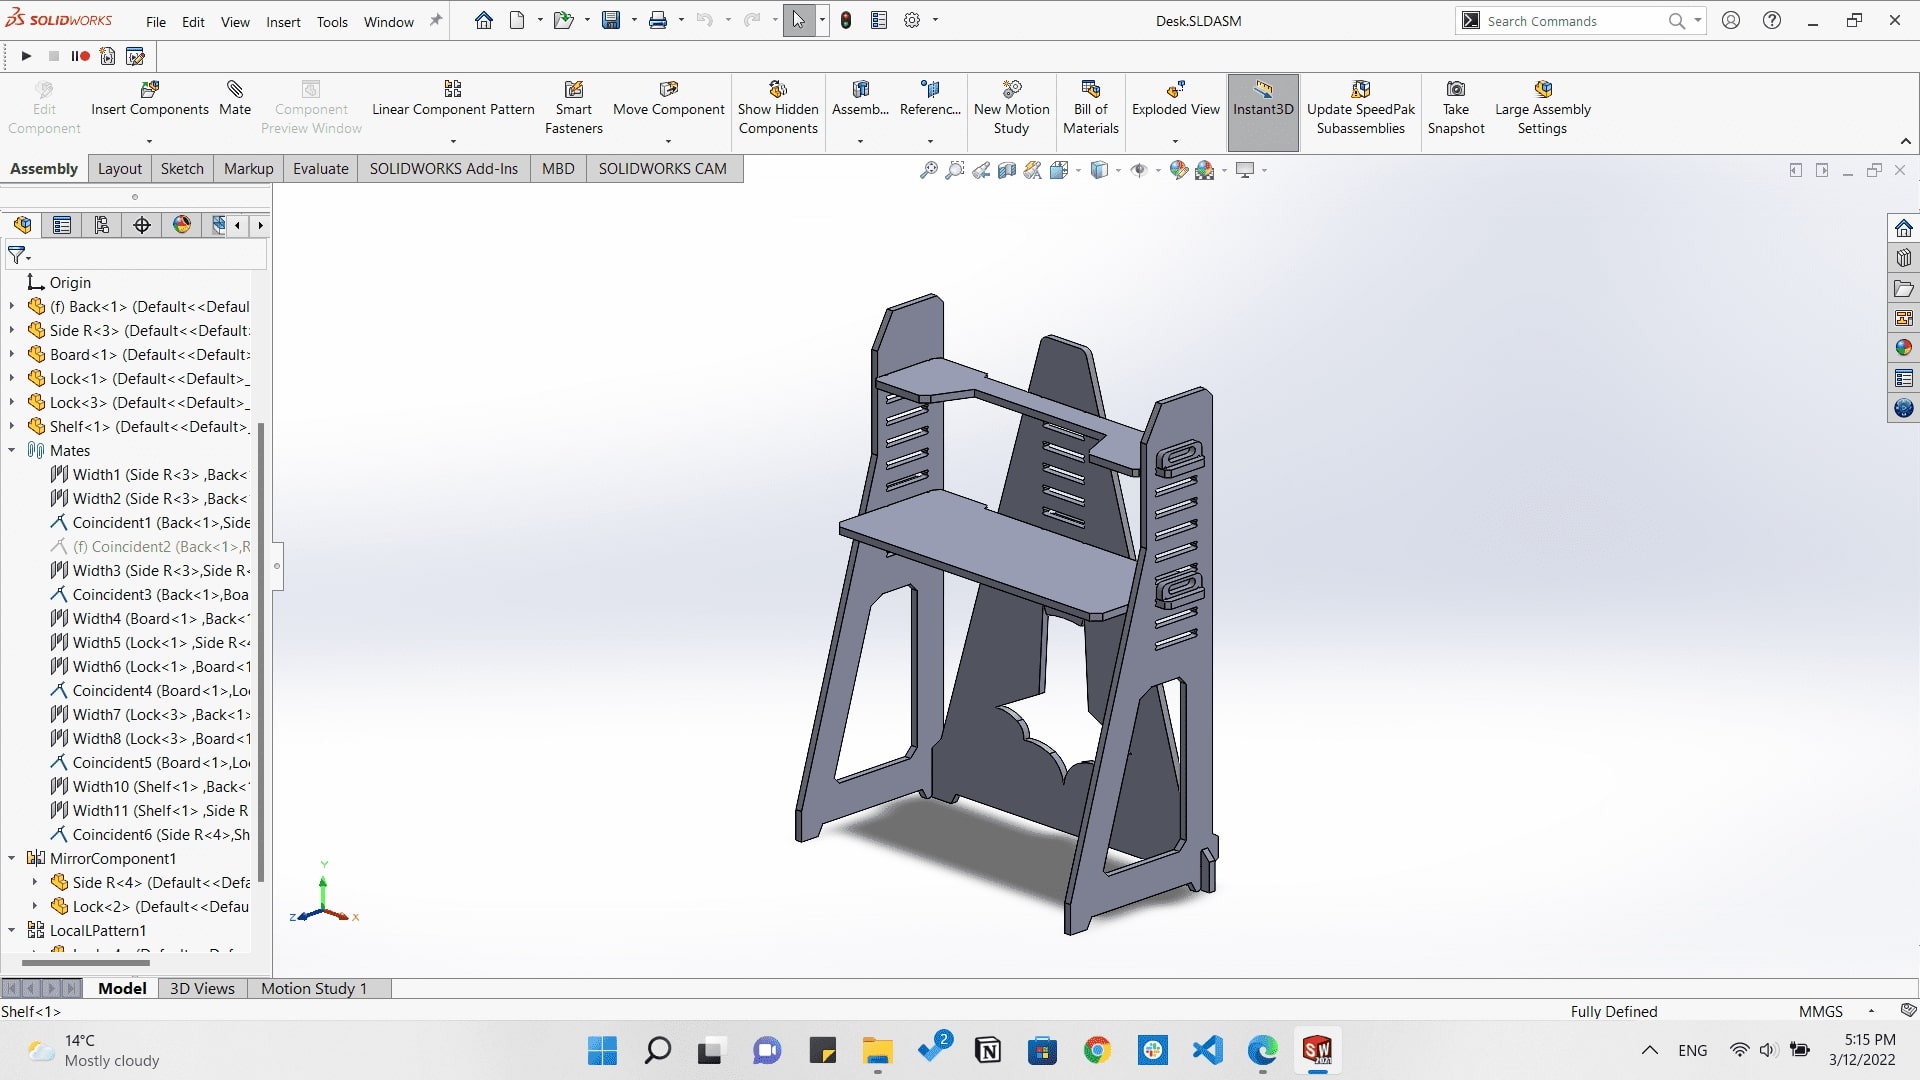
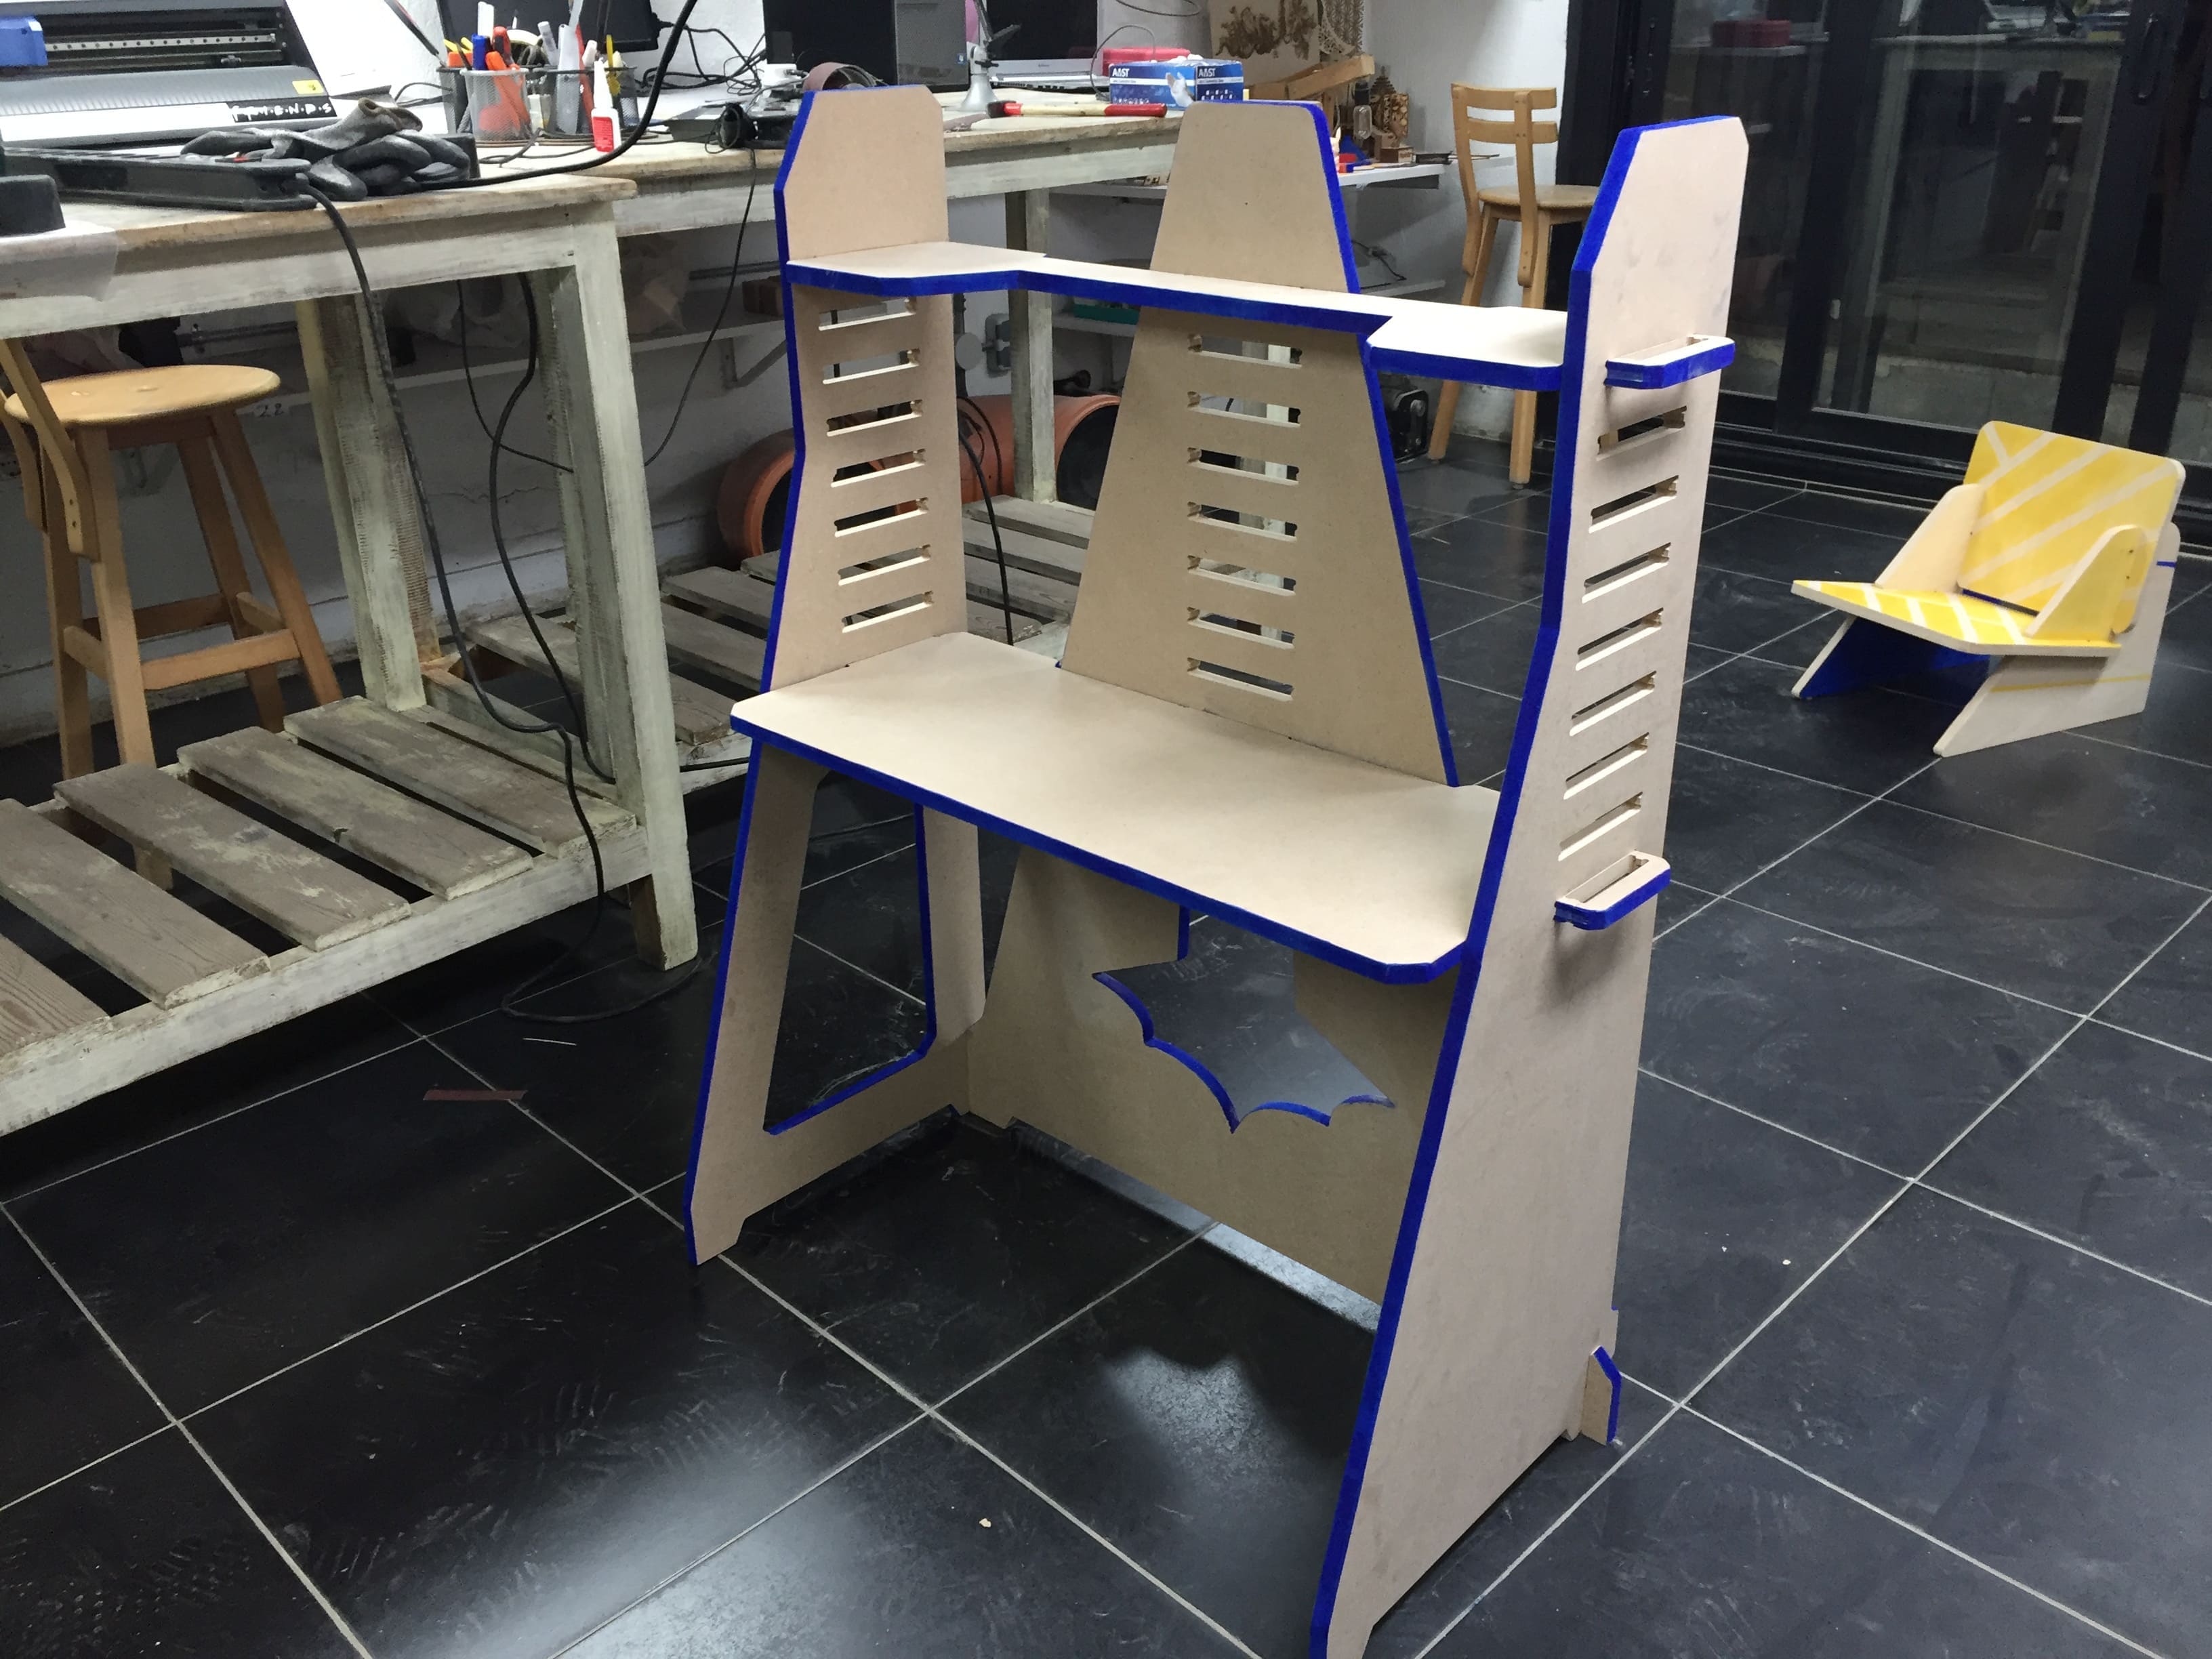
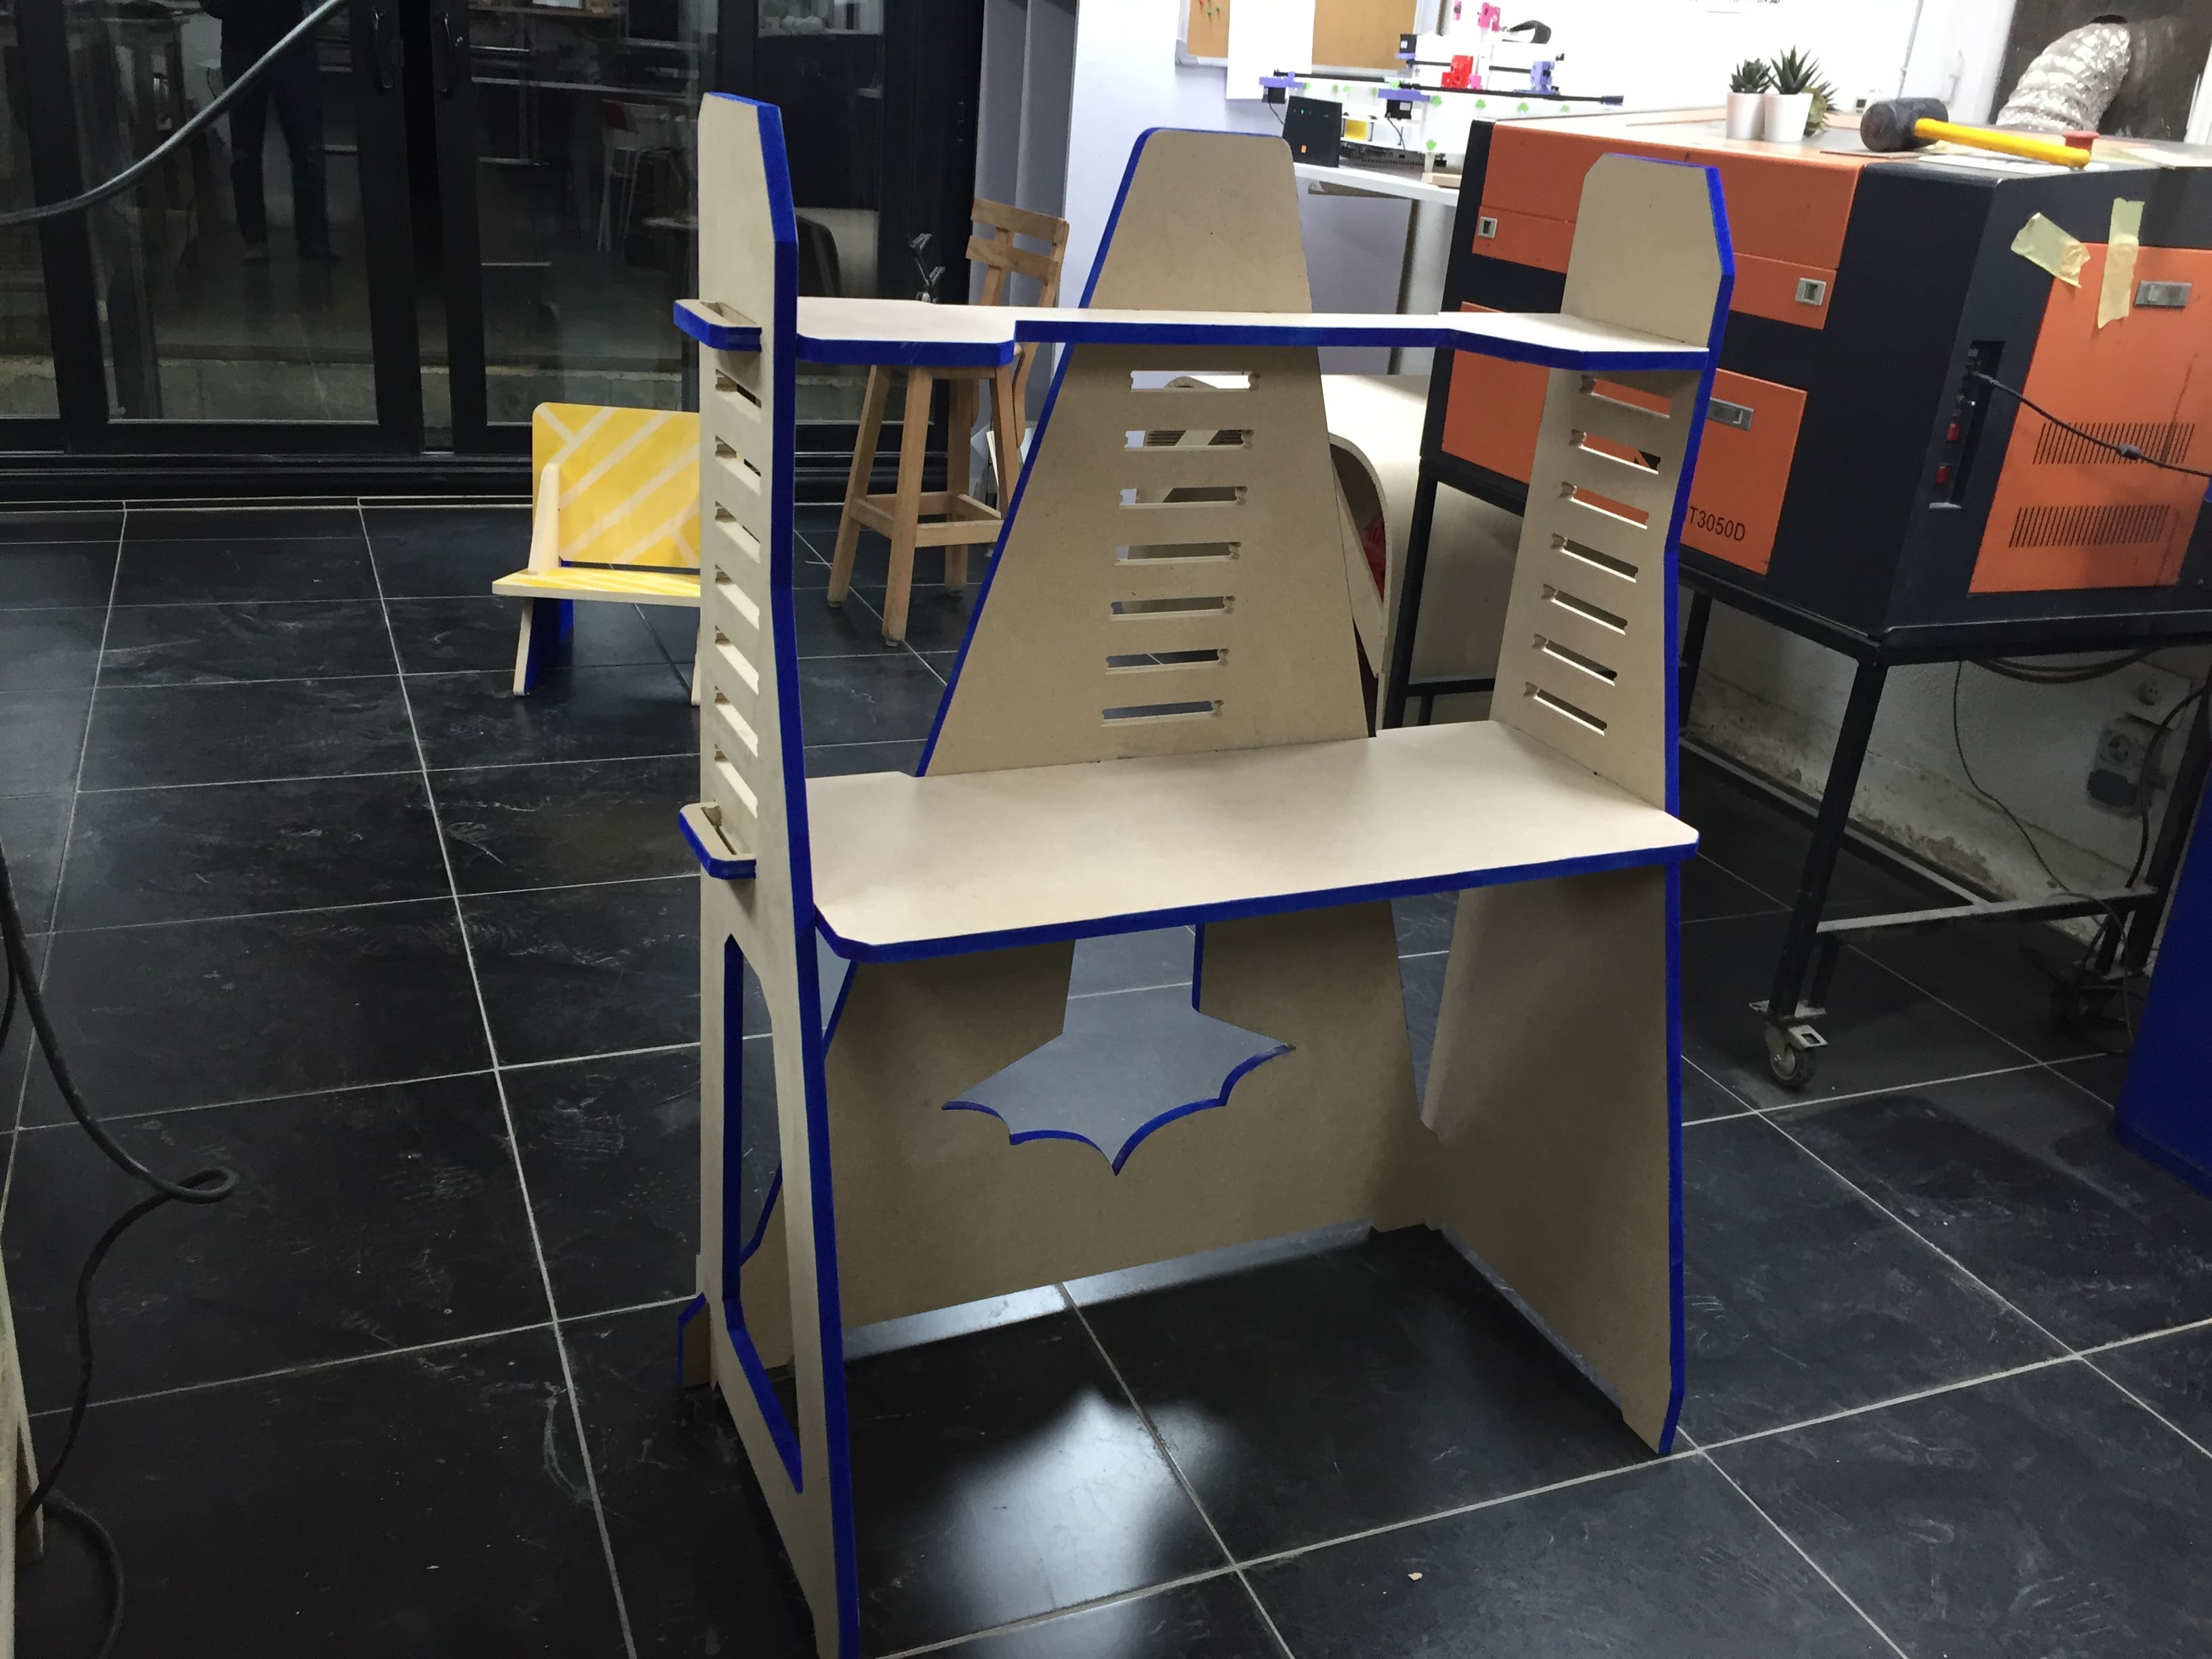
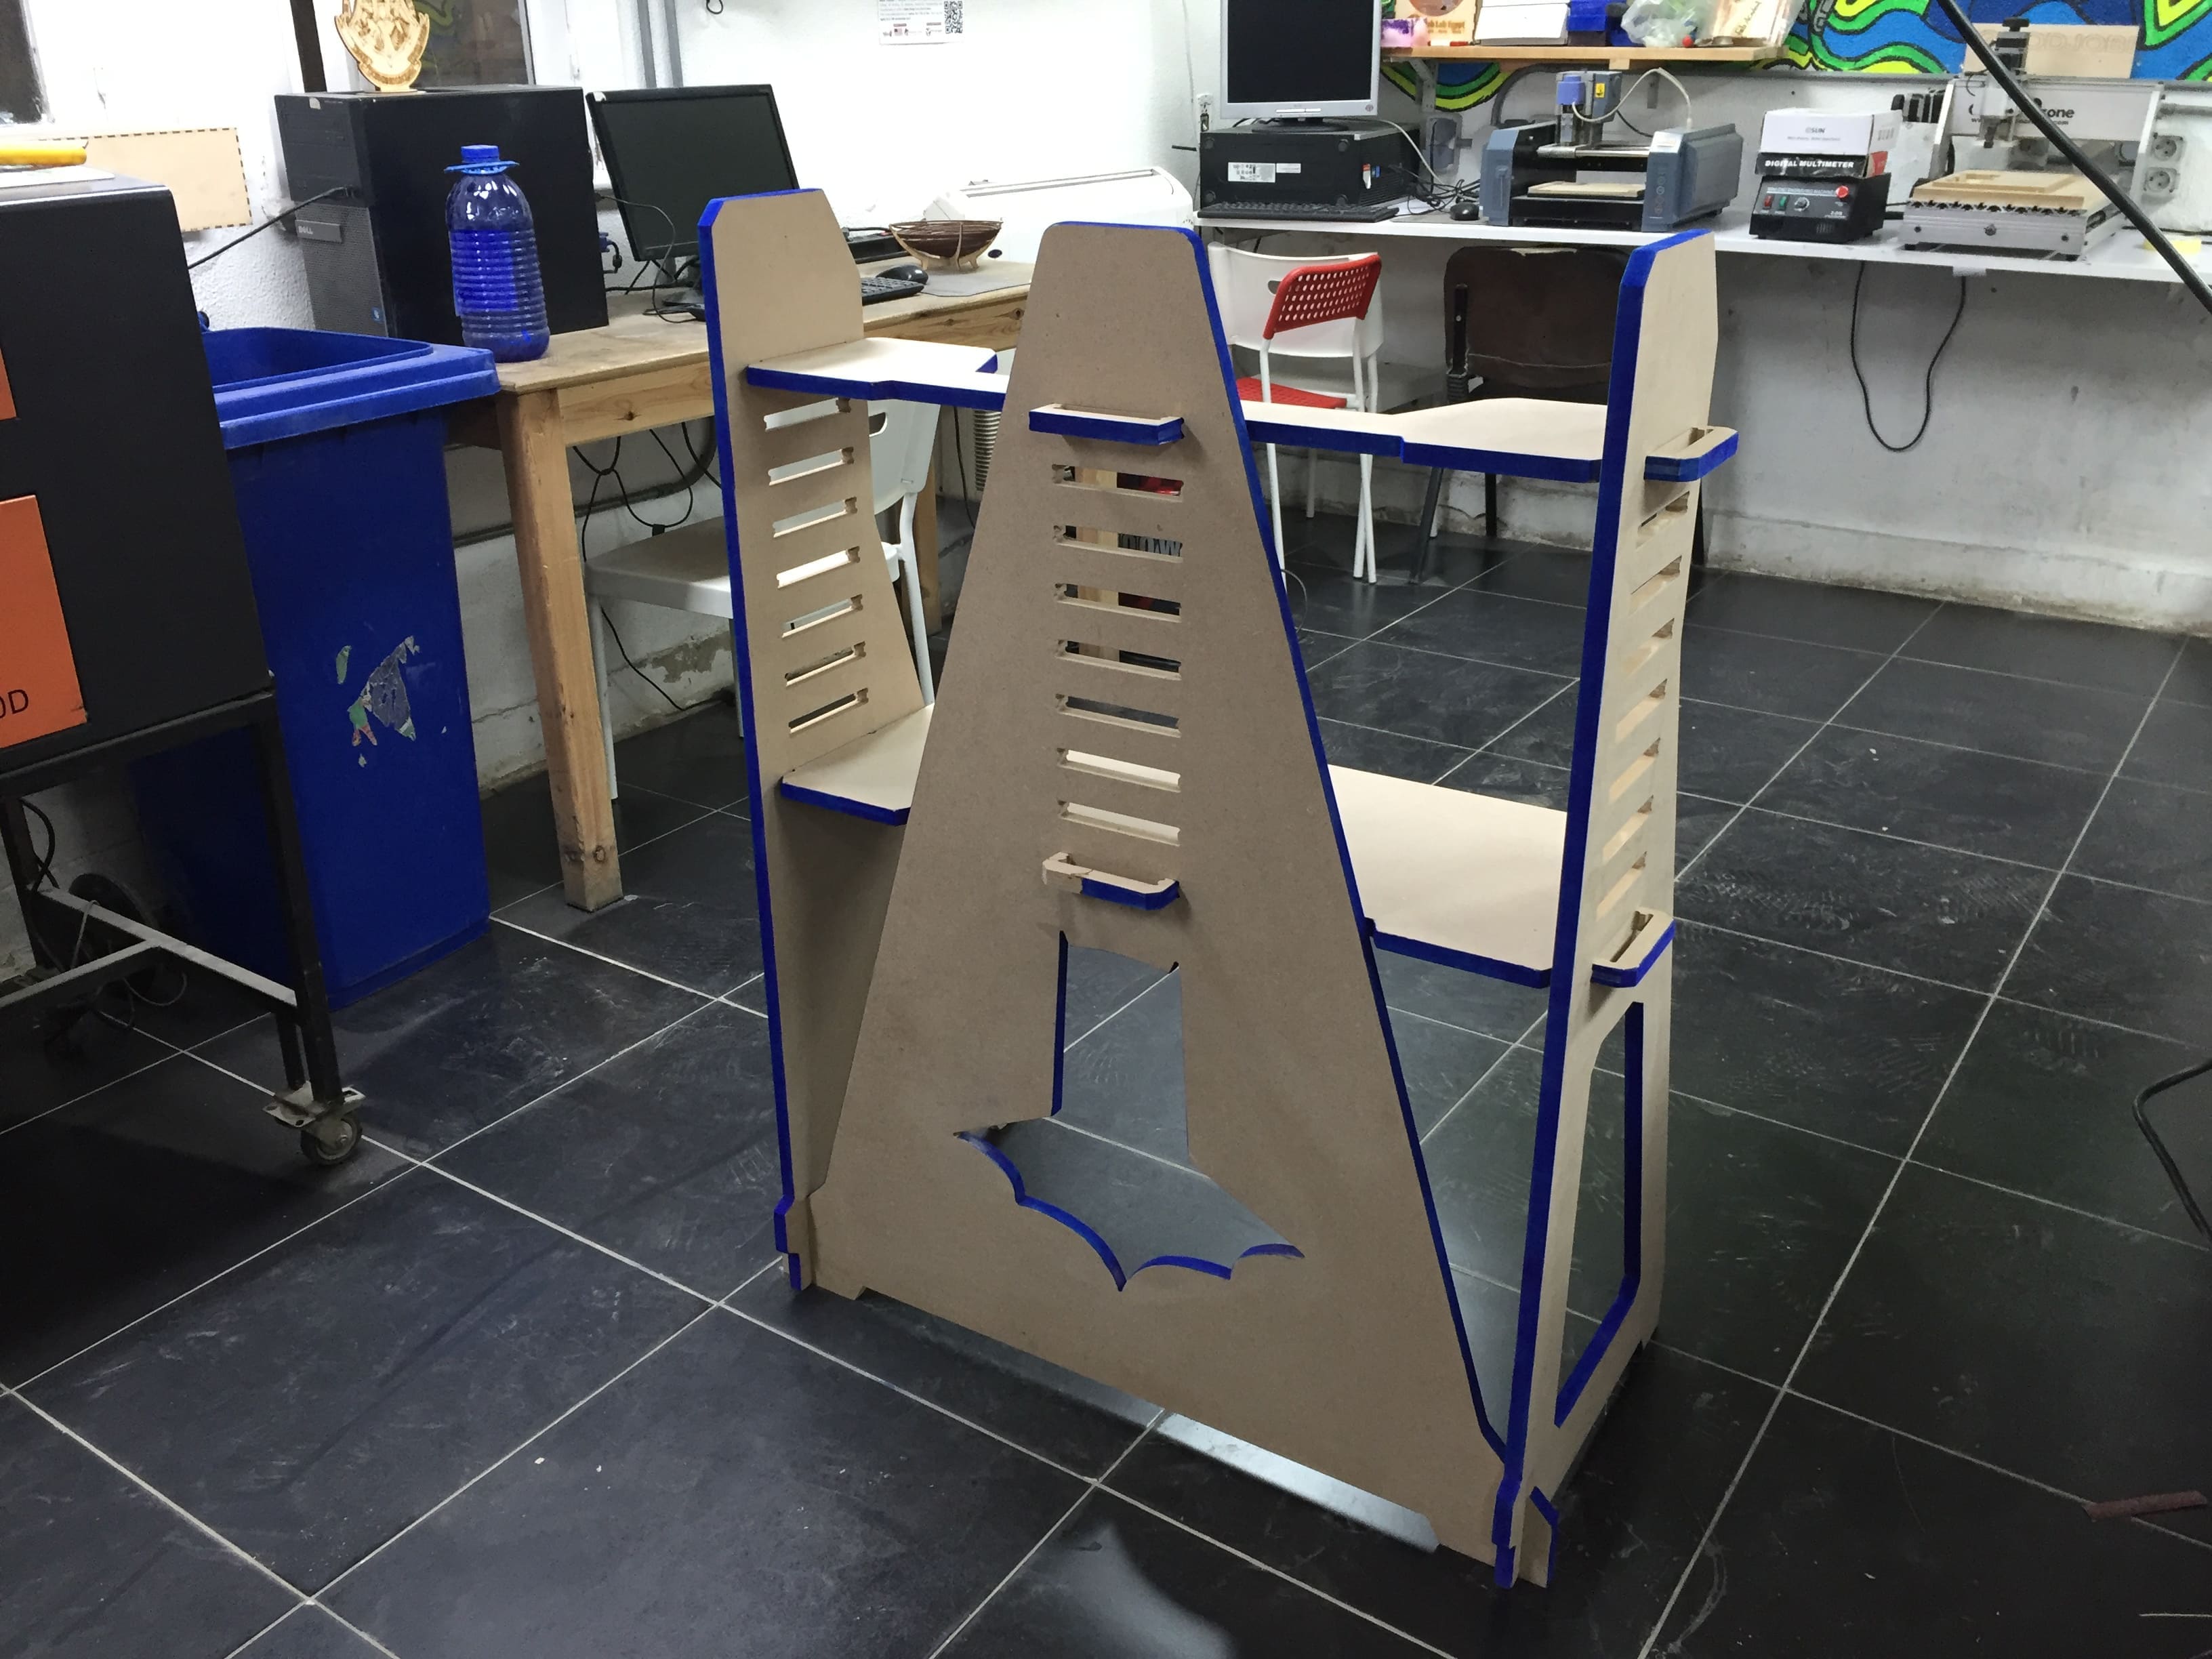
And that is the result after assembling.
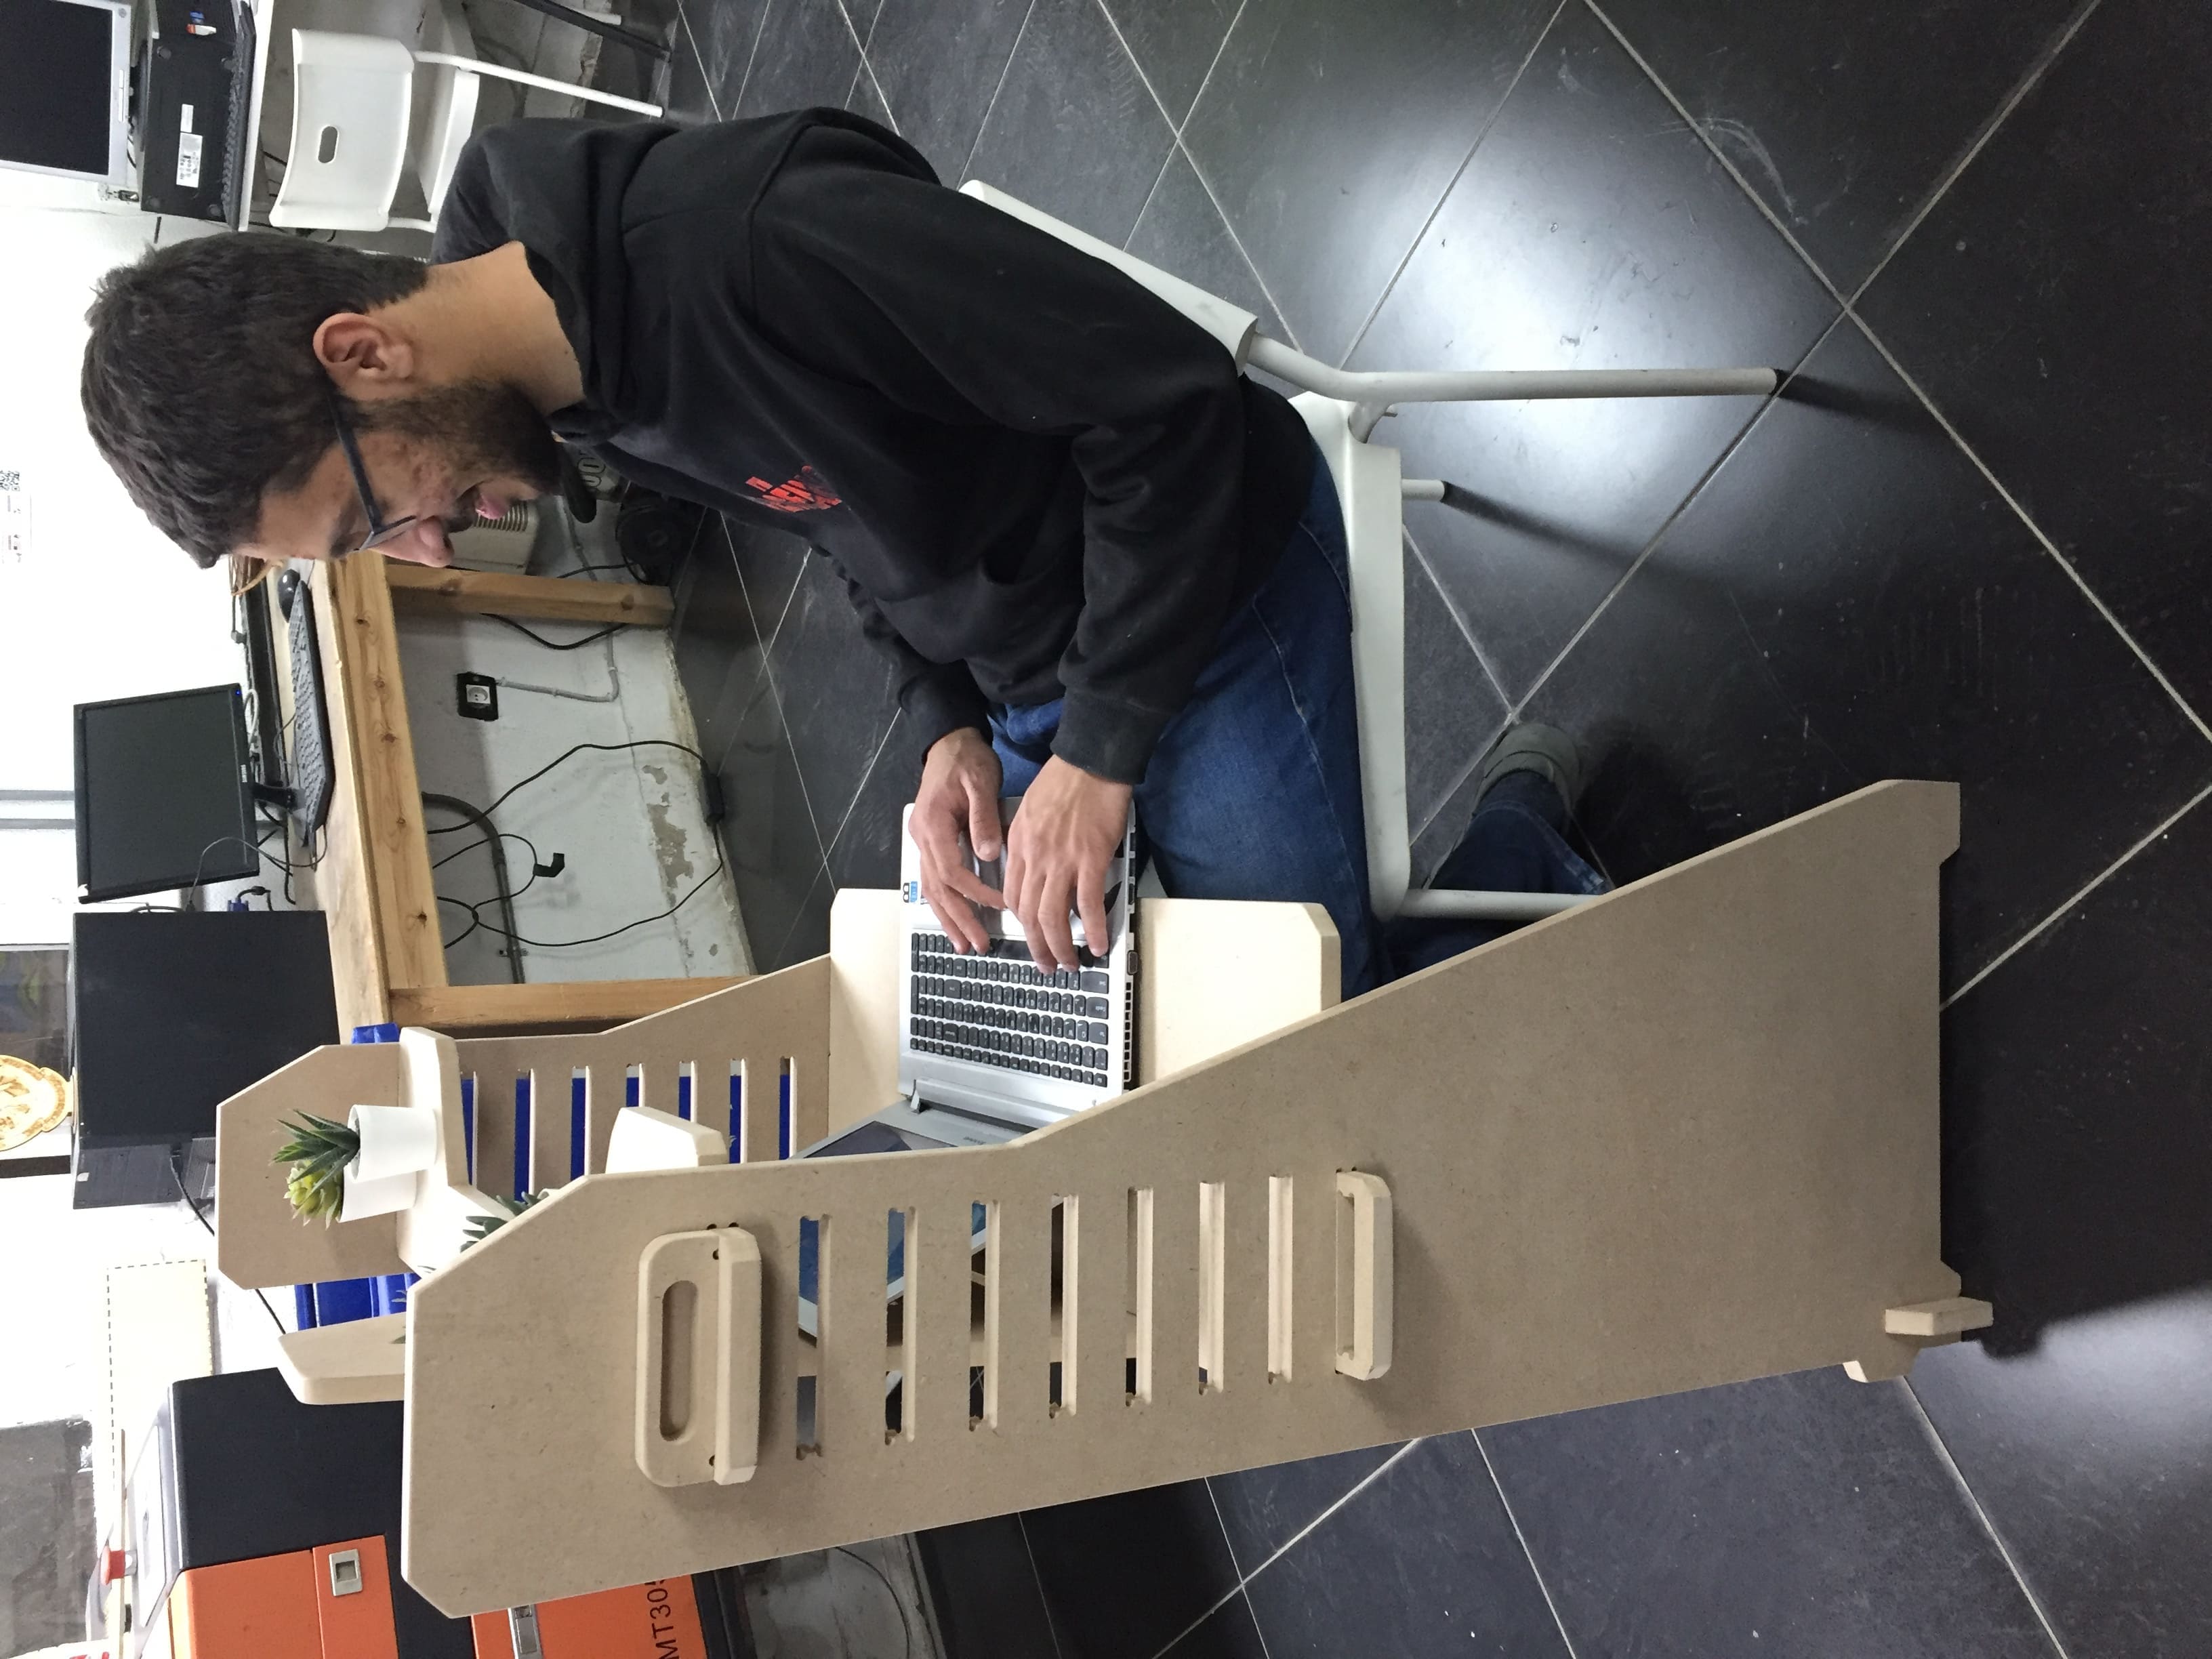
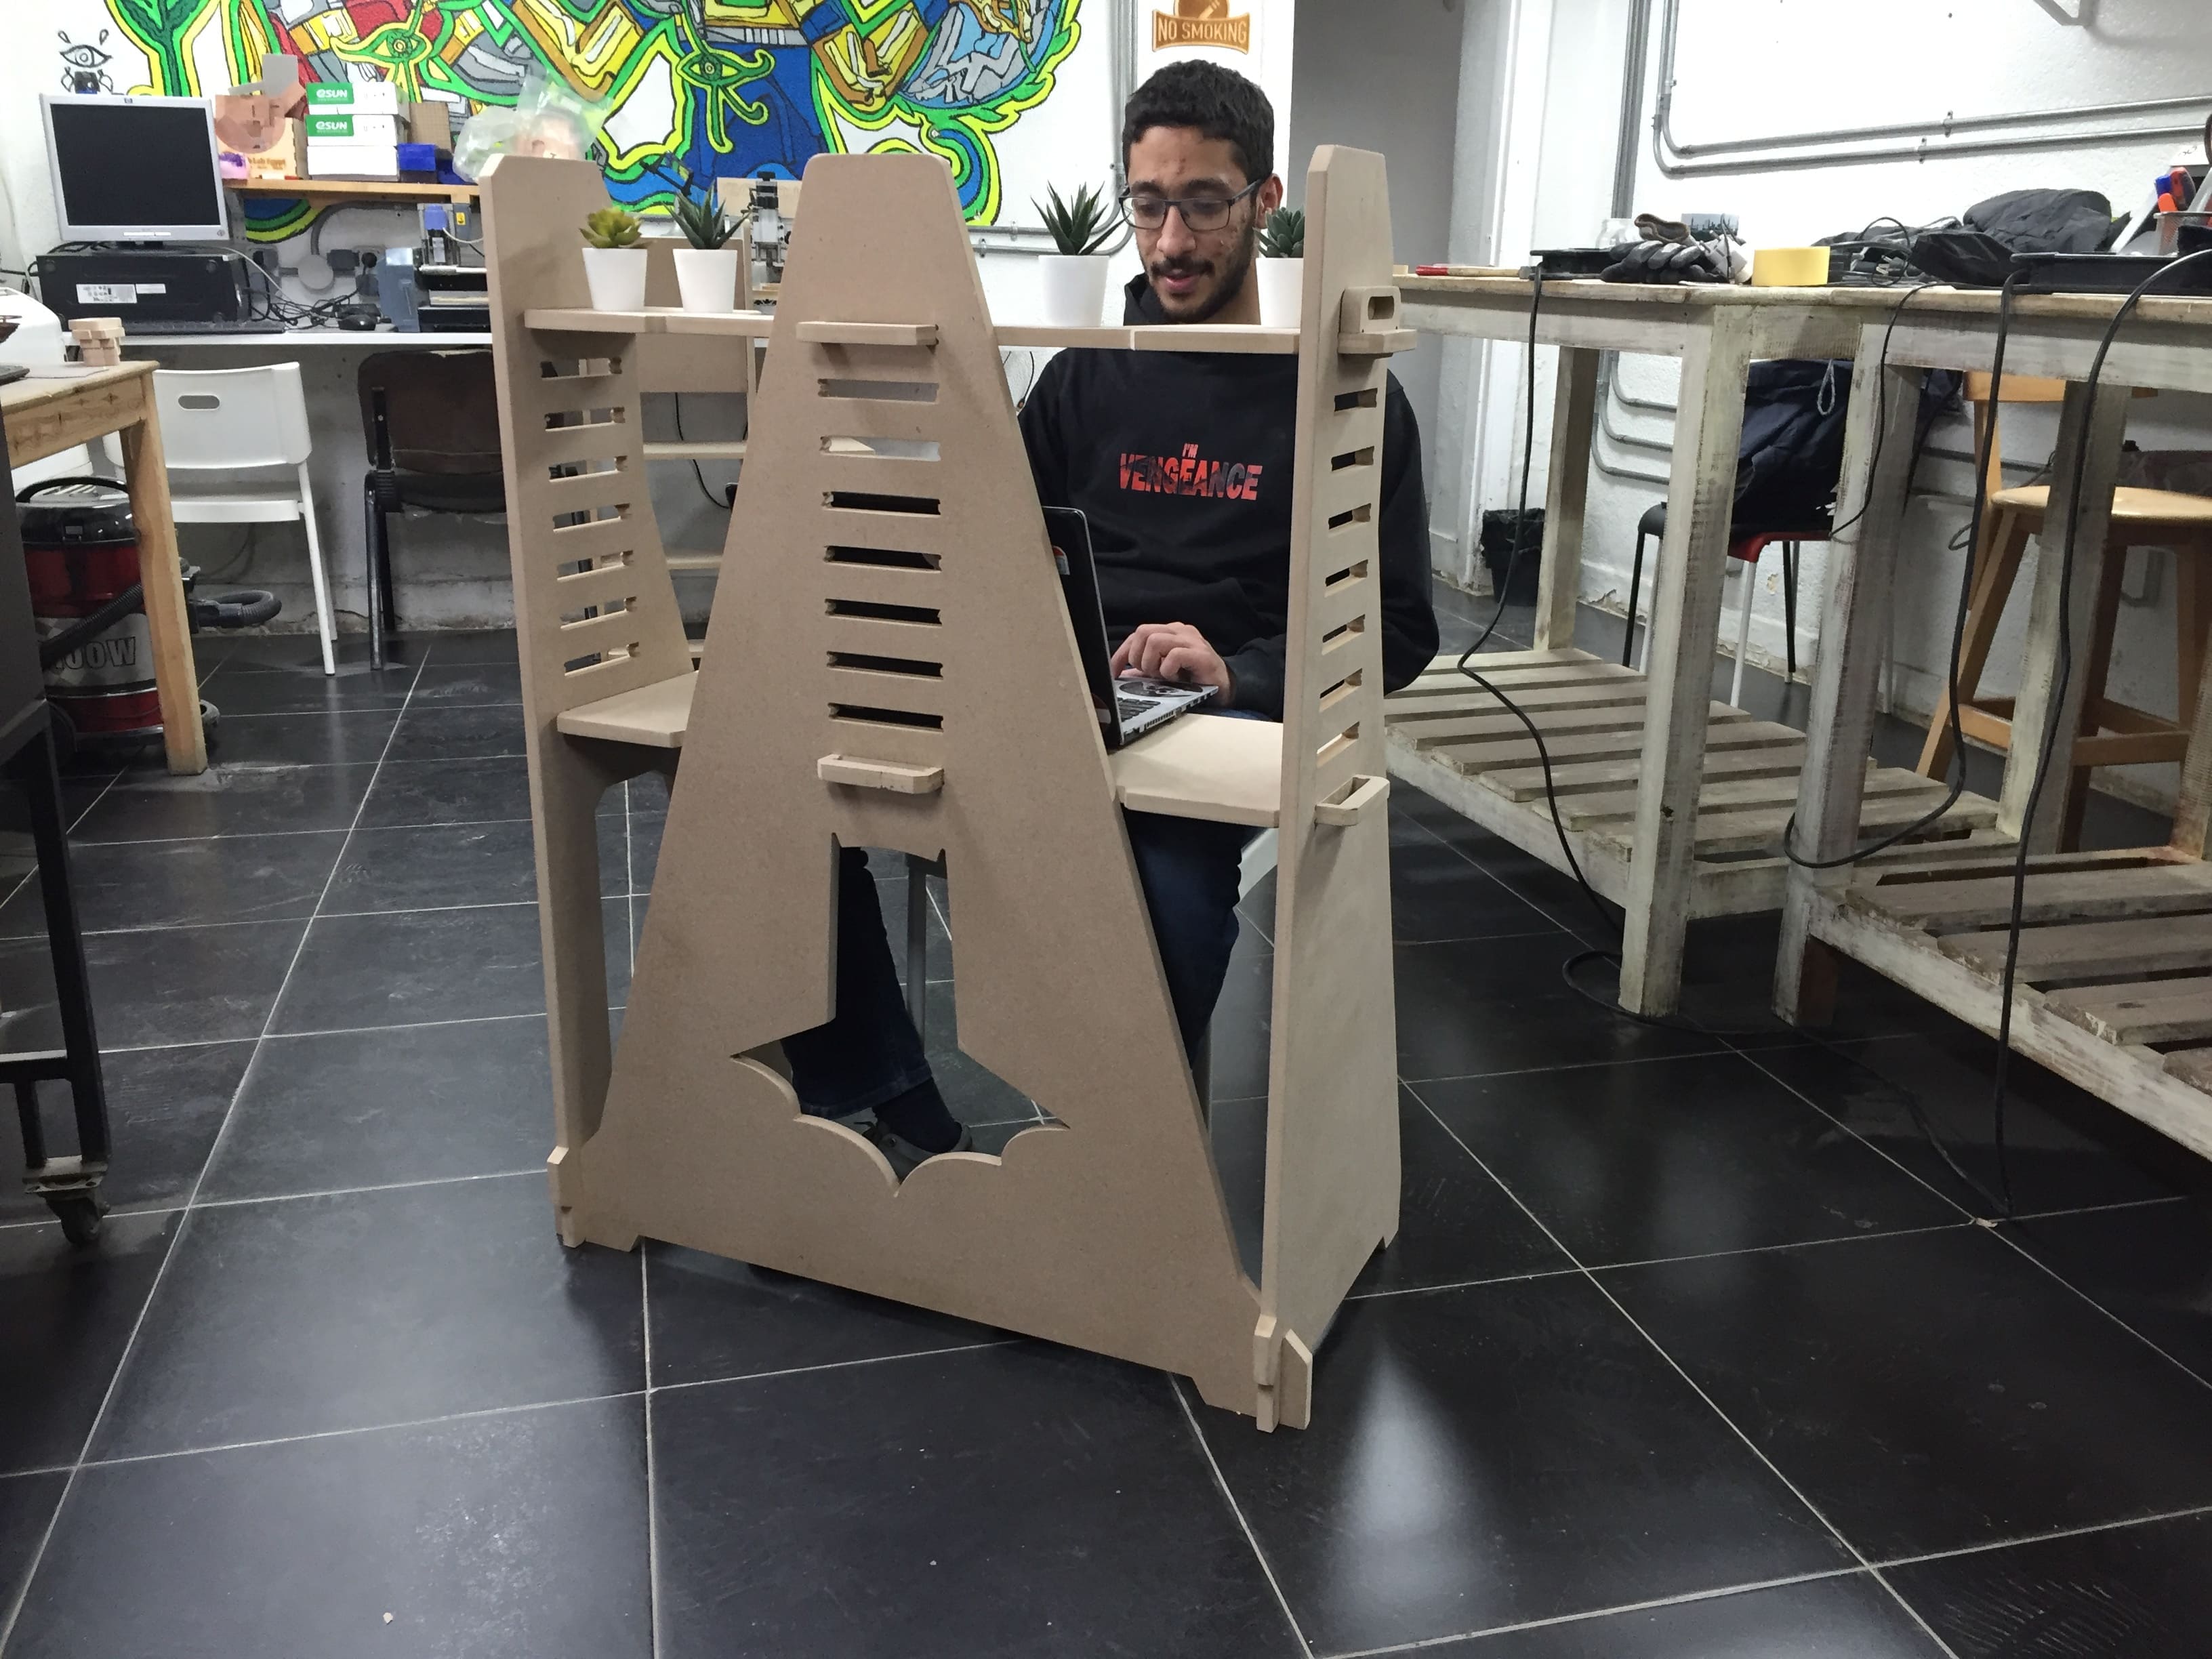
Then I thought of painting the edges with blue color, and that's what I did.

And that is a video for the whole process.
The full process of the week
Hoooooray!!
That's all folks!