
Week 2
Computer-Aided Design
In this week's assignment we had to work on the following:
- Model in raster.
- Model in vector using vectors software.
- Model in 2D using CAD modeling software.
- Model in 3D.
- Render your model.
- Animate a model.
- Simulate a model.
- Compress our images and videos.
- Post and document on our page.
Modeling in Raster Exercise
First we need to know what is the difference between Vector & Raster graphics.
The main difference as an article named "VECTOR VS. RASTER IMAGES: CHOOSING THE RIGHT FORMAT" that you can find here explains is that vectors do not depend on pixels as raster does, but it depends on something called "anchored dots" and connected by lines and curves. While Raster images are made of pixels, or tiny dots that use color and tone to produce the image. And while the amount of pixels determine the quality of the image, so more pixels results in better quality at the same or larger sizes of the original, but this also increases the size of the file and the amount of space it takes to store the file.
I had to decide which raster graphics tool I'll be using as there are plenty of tools to use as GIMP, Pixlr, MyPaint, and many others but after watching some tutorails, I found that GIMP will be suitable for me and it was recommmended also by Kamel our instructor.
 I started by watching some tutorials
that were very helpful as All 39 GIMP Tools Explained,
and How to use GIMP. And that is what I ended uo with
by turning the photo of my brother Ahmed into a logo.
We can start by downloading GIMP from here as it is an opensource software, then run it.
I started by watching some tutorials
that were very helpful as All 39 GIMP Tools Explained,
and How to use GIMP. And that is what I ended uo with
by turning the photo of my brother Ahmed into a logo.
We can start by downloading GIMP from here as it is an opensource software, then run it.
After runing GIMP we will start a new project by clicking on File>New then type in the size you need, and we will be importing the image we want from File>Open and choose the picture.
Then in order to make a logo it must be unicolor which is black, so we will got to Colors>Hue-saturation, set the saturation to 0 in order to get greyscale.
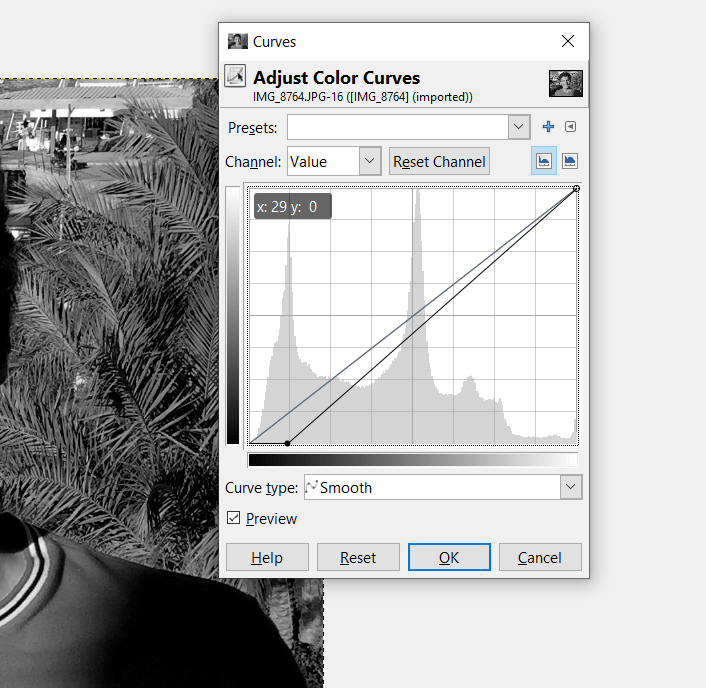
After that, go to Colors>curves in order to see all the shadows and to be tracable, but do not increase the shadows too much to be able to differentiate between picture and backgrounds behind.
Then we will add a new layer different from the layer having the image to trace in and edit whatever we need.
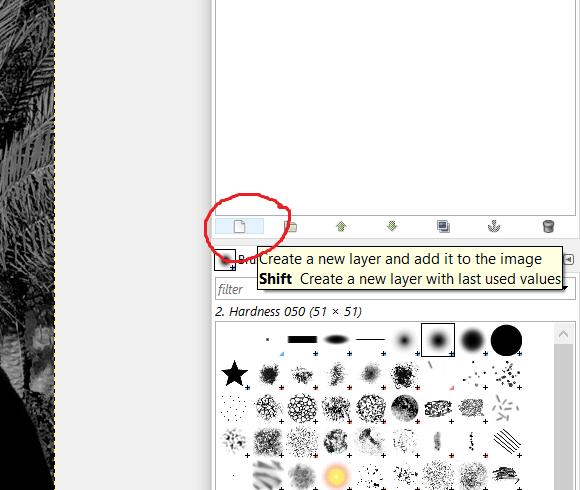
Just make sure that the new layer is selected Transparecny in Layer fill type and then turn down the opacity down to 30% to be able to see the image through it.
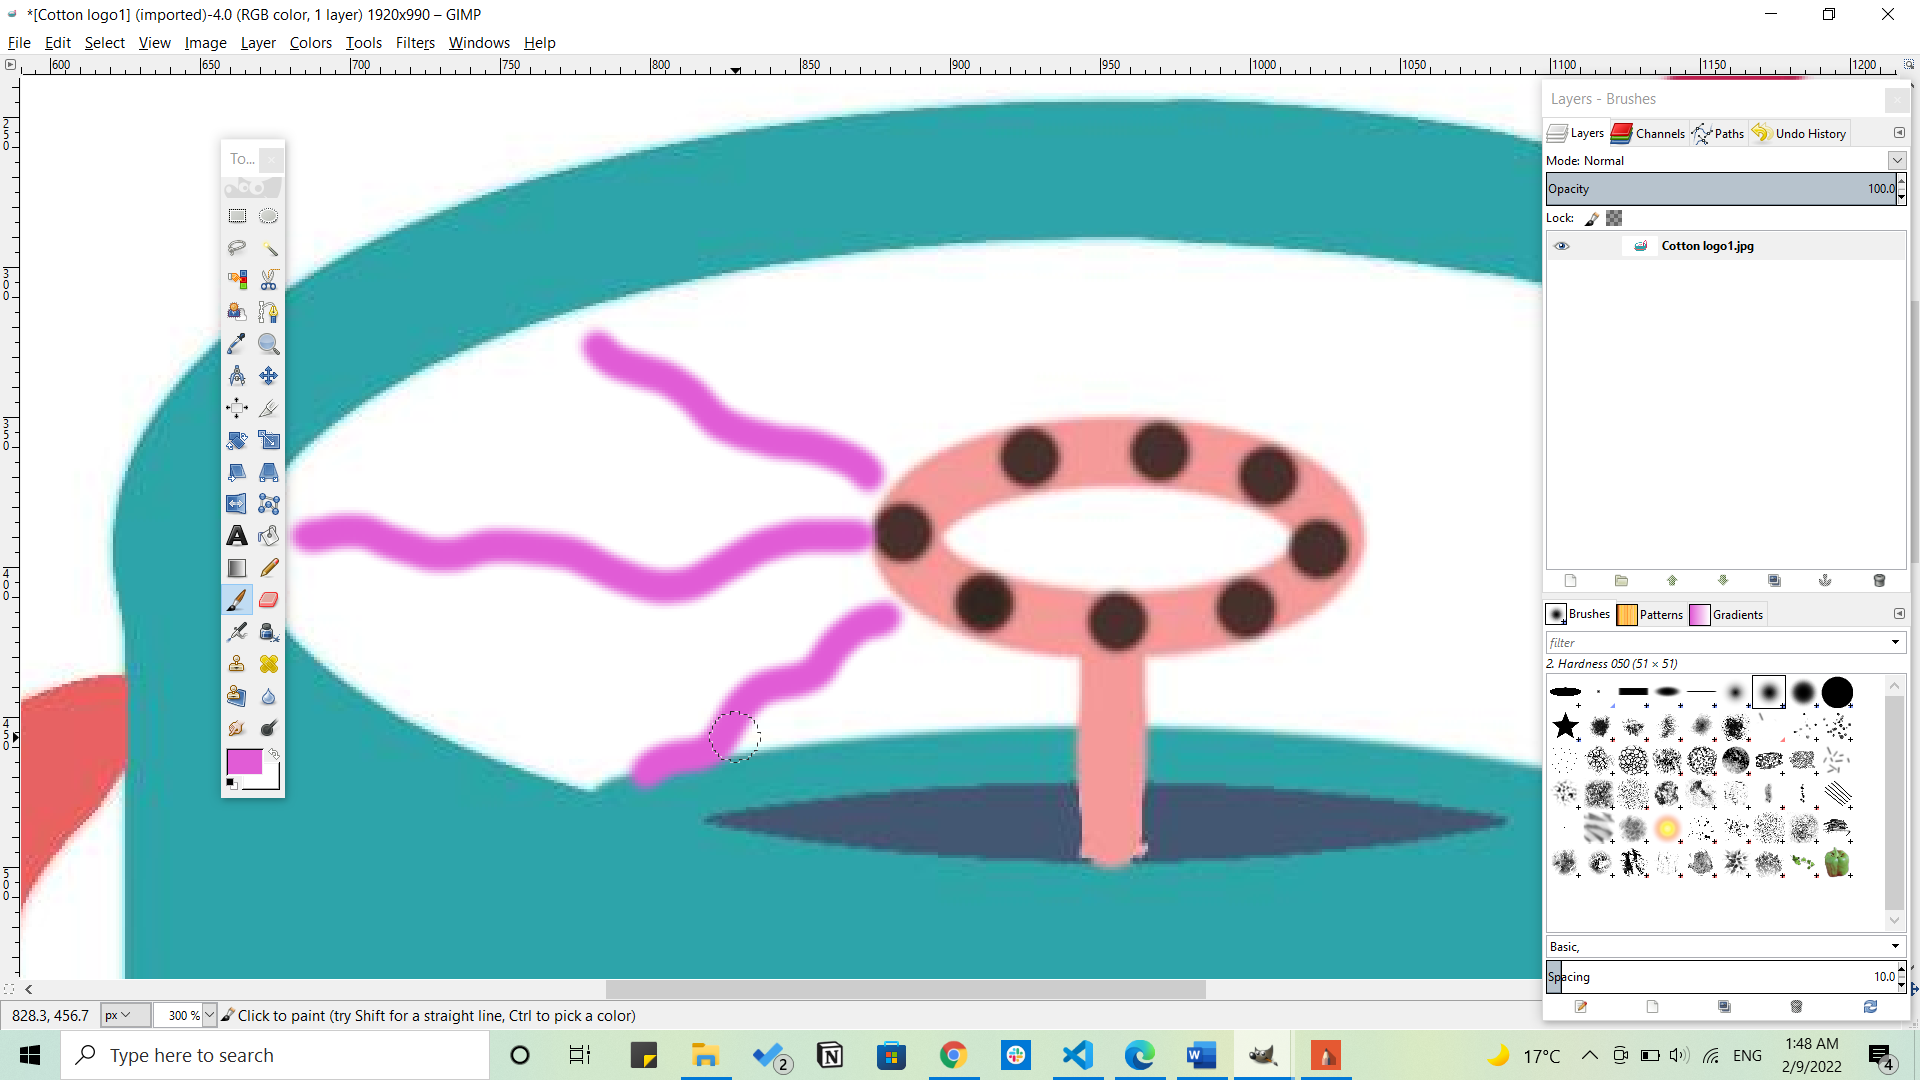
Grab a brush from the tools and start tracing the shadows inside the picture
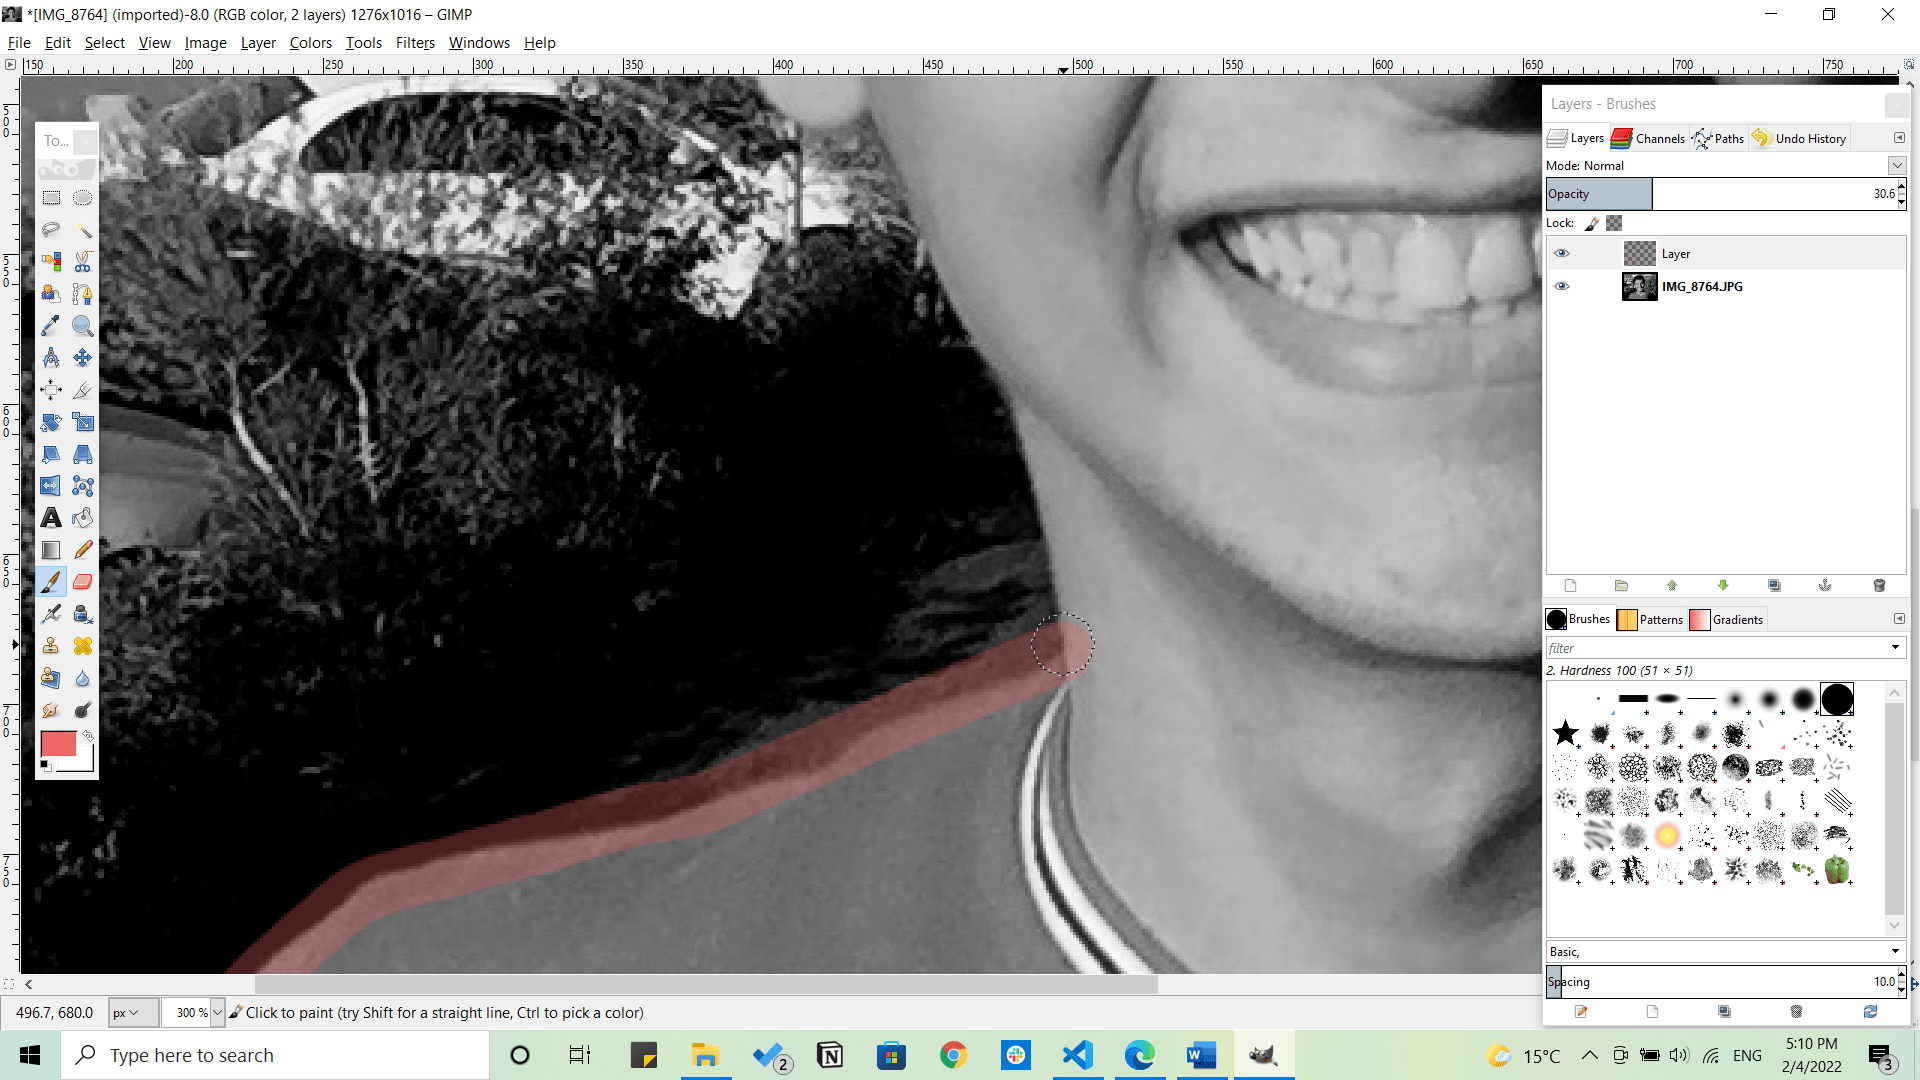
You can also decrease the brush size by tapping on brackets [ ] buttons on the keyboard to get the small shadows and details. Then you need to add a new layer with White in Layer fill type, and drag it down in the layers menu bar that we are working on. And then start filling the shadows with the bucket fill tool.
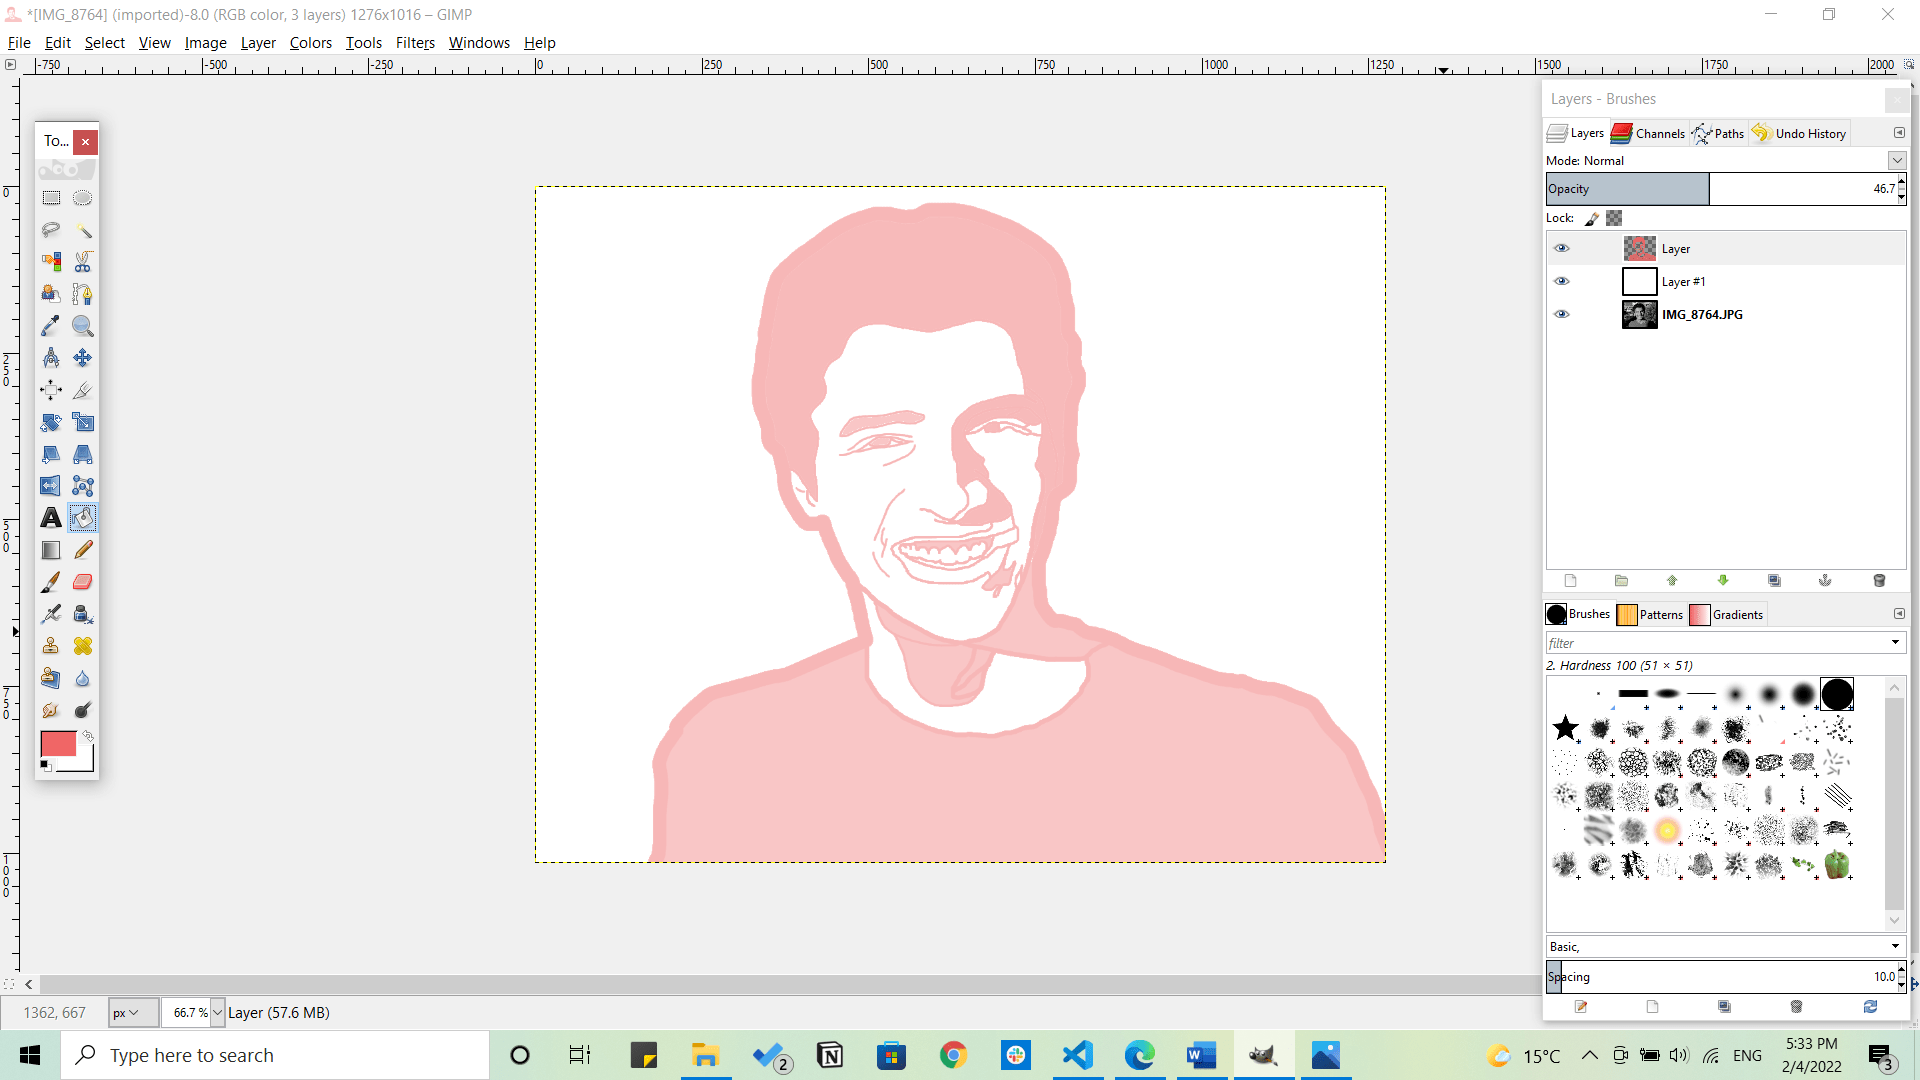
Now you will get a picture similar to this one below
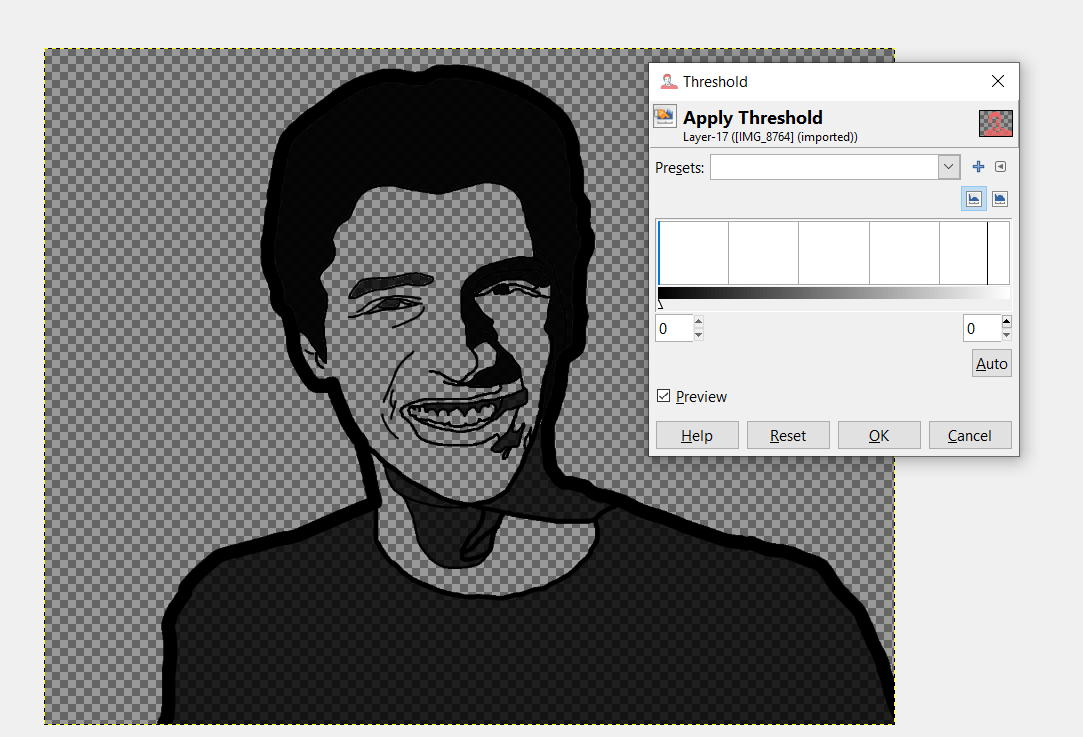
Then go to Color>Threshold and move all arrows all the way to the left to get them all black.
Now we shall create a new image and add some guides that we will need here from Image>Guides>New guides(by percent). Then we will add a circle from ellipse tool and make the center of it at the intersection of the 2 guides "the horizontal and vertical" and fill it with black color.
Go to the first picture and click on copy visible, and paste it in the new image we made as a new layer. Then select the background layer, and click a right click and choose Alpha to selection then select the image layer and get a selection tool to select the outer shapes of the head and press enter to add it to the circle layer
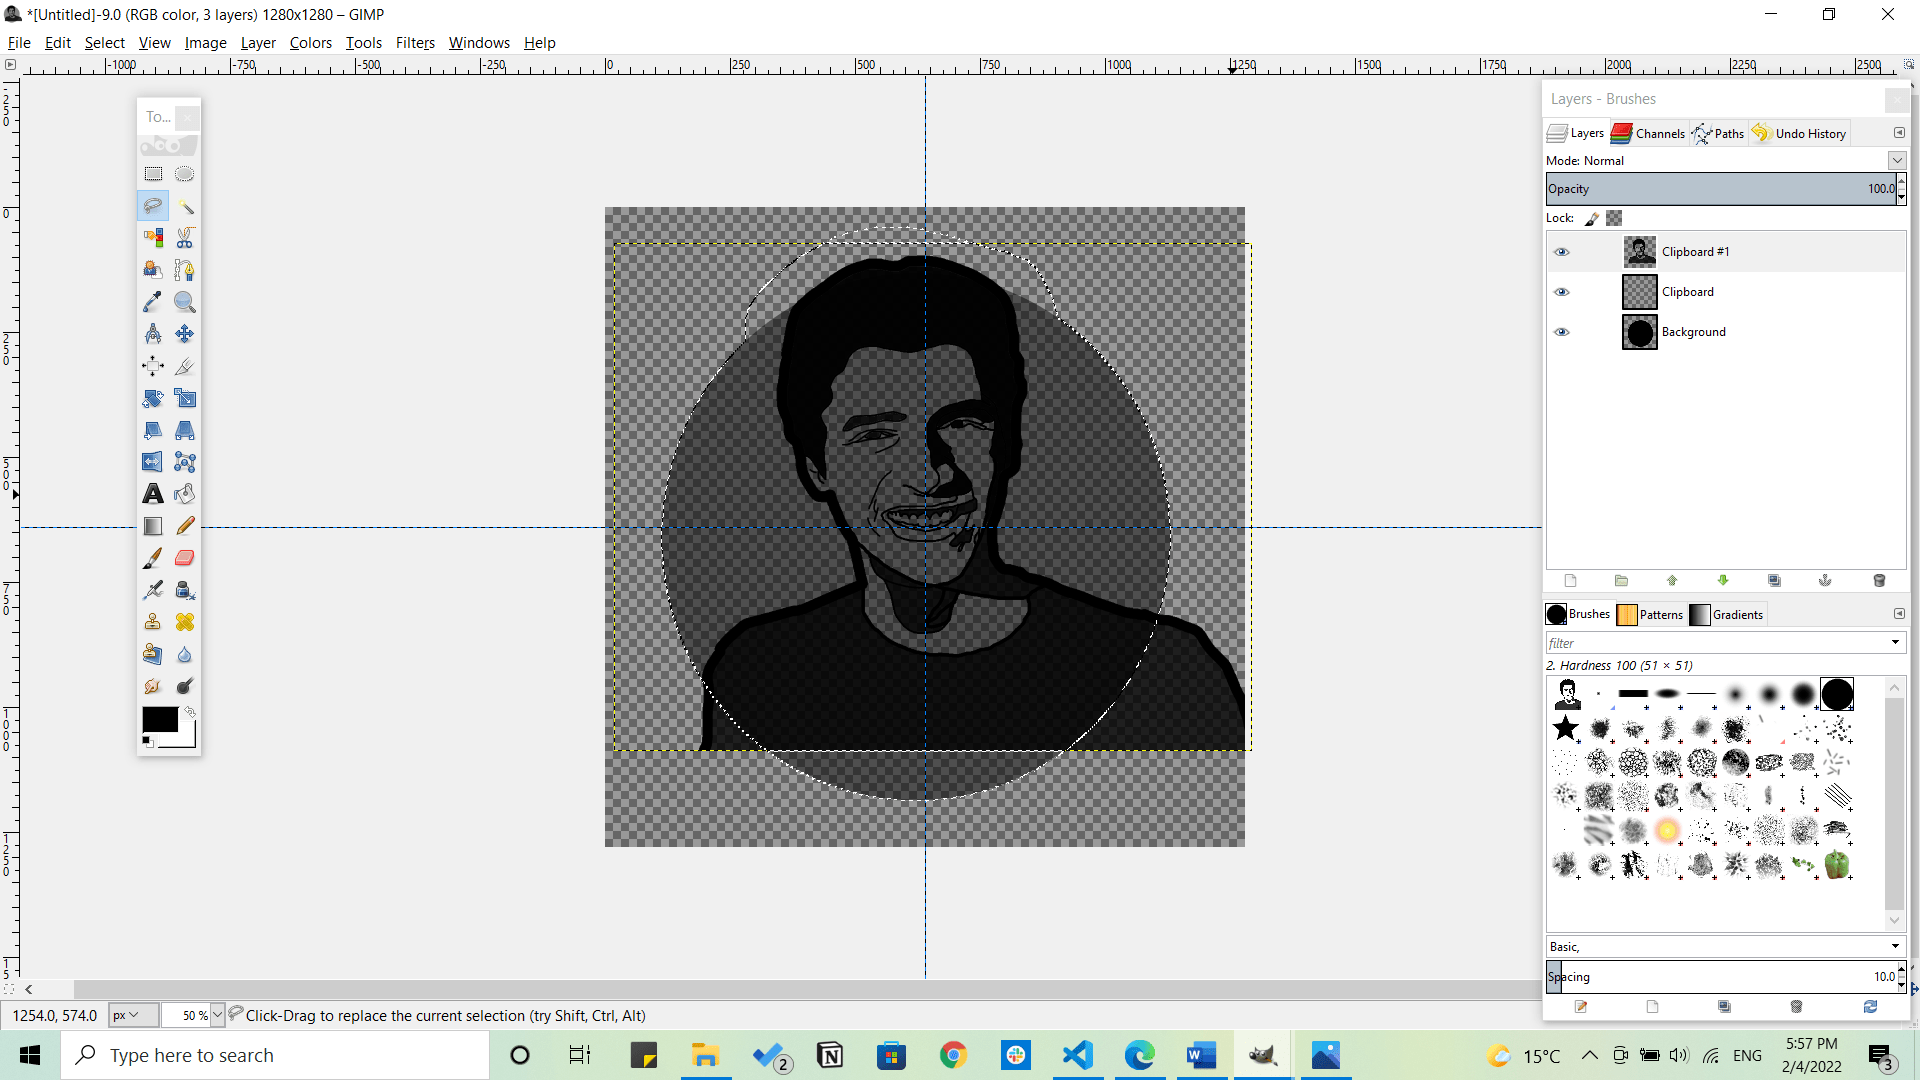
Then select the background tool and get an eraser to erase the left color from that layer Then go to Select>Invert and press delete to remove the rest of the picture. And then we will just turn the opacity of that layer back up to 100%.
 Finally, we will export the photo from file and horrrray. we did it! And if you want to follow a video as I did you can go to Logos by nick Which was really helpful.
Modeling in Raster Assignment
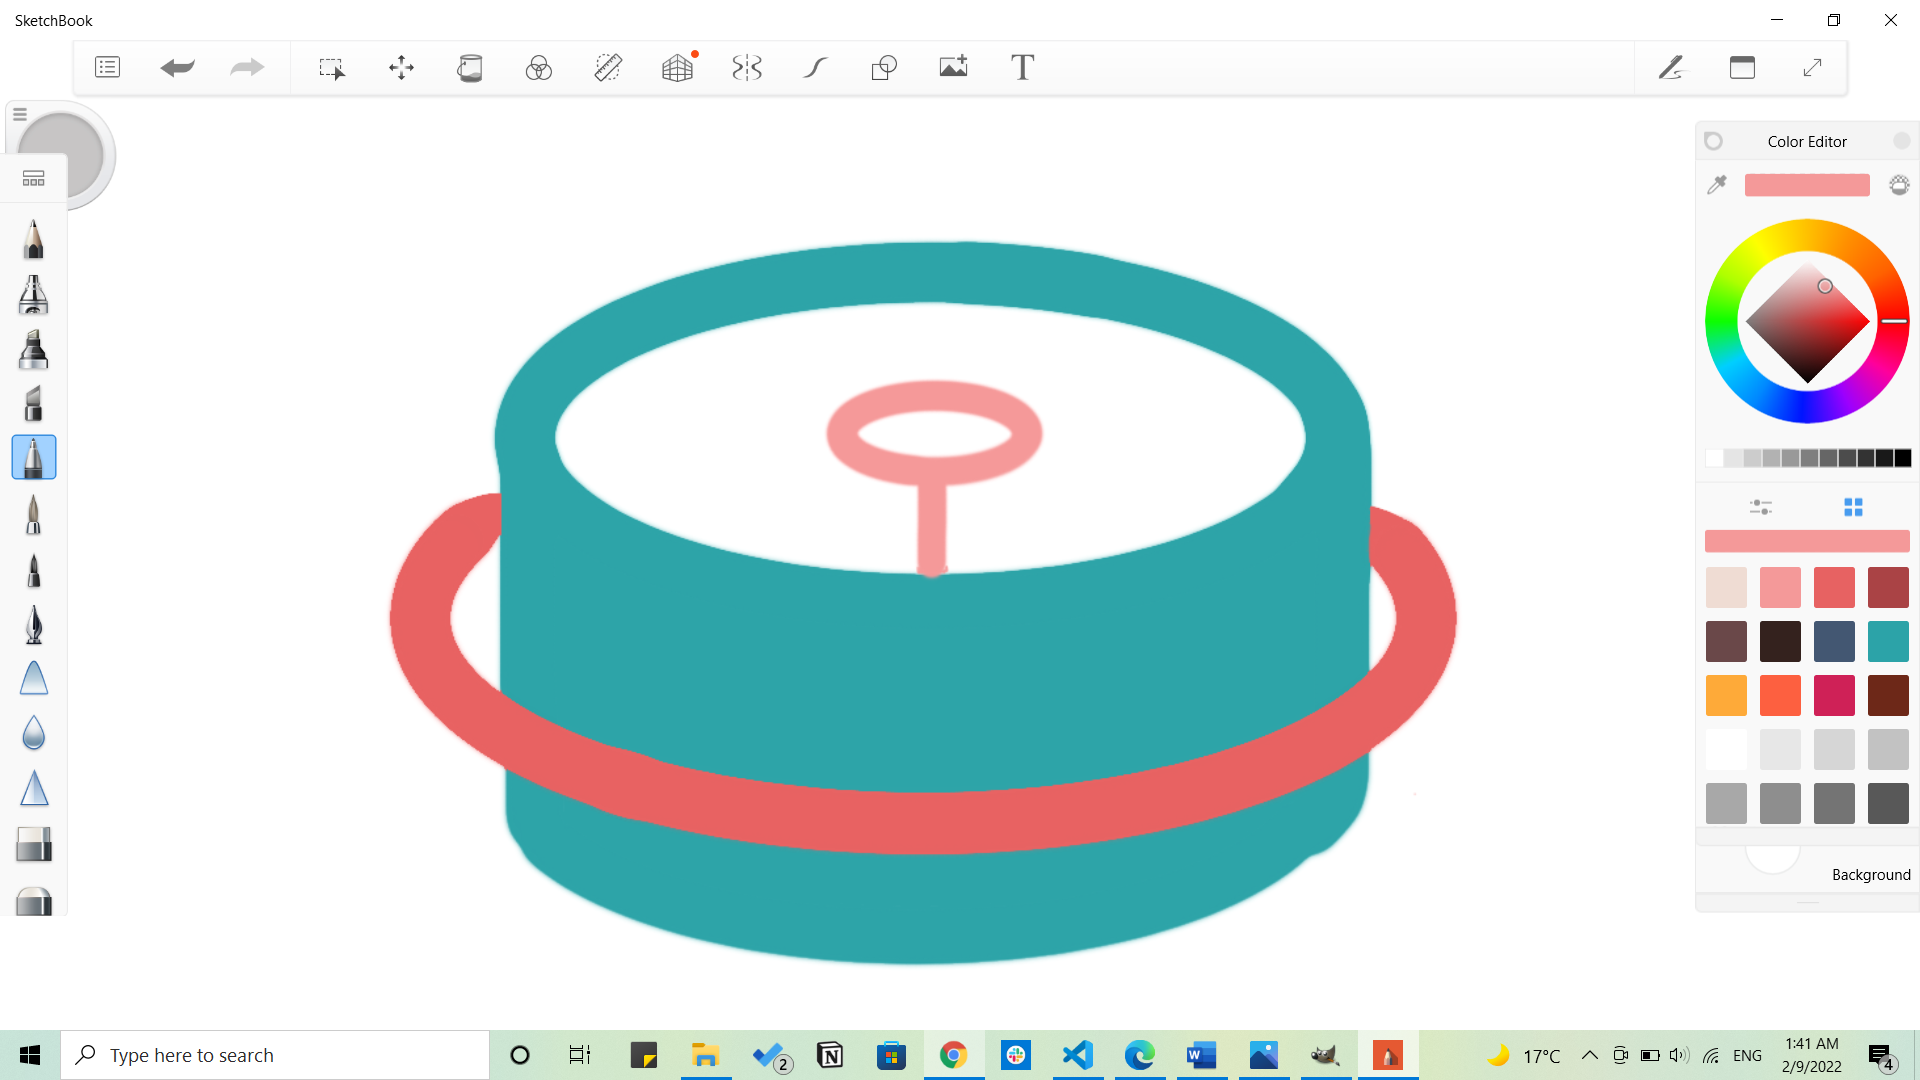
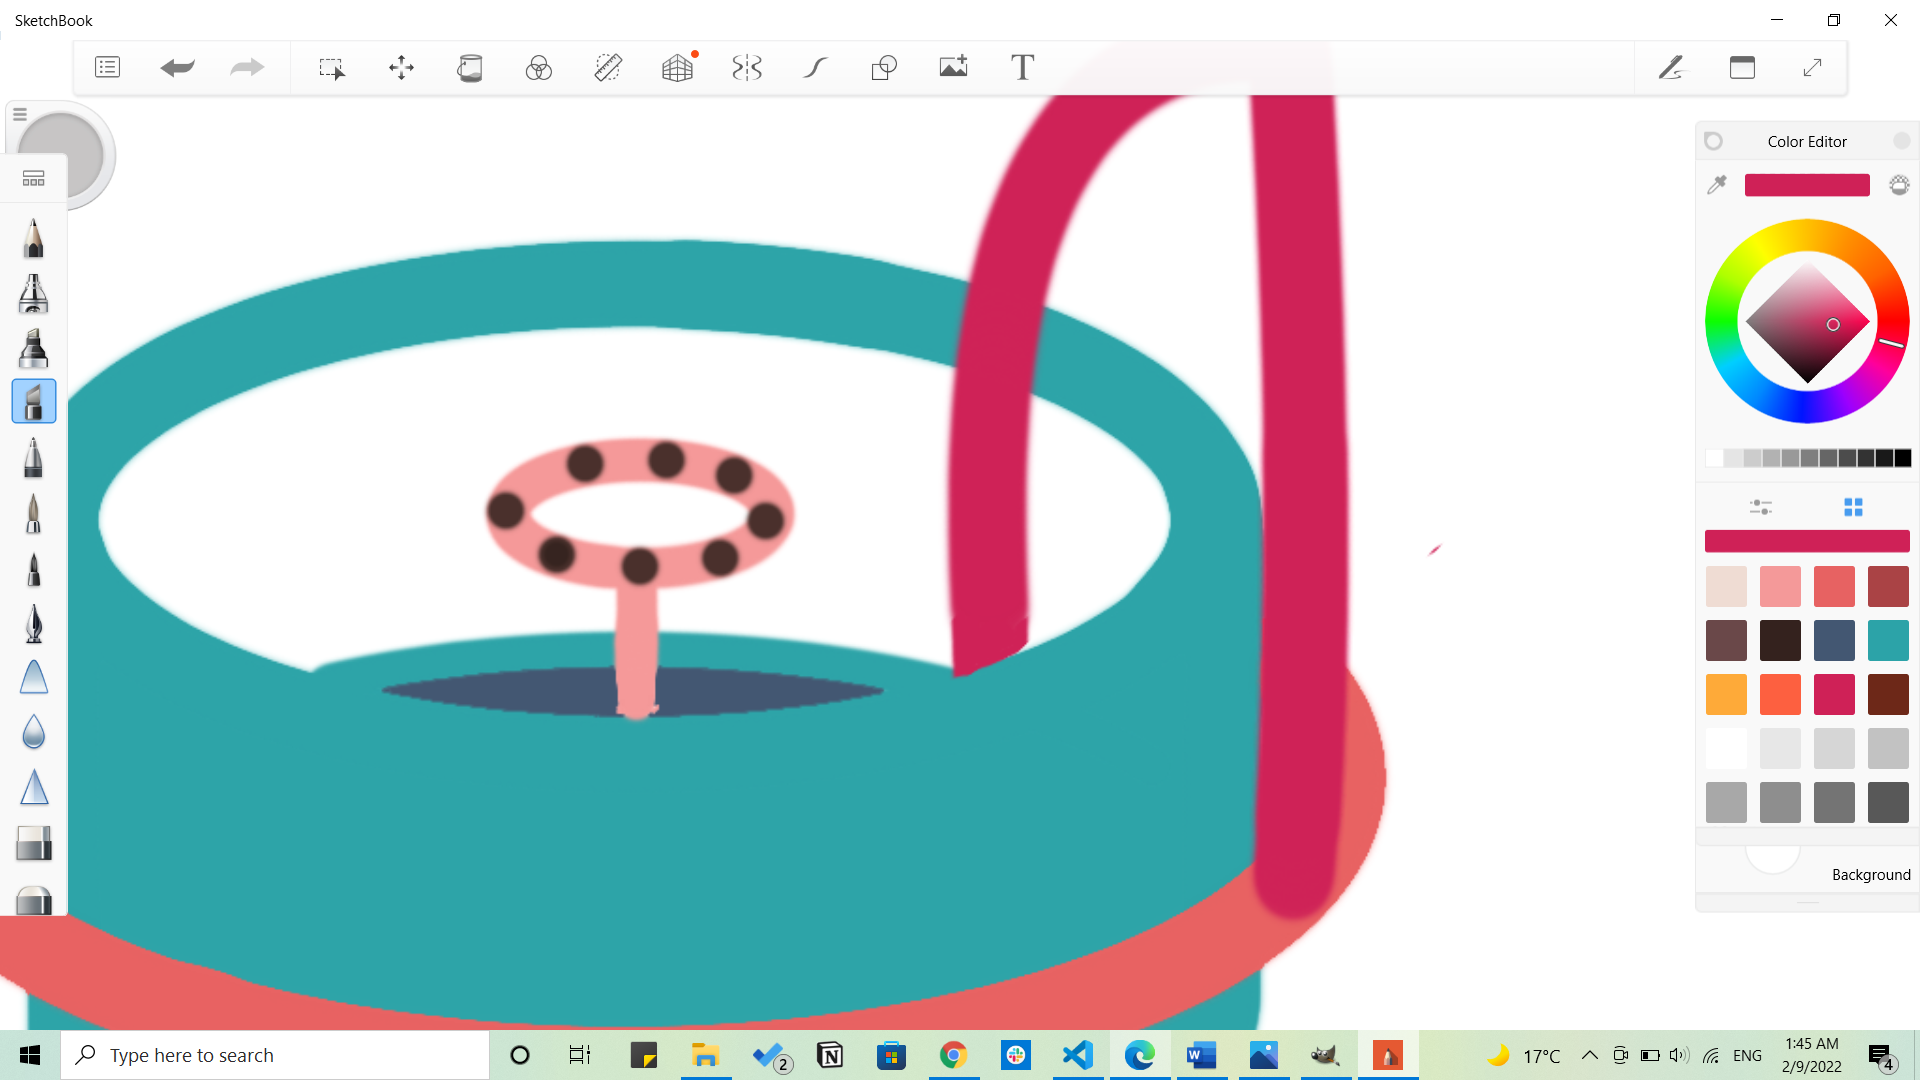
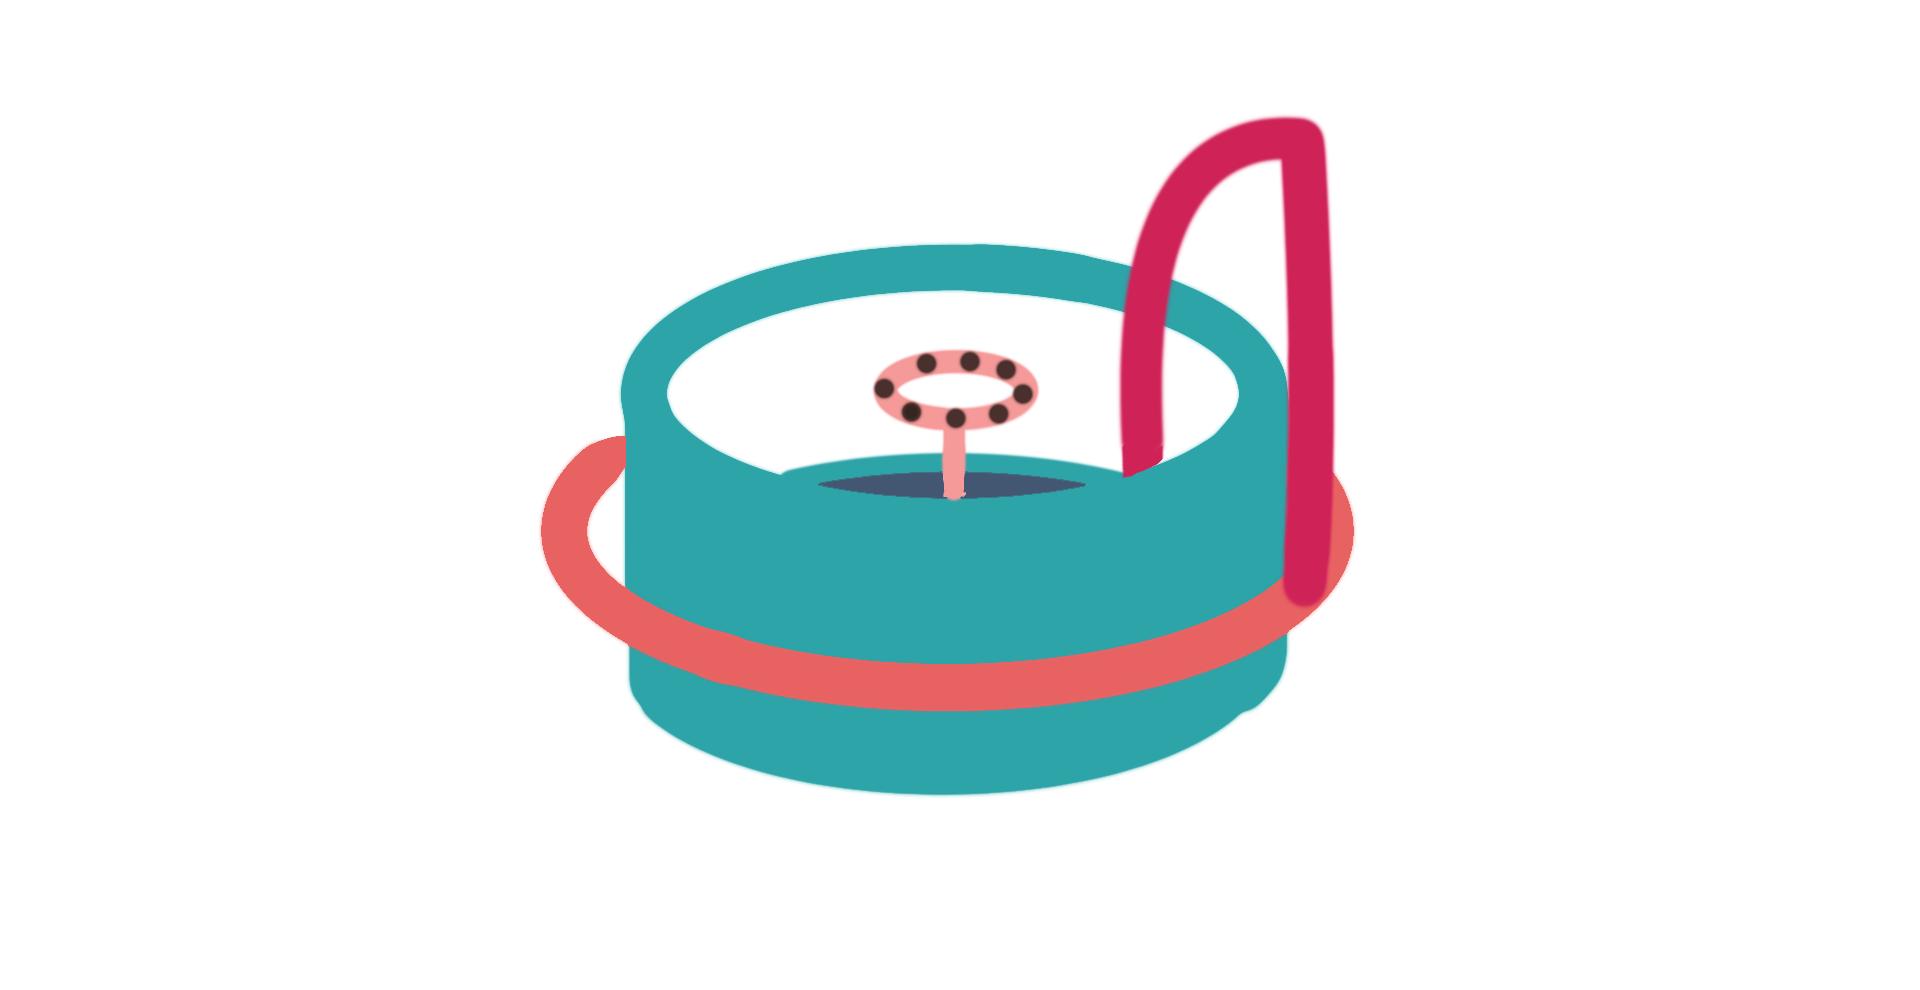
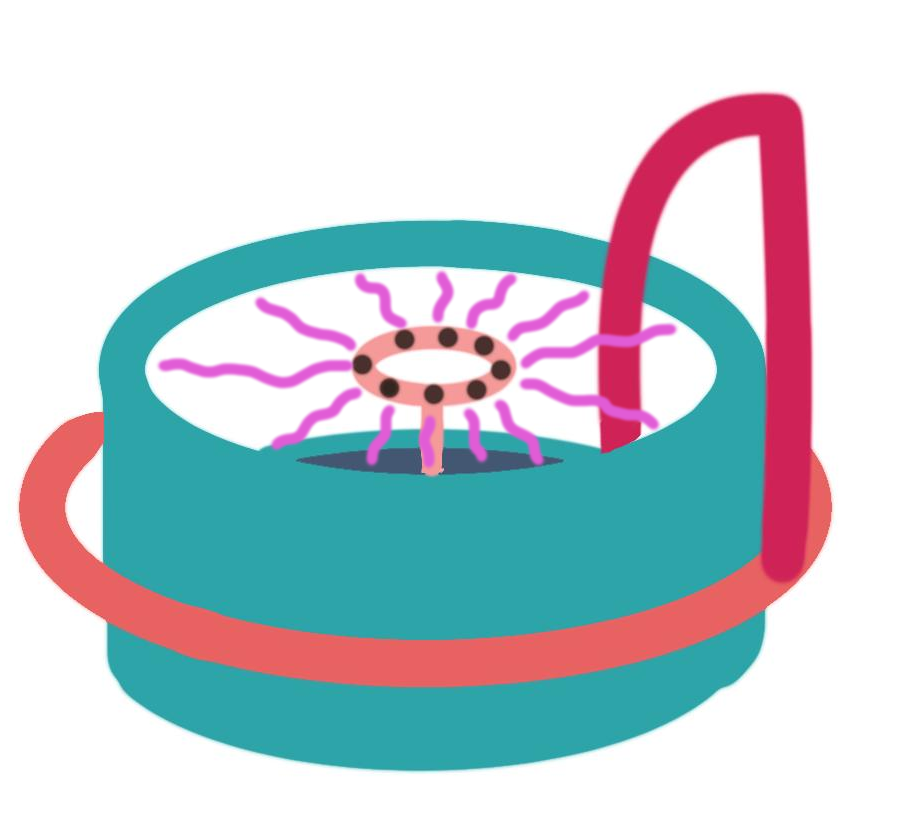
And as for the assignment, I wanted to make a logo for my final project, so I started sketching my logo and you can see the steps below till the end applying what I have learned earlier, so enjoy it.
Modeling in Vector
As usual, there are a lot of vector graphics tools to use as: Inkscape, CorelDraw, Illustrator, Vectr, and so many others, so I chose Inkscape as it seemed to be easy, and you can download it from here, and I managed to draw a doughnut in it.
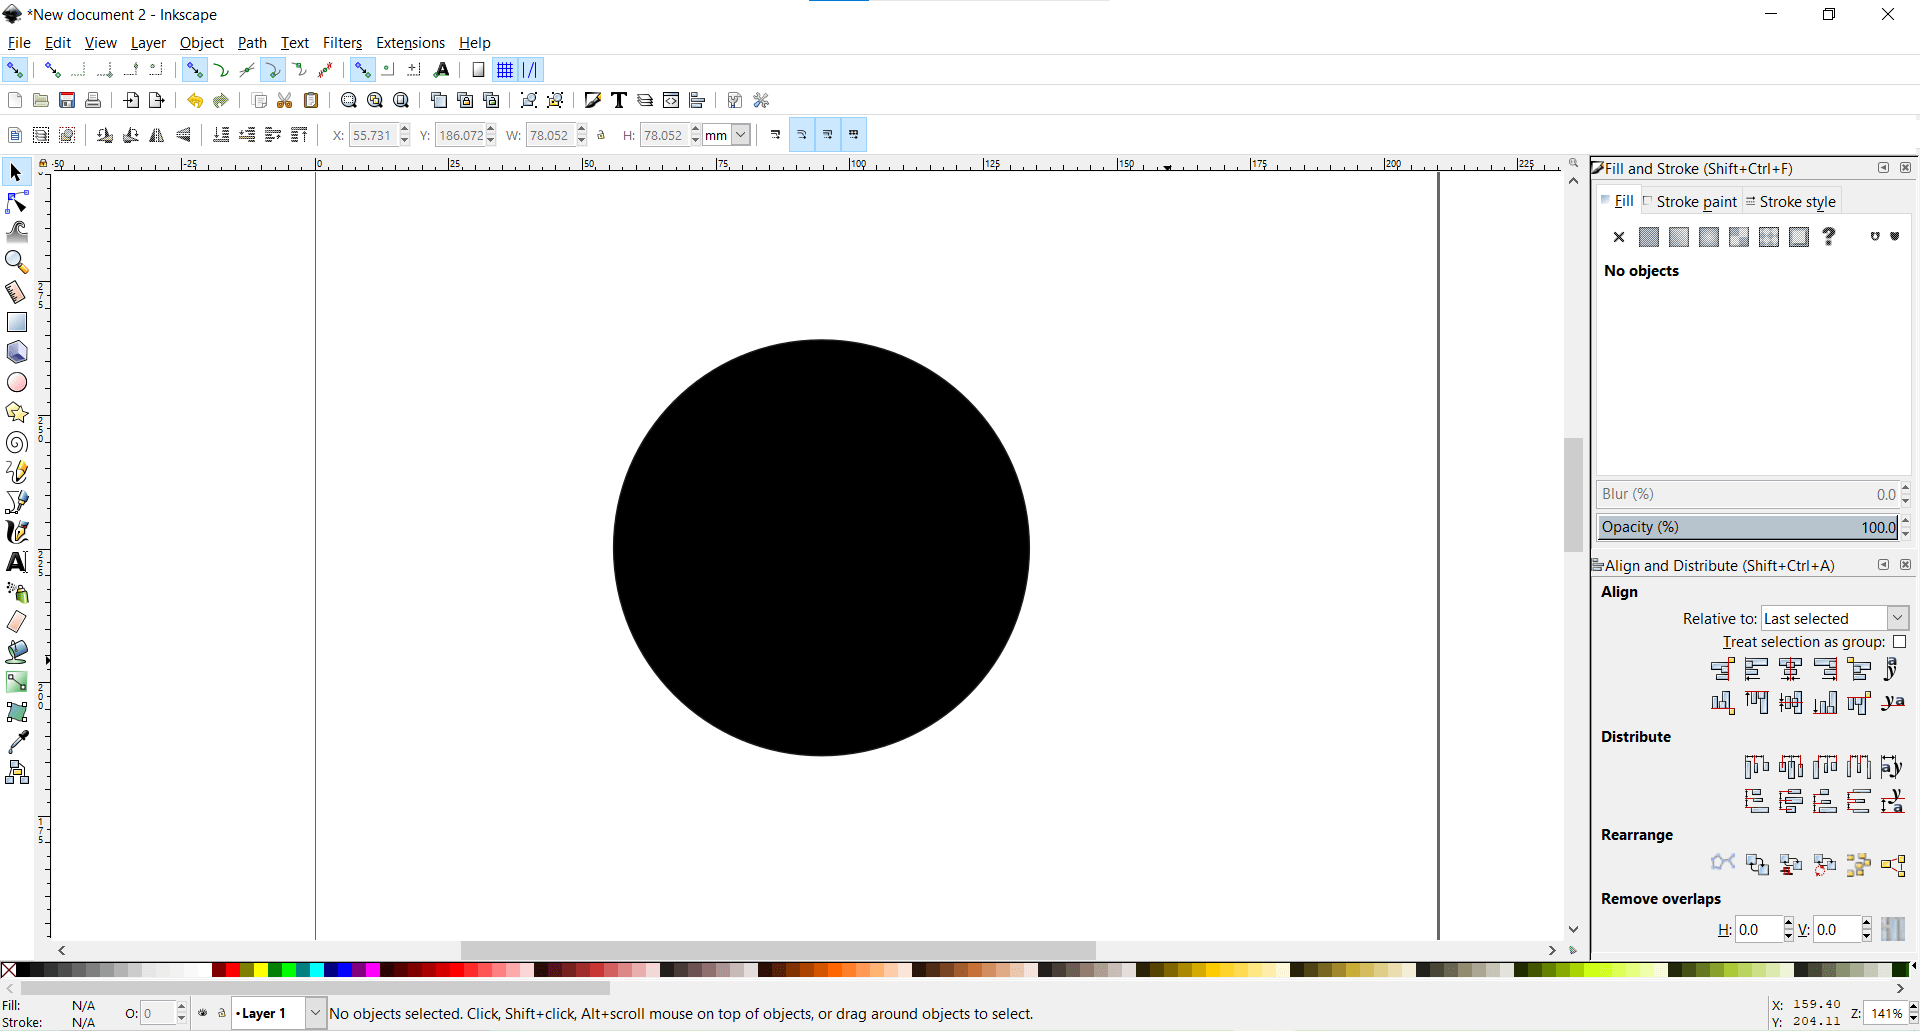
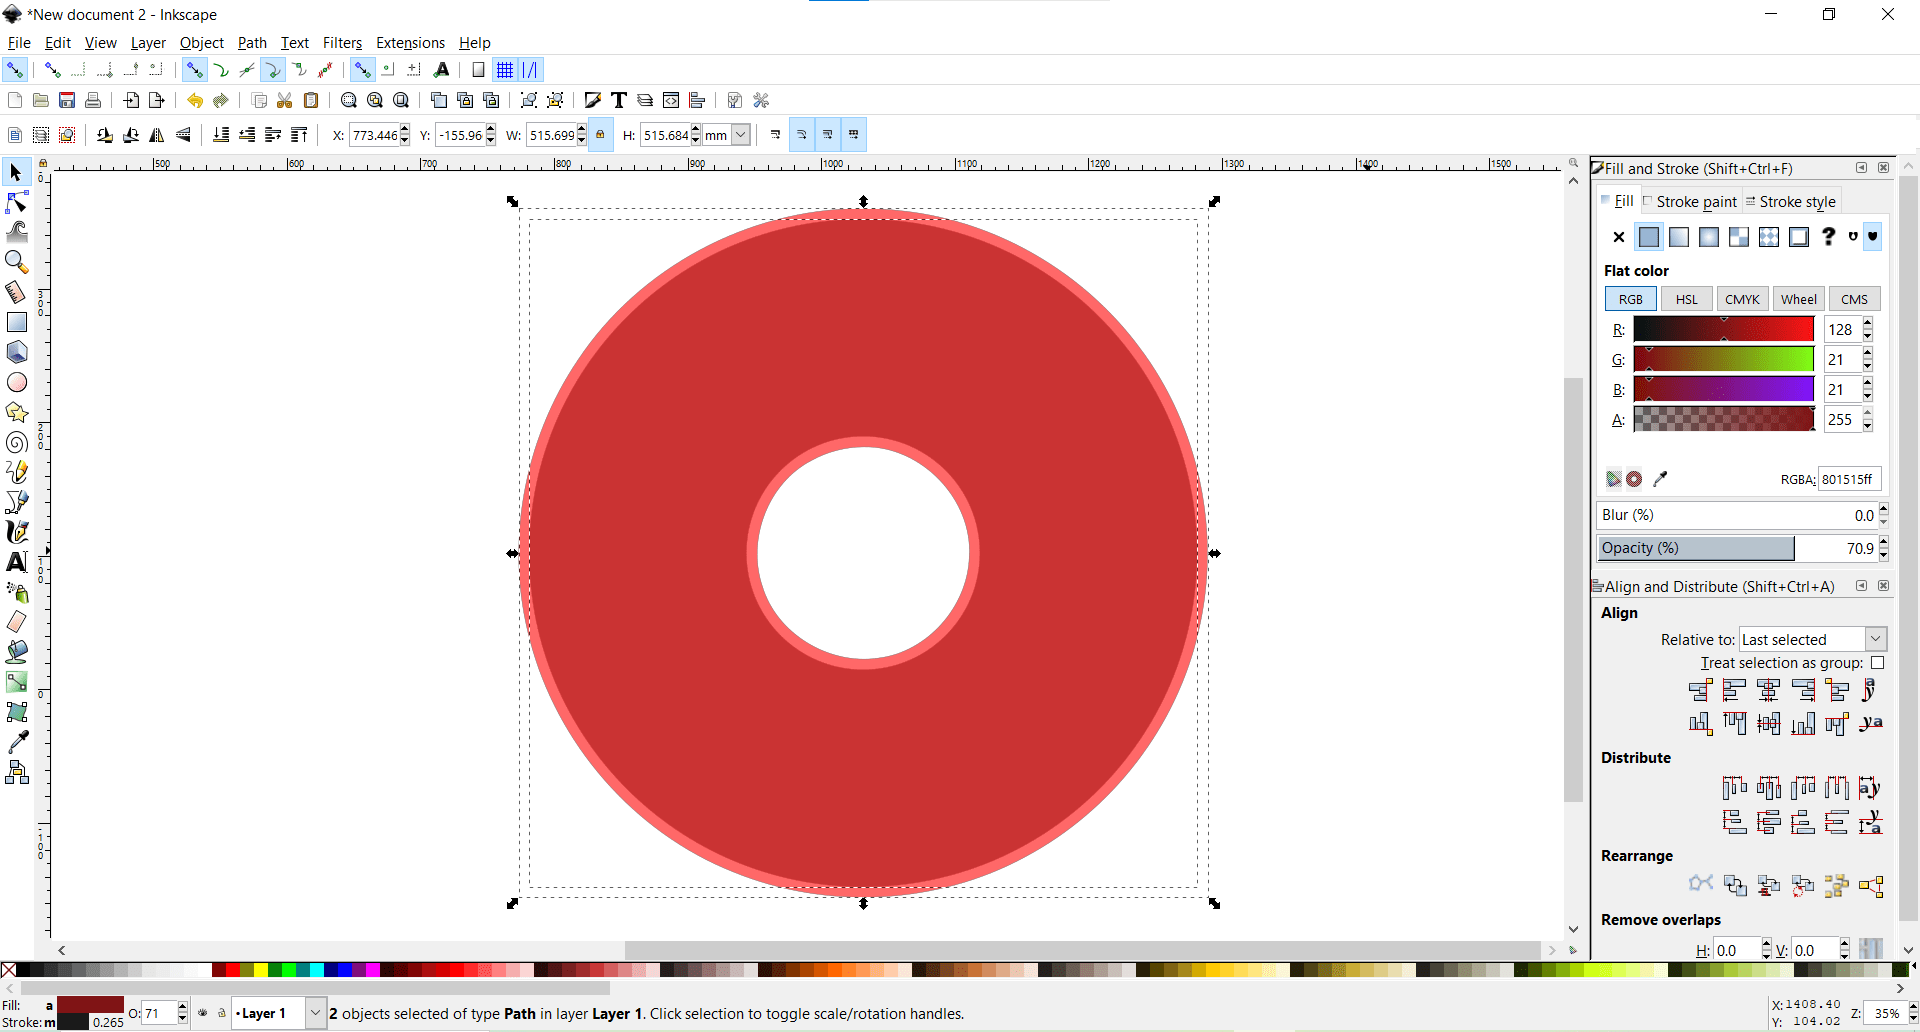
First we need to run the program, and start drawing. We will create a circle by pressing CTRL and Shift buttons to bring out a perfect circle.
Then copy the circle after decreasing the opacity in order to see through it and minimize its diameter to about the third. Allign them vertically and horizontally to get them centered. then we go to Path>Difference to delete the common area. After that we will duplicate it and give it another color and much bigger size.
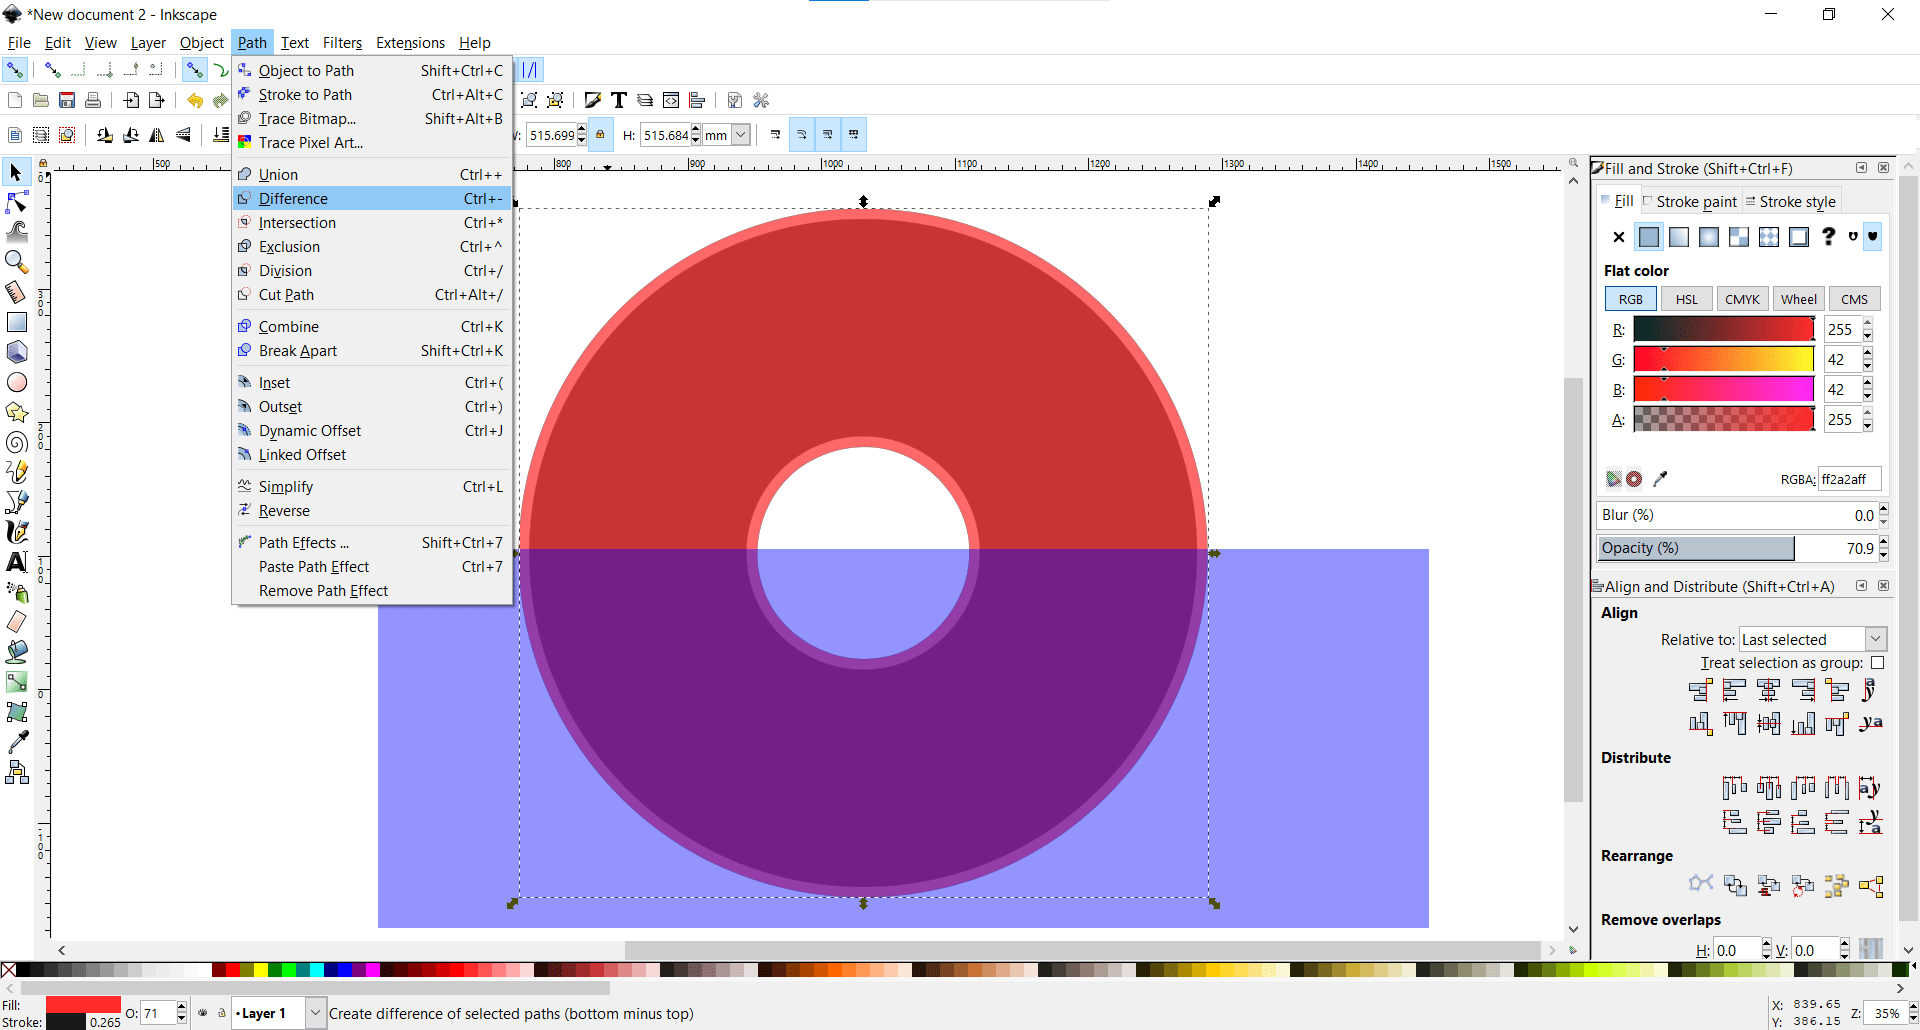
Then we will create a rectangle passing through half the circles and then hit the difference between them.
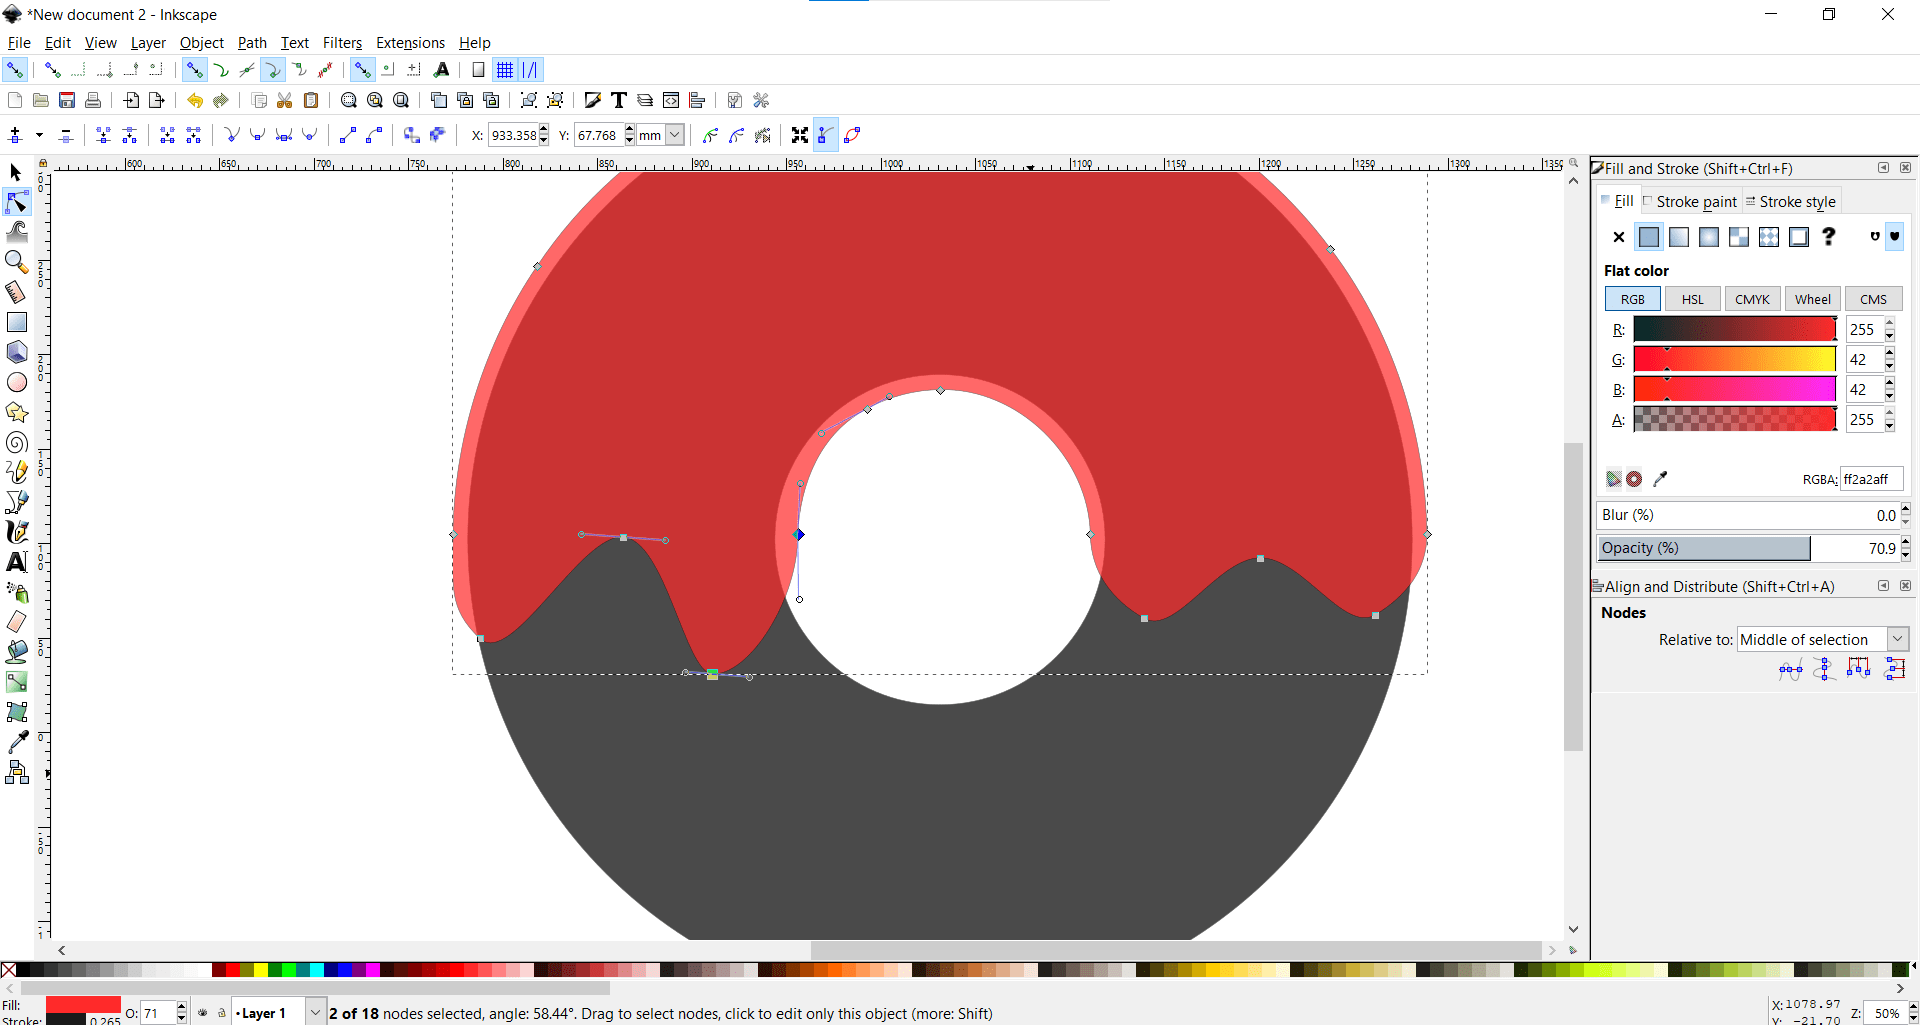
Then by selecting here the magical Edit path by nodes tool, we can edit the curves of the upper circle to get this output.
Then we will duplicate the upper part, color it black, and send it backward one step from lower selection one step.
And after dupicating some cirlces as shown and changing opacity this should appear. Then we will create multiple circles as shown to act as there is a bite taken from it:)
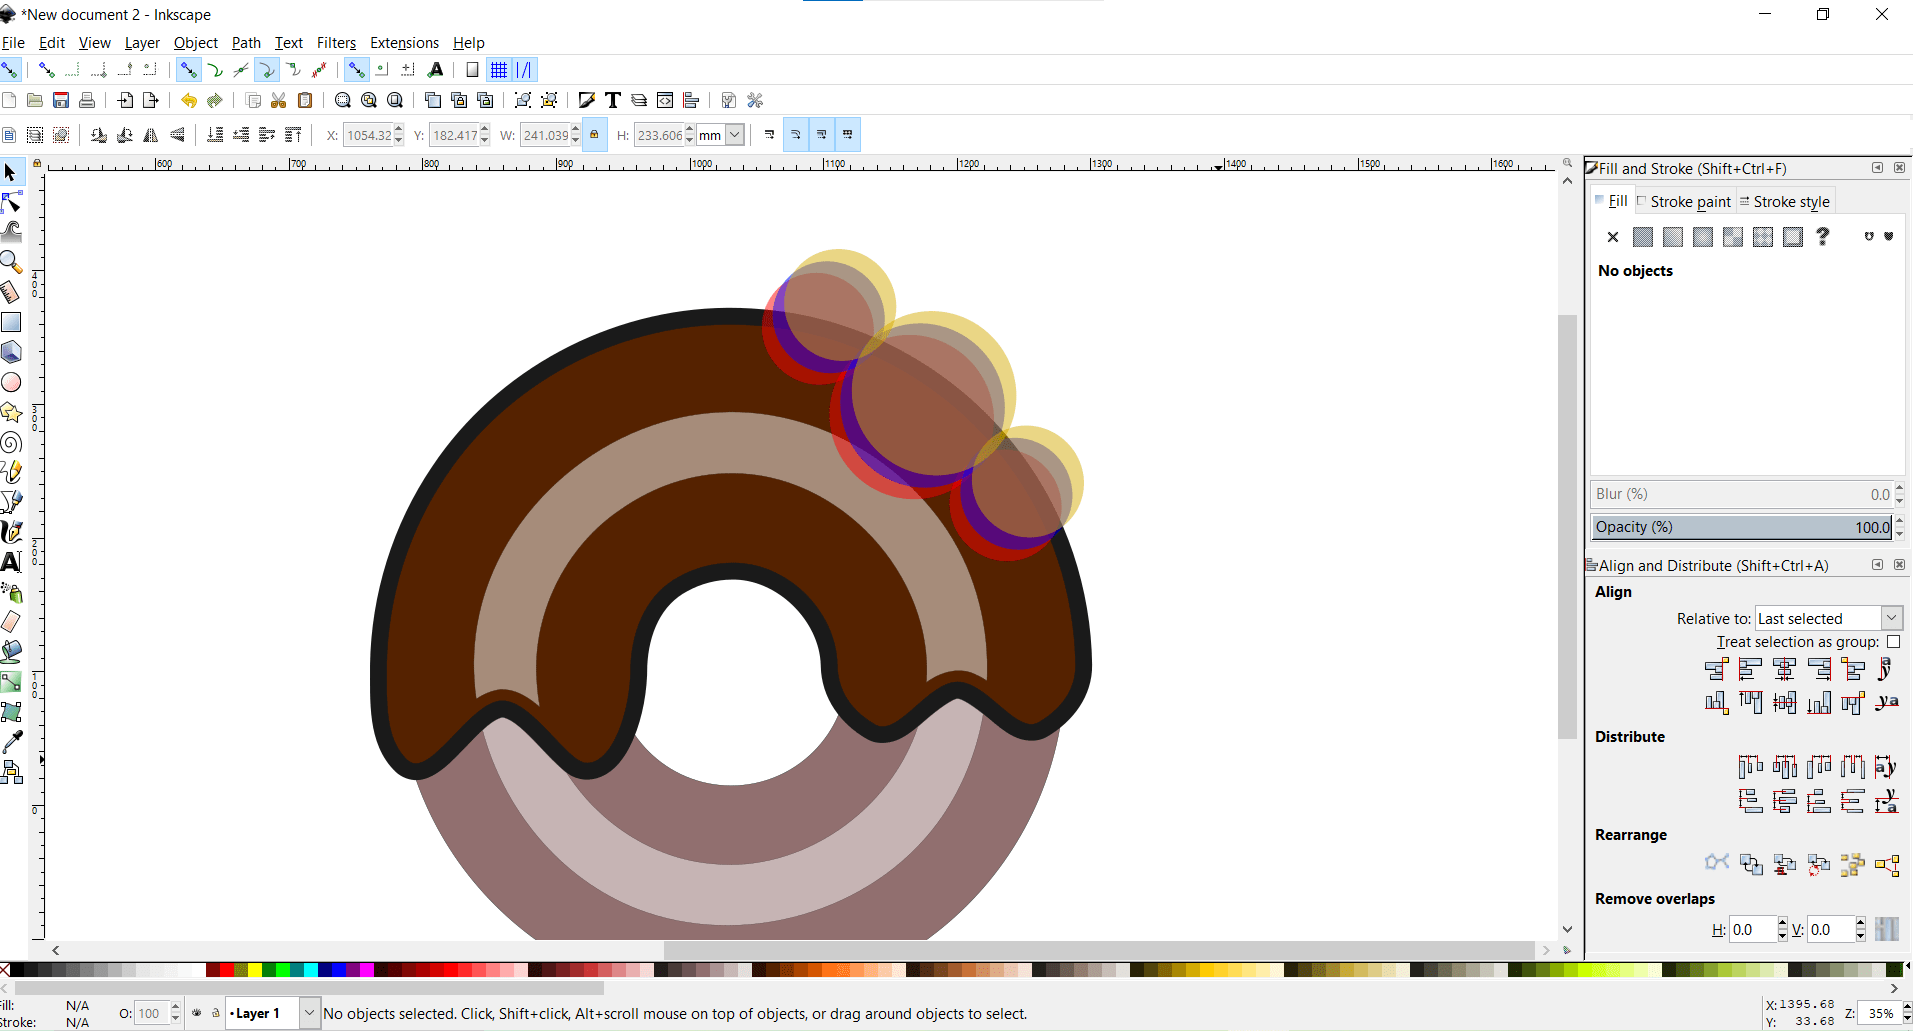
Then will will make differences between the generated circles and the doughnut layers to get the shape of a bite from each layer of the doughnut. Then we will add some sprinkles by making a rectangle with fillets and spreading them all over the doughnut. And the final shape should look like this.

Then we will go to File>Save and save it as SVG to have a vector drawing. You can also create your own dounghut be following this tutorial
Modeling in 3D & Rendering
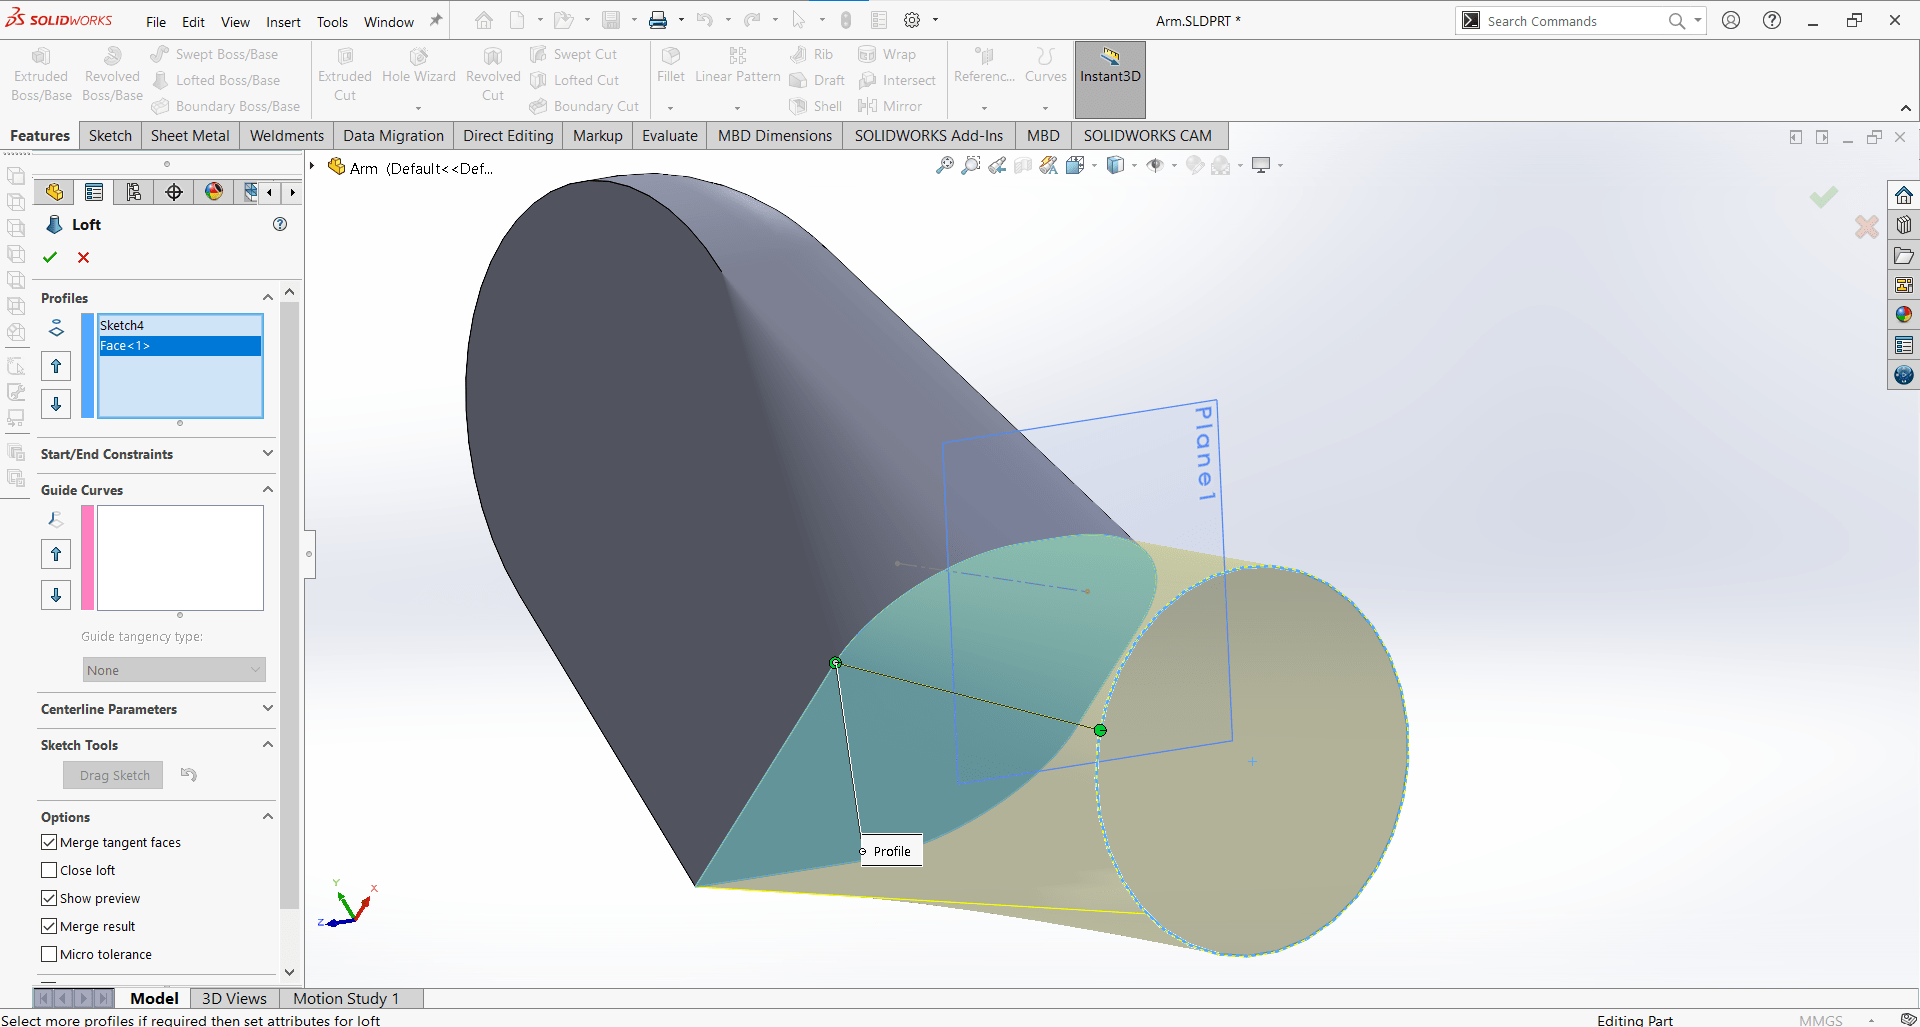
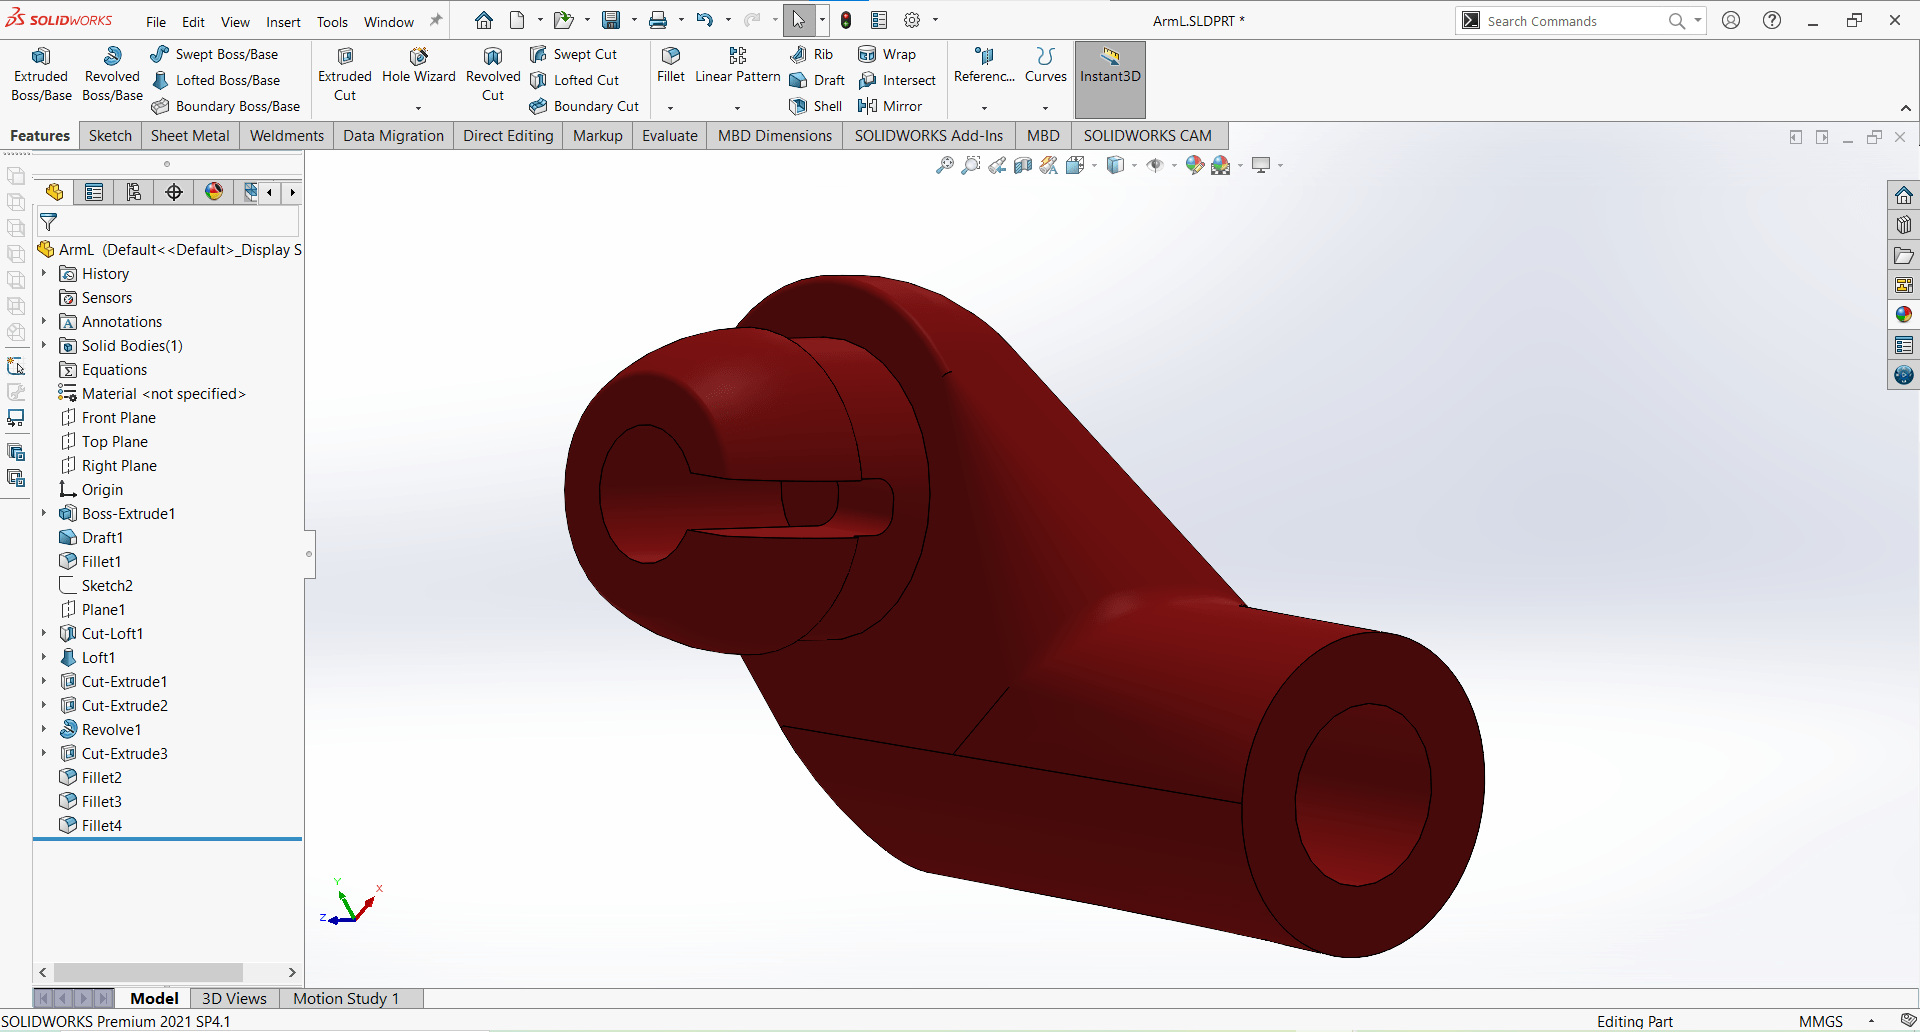
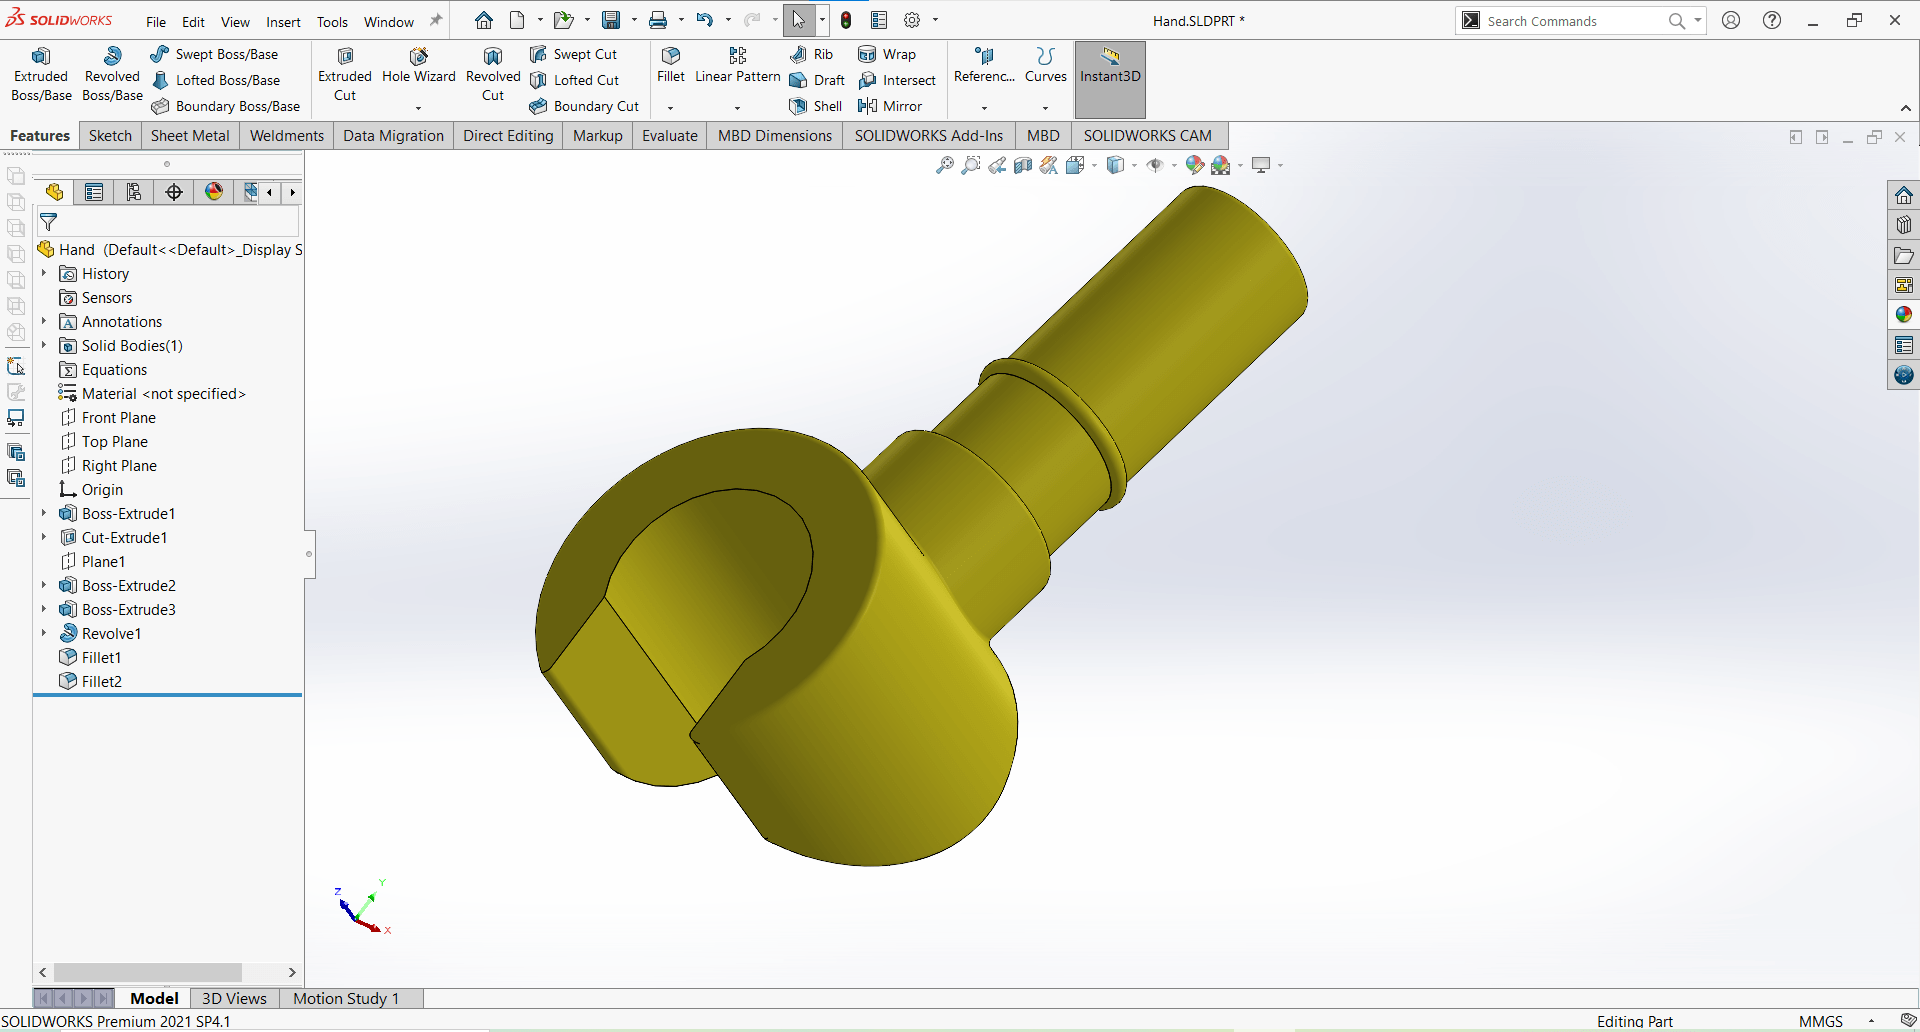
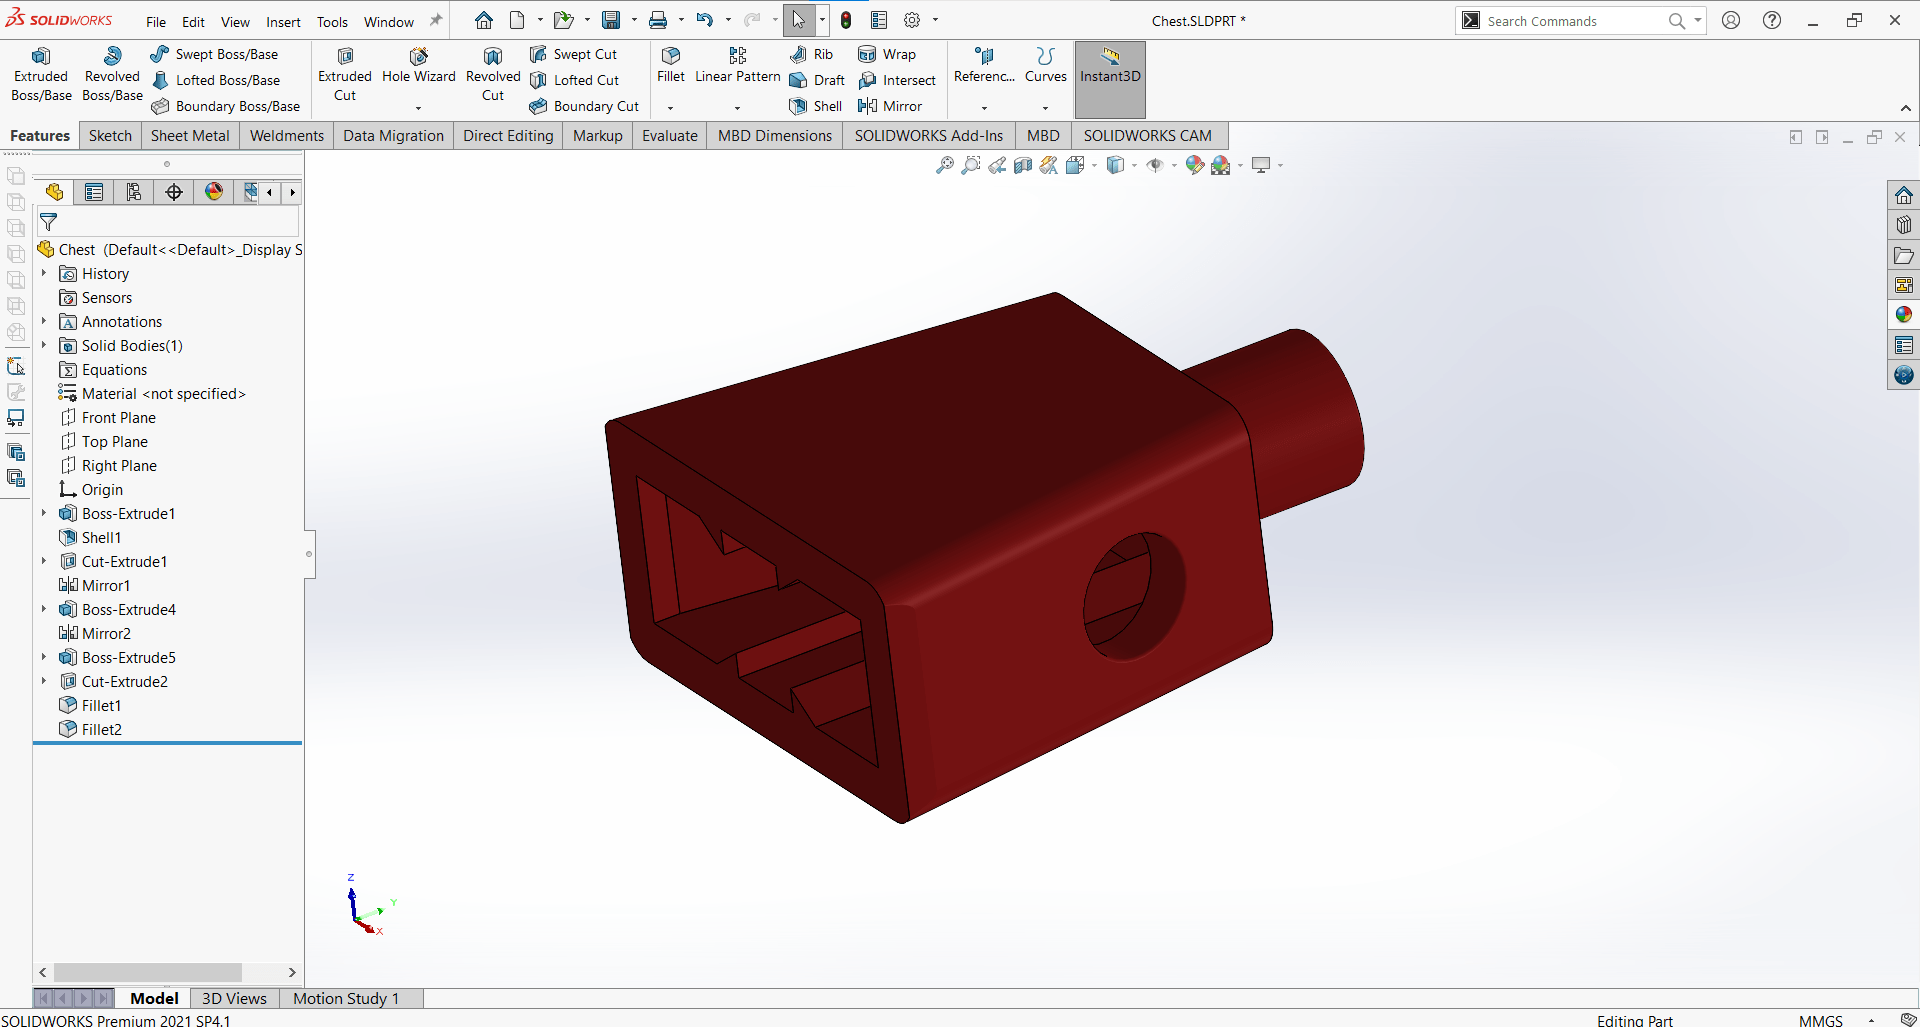
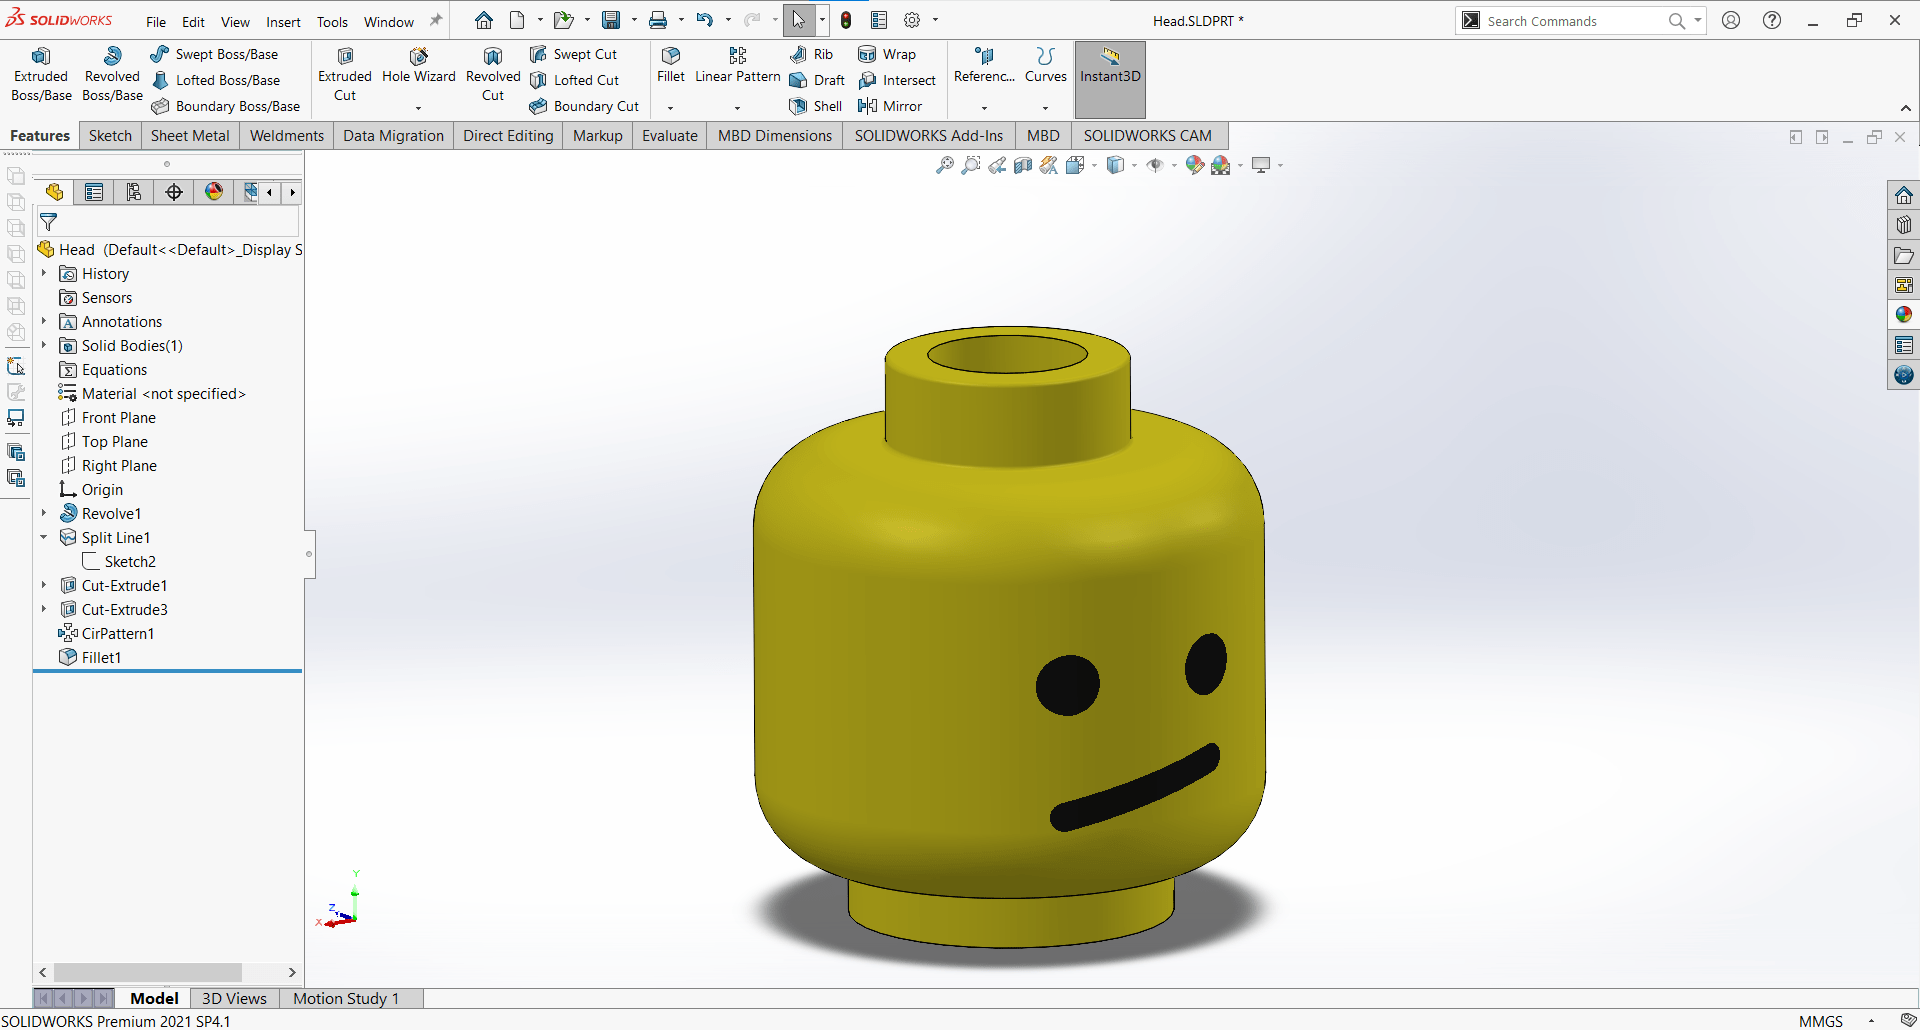
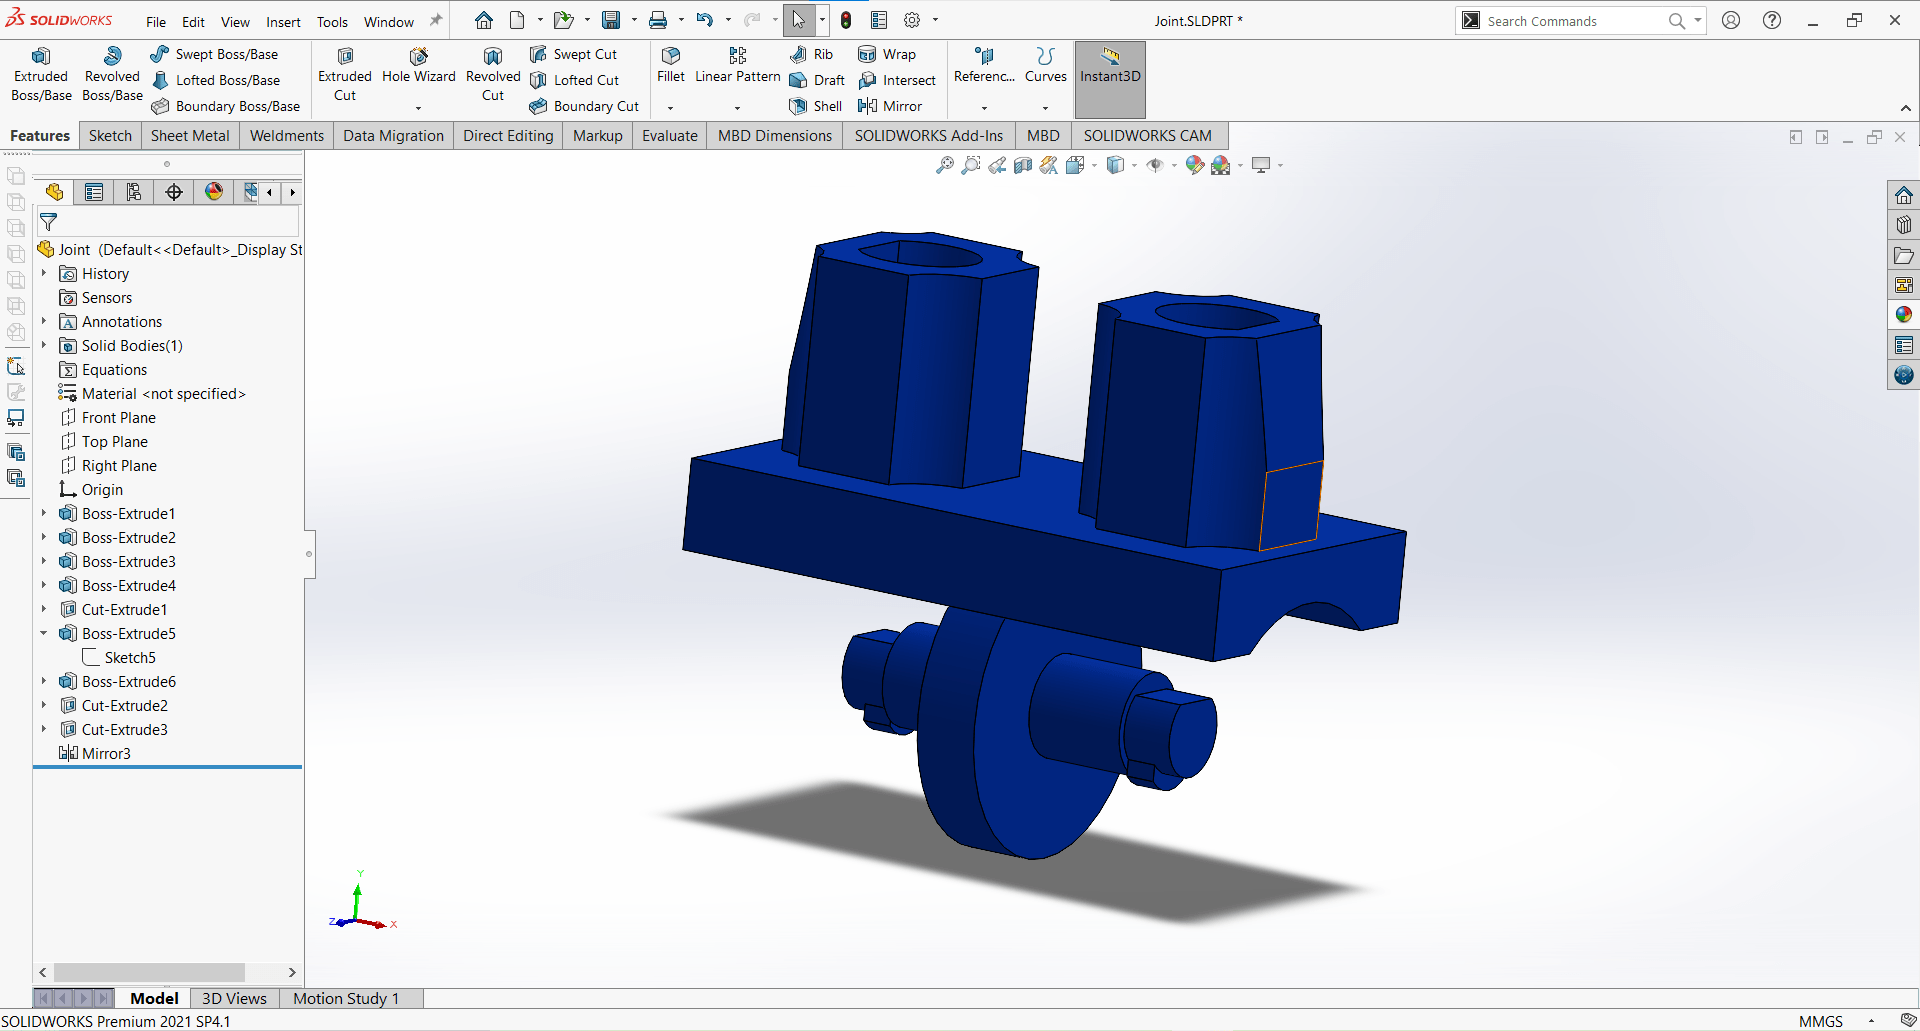
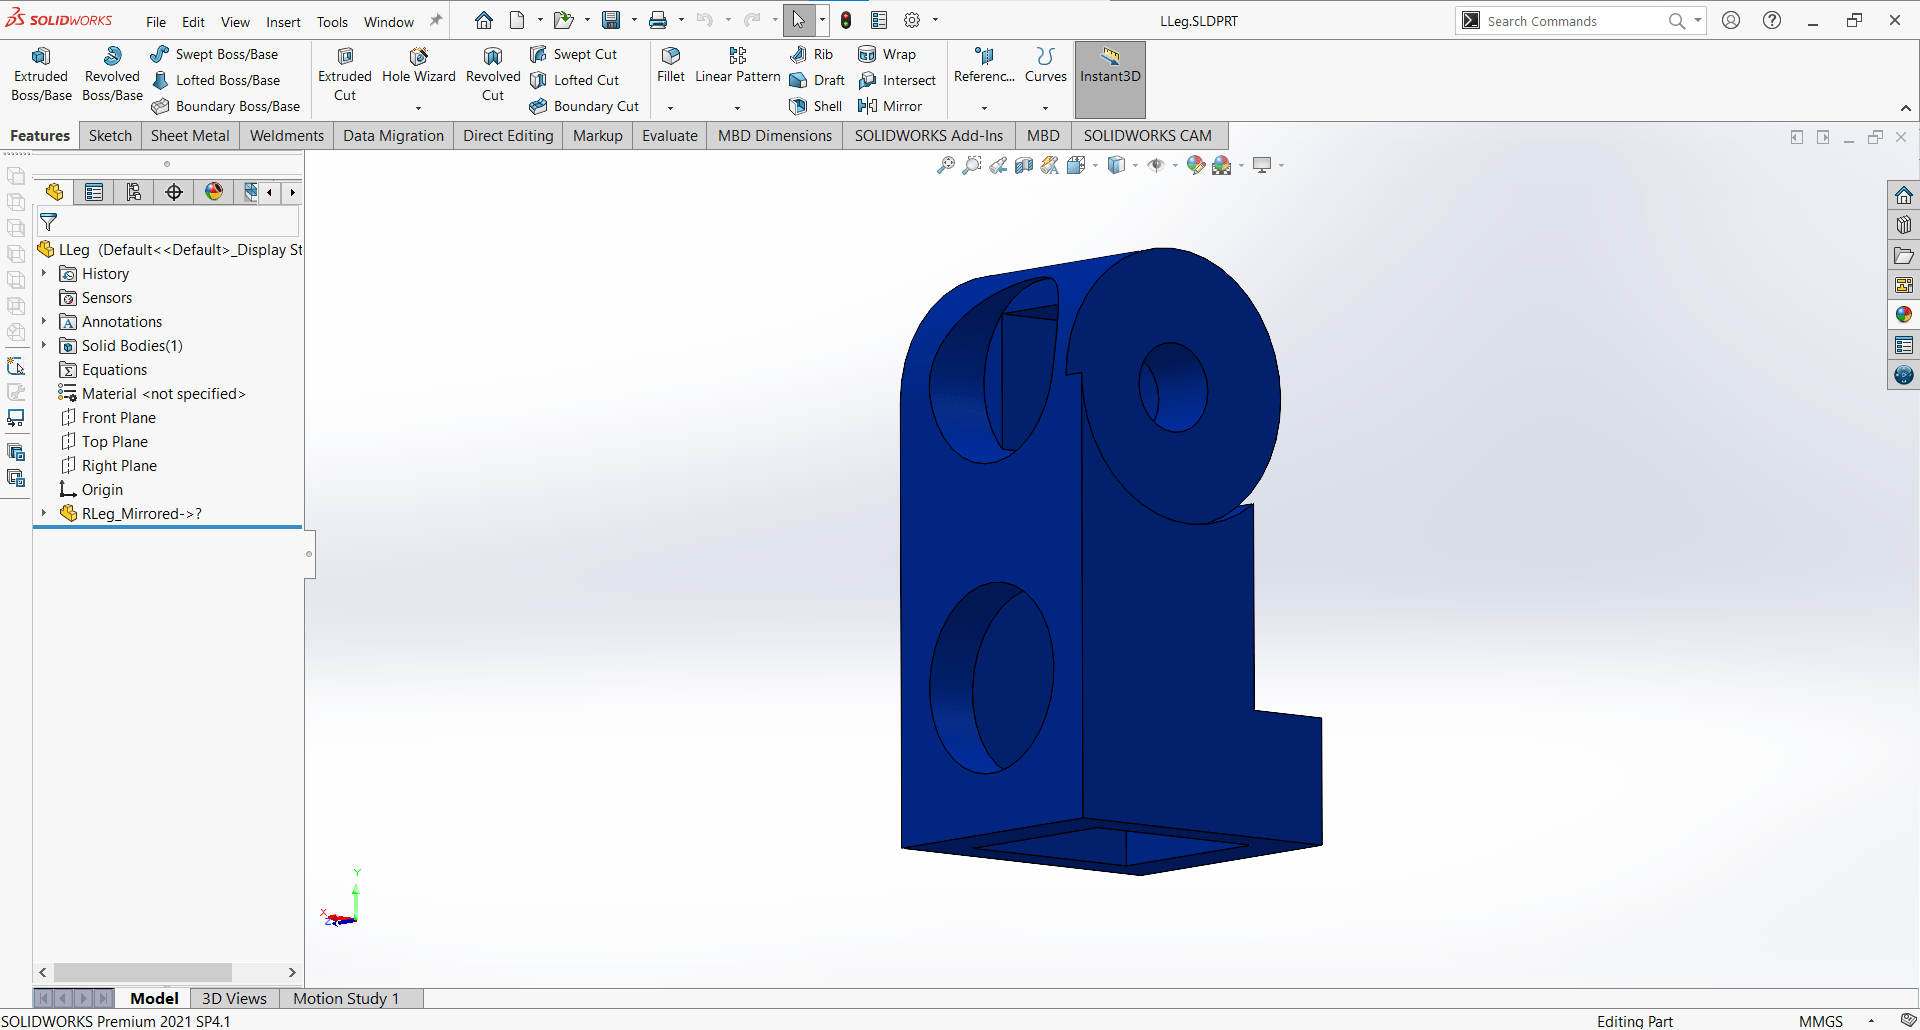
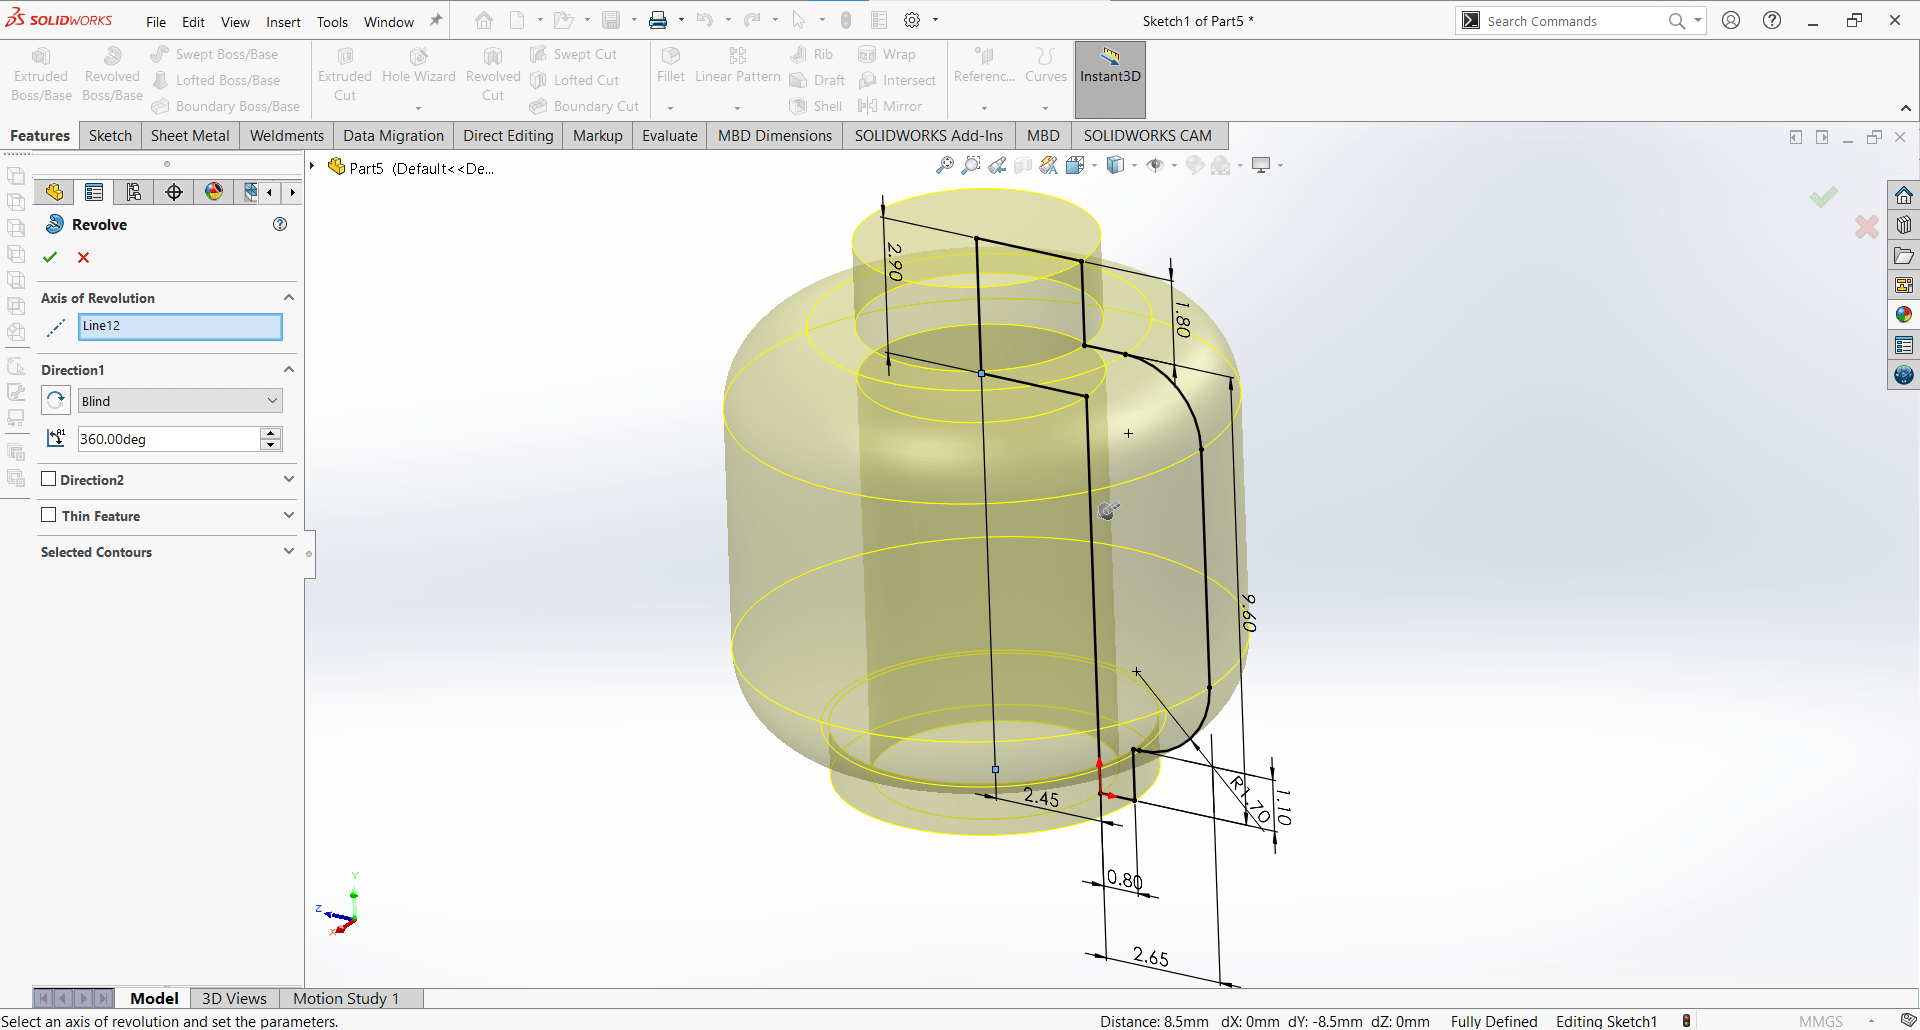
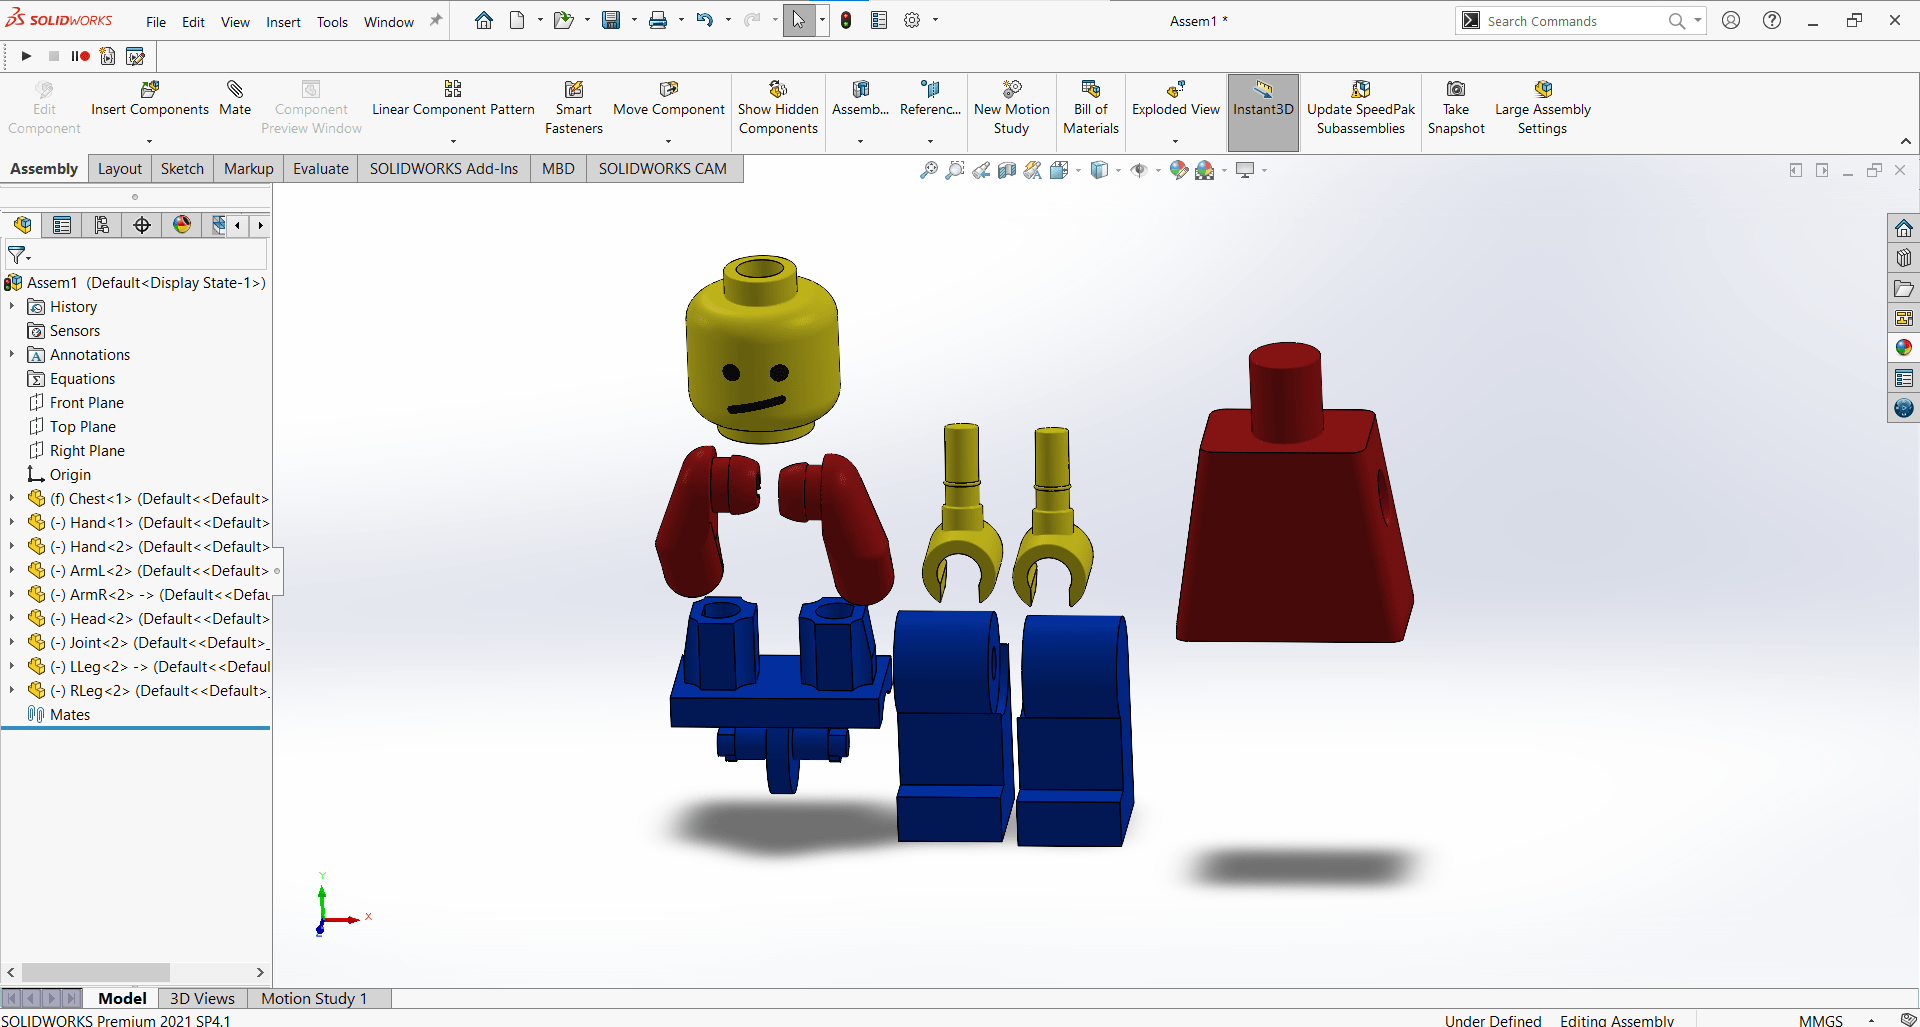
I work on Solidworks software for 3D design, so I started to design a LEGO man following This tutorialto get the dimensions from it as I wanted to design according to actial dimensions.

Actually I use Solidworks alot so I didn't have any problems designing the parts of the LEGO man which consists mainly of drawing sketches and applying some features on them as Extrude, Extrude cut, revolve, and so on, so you can follow the steps below for each part and as mentioned before you can get the dimensions from that tutorial.

Now it's time for the Assembly

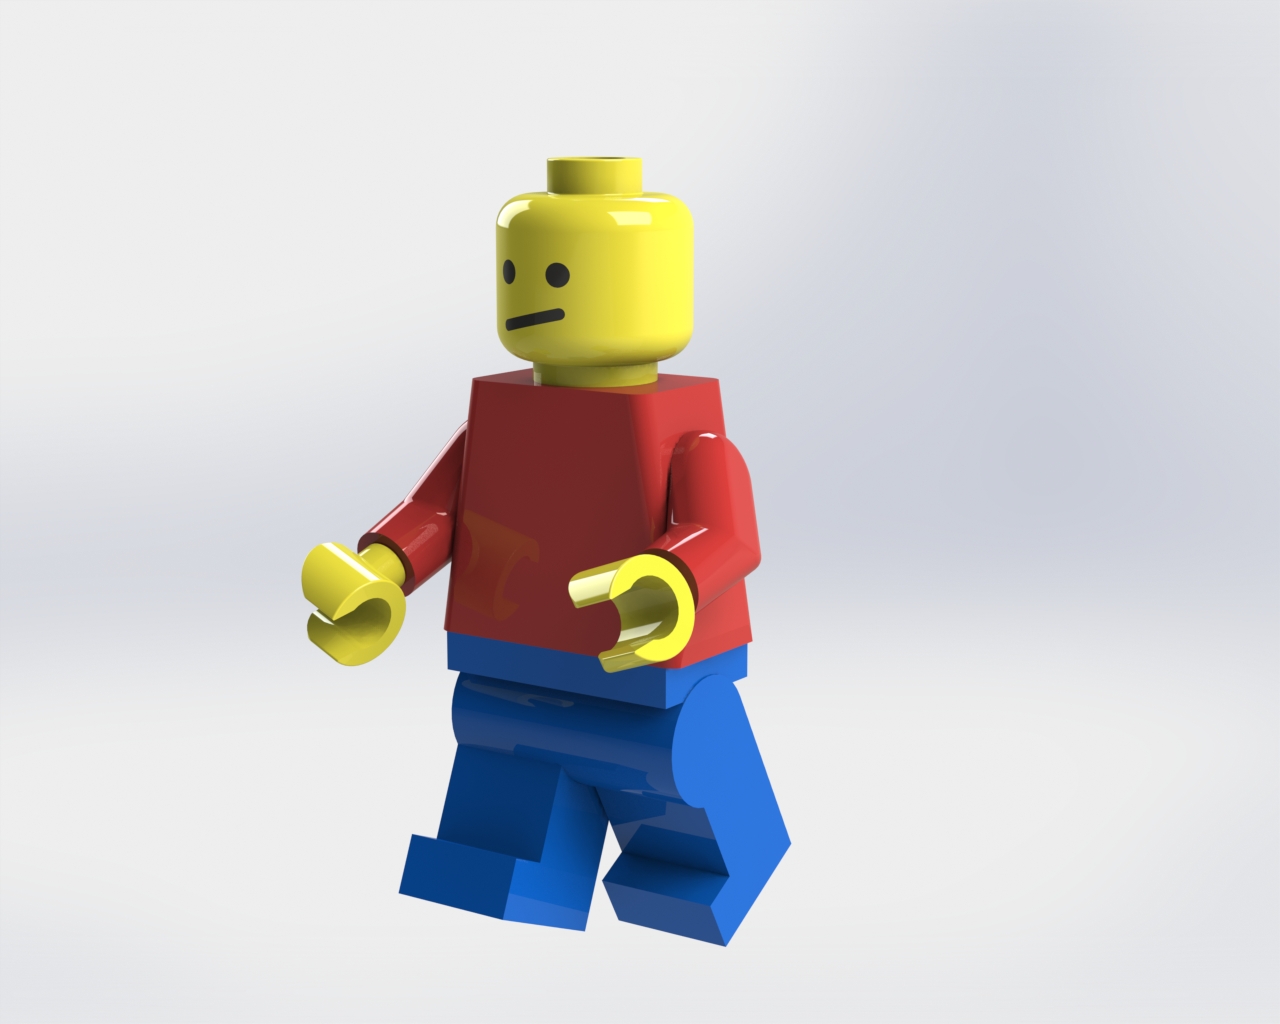
Now we need to Render the assembled parts.
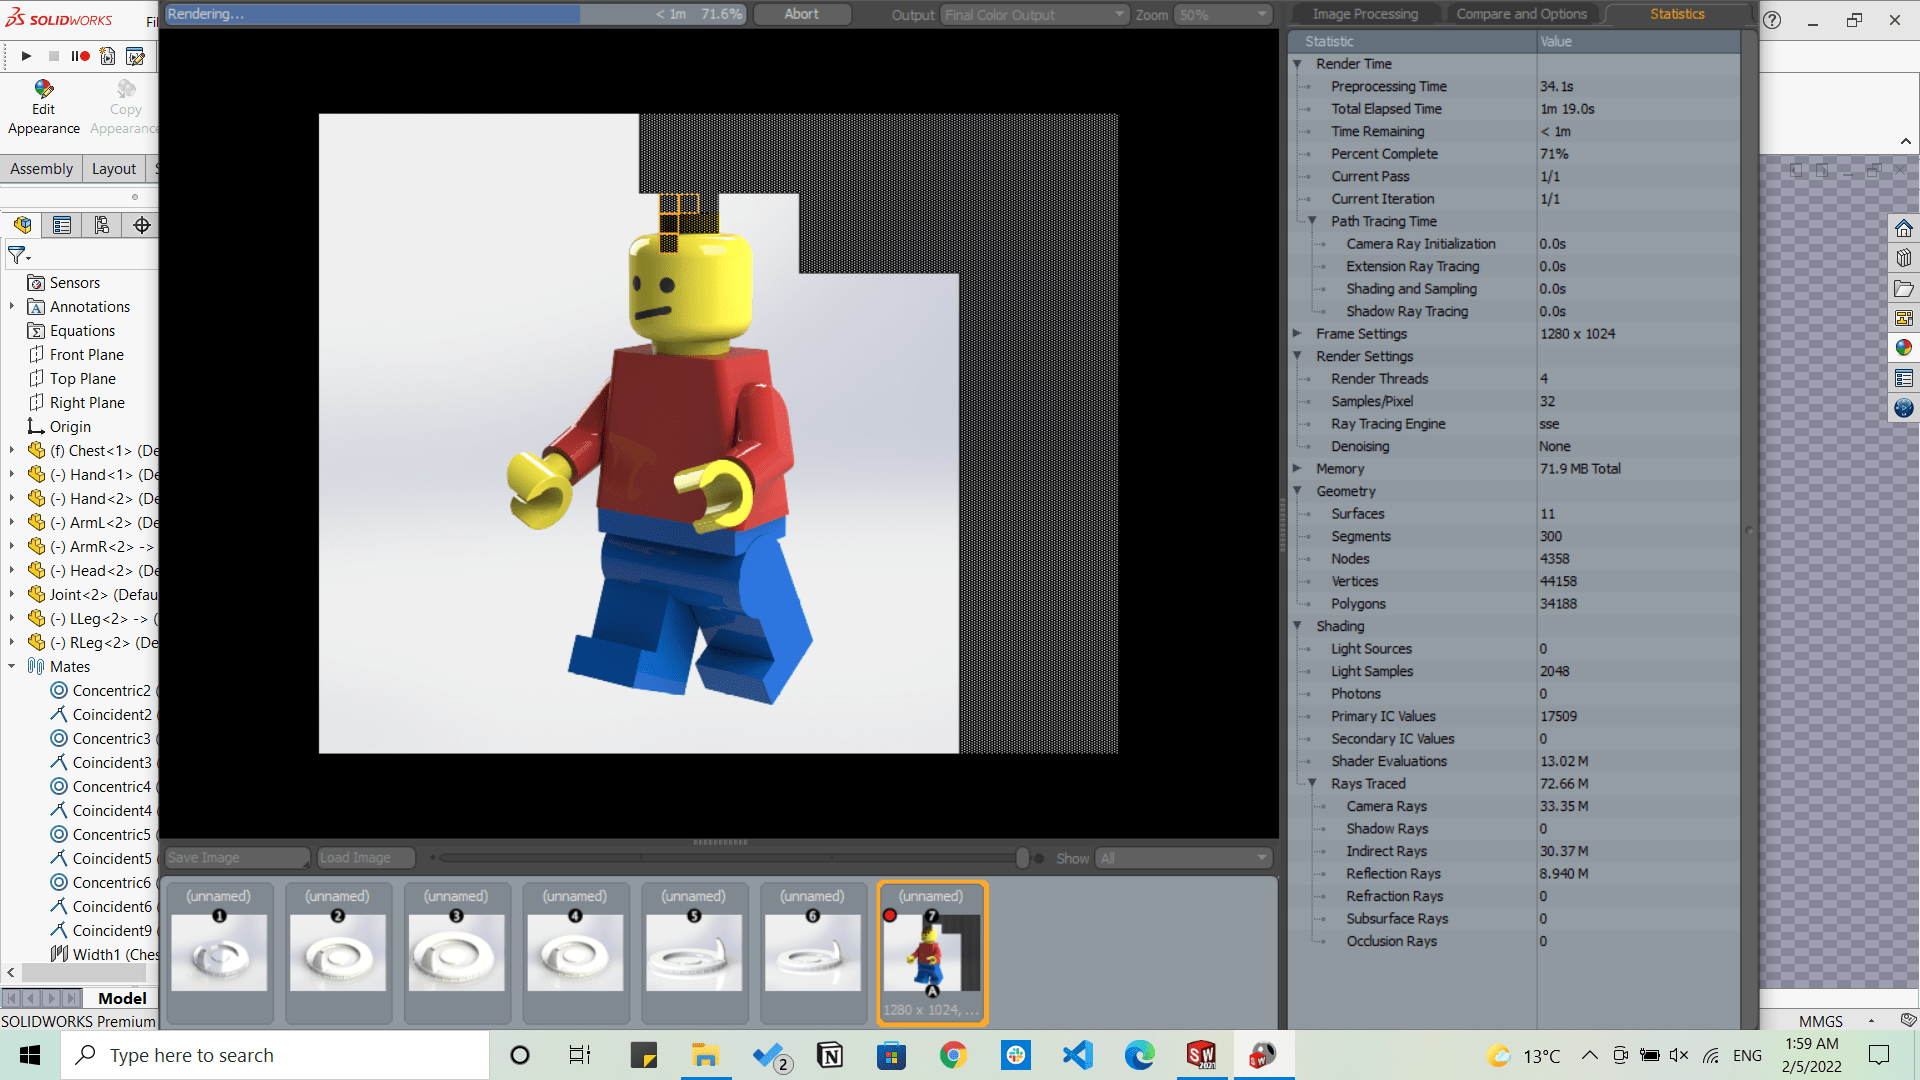
And this is the rendered image.
Animate and Simulate a model
I wanted to simulate the LEGO man I designed on Solidworks, and I also knew how to simulate motion on SoildWorks, but I wanted to use new software and discover what they can do. So it was recommended by our instructor Kamel to use Blender.
So I found alot of videos on Youtube that explains how to use blender and animate what you want as: Simple animation, Product animation, Blender tutorial: Gravity
First I had to export the designed parts on SolidWorks as stl files to be able to import them in blender.
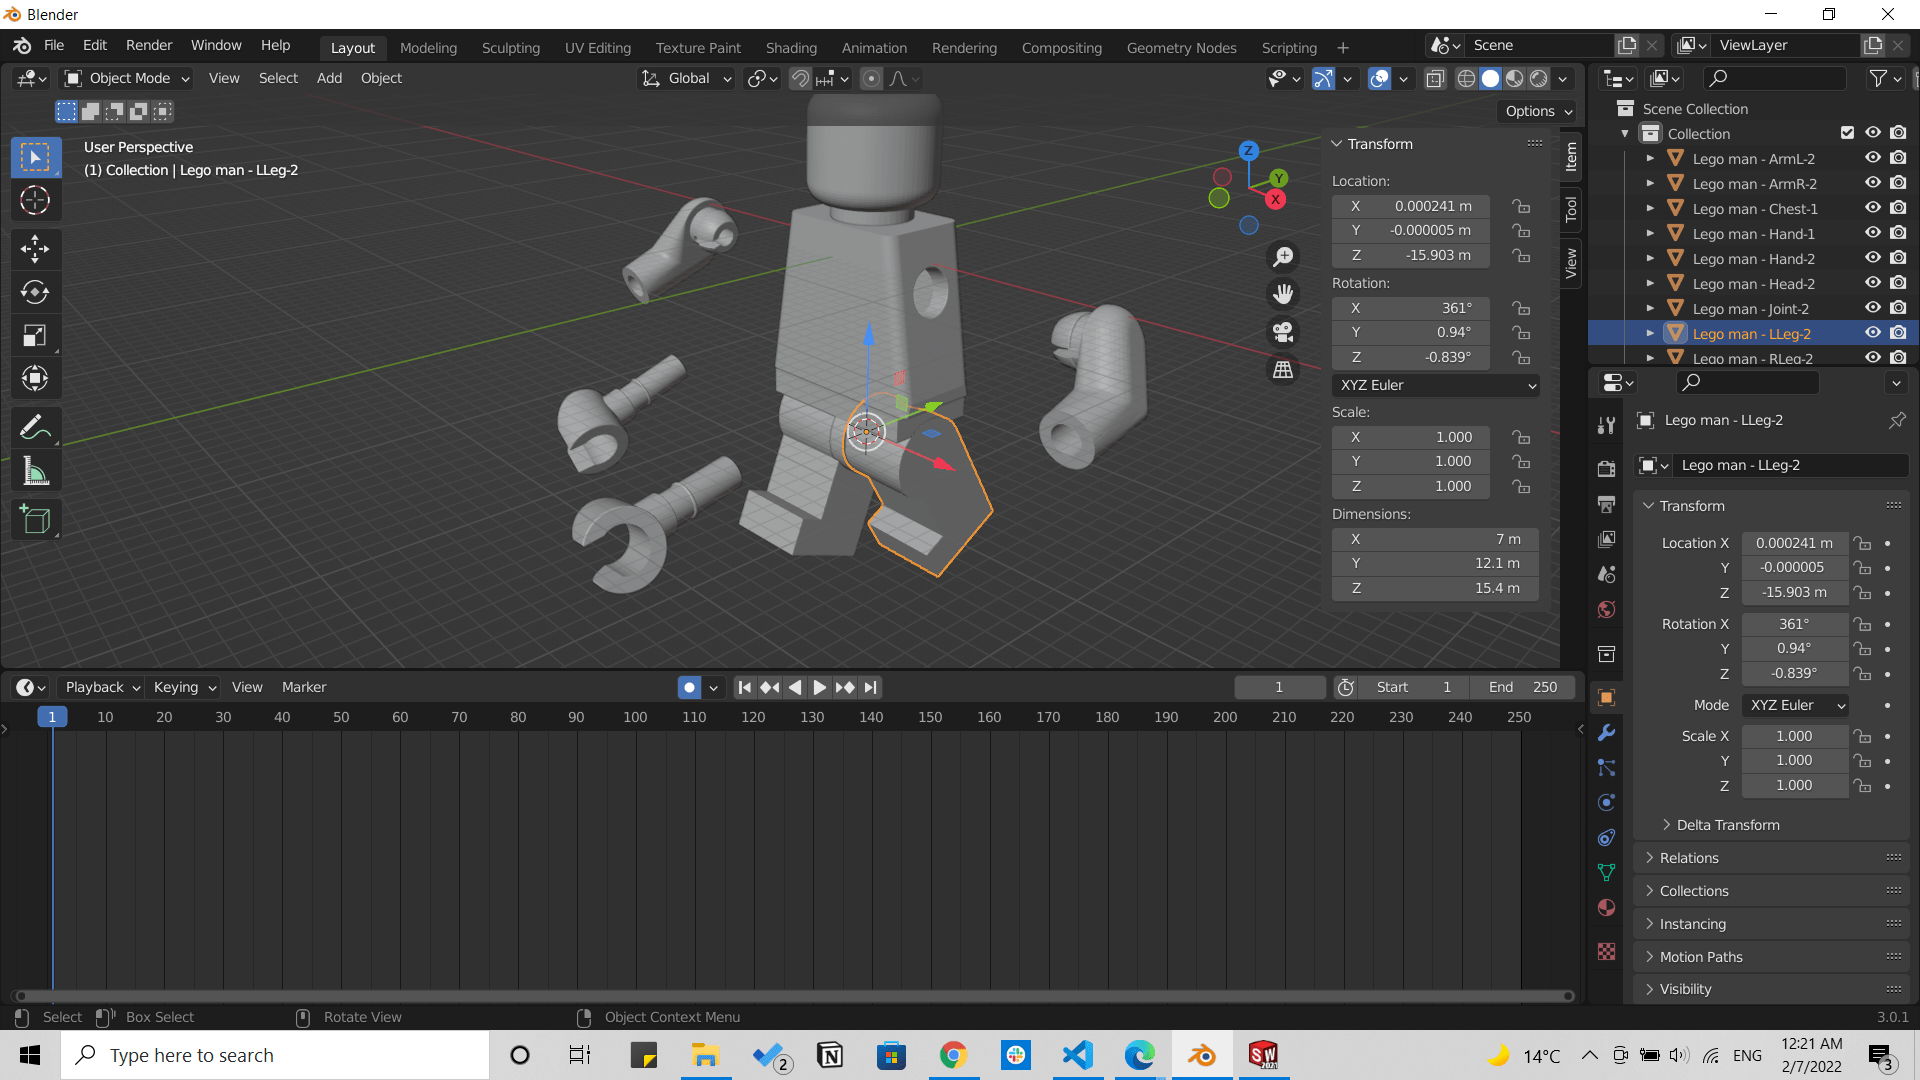
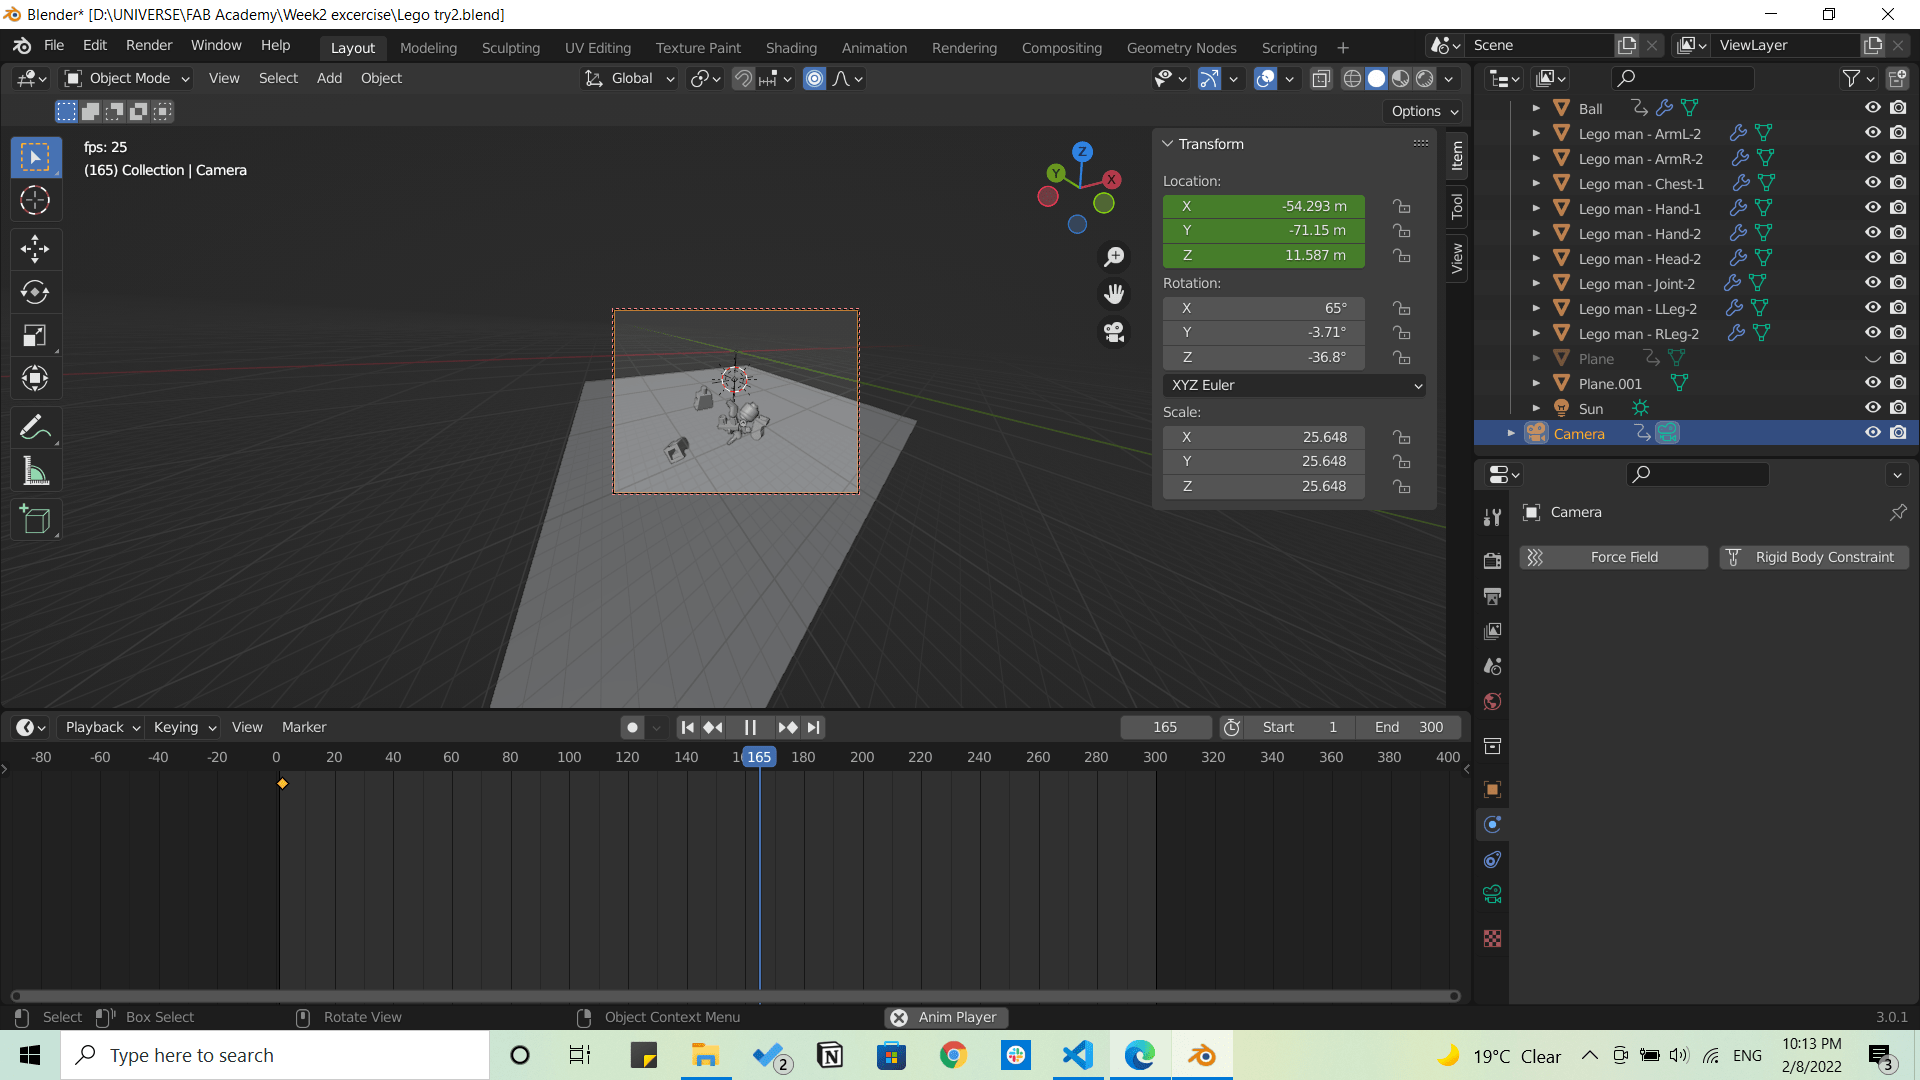
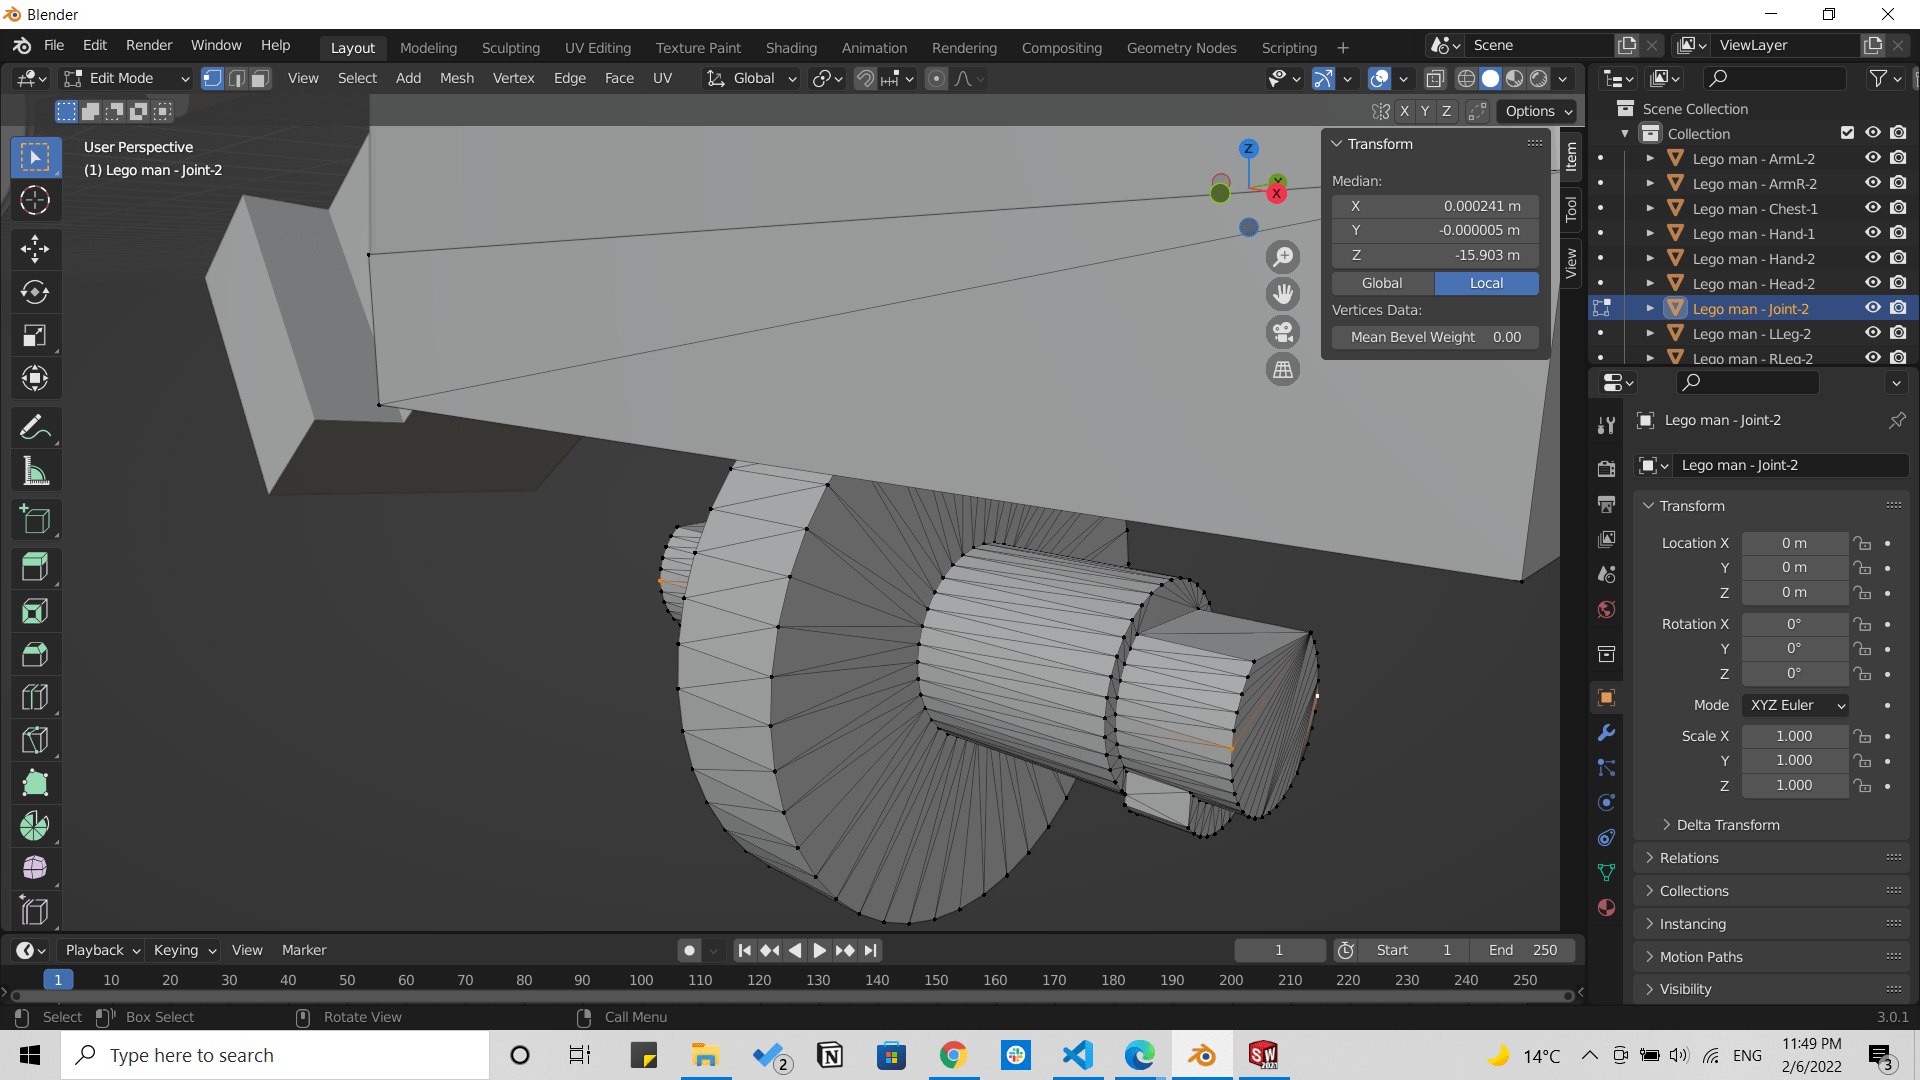
After that I have done alot of transitions, changing and creating axes from global to specific ones, generating motion for each part of the LEGO man, setting the position of the camera and lights that you can see in the following images.
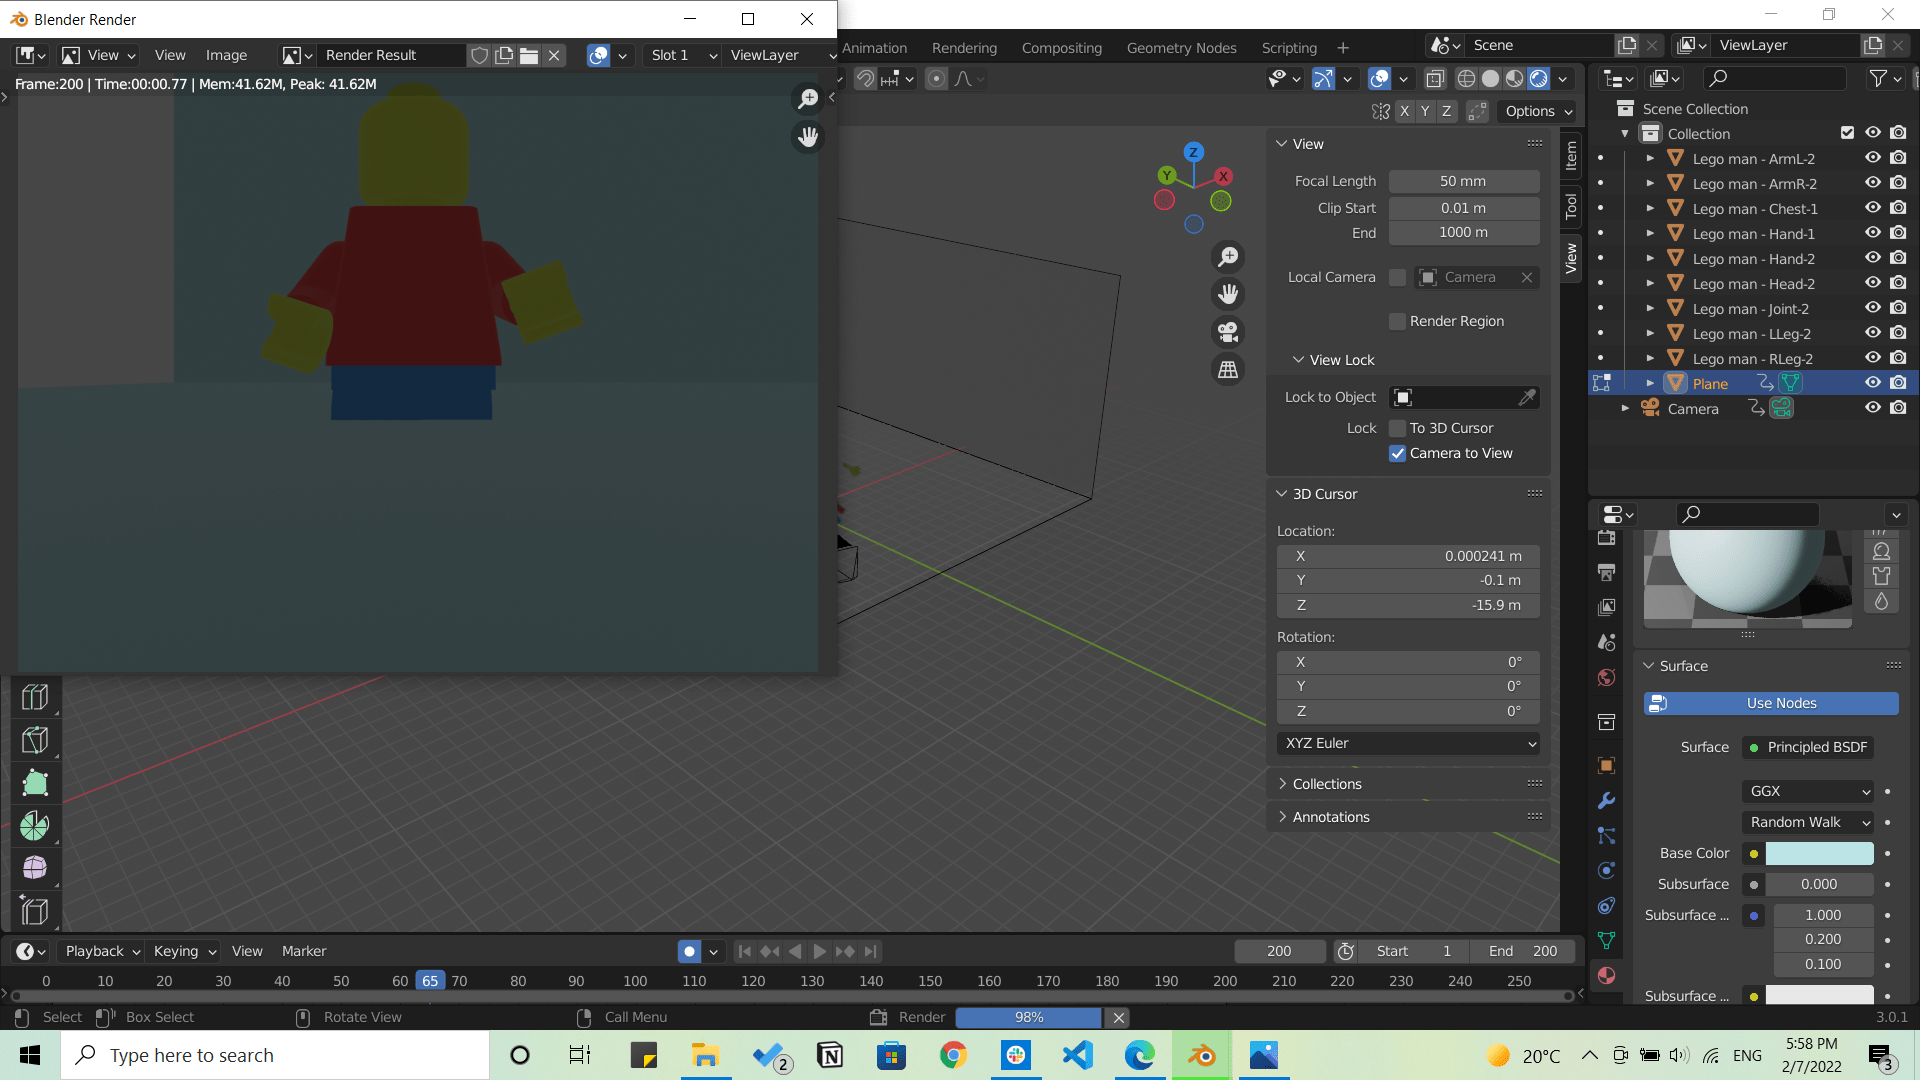

And I had an idea to come up with 2 seperate videos, one for a Gravity simulation showing the parts falling down from space into a floor.
And the second one I wanted to make is an Assembly video as shown below.
And actually, it was very fun trying to explore how animation works, so I really enjoyed it!
Compressing media
As our maximum upload volume per week is about10MB so we have to compress every image and video we will upload, so I found this website called Iloveimg, and clideo for compressing videos.
Downloads
This assignment was uploaded 12 hrs before the week's deadline :)