Week 15
Wildcard Week
-
Assignment
- Design and produce something with a digital fabrication process (incorporating computer-aided design and manufacturing) not covered in another assignment, documenting the requirements that your assignment meets, and including everything necessary to reproduce it.
PancakeBot
In this interesting week we are going to make our own assignment, so as mentioned in the assignment section above we are going to use a digital fabrication process we didn't use along FabAcademy. So I'm using here the PancakeBot which we have here in Fab Lab Egypt.
The process is so simple to make we just need to get everything as required as possible, and what I mean here is to get the pancake's mix correct so that the viscosity doesn't become and obstacle. And in the following picture we will find the ingredients used.
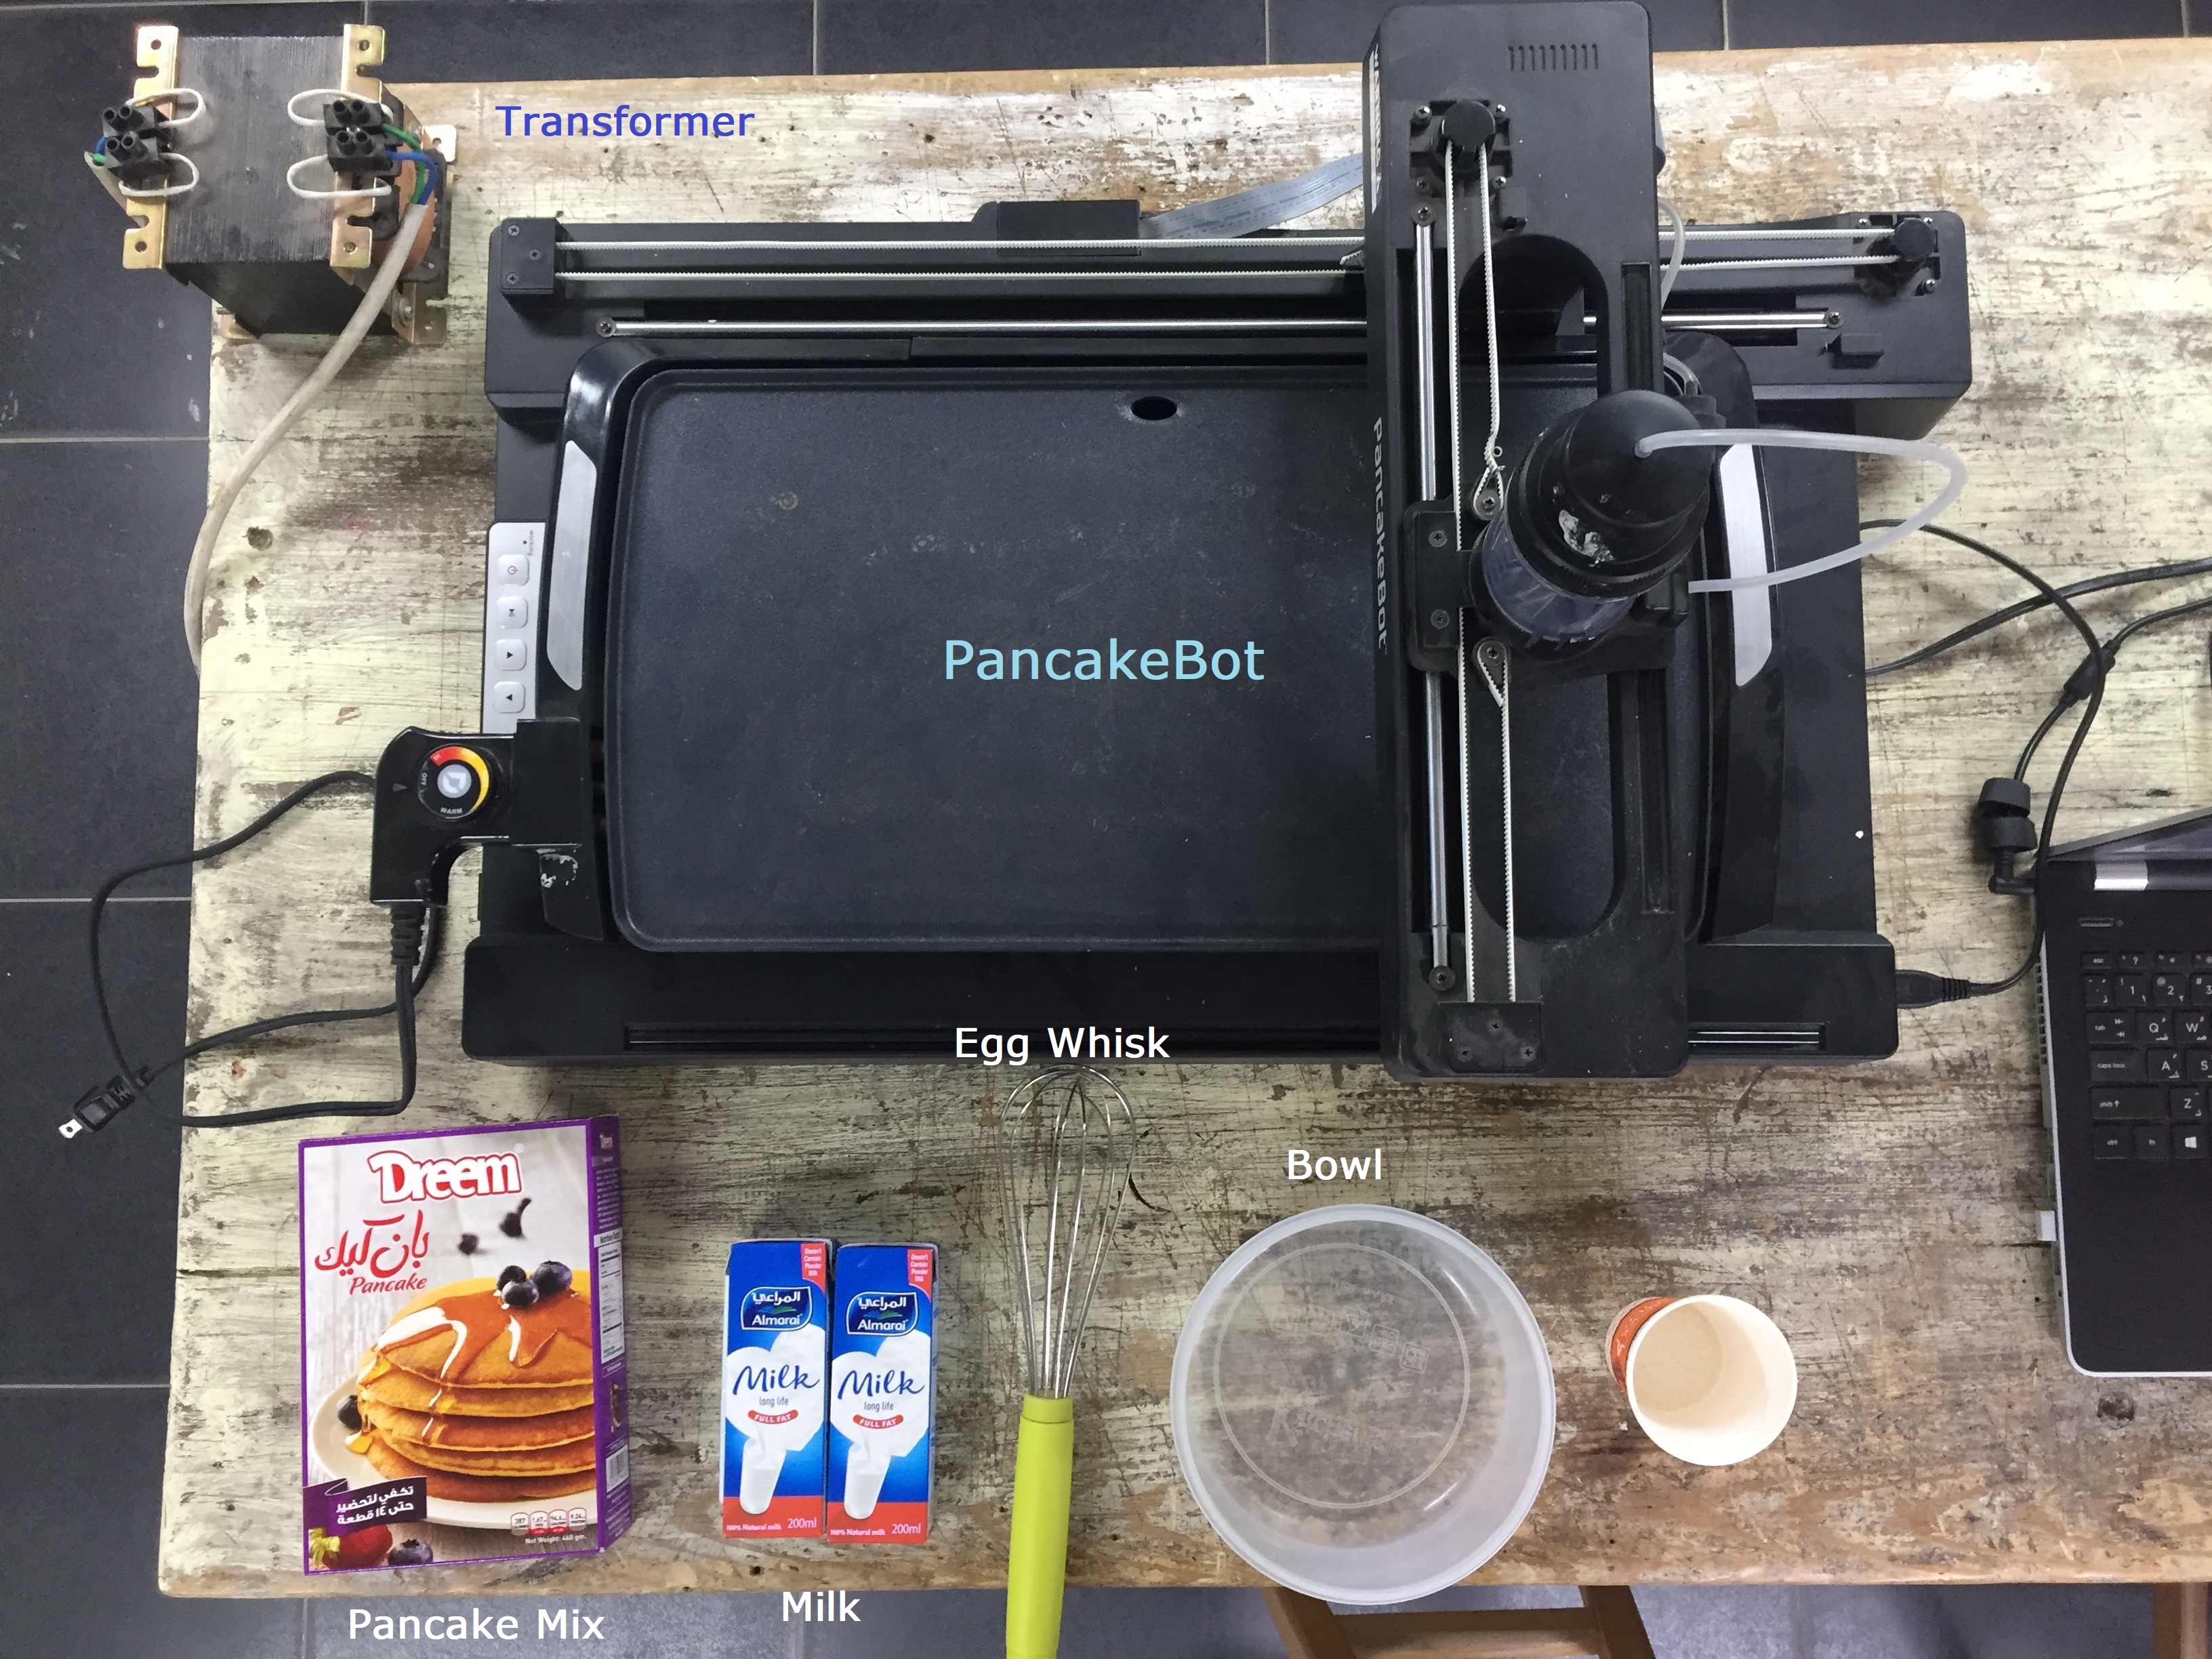
Pancake ingredients
So after preparing the mixture, We need to prepare the g-code that we will upload to the SD card for the machine. So I downloaded the Pancake Painter software from GitHub and you can find it here: Pancake Painter
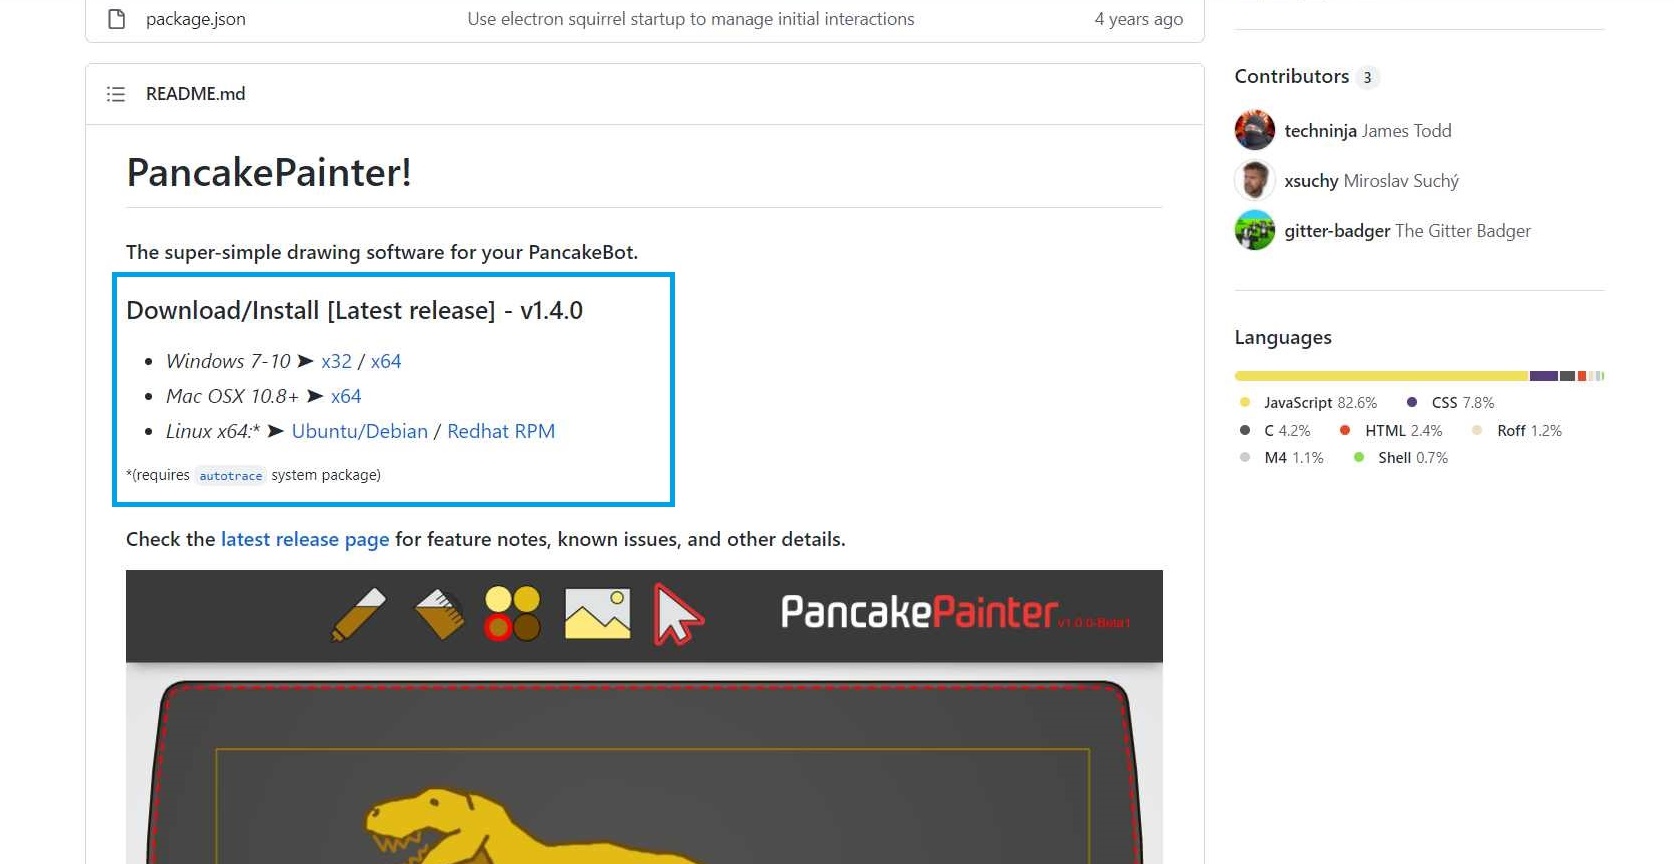
Pancake Painter software download
Pancake Painter software
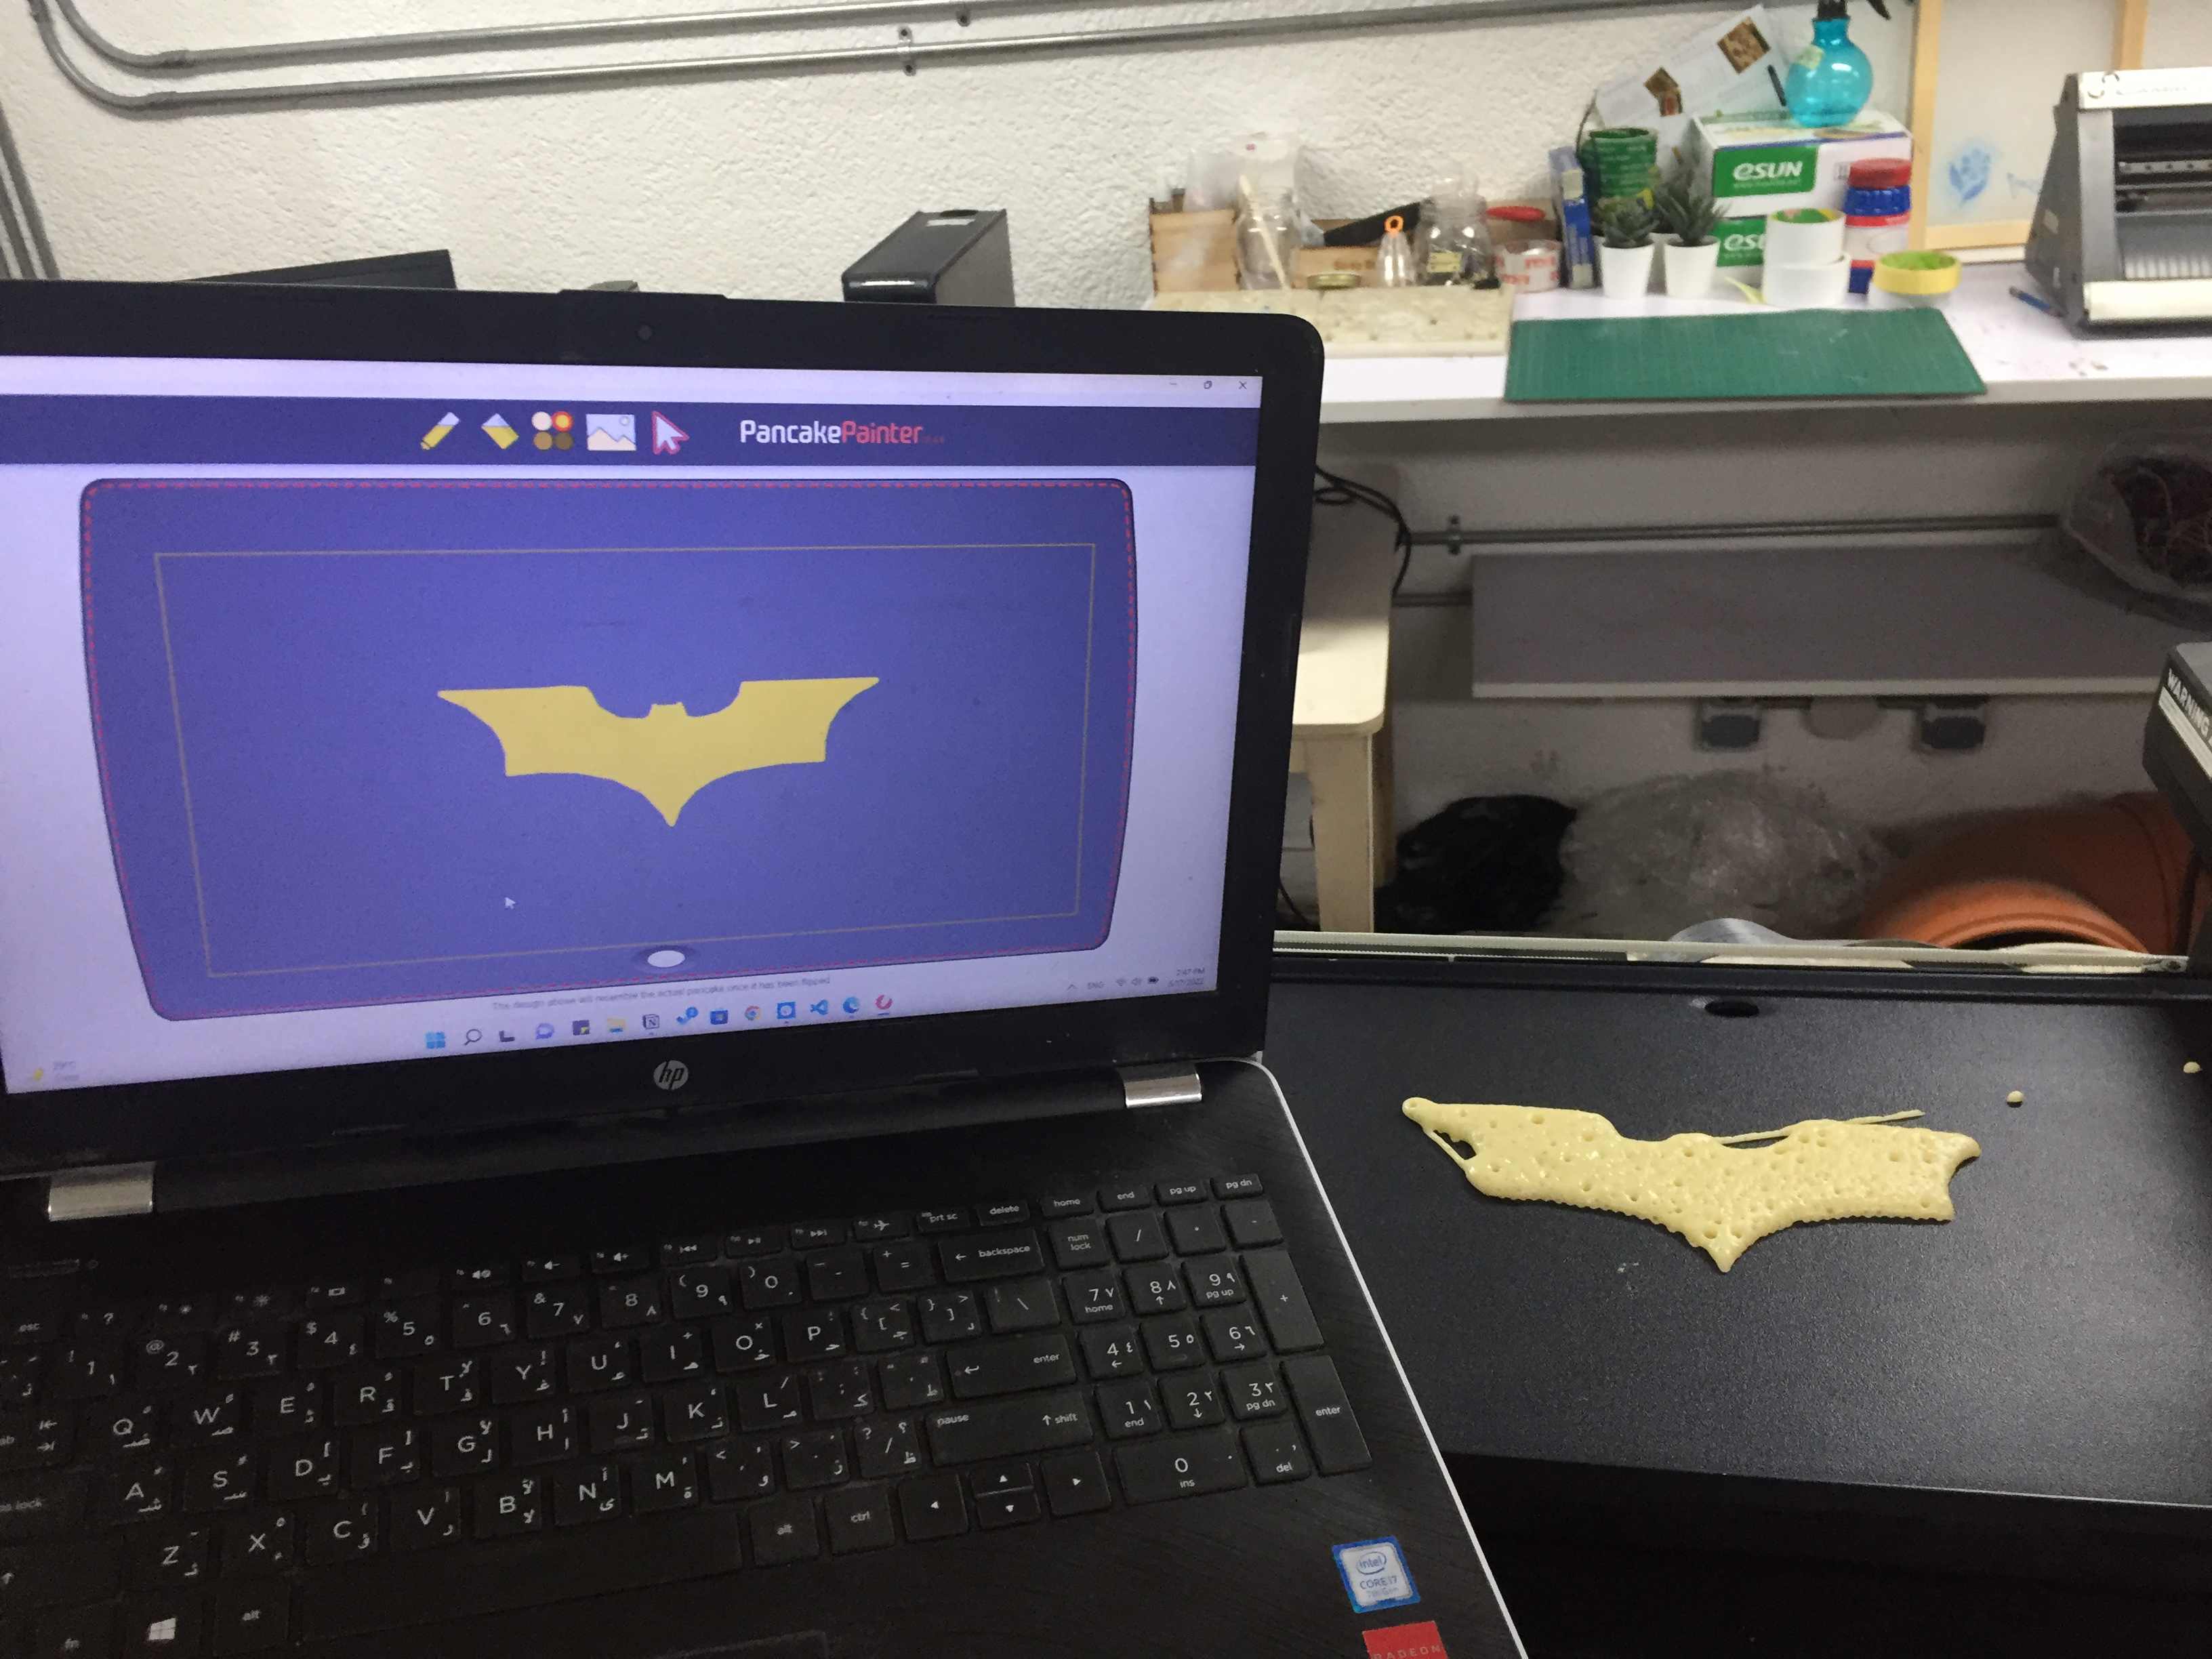
So the interface is so simple, it will open this window shown below and having the machine's bed to draw on, but I will be inserting a picture to trace.
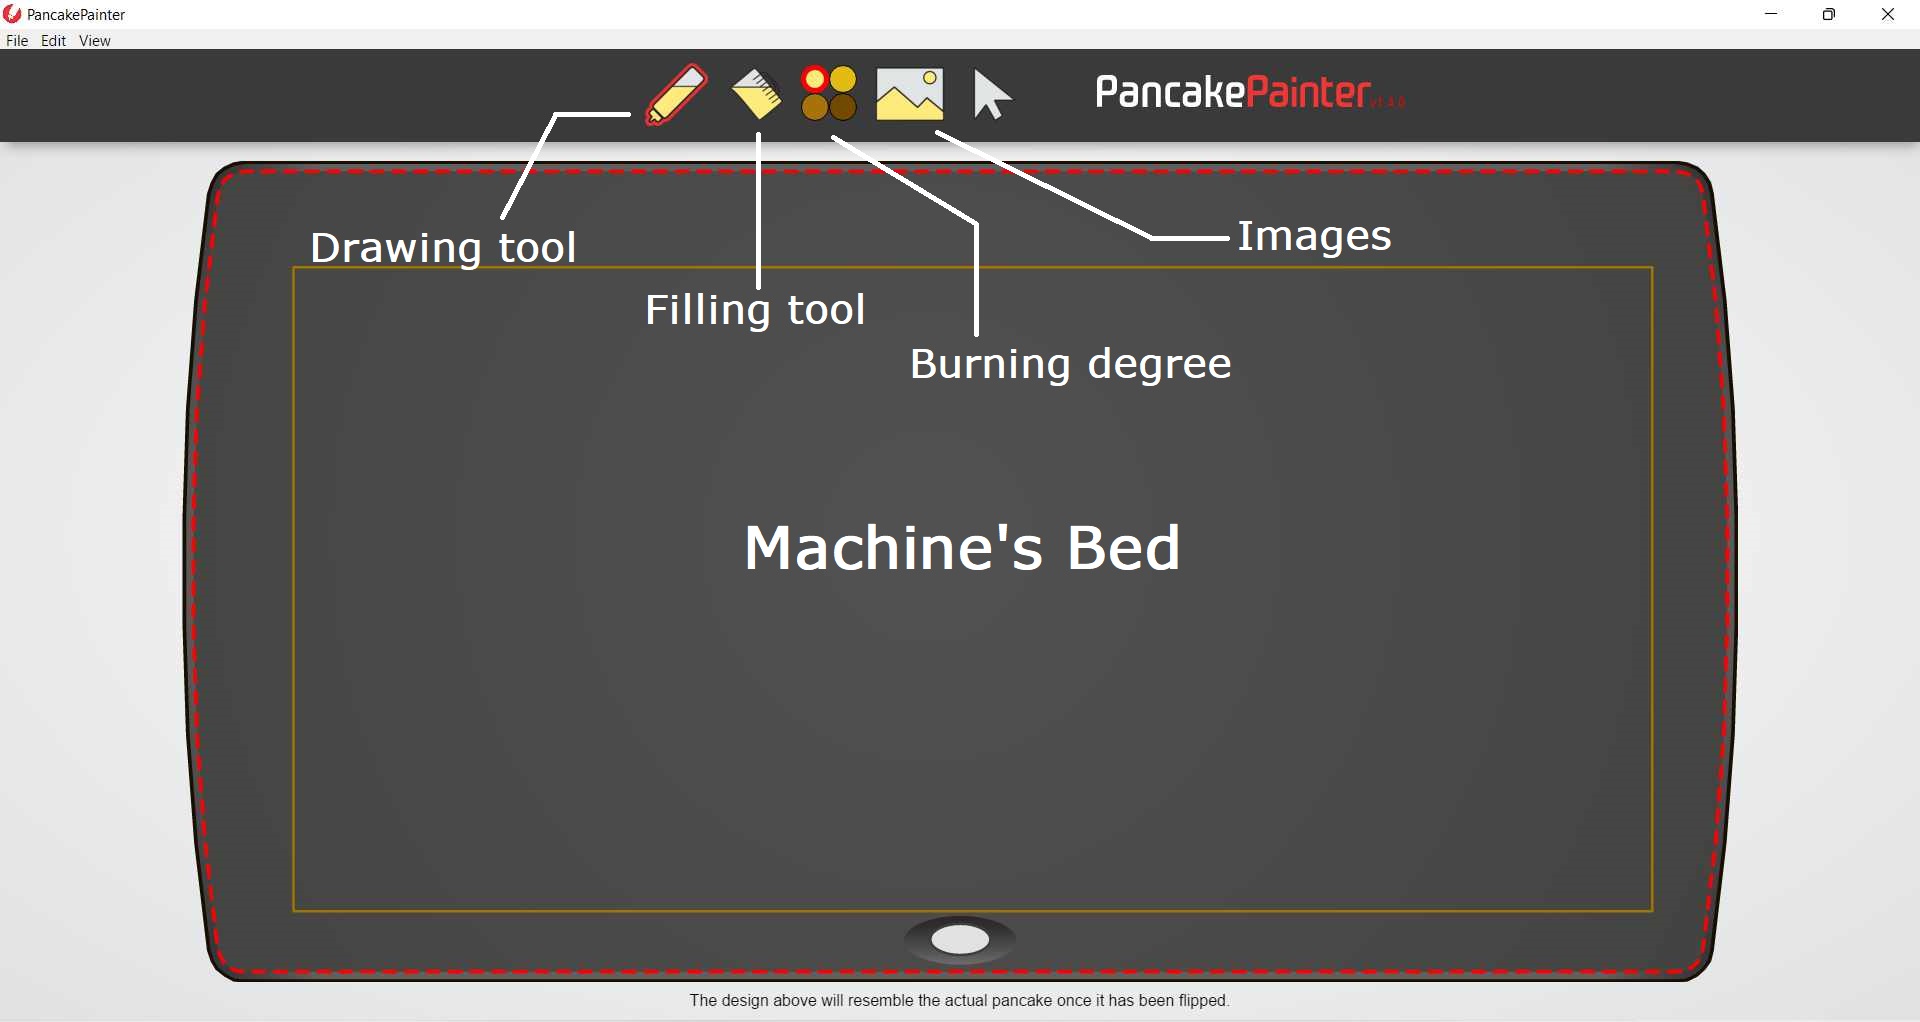
Pancake Painter Window
Inserting an image from the image icon and automating tracing the image to get the vector needed.
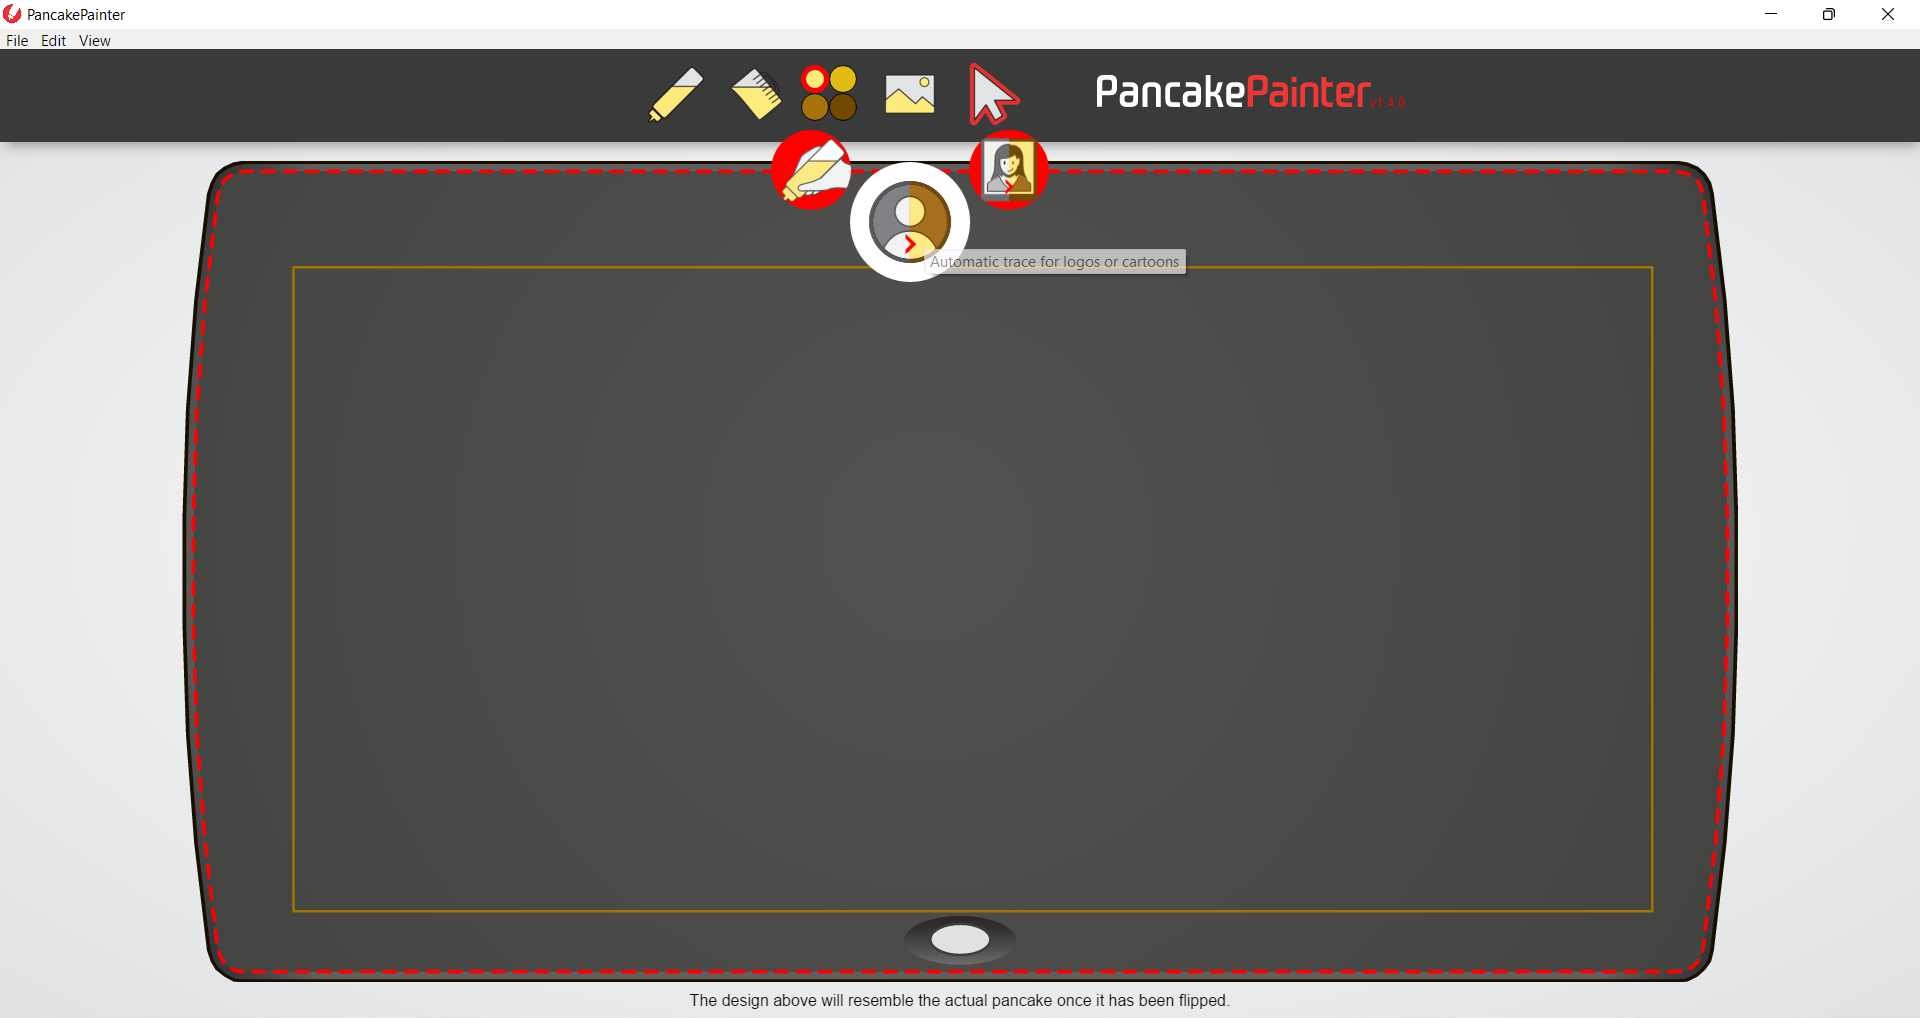
Inserting image
In the automatic trace we will find several options on the right that are helpful for the type of image inserted and the tracing type needed, so I chose Dynamic lines fill which came out good enough and the Shade limit refers to the degree of burning.
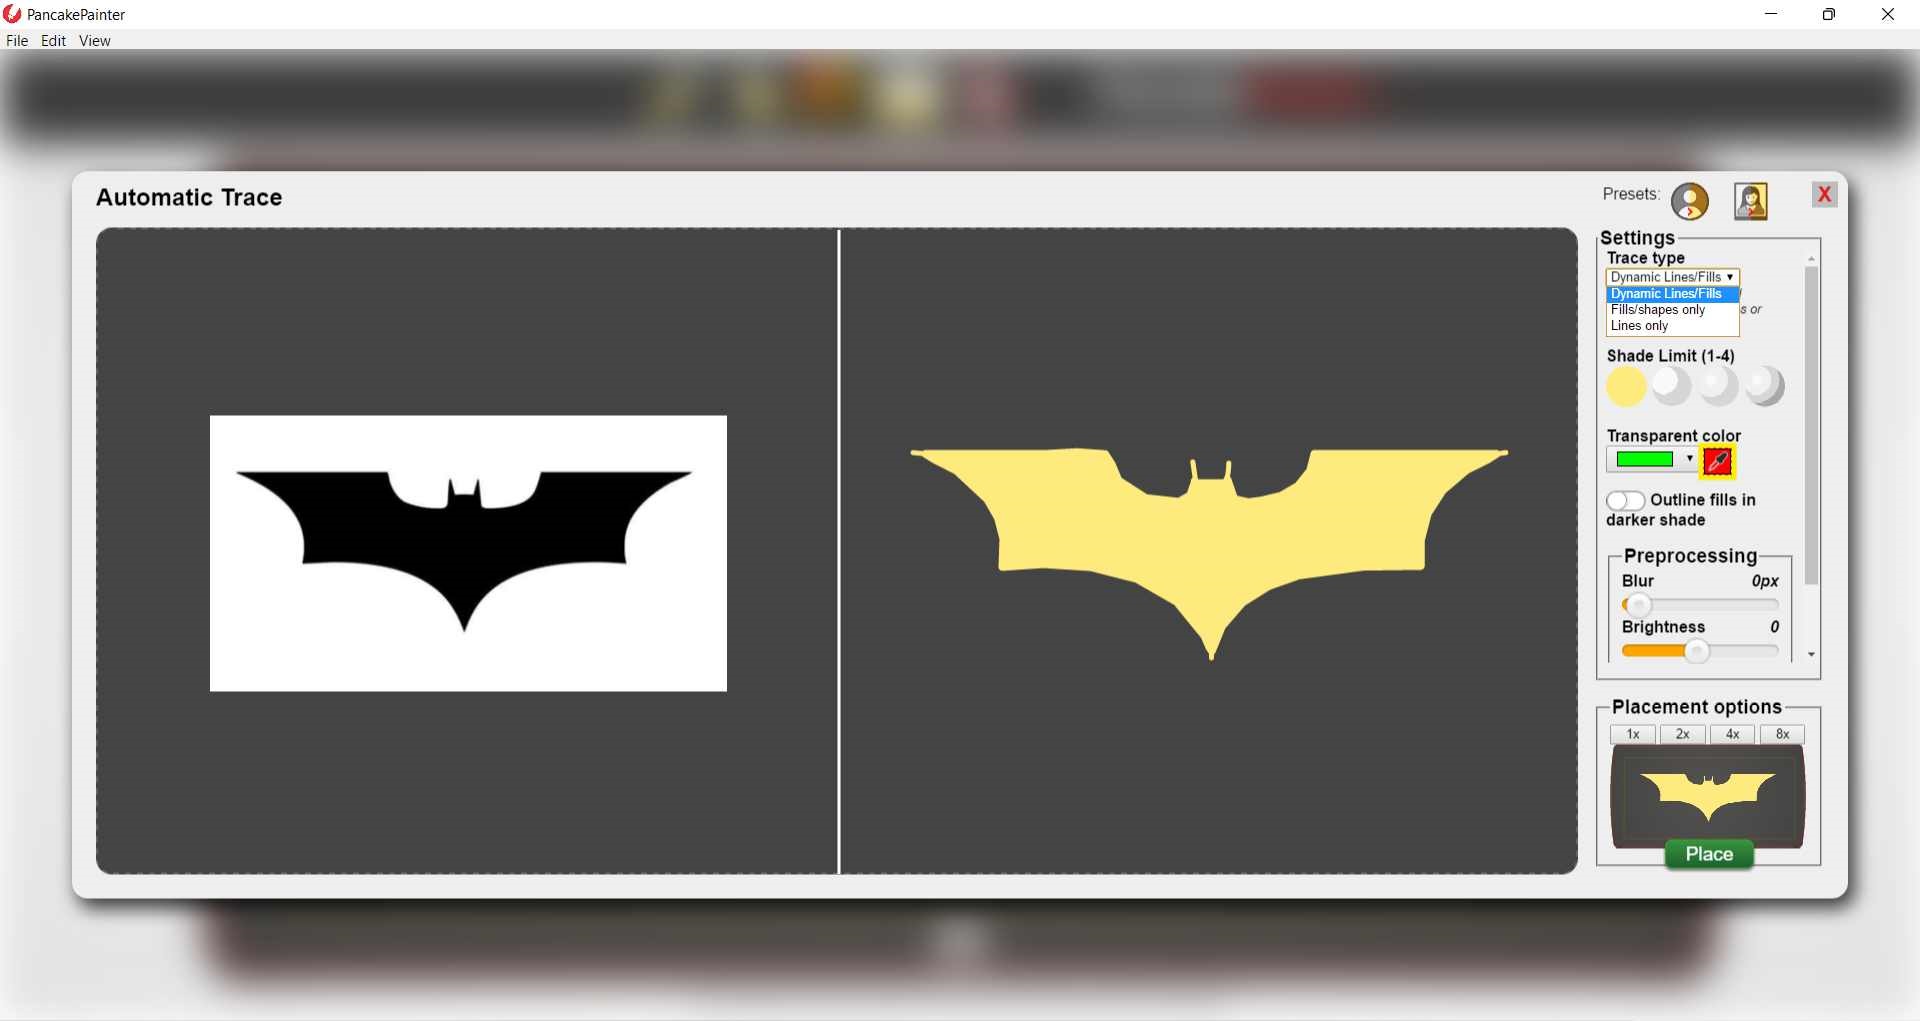
Tracing the image
After that I just clicked on Place down to place the shape on the bed. Now I can edit the size, position, and orientation of the shape as I want, and as the shape will be flipped at the end when it's done and my shape is symmetric so it didn't matter if I flipped it or not.

Placing the shape
Here is the most important part which is the settings of printing. I didn't want to waste alot of time trying to get the perfect settings for printing so I visited Noha's documentation in her Wildcard week ,but the most important settings to set were
- Shape fill effective batter width: 5.4mm
- Line end pre-shutoff distance: 18 dv/px
- Use diagonal line fill: ON
- Line start pump ON wait time: 478 ms
- Line end pump OFF wait time: 0ms
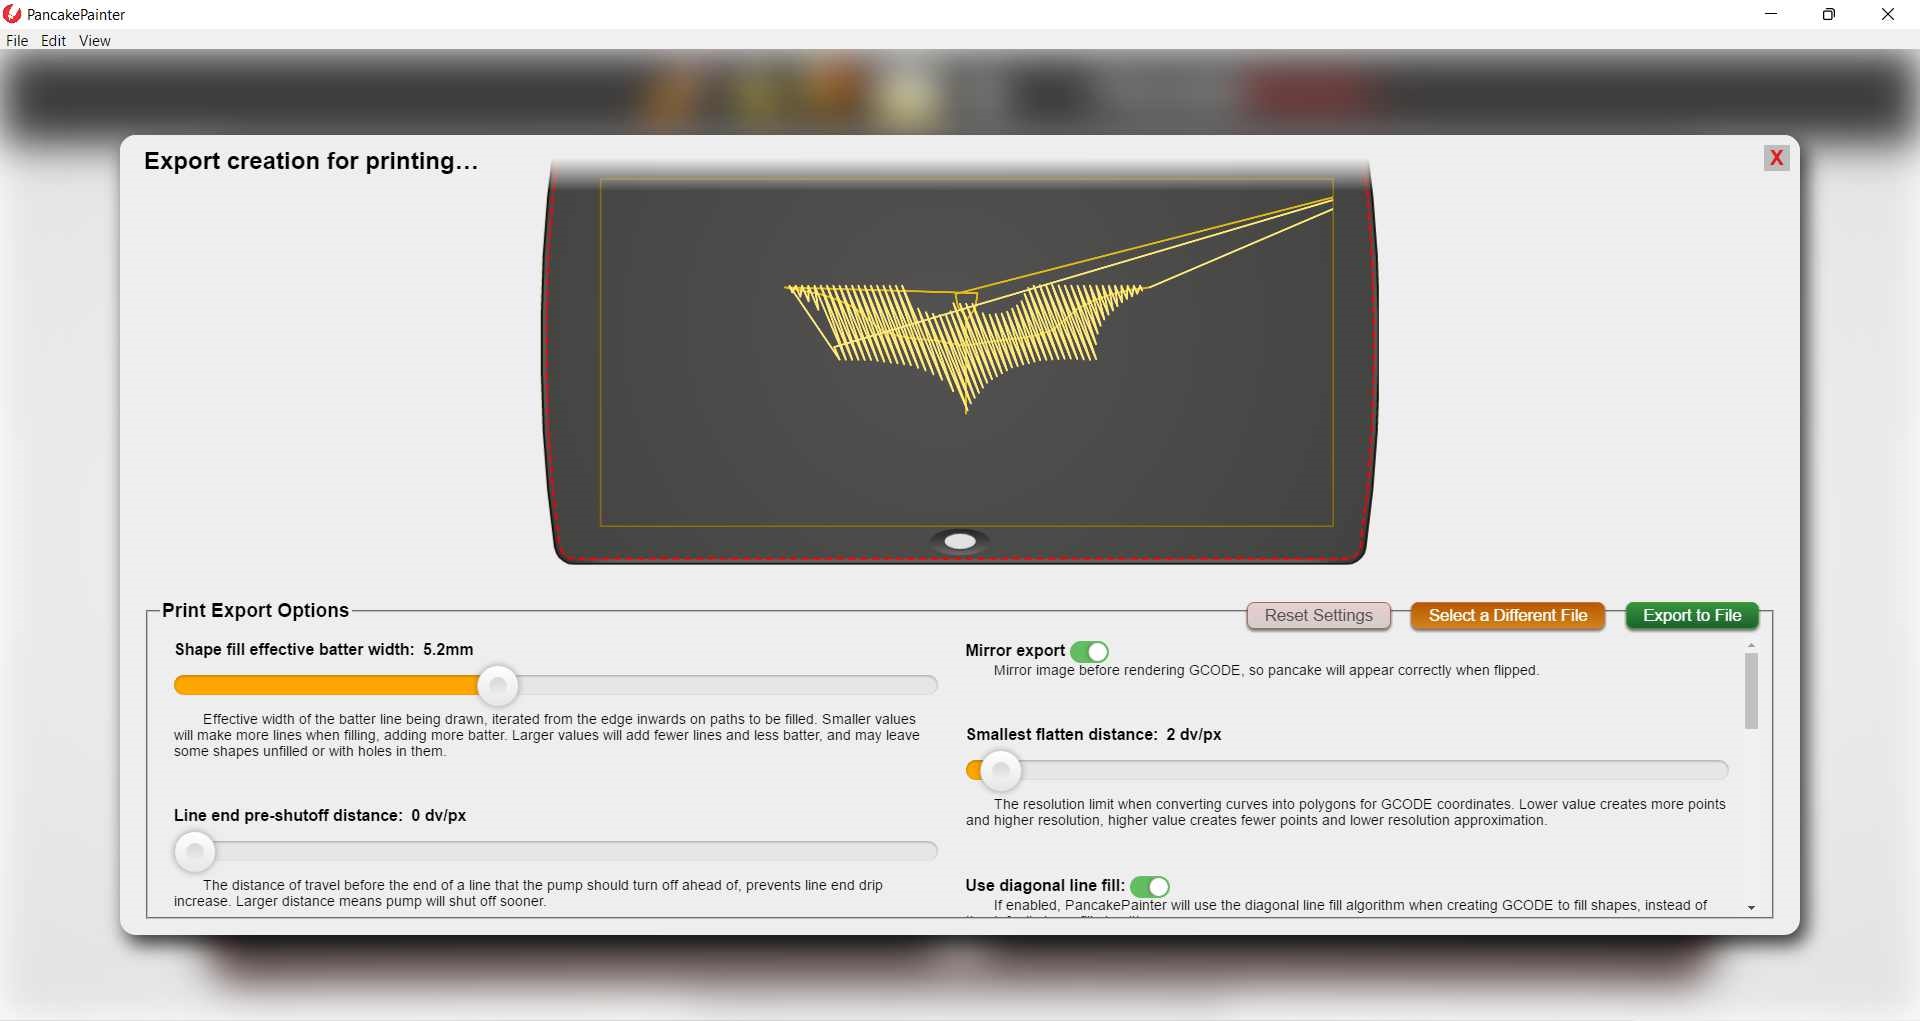
G-code settings
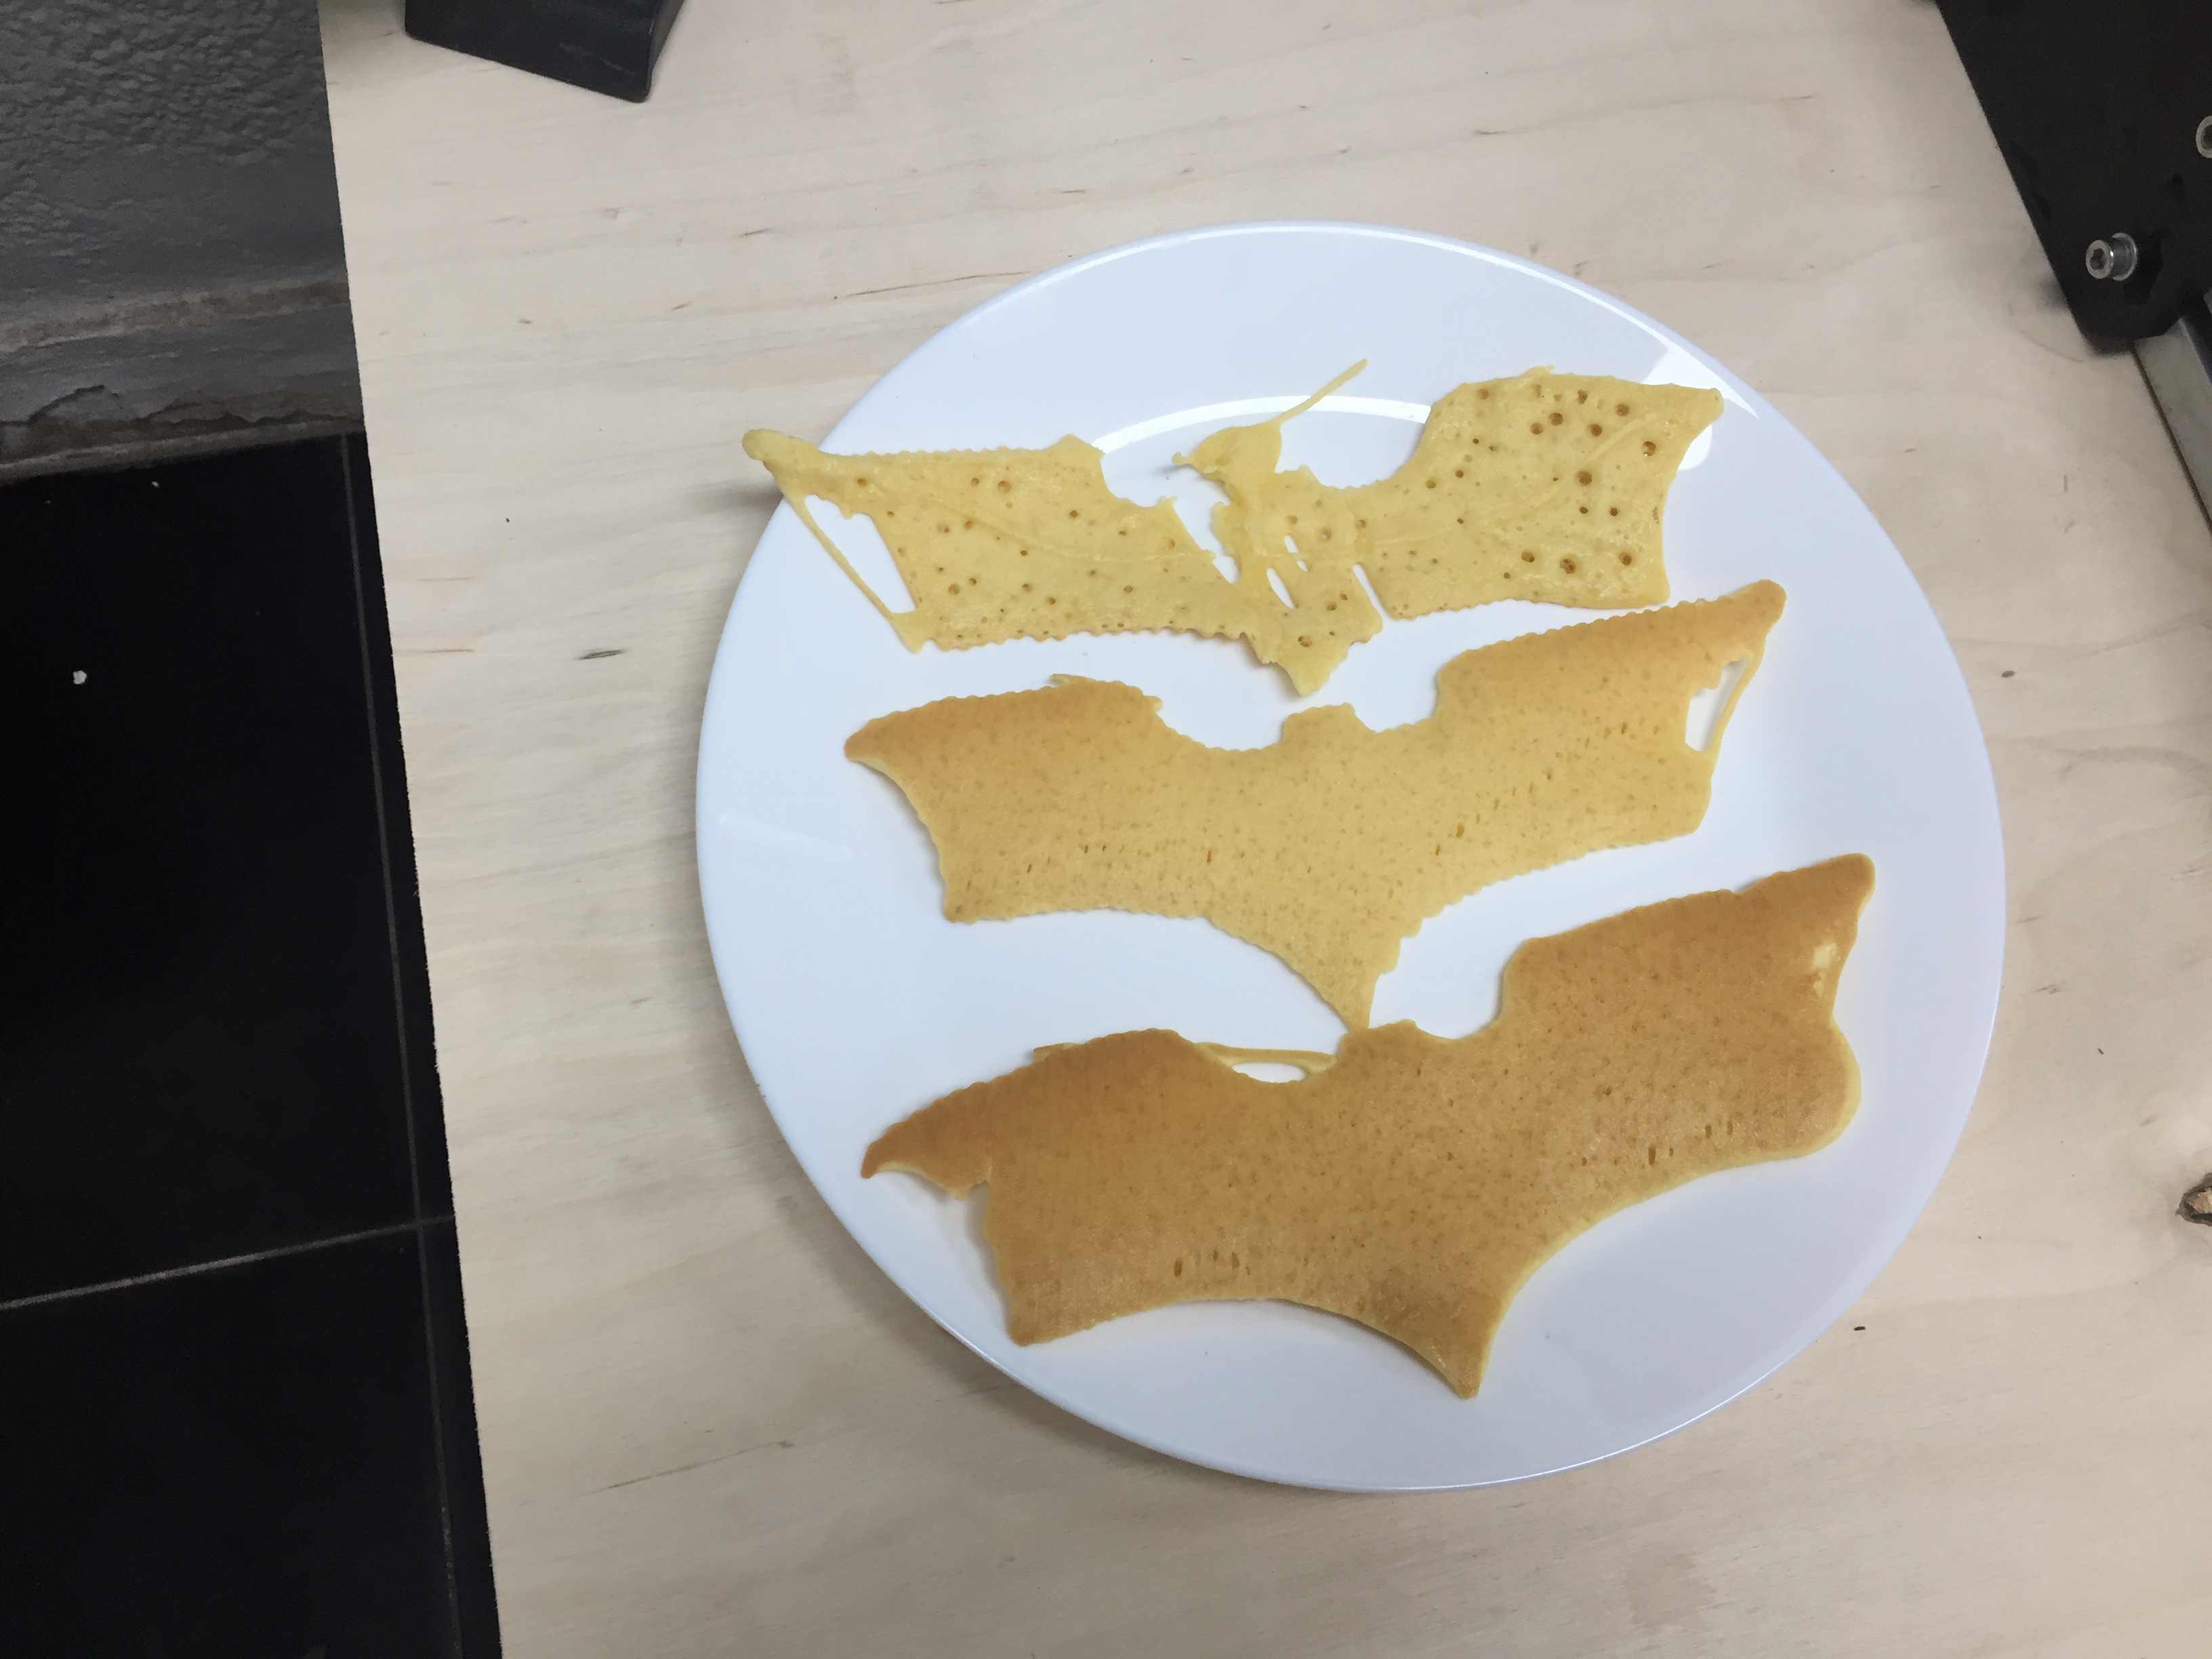
Then it started printing...
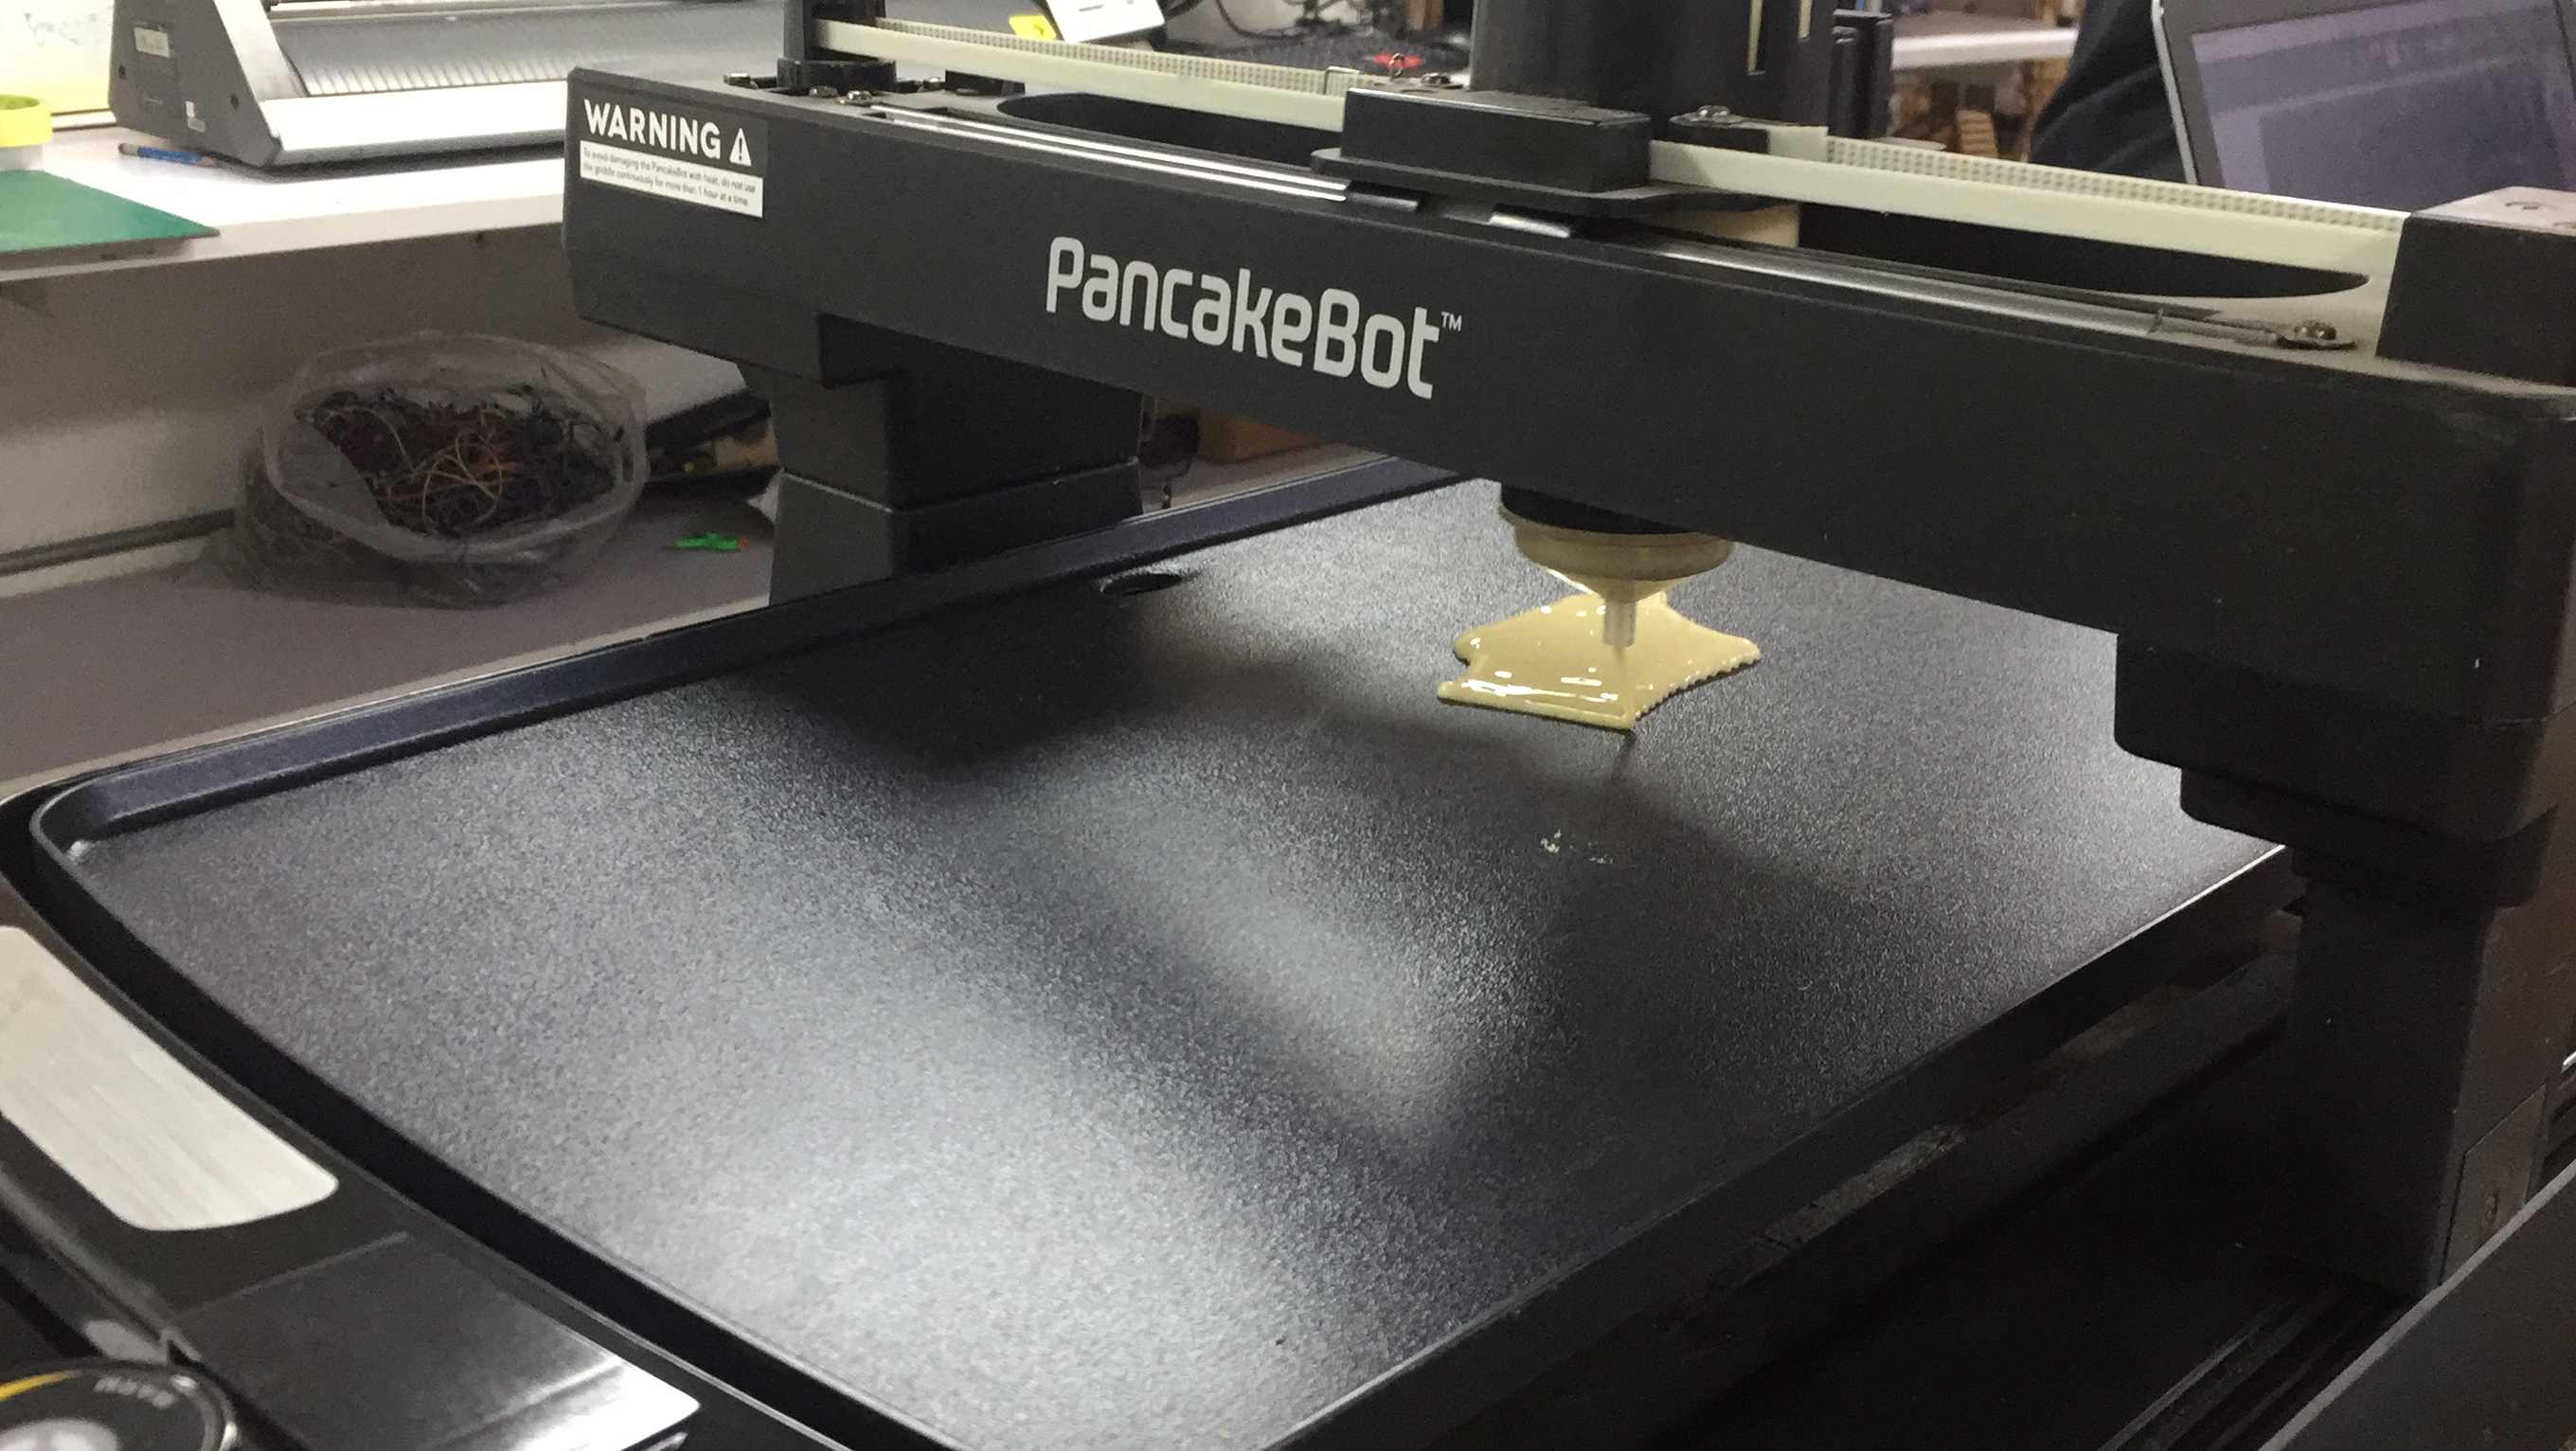
Unfortunately, the first one came out not as expected, but luckily I found the problem which was the Pressure knob that I didn't care about at first but then I realised that it's very important in setting the right air pressure for letting the mix come out properly.
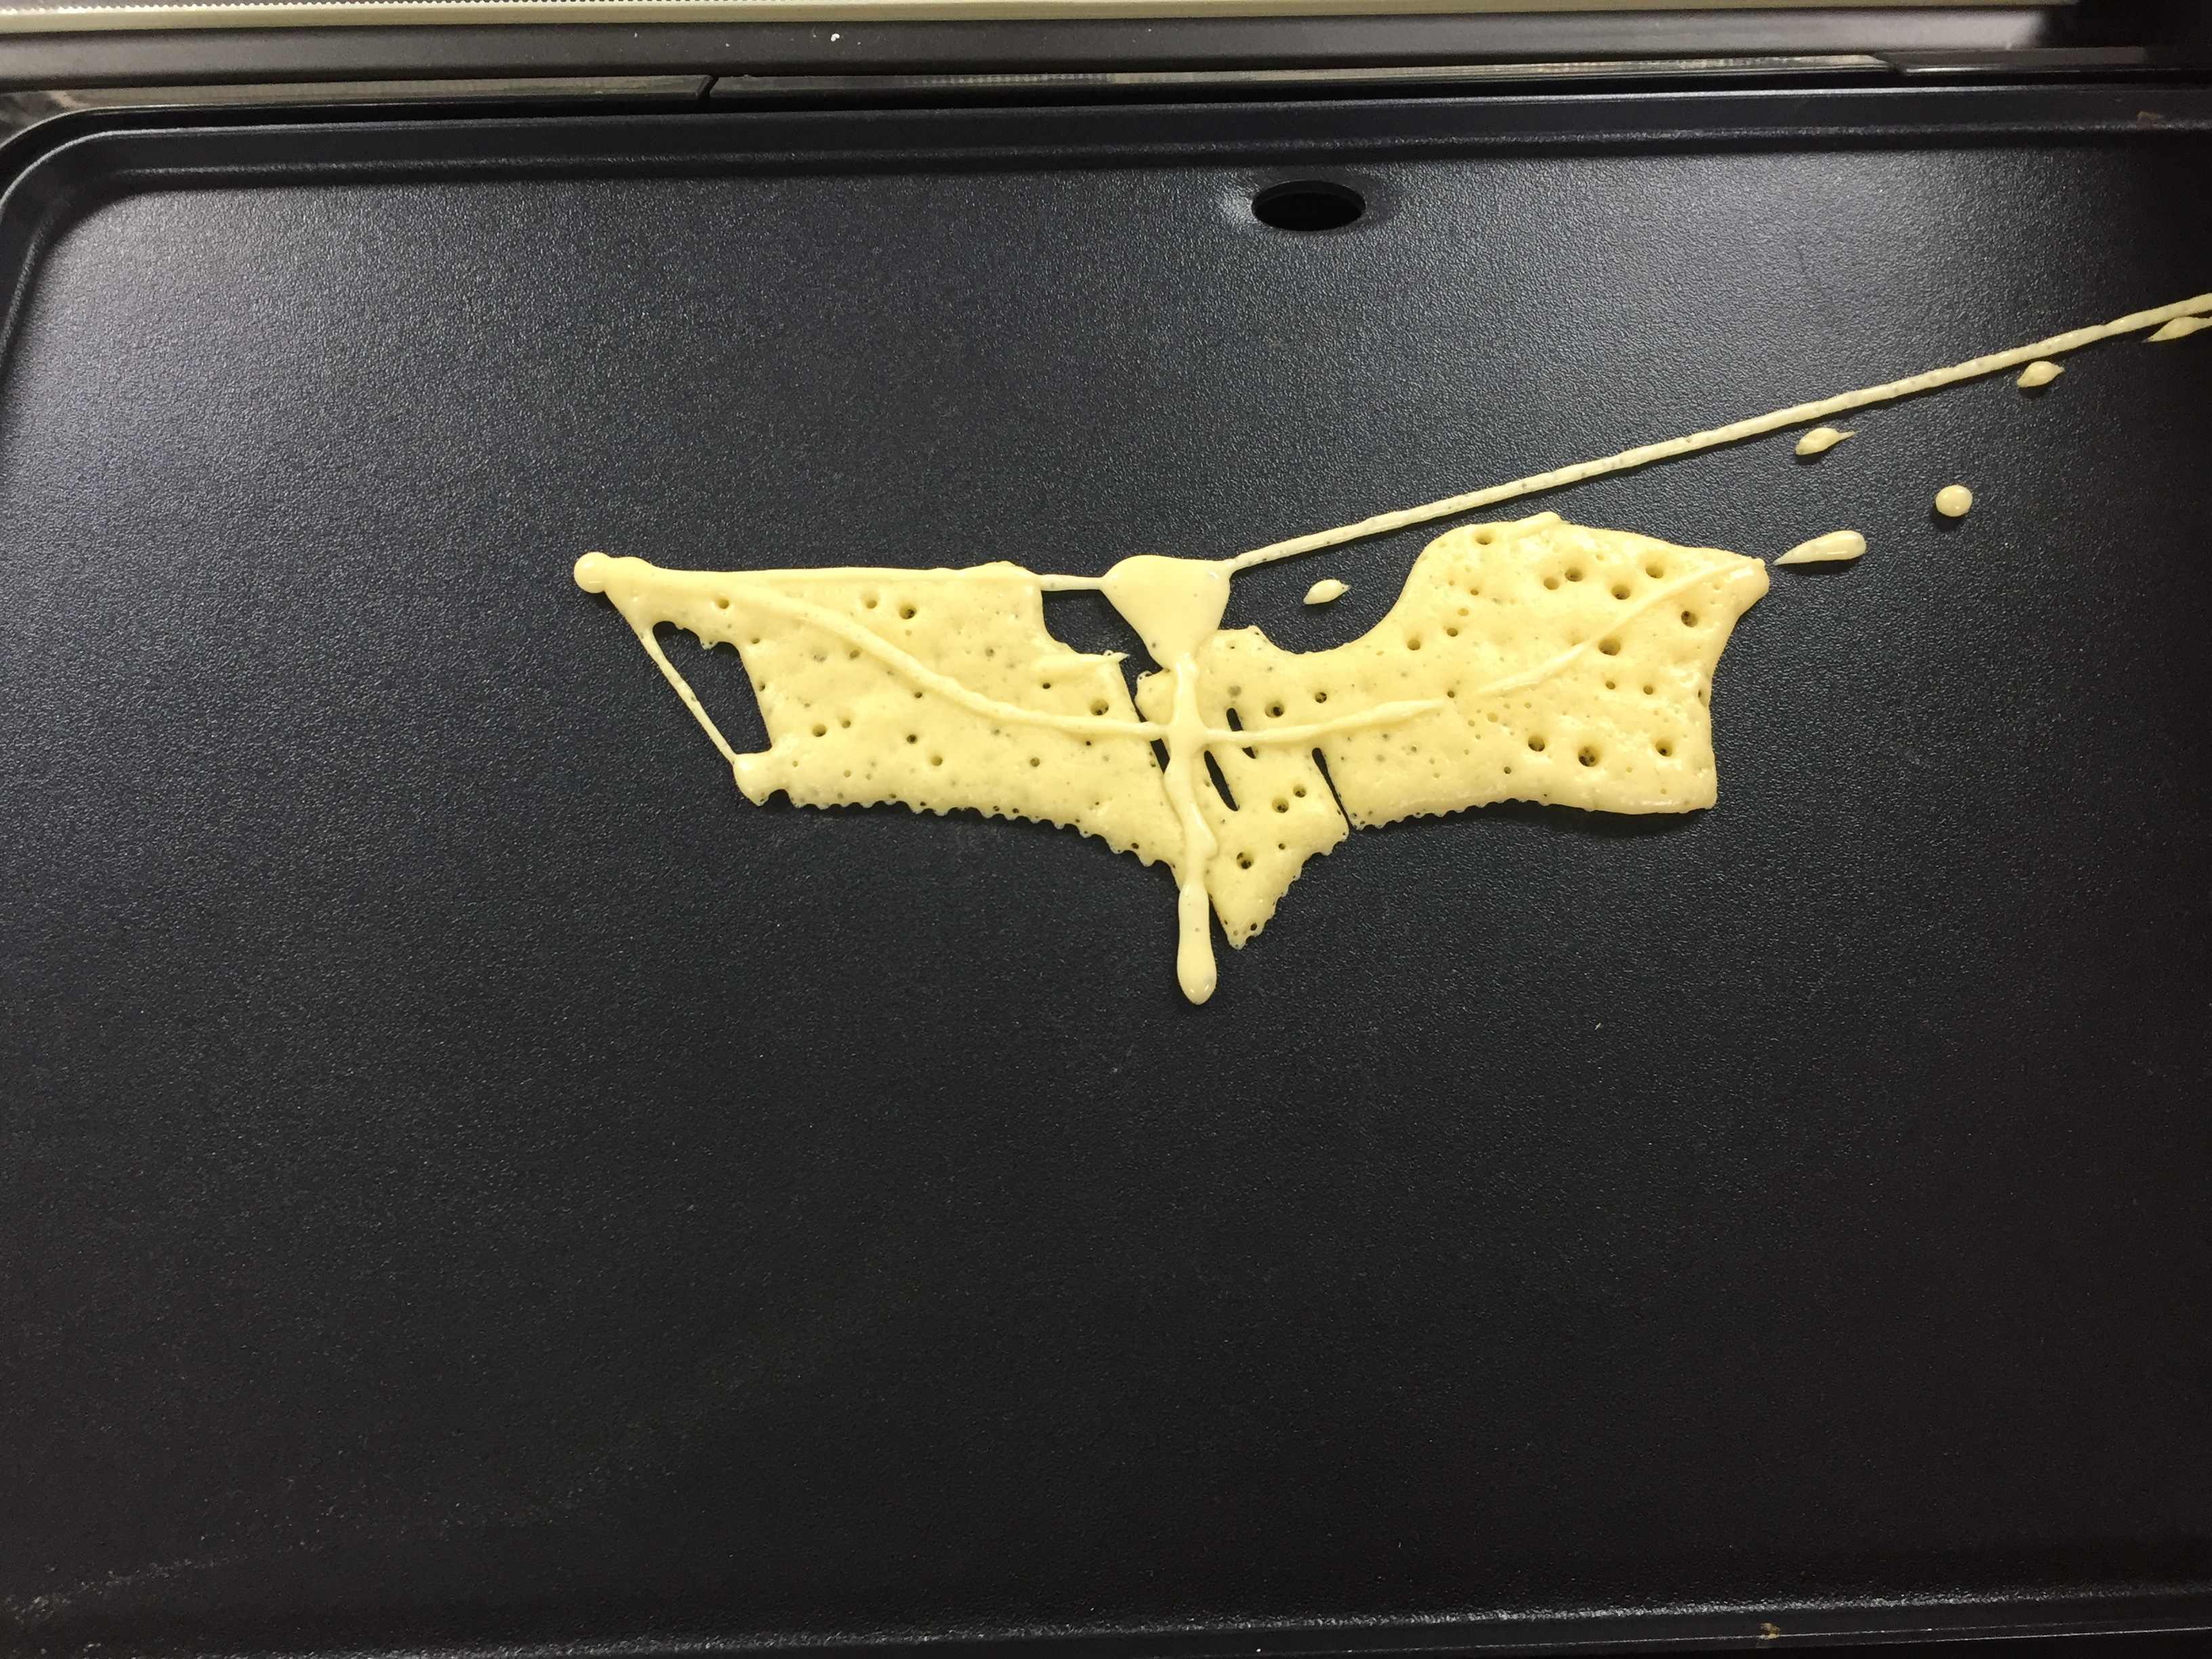
Then I knew that by increasing the pressure the flow increases so I set it to 4 and this was the second output.
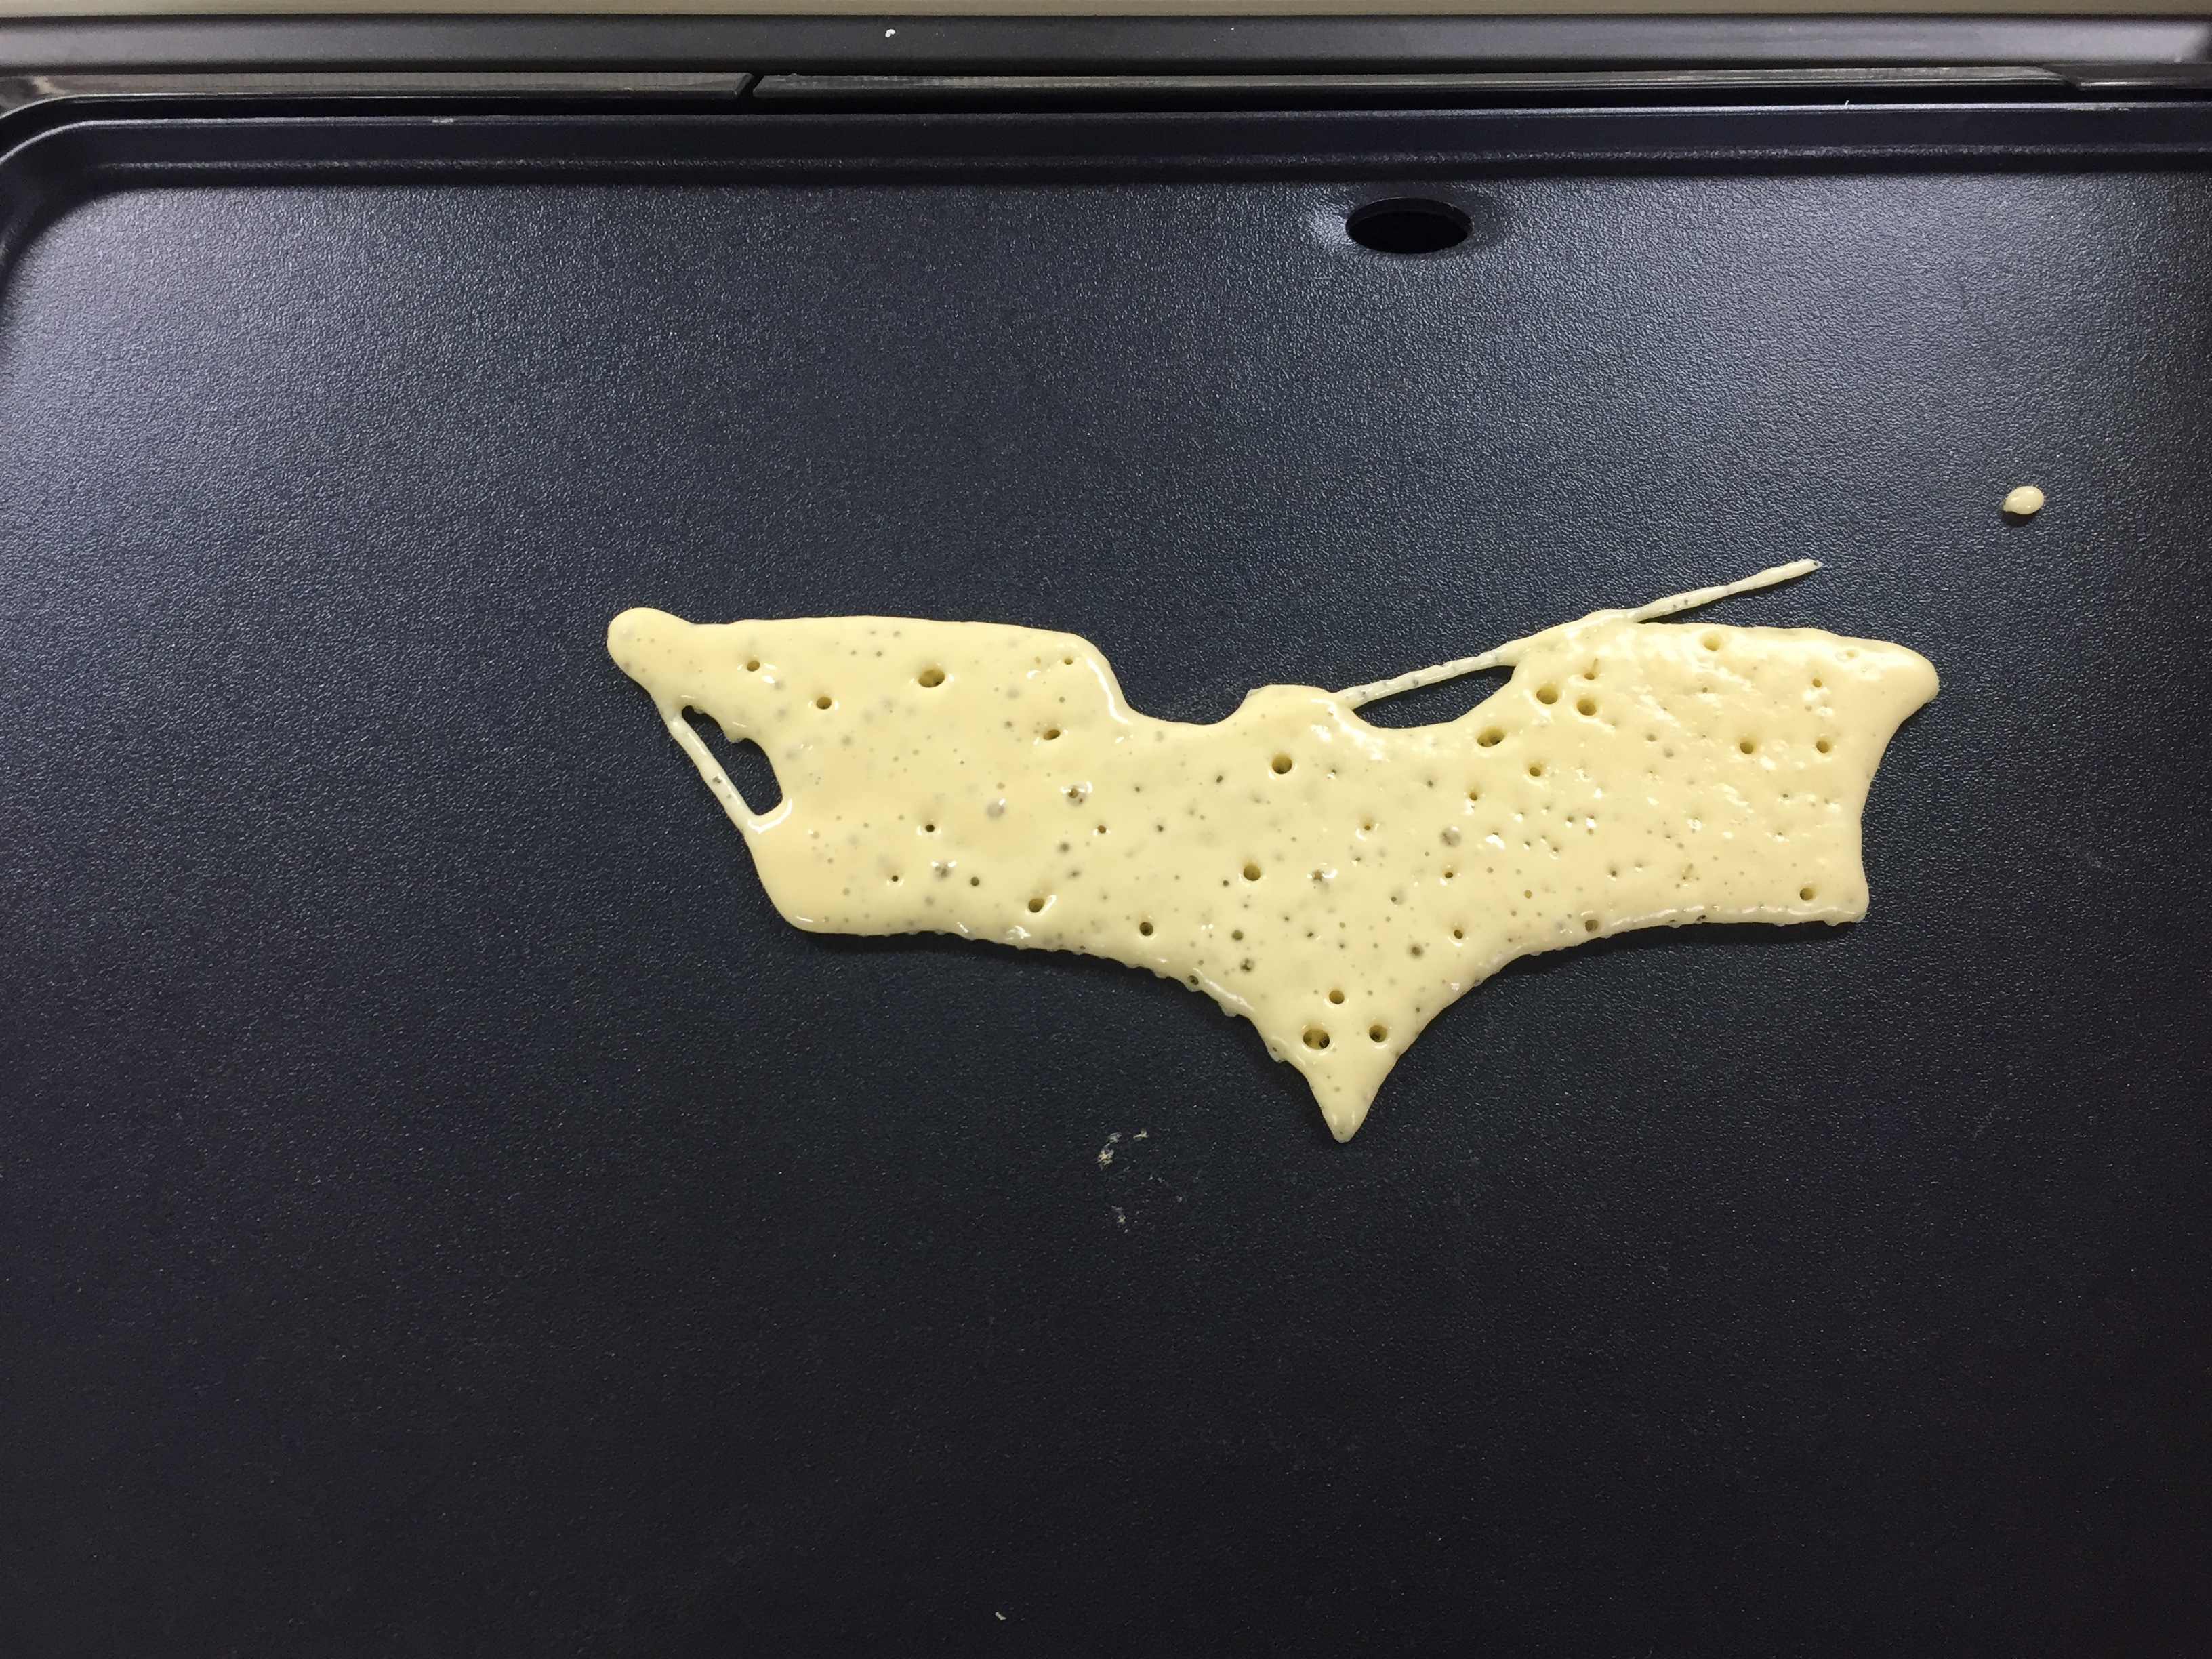
And those were all my trials...
And here is a time-lapse where the magic is done.
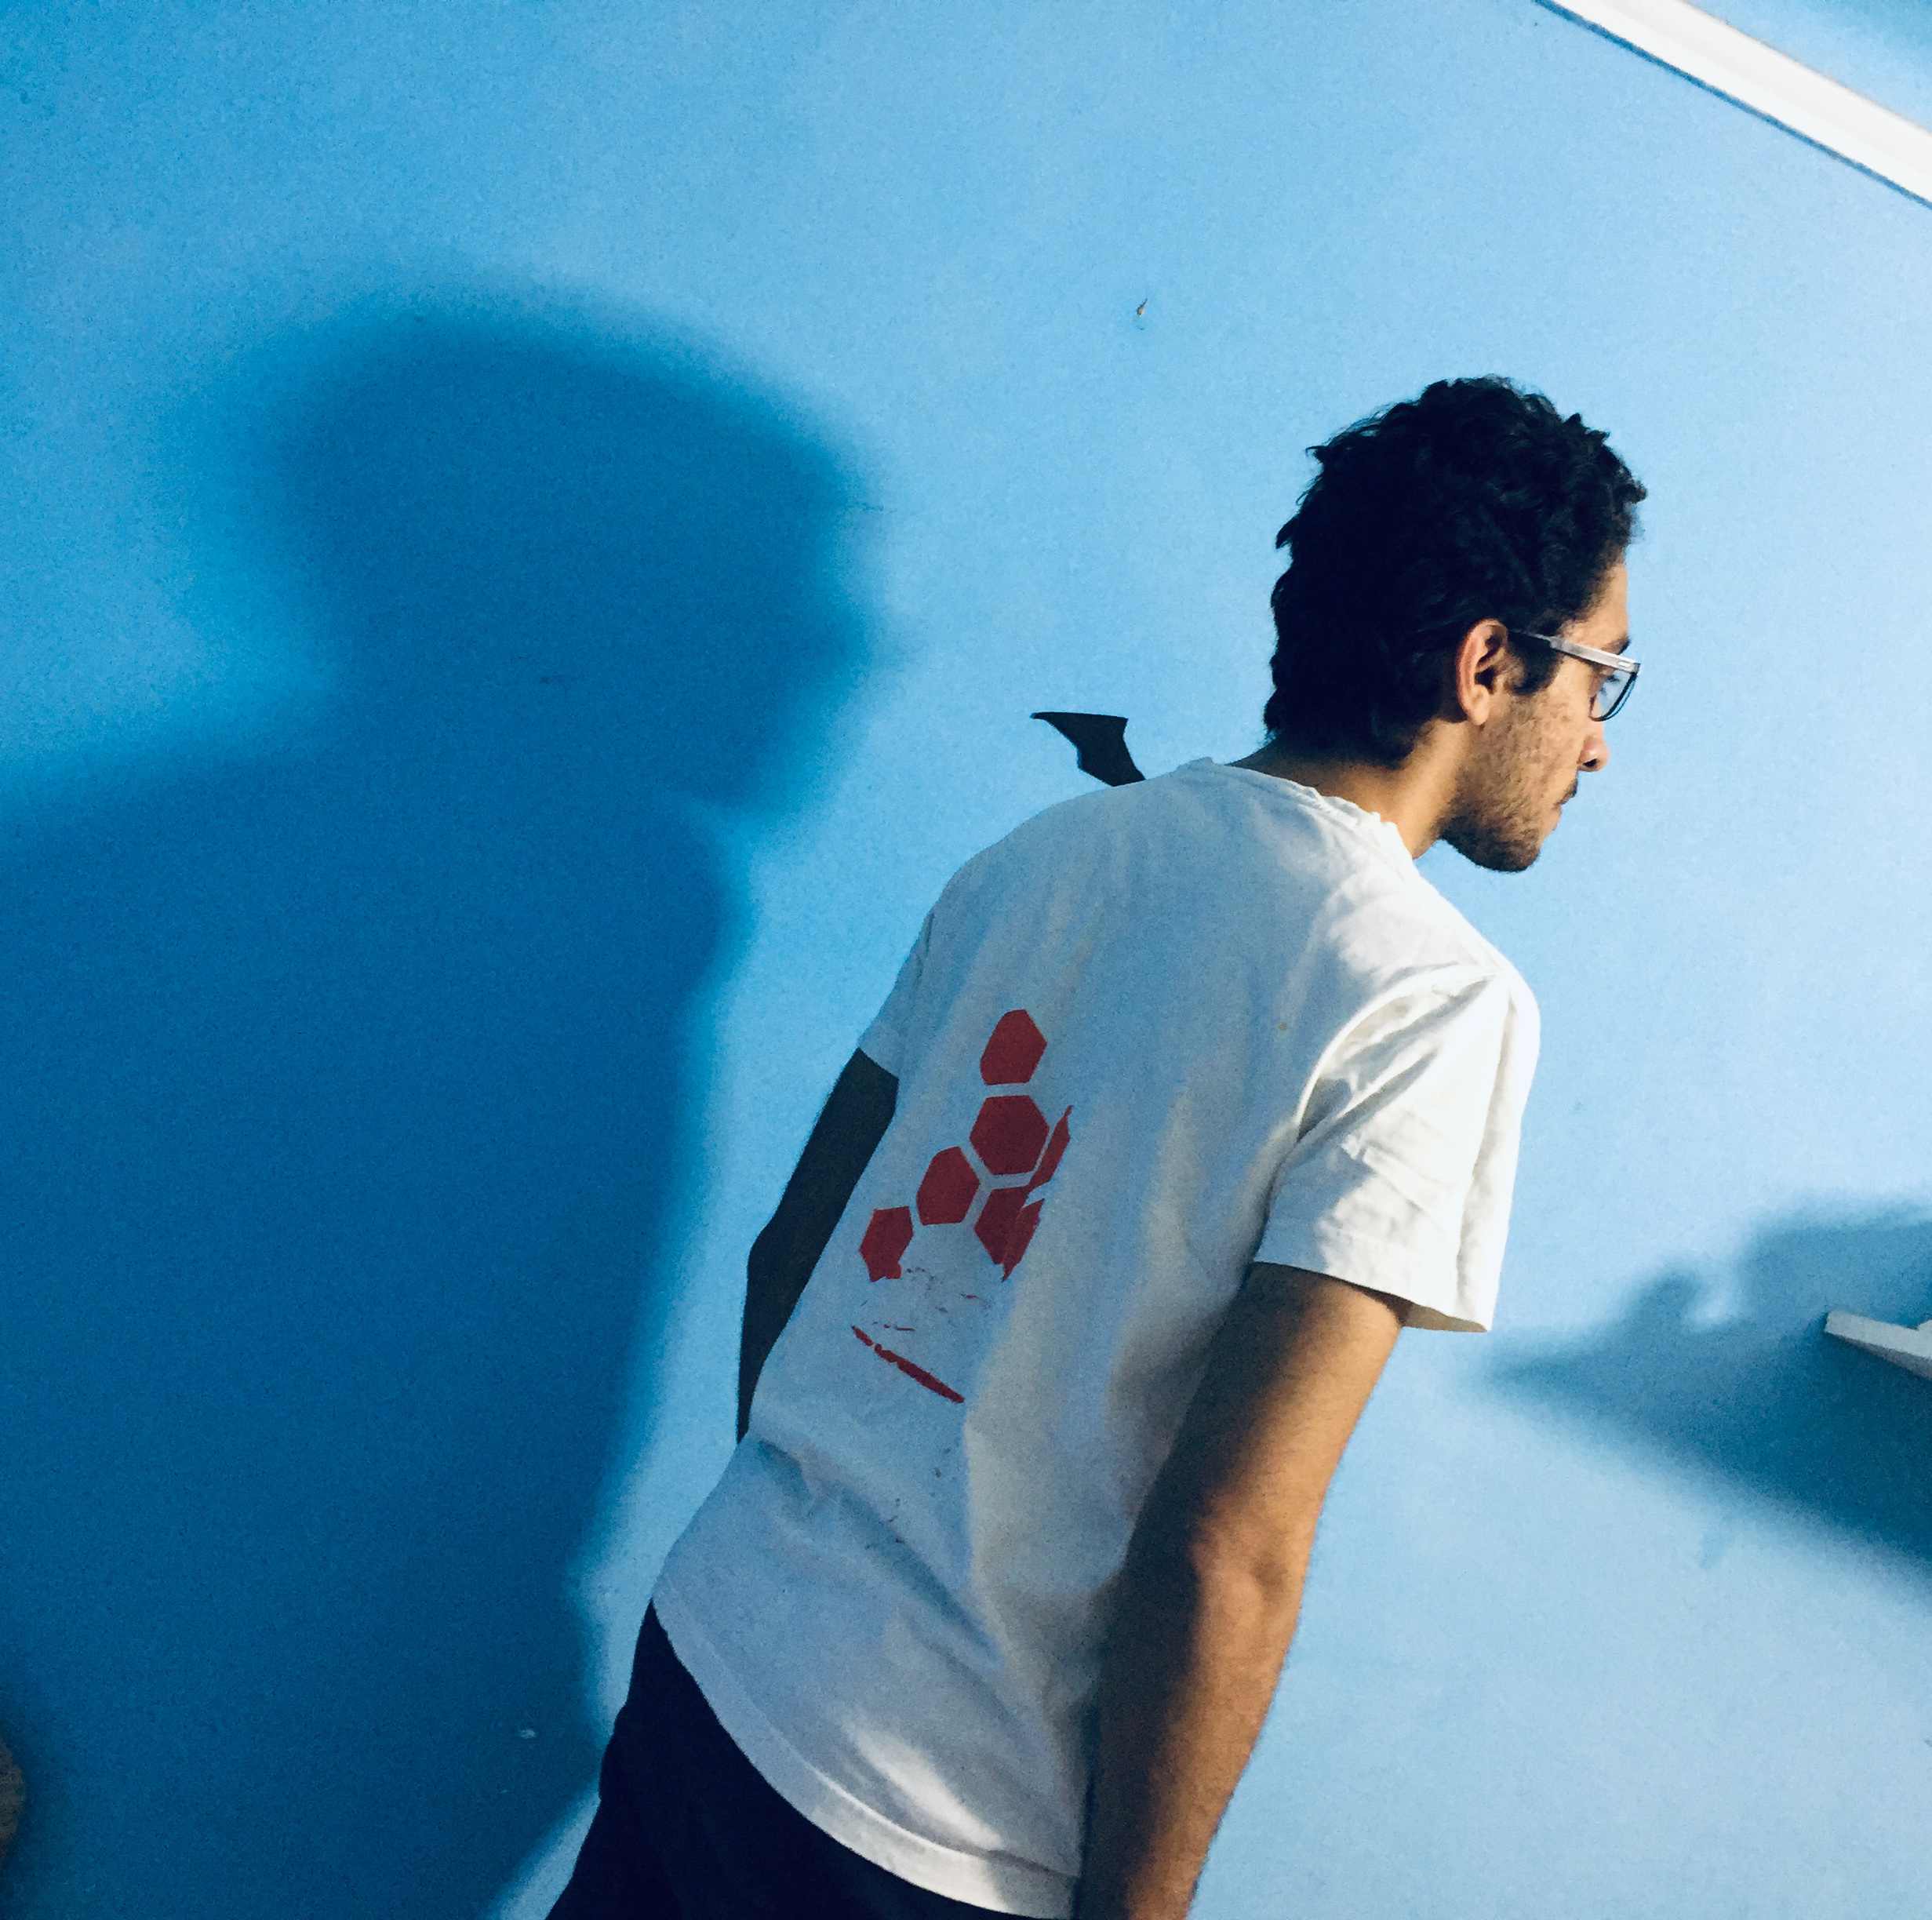
Successful Batwing pancake
Screen Printing
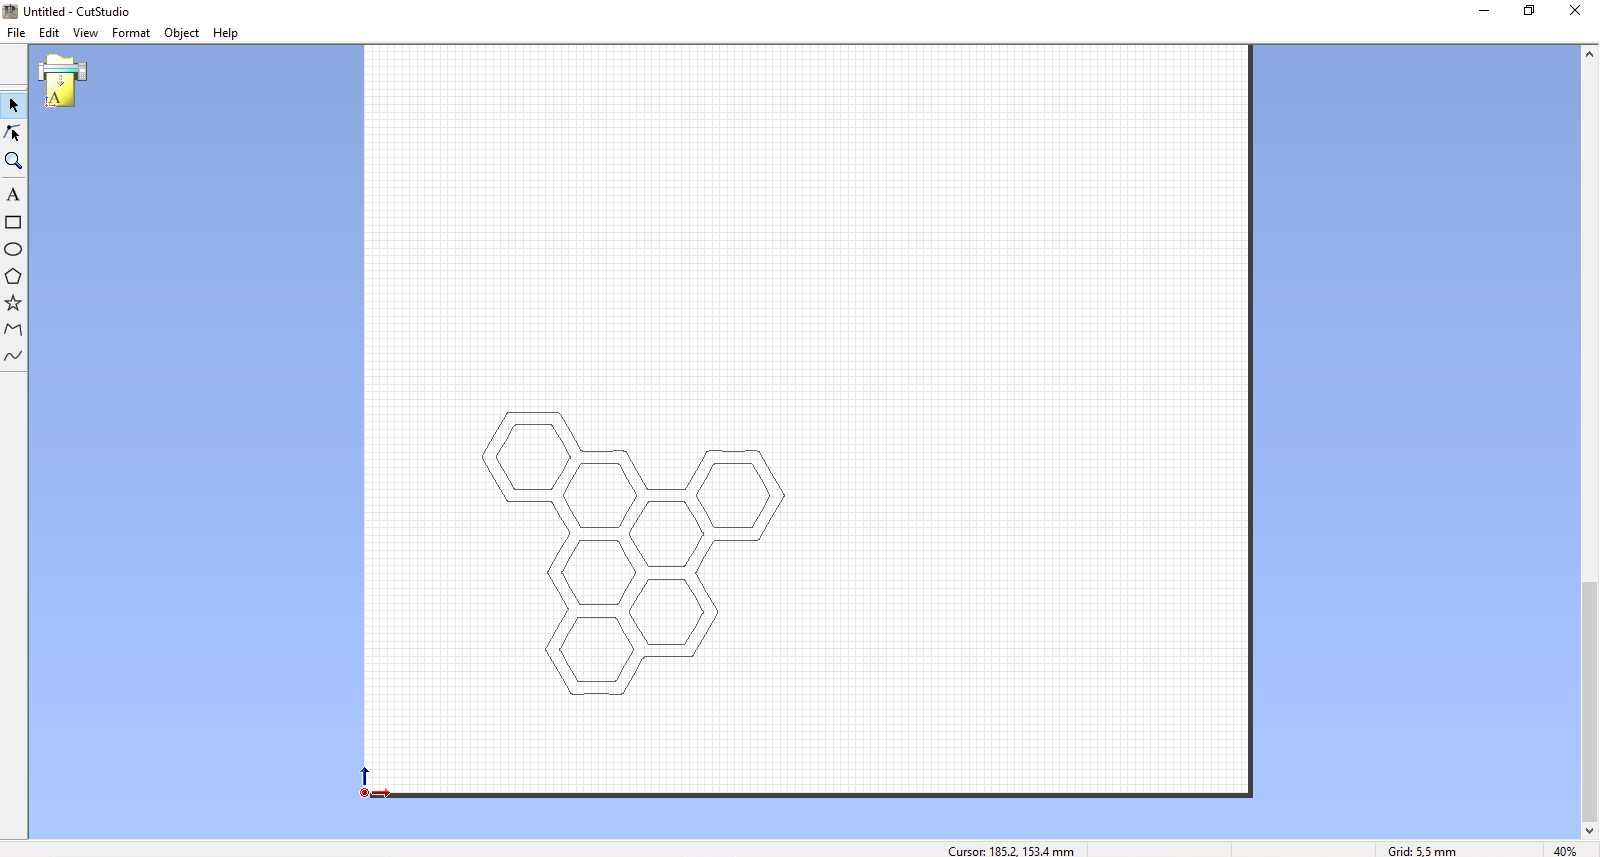
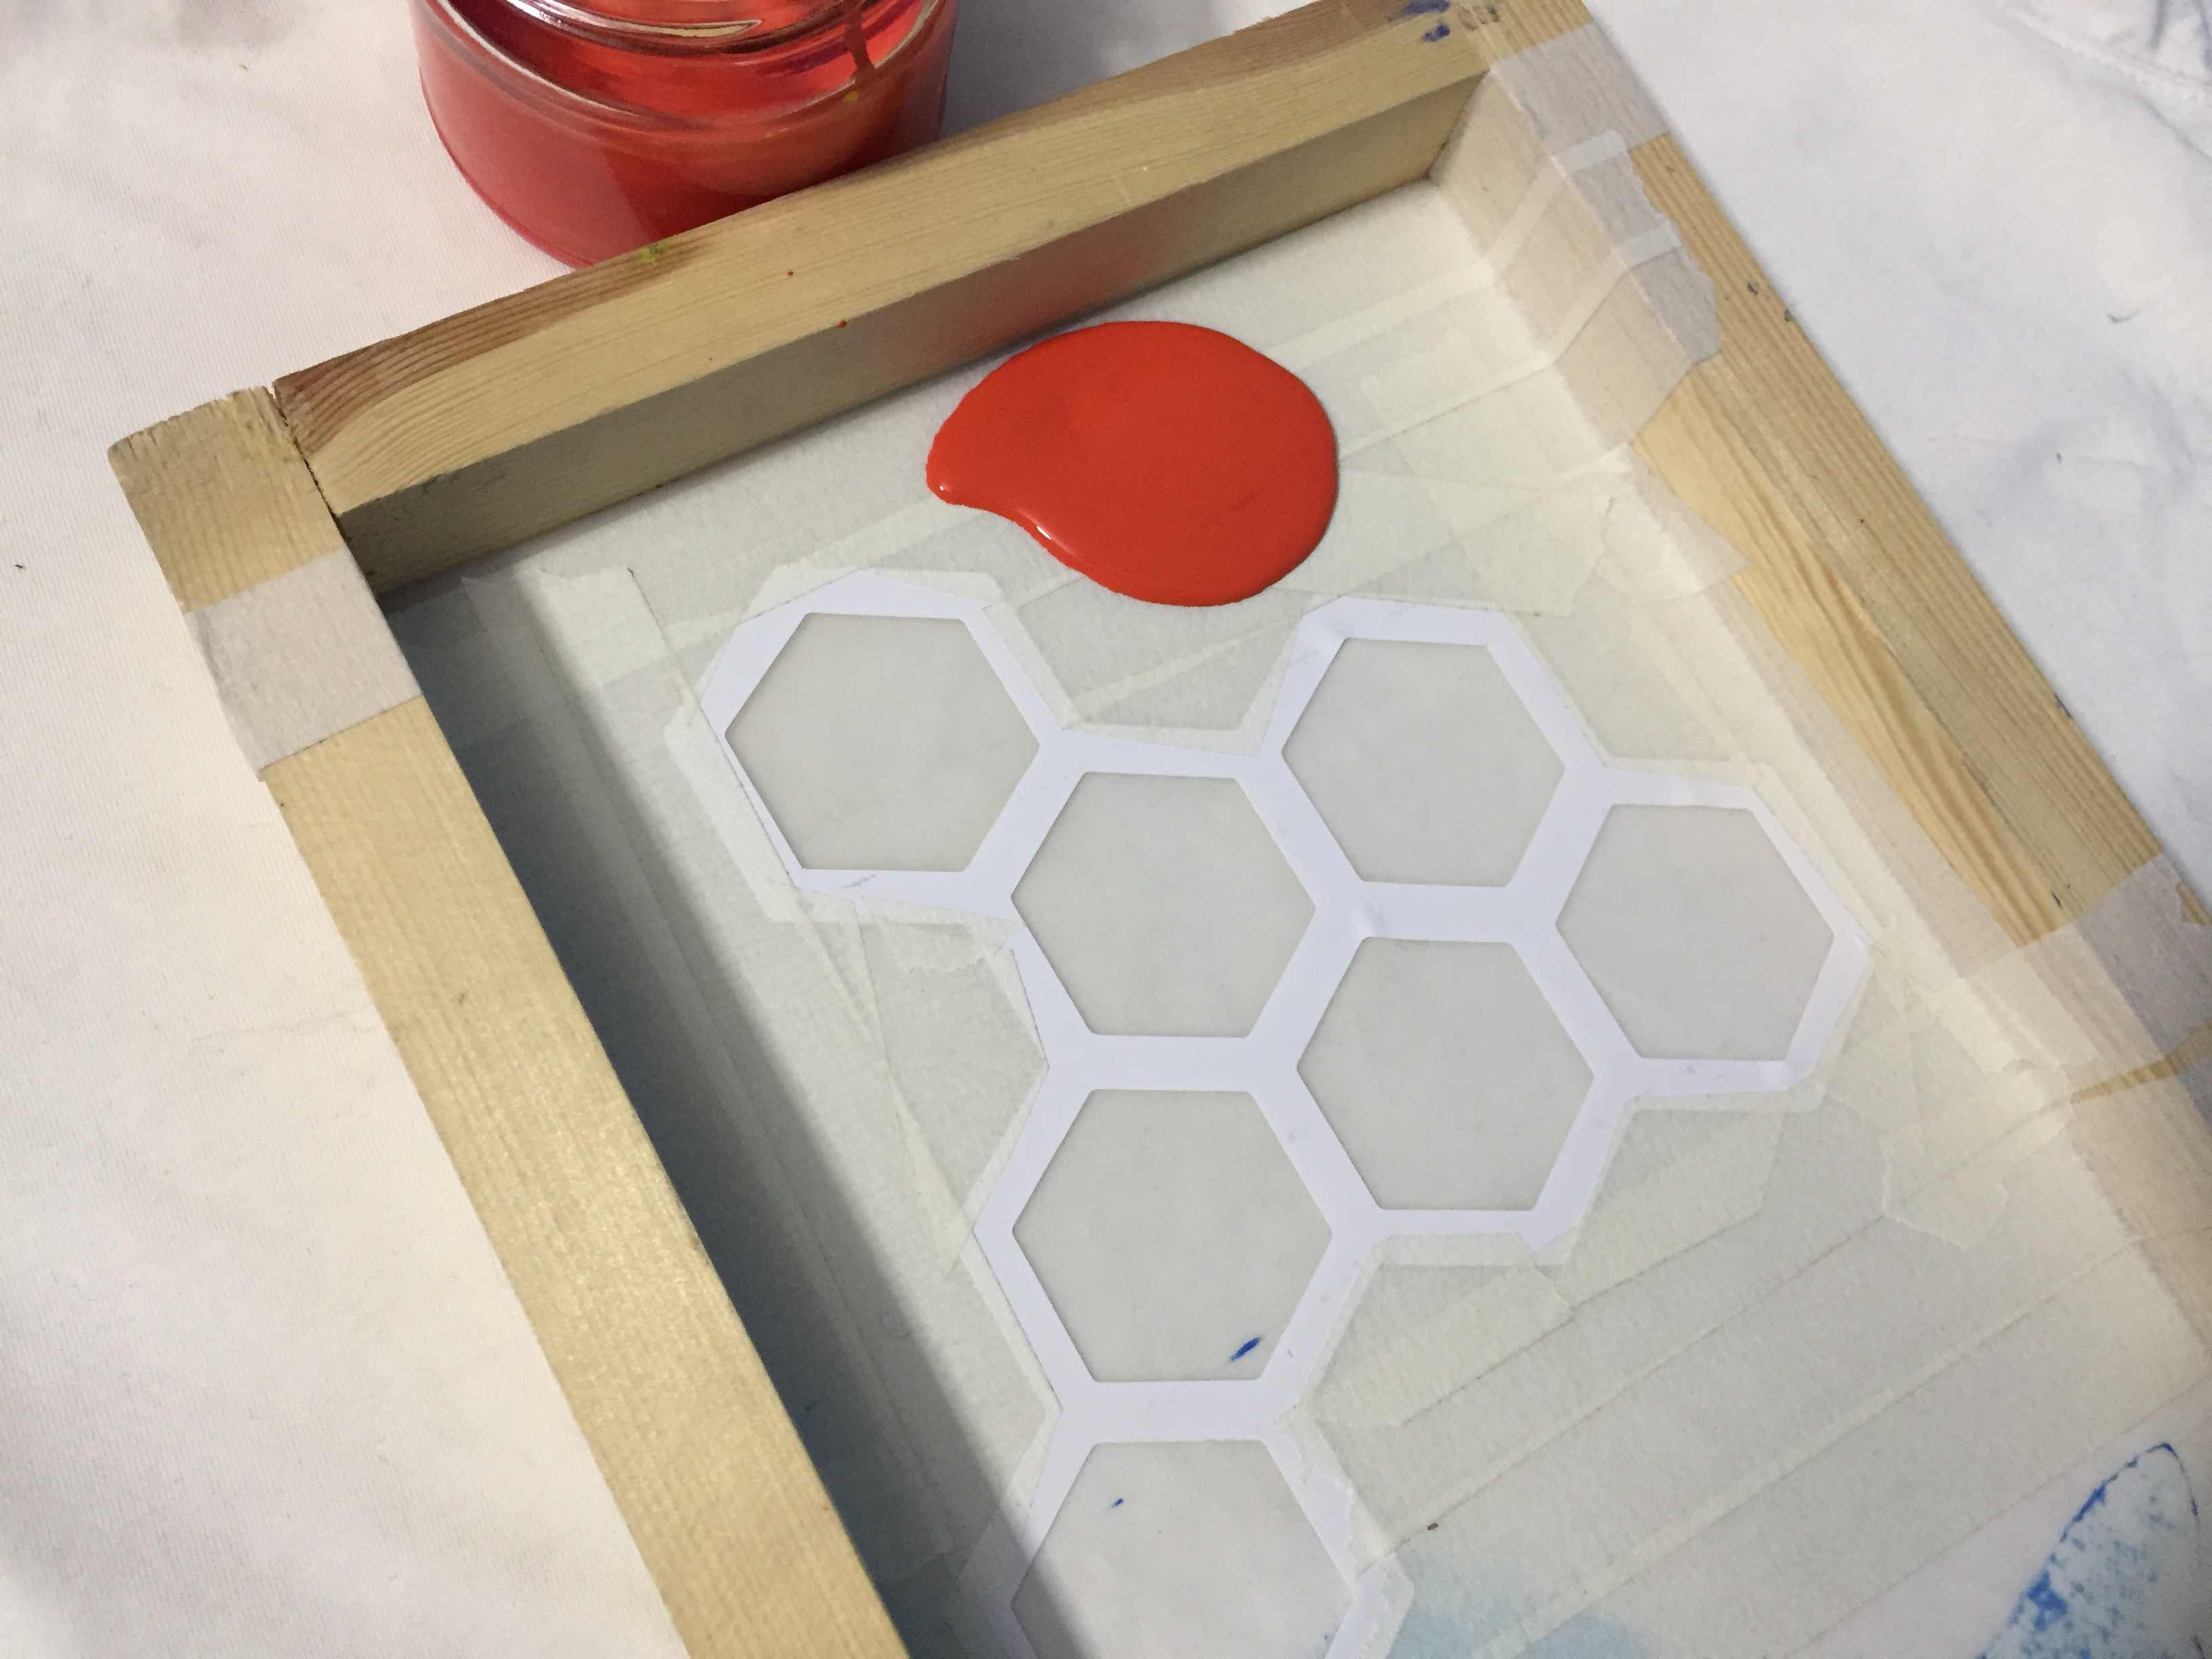
After the PancakeBot experience, I wanted to try the screen printing using the vinyl cutter. So I downloaded an image of a honeycomb pattern I wanted to print.
And our Vinyl cutter is Roland CAMM-1 gs-24 which works on Cut Studio software, but this software imports only AI files that are Japanese version. So after tracing the image on Illustrator, I had to save it as AI Japanese Illustrator 3

Then I imported that into Cut Studio and set the dimensions I wanted.
After that I loaded the sheet to the machine by pulling up the lever on the left, inserting the vinyl sheet, and the lowering the lever. At this point the machine senses that a sheet is loaded so it asks what type of sheet is that, a roll? which it will measure its width only and won't measure its length which it knows is 1.5 m, or is it a piece? so it's going to measure the lenght and width. So I pressed on piece so it started measuring them and gave them out on its screen.
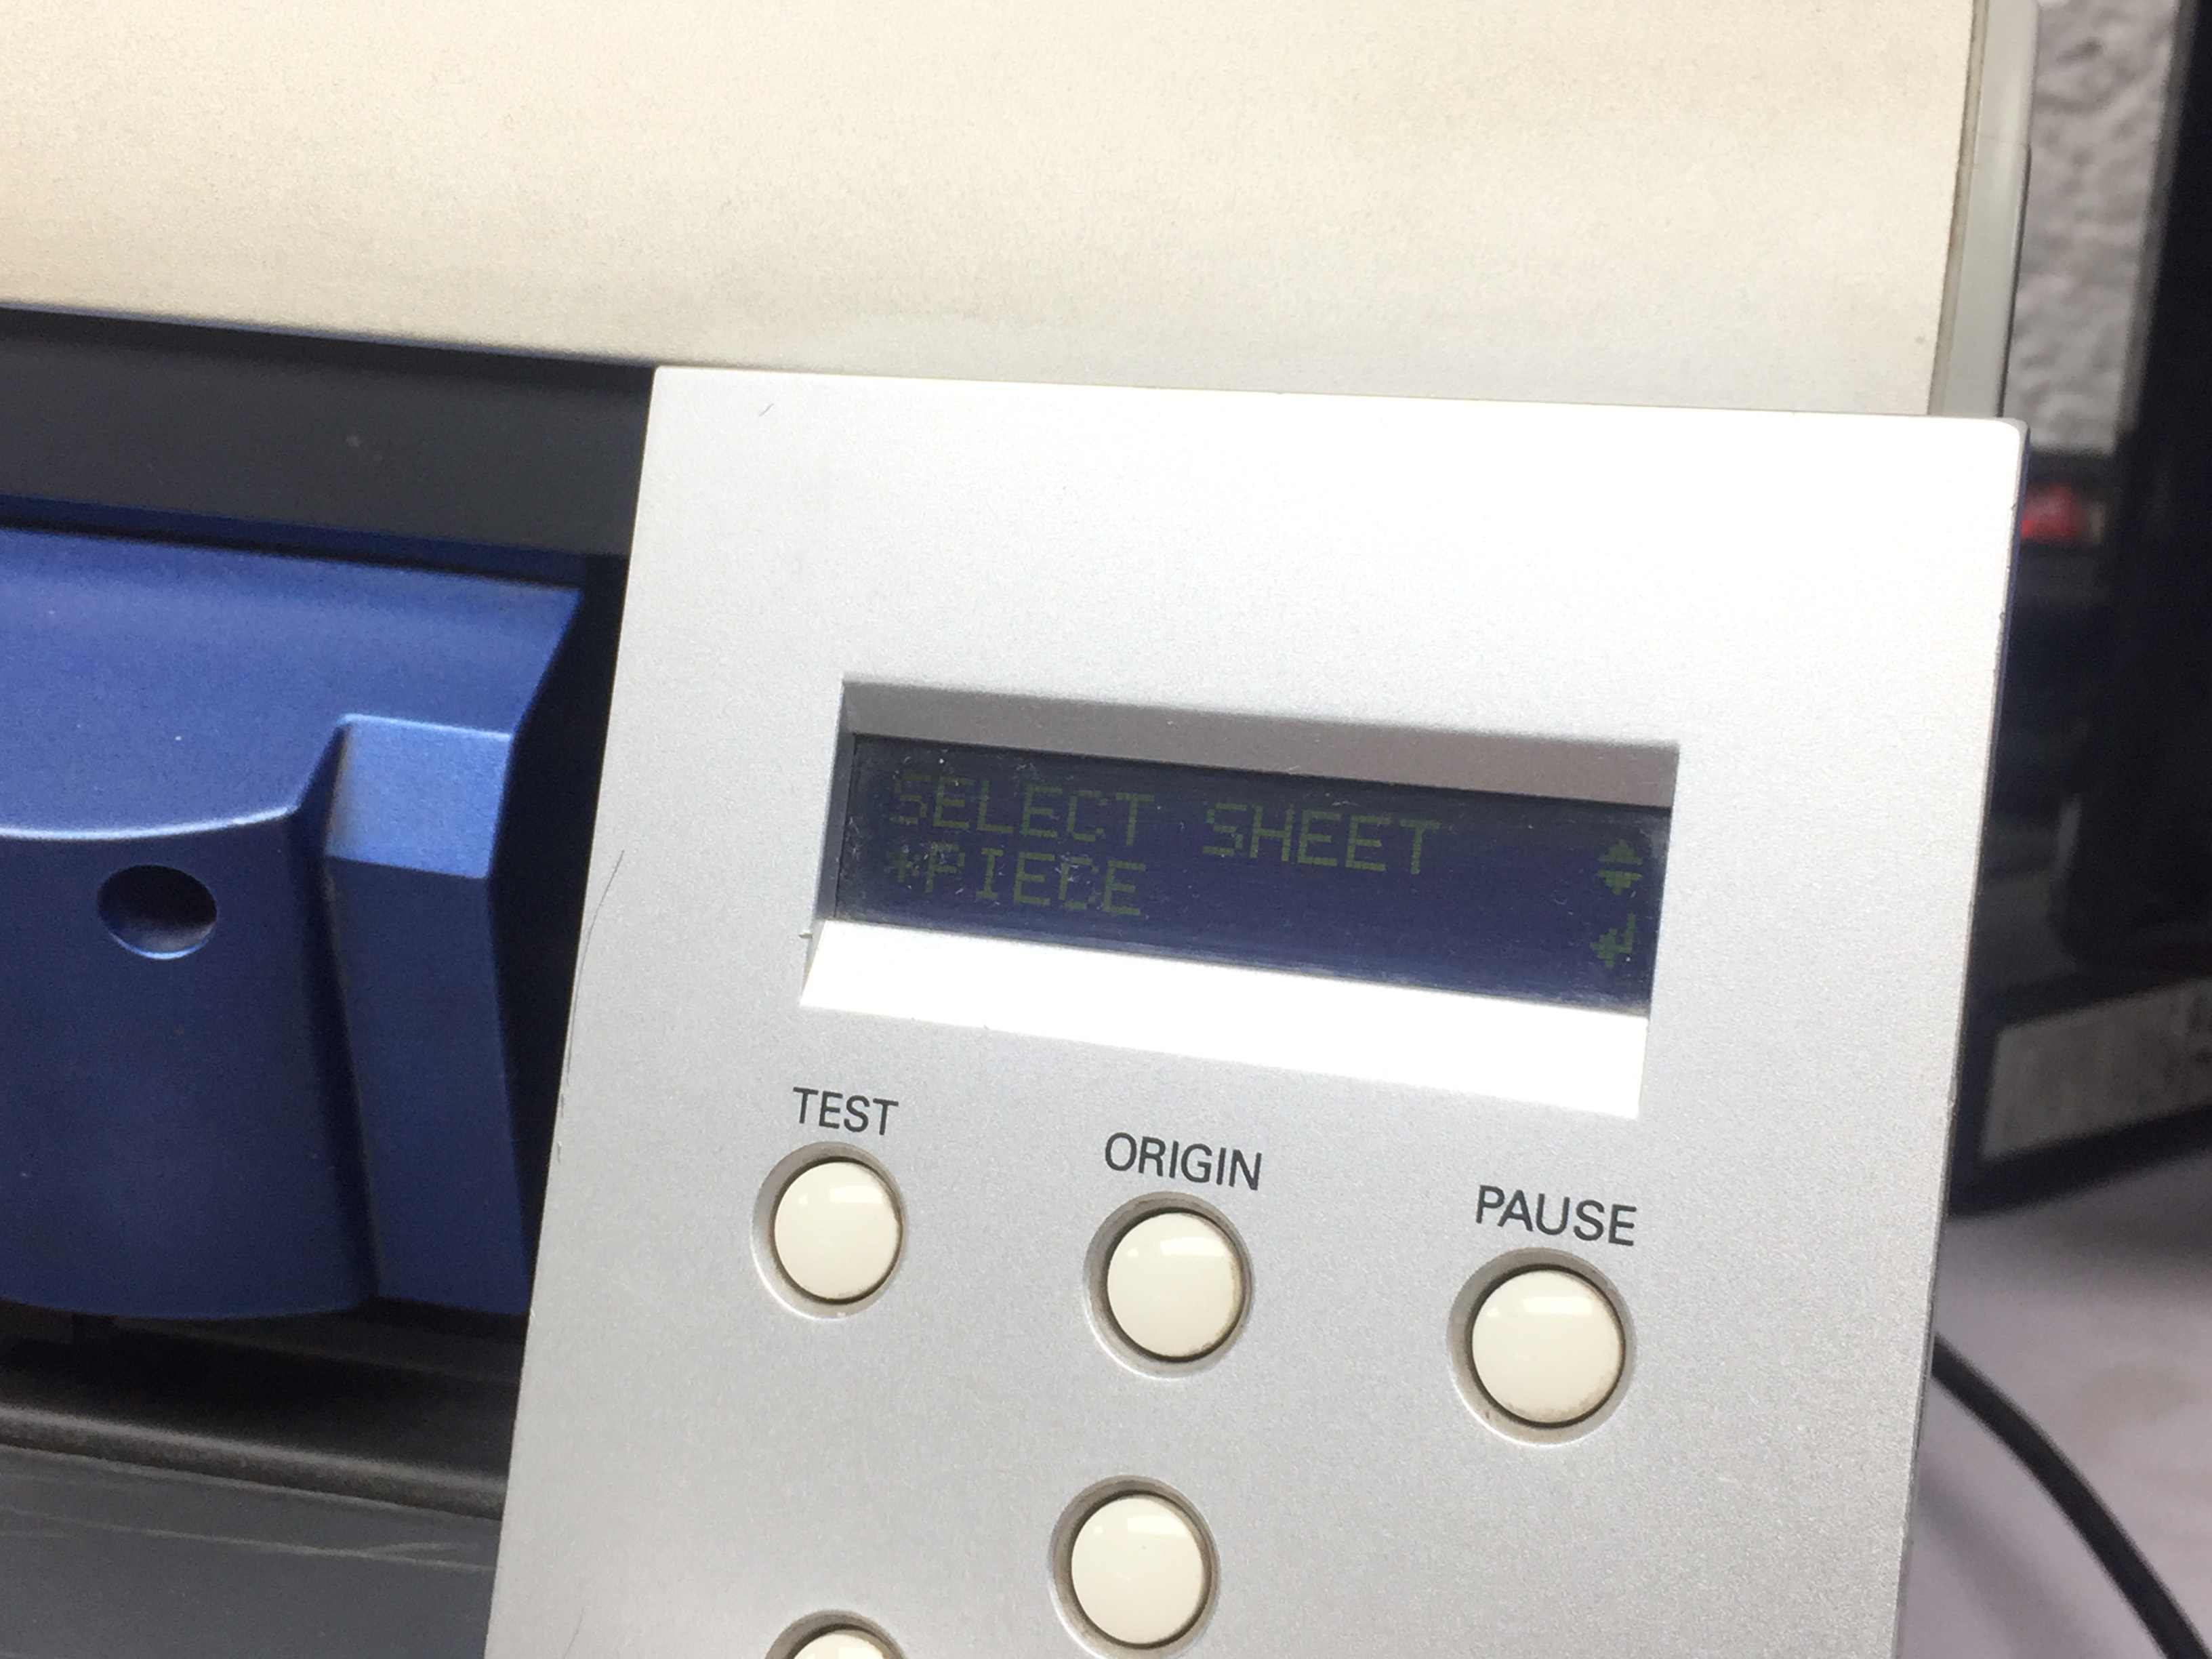
So all I have to do know is to set the dimensions measured into Cut Studio by pressing Get from machine as shown.

Then I just click OK and it starts cutting.
Vinyl cutting
Now we need to prepare the T-shirt we will print on, silk screen printing frame, wooden ink scraper, and the printing ink.
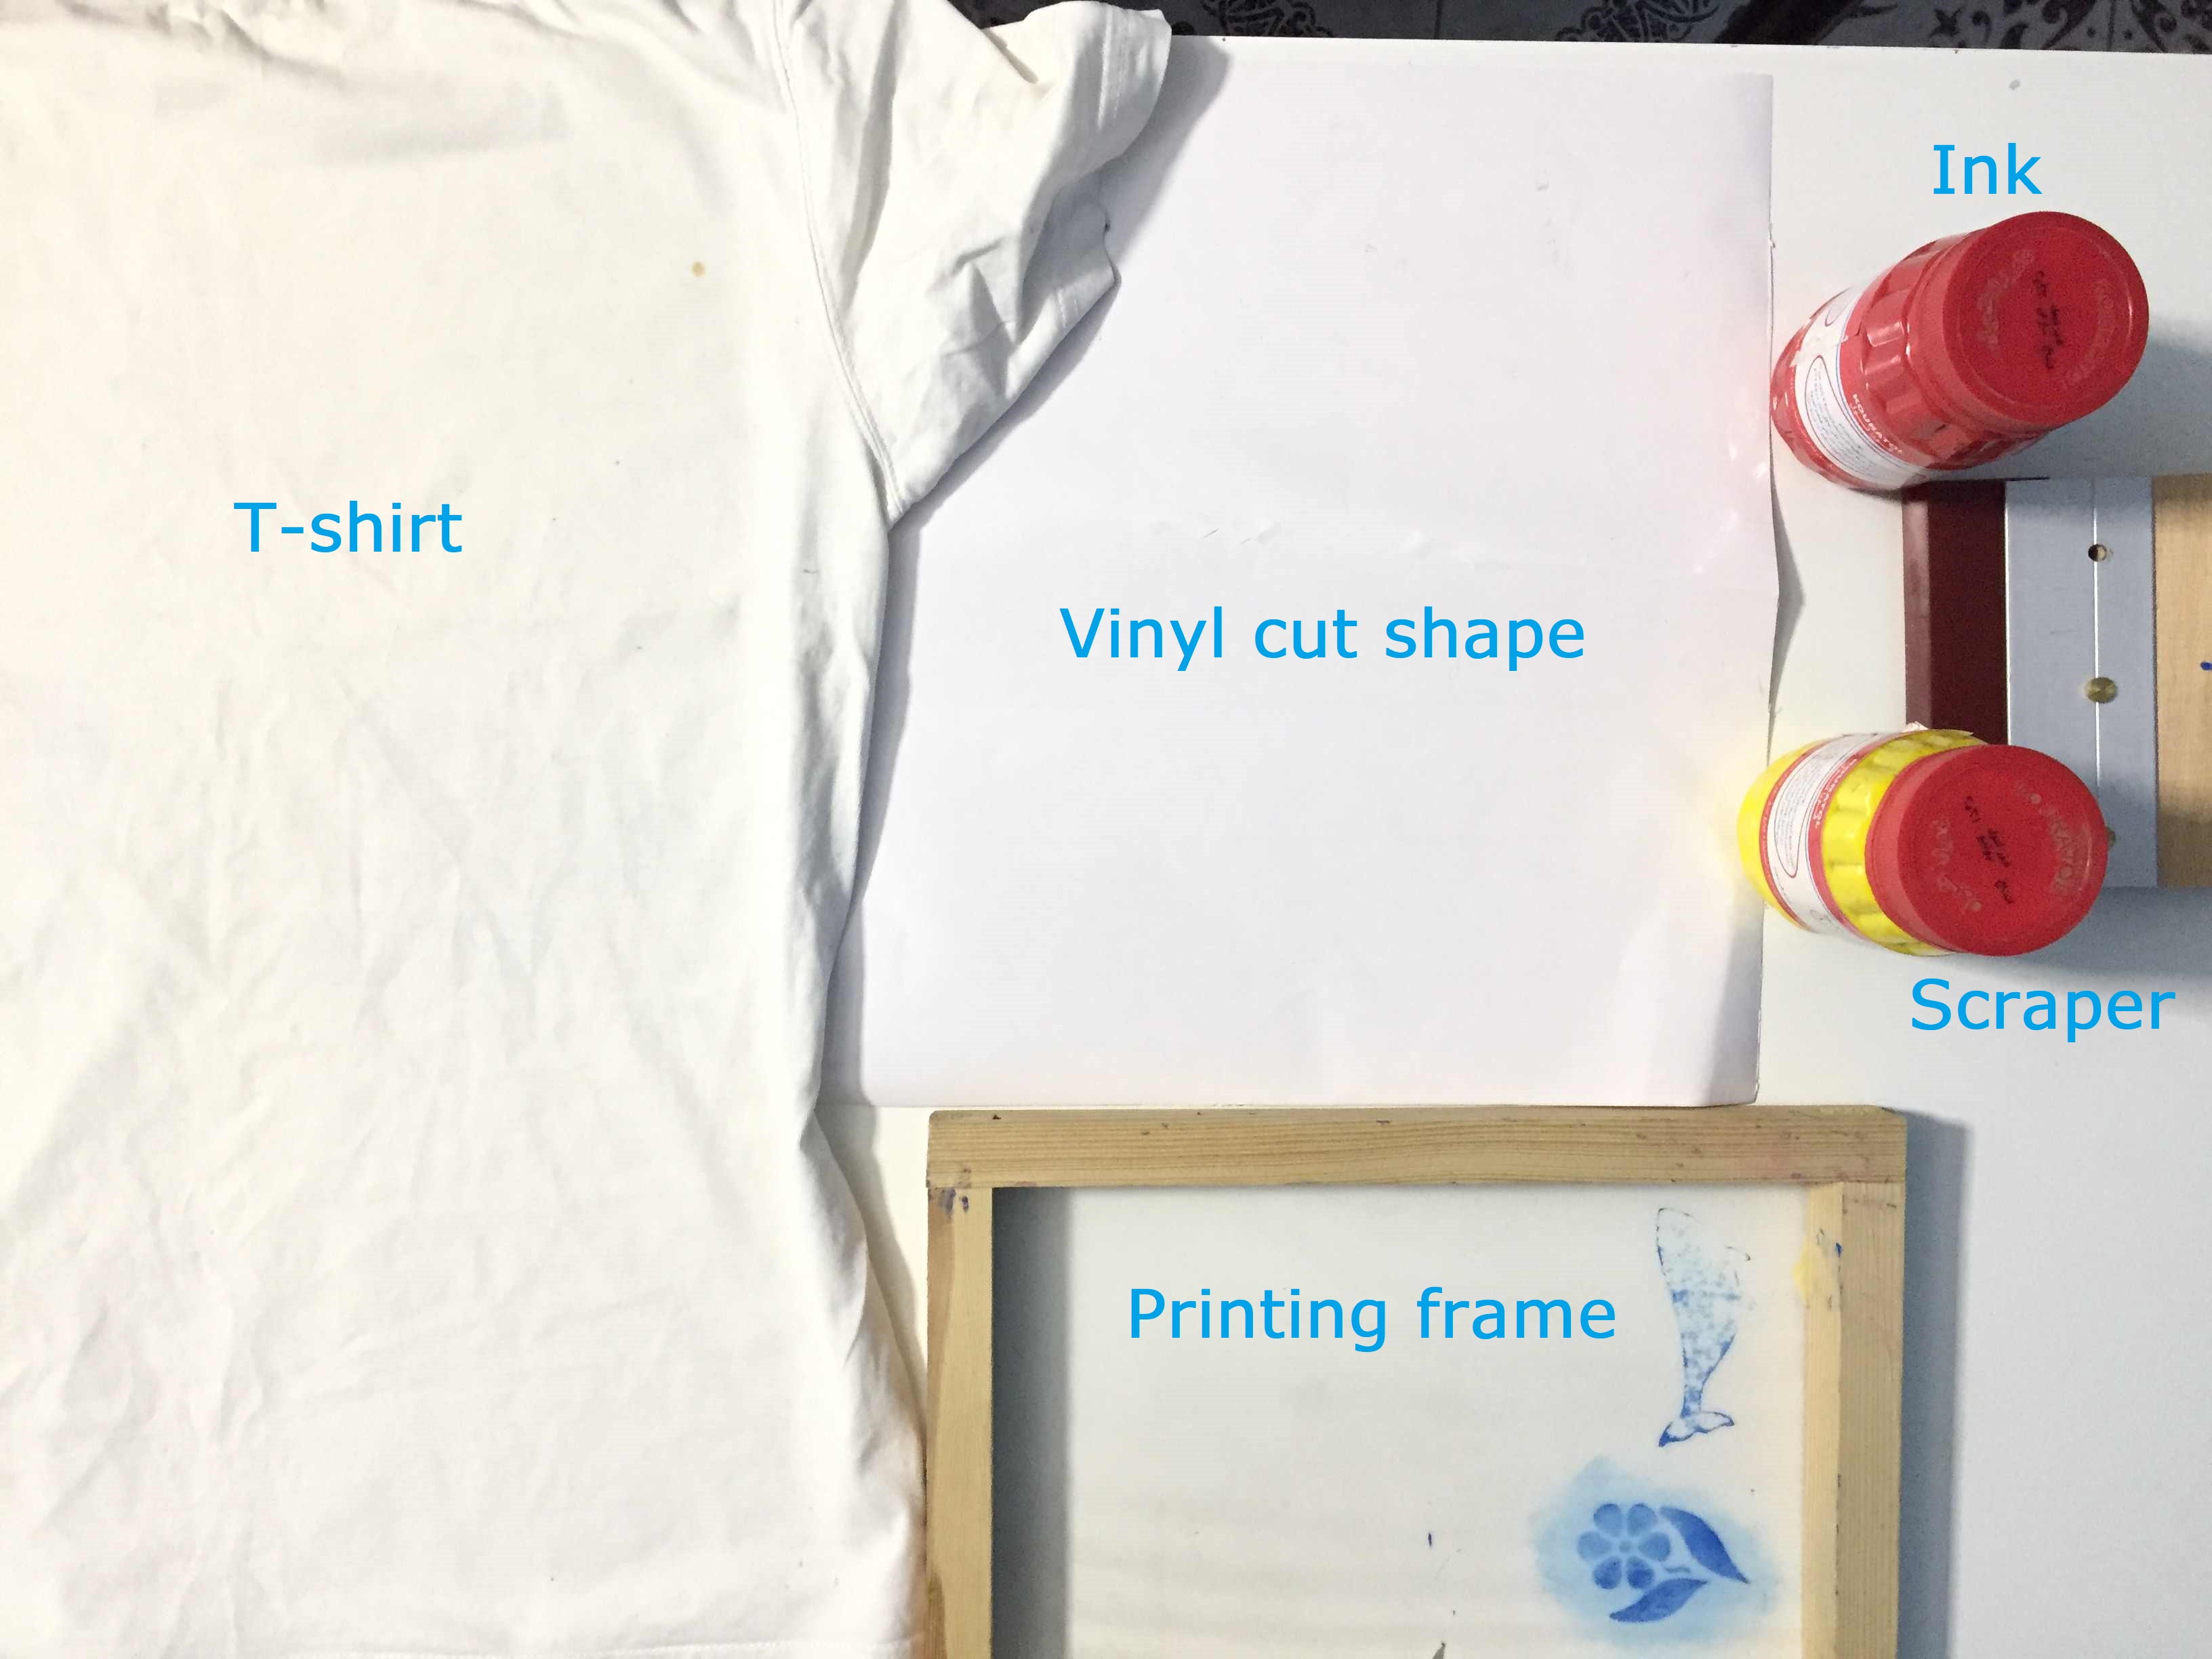
Screen printing materials
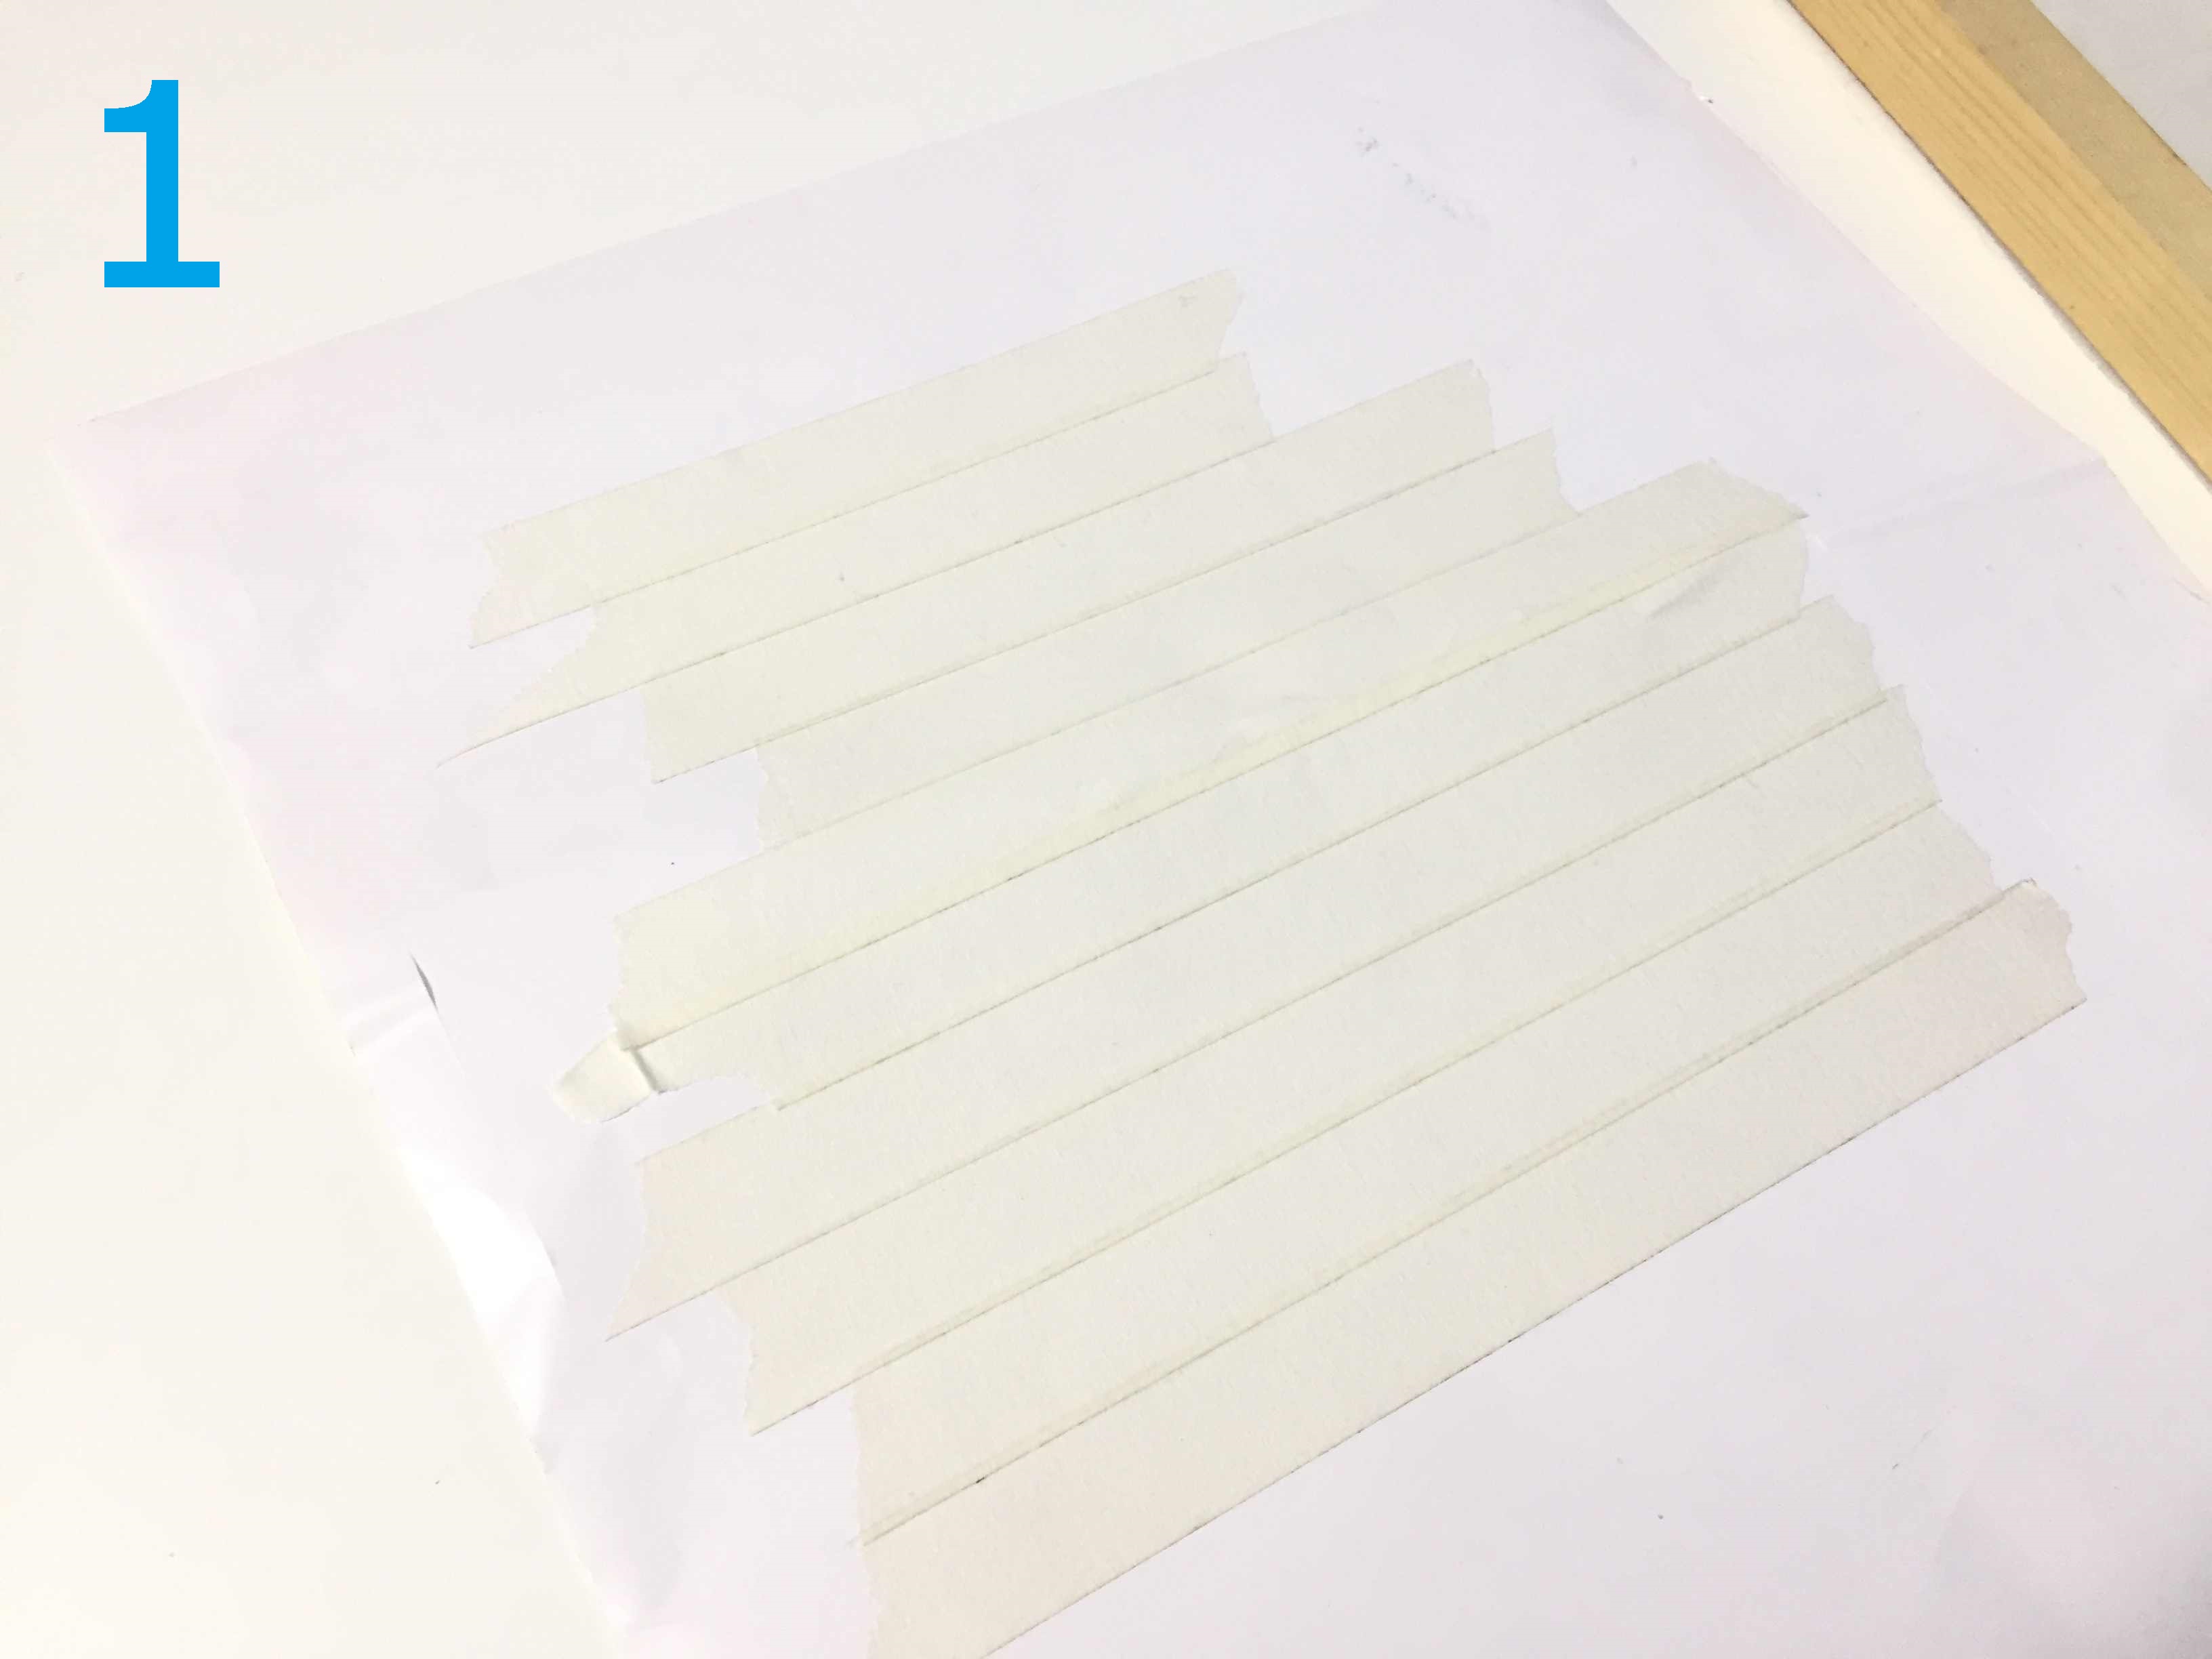
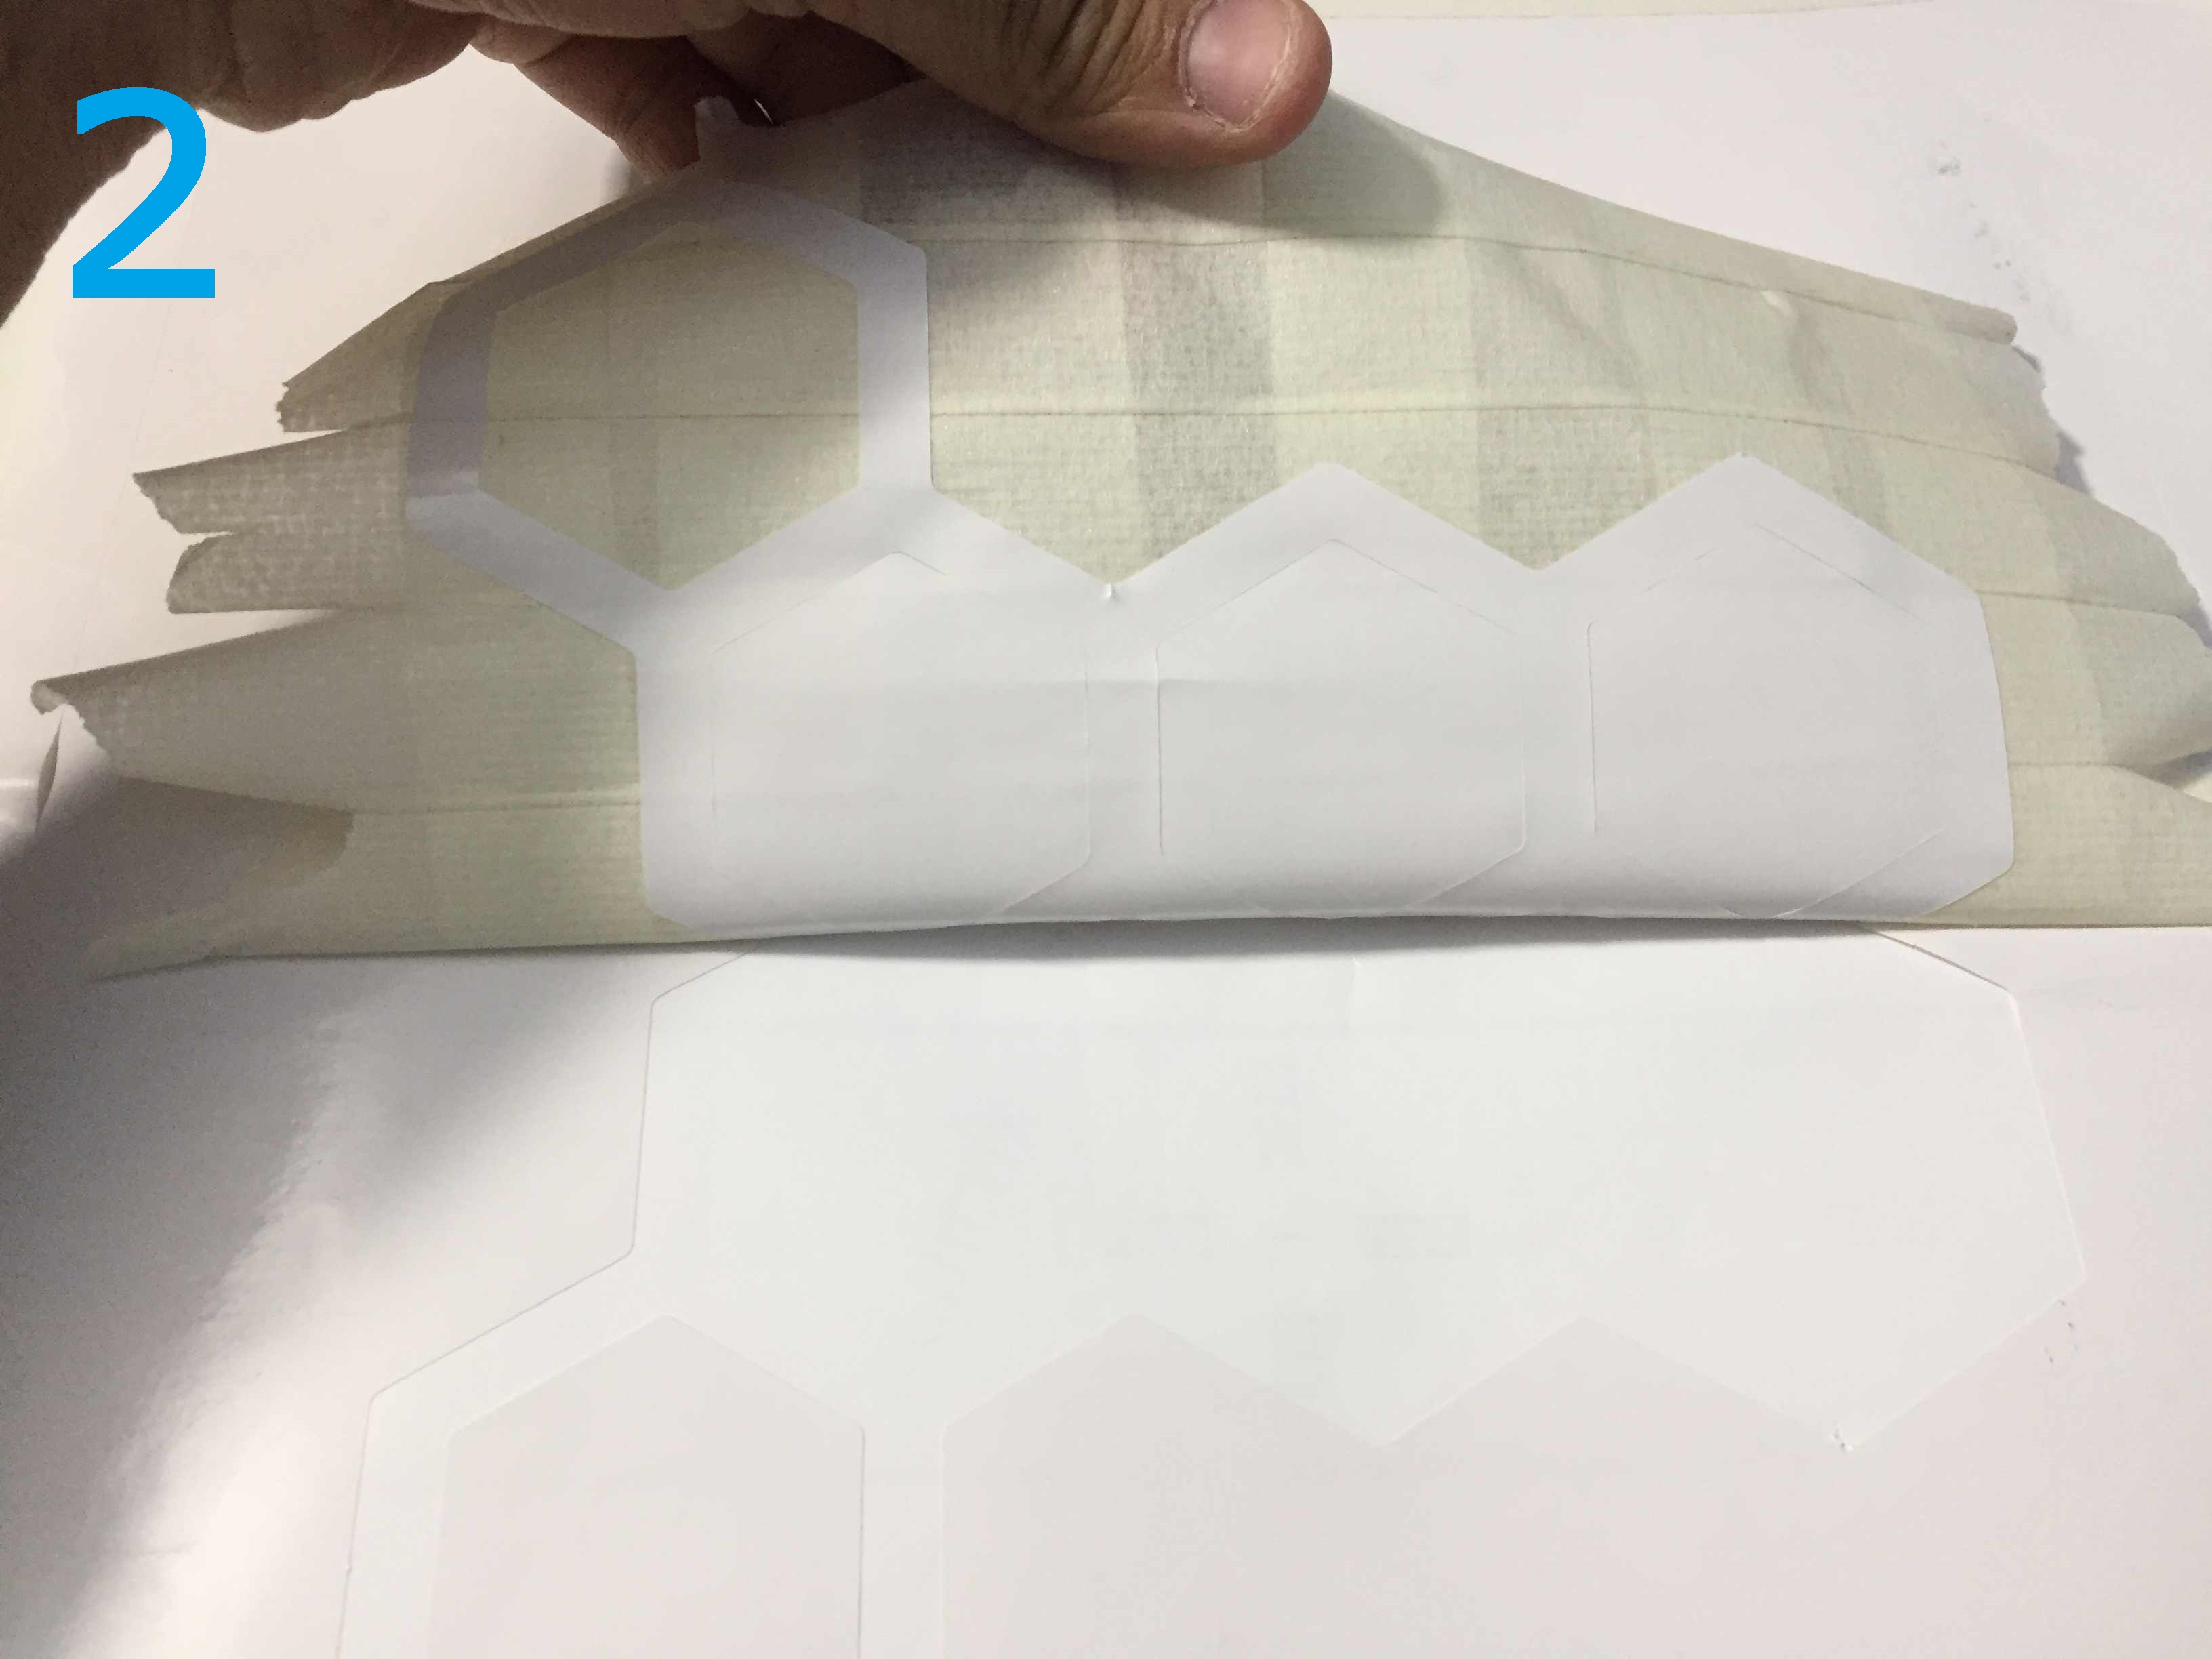
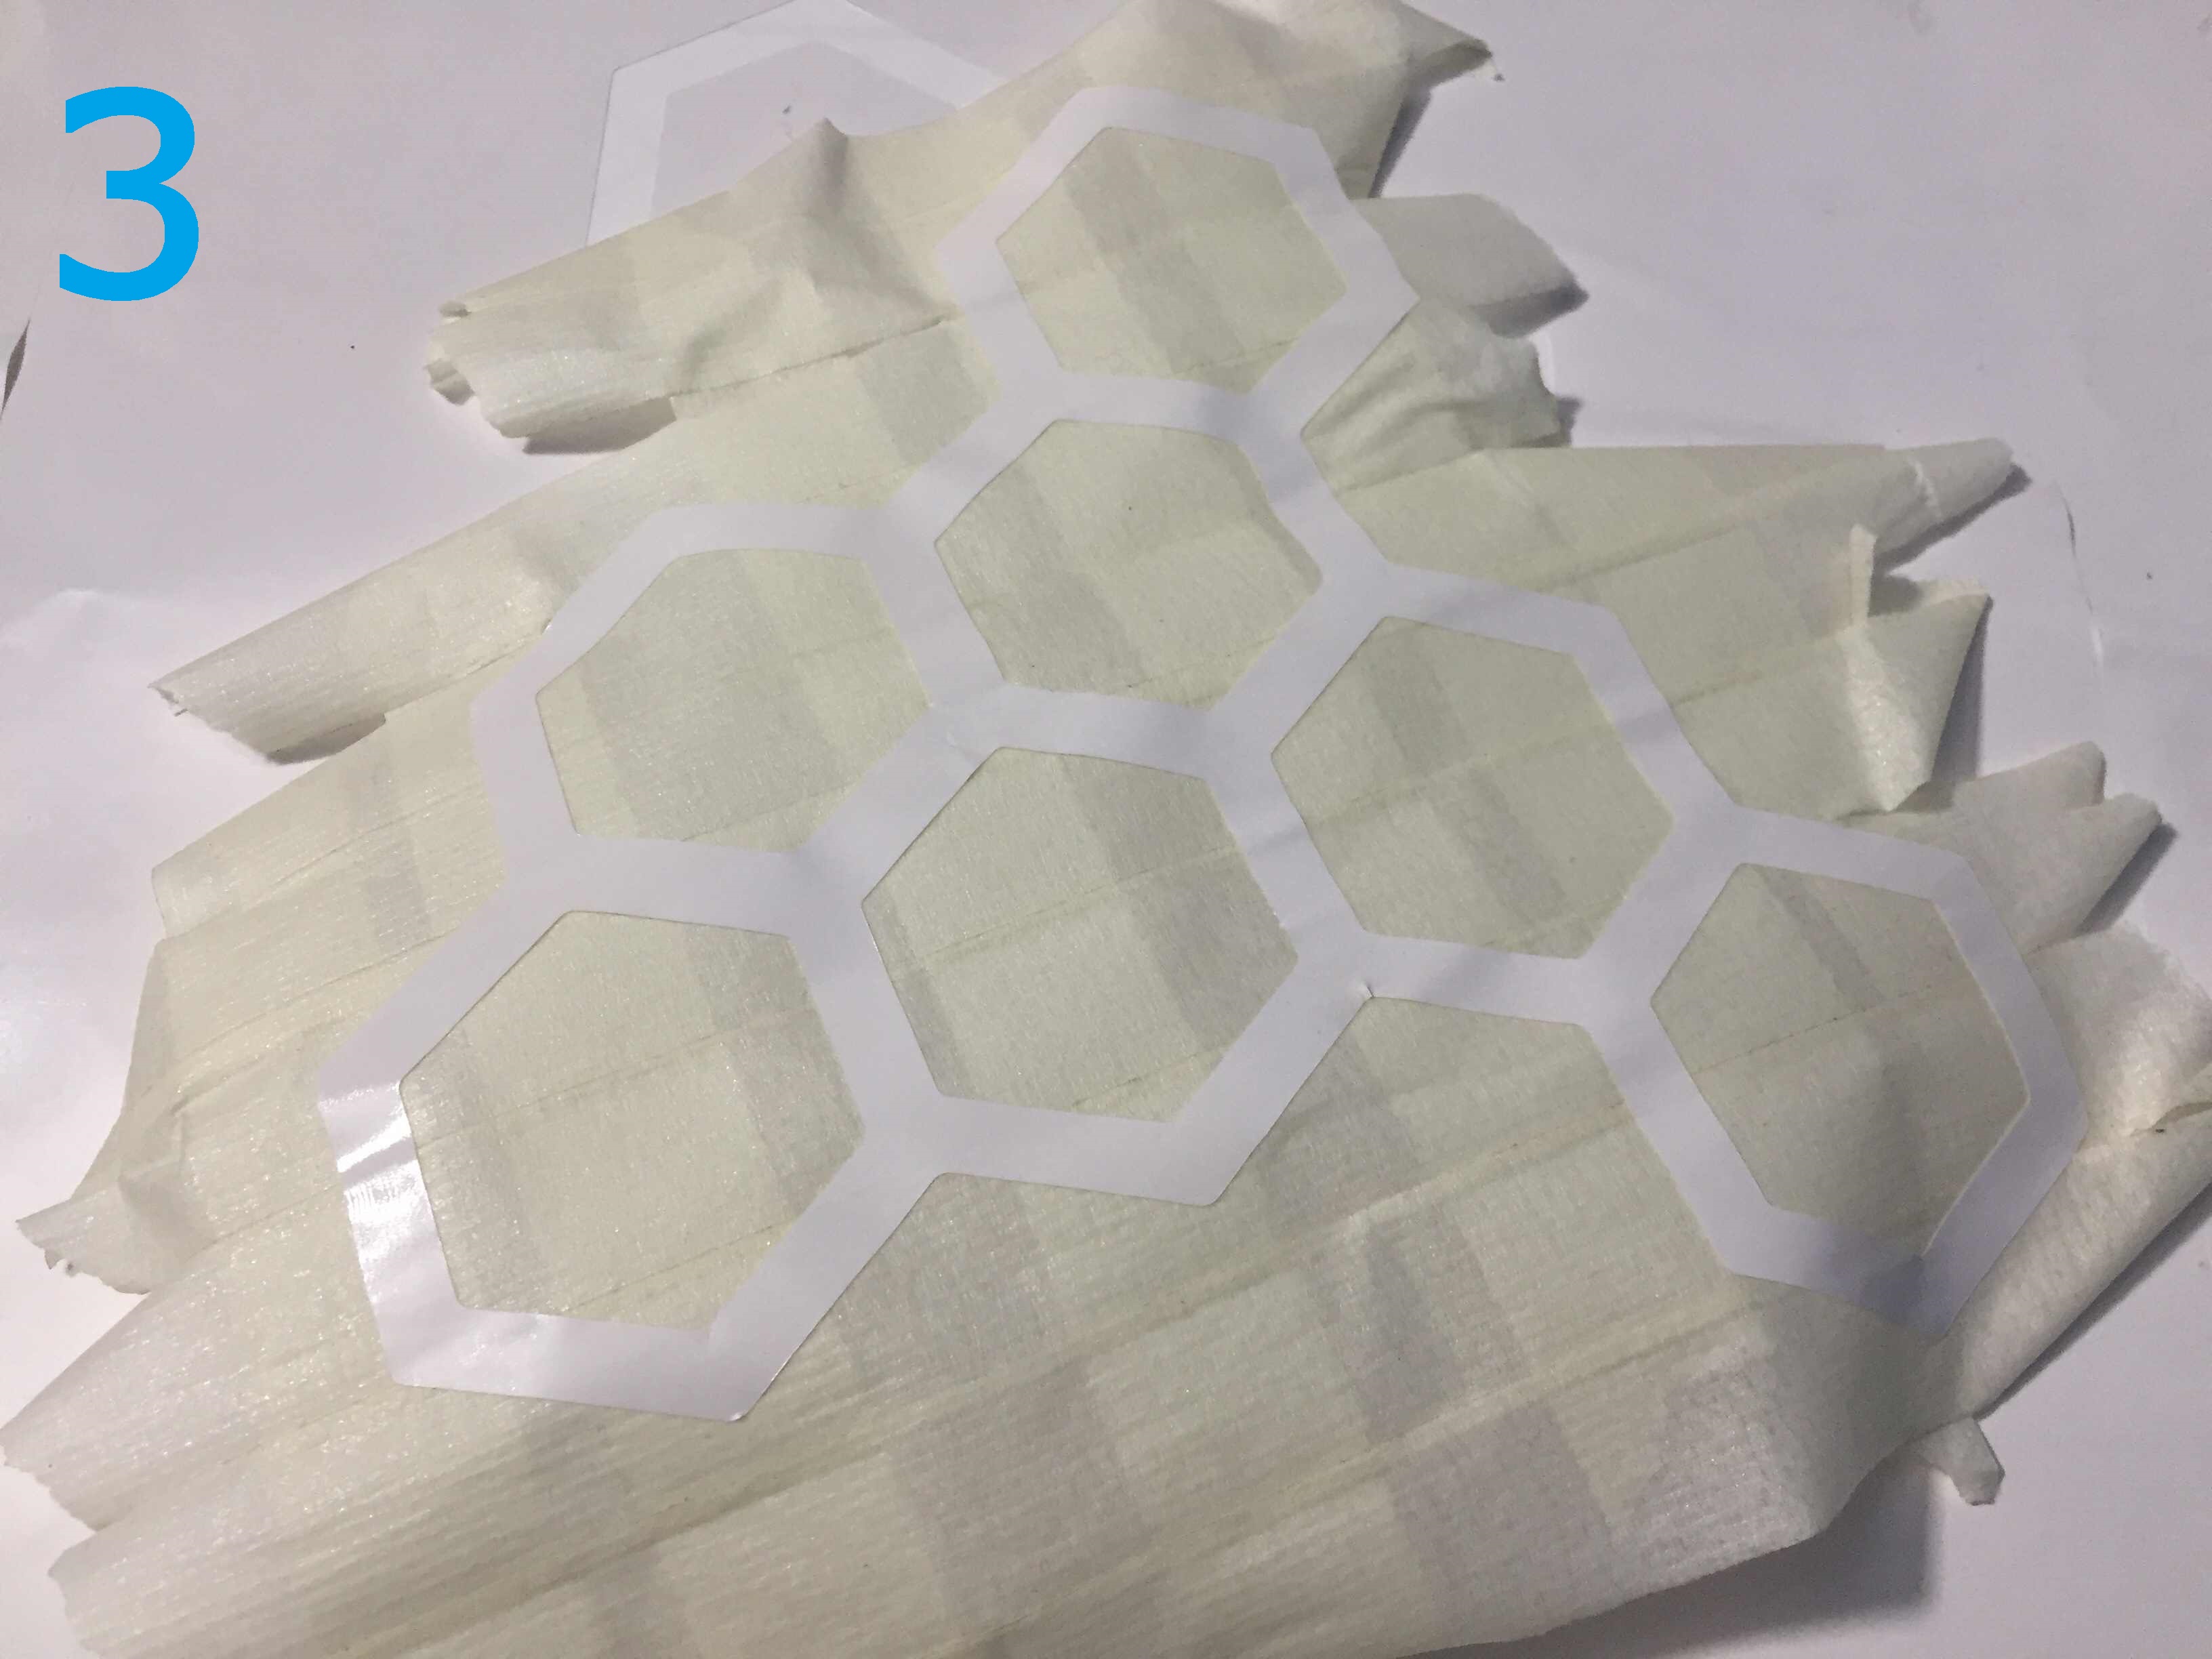
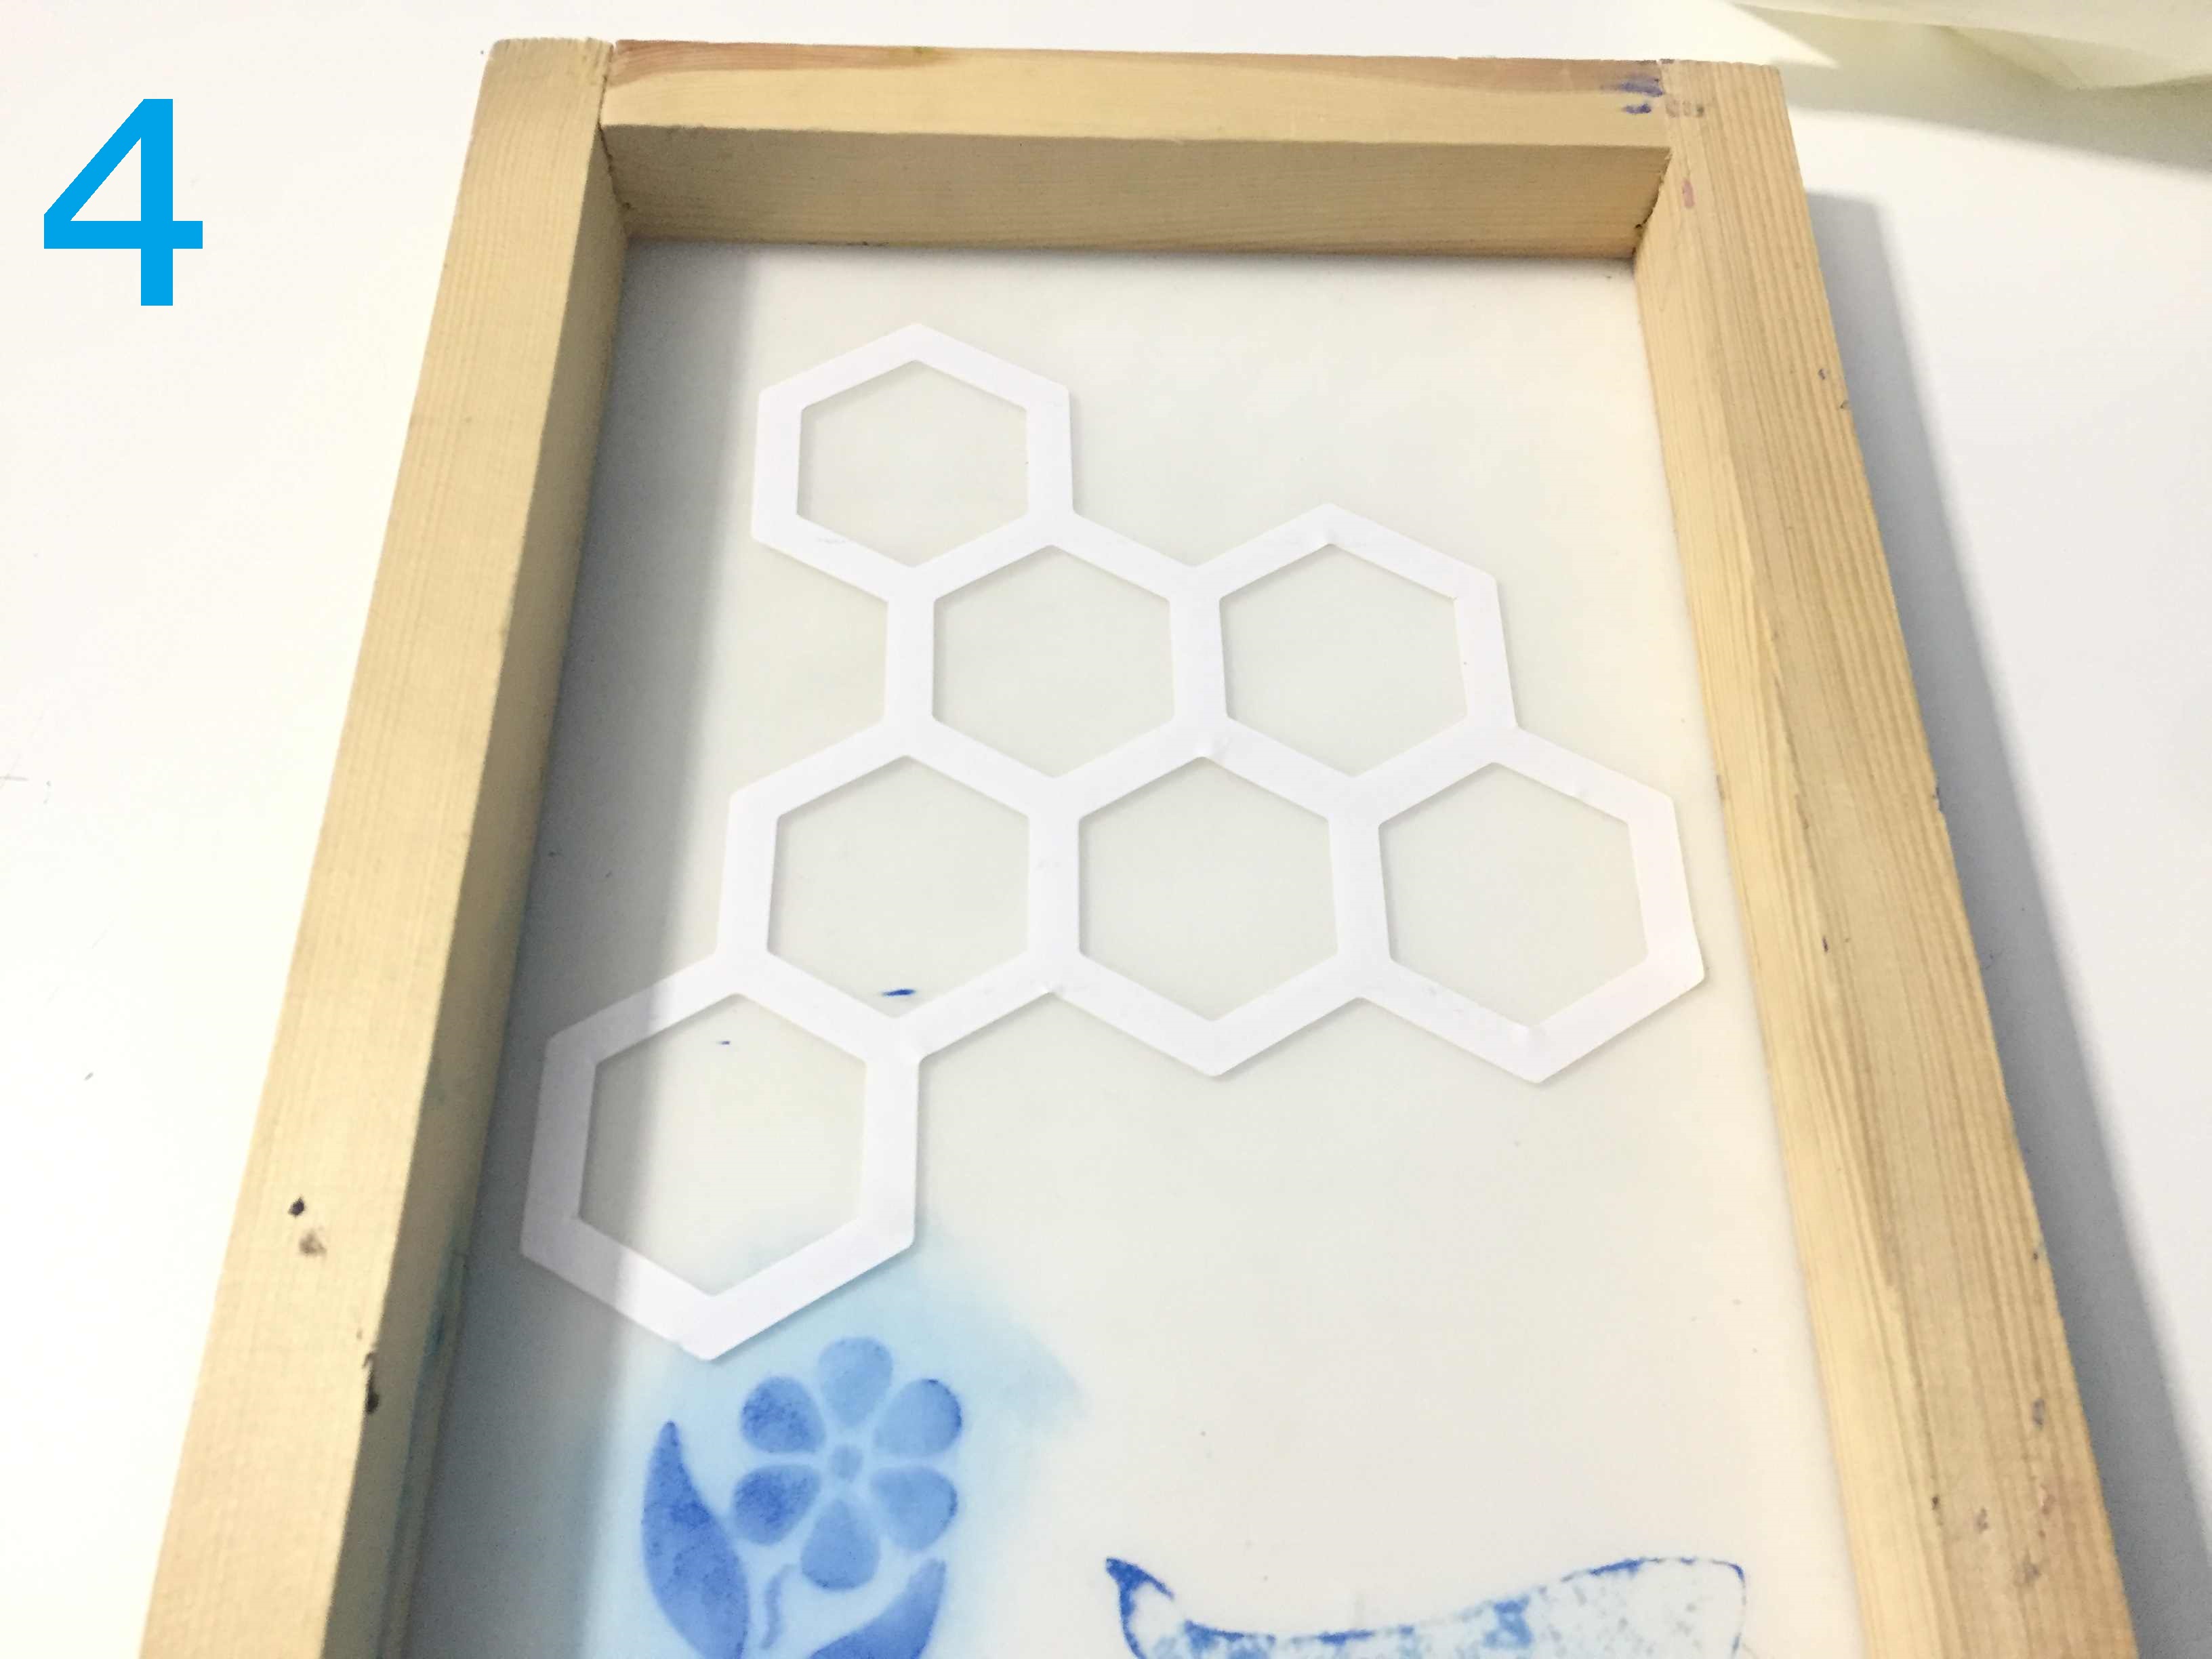
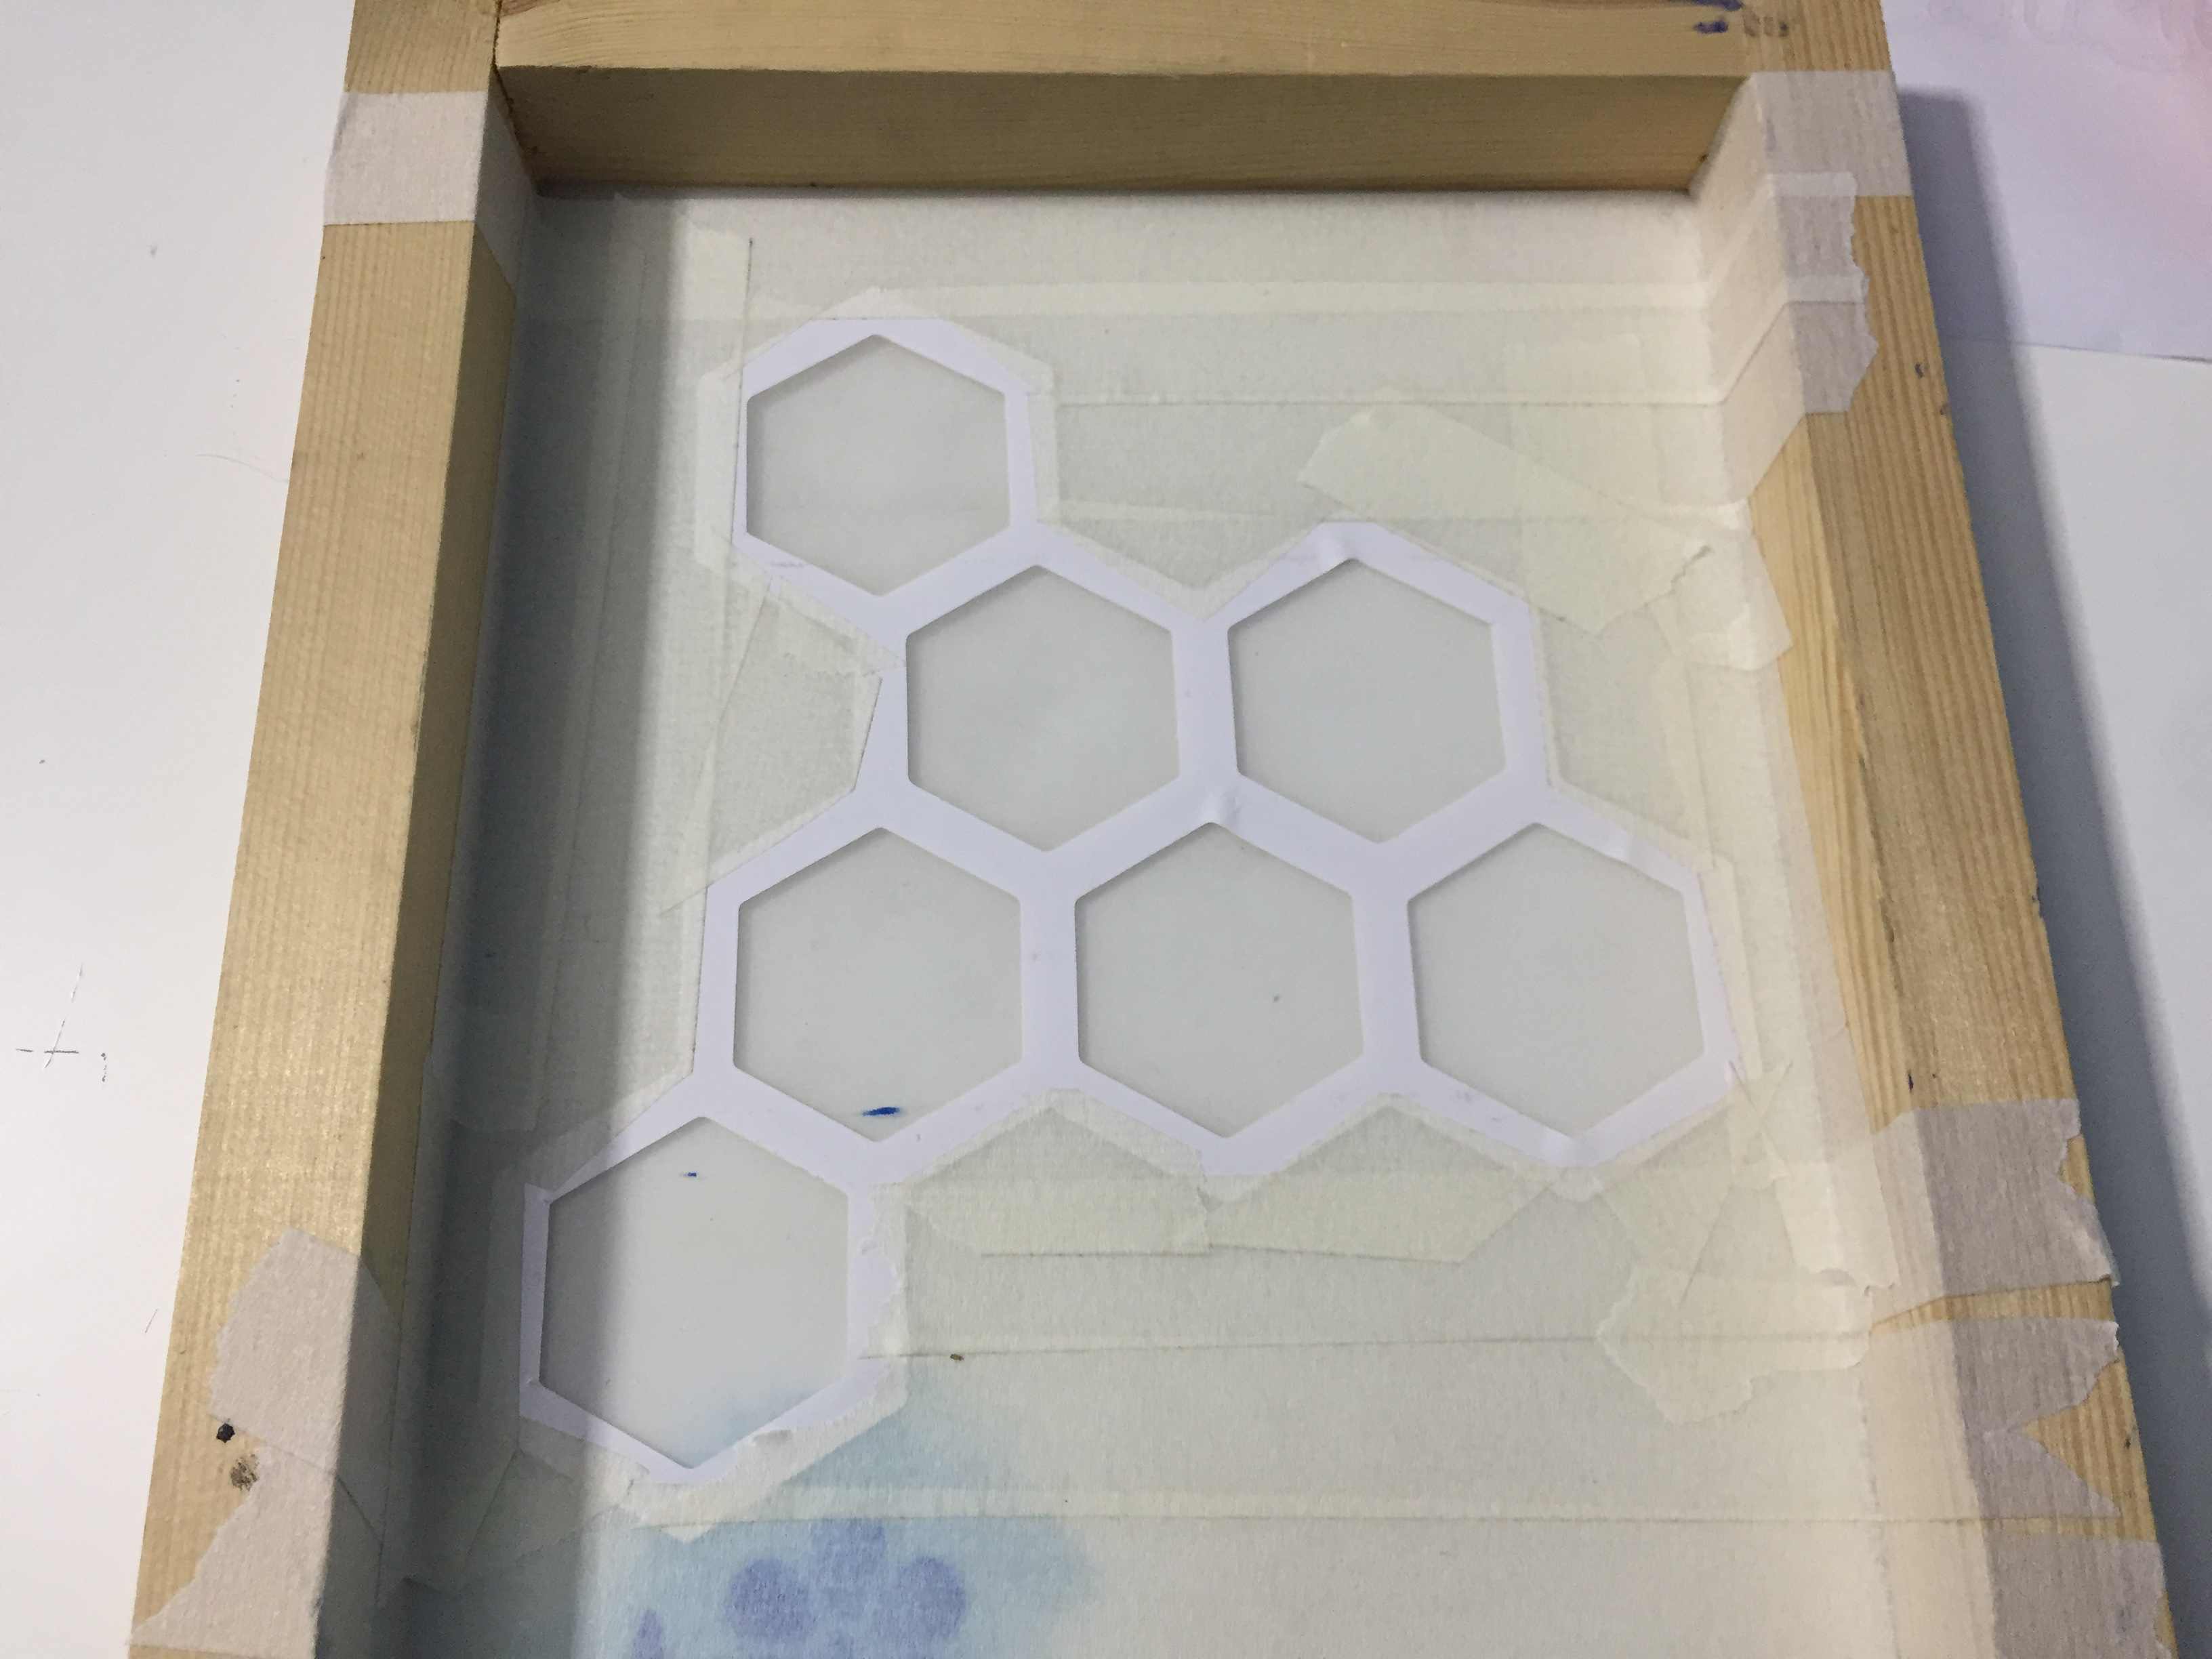
Then in order to copy the shape I've cut and put it on the silk frame, I needed to transfer it by a sticky sheet which I didn't have so I just applied some paper tape on top of it and removed both of them and sticked them to the frame.
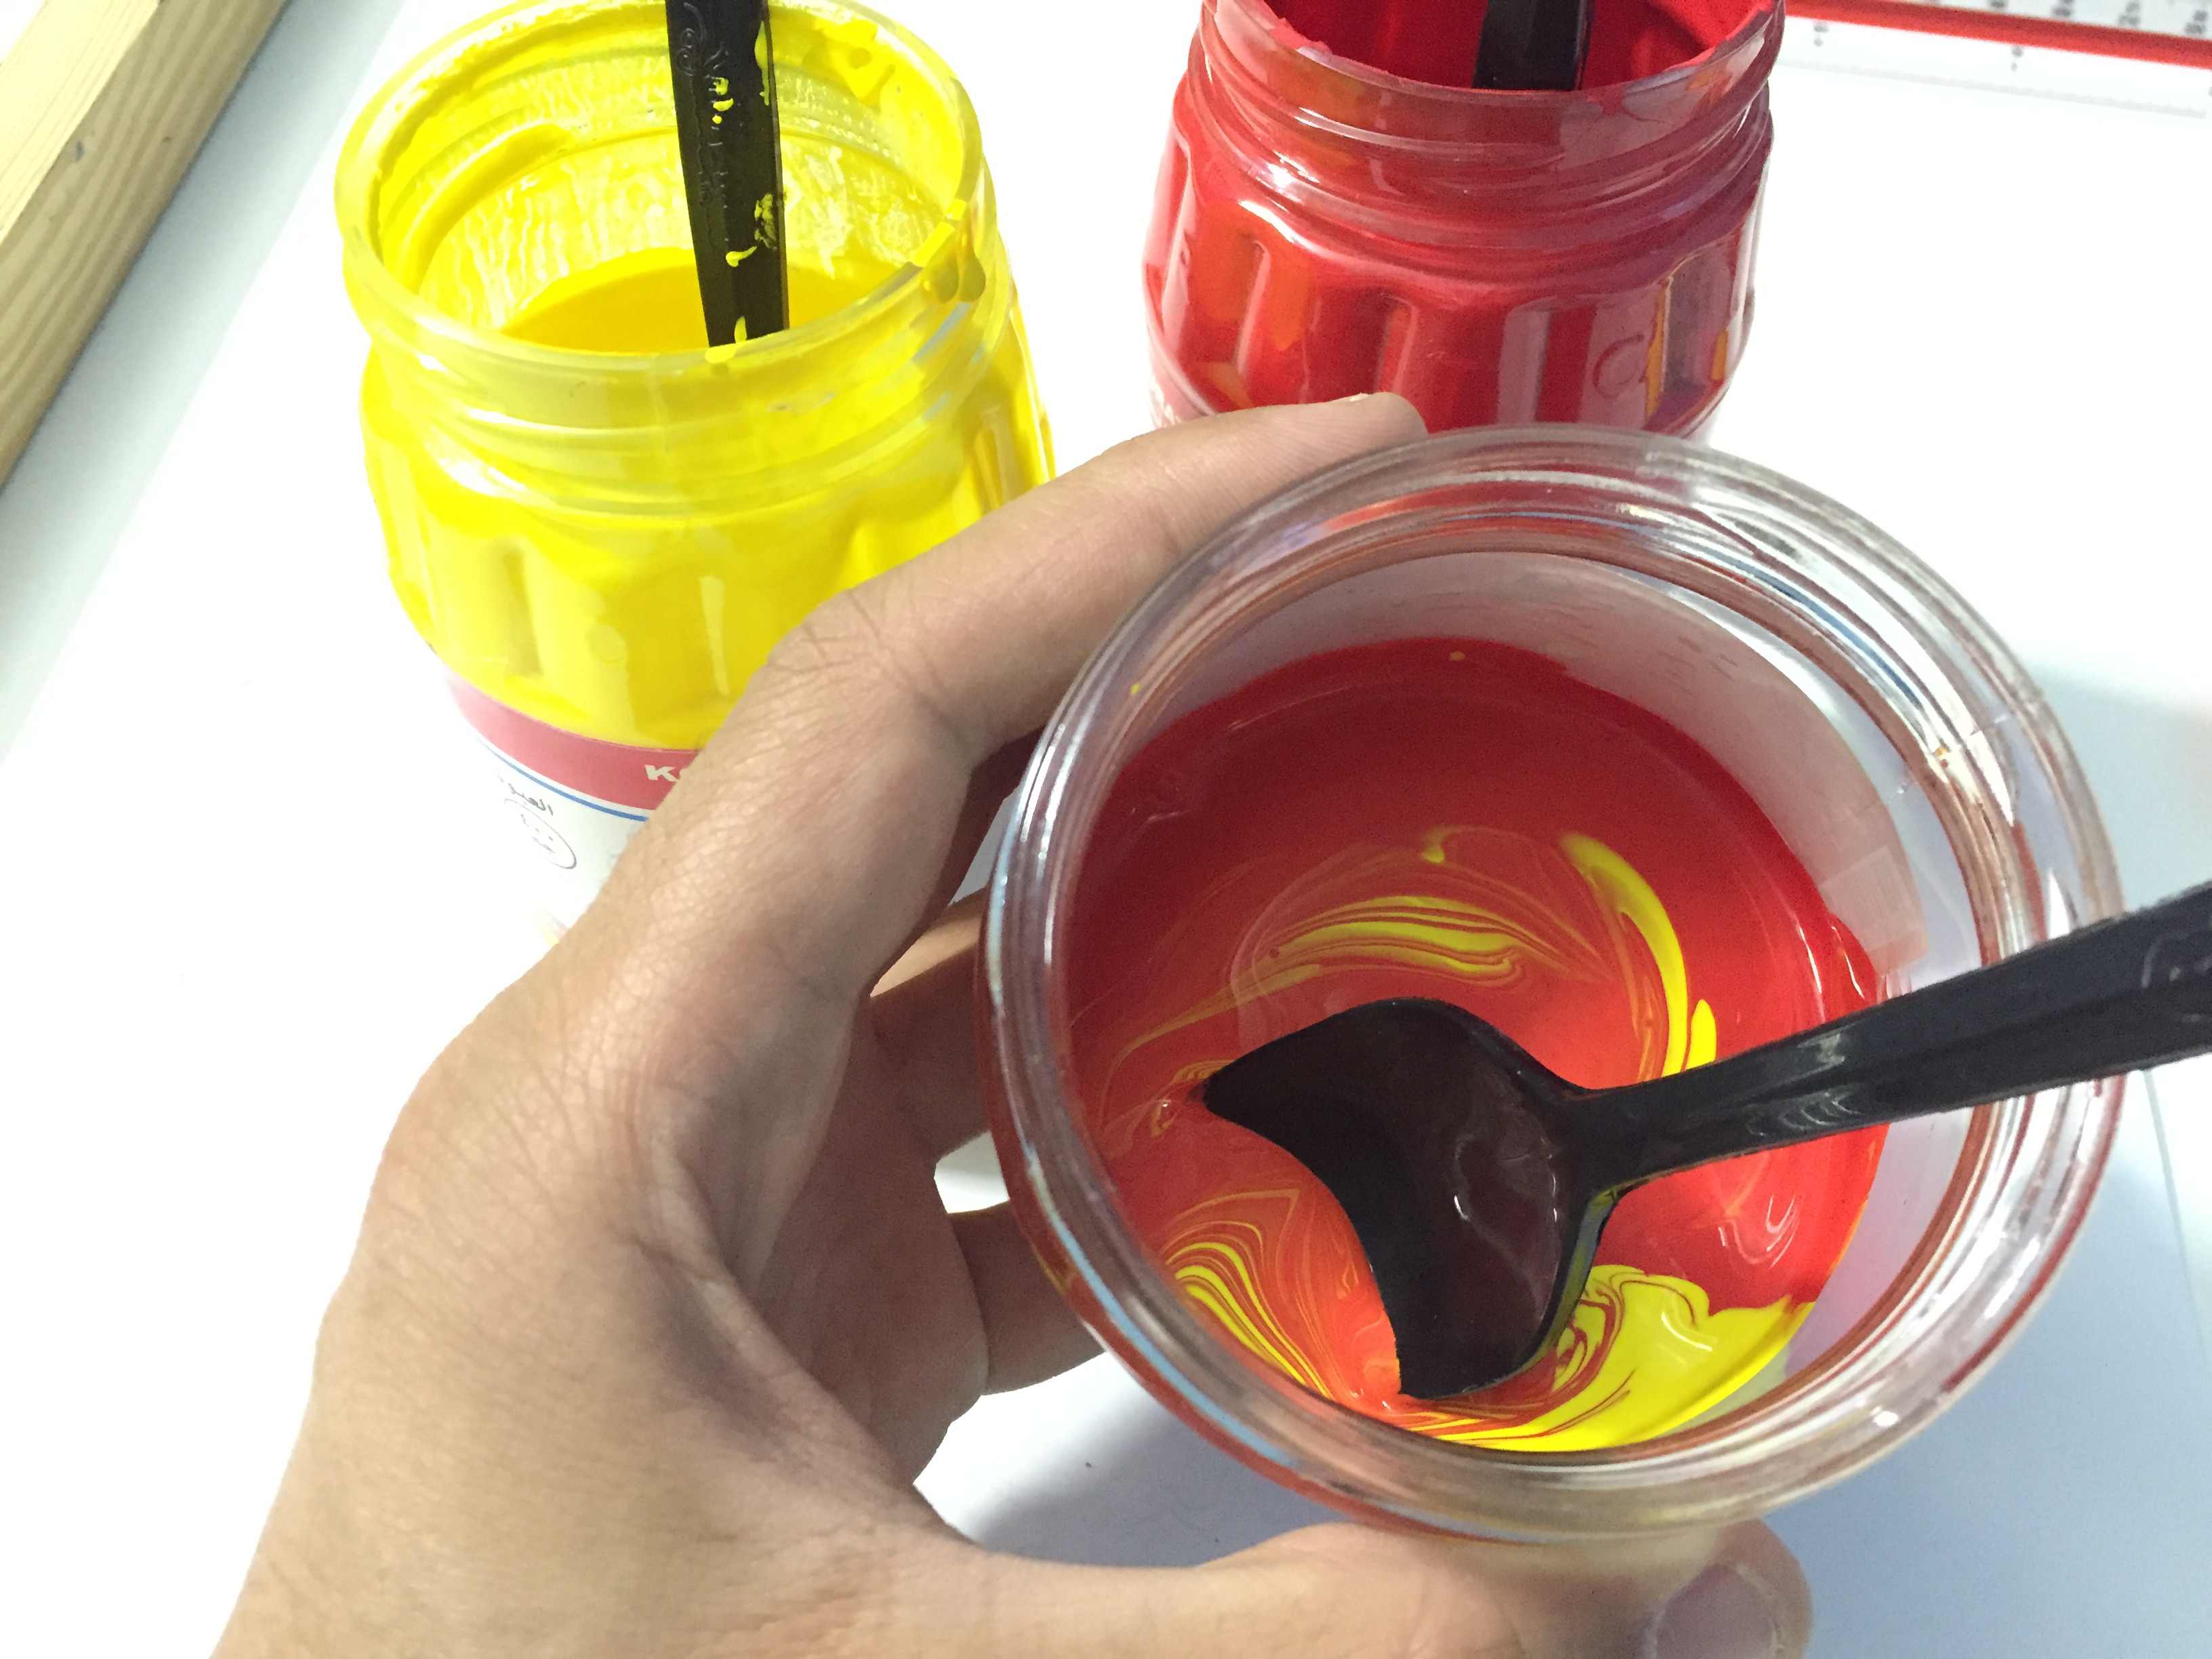
Then I mixed the red and yellow colors to get the orange color which I needed.
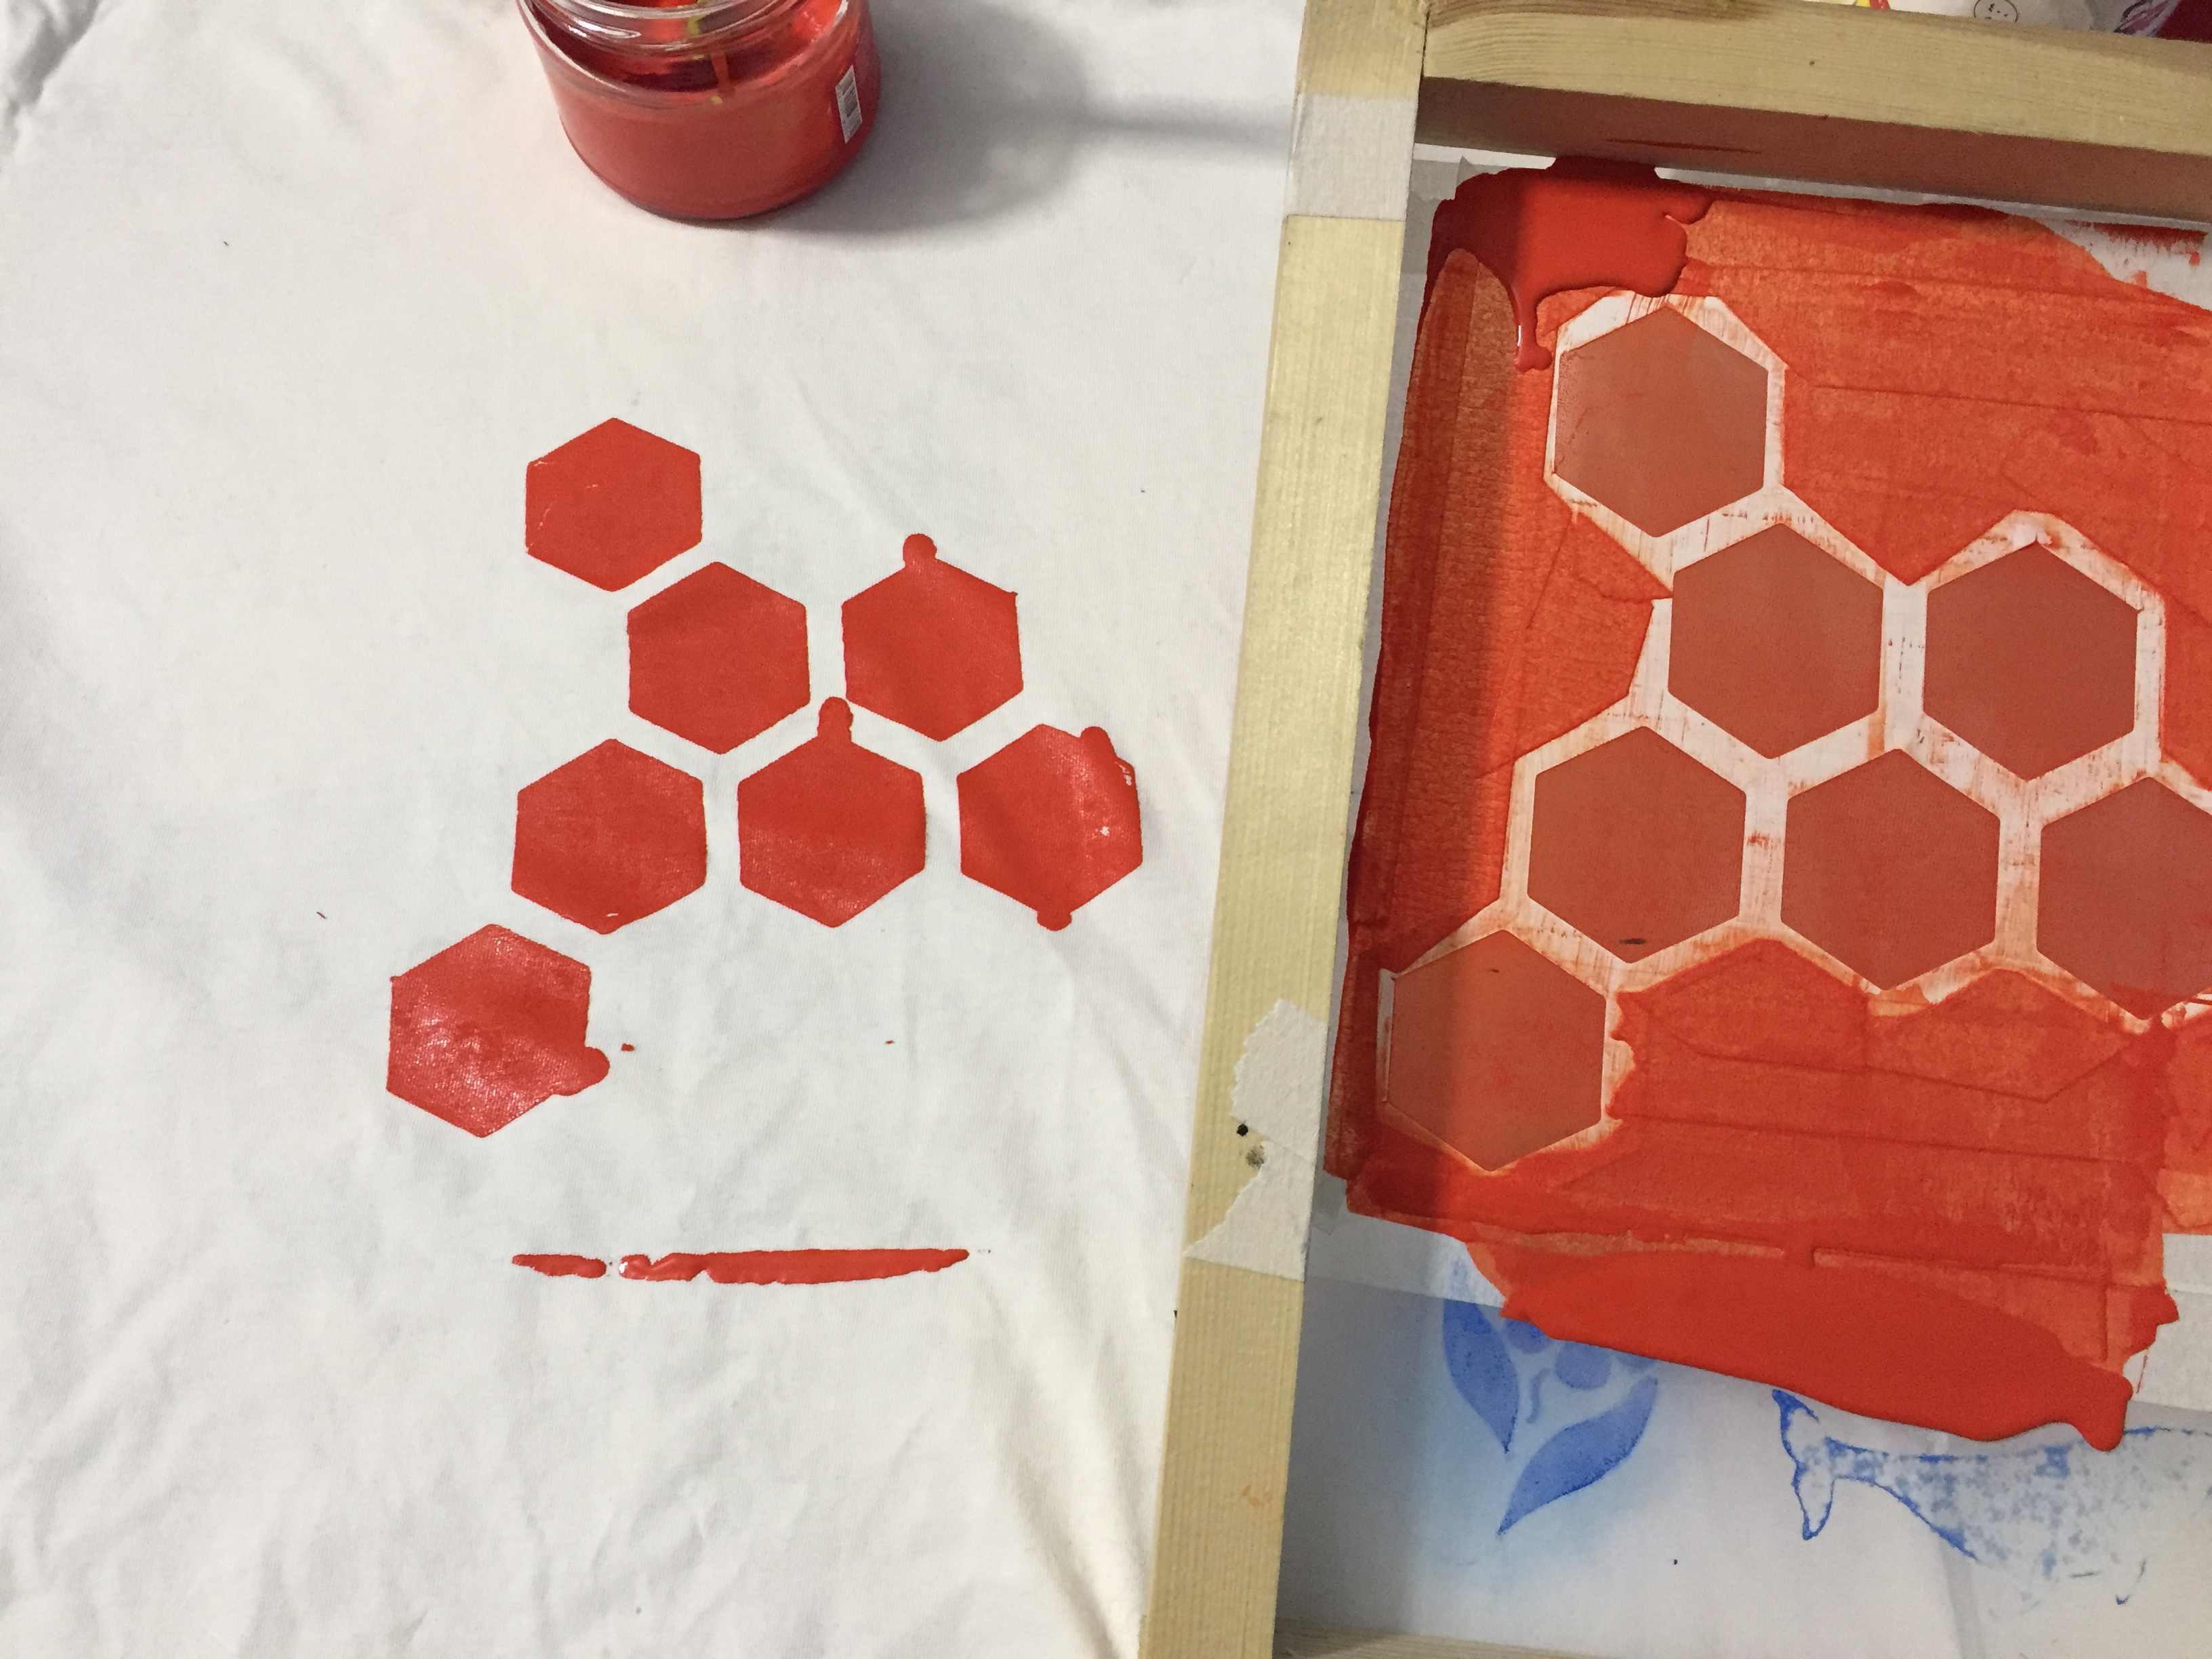
In this picture, I'm applying some paper tape which is very important around the shape to prevent the color to get to the cloth around the vinyl shape.
Then gently I poured some color ink I mixed on top of the shape and gently wipe the color with the scraper all over the screen to apply the color.
Vinyl cutting
After that I left the color to dry and it took around 10 mins to dry then I lifted the screen frame of the shirt and that was the result.
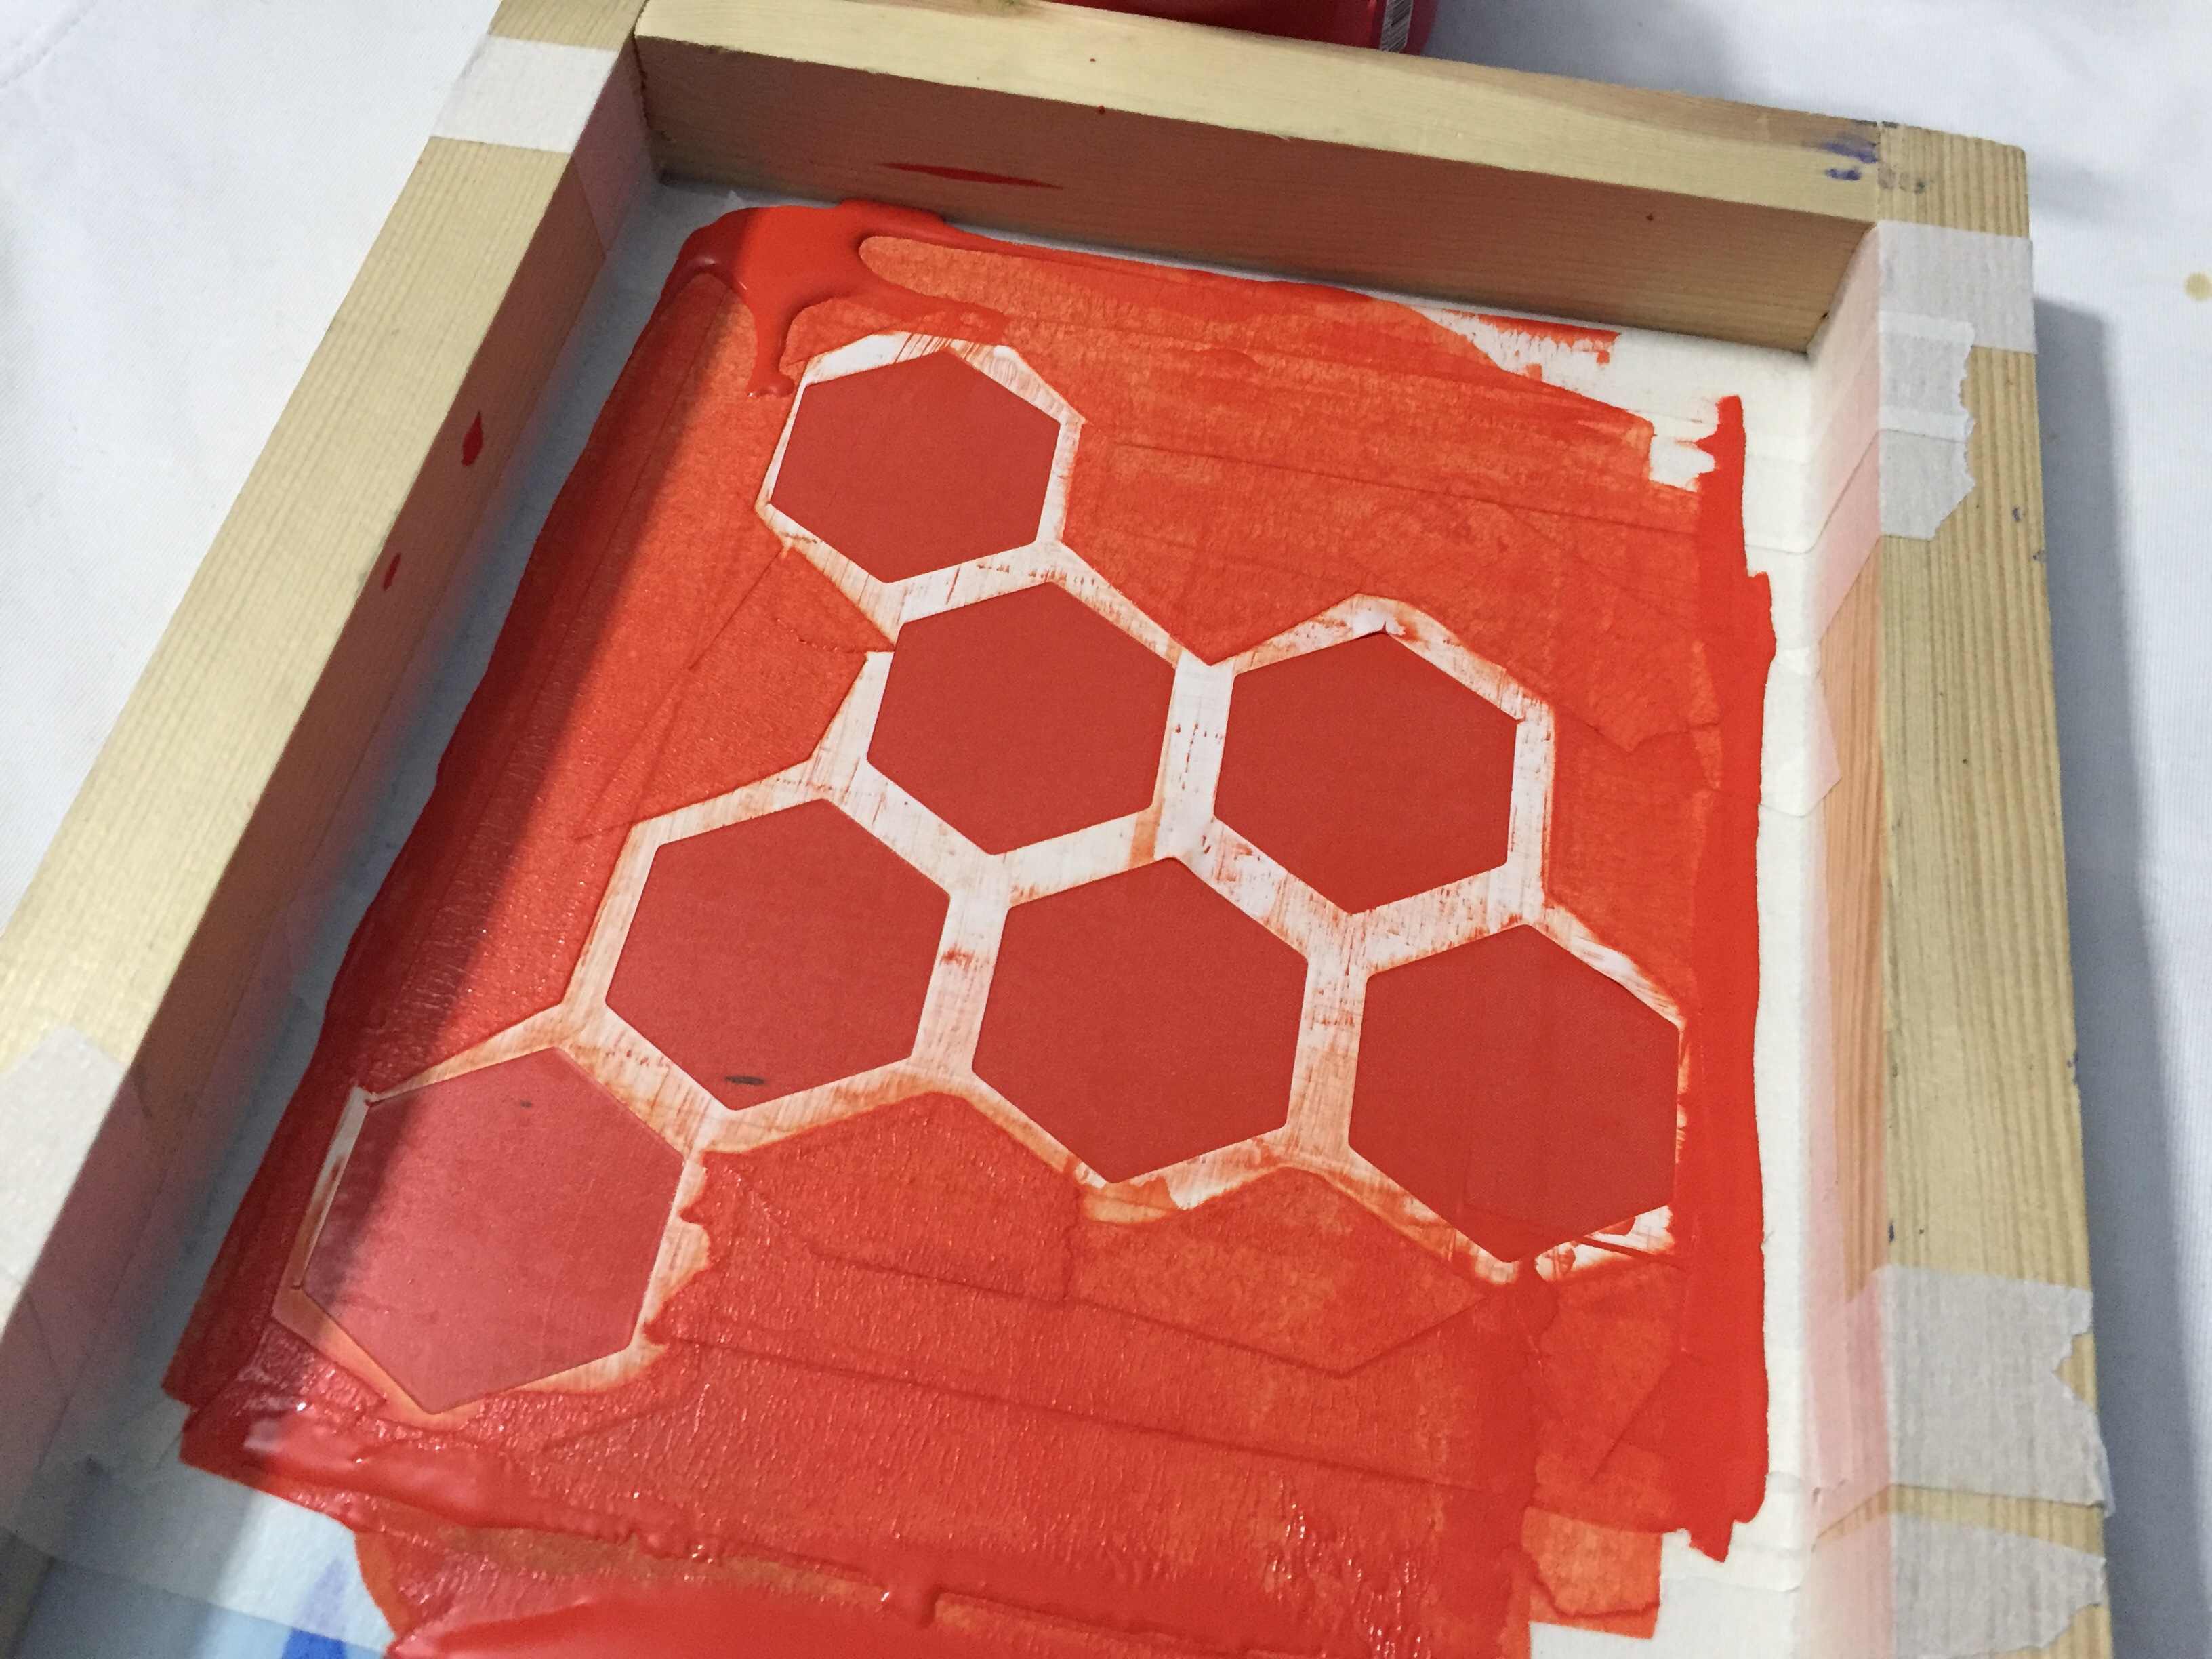
Surely it wasn't as expected but the main problem was that there were some empty spaces between the vinyl and the silk which made the color leak through. Other than that it was satisfying.