3D Scanning and Printing
-
***Group assignment***
- Test the design rules for your 3D printer(s)
- Document your work and explain what are the limits of your printer(s) (in a group or individually)
- Document your work to the group work page and reflect on your individual page what you learned
-
Individual assignment:
- Design and 3D print an object (small, few cm3, limited by printer time) that could not be easily made subtractively
- 3D scan an object, try to prepare it for printing (and optionally print it)
Learning outcomes
- Identify the advantages and limitations of 3D printing
- Apply design methods and production processes to show your understanding of 3D printing.
- Demonstrate how scanning technology can be used to digitize object(s)
Part 1: 3D Printing
The Machine
The 3d Printer used in this assignement is the Makerbot Replicator plus, the manufacturer website, the manual. some noteable features of the printer are as follows:
- The machine uses 1.75 diameter filament.
- Can print PLA and ABS.
- Doesn't feature a heated bed.
- Have auto bed levelling.
- Have a single printing head.

3D printing individual assignement
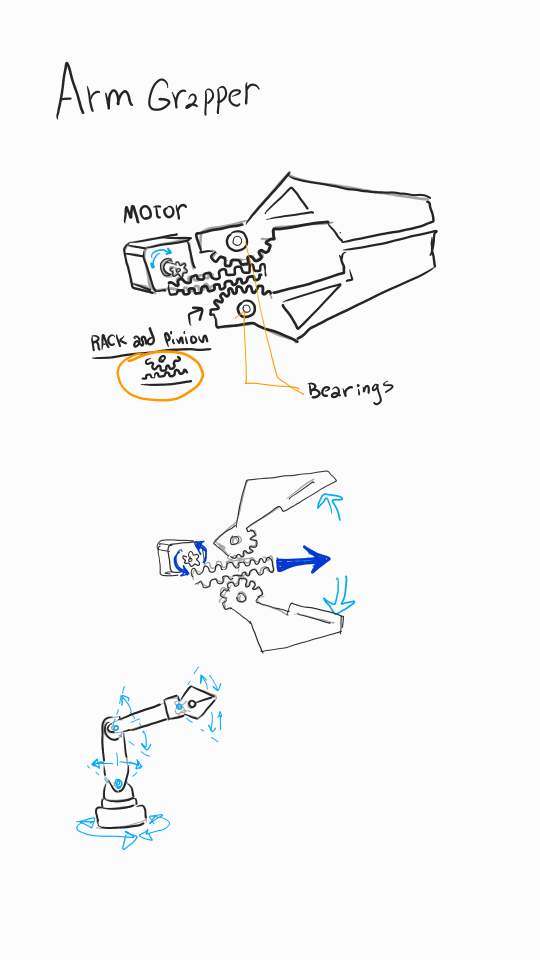
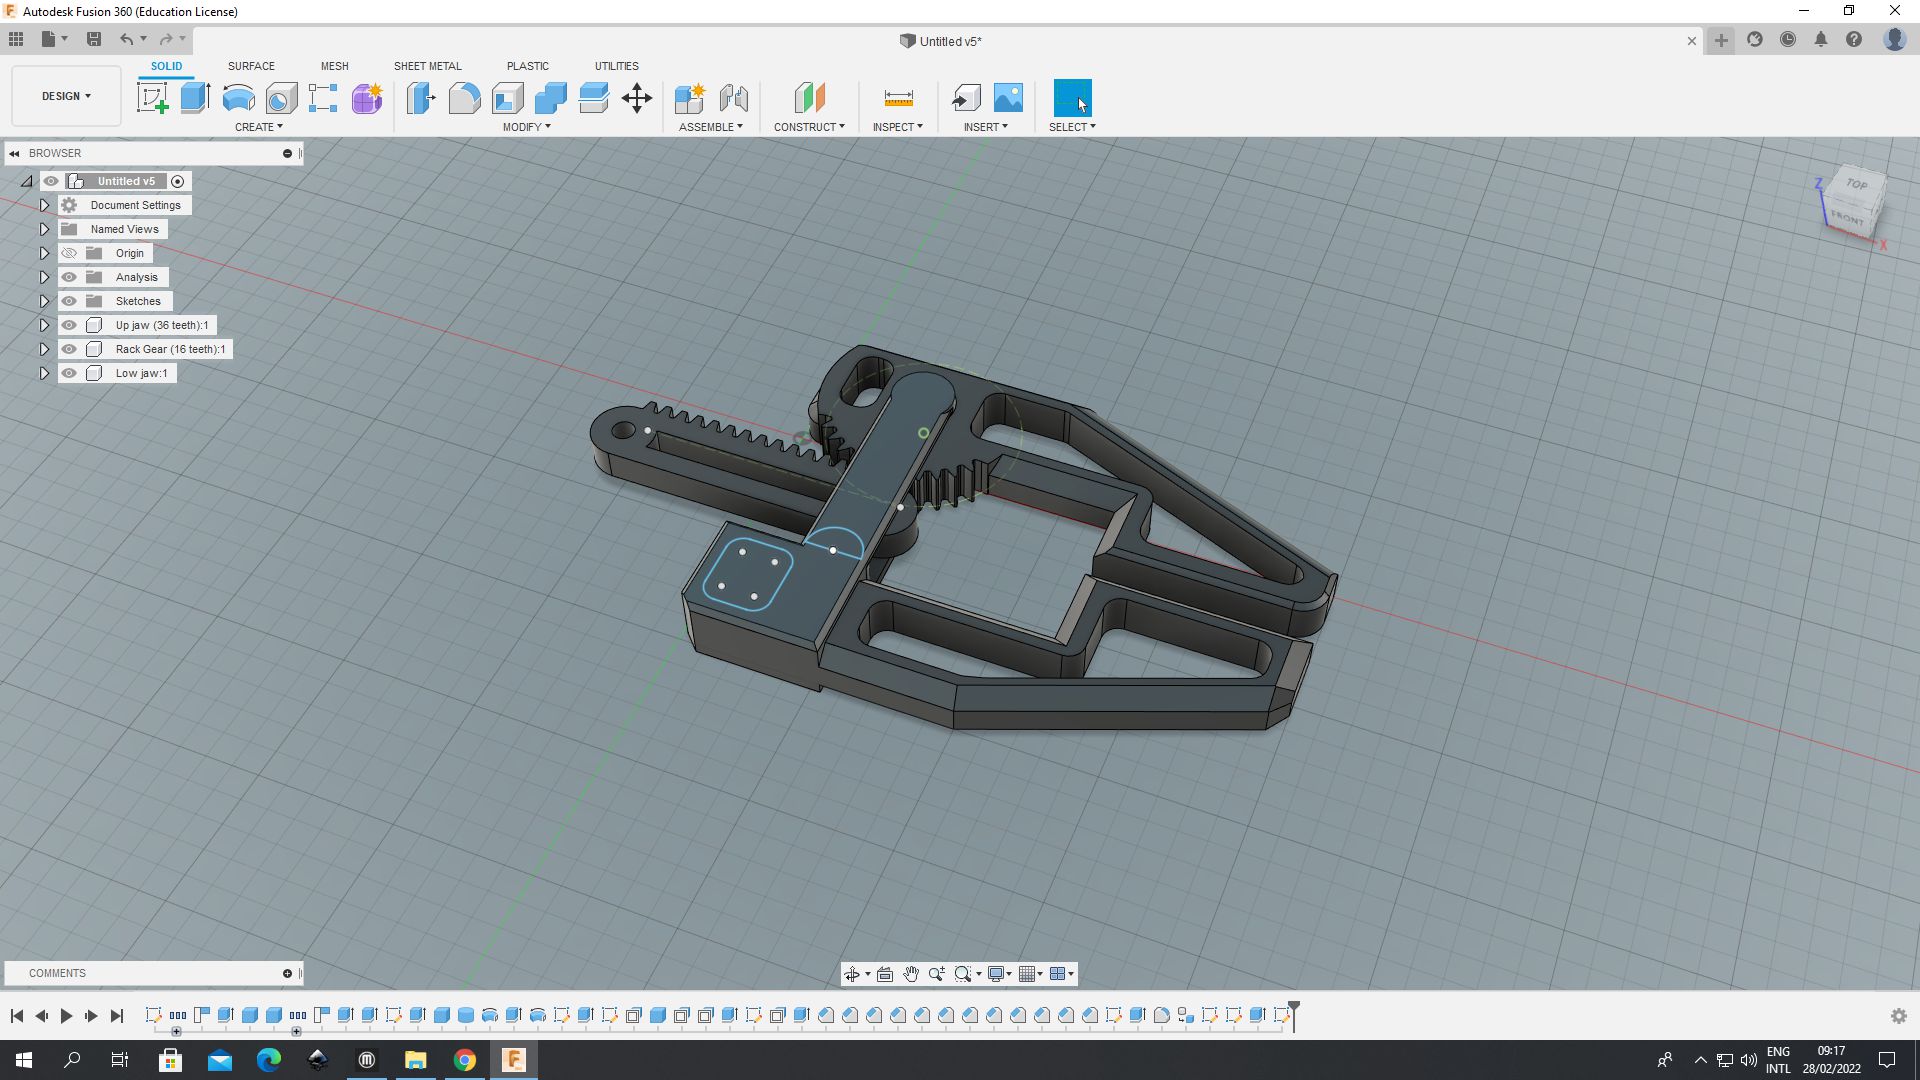
The goal of the assignement is to design and print an object that couldn't be made with subtractive manufacturing, I designed and printed an actuated claw which will be a componenet of my final project. the whole design is printed in one go and features inter-locked component with actuated rack and pinion gear arrangement for opening and closing the claw. this type of design is impossible with substractive manufacturing. I already touched upon the concept in my final project page and made a sketch describing how it functions.
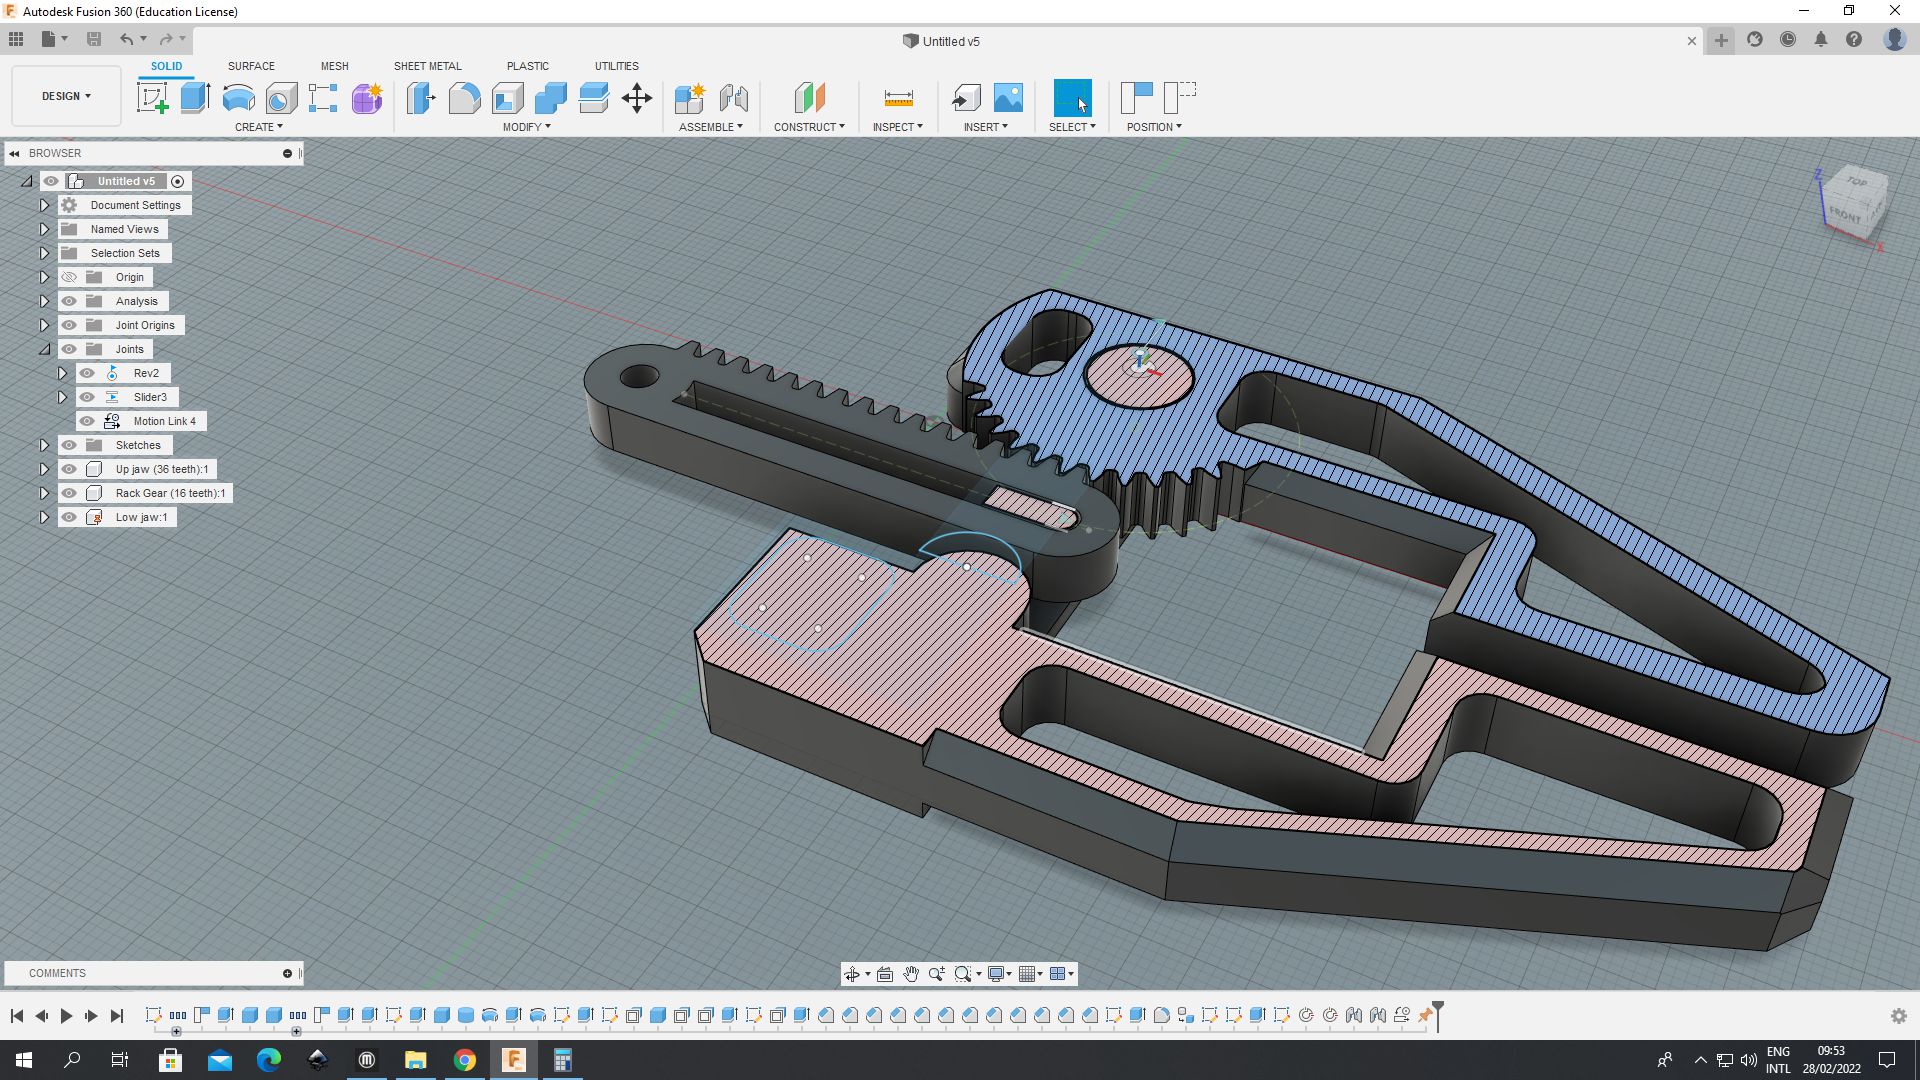
I made the design in Fusion 360 and from the cross section you could see how the rack and the upper jaw are constrained inside the geometry of the lower jaw, thus no post printing linkage required, I also hollowed the design to speed up the printing process.
Actuation demo
In Makerbot Print software, I used the Draft setting, the same used for the control sample in the group assignement but with added support material.
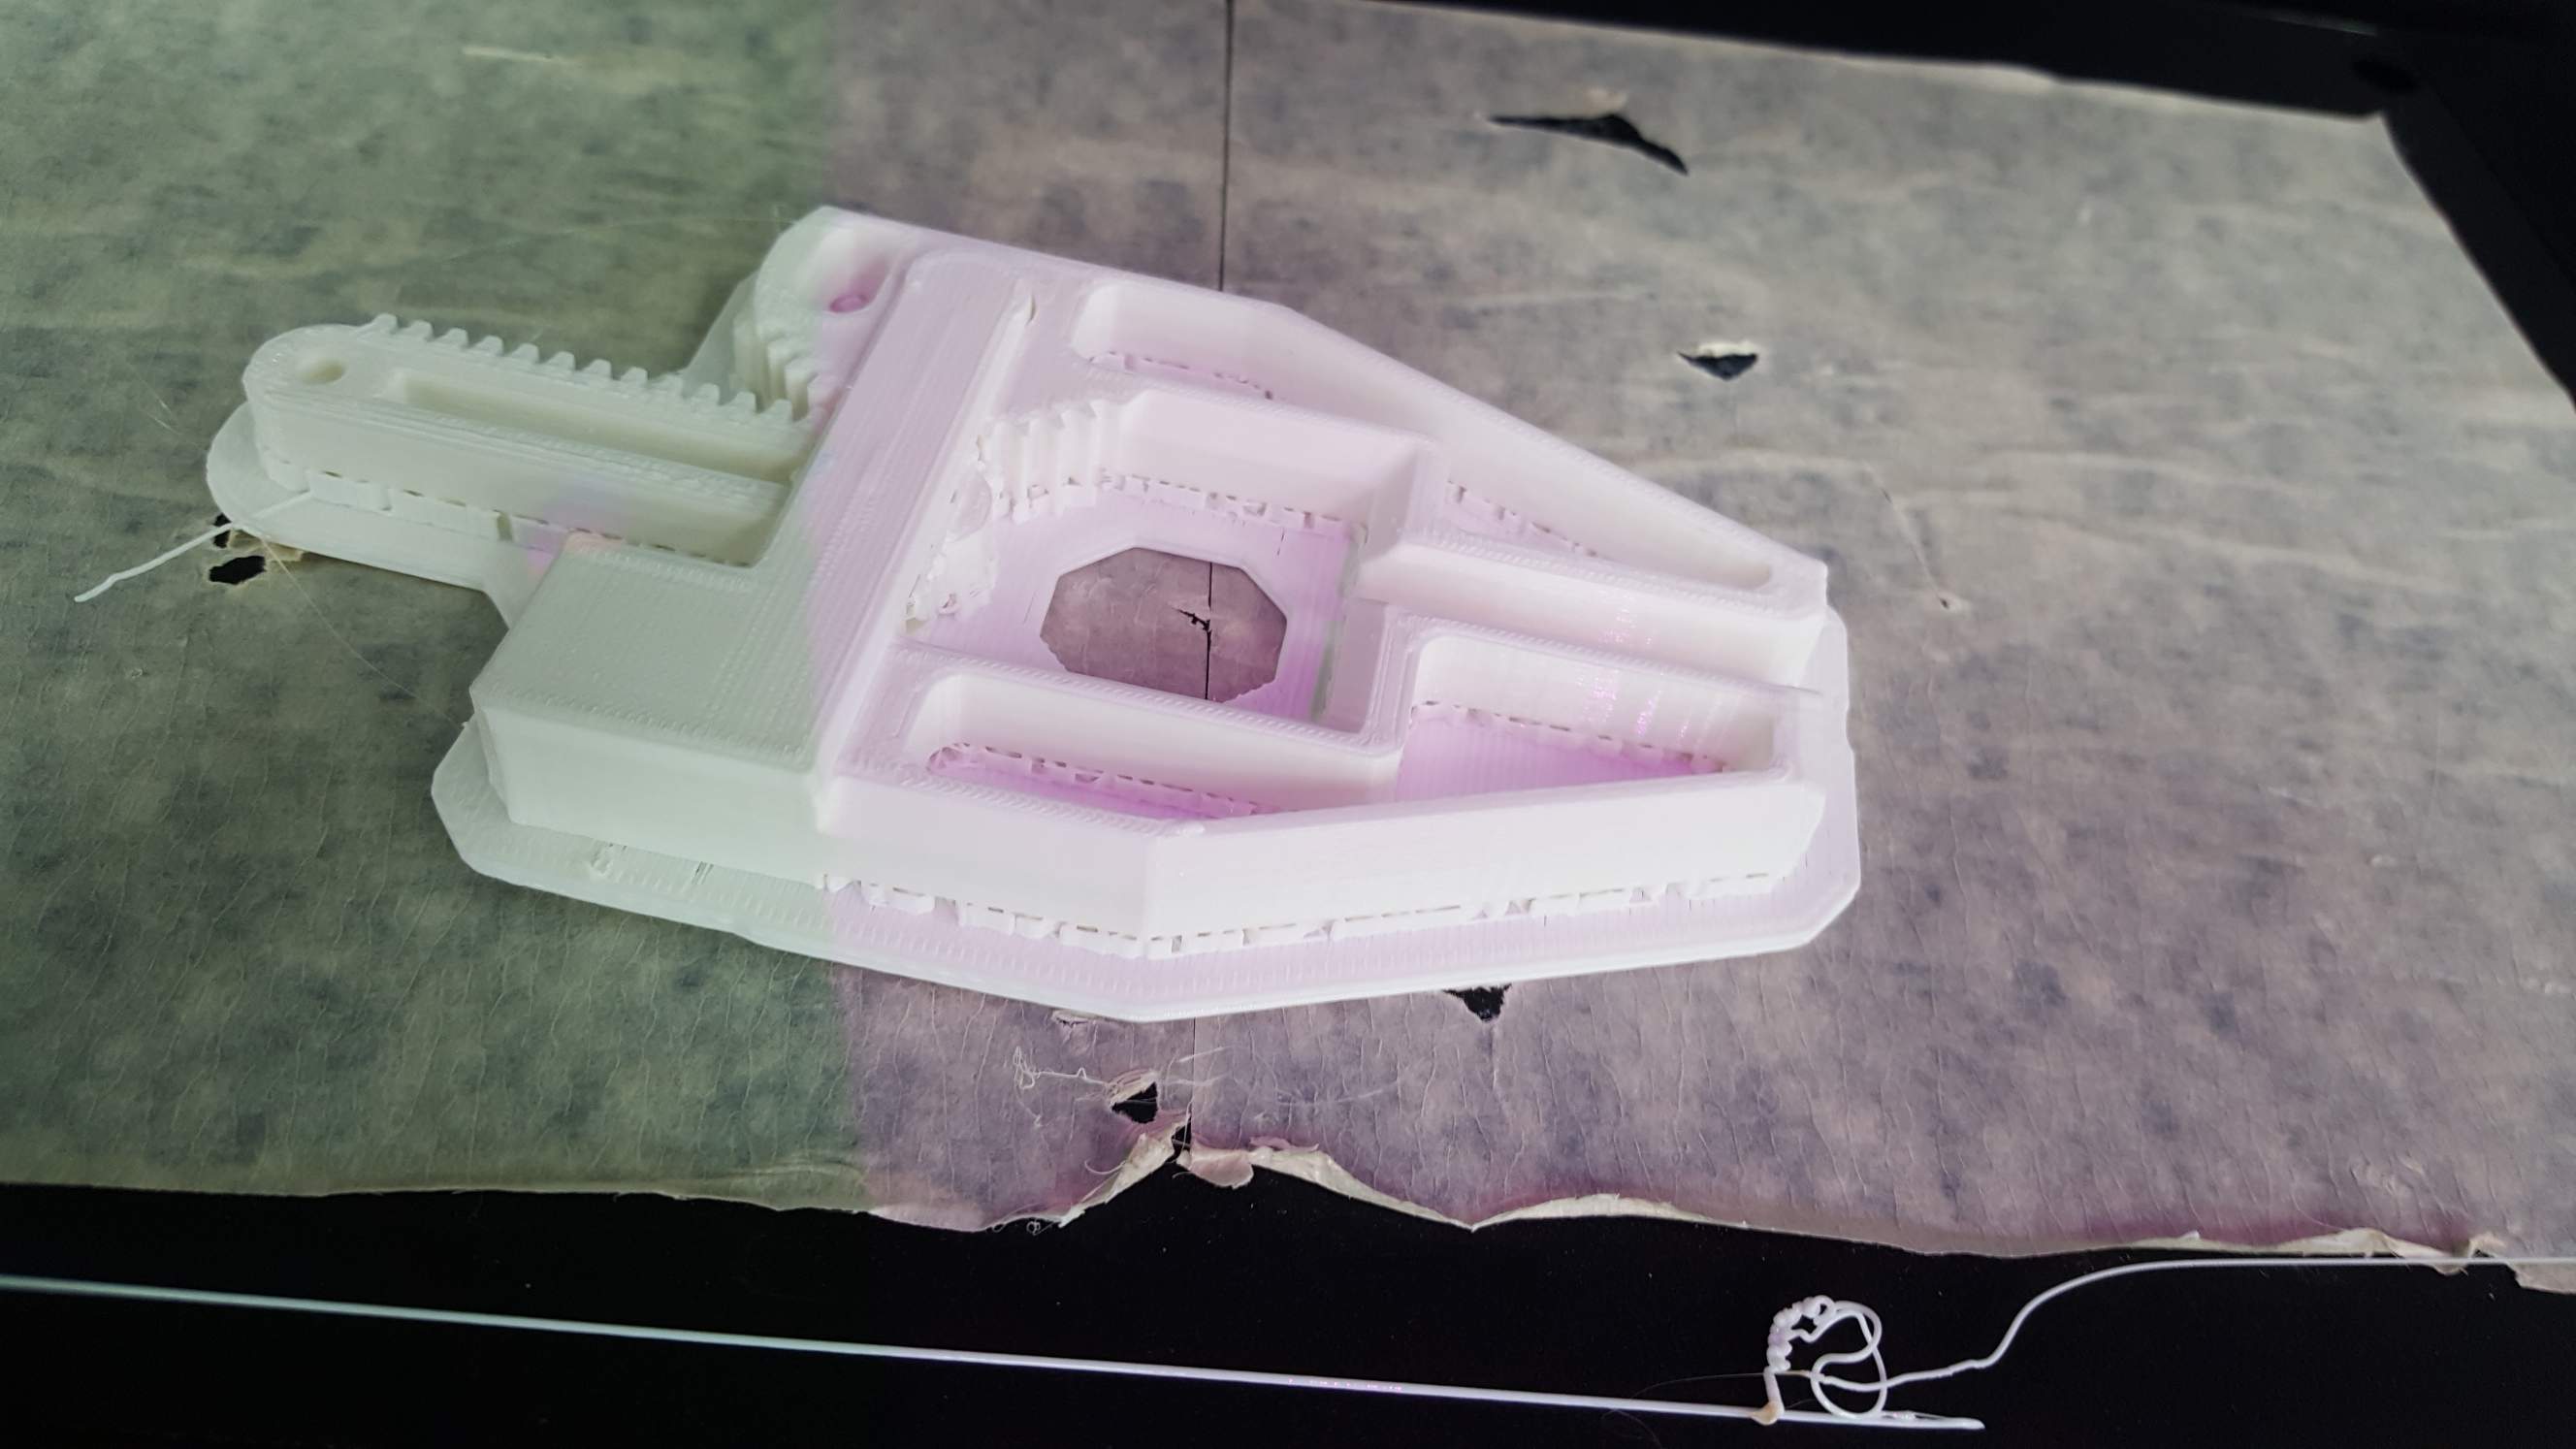
The file printed well, unfortunantly the actuation didn't work due to the supports near the gear being in an ureachable place.

Part 2: 3d Scaning
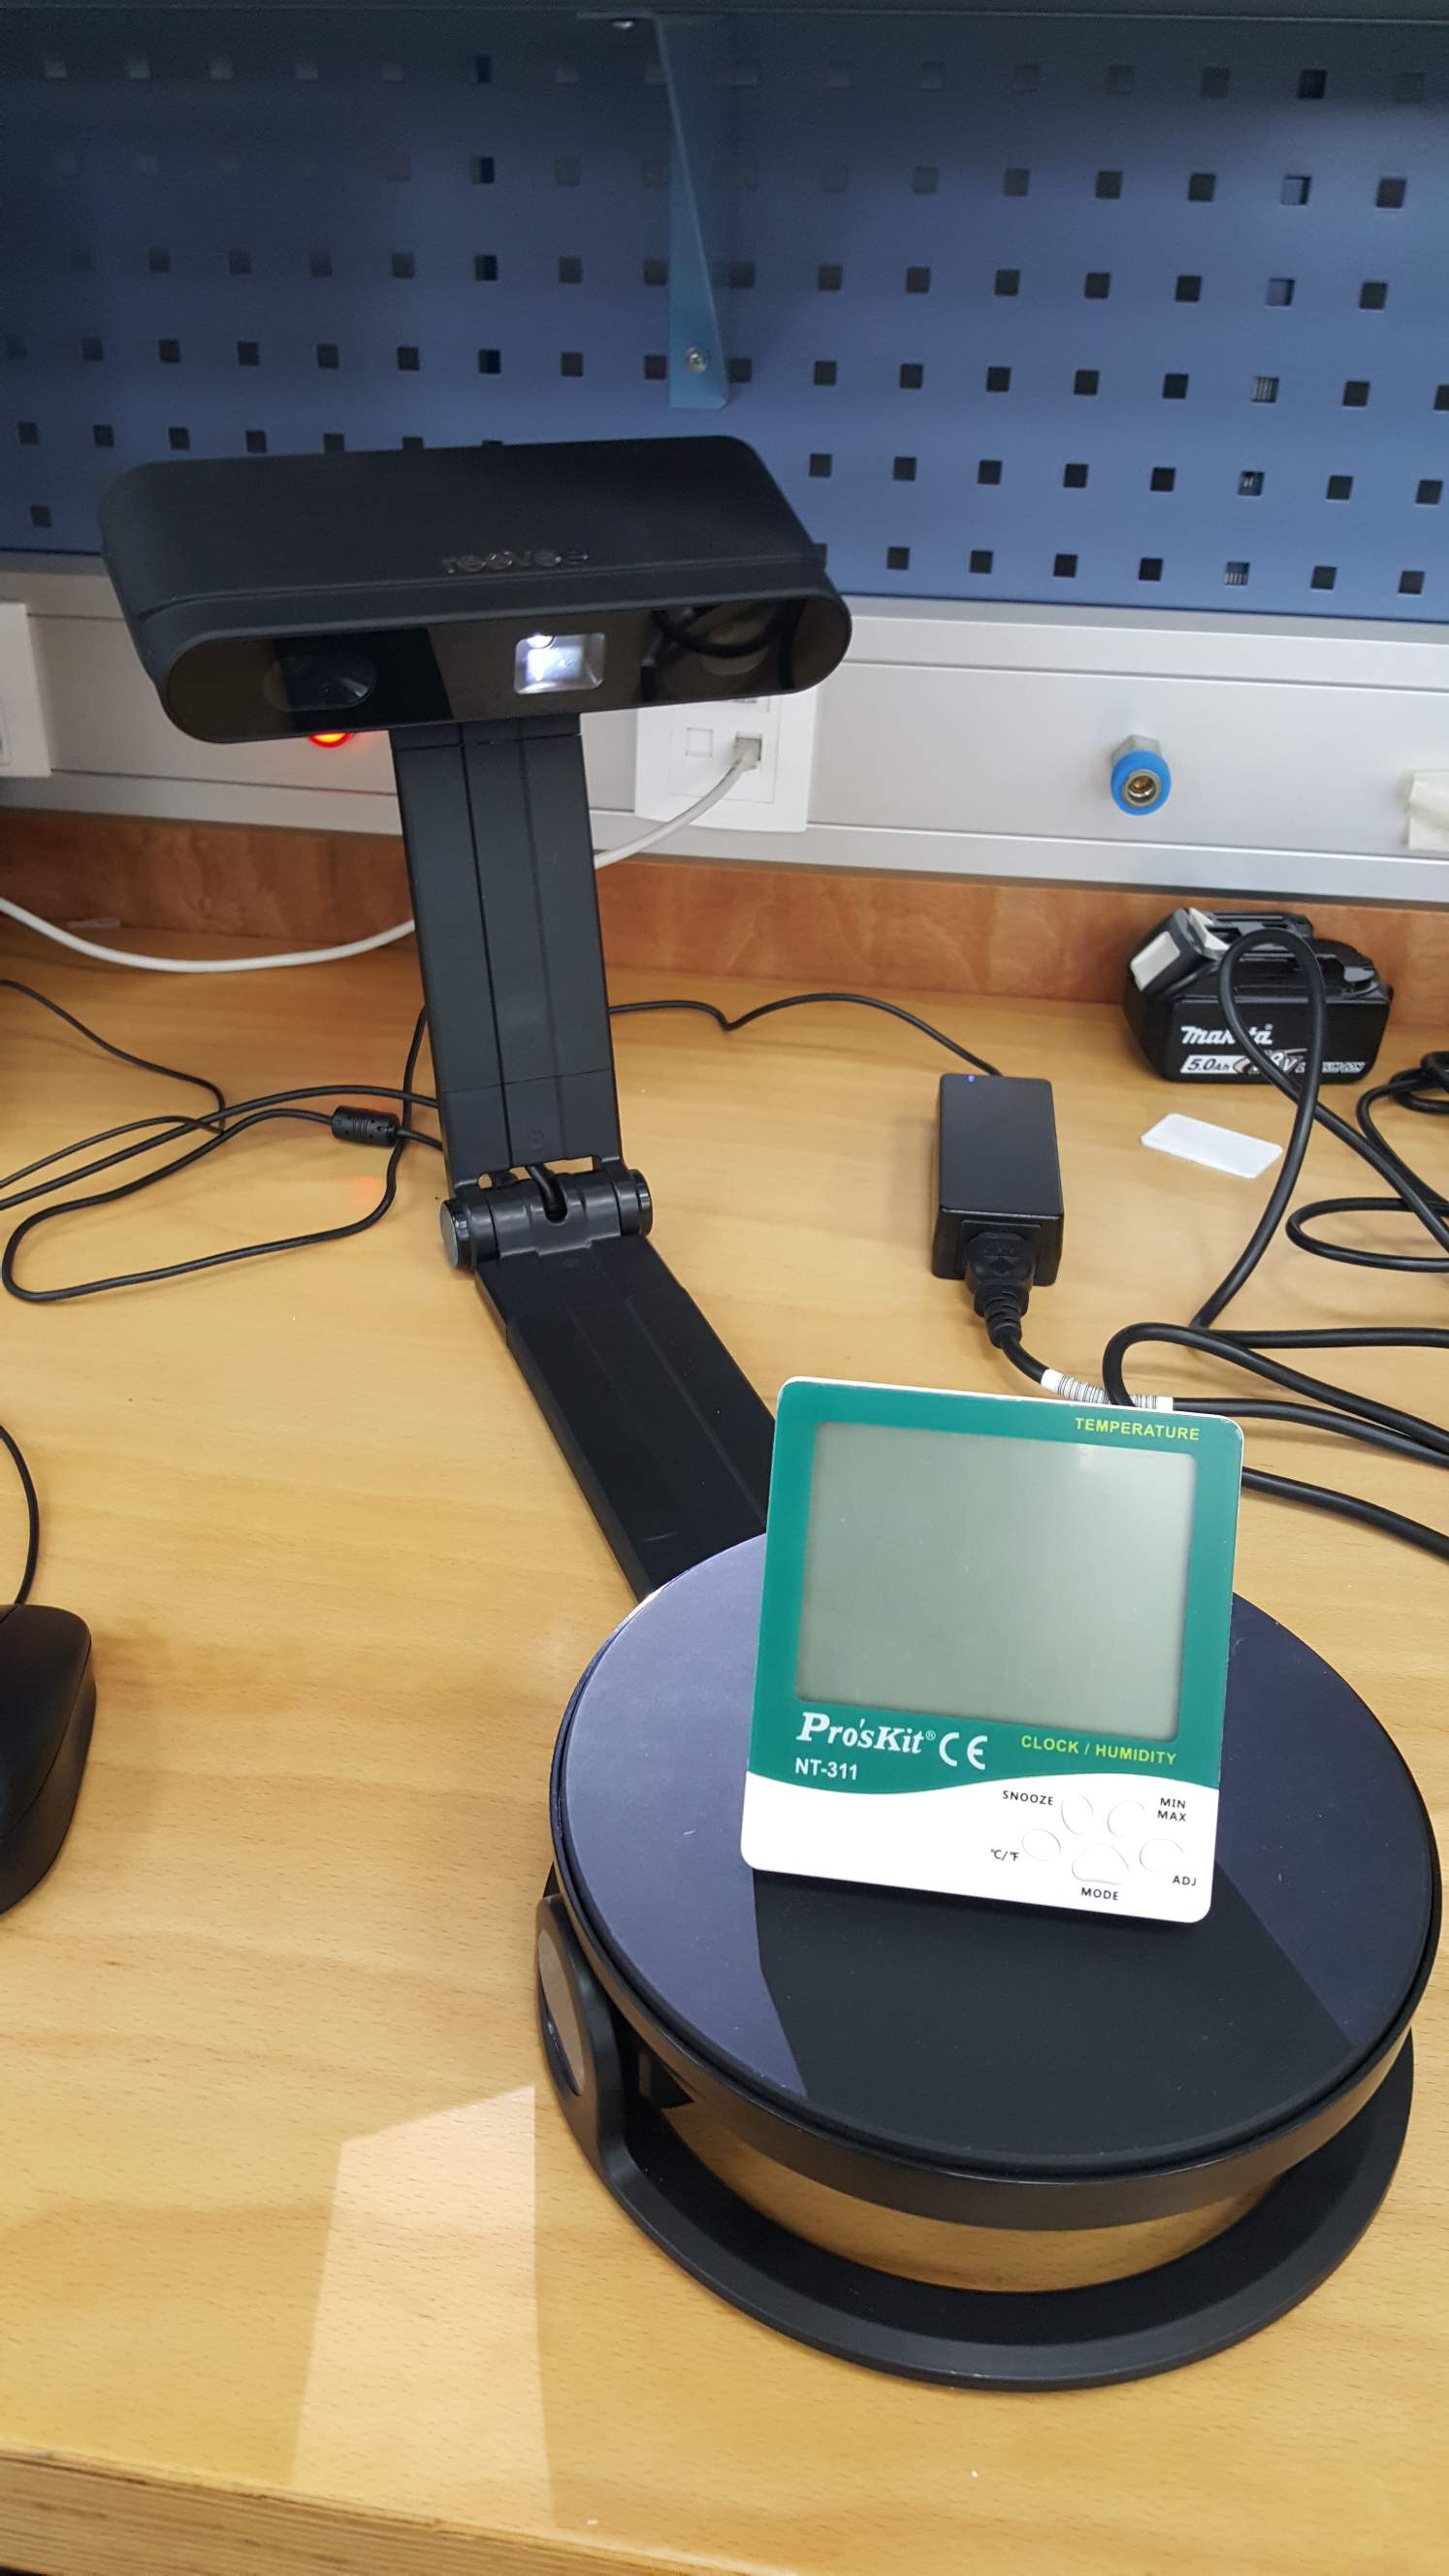
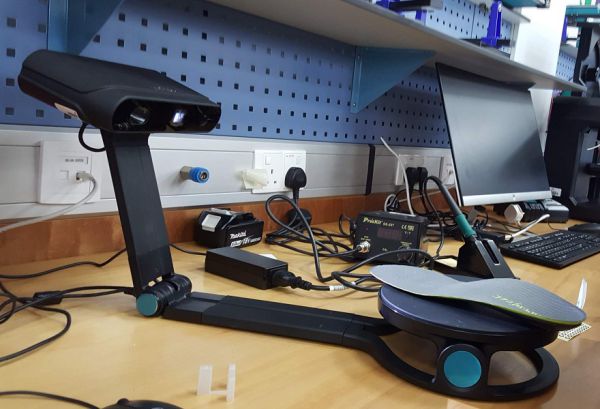
For this part I used the wiiboox rreyees sp, Manufacturer website, Manual. there is also a different manual included with the scanner that cover similar subjects. Do note that both manuals are written in broken english and do not cover all the details of use.
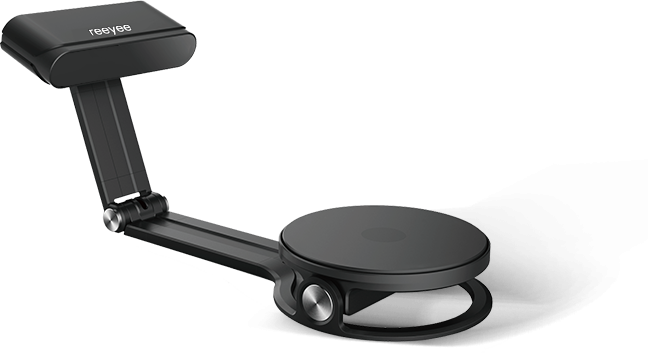
The software will fail to start if the scanner is not connected to the same PC, also the software keeps crashing randomly. the software issues lead me to not recommend this scanner, the flow for using the machine and software is as follows:
- Make sure to to power the scanner on and start the software, the software won't start if the scanner is off.
- In the software, choose the desired scan mode, the only mode explained in detail in the manual is autoscan, so that's the mode I used.
- Select how many passes for the scanner to take and the texture color.
- Start scanning, wait for the scan to finish.
- When satisfied with the scan, select the "construct" option and save the file, save as .PLY makes converting it to STL easier.
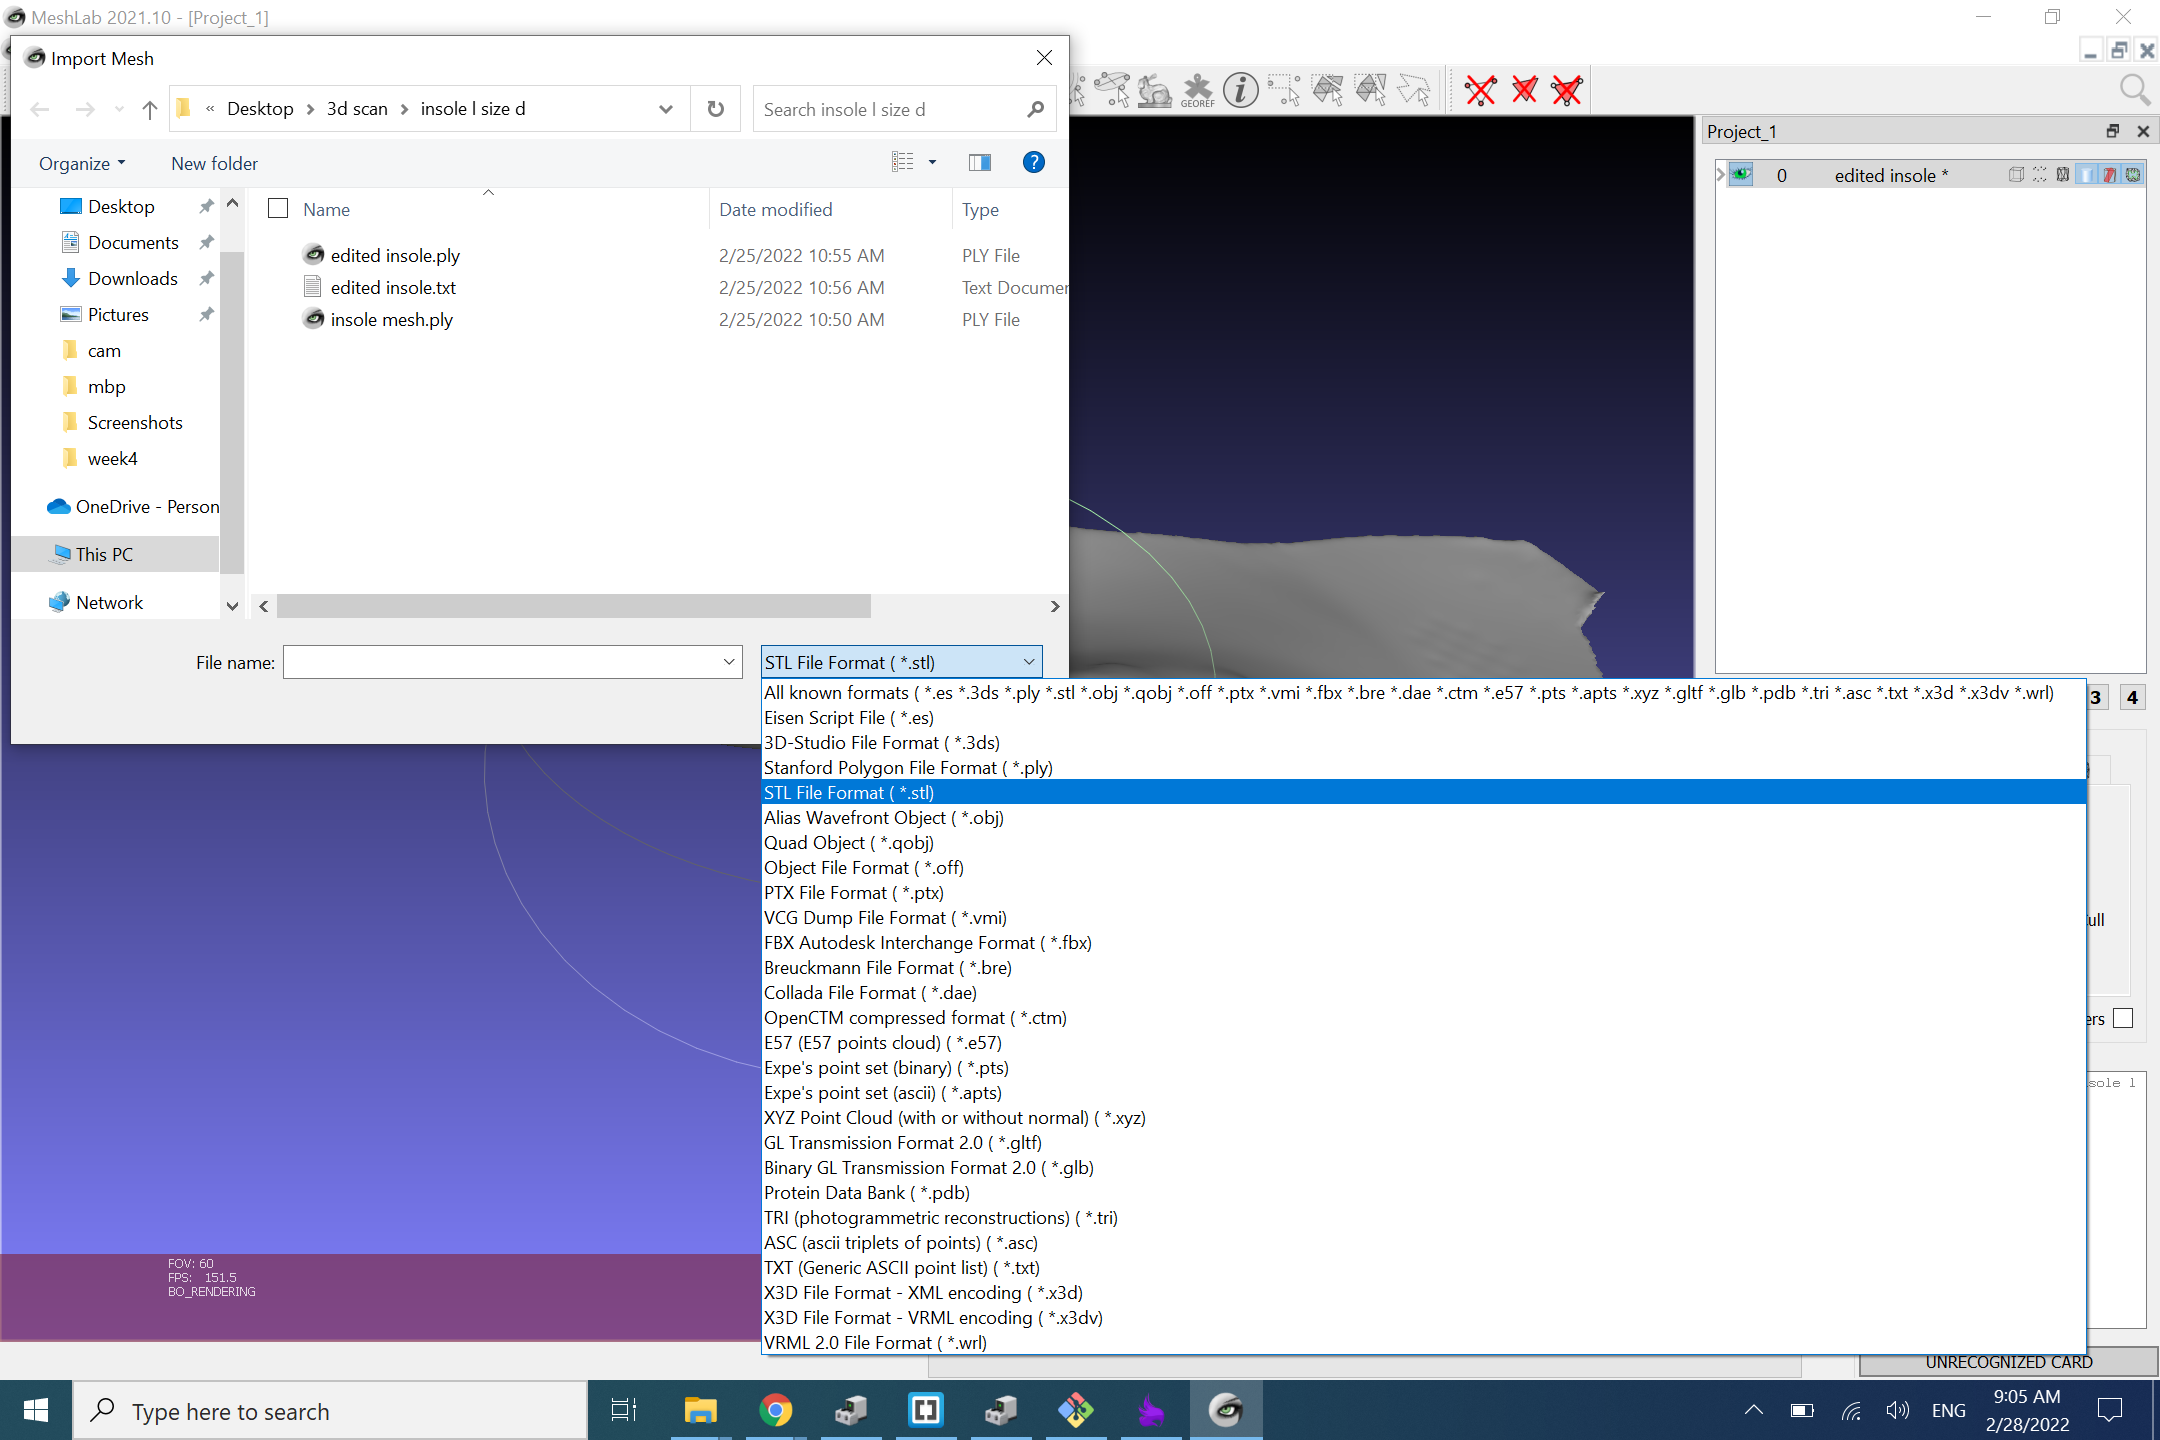
- In the meshlab software, import the PLY file and export it as STL.
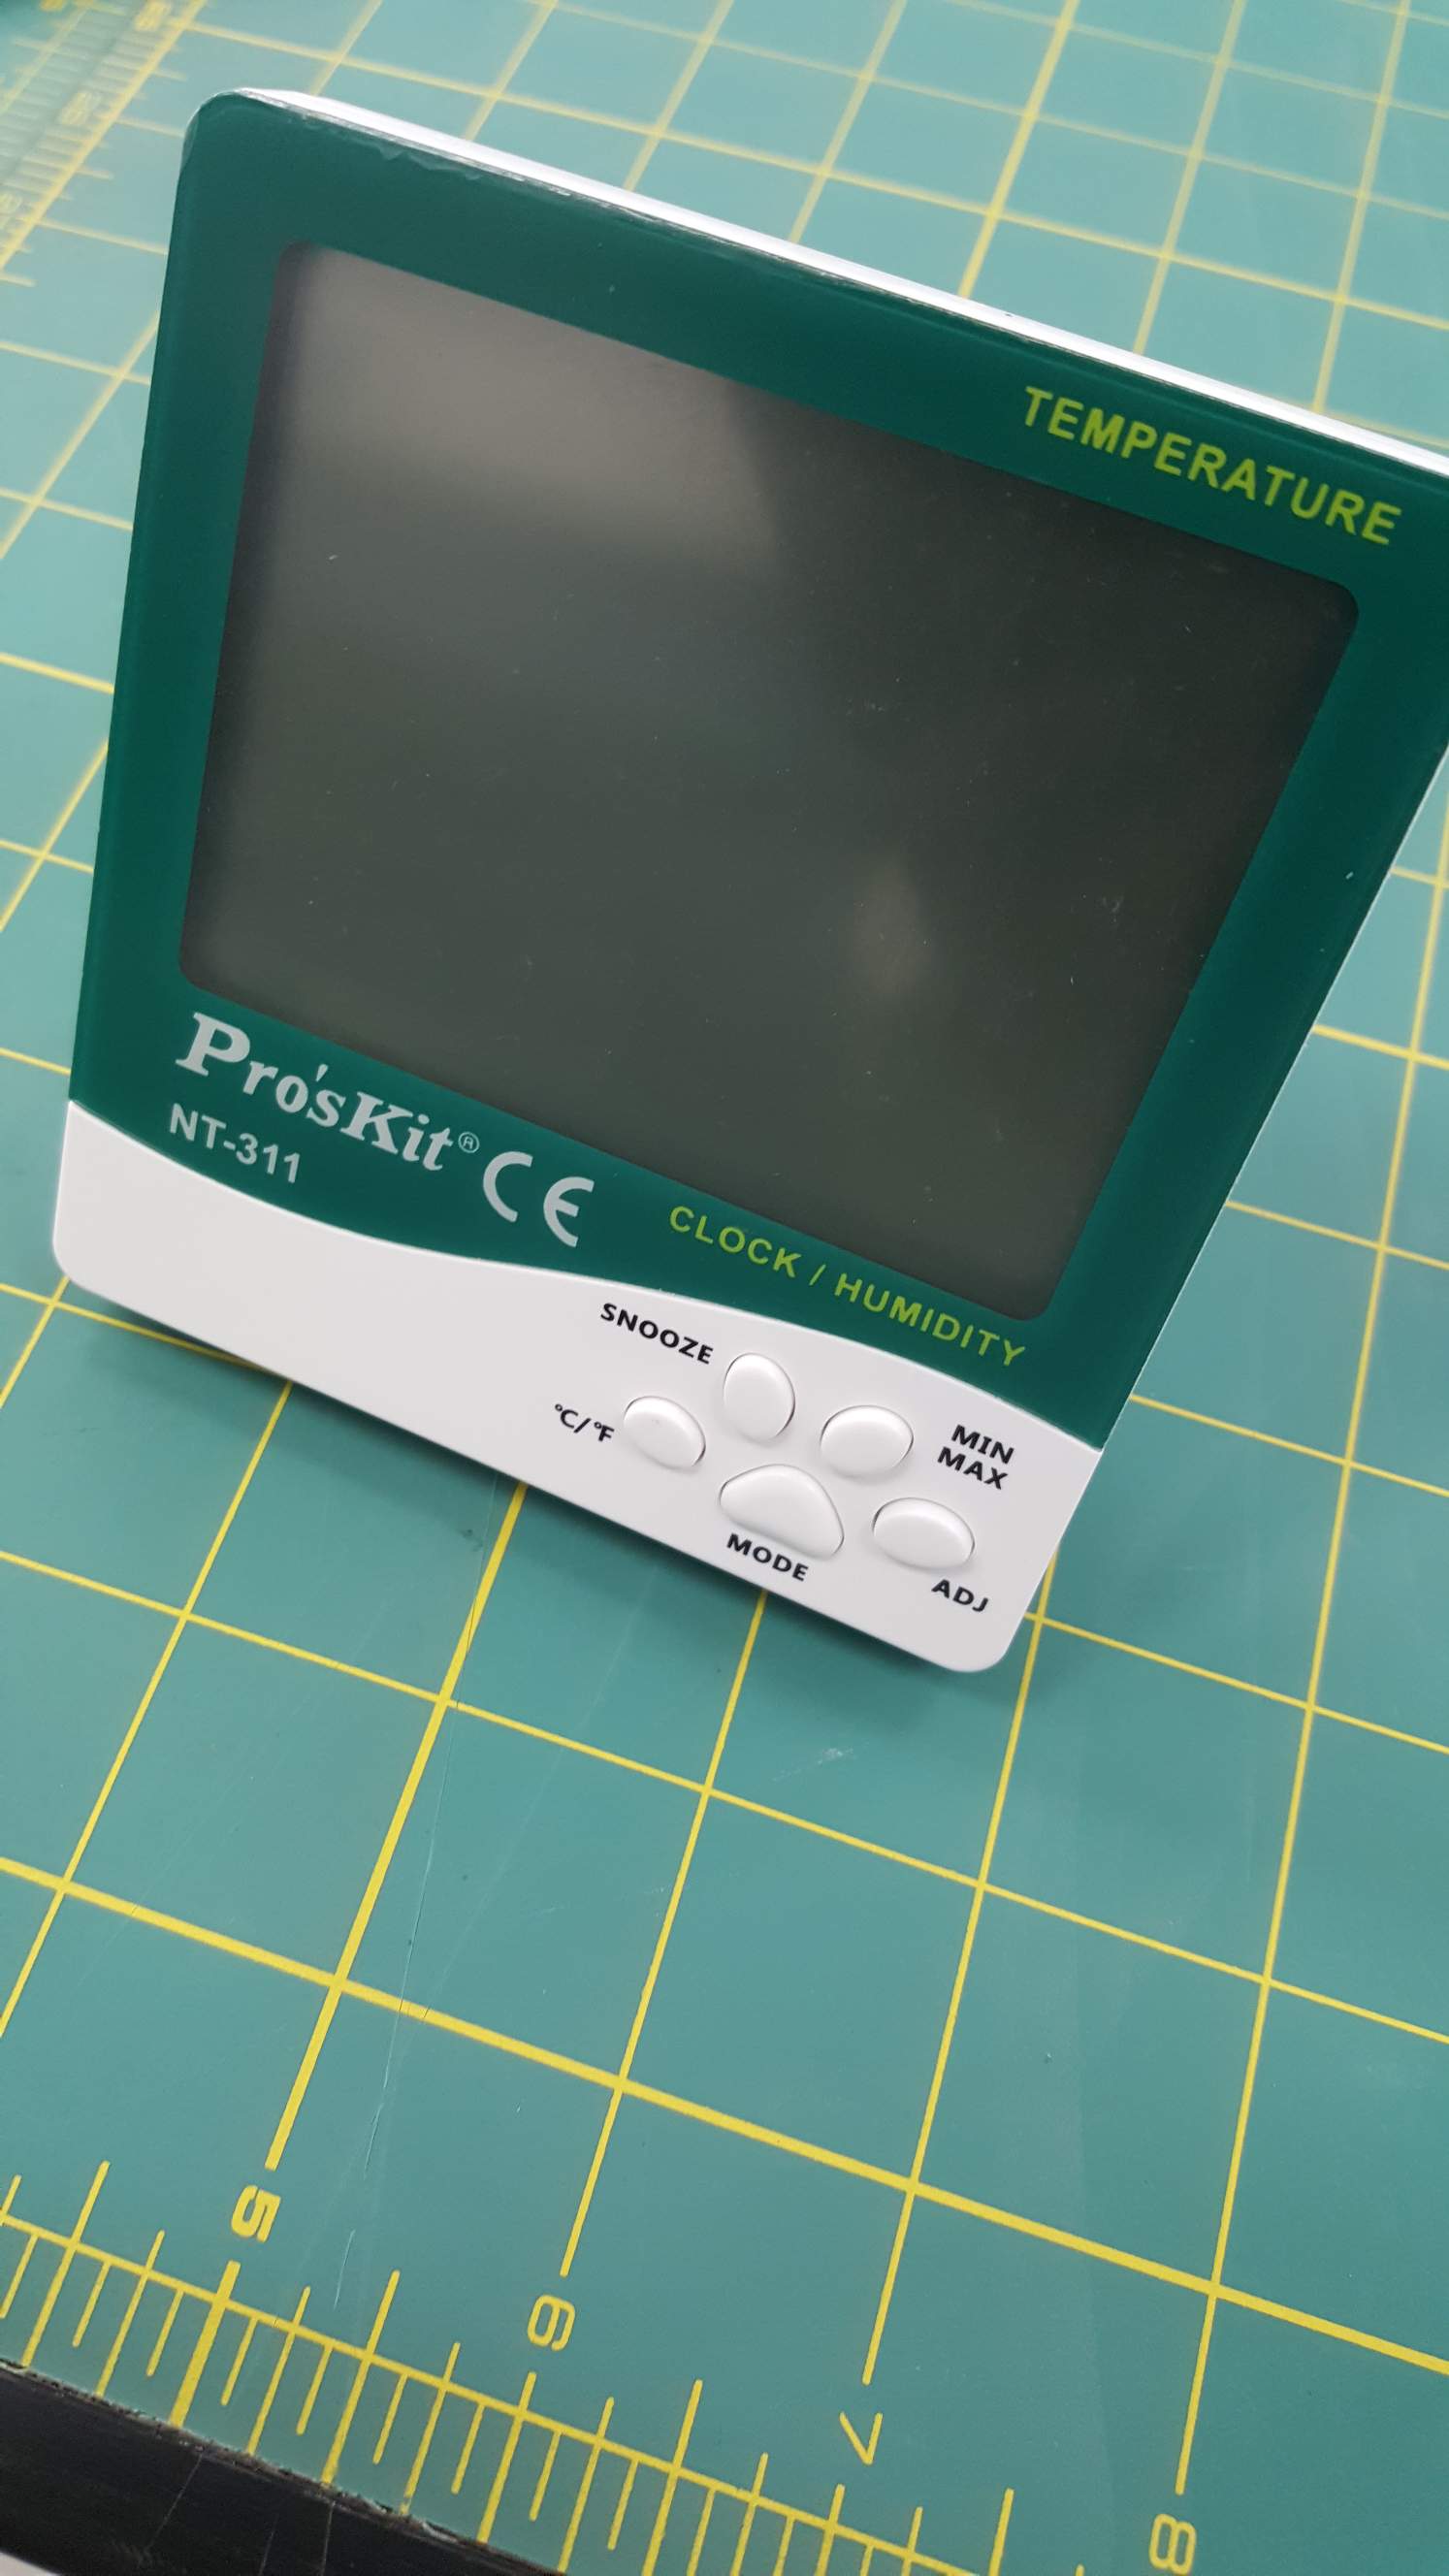
The object I will scan is a digital thermometer that that have a basic rectangular shape
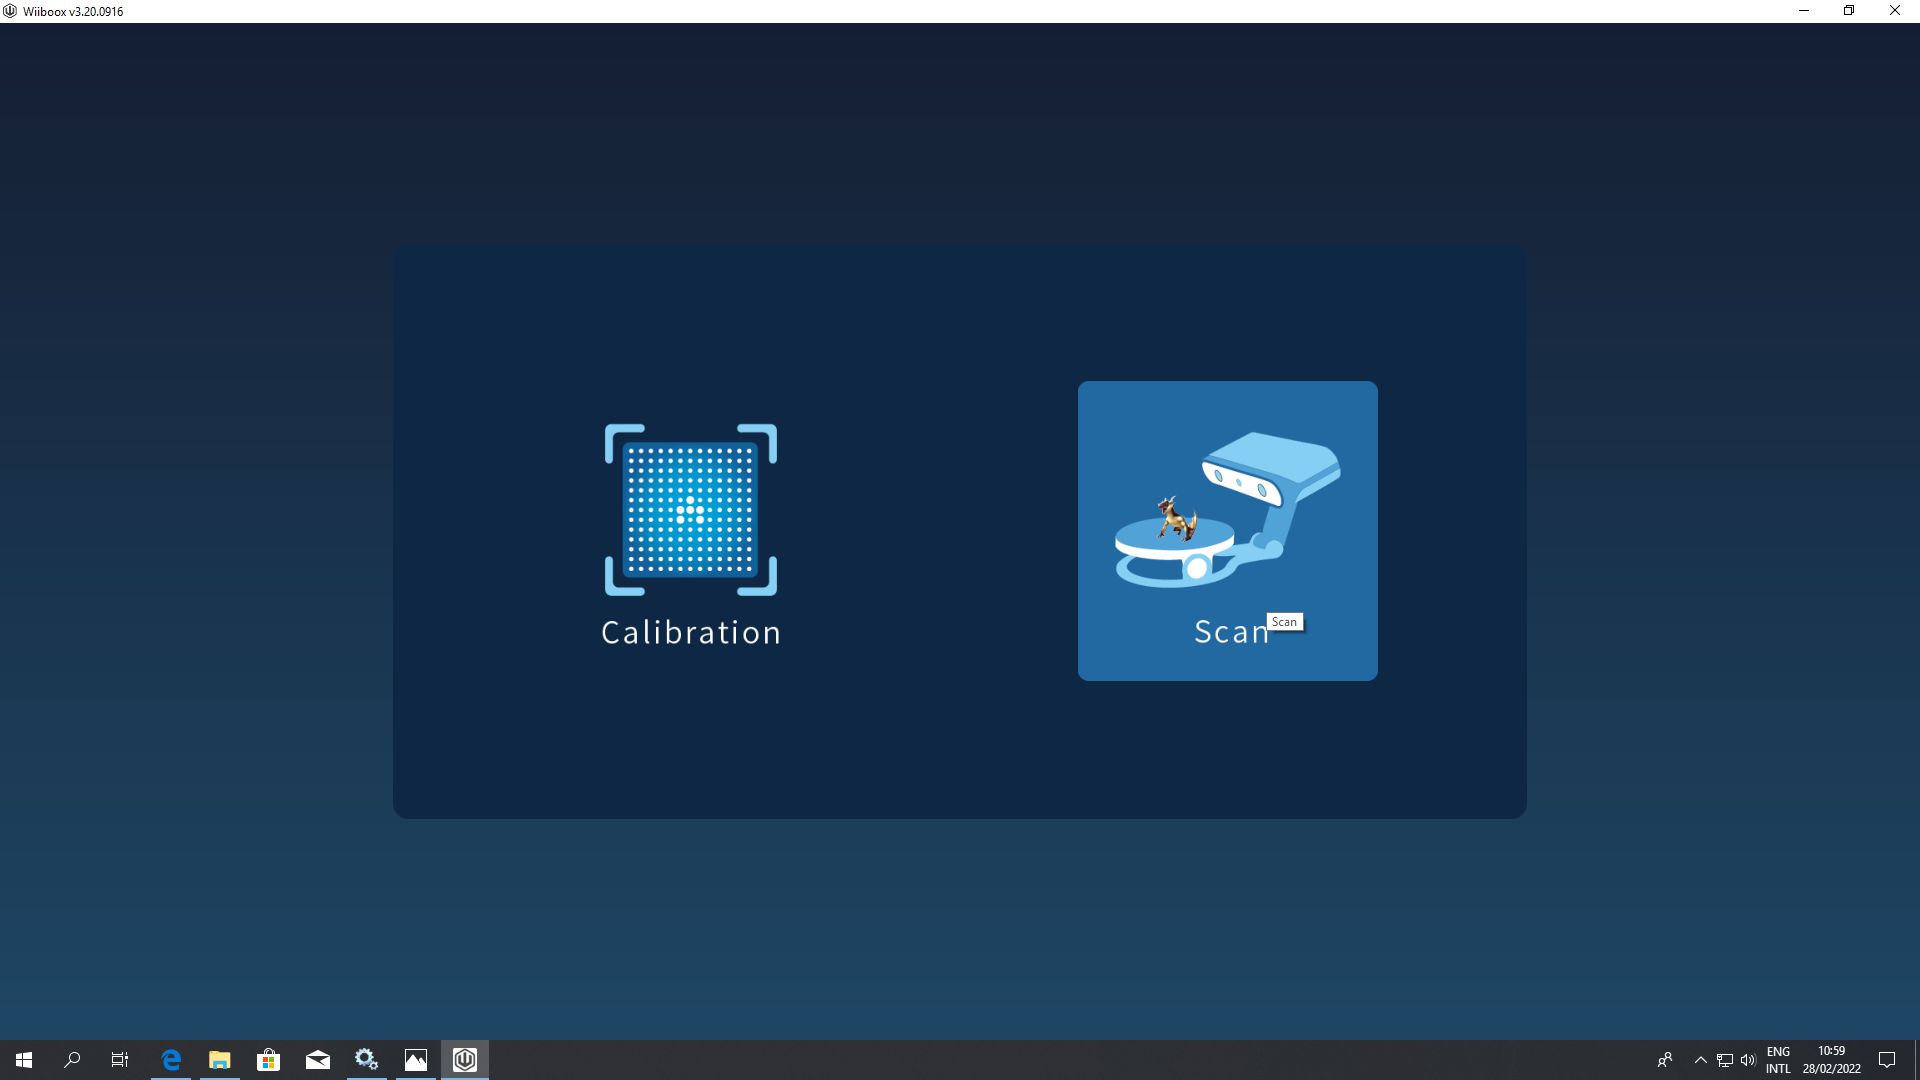
Open the software, choose scan.
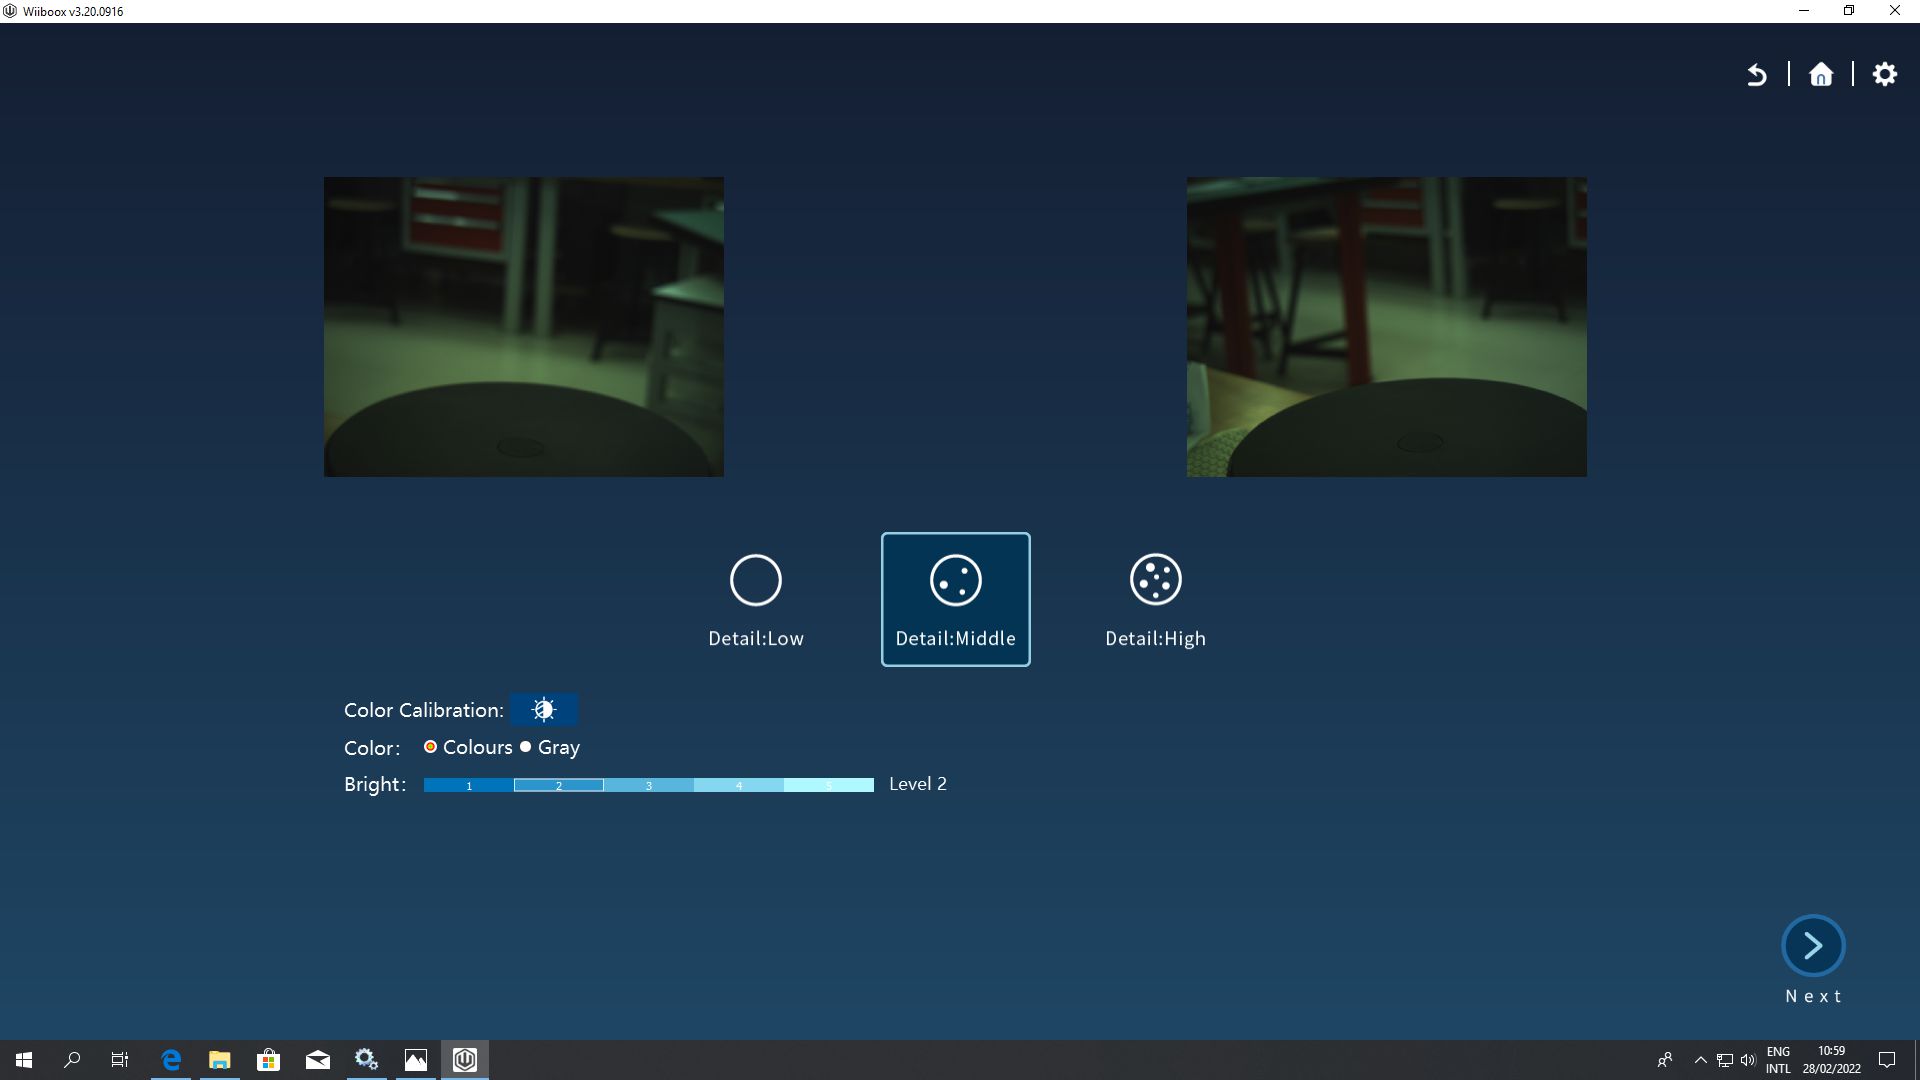
Select desired detail mode, color or grayscale and brightness. when you hit next the scan will commence
When the scan finish, click "Finished" to move to post processing.
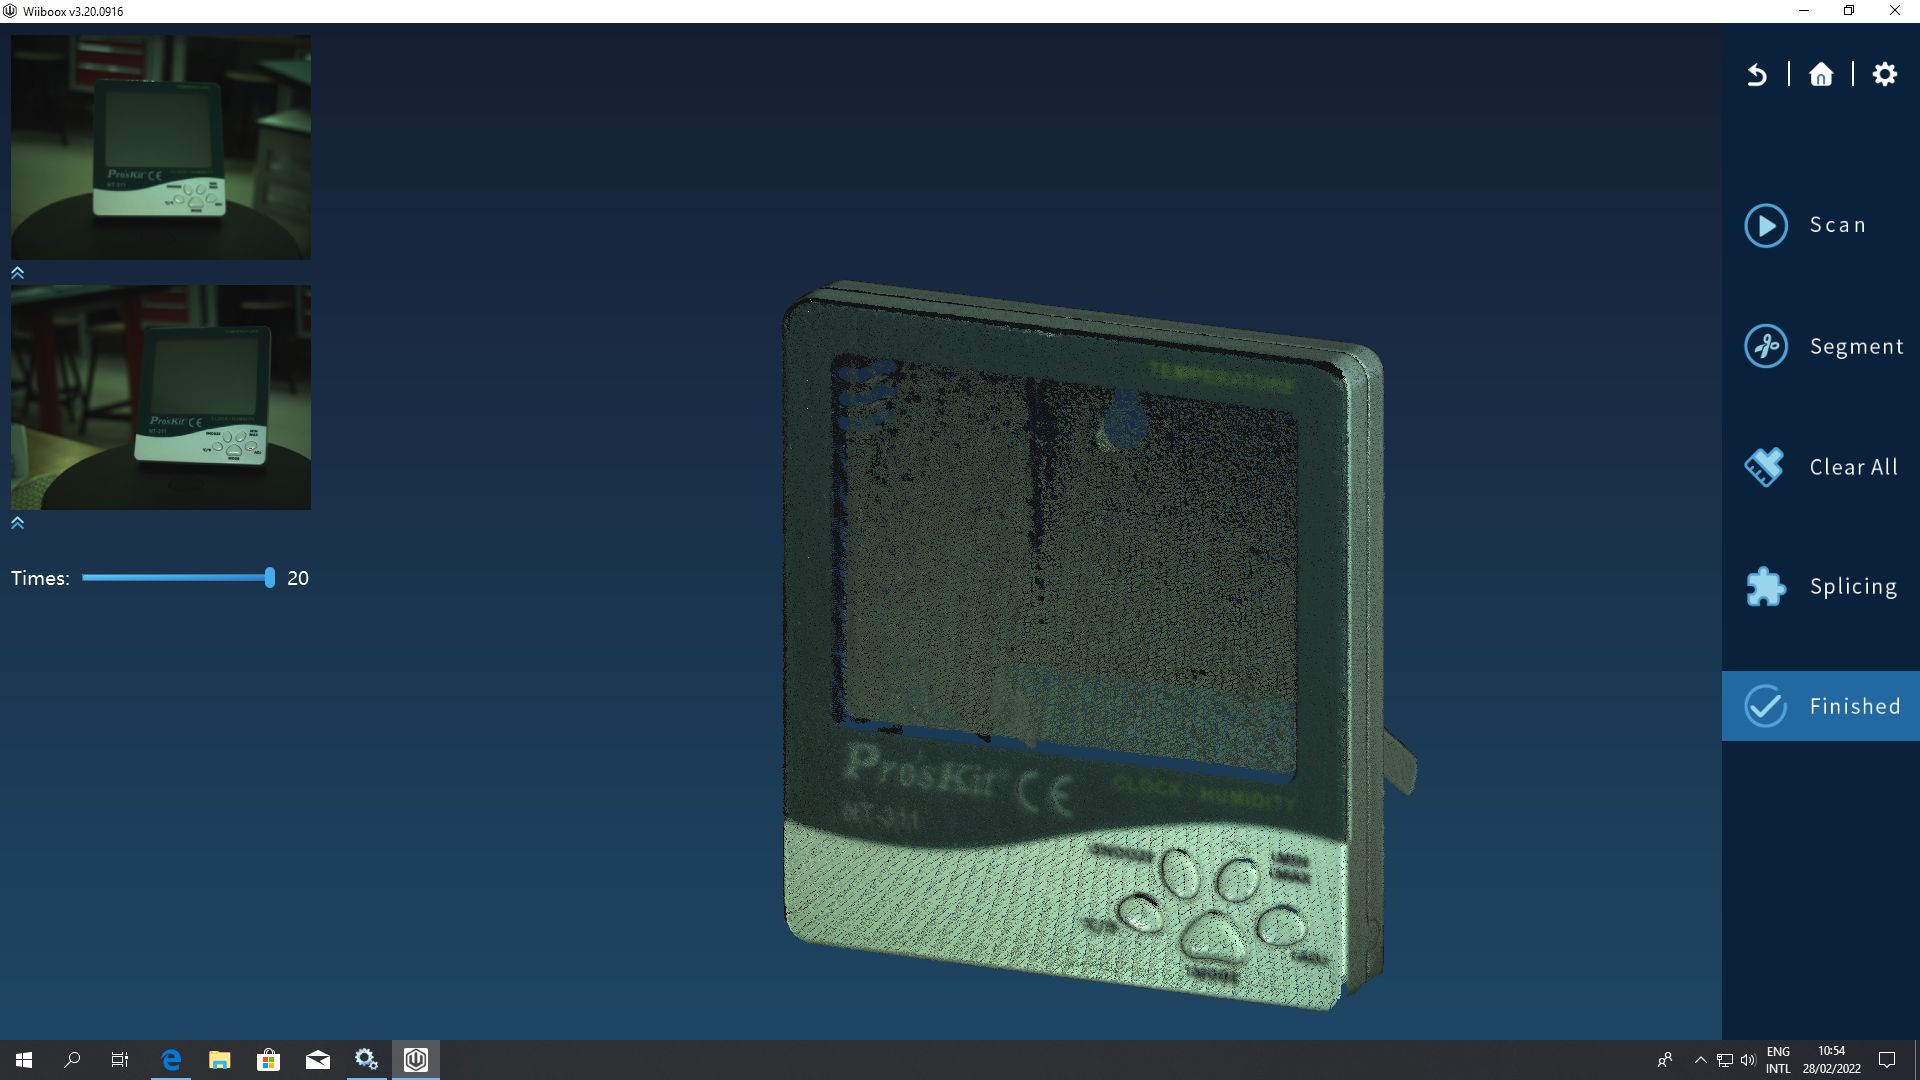
You can do some mesh editing and coloring in this screen, my object scanned well so I finished off and clicked "Reconstruct".

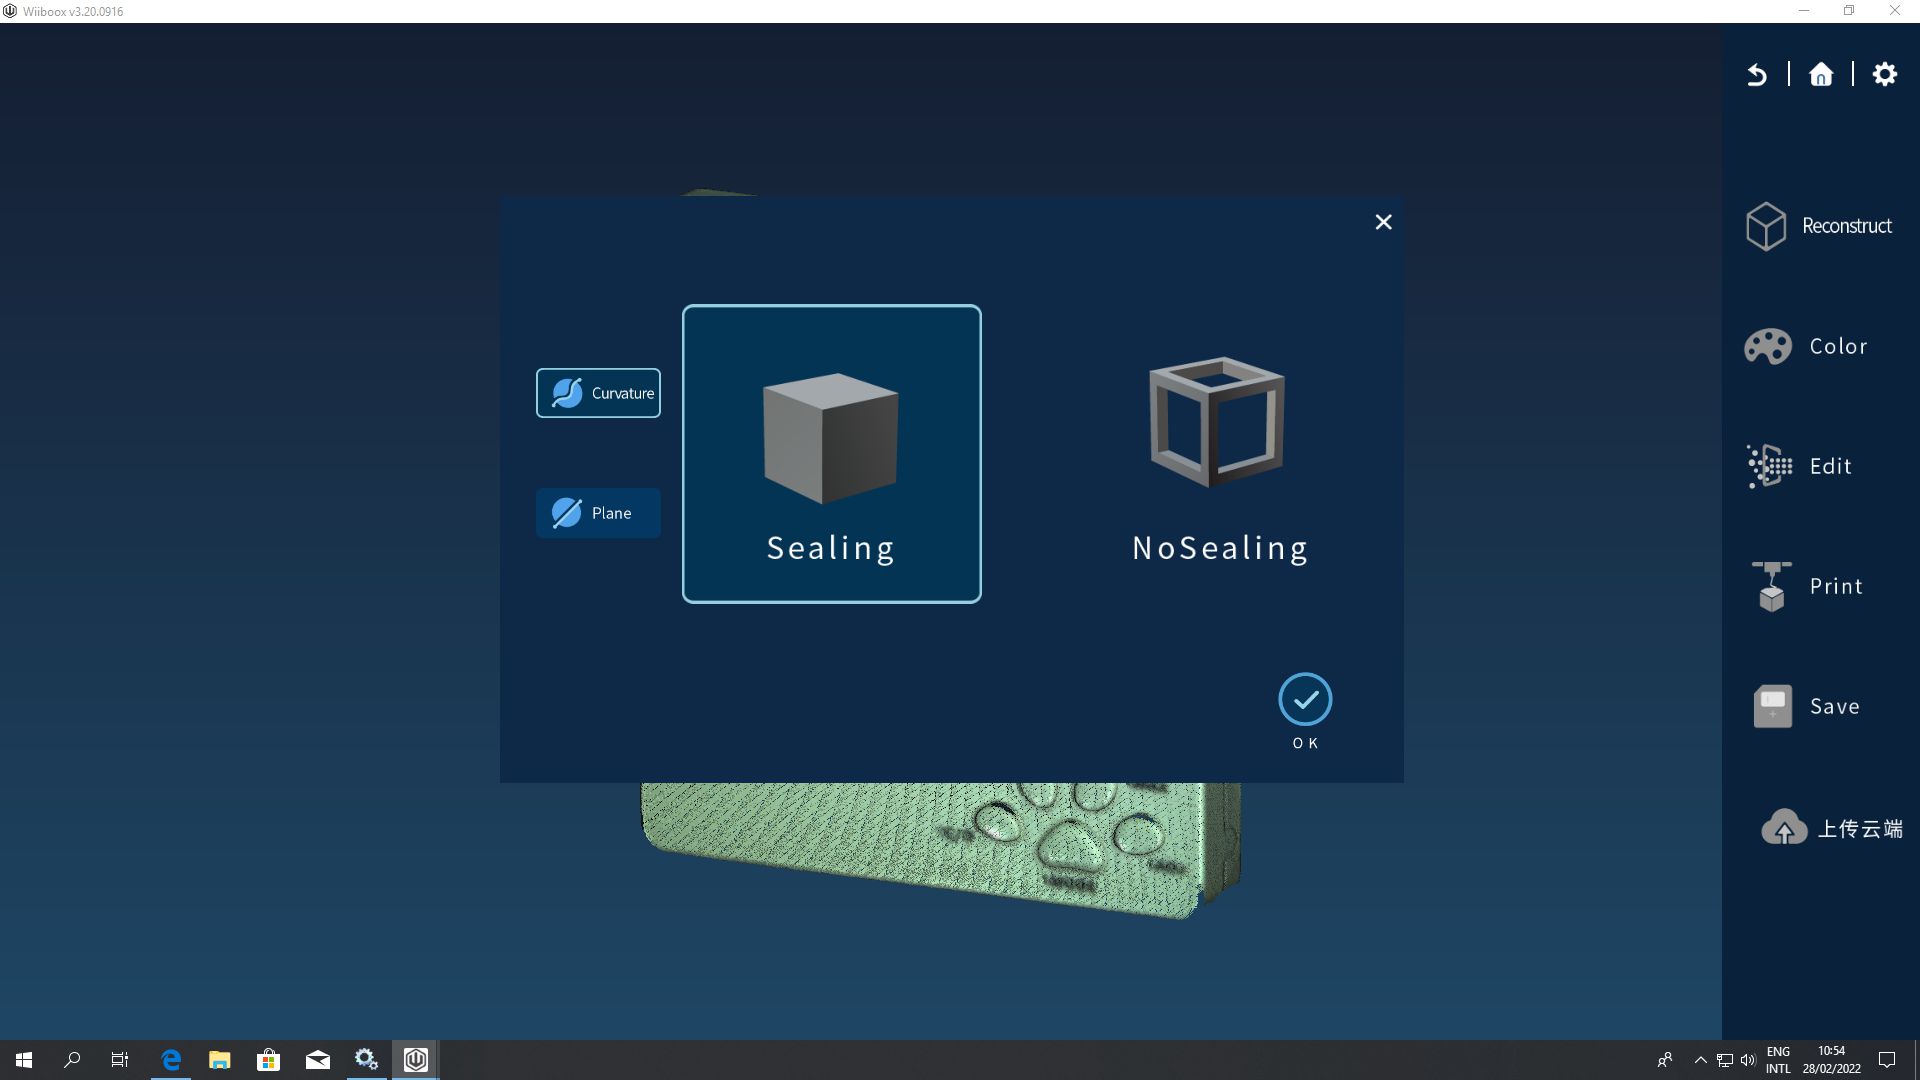
In reconstruction mode we have an option to fill the holes in the cloud points or to keep them as is and edit the mesh in a seperate software, I choosen the "Sealing" option to close the model's mesh.
When the process is done, the mesh points are connected.
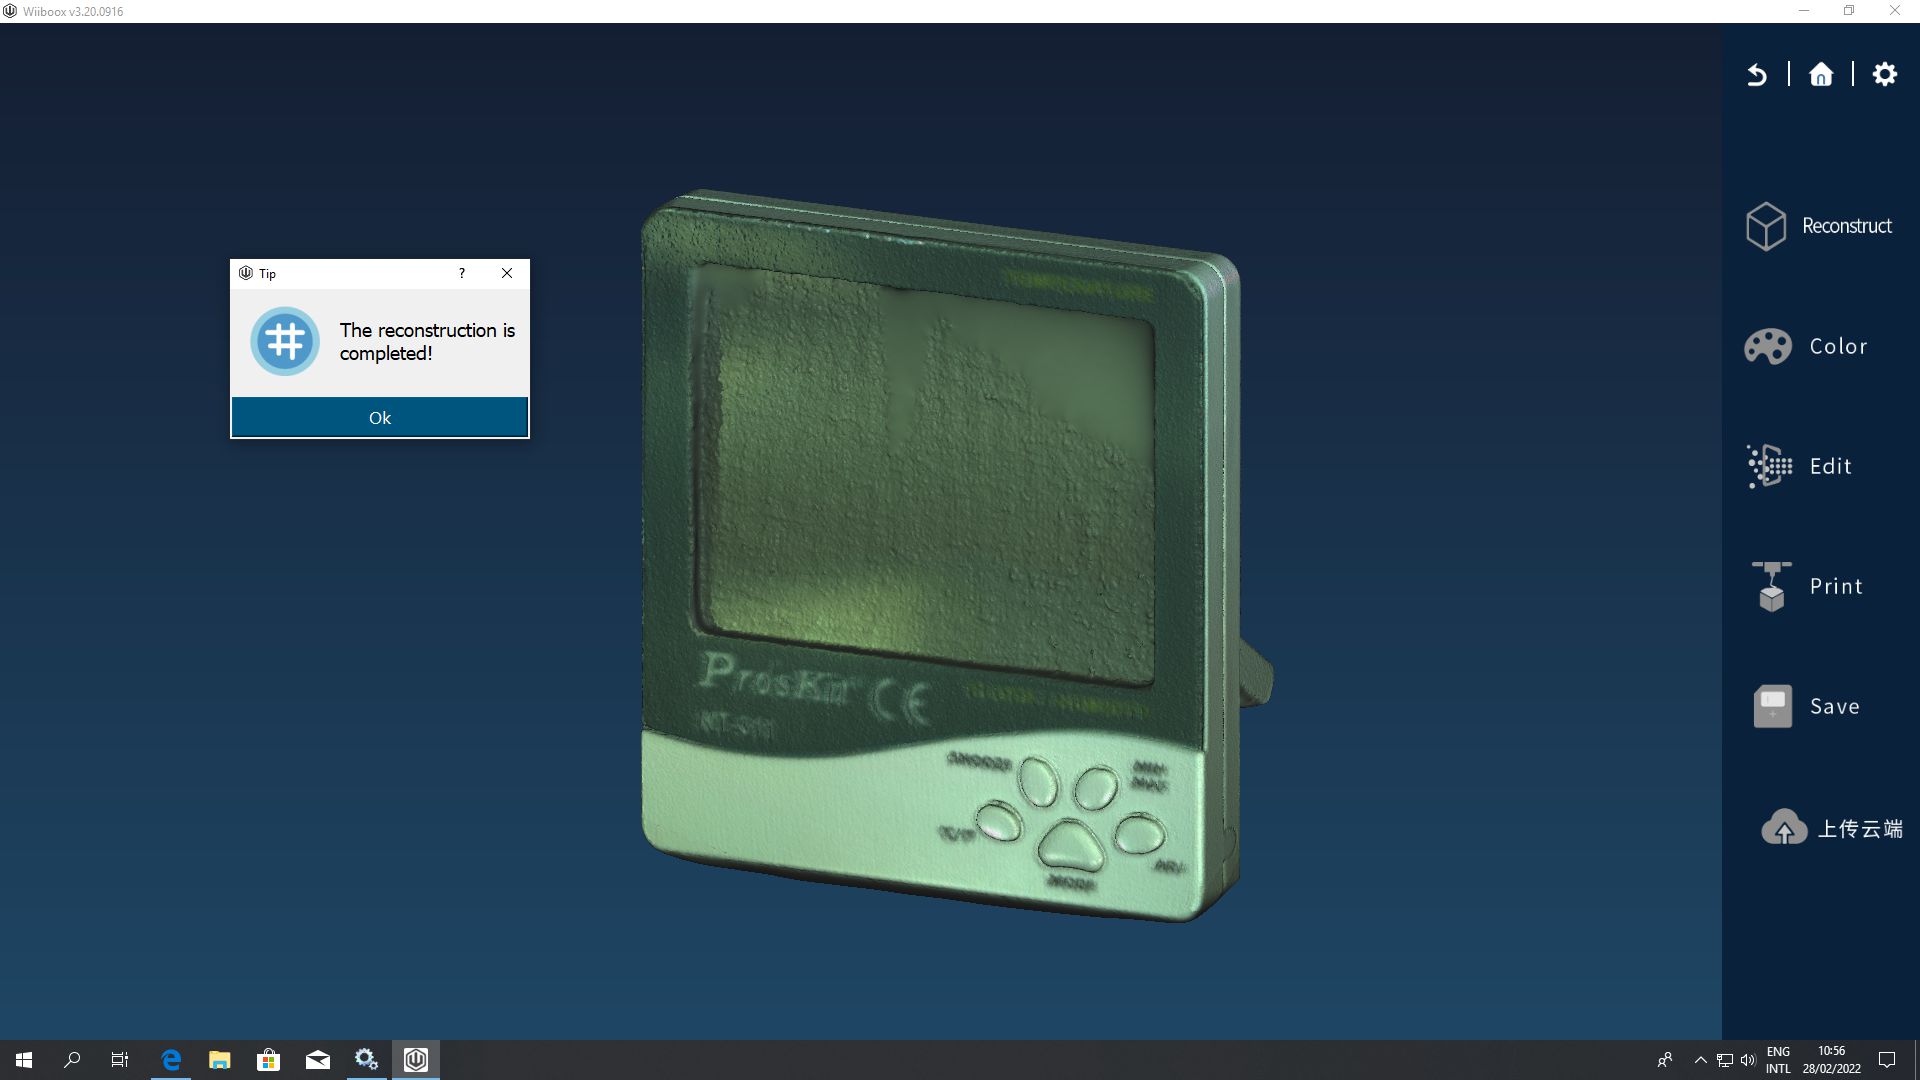
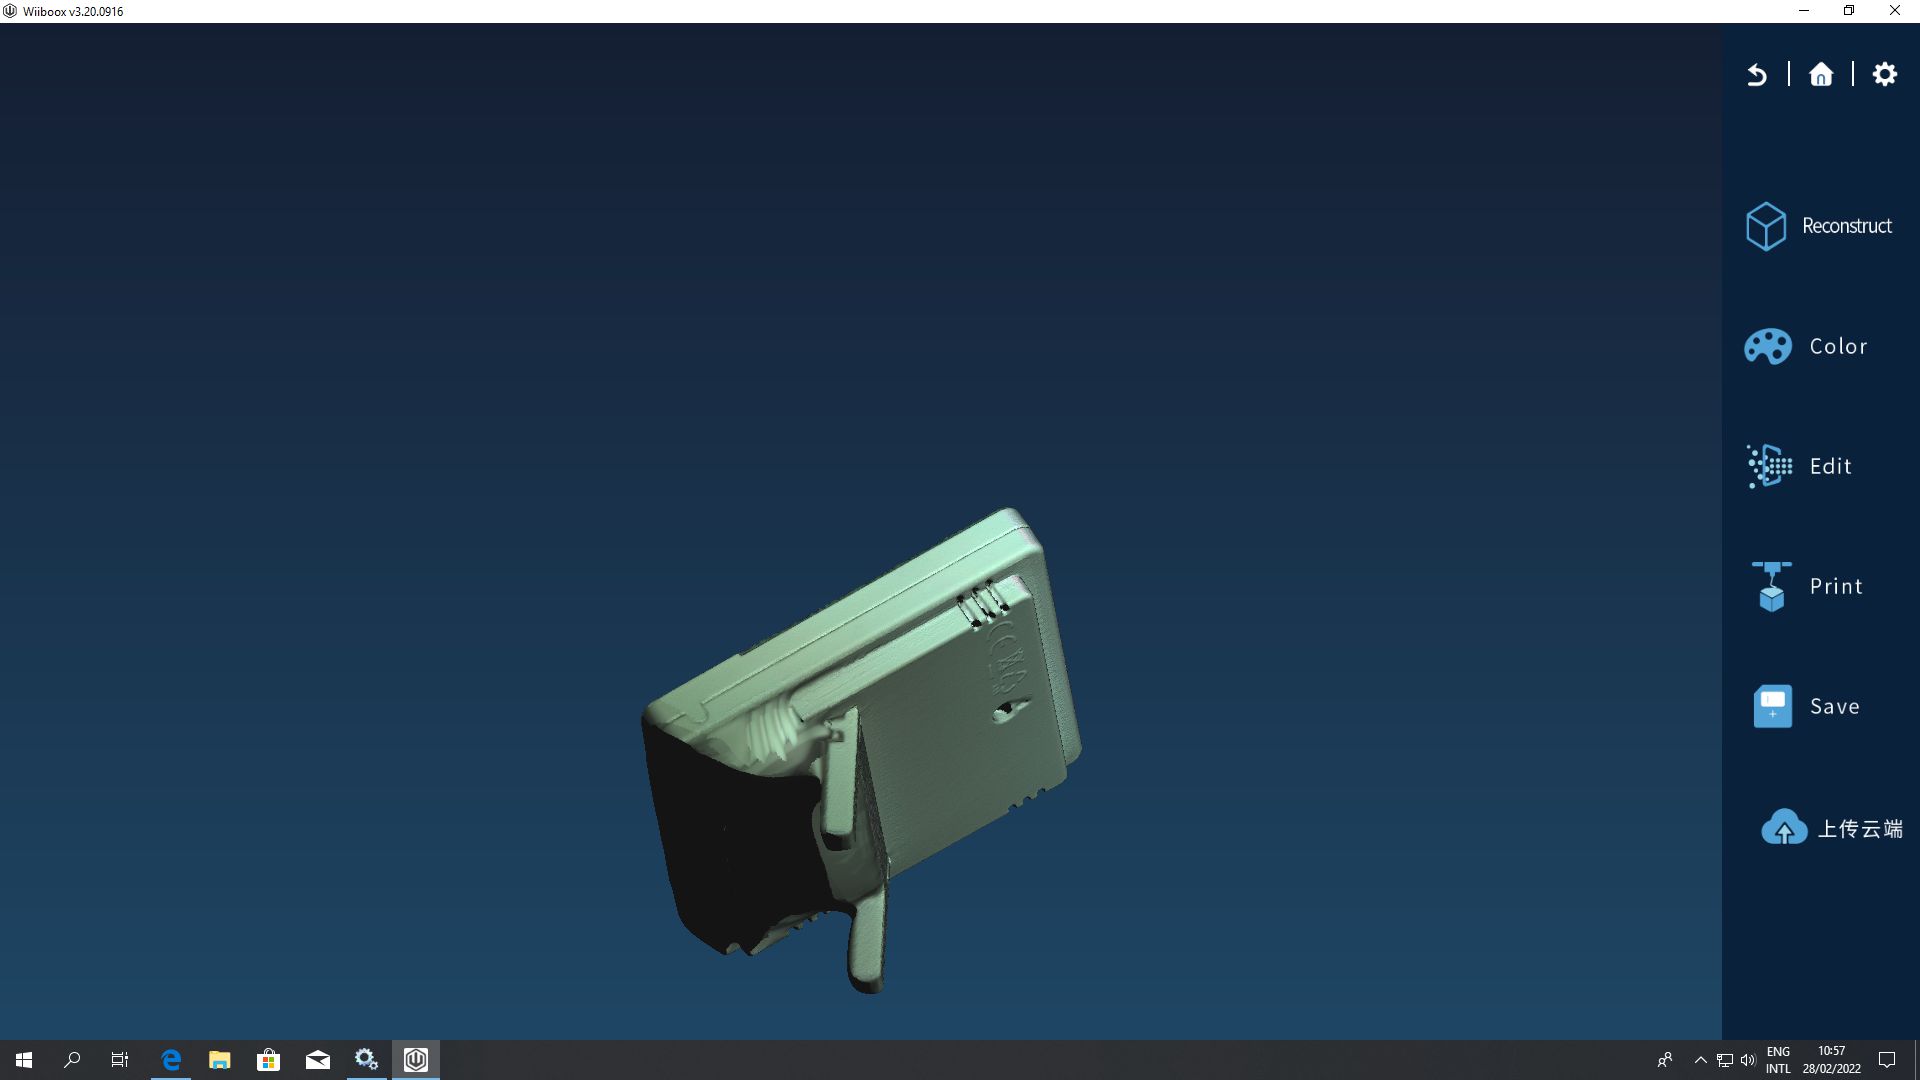
The software isn't perfect and it filled some areas between the bottom of the thermometer and the stand.
Despite its simple geometry, the color scanning of the thermometer produced a large file and converting it into stl in Meshlab can crash my PC, so I repeated the same process with a shoe insole in Gray color mode

The next step which is the final step for the individual assignement is to convert the cloud data to STL, since the scanned object have no holes I simply load it in Meshlab and export it as STL.