Computer aided design
CorelDRAW 2020  & Gimp
For 2D drawing out lab is equipped with a Ronald VersaStudio bn-20 vinyl printer/cutter, the software of choice we use is CorelDraw which is capable of scalable vector graphics.
CorelDRAW is a vector drawing applications which uses mathematical equation to determine how to render the picture, normal digital pictures taken by a camera store their data in the form of an array of pixels with each pixel holding its own color values, while this is a simple operation that is light on CPU, it does mean that the resolution will always be limited. comparatively vector graphics have no resolution limit but rendering the image can take more CPU utilization.
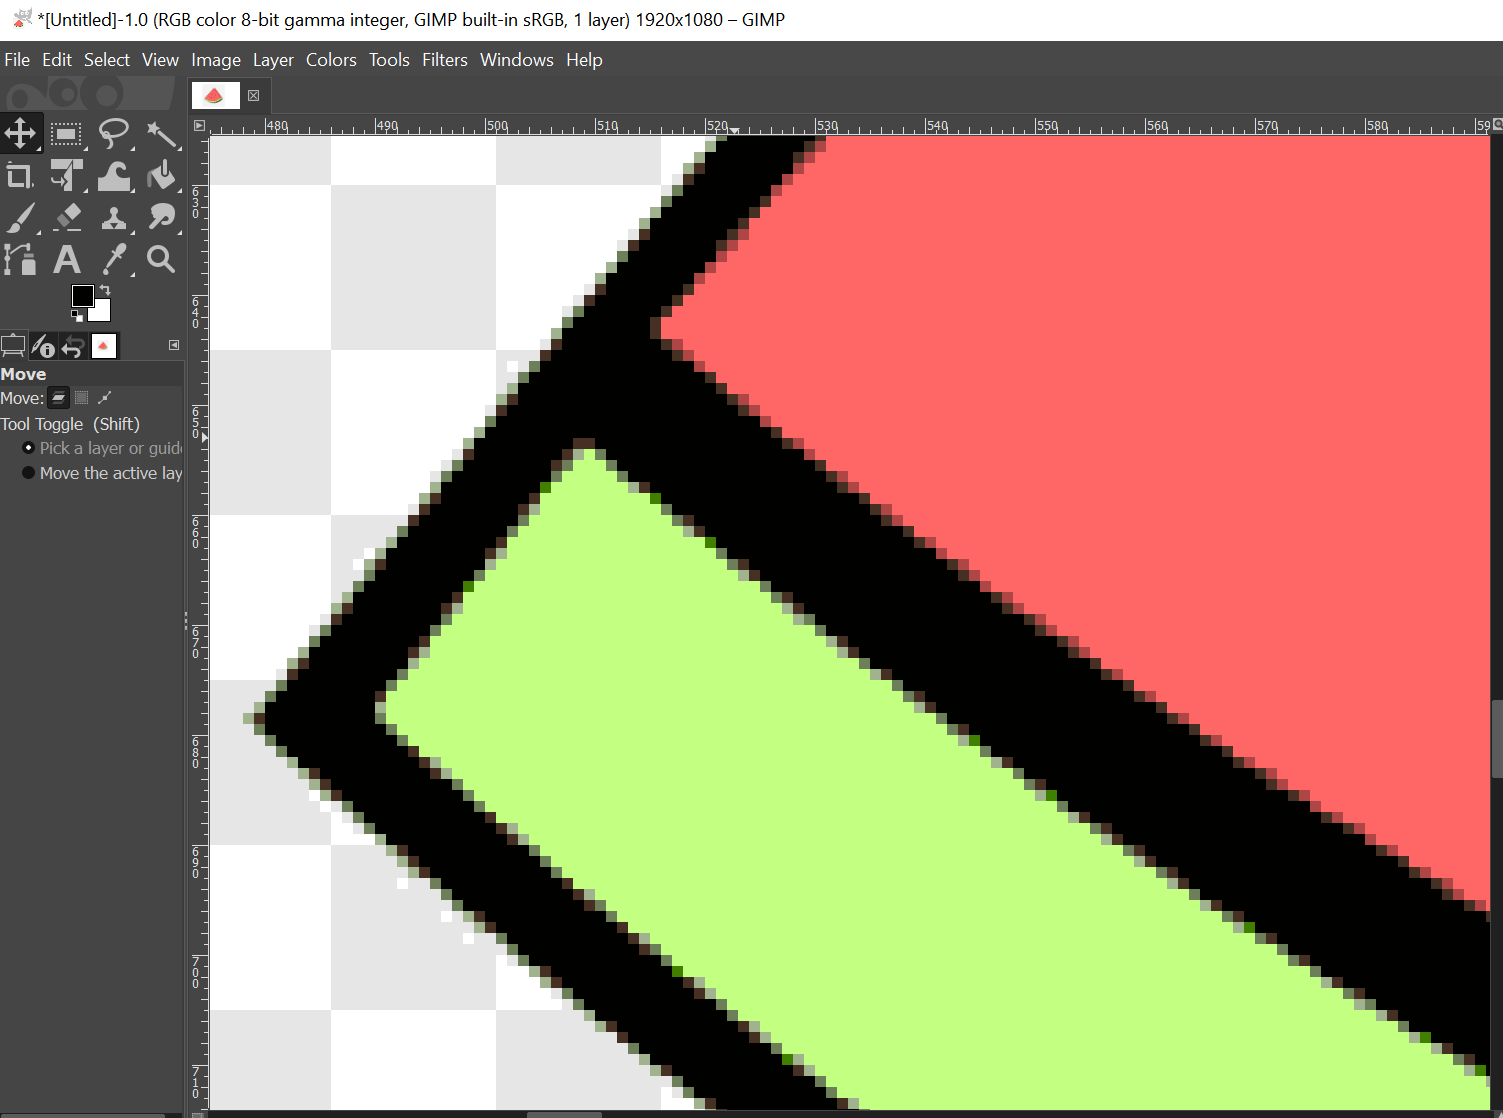
Raster graphics with the software Gimp, notice how when the image is zoomed in we can see the individual pixels.
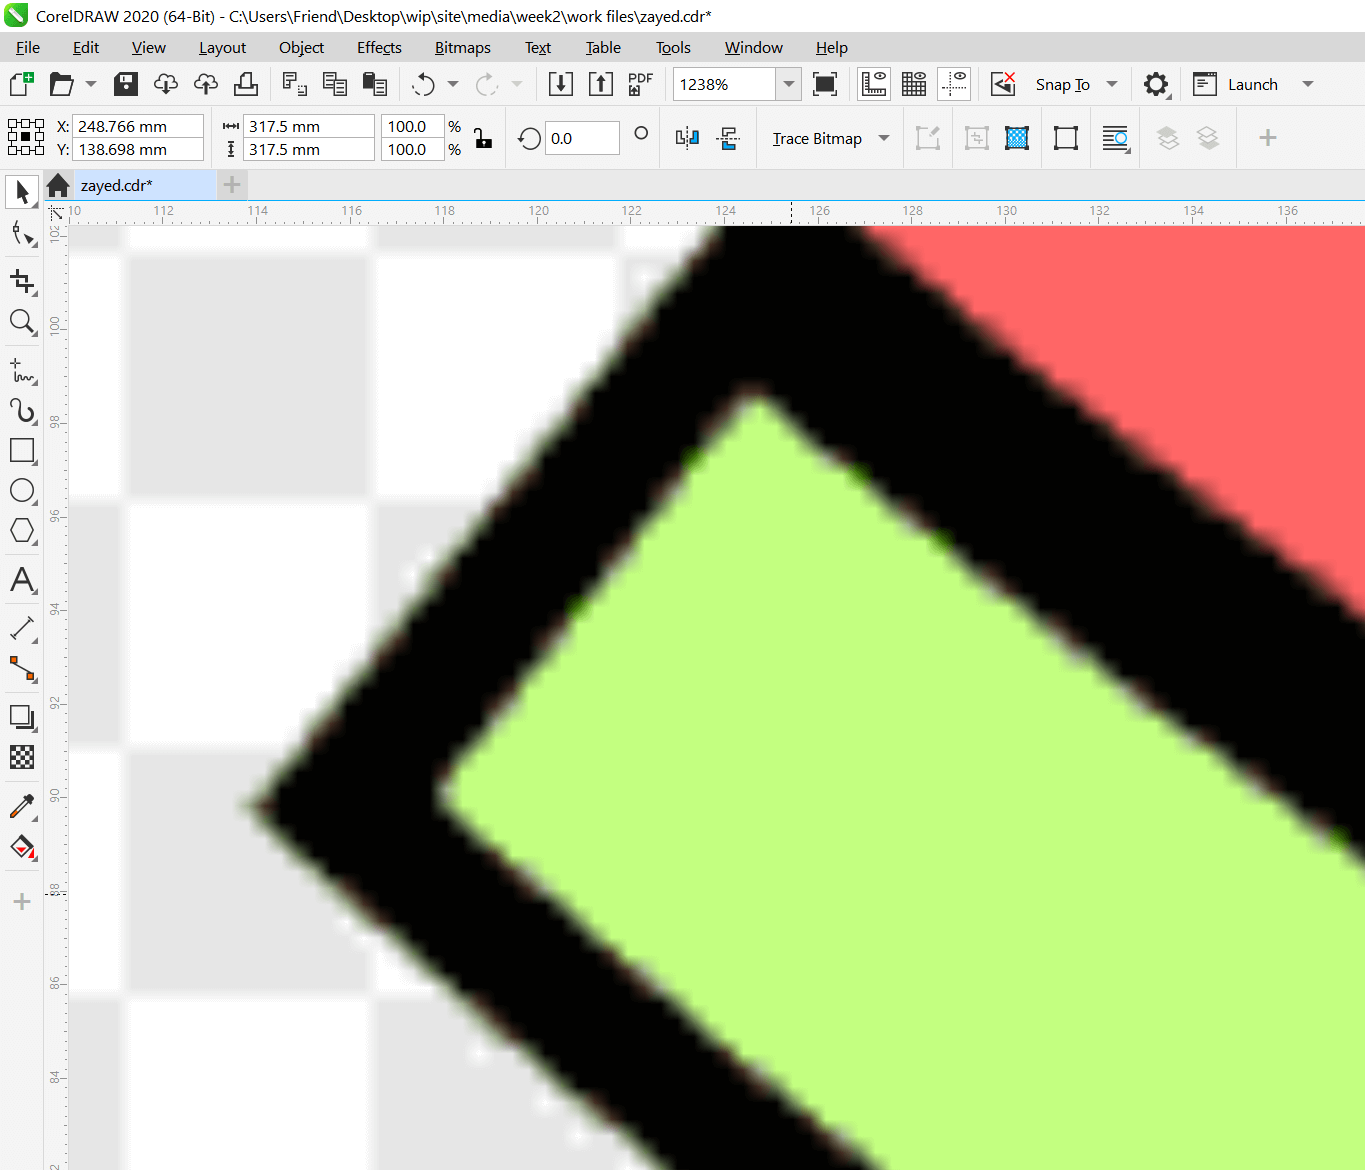
Importing the image into CorelDRAW the pixel can still be seen when zoomed in.
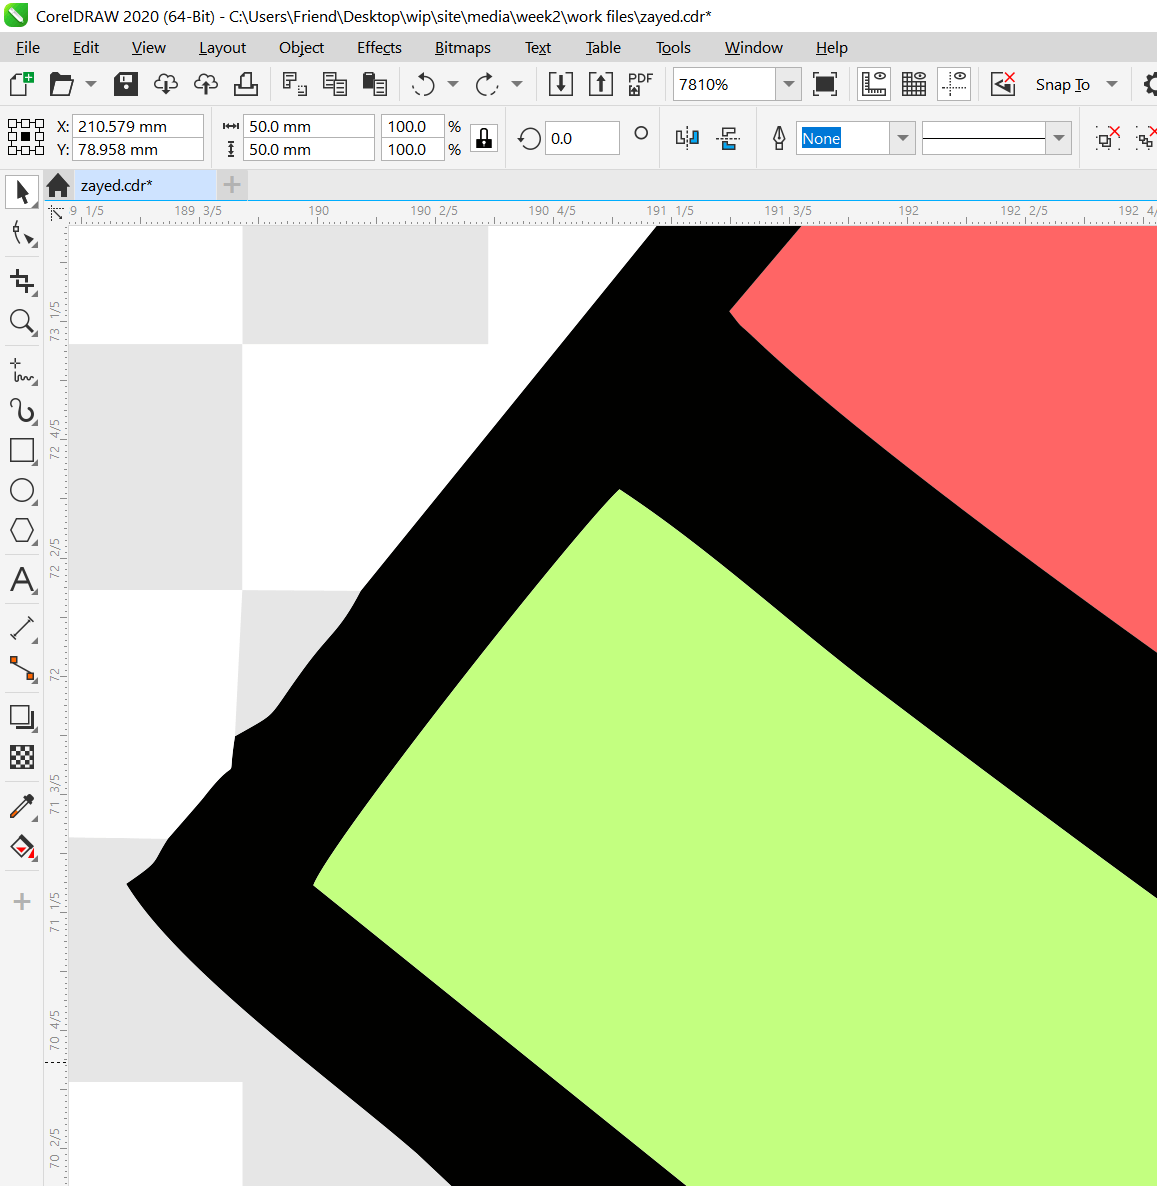
However, CorelDRAW does allow us to convert a raster image into a vector graph thus there are no more pixels visible when zoomed in.
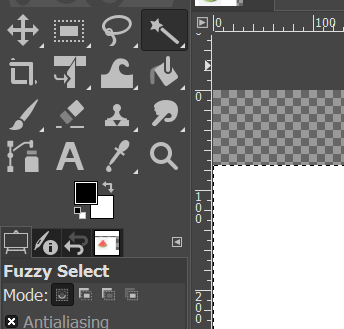
I will start by going over how to extract an image in Gimp to prepare for printing by removing the background, we start by importing the image into Gimp.

Choose the Fuzzy Select tool from the list on the left side. click and drag over the background and it should put a selection border.
on the right layer view, right click on the active layer and select Add Alpha Channel
.png)
Now delete the selected background.

Printing and cutting in CorelDRAW
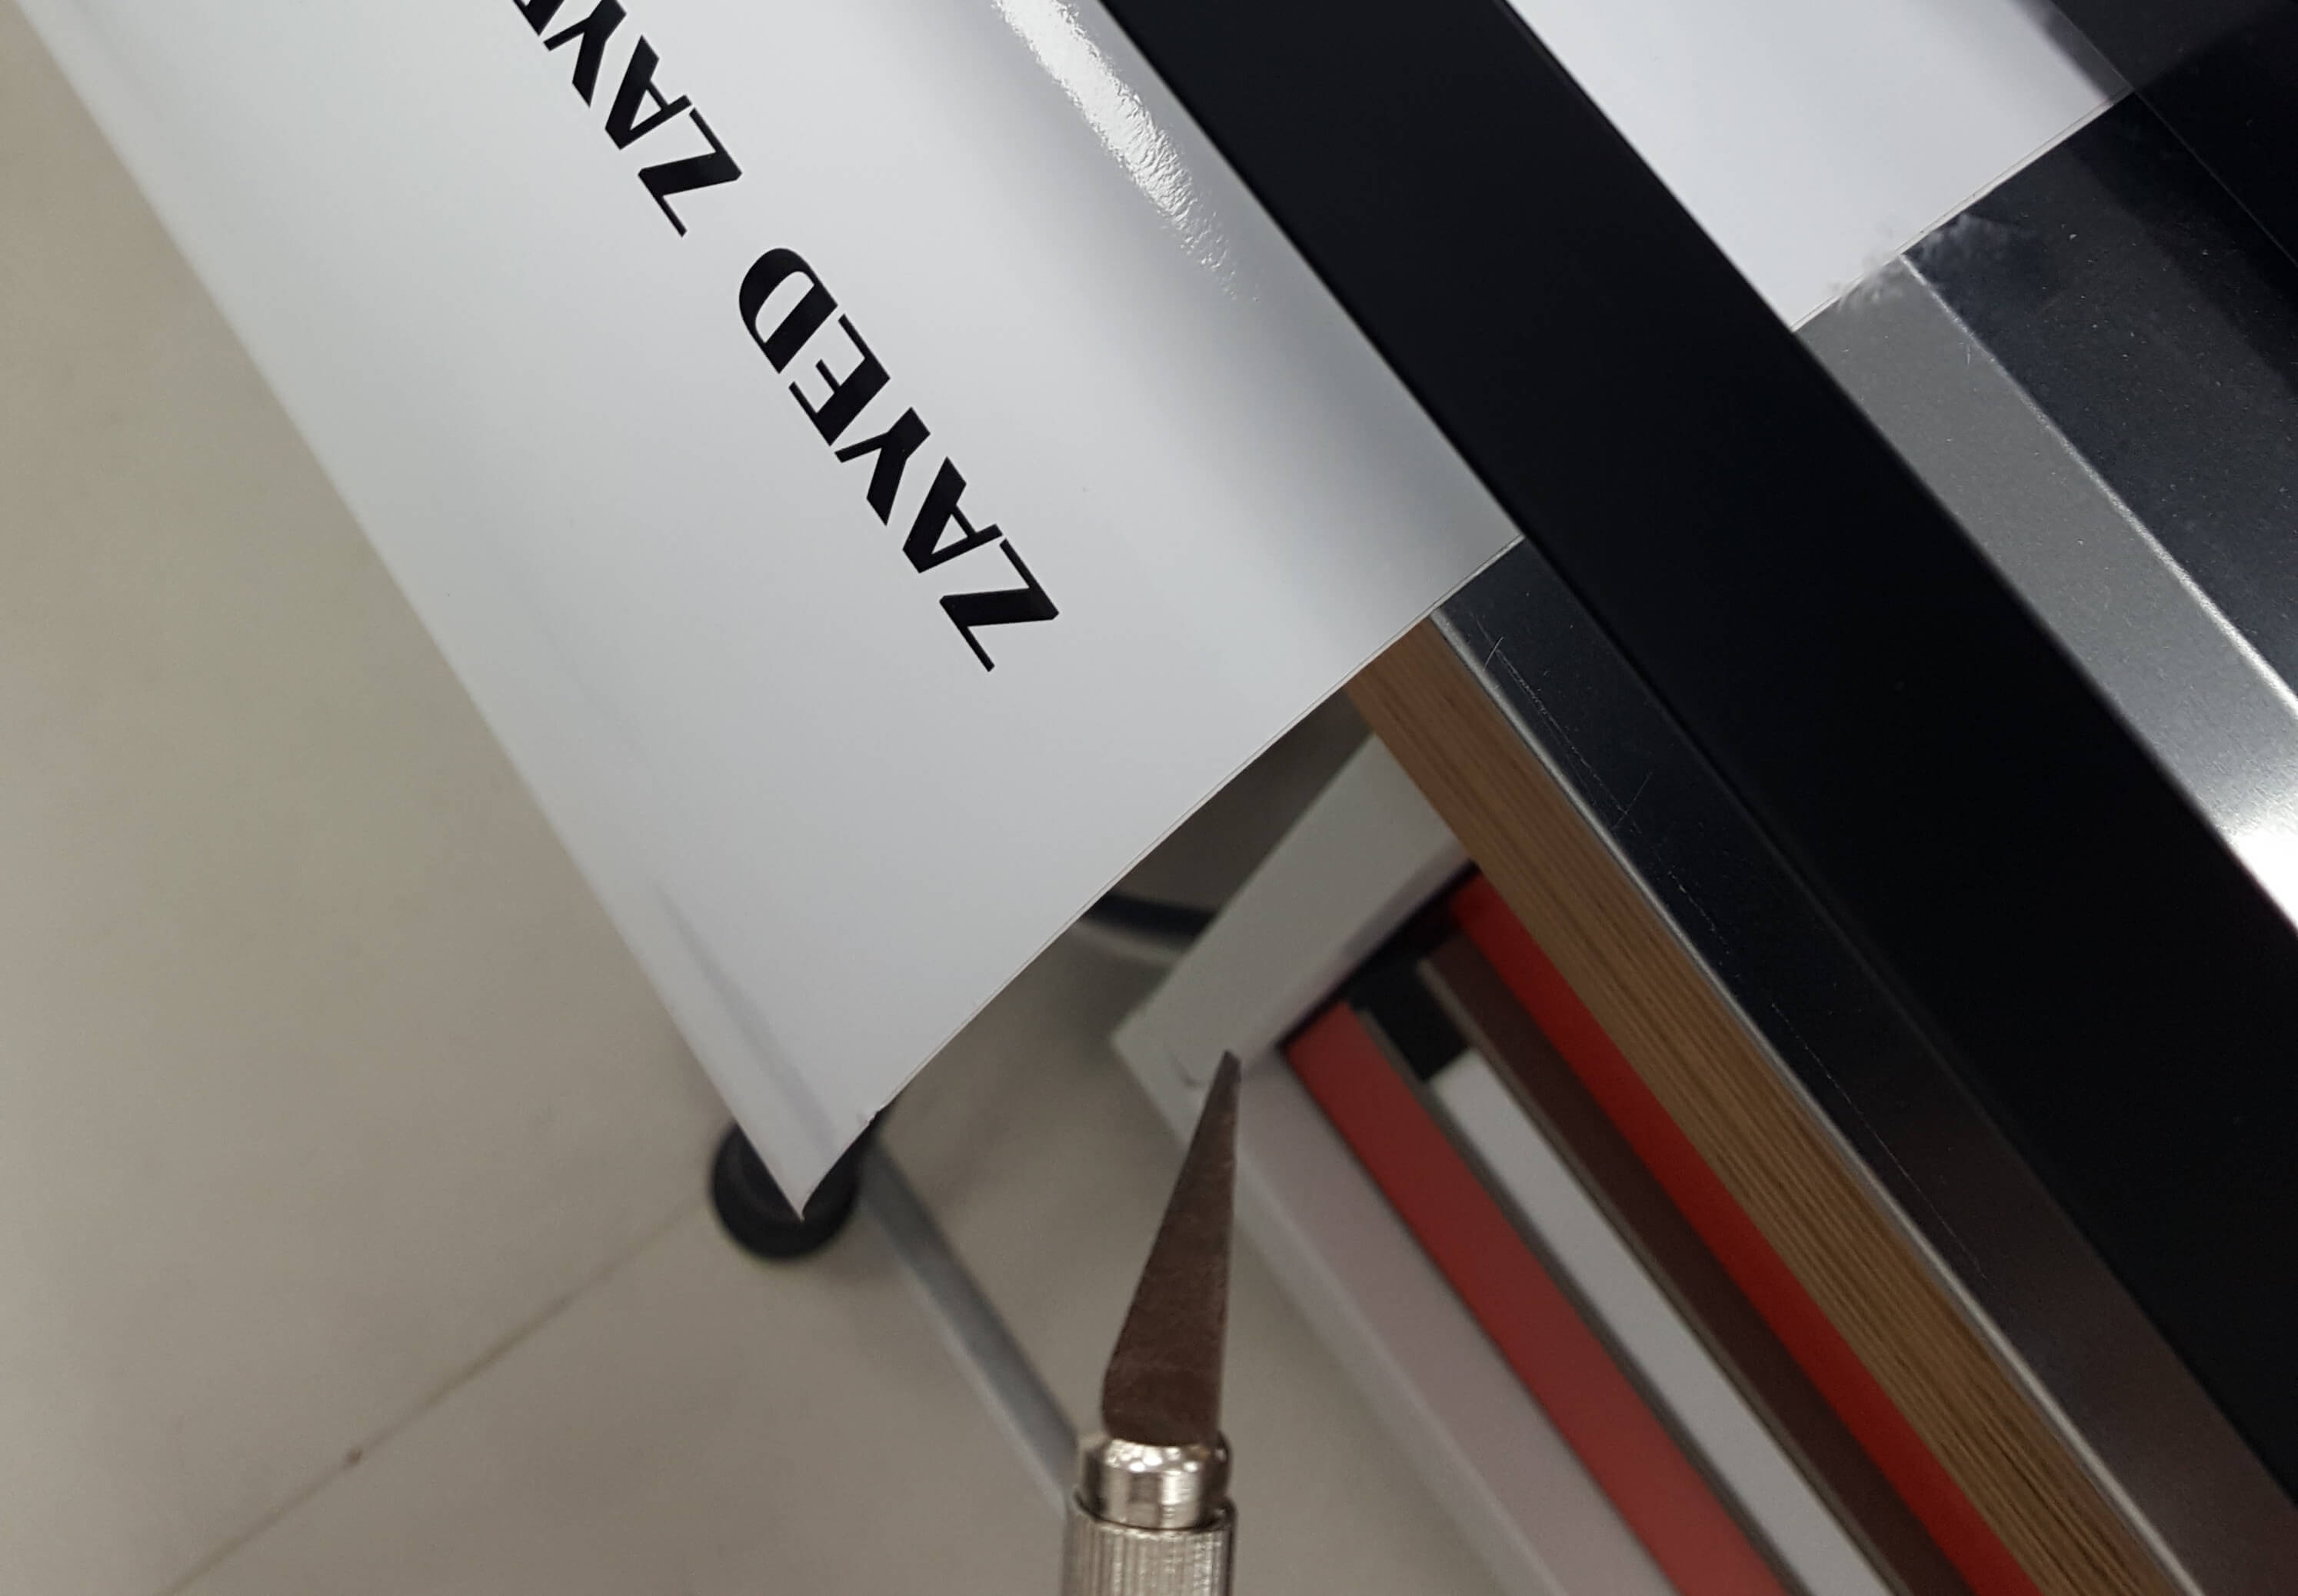
I'll go over editing and cutting a basic text string, the word I choose is the name Zayed.
First I type the text and format it in the desired way I want to prepare it for cutting, the VersaStudio machine knows which contour to cut from the document by looking for a specific grade of magenta, this color can be used to outline the zone we want to the machine to cut in out file.
From the shaping tools we add an outline to the text.
.png)
After the outline is created I nudged it away from the original text to ease further editing, the most useful way for moving it precisely to adjust the nudge/snap amount, I changed it from 0.1mm to 10mm, using the arrow keys I moved it away, the benifit of this method is that after editing the outline and preparing it for cutting I can simply return it its origin point over the text with one key stroke.
.png)
Create a contour over the outline.
.png)
From the right click menu Break Contour Apart.
.png)
as we will be using the contour to define our final cut lines we can now delete the outline, now we can clean the contour using the shape tool.
.png)
With the shape tool selected we can edit the curves, we can delete the points inside as there is no need to cut them.
.png)
We can further simplify the shape by transforming some of the edges into straight lines, this will aid in extracting the cut shape from the vinyl later.
.png)
Now we change the contour color to the magenta grade used by the VersaSTUDIO.

.png)
the final step in corelDRAW is to export the file as a PDF for use with VersaStudio, once imported into the VersaStudio printer software, we go to settings and make sure it is set to print and cut

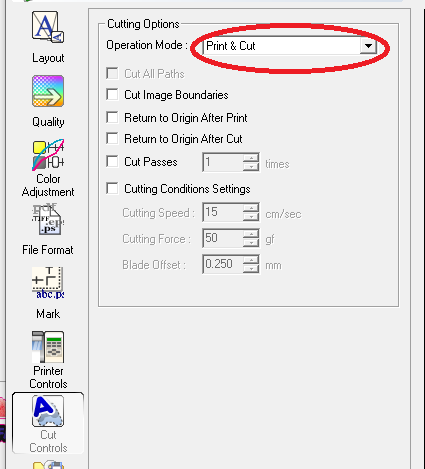
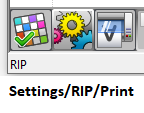
Then we can inspect the print preview before we get the software to RIP the file
Once ripped we can proceed with printing the file.
Printing on the Roland VersaSTUDIO BN-20
The VersaWORKS BN-20 is advertised as a sign maker and vinyl printer capable of printing stickers and vinyl cutouts that can be heat pressed onto clothes. to operate the machine there are no special safety requirements.

The printer parts are listed in the printer's manual
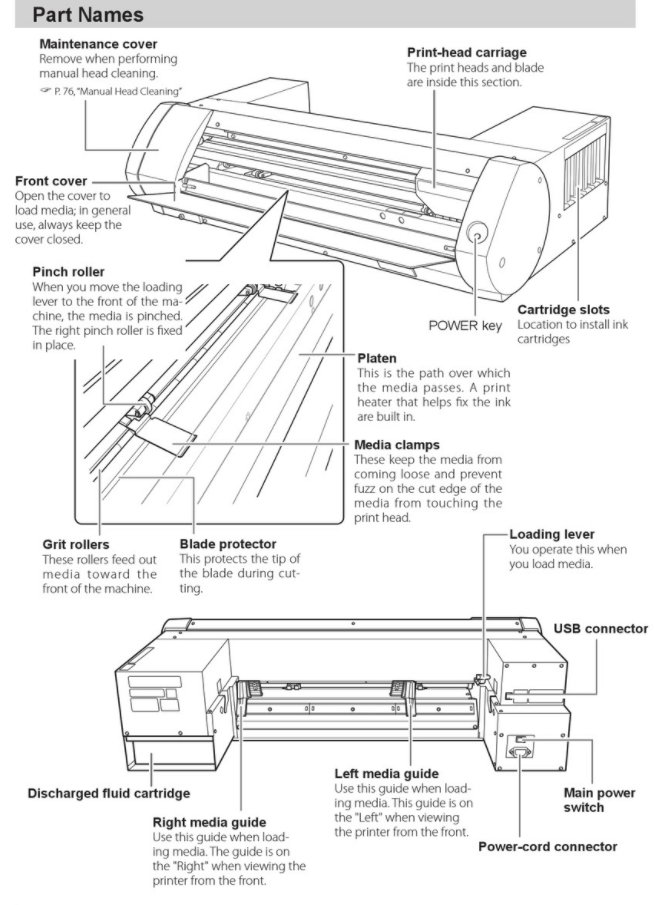
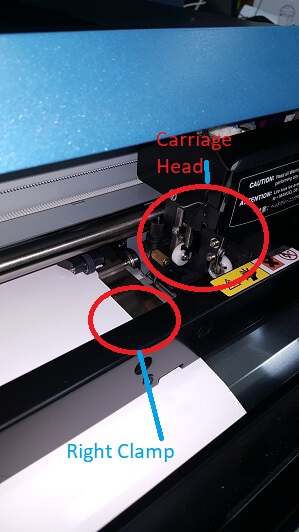
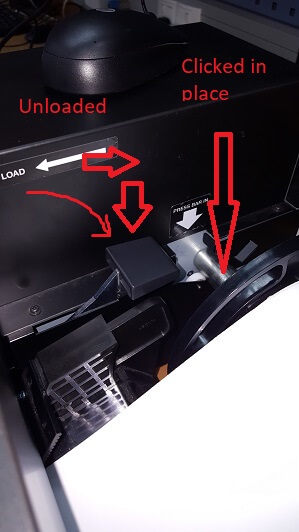
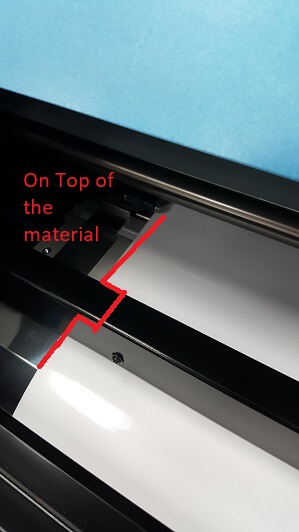
On the right front side we have the head carriage which have the printing head and the cutting blade, below it we have the right clamp which holds the material in place.
On the back left side we have the right clamp which can me moved when the roll is unloaded, we also have the loading lever which locks and unlock the clamps

The area where the roll sits must have roughly the same spacing from the left side and right side
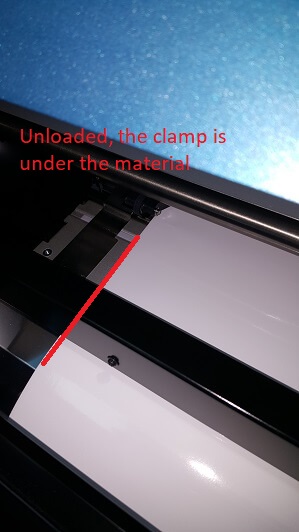
Here the material is not locked under the left clamp.
With the machine unloaded we move the left clamp from the handle near the loading leaver, make sure the clamp sits over the material.
With everything set we can begin printing
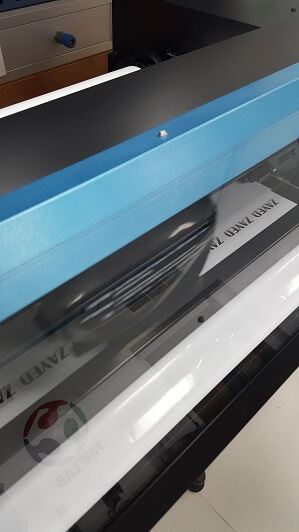
Once the print is finished, we cut the material out with a knife or scissors
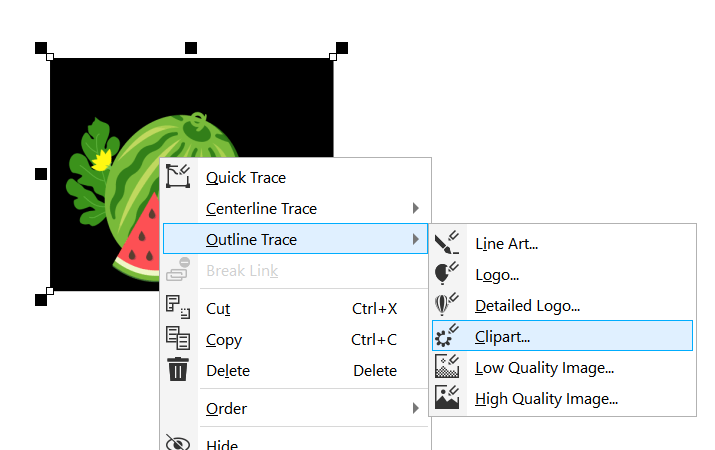
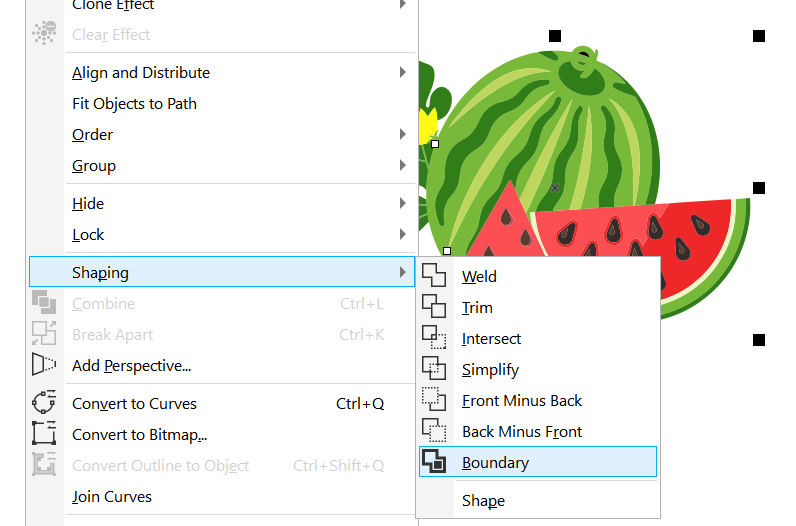
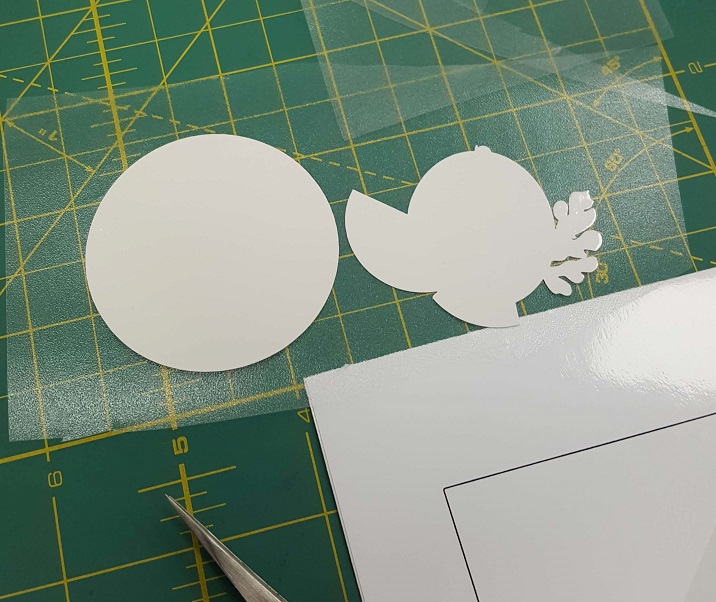
To do the same for pictures the process is similar except we have to trace the outlines first, drag the traced image away from the original, put a boundary around the image and have the boundary serve as the cut contour.
Trace Outline
Drag away.

Generate boundary
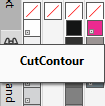
Make a cut contour
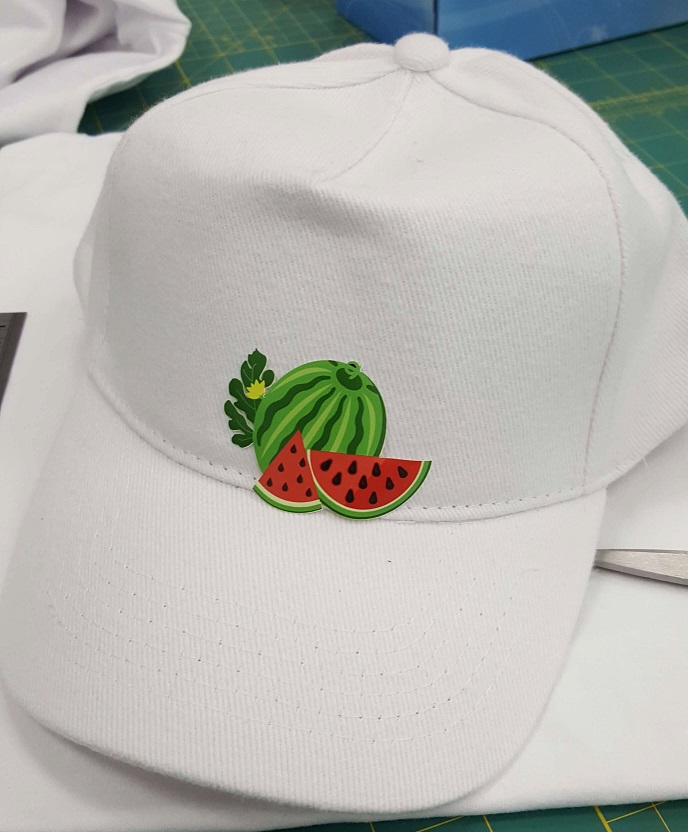
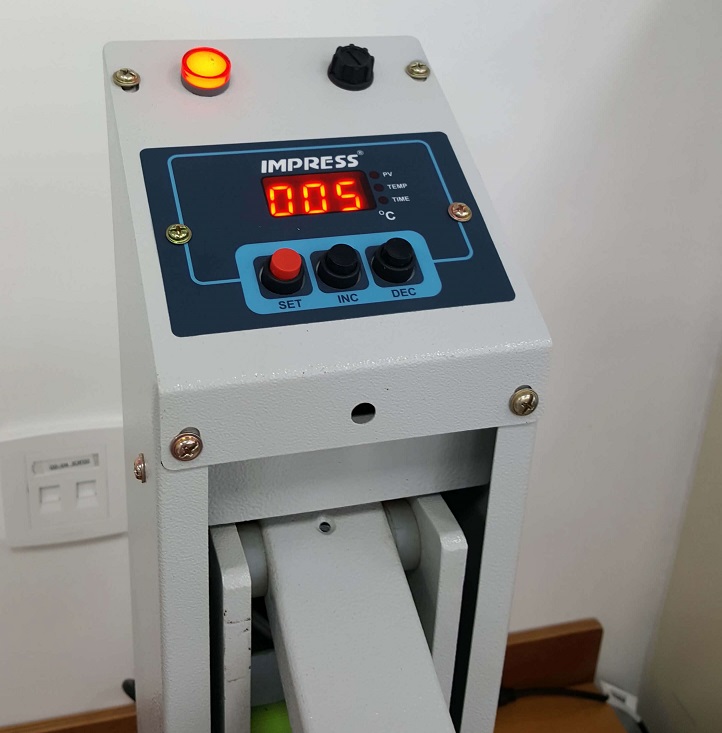
I choose to print on vinyl that can be impressed on cloth, I decided to stick it on a hat so I warmed up the hat impress machine.

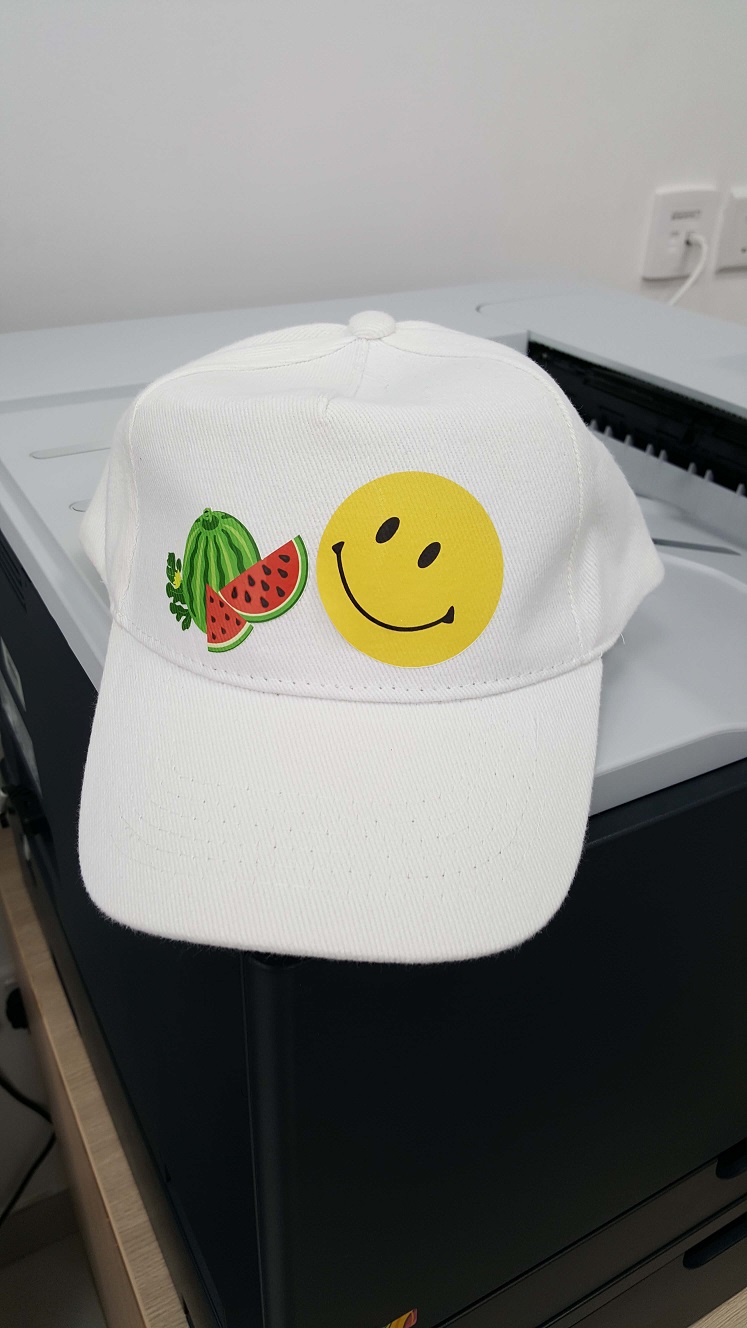
Once Printing is done I harvested the watermelon.
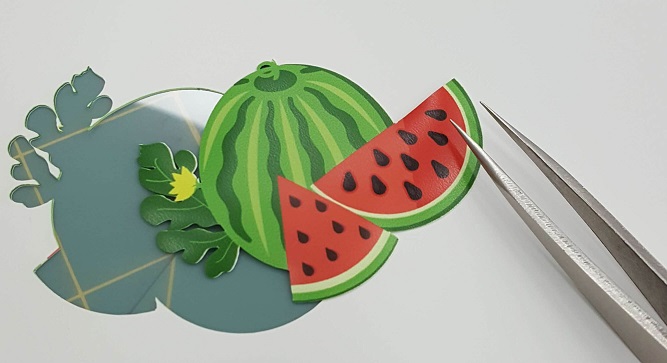
Looks nice but I need to hold it in place before heat pressing it.
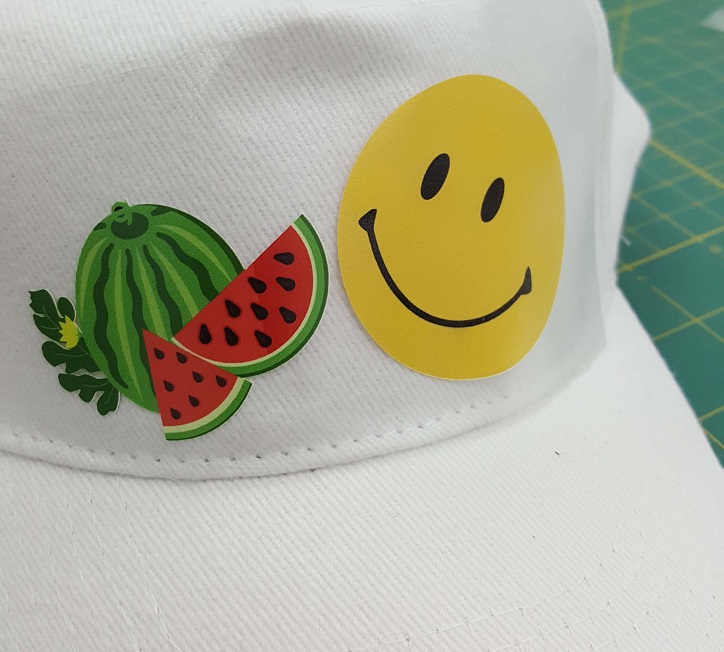
Using a roll of sticky tape, I stick the watermelon and another piece of vinyl
I put the hat on the machine and cover the vinyl with a cotton shirt to protect it from sticking to the hot plate of the machine.
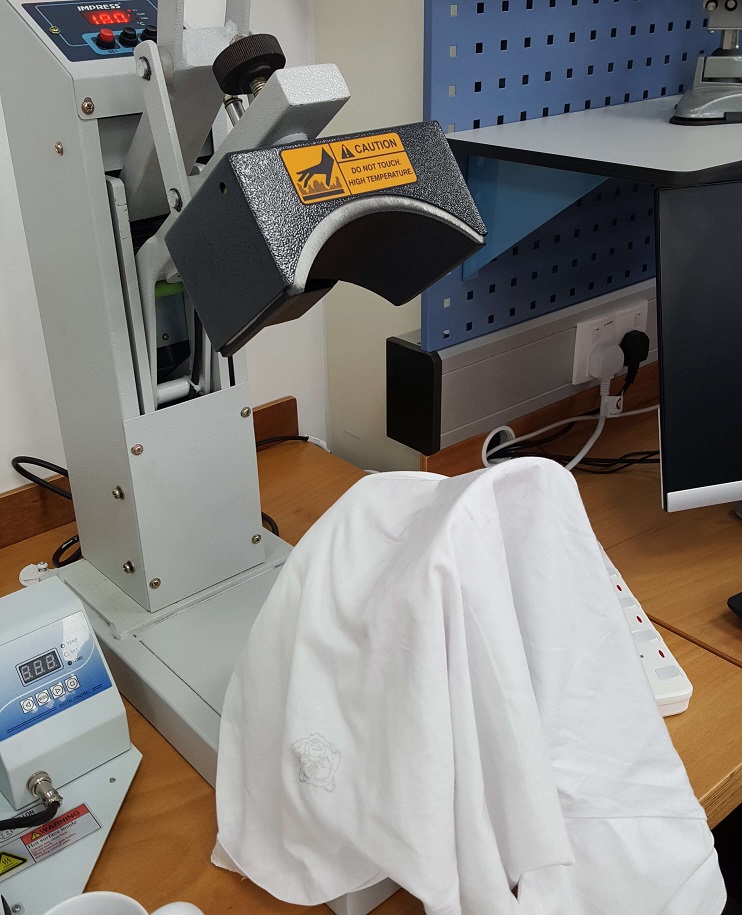
Press the machine fully down until it Clicks and wait for the timer, it's important to be present to depress the machine otherwise it can be a fire hazard
Once depressed, I slowly remove the sticky tape from the hat making sure not to pull the vinyl with it.

Write paragraph here

Put the hat back into the pressing machine once the sticky tape is removed, and once the second press is done we get a nice new hat.
Fusion360
The 3D part of this week's assignment is to use a CAD software to model and animate a potential final project, I started learning how to use Fusion 360 using video tutorials.
To make a basic 3d model first we need to make a 2d sketch of the parts, extrude the sketch of the part into a 3d model, post process the extruded part with shaping tools such as fillet and chamfer, the below pictures will show the specific steps of the process.
First step is creating a sketch, the option is available in the top bar.
.png)
From here we choose out desired axis and start drawing with the line tool.
.png)
once we enclose the sketched part we can finish the sketch, and extrude it into the 3D dimension.
.png)
Next I select the edges and use the fillet tool, this will round the sharp edges and reduce the chance of injury when handling a product manufactured from this design
.png)
The fillet tool rounds the edge between two lines by specifying a circle radius for both lines to have a tangent on, then trims the outside excess, it takes an input in the form of circle or sphere radius.
.png)
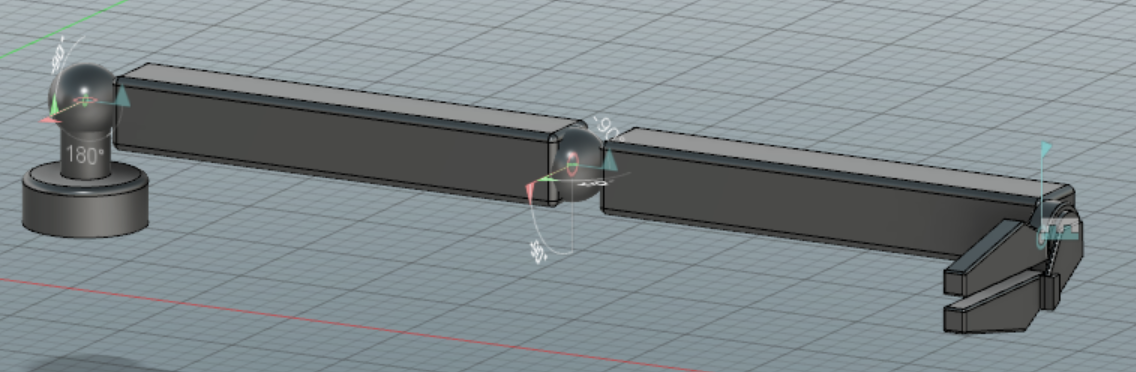
To simulate a ball joint, I used the create sphere tool using the face of the created shape as a working plane.
.png)
Fusion 360 creates the shape as a hole by default, so I make sure to change it into a new body.
.png)
using the same tools I repeat the same basic steps for the other components.
.png)
The final result
Download