

********************************************************************
Group assignment:
Test the design rules for your 3D printer(s)
Document your work and explain what are the limits of your printer(s) (in a group or individually)
Document your work to the group work page and reflect on your individual page what you learned
Individual assignment:
Design and 3D print an object (small, few cm3, limited by printer time) that could not be easily made subtractively
3D scan an object, try to prepare it for printing (and optionally print it)
********************************************************************
You can check the group assignment HERE
1. The first thing I did this week was to make the tests available in the 3D Printing section.
These tests were carried out with the two printers available at the Fab Lab Anáhuac Puebla.
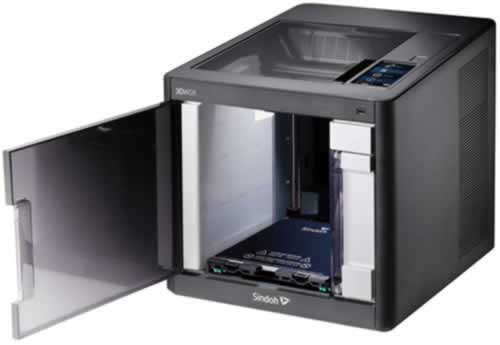
3DWOXDP200
Print Technology: FFF (Single Extruder)
Max Build Size (W x D x H): 7.9" x 7.9" x 7.3" (200 x 200 x 185mm)
Material & Color Availability: PLA, ABS
Layer Thickness: 0.05 ~ 0.4mm
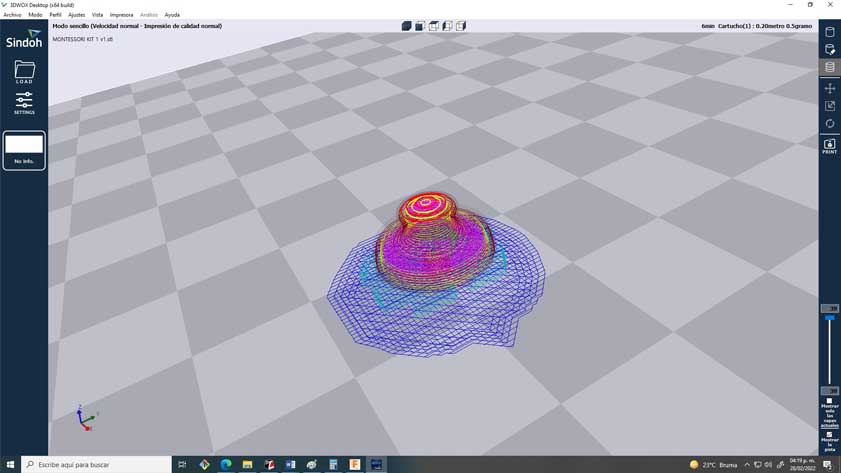
Product Size (W x D x H): 16.6" x 16.9" x 17.3" (421 x 433 x 439mm)
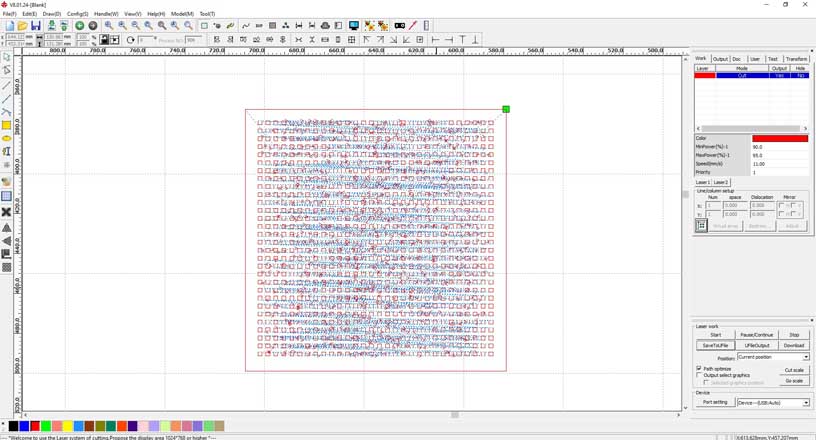
Platform: Heated Aluminum Bed
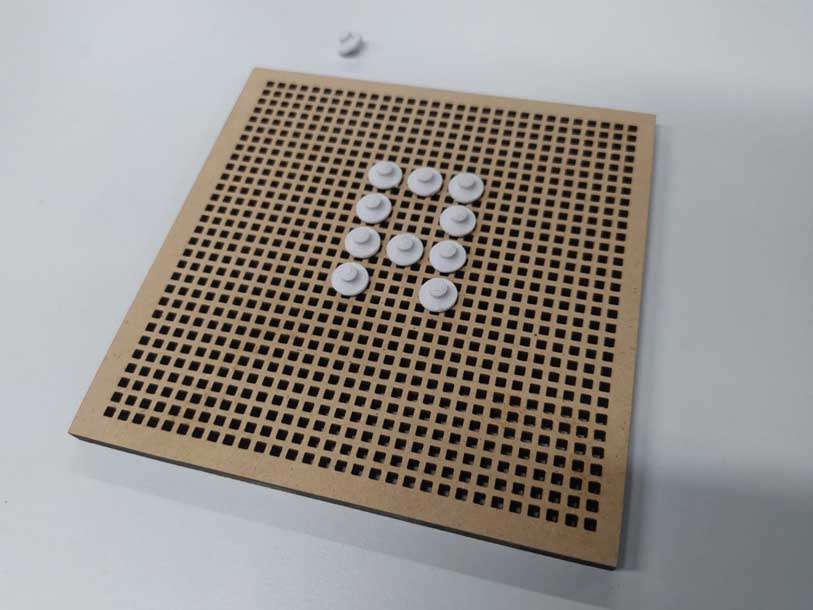
slicer:
• 3DWOX Desktop Slicer
• Sindoh Cloud Slicer
• CURA 15.04.6 or under
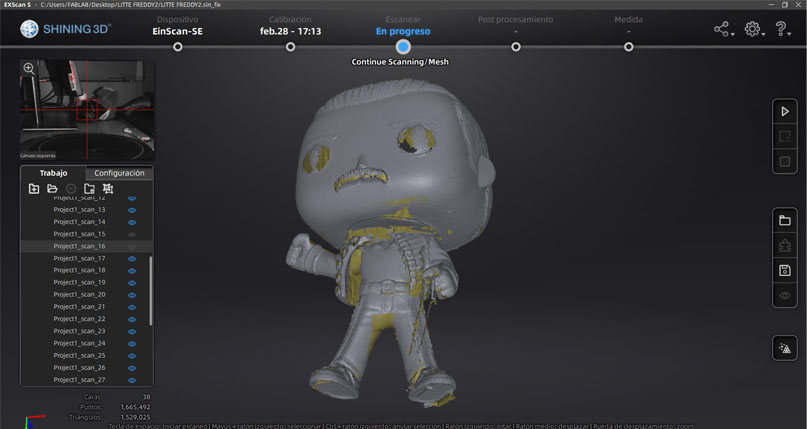
• Simplify3D Ver.4.1
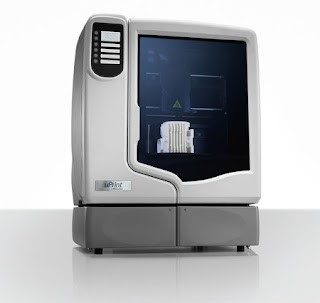
2. UPRINT SE+
Model material: ABSplus in ivory, white, blue, fluorescent yellow, black, red, nectarine, olive green or gray
Support material: SR-30 dissolvable
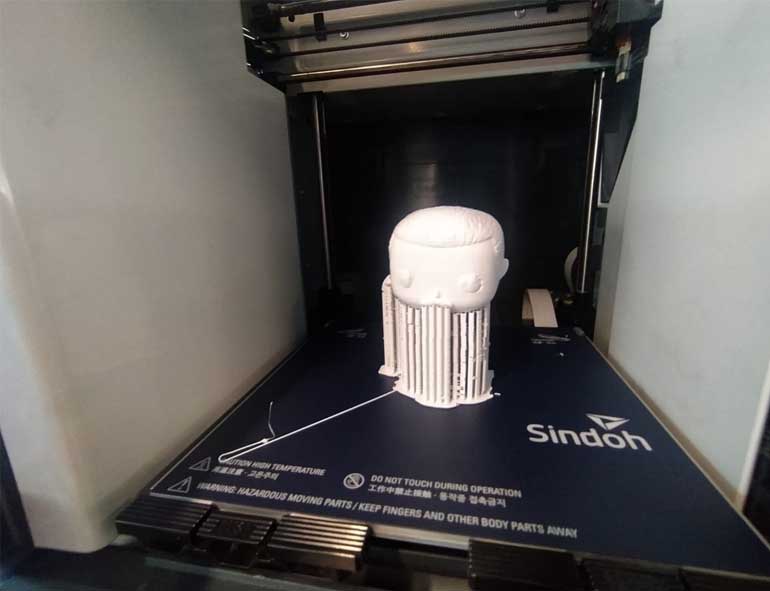
Build size: 203 x 203 x 152 mm (8 x 8 x 6 in.)
Layer thickness: .254 mm (.010 in.) or .330 mm (.013 in.)
Workstation compatibility: Windows XP/Windows 7
Network connectivity: Ethernet TCP/IP 10/100 base T
Size and weight:
uPrint SE Plus with one material bay: 25 x 26 x 31 in. (635 w x 660 d x 787 h mm), 168 lbs. (76 kg)
uPrint SE Plus with two material bays: 25 x 26 x 37 in. (635 w x 660 d x 940 h), 206 lbs. (94 kg)
Power Requirements: 100–127 VAC 50/60 Hz, minimum 15A dedicated circuit or 220–240 VAC 50/60 Hz, minimum 7A dedicated circuit
Regulatory Compliance: CE/ETL/RoHS/WEEE
3. For this test I will use the standard printing PARAMETERS.
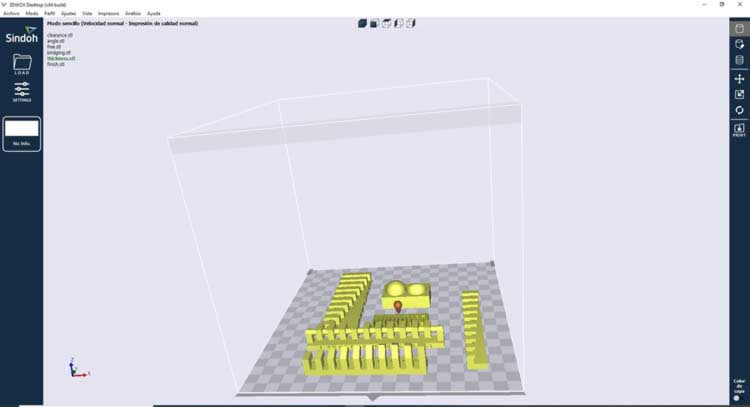
4. Speed: Medium quality printing
ABS material.
Placement of supports disabled.
20% infill
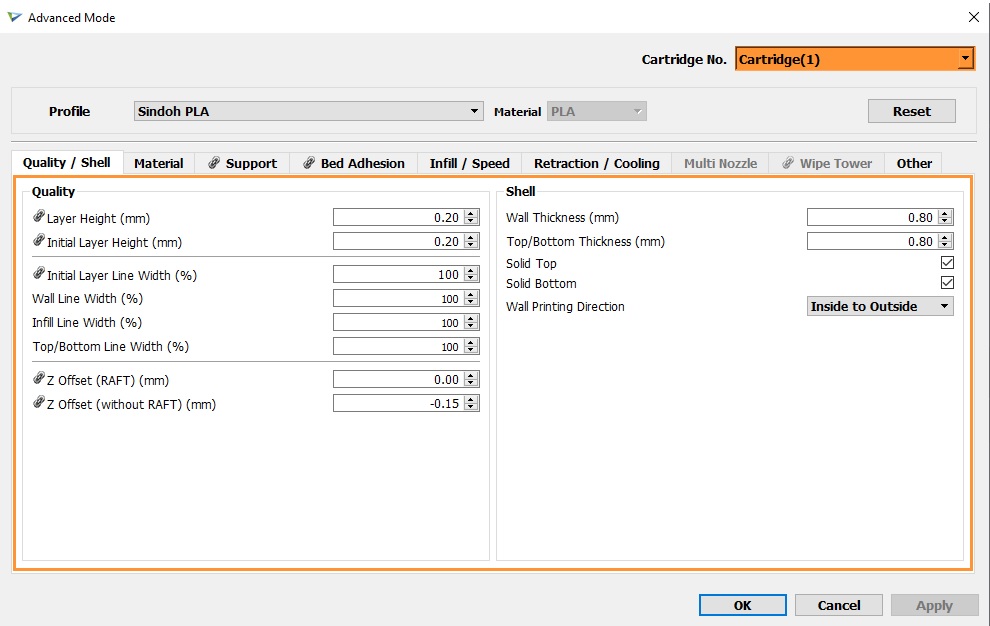
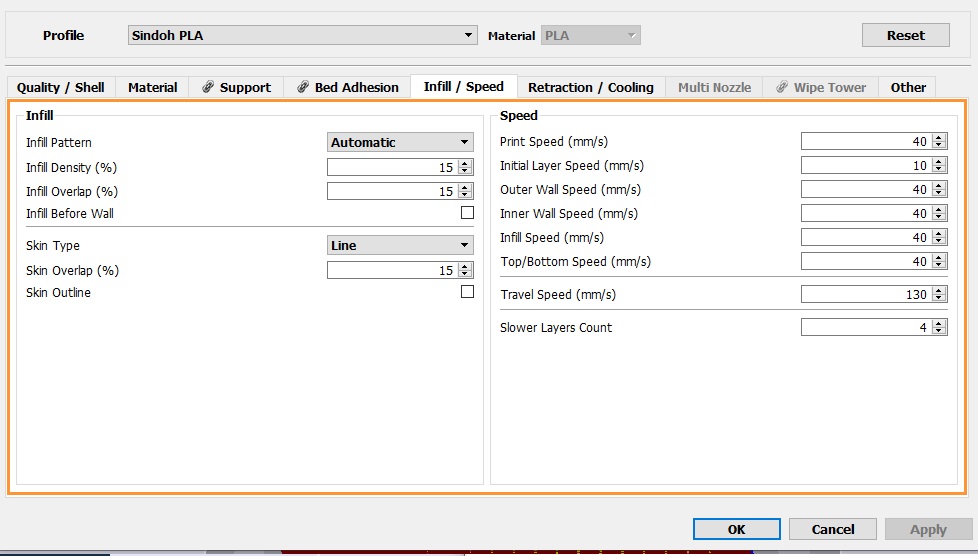
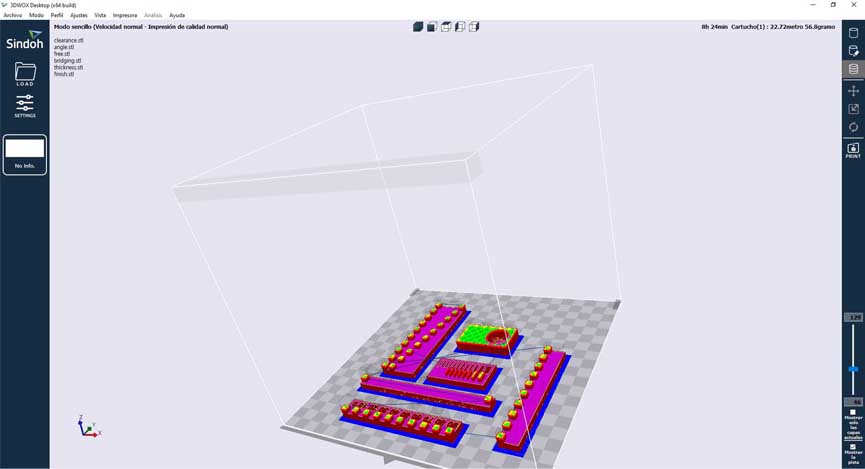
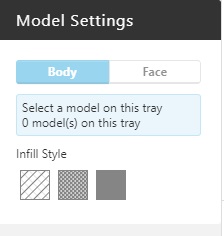
5. Something interesting about this printer is that it has a simple interface and an advanced one with which you can configure more parameters such as retraction, layer thickness, printing speed and fill patterns.
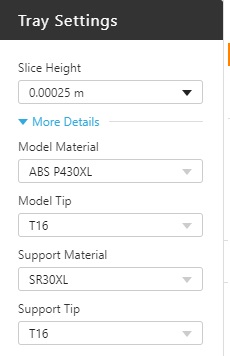
The second printer we have in the Fab Lab is a Stratasys SE+, a device that provides very good print quality, an excellent device if it weren't for one small detail, its cost and the cost of consumables.
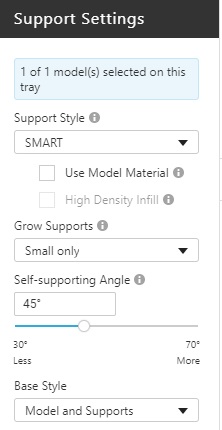
In my opinion, its greatest talent is being able to print the supports in a different material that is also soluble, this allows us to create very complex shapes without worrying about the process of cleaning the supports.
Another of its disadvantages is that you must always use both materials even if our piece does not require supports since the construction raft builds it with the soluble material.
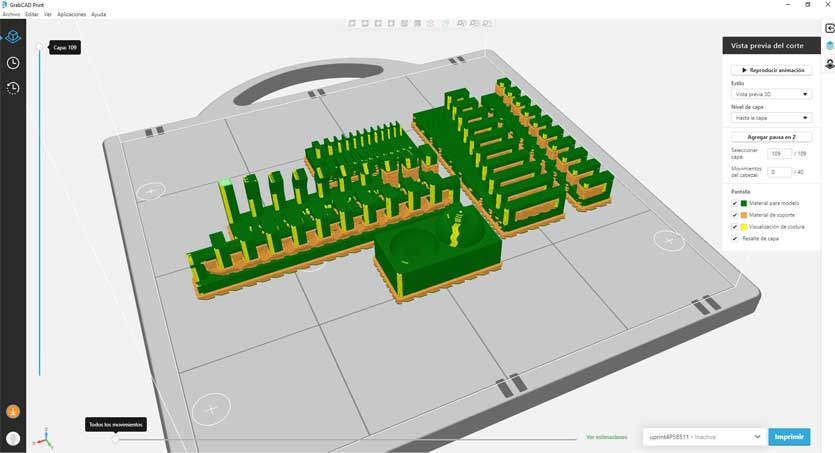
6. The test results were as follows:
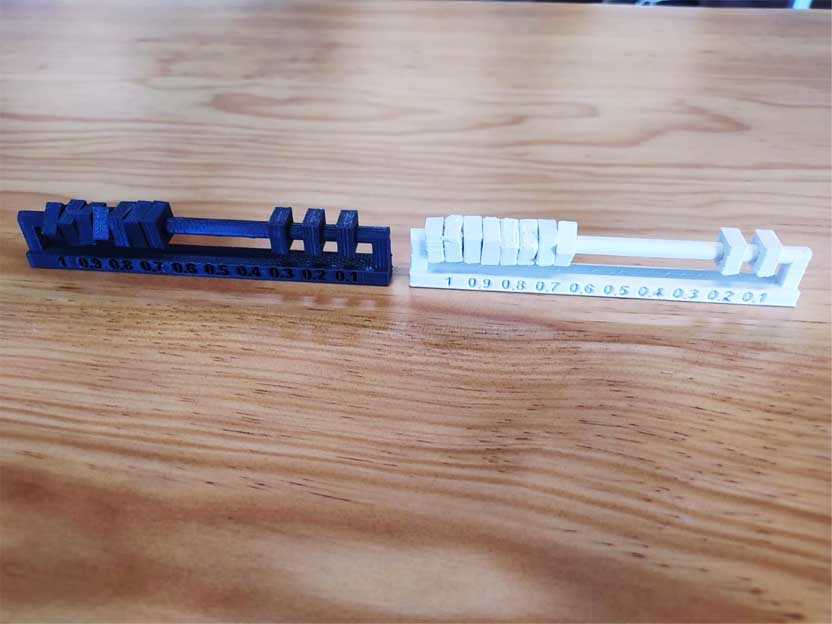
7. The clearance varies between the two tests, in the Uprint from 0.3mm the material expands and prevents the movement of the pieces. In the 3DWOX this same effect is presented from 0.2mm
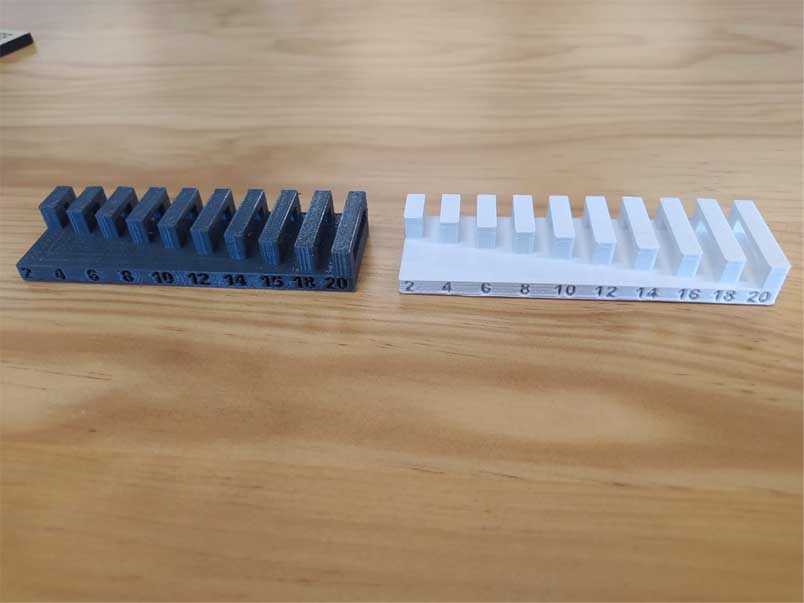
8. The Angle test shows something very interesting, the 3DWOX is capable of making parts with angles of 10 and 20 degrees, but the quality of the surface is a bit low. The UPRINT made support by Default from 30°
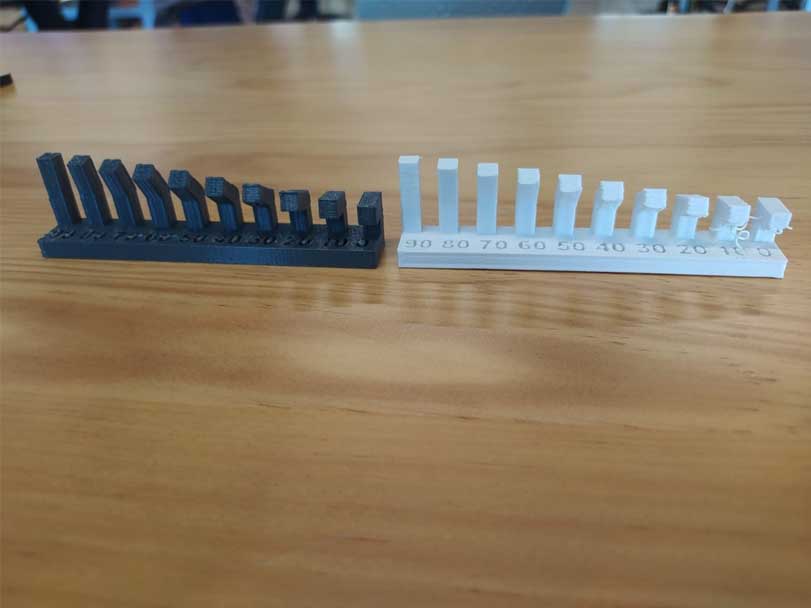
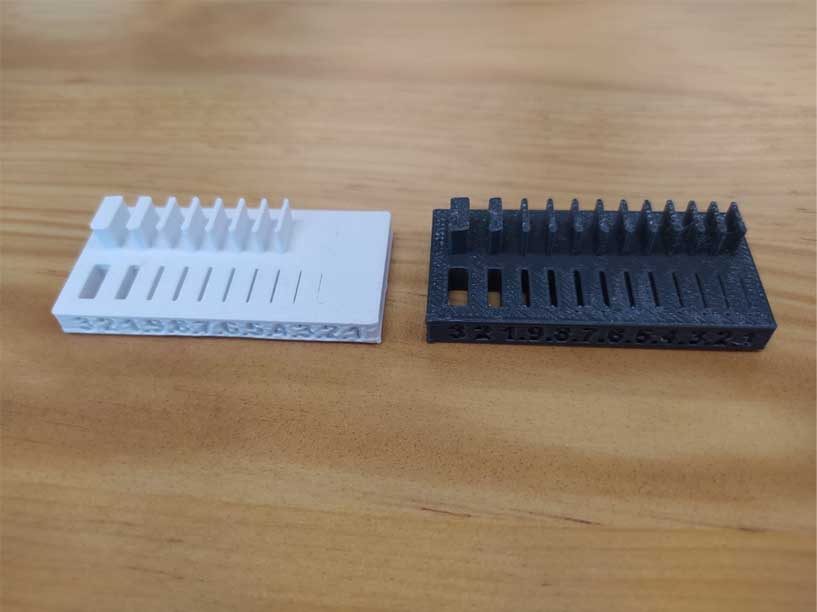
9. The wall thickness test showed us what we already suspected, the Uprint can build GAPS and walls up to .1mm although it modifies the final dimensions a bit, the 3DWOX surprised us because it can manufacture up to .5mm
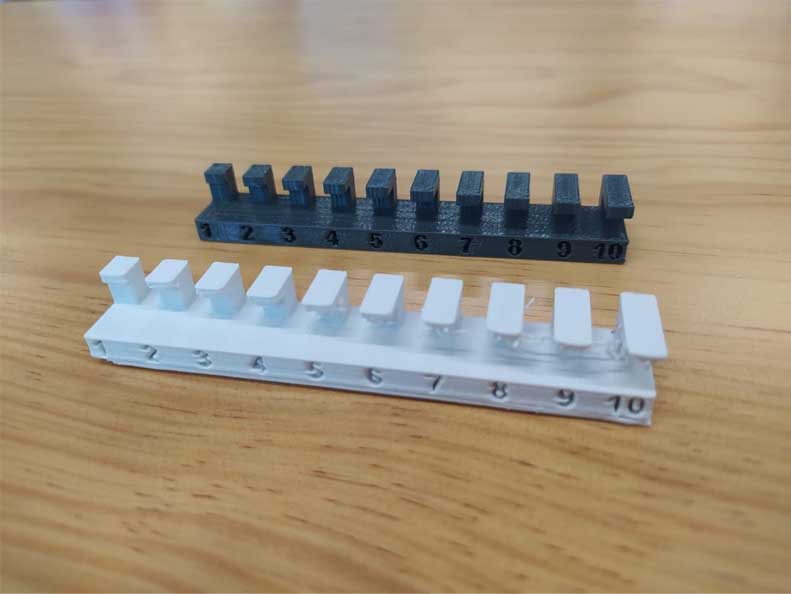
10. The surface test gave us very similar results in both devices, but in the hemisphere the 3DWOX seems to have a little more quality, although the color of the material also modifies the perception of the finish.
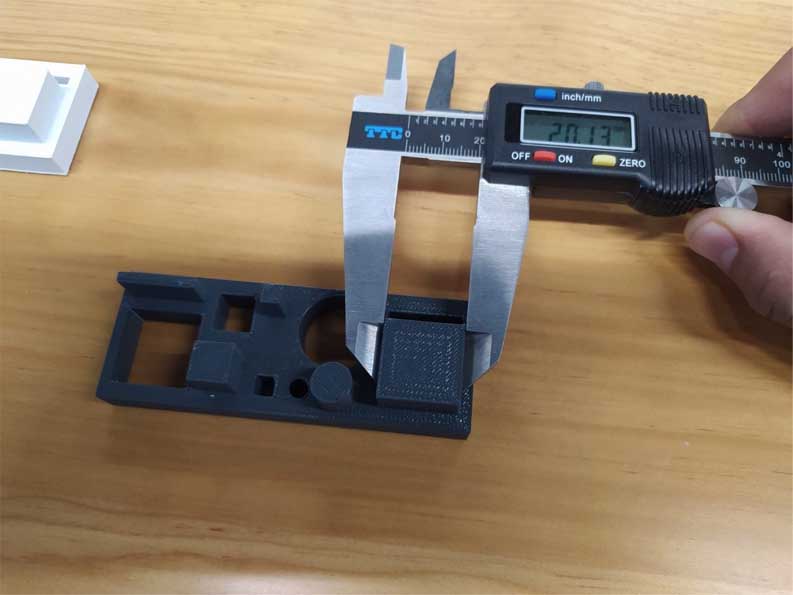
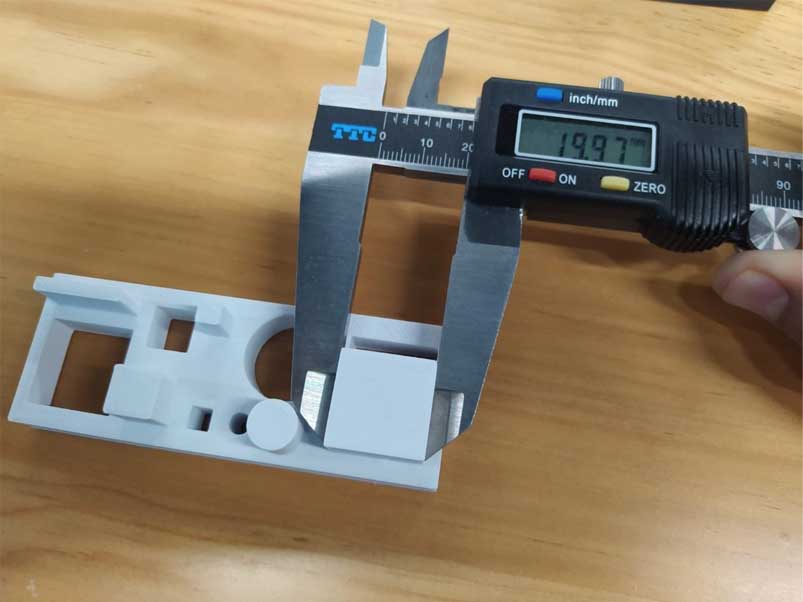
In addition to the tests that Niel showed us in class, I will carry out an additional test to check the actual printing measurements. For this exercise, make a very simple composition with squares and circles in extrusion and low relief, this will be very useful for making assemblies. in the future. It will show us if the material contracts or expands according to the original dimensions.
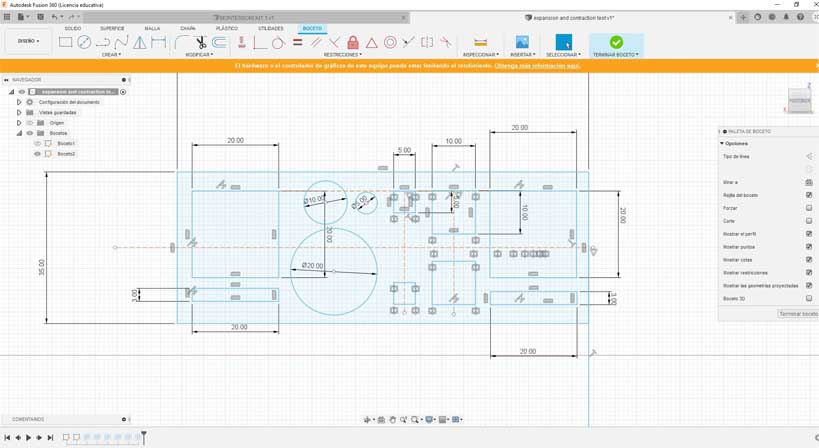
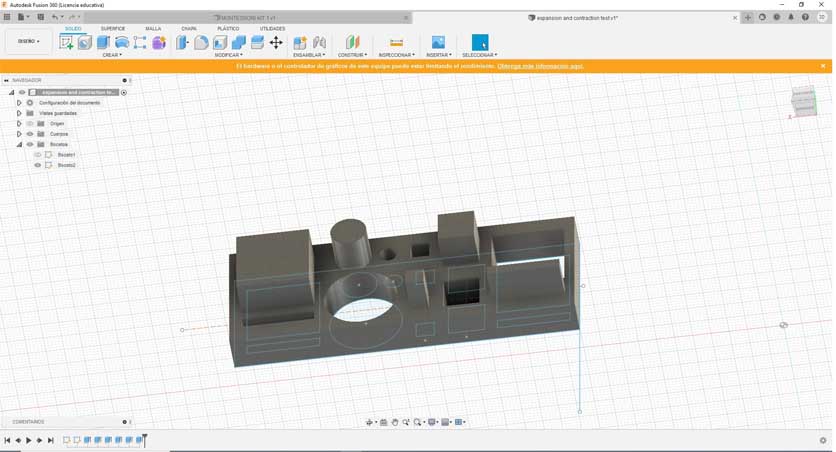
11. These were the results.
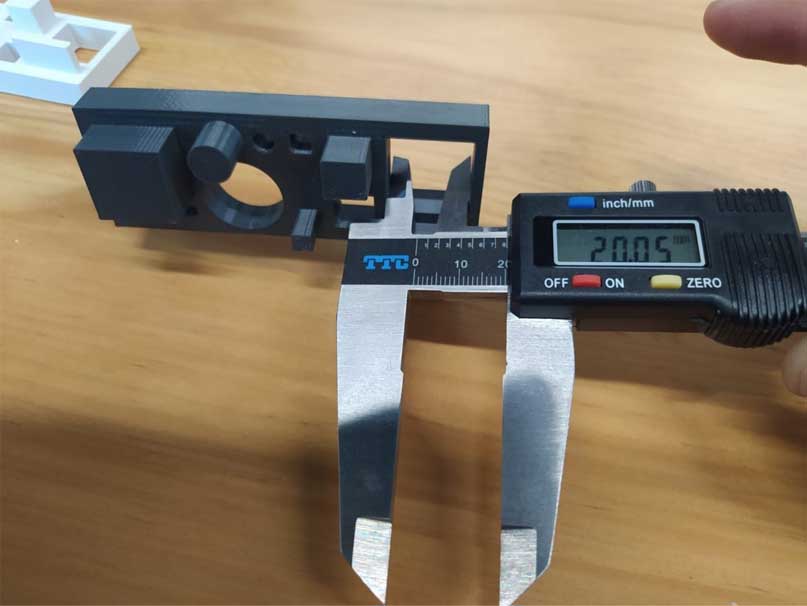
12. 20mm gap
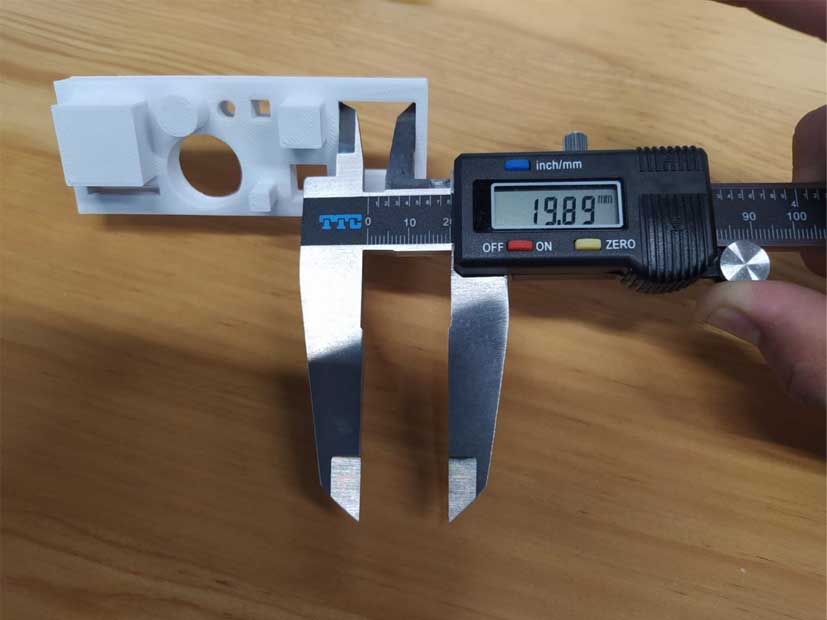
13. 20mm extrusion
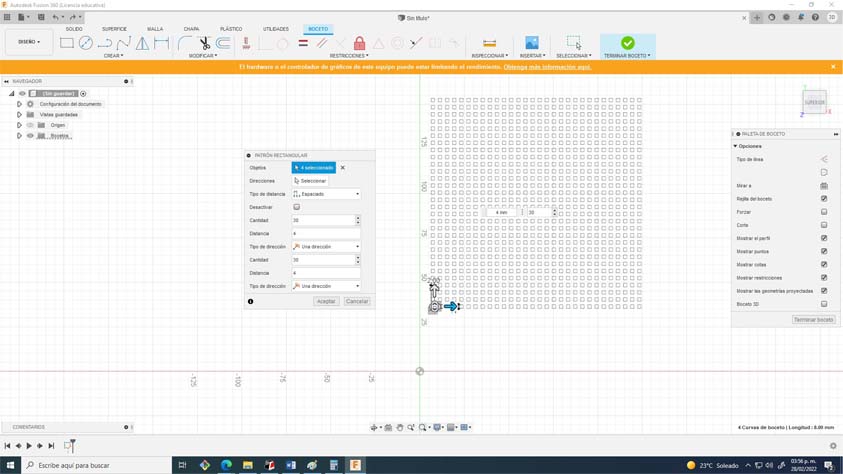
14. For my individual assignment I decided to create a pedagogical tool inspired by the Montessori methodology, it is a board to replicate patterns, for that I used a laser cut grid and 3D printed buttons, each button was made in approximately 8 minutes.
****This piece, having curvatures in 2 of its axes, would be very difficult to produce in some subtraction technology, an assembly of several planes would have to be made and despite this it would not be identical to the original design.*****
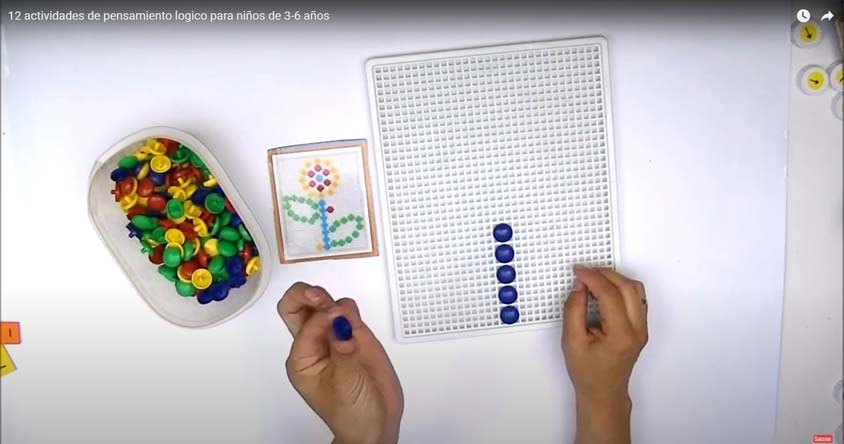
15. This was the element I took as a reference to produce my Montessori pattern replicator.
16. Button detail.

17. G-Code in 3DWOXDESKTOP
18. Laser cut with RDWORKS
19. The bottom.
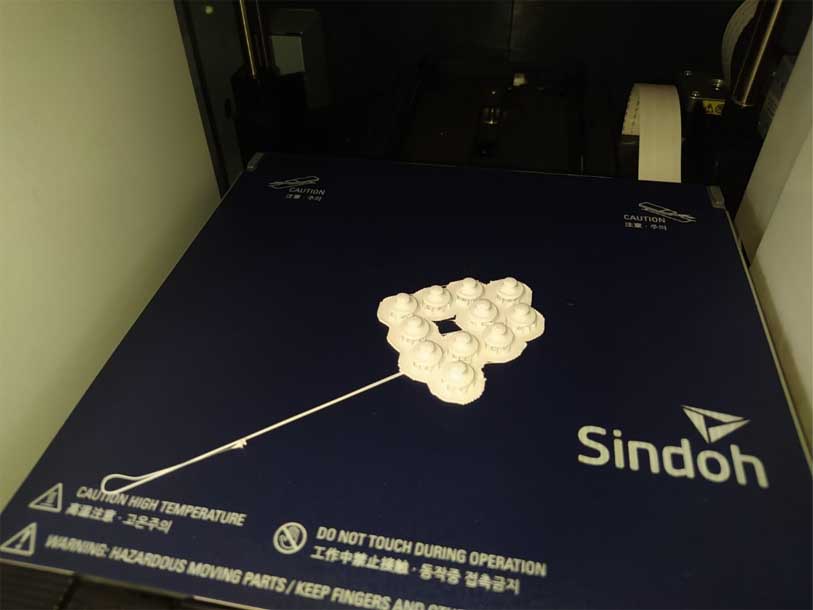
3D WOX DP 200
- Layer Height (mm) 0.15
- Wall Thickness (mm) 0.80
- Infill Density (%) 15
- Print Speed (mm/s) 30
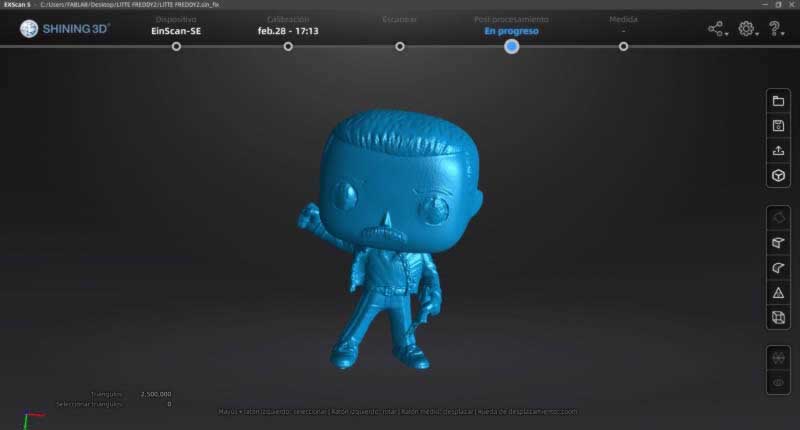
20. Finally, my experimentation with the 3D Scanner.
For this Activity use the scanner available at the Fab Lab Anáhuac Puebla.
EinScan-SE, here you can check the specifications.
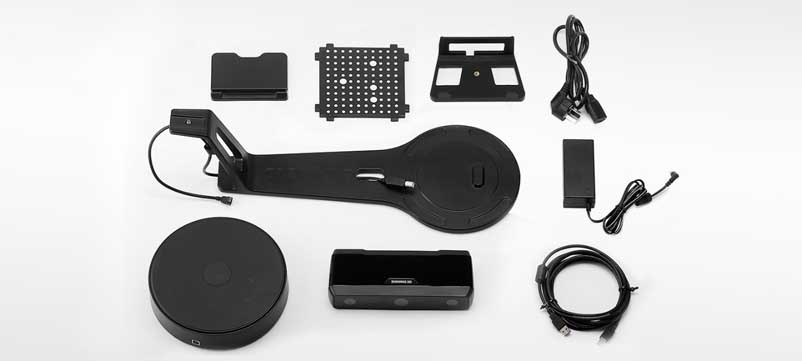
21. I have already worked with this scanner before with simple parts, now I will try to scan something more complex and with black colors, this color causes problems for many scanners, so I wanted to try my luck.
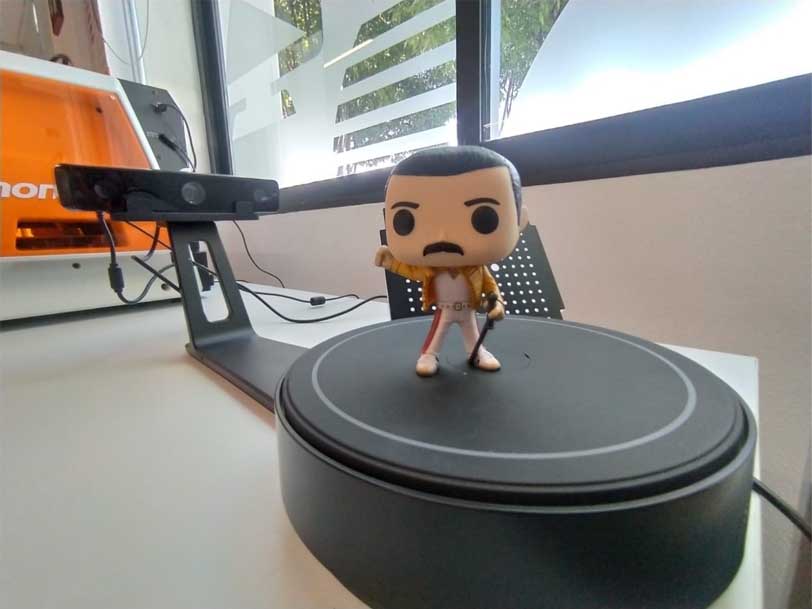
22. This was our model for this activity. Come on Freddie!!
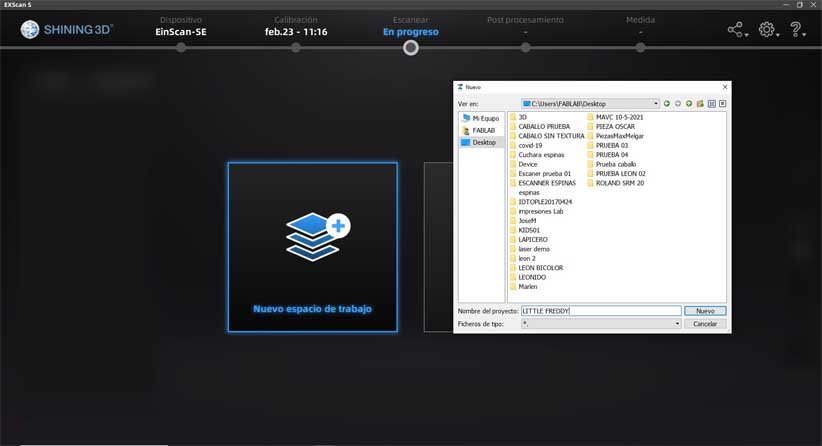
23. Setting up a new workspace
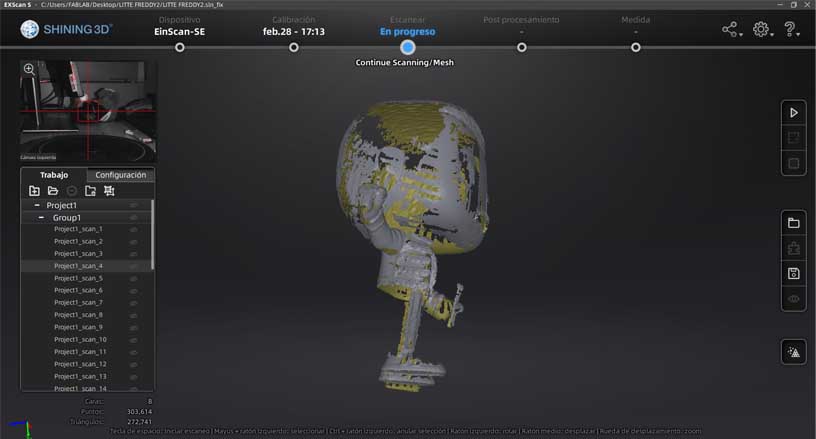
24. Group of scans in process.
25. Alignment of the groups.

26. End product.
I had to raise the brightness of the scanner to the maximum so that the machine could detect the black color, the result was very satisfactory.
27. The Mercury Brothers
3D WOX DP 200
- Layer Height (mm) 0.15
- Wall Thickness (mm) 0.80
- Infill Density (%) 15
- Print Speed (mm/s) 30
- PLA
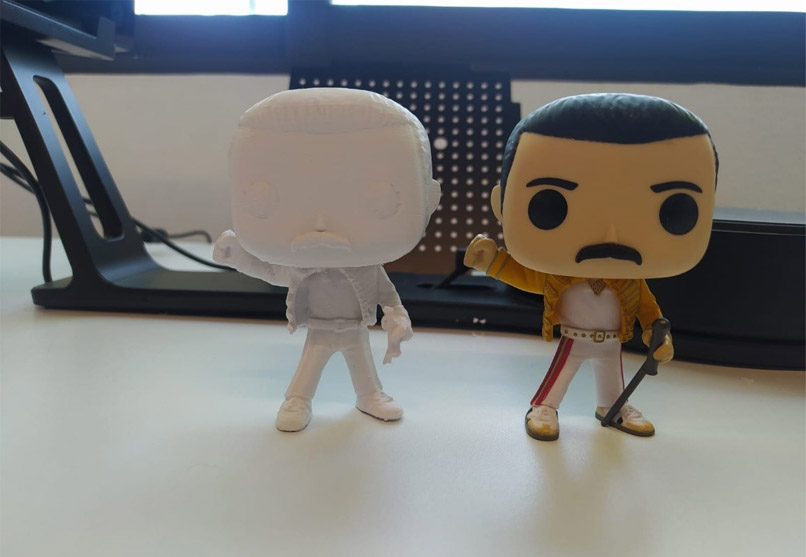
Freddie's result was very good, so I decided to do a second test using a smaller piece with a higher degree of complexity.
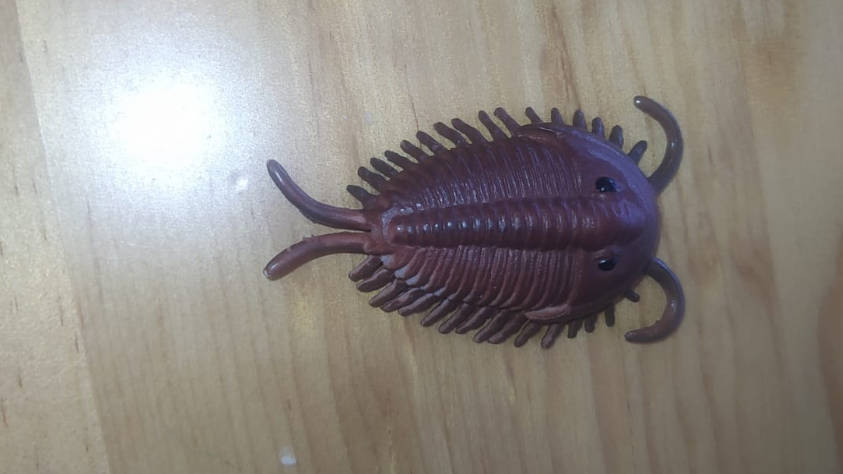
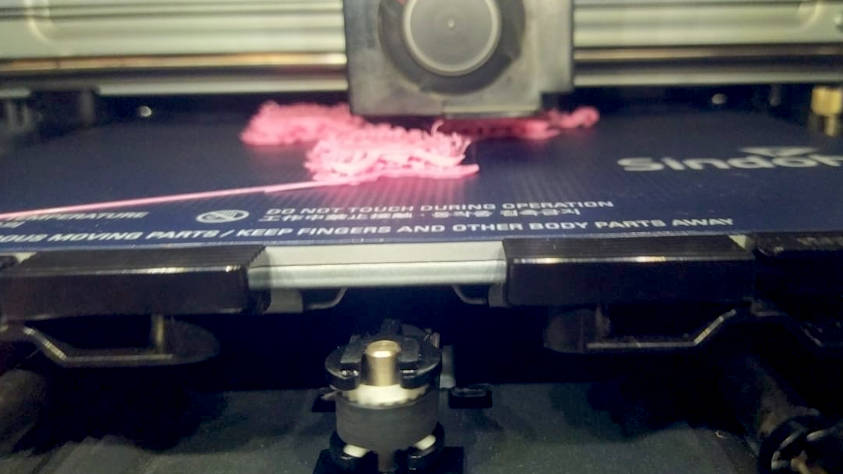
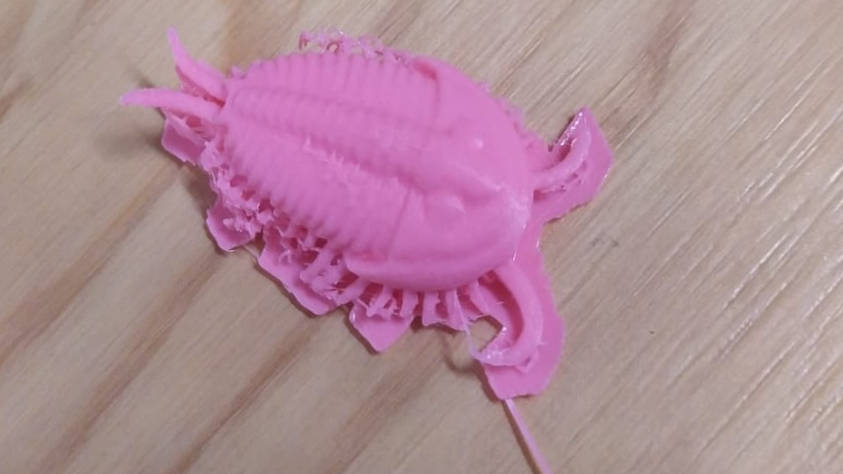
3D WOX DP 200
- Layer Height (mm) 0.15
- Wall Thickness (mm) 0.80
- Infill Density (%) 15
- Print Speed (mm/s) 30
- PLA
![]()

Expansion and contraction test
![]()
Copyright 2022 Jose Manuel Diaz Bello