
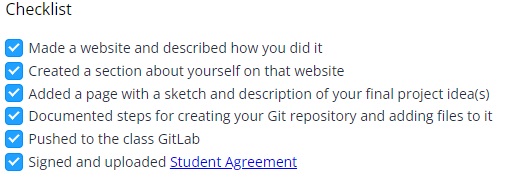
2. Project management
![]()
![]()
![]()
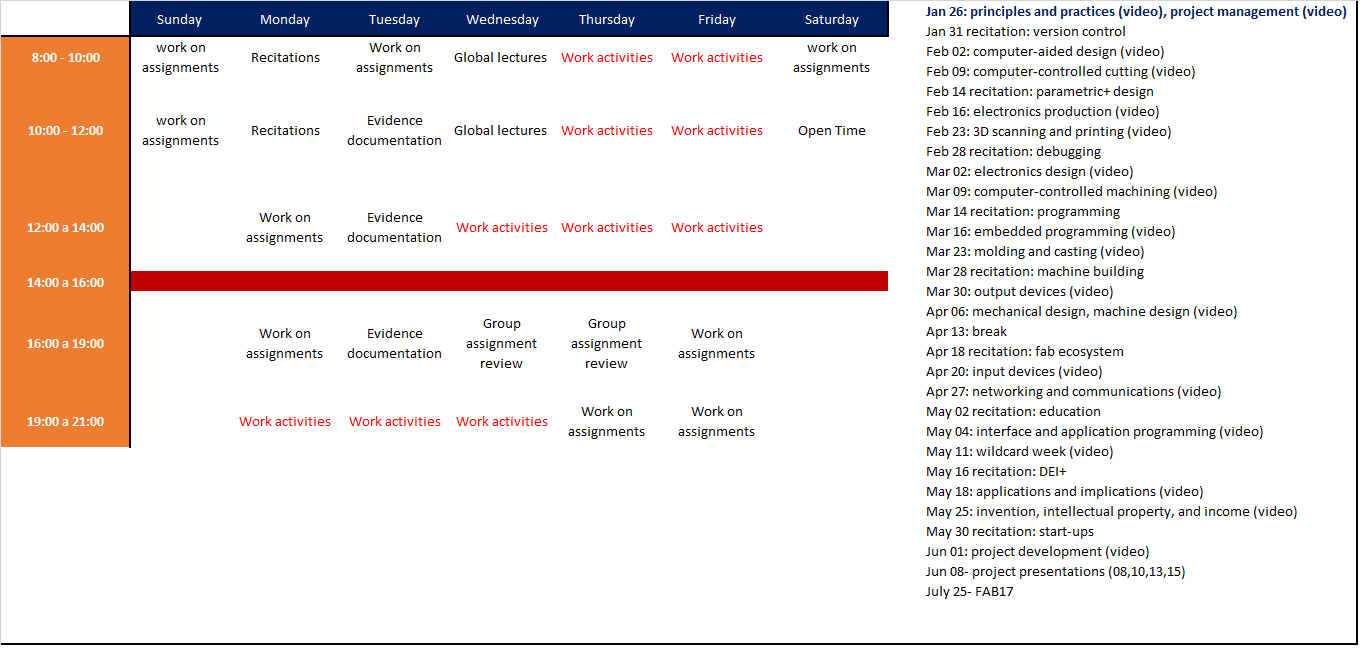
After the global videoconference on Wednesday, January 26, I get to work.
01/26/2022 The first thing I will do is define a work schedule where I establish the days and times in which I can work on the assignments of each week. This method has worked for me for other projects and I have no doubt that it will also help me meet the Fab Academy objectives on time, in addition to completing the work activities that should not be missed in the Fab Lab.
At the global conference I had many questions and fears regarding the documentation of assignments, since we must create our own website, as an architect I have no previous knowledge in this area so I decided to explore some of the alternatives that were mentioned in class.
But before starting, it is advisable to research specific terms that can help you if, like me, you do not have much idea of Web page design.
•HTML
•HTML5
• CSS
• Git
• Local repository
Where will you create your website? This question can be answered according to two possible cases, if you are good at design or programming, since there are alternatives for both cases, and many of them work in both ecosystems.
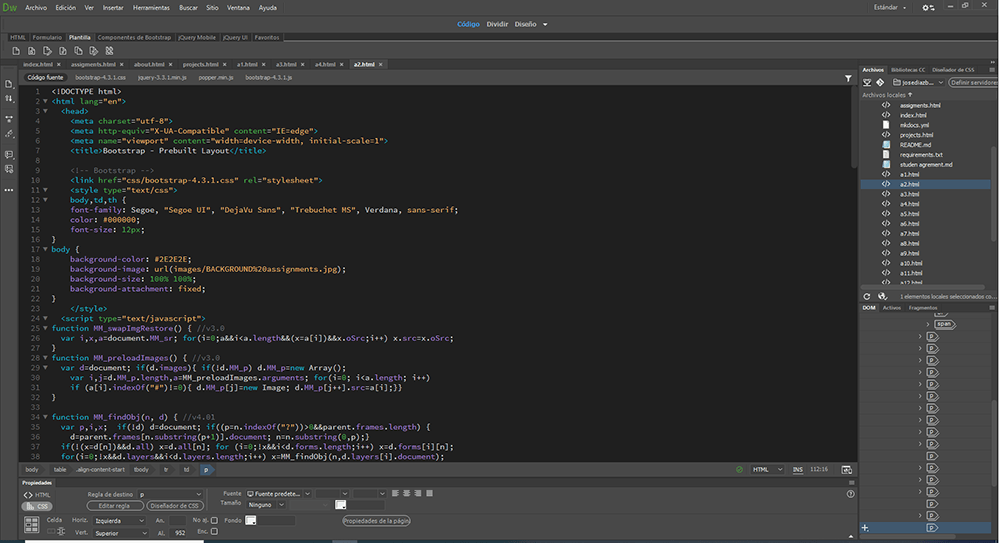
I chose an adobe software that works with both design and programming screens. Dreamweaver, one of the reasons I chose this program is because I'm familiar with adobe programs and at the university we have educational licenses for the entire adobe cloud.
The first step is to create a folder where all the site files like images, videos and code will be managed.
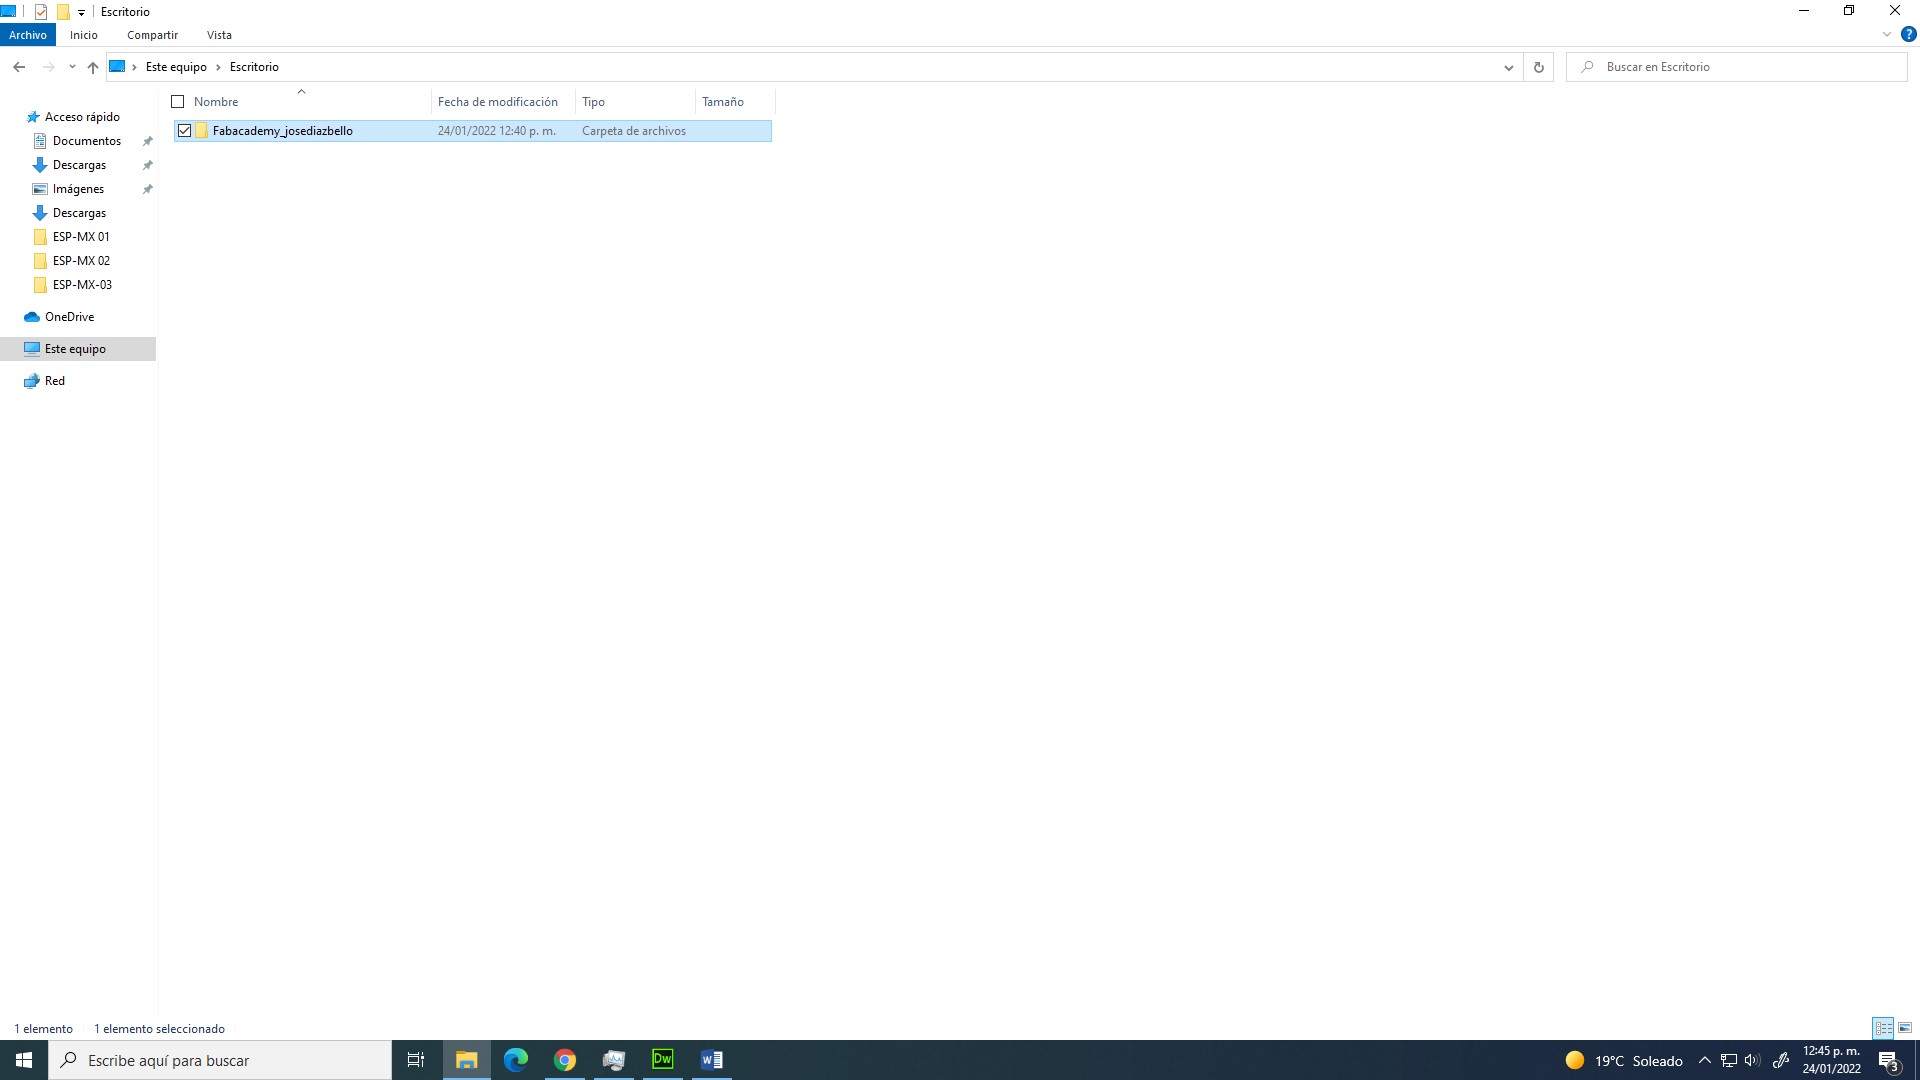
1. Open Dreamweaver and click define site
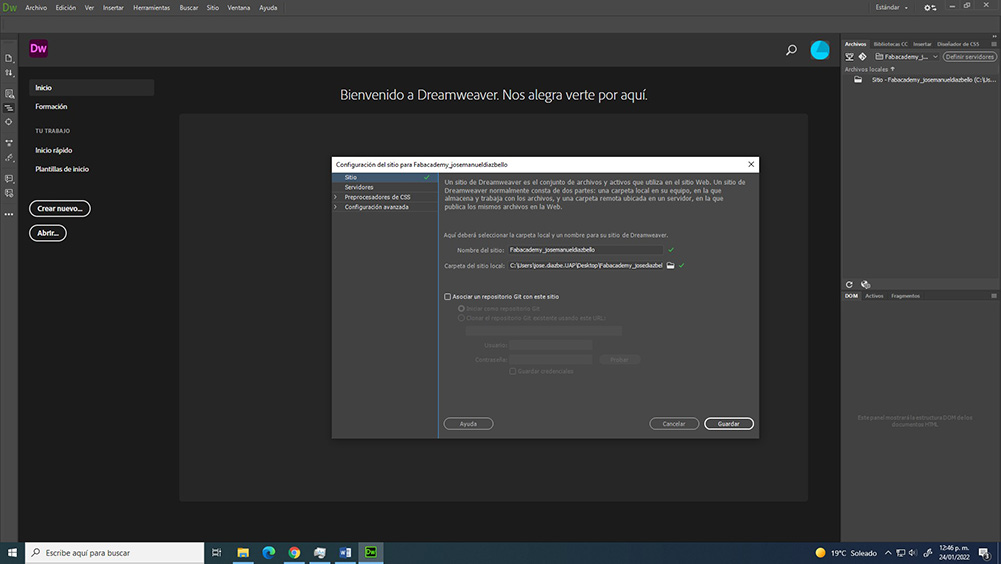
2. Assign the name of the site and select the local folder where all the files of the site will be stored.
3. Create new
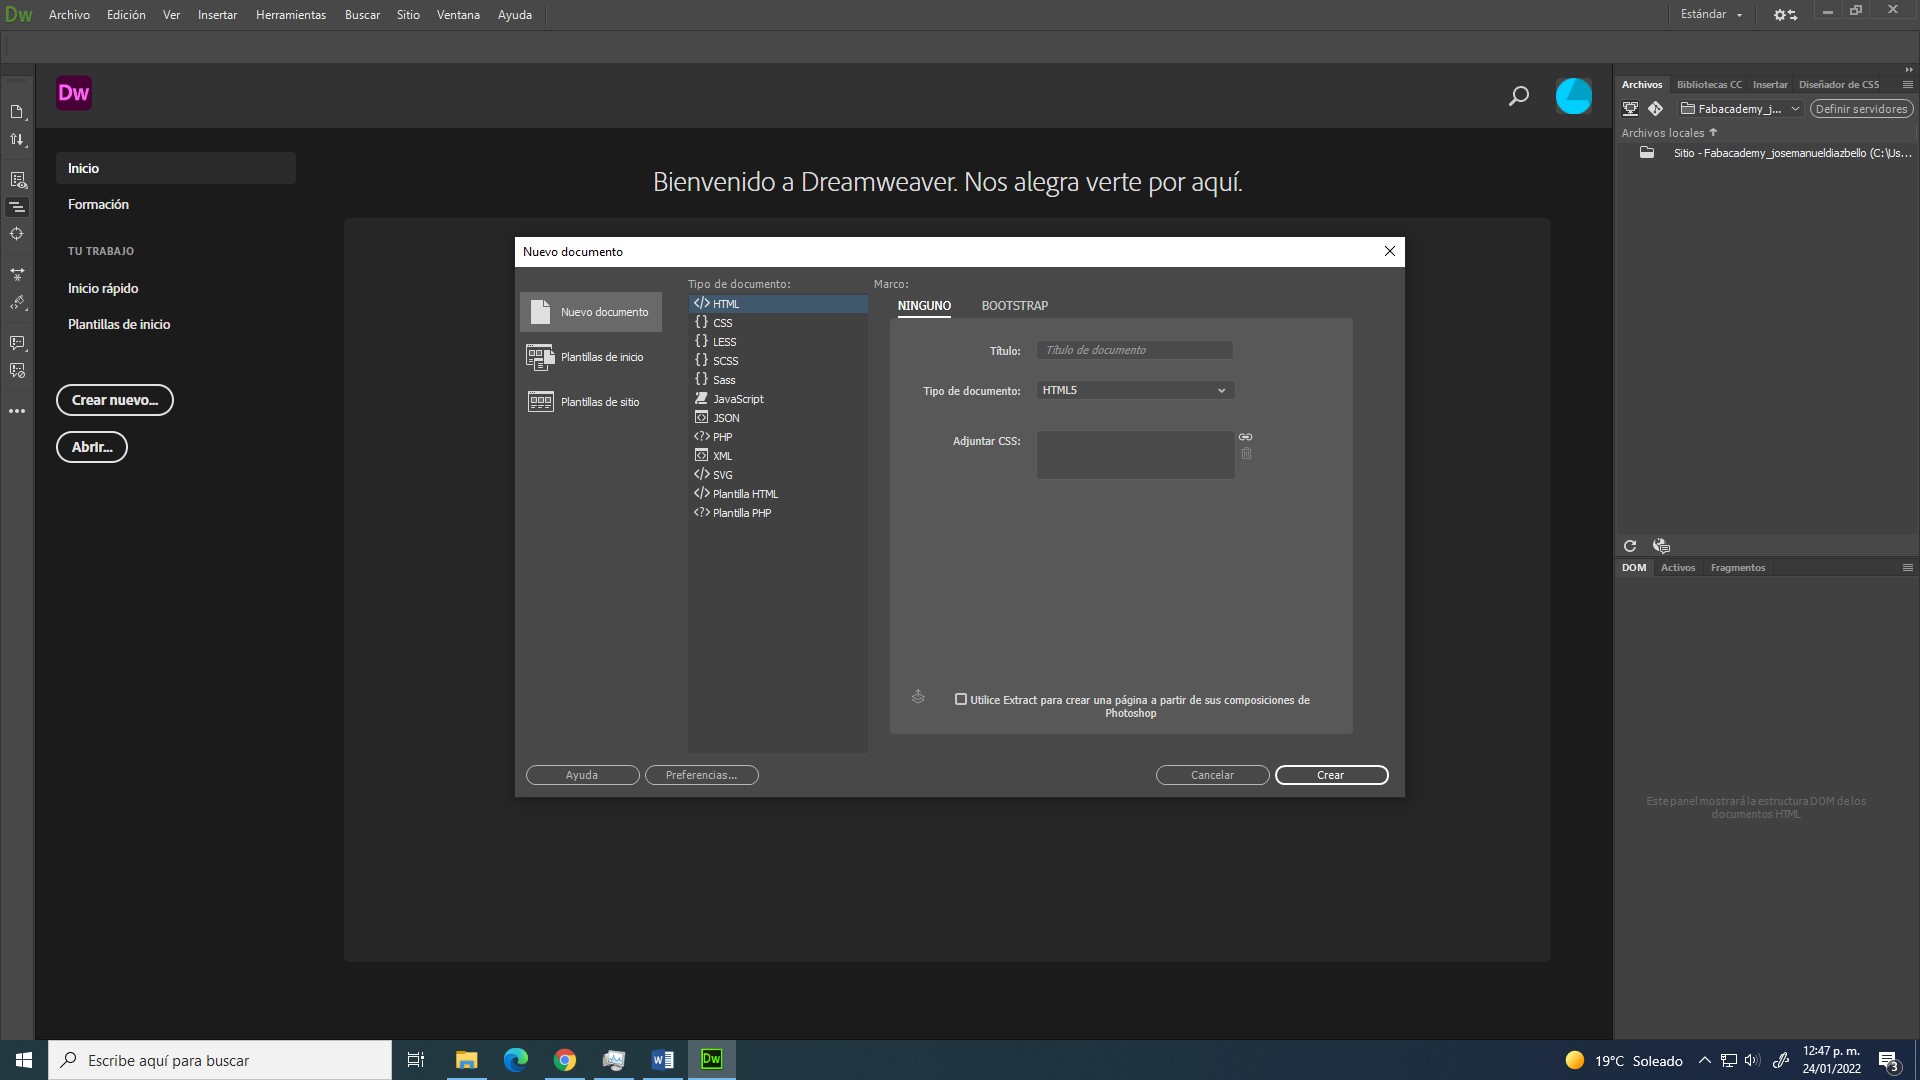
4. Assign the title and select the type of document, in this case HTML5, the most recent version of this language.
5. Click on create
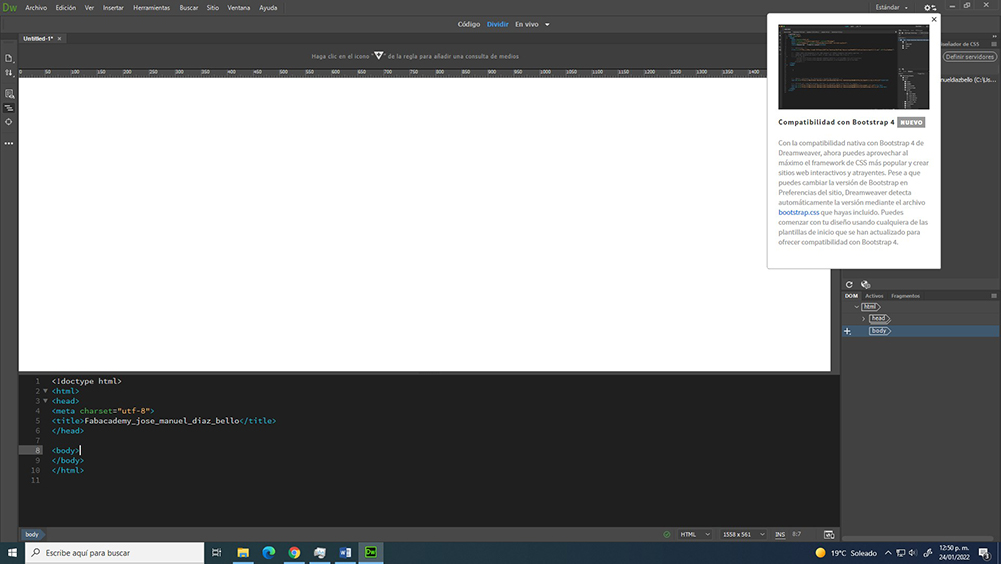
6. The software will present two interfaces: the visual one and the code with which you can develop your project.
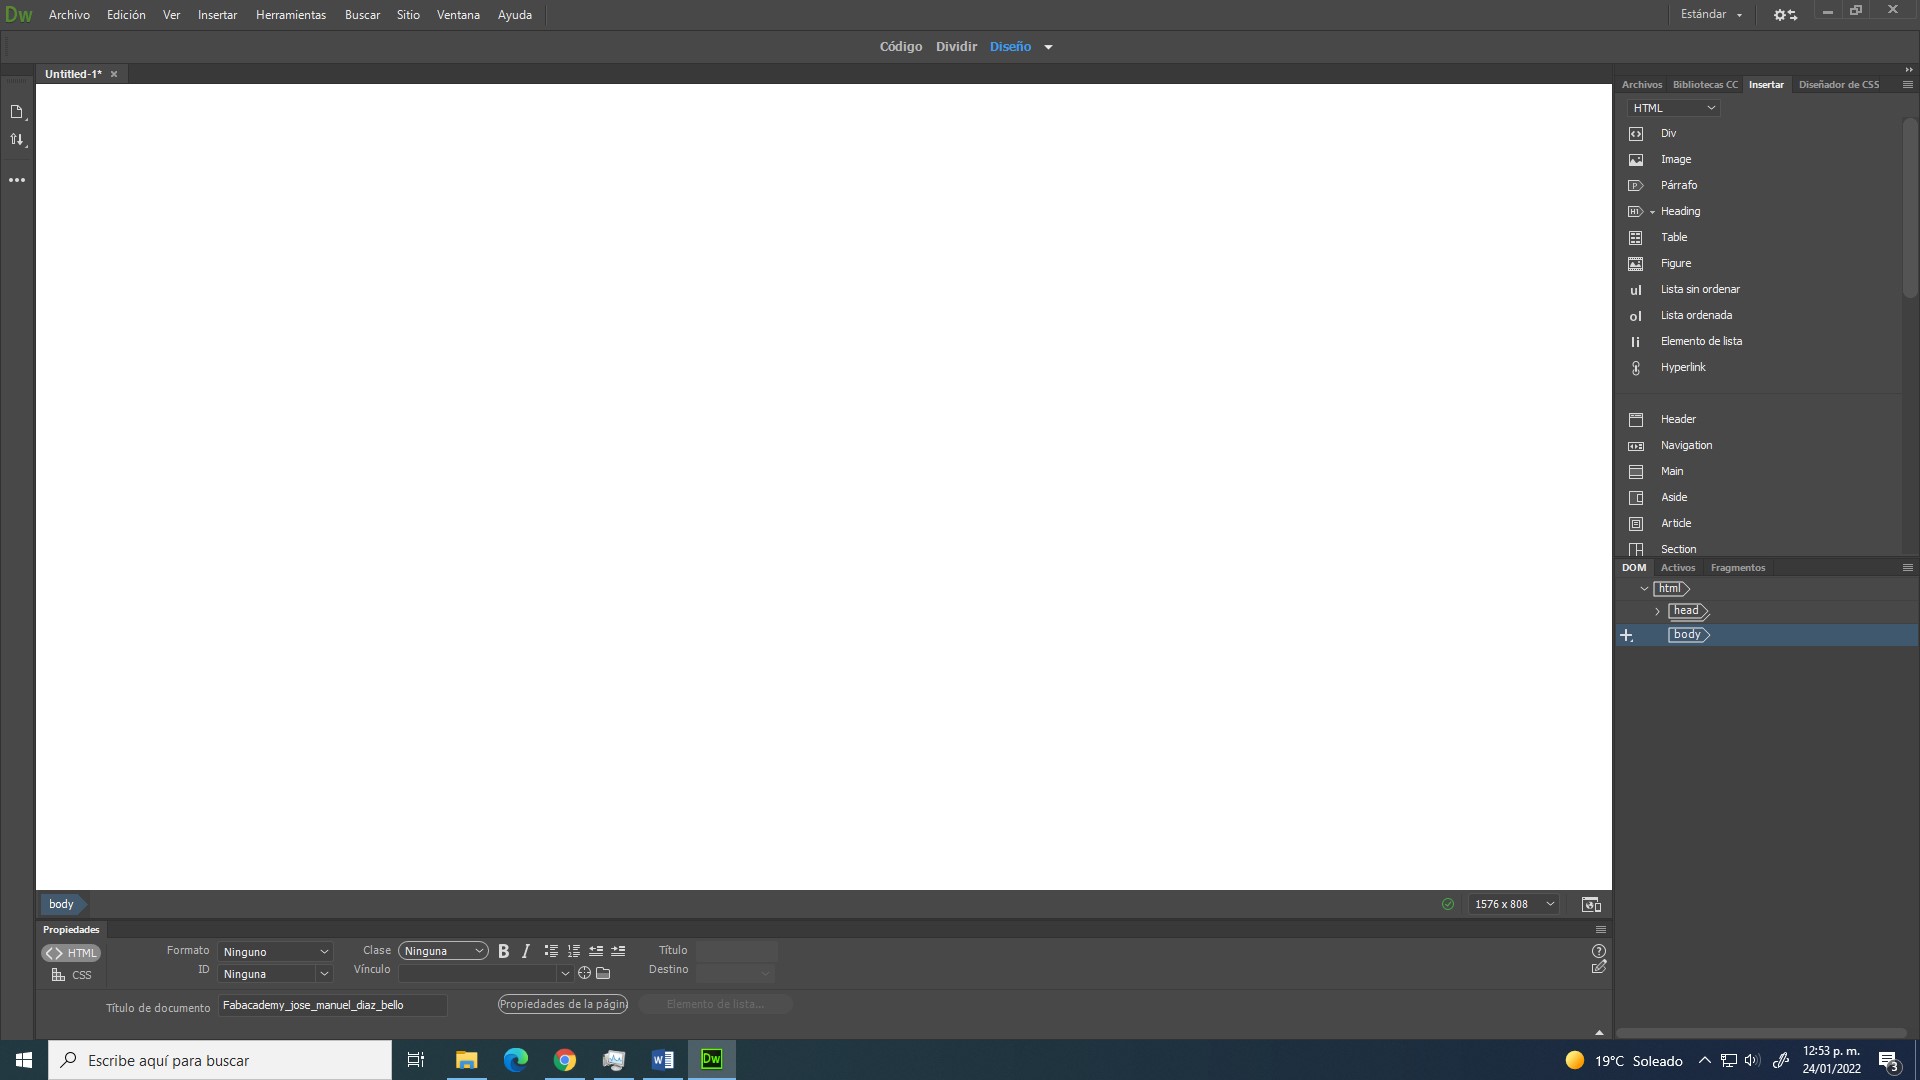
7. If you prefer to work with the visual design tools you must activate the properties and insert windows. Just click on the Window menu and click on the name of these elements.
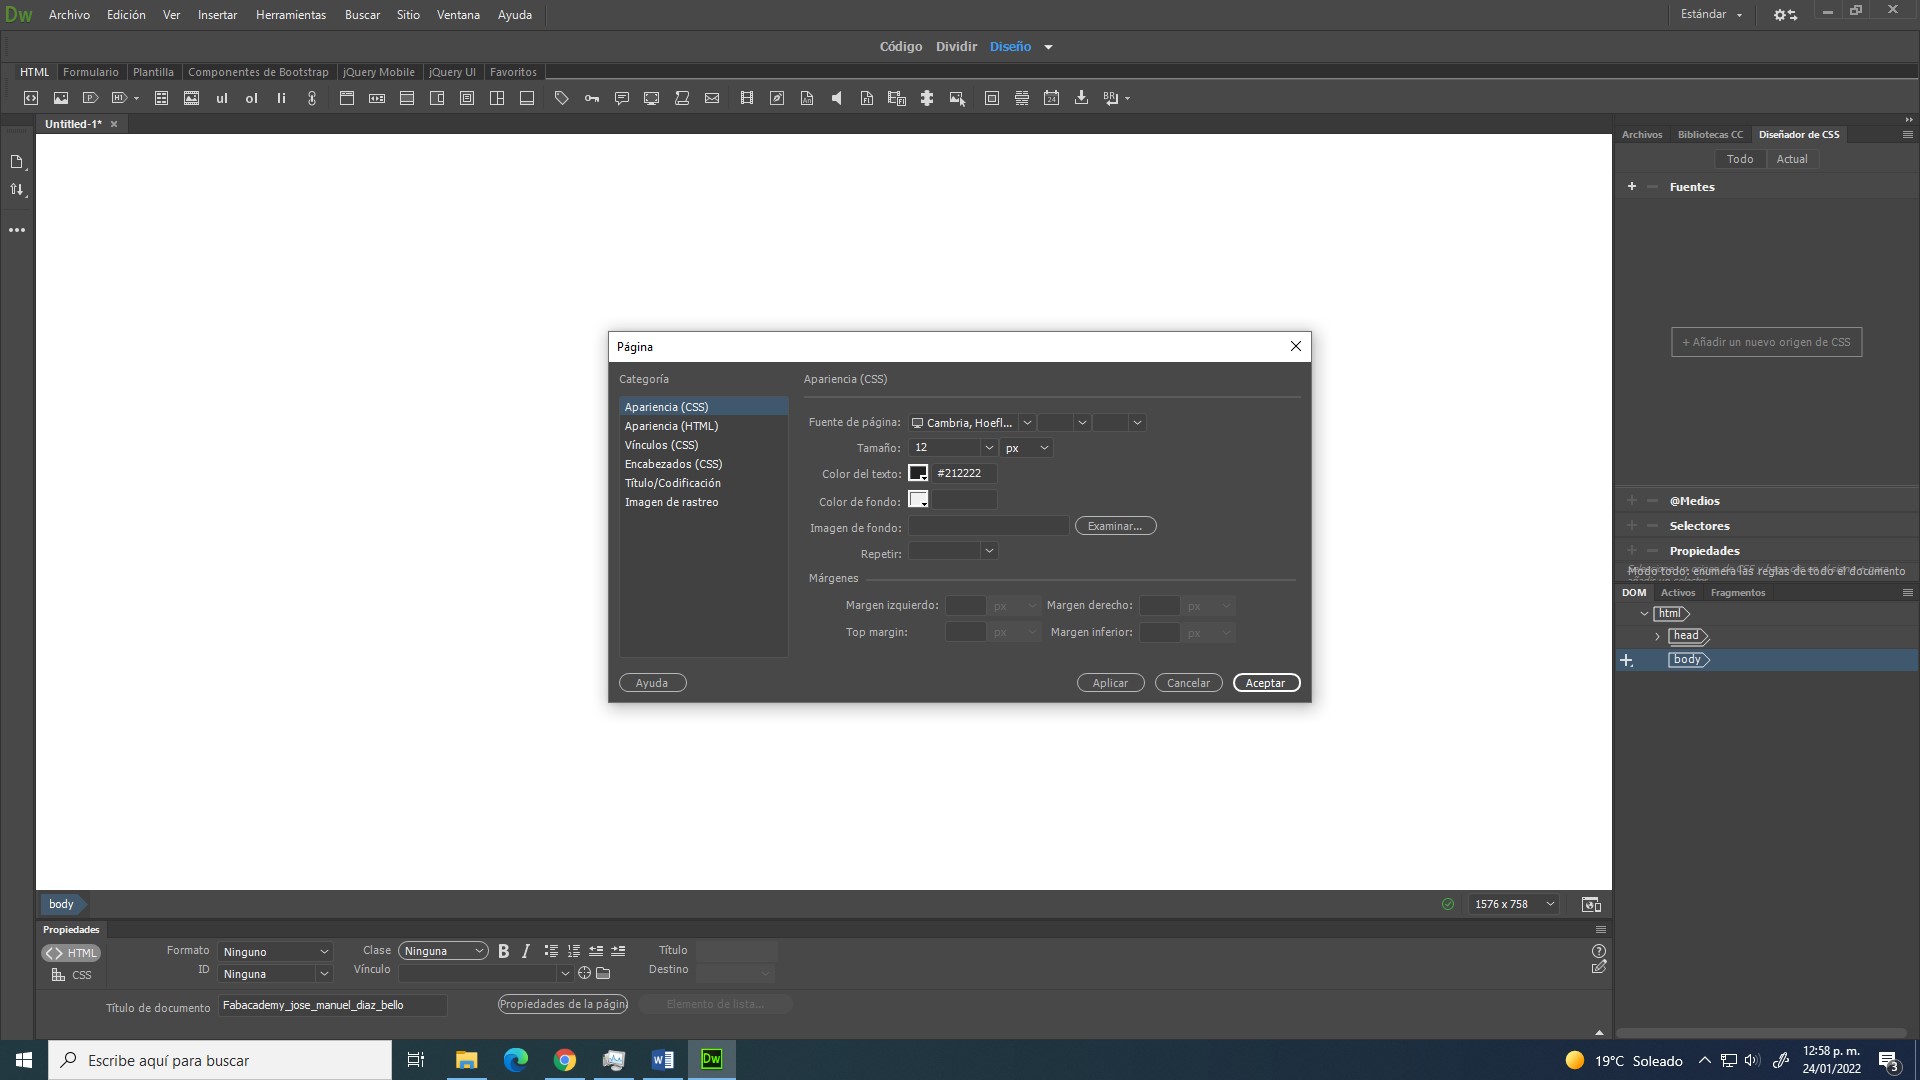
8. Then click page properties to assign some interesting properties.
9. Group of fonts for the site, size and color of the typography. You can also set a background image for the entire site, but we'll experiment with this later.
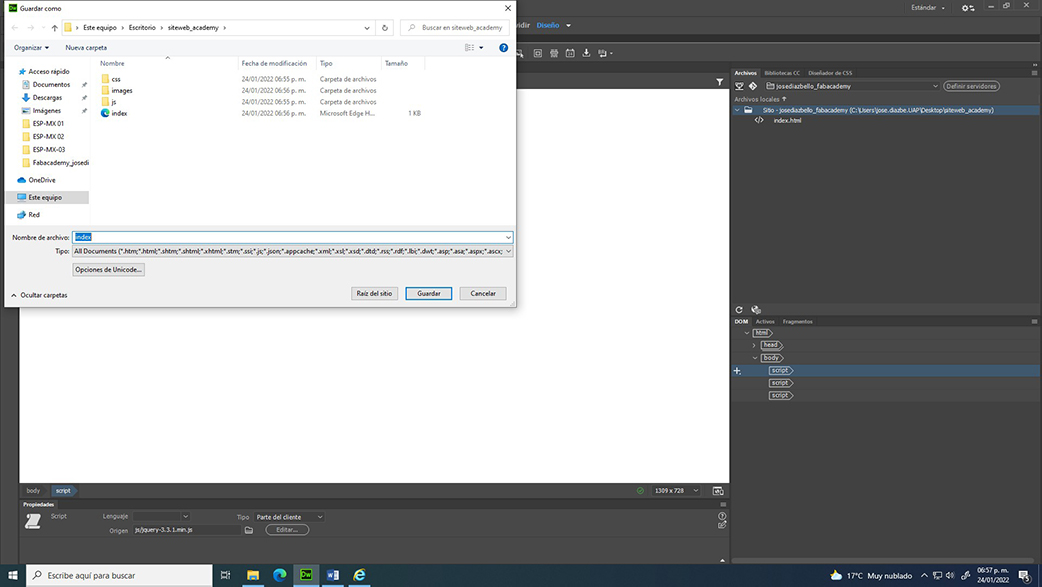
10. Save the file with the name index in the folder that was created to host the project, this will help you to make previews
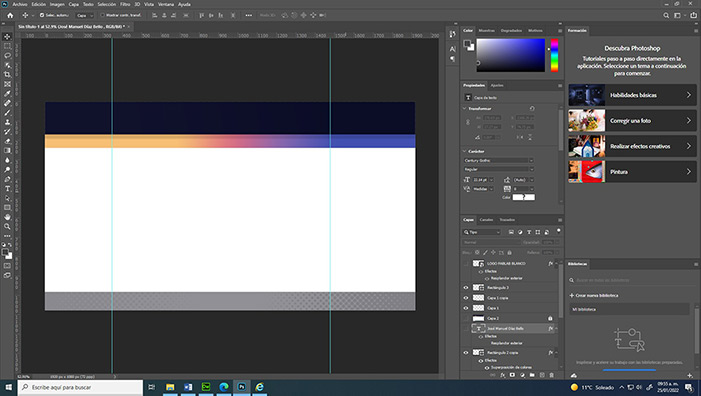
Now I decided that I will create my own template from a background and the button design, I did this step in Photoshop using some Academy 2020 student pages as a reference
Reference Reference Reference
The first prototype:
Final version
Next, I share some links that were very helpful to me to be able to add sections, images with links, and link internet content by adding its html code.
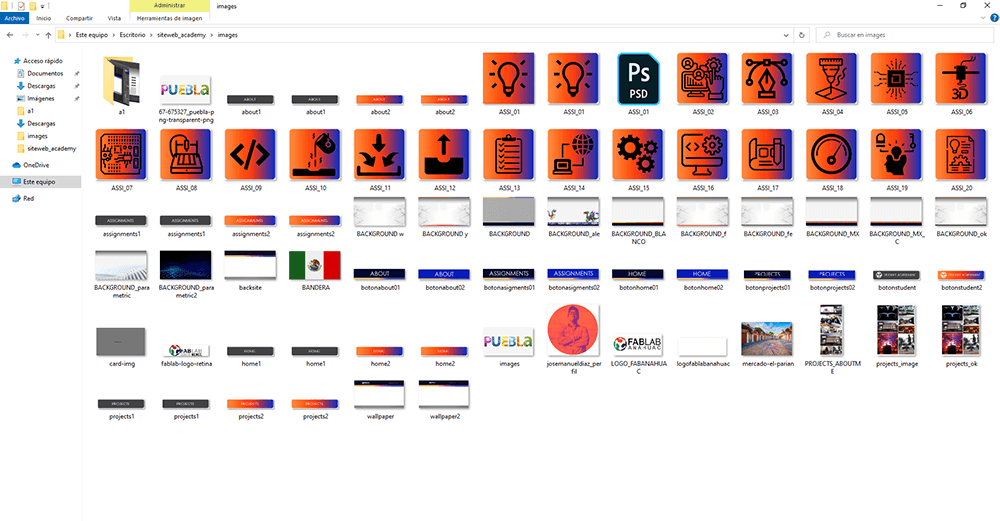
The buttons, icons and images that I designed in photoshop.
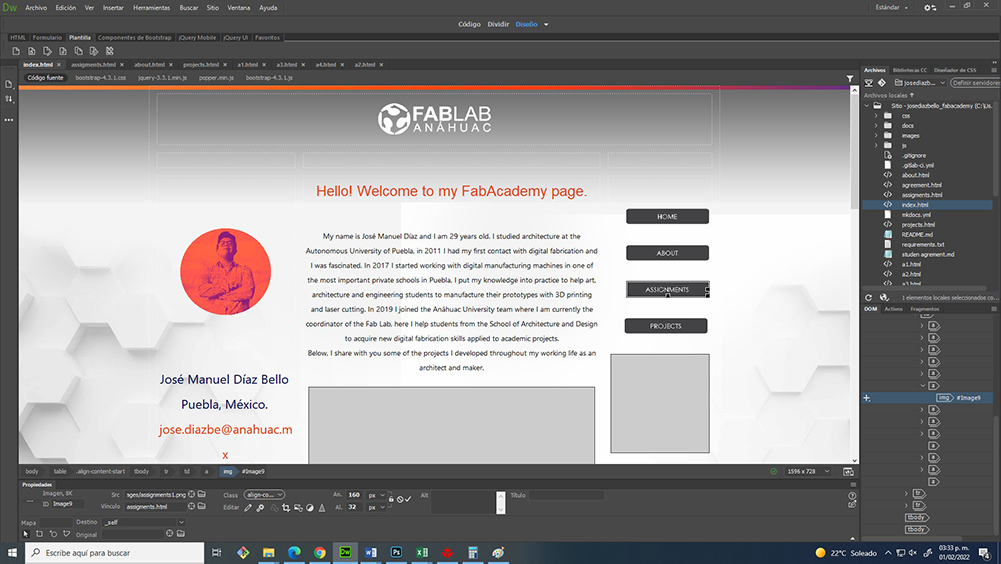
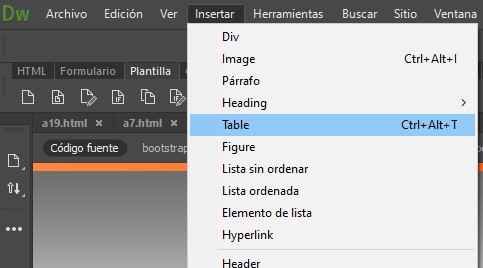
R1. After creating the background, the next step is to customize the structure of the pages, for this the insert table tool is very useful, because in this way I designed the general structure of the page
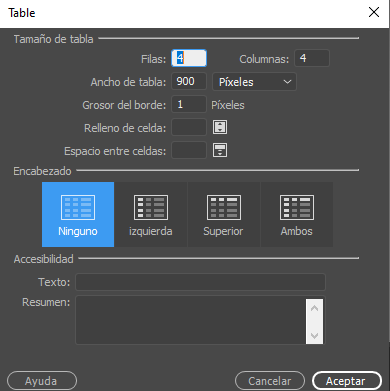
R2. In the popup window we must select the number of columns and rows, as well as the thickness of the border between each section.
R3. Then the program will allow us to edit the size of the elements from the black nodes with the visual interface.
With the properties bar at the bottom, we can modify the alignment of texts, typography and background of each section. We can also combine cells if the design requires it.

R4. After configuring the section design we can start writing the content we want directly on the graphical interface.
In my case I started to import the images that would go on all the pages as the logo of my Fab Lab, for this I used the insert image tool and select the location from the root of the web.
R5. You can change the size from the visual interface
R6. Or from the developer interface in the following lines

R7. It is very useful that, when clicking on some element of the graphic interface, the cursor is positioned on the line of code that corresponds to it.
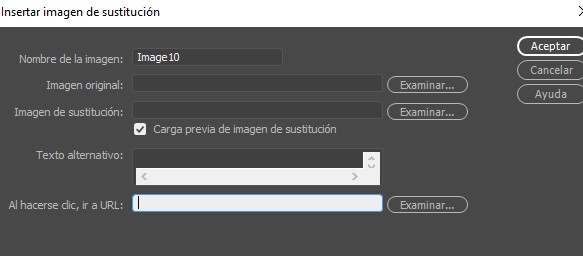
For the side buttons, I used a very interesting effect that is made with two images of the same size with slight variations, what it does is that when you hover over the button the element changes to the next image so I got my side buttons to change color.
The steps are as follows, >> Insert >> HTML >> Substitution Image >> Select the two images and the destination in the URL section (It can be another html of the page or some website)
R8. In the URL we select which page the button will direct.
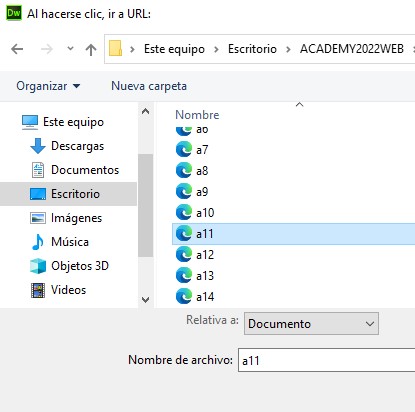
R9. To insert hyperlinks, the process is as follows: >> We select the text from the graphical interface >> Insert >> Hyperlink
With this same tool we can add downloadable elements by referencing the location of the element within the website folder.
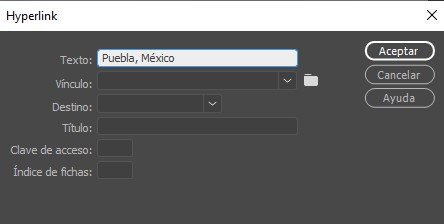
R10. Link can be any page of the site or the URL of a website.
To embed Web elements such as videos or 360 models we must go to the programming interface and select the line where we want to import the element, then we must paste the embed code.

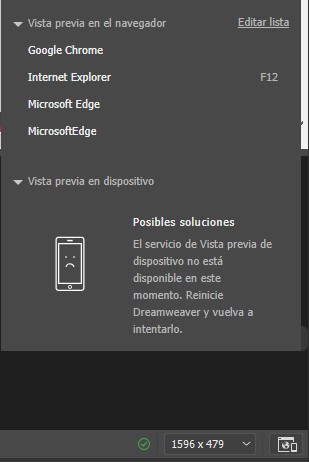
R11. We can preview each update in the web browser using this button.
Ready! Now I have a web page that seems to work, at least in the preview, the next step will be to clone my html code to the repository assigned to us by the Fab Academy coordination.
So we need to install Git on the computer, the executable file can be downloaded from its official Git Bash page.
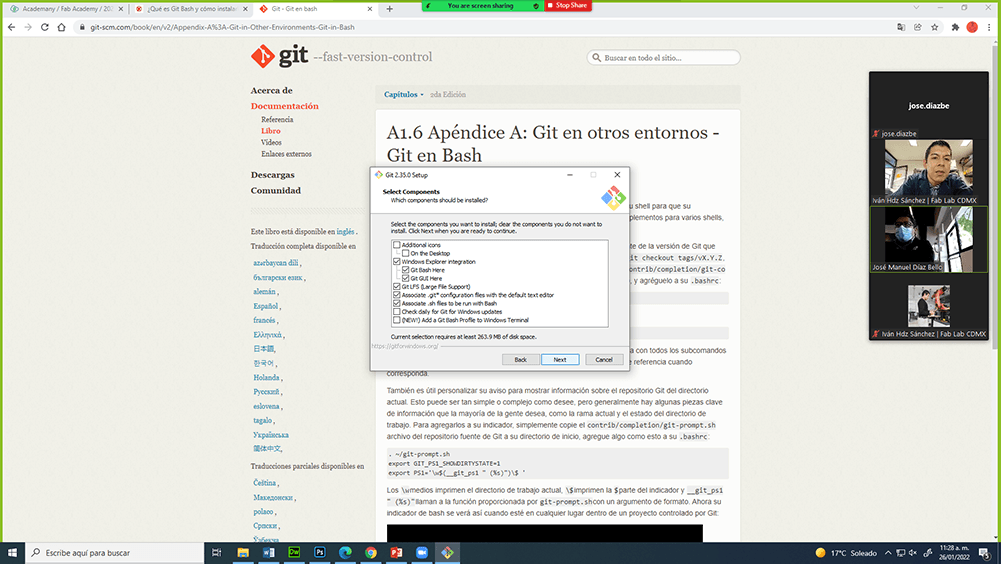
With this software we will communicate our local file with the GitLab repository.
The first step will be to Create our SHH-Key, at first it took me a bit of work to understand the concept, but basically it is a digital key with which we will have access to our repository.
For the following steps, Elena Cardiel's tutorial was very useful, in addition to the support of my local advisor, Iván Hernandez.
1.- First step: identify ourselves. Type git config –-global user.name “your_username” and press enter and then type git config -–global user.email “your_email” and press enter again. In this step Git Bash don’t give us any response. (Please use the same credentials that you use for GitLab)
2.- Second step: check if we already have a SSH-Key. Type cat ~/.ssh/id_rsa.pub (If you see a long string starting with ssh-rsa that means that you already have a key so you can skip the next step).
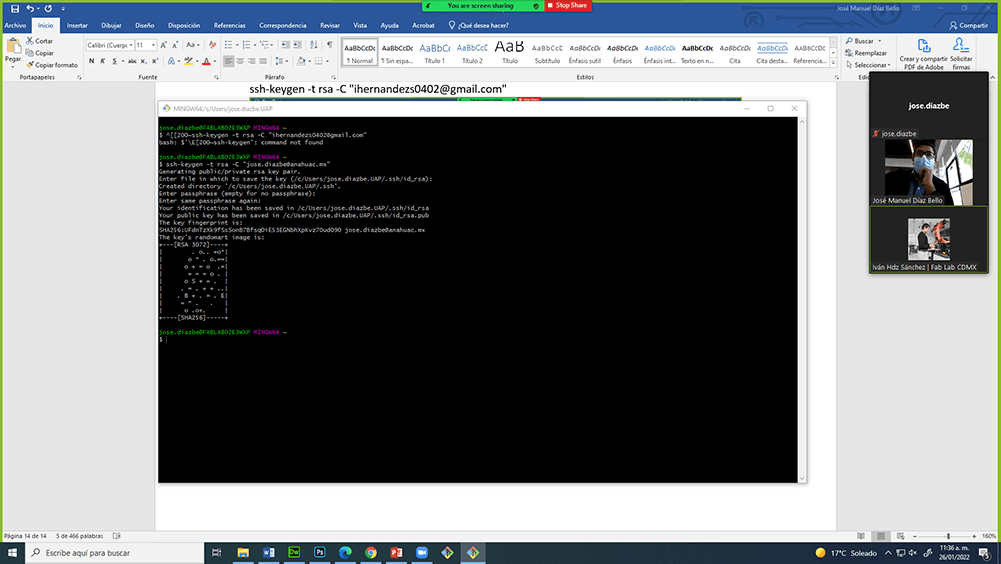
3.- Third step: generate our SSH-Key. type ssh-keygen -t rsa -C “your_email”. Here we press enter until you see your “key’s randomart image”.
4.- Fourth step. Let’s see our public key. Type cat ~/.ssh/id_rsa.pub and that huge string is our key.
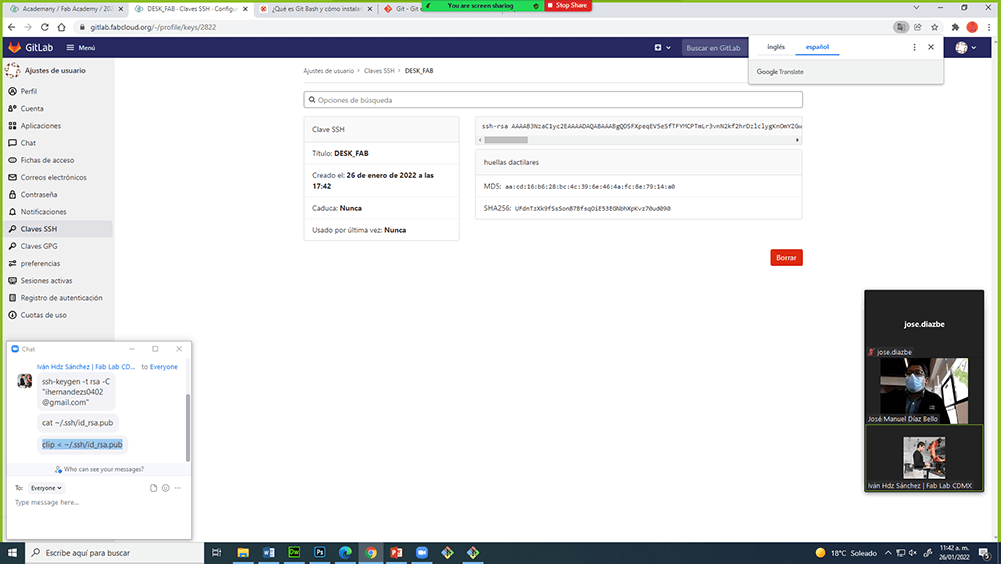
In the SSH Section we can add our SSH key.
Here you can choose the expiration of the key or delete old keys.
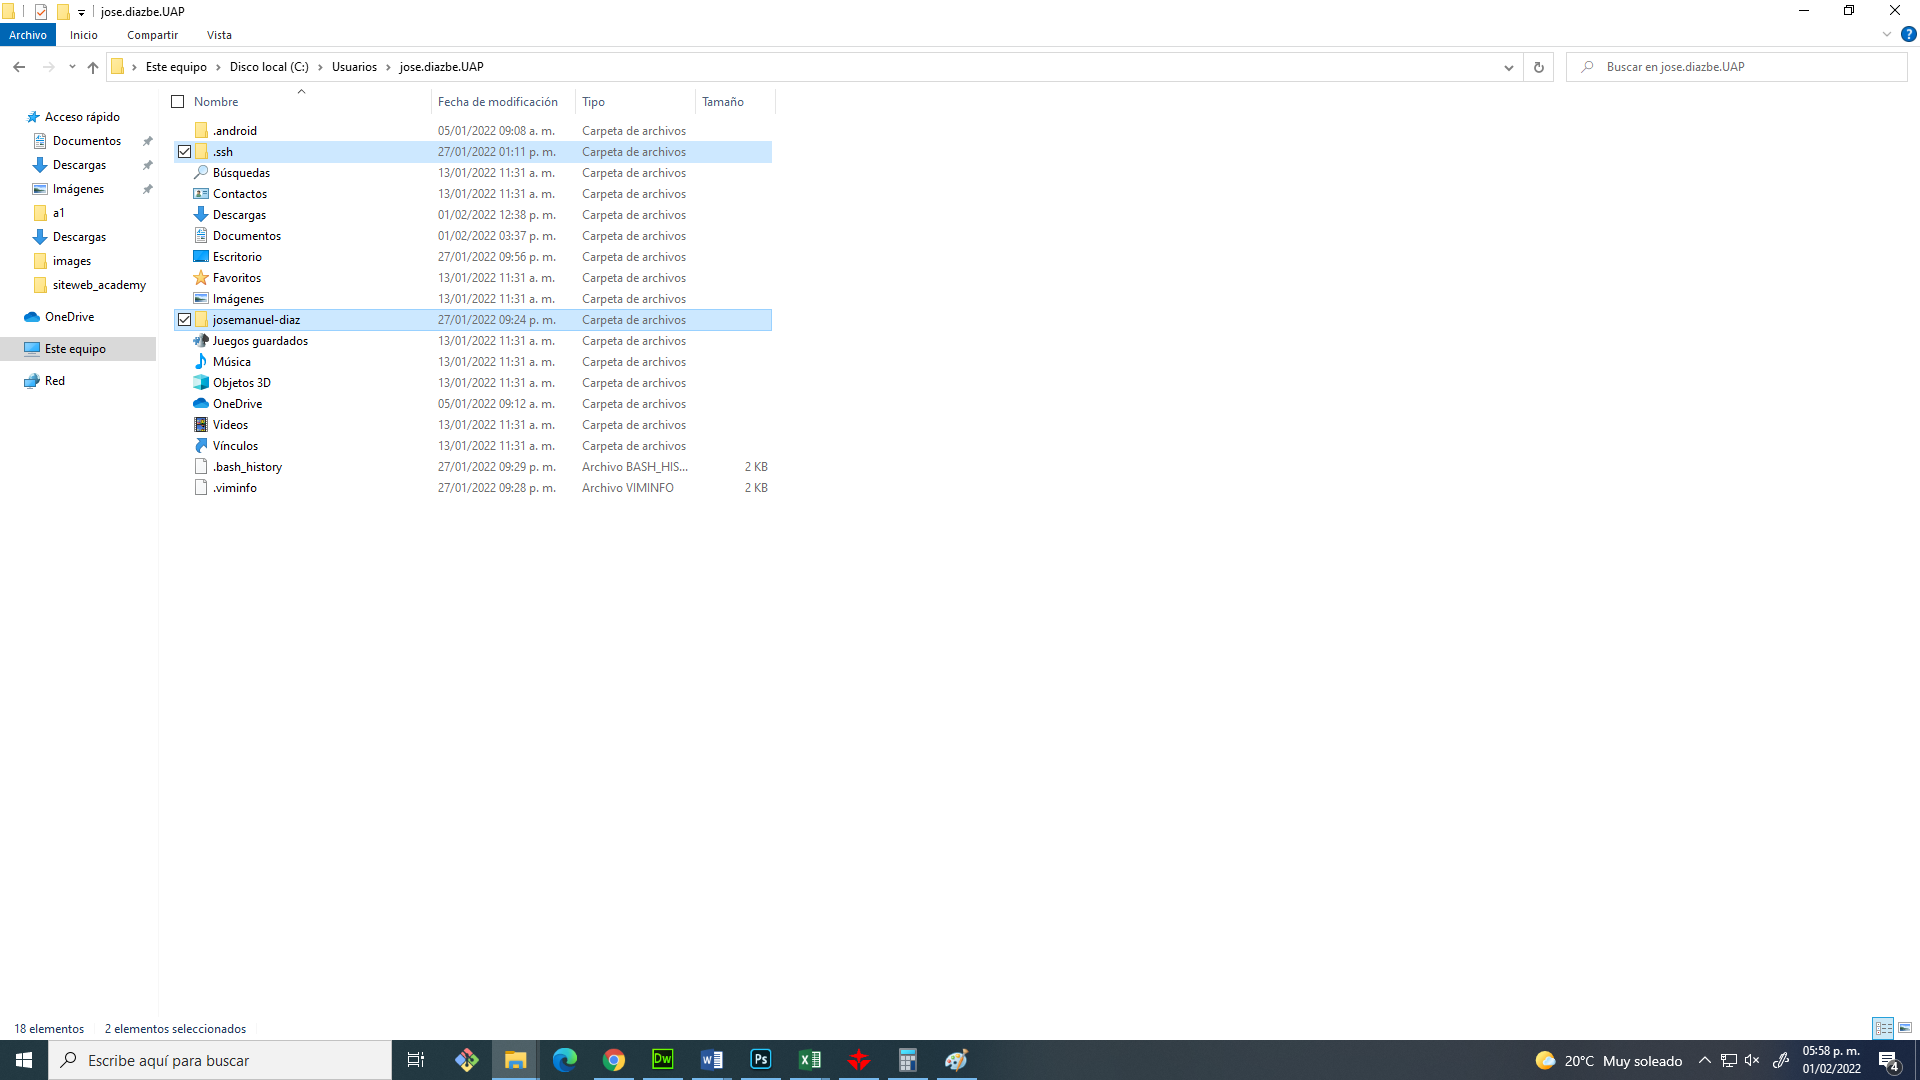
In our user folder, two new files were created: the .ssh where our key is, and a folder with our Fab Academy username, that is where we will copy the folder of our website.
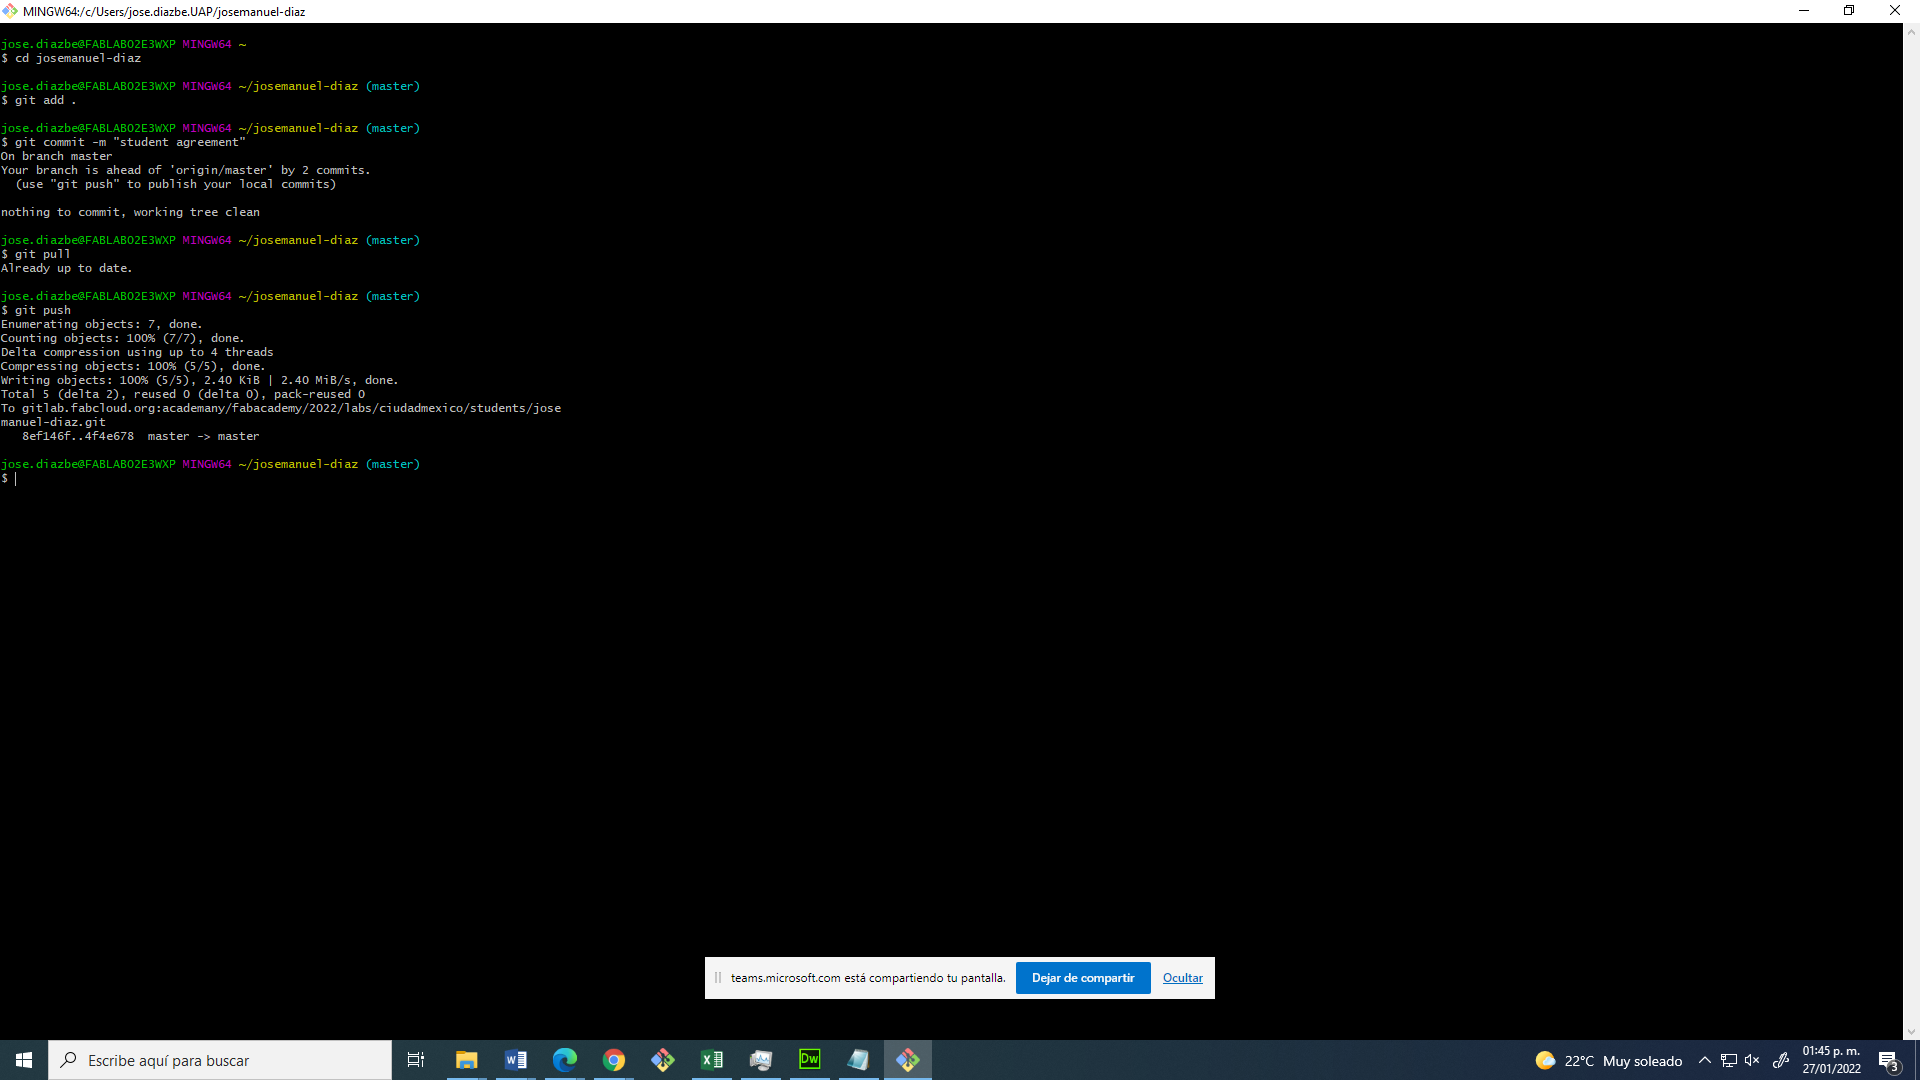
Finally we have to commit our page, that is tell git that we want to confirm that the local file will be uploaded to the online repository.
The commands that we have to use for this step are the following:
$ cd “user”
$ git add .
$ git commit -m "student agreement"
$ git pull
$ git push
Copyright 2022 Jose Manuel Diaz Bello