Week9- Molding and Casting
Introduction
This week was very very hectic as I had to complete all the overdue assignments which was stuck because of the lock-down.
Assignment
group project:
- review the safety data sheets for each of your molding and casting materials, then make and compare test casts with each of them
- extra credit: try other molding and casting processes
individual assignment:
- design a mold around the stock and tooling that you'll be using, mill it (rough cut + three-axis finish cut) and use it to cast parts
- extra credit: use more then two mold parts
Group assignment
The group assignment is here
Molding and casting
Machine: Roland SRM20
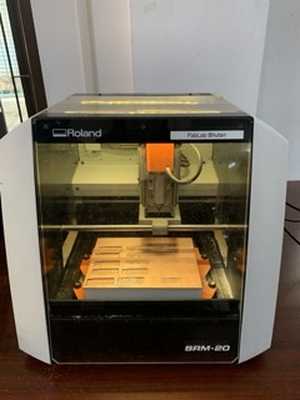
Software used: Modela player-4, Vpanel for SRM-20 and Fusion 360
Designing
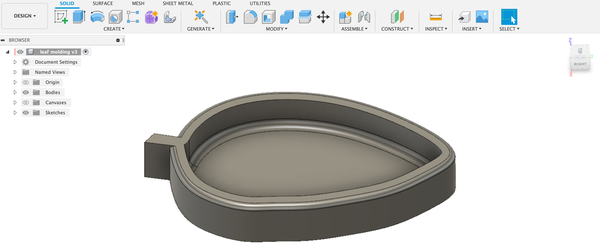
For the molding and casting week, I wanted to design a small holder where I can keep my ear-rings, so I would not lose it every time. I designed using Fusion 360.
In Fusion, I used the function insert convases to lay a image and then draw the leaf pattern on top of it.
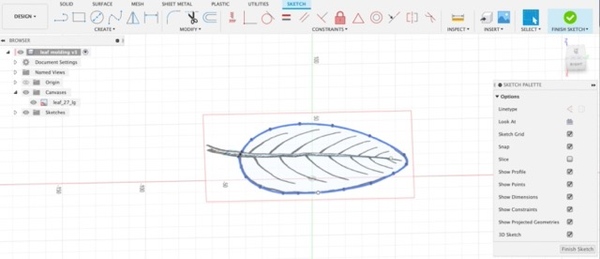
To draw the pattern, I spline-> fit point spline to create the pattern on top of the image.
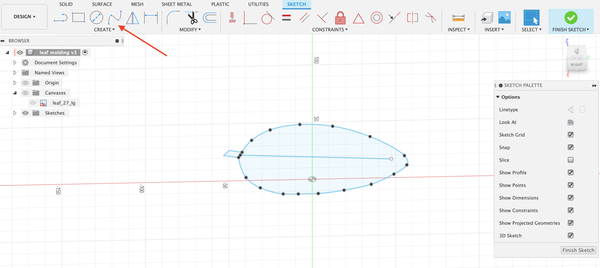
Using the pattern, I created a leaf design holder to help me organize my things. I used fillet to make the surface smooth. I saved the file in stl format.
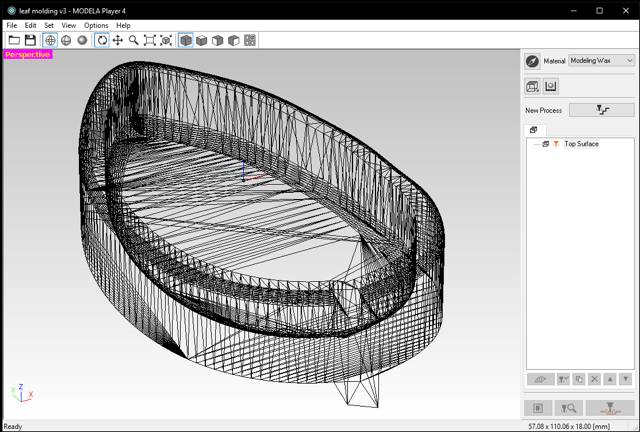
The design:
Modela player
-
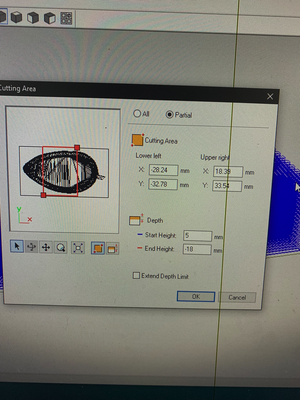
Open the modela player. Go to file-> Open-> your file (file format should be in stl)
-
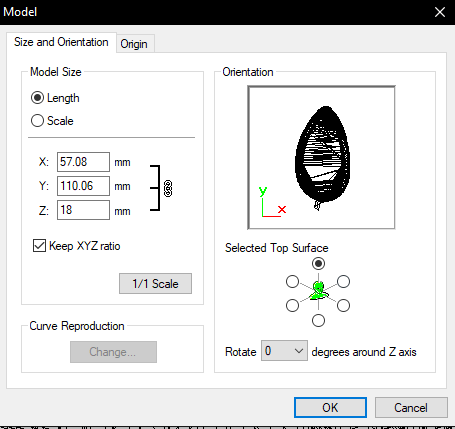
Click on model on the right side. In the size and orientation, we can check the size- length, width and height.
-
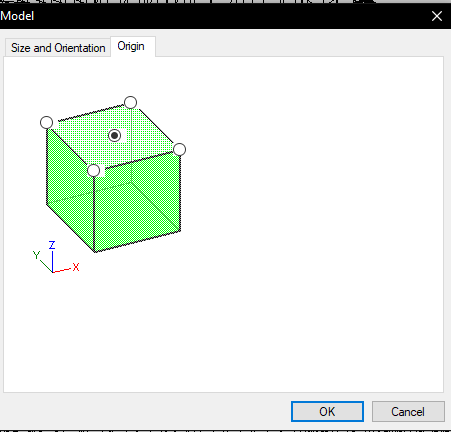
Under model, select the origin.
-
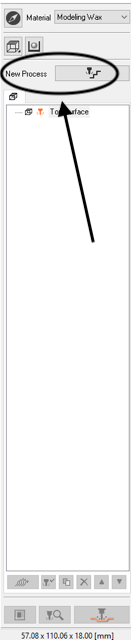
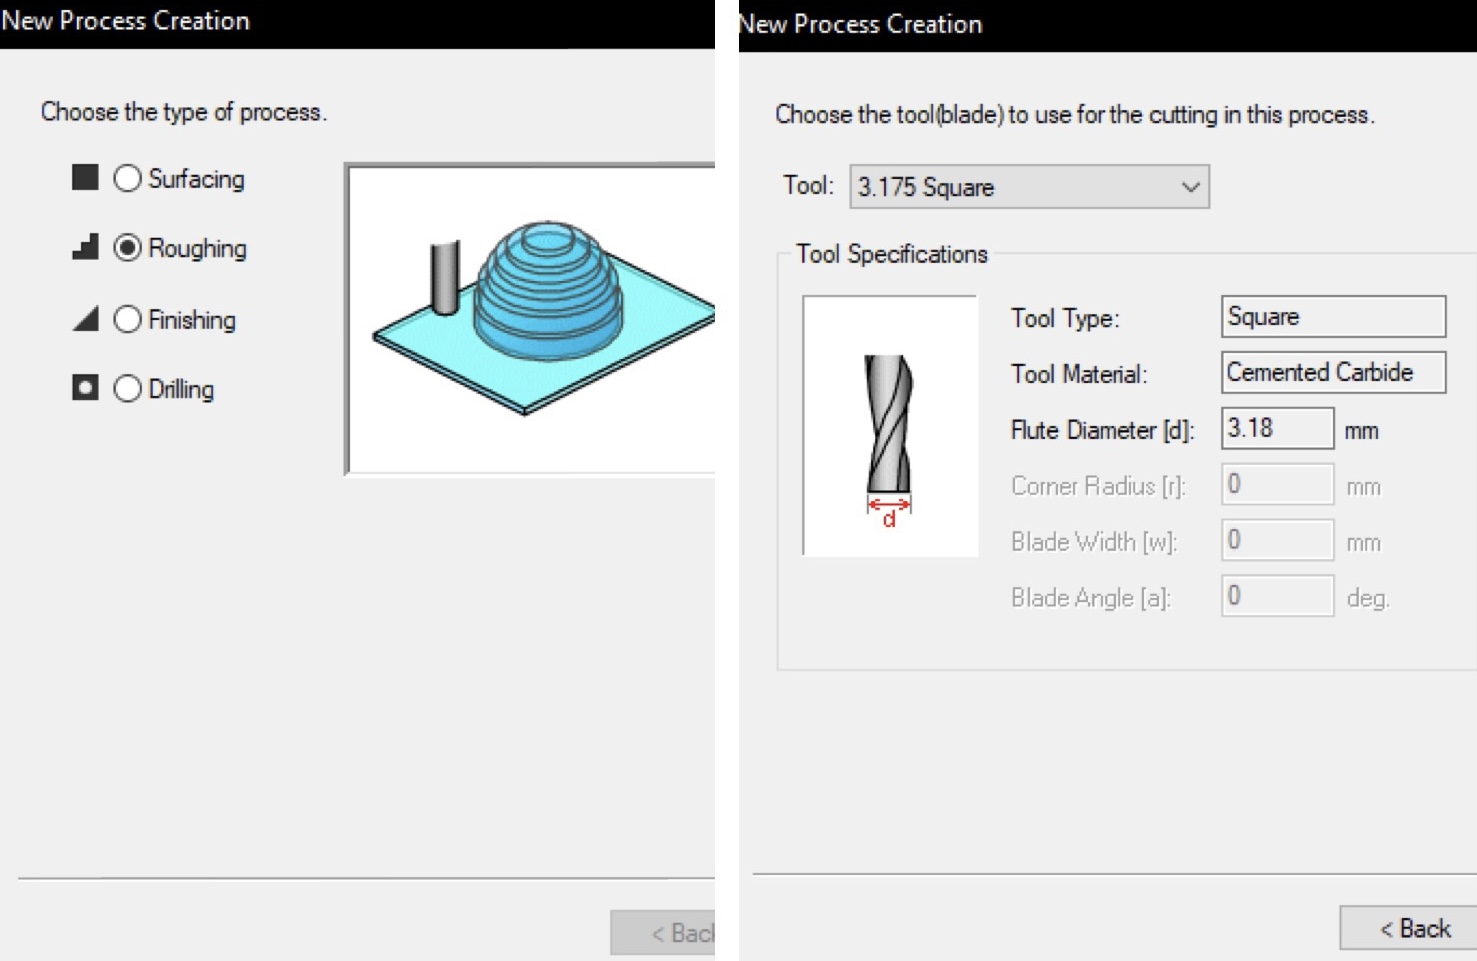
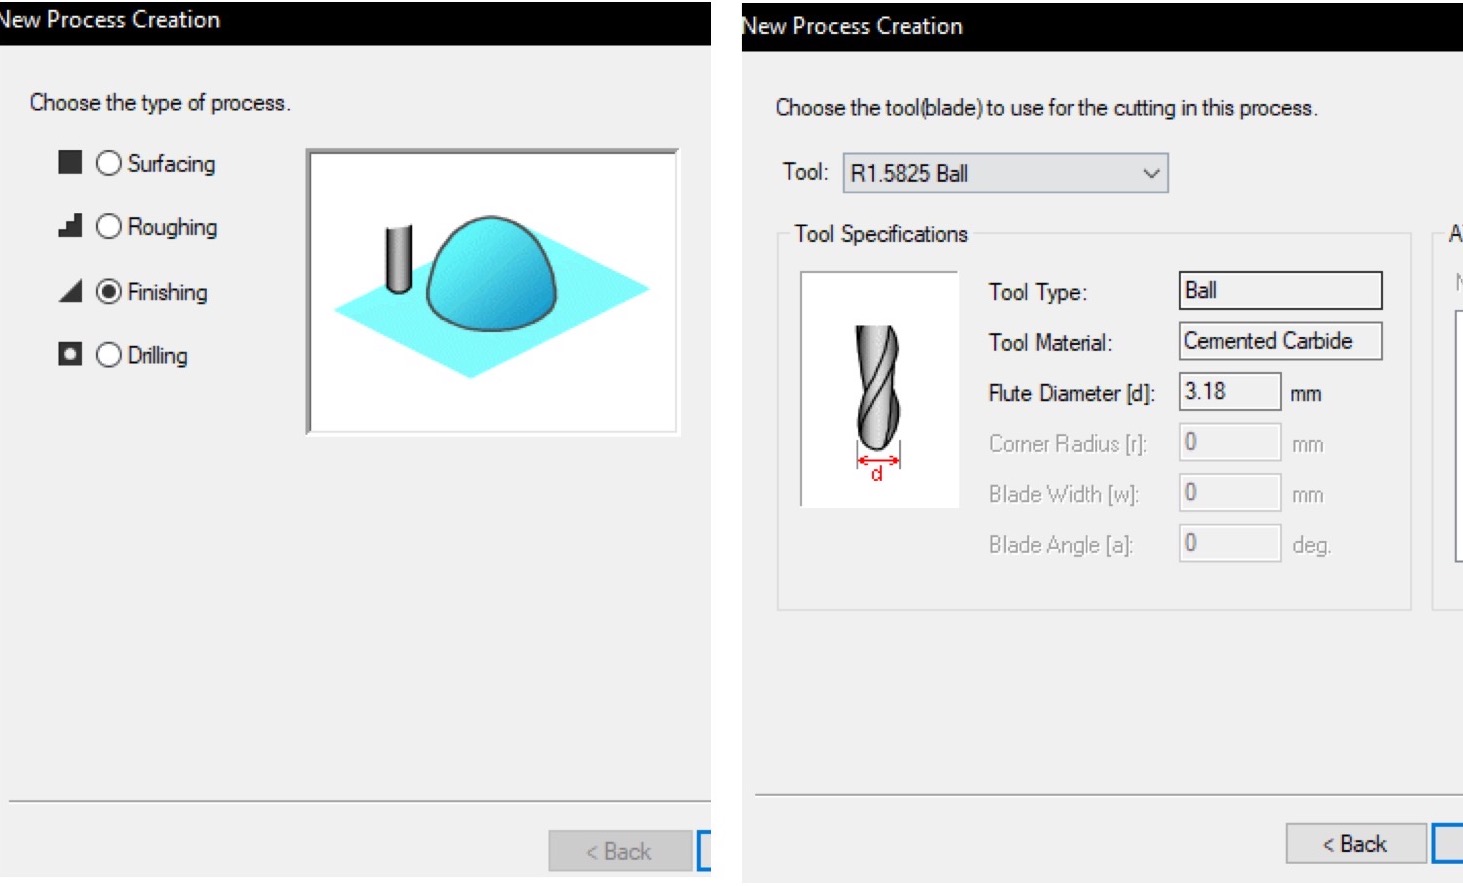
Click on New process
-
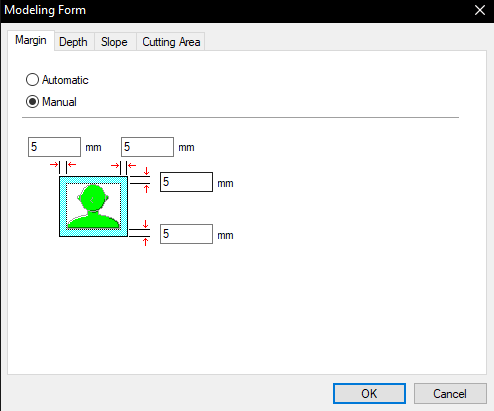
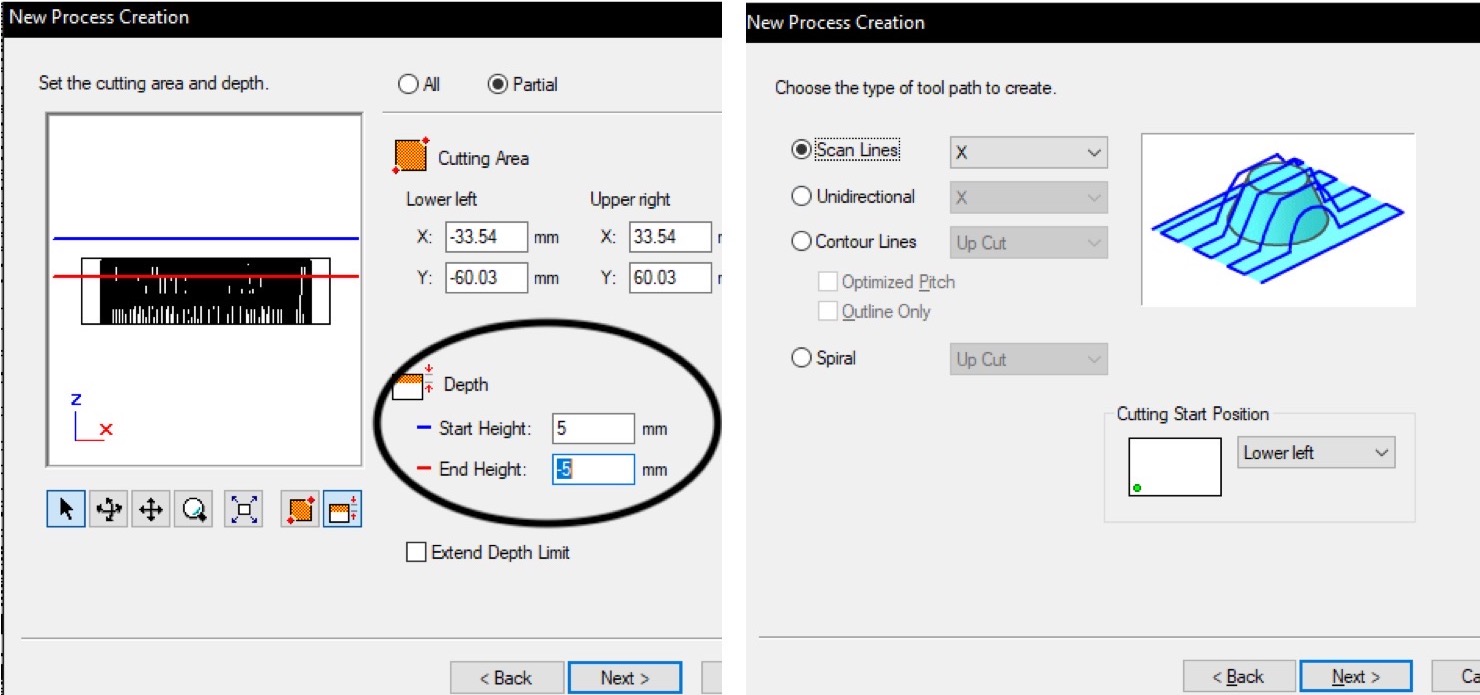
We keep a 5mm spacing around the object to have space in the molding process.
-
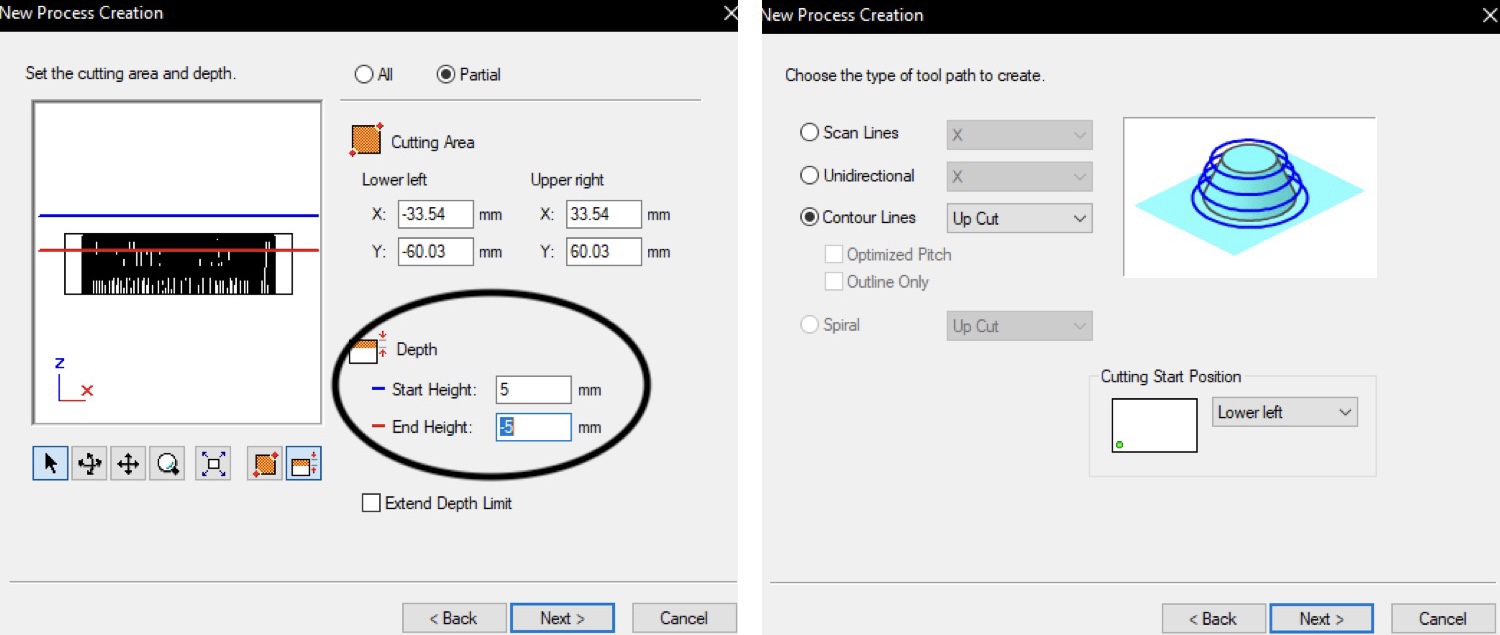
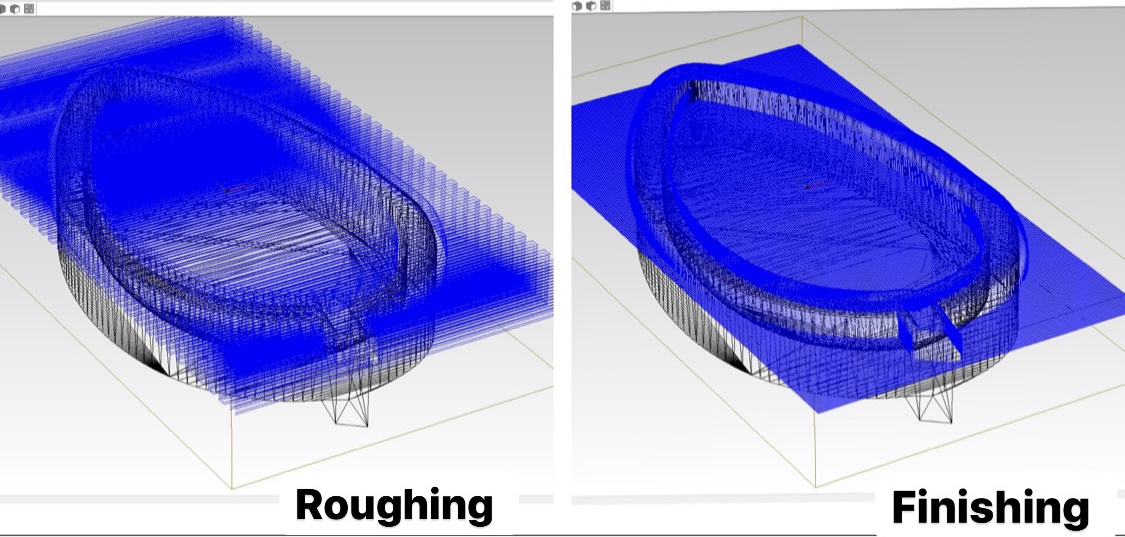
To do the roughing,
-
To do the finishing,
-
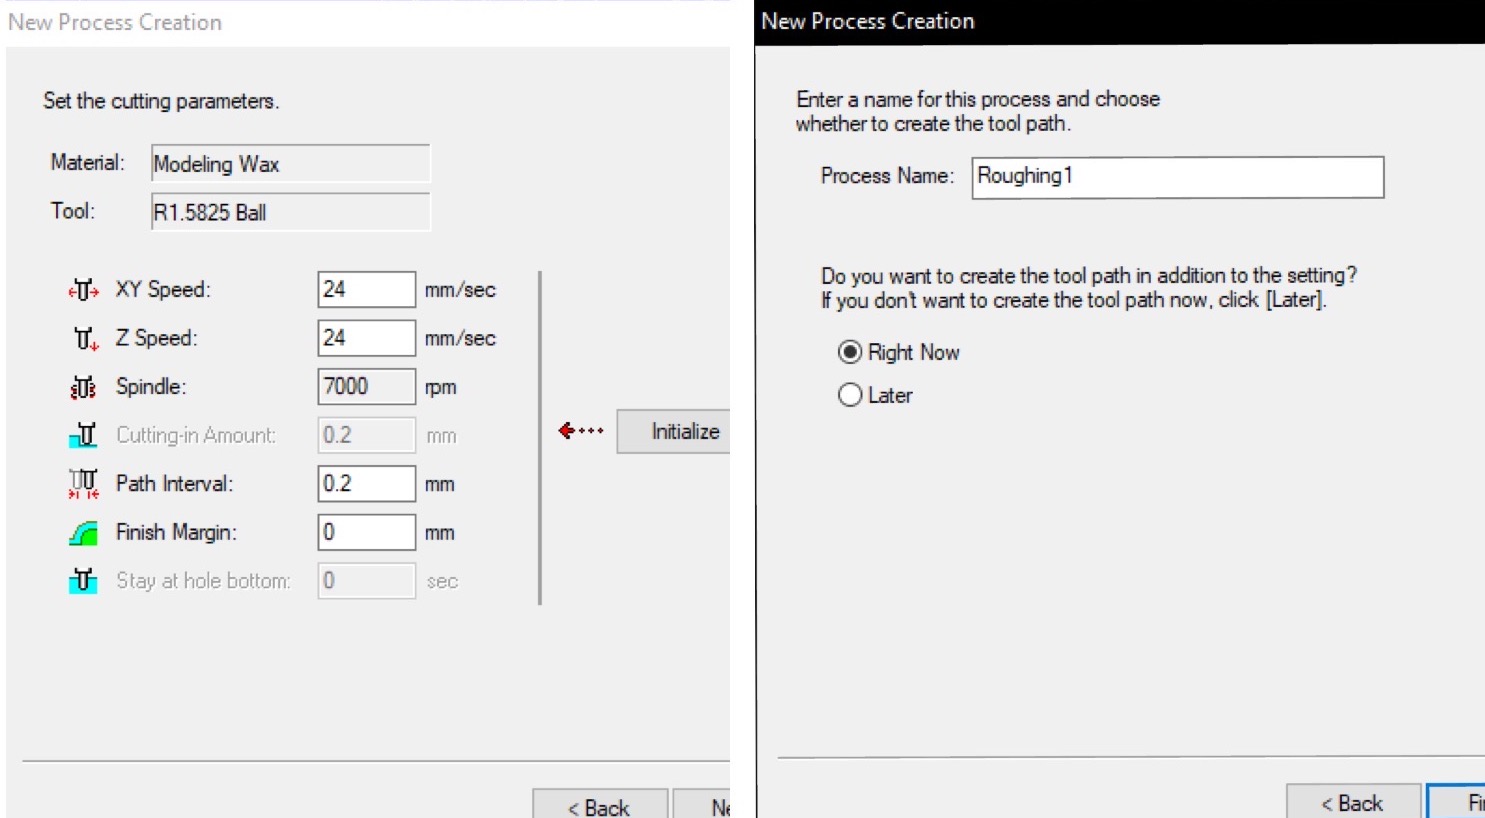
Click on cut to preview toolpath
Milling the molding board
Using the Modela player-4, I converted the stl file format to prn file format to fed to Vpanel for SRM20.
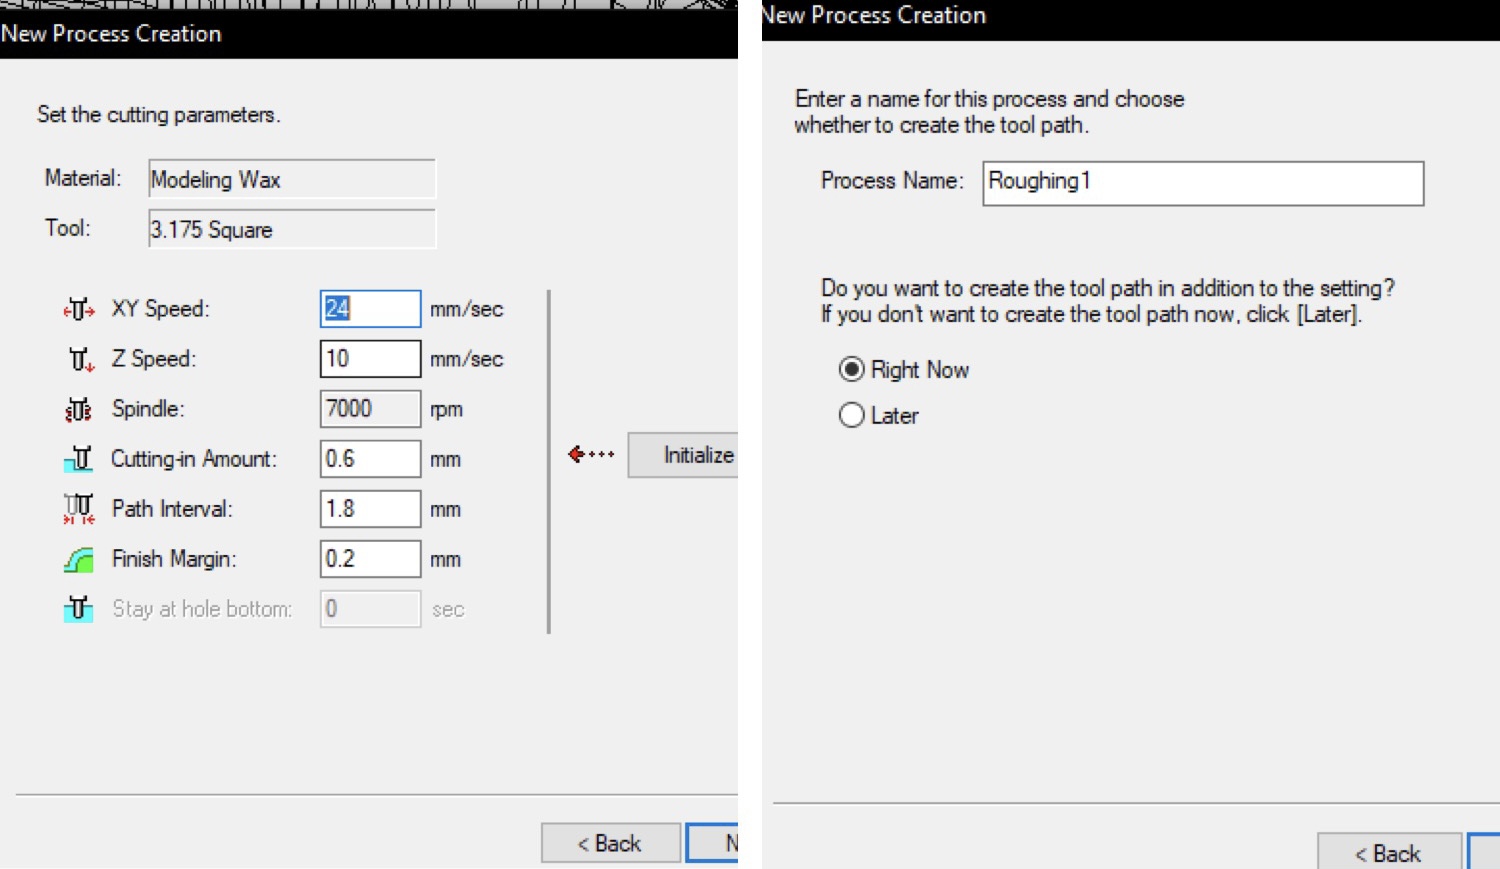
In the Modela player-4, I made 2 files- roughing and finishing file.
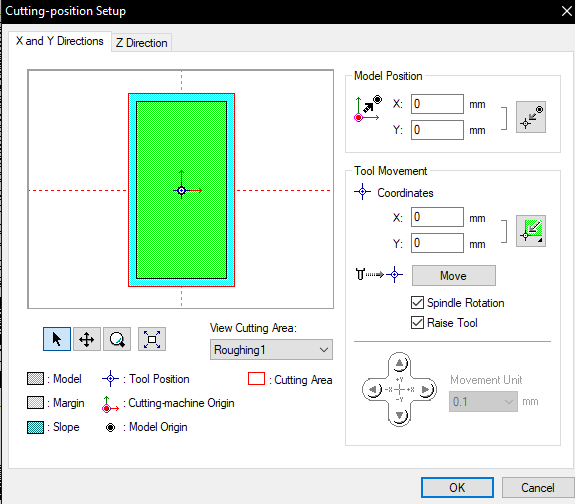
#Note: Set the z-axis 5mm above the surface
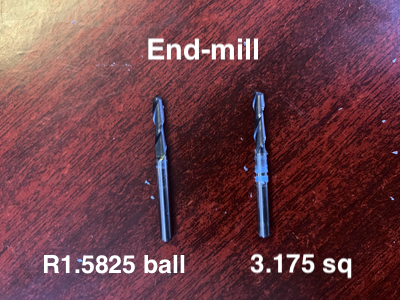
We use 2 kinds of end-mill, 3.175sq for roughing and R1.5825 ball for finishing.
1st attempt
After milling the rough file and when giving command to mill the finish file, the end-mill directly inserted the whole body and the milling stopped.

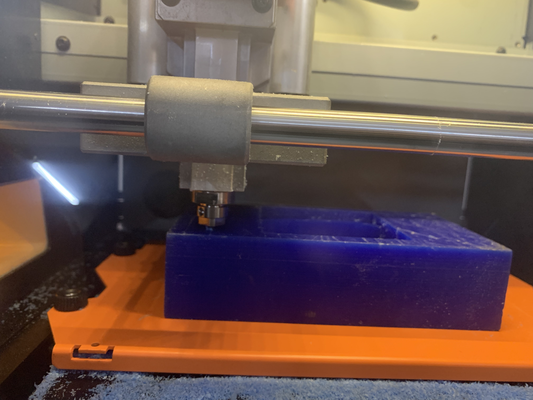
So, I stopped the operation and opened the milling machine just to see that after milling for more than 3 hours, my molding turned out this way. The left and right side of the design was cropped out.
Troubleshooting
-
I rechecked my designed and it was okay.
-
I checked all the parameters while setting the prn file and noticed that while selecting the xy-axis, I chose only certain part and not the full which resulted in milling only certain parts.
Second attempt
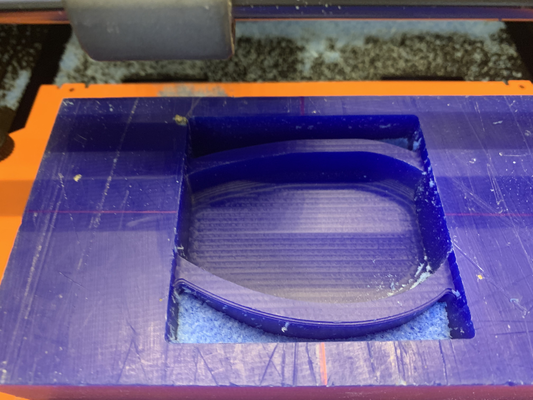
So, I choose the xy-axis that covers my whole design and saved the roughing and finishing file again and commanded the SRM20 to mill again using the same molding board. The second attempted was successful.
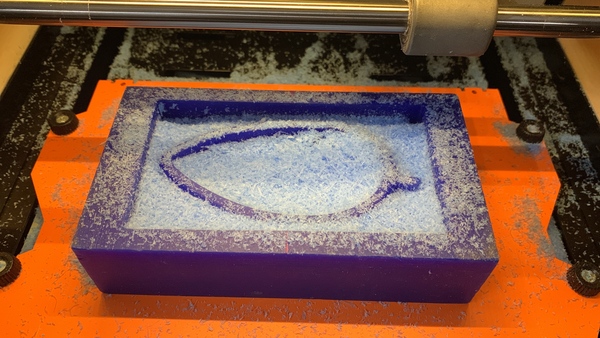
After milling the board
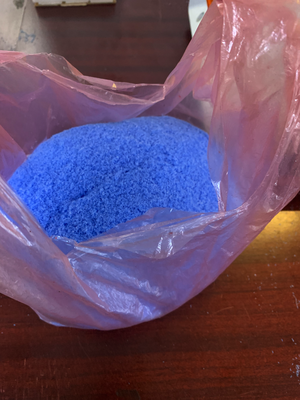
Make sure not to throw the dust/waste from milling the molding board as it can be heated and re-used to make another molding board.
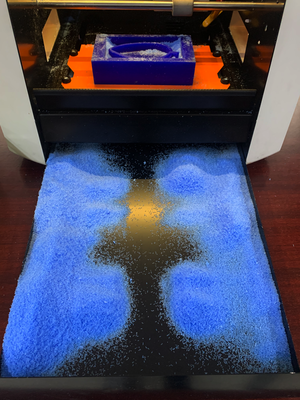
Collect it in a plastic bag.
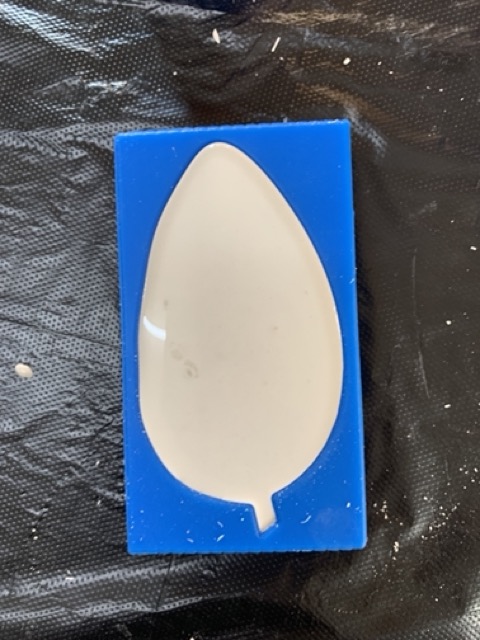
Molding
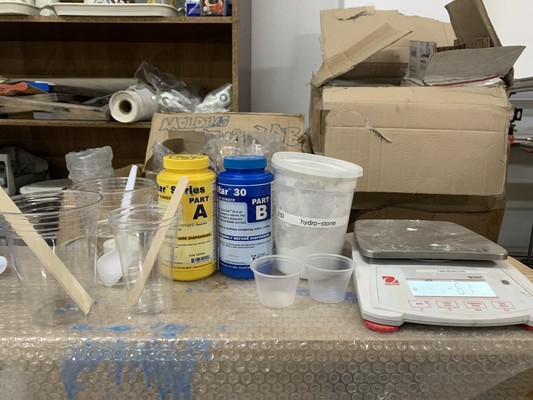
Materials required:
Steps:
-
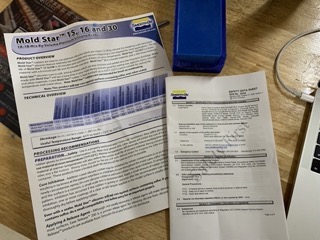
Always read the datasheet and the safety precautions before starting any work. The datasheet are provided along with the silicon mold.
-
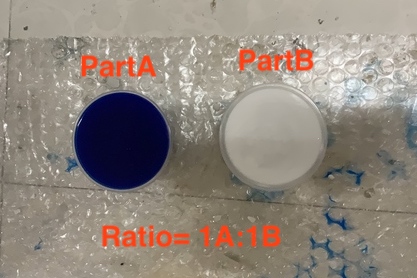
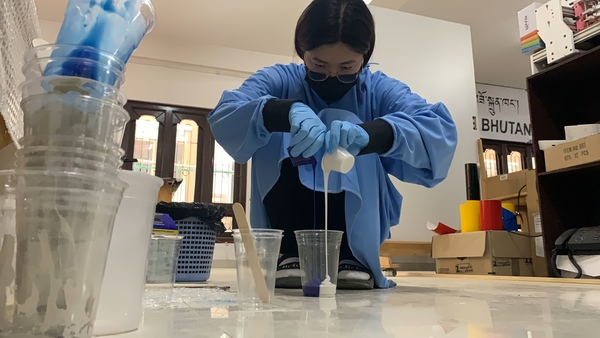
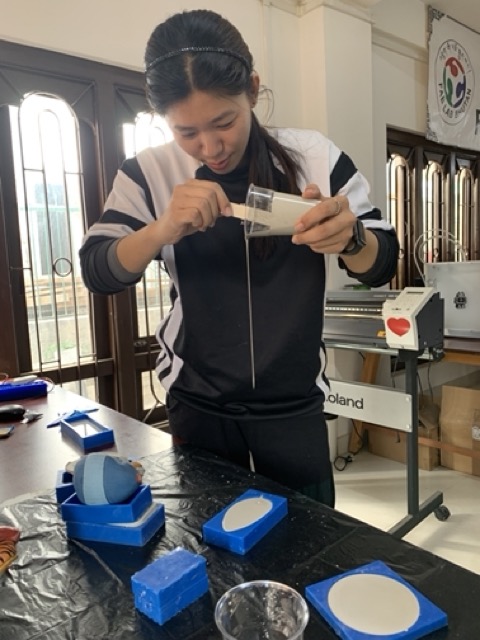
Pour 1A:1B ratio by volume in a plastic cup and mix thoroughly.
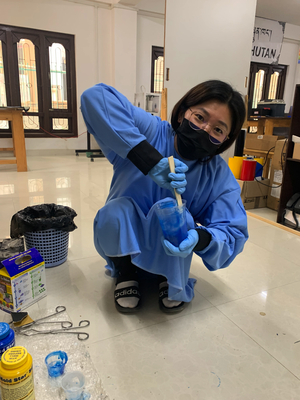
-
Pour over the molding board slowly to prevent any air bubbles from occuring.
-
Tab the moolding board to let out any air bubbles trapped inside.
-
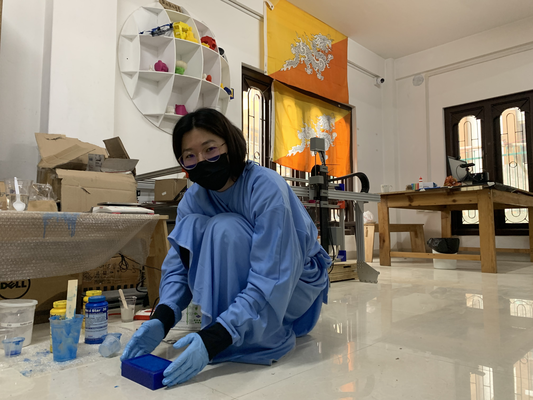
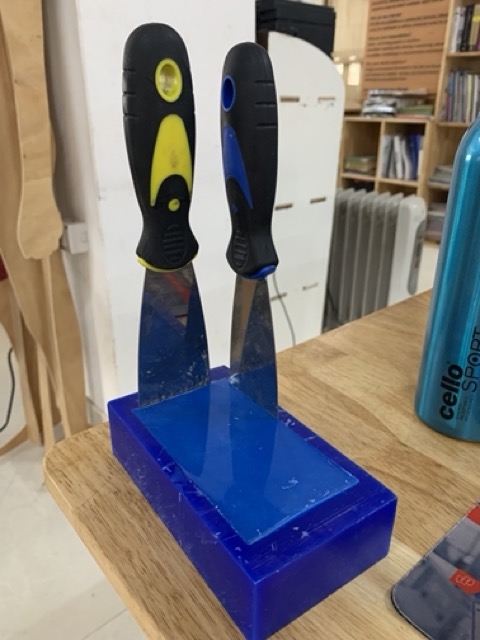
Now, let the molding board to dry and harden which I kept for overnight. Actually it should be drying soon but then I had bad batch of silicon mold which had to be kept overnight to dry and harden. I inserted the spatula on all the sides so the mold would loosen and then took out the mold.
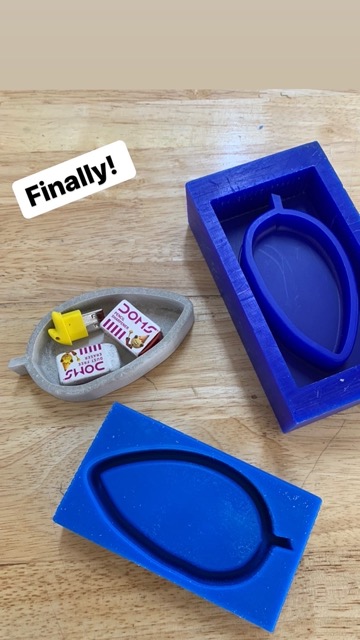
Casting
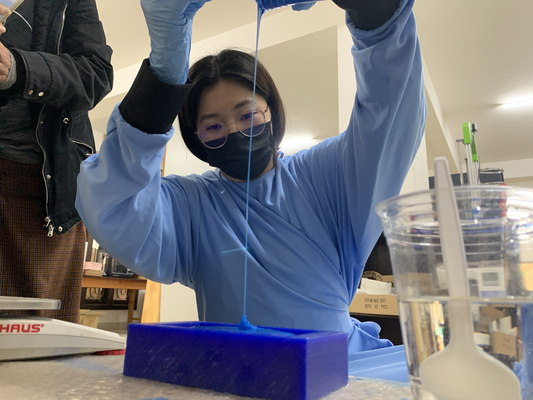
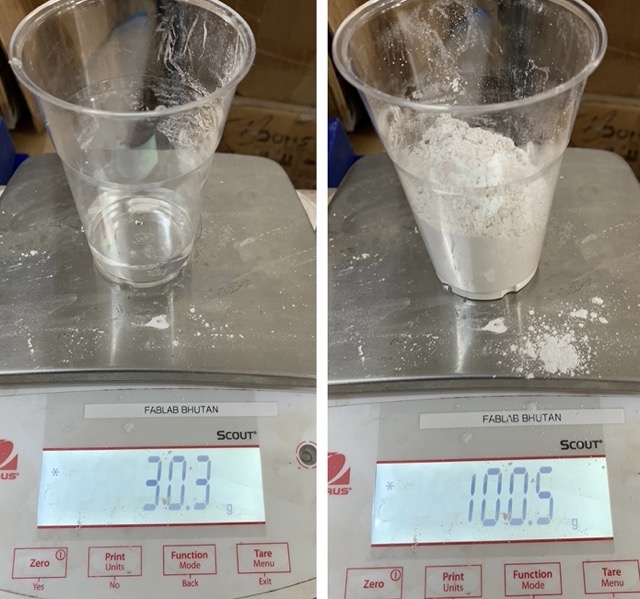
I used hydro-stone and water mixture to create the casting. Make sure to measure using measuring scale to get precise measurements for the ratio and it should be 100:30 (hydro-stone 100 and water 30).
Slowly pour the mixture on top of the silicon mold to prevent air bubbles from entering and then let it try. Drying of casting took much less time than drying of molding. So, casting was much faster process than molding.
Final product
Design file
Leaf designed in Fusion360- STL format