Week 3- Computer controlled cutting
Assignments:
- Group assignment:
- characterize your laser cutter, making test part(s) that vary cutting settings and dimensions
- Individual assignment:
- cut something on the vinyl cutter
- design, lasercut and document a parametric press-fit construction kit
Group assignemnt
Material test with laser cutter
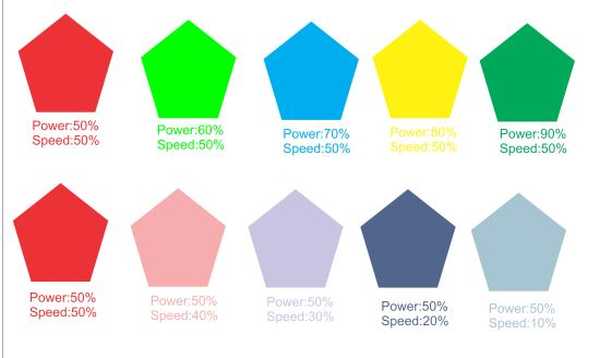
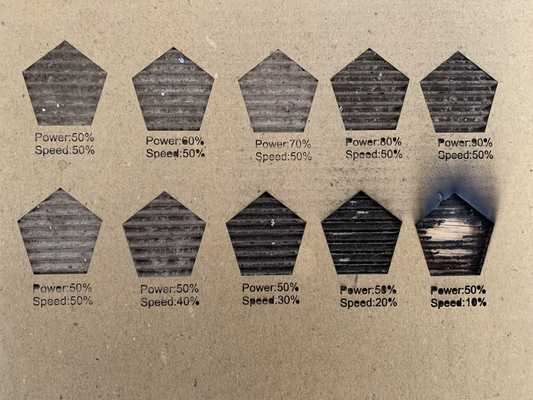
For this assignment, I wanted to check the results of different laser settings. For the first set, I kept the speed constant and changed the power settings and for the second set, I kept the power constant and changed the speed settings.
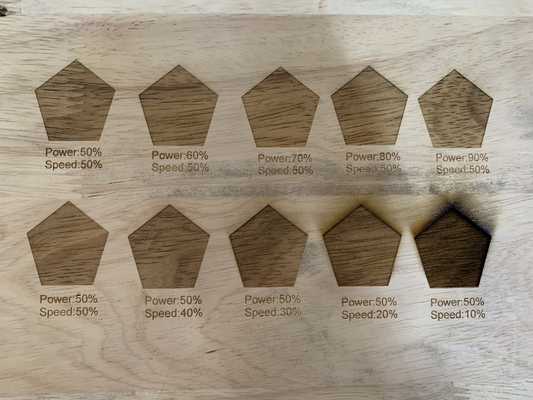
First I tested the laser cutter with different settings on rubber wood but as the rubberwood is quite thick, I couldn't see much difference when the speed was constant but the power settings were changed. When the power was kept constant and speed was varied, we can clearly see the results even in the rubberwood.
As on the first set we couldn't see much difference when tested on rubberwood, so the second time I tried the laser cutting setting on cardboard. Here we can see the difference when different settings are set.
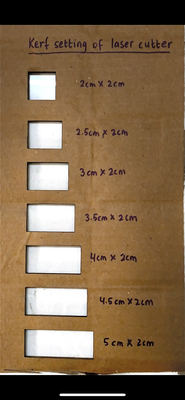
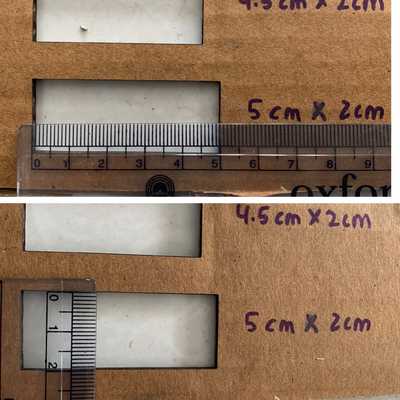
To test the kerf of laser cutter
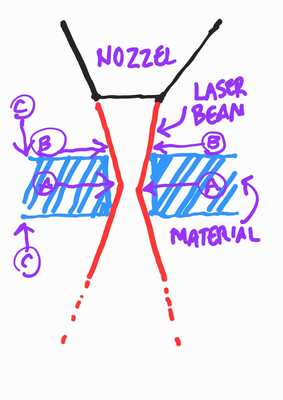
Mr.Rico, taught us about the kerf of laser cutter with this simple diagram AA is the narrowest part of the beam. BB is where the laser cutter cuts because of material thickness. CC is the material thickness These factors as well as laser speed & power settings determines Kerf Kerf is BB in the above diagram. Kerf is the amount of material burned away by the laser beam