Week two
Yay!!!! I survived the first week of FabAcademy 😃 But week2 has been a real challenge as currently my country is under lockdown. On top of that, Bhutan received the heaviest snowfall and because of the snow, the power and the communication system was affected for 2 days. I couldn't attend online classes nor work on my documentation.
Computer aided design
This week, we were introduced to many softwares and asked to try them. During pre-fabacademy and fabZero, i learnt some basics on some of those softwares but this week i intend to explore more and deeper.
So i decided to go with the following softwares
- For 2D design software= Inkscape and GIMP
- For 3D design software= Fusion 360
- For image editing software= Inkscape and imagemagick
- For video editing software= Losslesscut
2D design
1. Fusion360
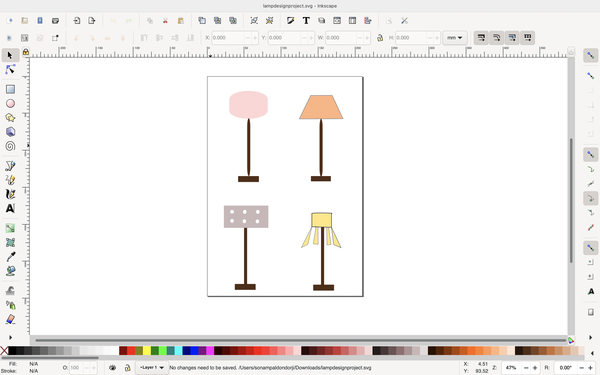
For this assignment I will design the idea of my final project (which I have changed four times already) on inkscape. Inkscape is an open source software.
I wanted to draw different designs for lamps. First I drew the geometric forms for the different elements of the project. Inkscape was introduced to me during prefabacademy and fabZero, I youtubed tutorials as well.
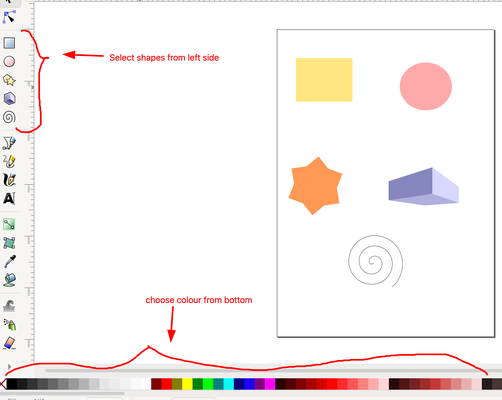
Basic Navigation
Pan the page: spacebar + move the mouse Zoom in: + Zoom out: – Zoom 100%: 1
Frequently Used Tools
Select: S Rectangle: R Ellipse: E Bezier pen: B Edit paths by nodes: N Color picker: D Text: T Gradients: G
Path Functions
Convert object to path: Ctrl + Shift + C Convert stroke to path: Ctrl + Alt + C Union: Ctrl + Shift + + Break Apart: Ctrl + Shift + K Difference: Ctrl + Shift + – Intersection: Ctrl + Shift + 8 Cut Path: Ctrl + Alt + /
Functions
Flip object vertically: V Flip object horizontally: H Group selected objects: Ctrl + G Ungroup selected objects: Shift + Ctrl + G Lower Selection One Step: Page Down Lower Selection to the Bottom: End Raise Selection One Step: Page Up Raise Selection to the Top: Home
I started creating some designs for lamps on inkscape. The designs are first draft only and not finalized.
2. GIMP
GIMP is a free and open-source raster graphics editor used for image manipulation and image editing, free-form drawing, transcoding between different image file formats, and more specialized tasks. It is not designed to be used for drawing.
Shortcut keys for toolbox in GIMP
- Rect Select- R
- Ellipse Select- E
- Free Select- F
- Fuzzy Select- U
- Select By Color- Shift+O
- Scissors- I
- Paths- B
- Color Picker- O
- Move- M
- Crop and Resize- Shift+C
- Rotate- Shift + R
- Scale- Shift + T
- Shear- Shift + S
- Perspective- Shift +P
- Flip- Shift + F
- Text- T
- Bucket fill- Shift + B
- Blend- L
- Pencil- N
- Paintbrush- P
- Eraser- Shift + E
- Airbrush- A
- Ink- K
- Clone- C
- Convolve- V
- Smudge- S
- Dodge/Burn- Shift + D
- Swap color- X
- Default colors- D
To design on GIMP
- Click on file-> new-> set the parameters
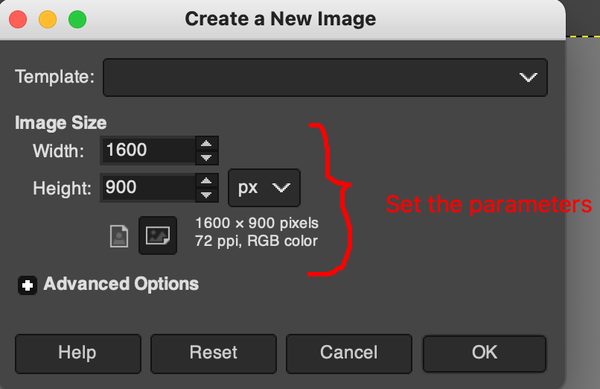
- Choose the background color
- Add another layer to add text. To add layers, Click on layer->new layer.
- After adding the new layer, Click on A on the left side to add text.
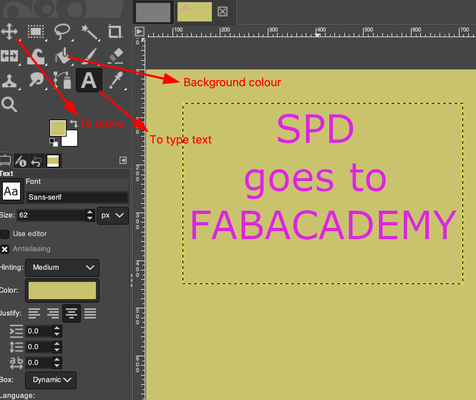
- To save, click on file-> Export as and save the image in png format.
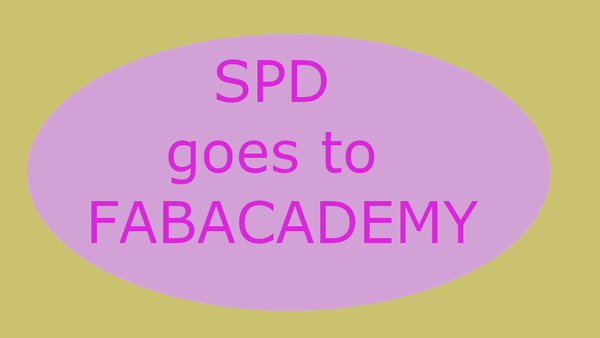
The design file: 3D in Gimp
3D design
1. Fusion 360
I used the fusion 360 version for hobbyists during prefabacademy and decided to use fusion360 for drawing the designs of lamps in 3D design. Now thanks to fabacademy, i got a free license for the Fusion 360 education. Fusion 360 is new to me and I had to go through several tutorials to learn about the software.
As there are so many tutorials on fusion 360 online, here are some of the tutorials which i think was informative and useful: Tutorial 1 tutorial 2
Basic steps:
-
First download the fusion 360 and install Fusion360
-
User Interface a. Top-left menu bar i. data panel ii. file button iii. save button iv. undo/redo
b. Mode selecter Under the design button, you have
- design
- render
- animation
- manufacture
- drawing
-
Design
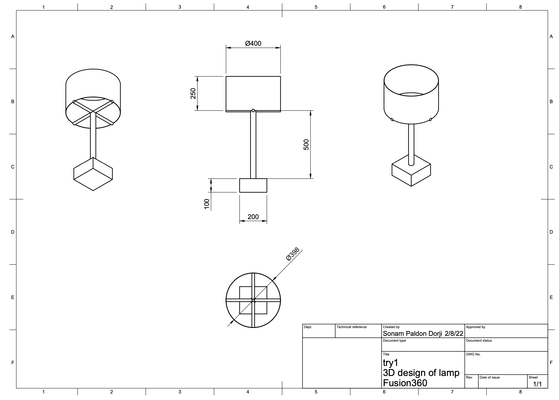
For the 3D design project, i wanted to design a lamp which is a part of my final project. I first started by drawing the base of the lamp, then i drew the stand of the lamp and finally the lamp head holder design.
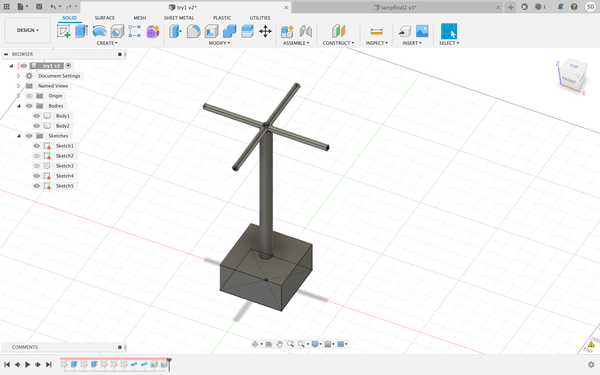
Next i drew the lamp head. i kept the base of the lamp, stand of the lamp and lamp head holder as one body and the lamp head as body 2 while drawing

- Render
After completing my 3D design, next i went for render. The rendering environment of Fusion 360 is effective and easy to use. It provides the opportunity to visualize and communicate design intent
Steps to render a 3D design i. After completing your 3D design, navigate to the Render Design Space (in the mode selector) ii. Click on the appearance tab (colored ball at the left of the toolbar) iii. Drag the material you want under the appreance option and drop at the body of the 3D design to change the appearance. iv. click on render (tea kettle button) to render the 3D design v. To save the image, select the image you want from the rendering gallery and click on the download button

- Animation
- Drawing
Design files 3D fusion360 files
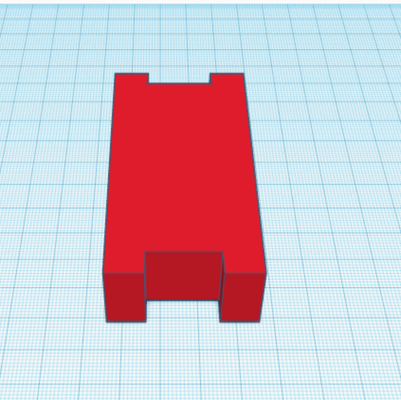
2. Tinkercad
Tinkercad is a free source easy to use web-app to draw 3D design, electronics and coding. I drew a parametric 3D design in the tinkercad.
Basics on tinkercad
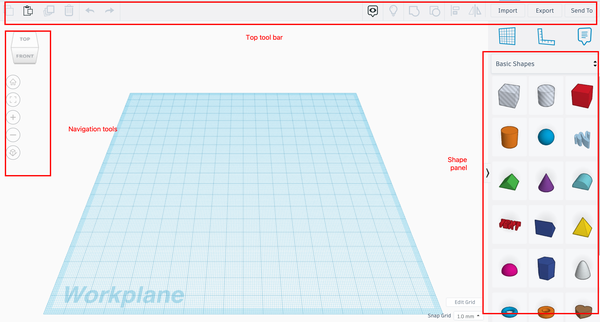
Some functions on tinkercad

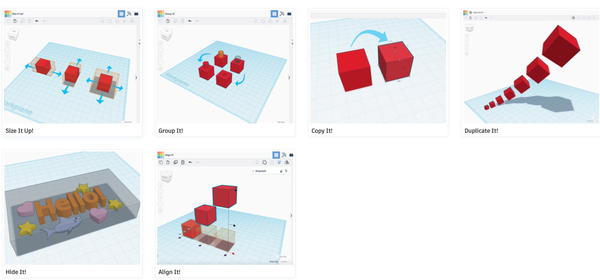
Basic steps
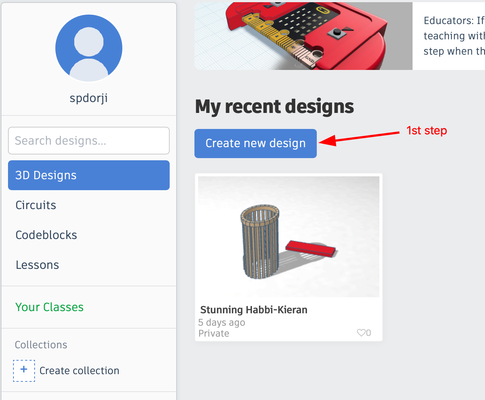
- Open tinkercad in safari
- Click on 3D design-> create new design
- . Click on the shape you want from the shape panel and drag it to the work plane
- Click on the shape to adjust the properties.
- Add more shapes to get the desired design
- Choose solid to have a solid design and choose hole to extrude downwards
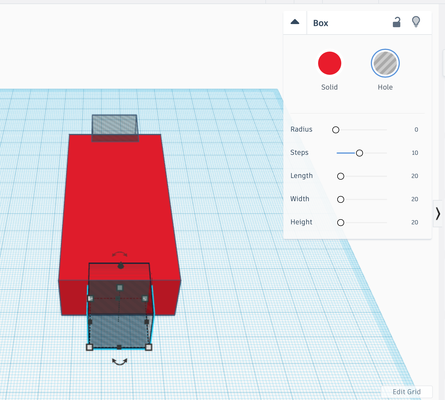
- For putting it all together, select all the components and then click on group to make the components into one

- Since the tinkercad is a web-app, all the work will be saved automatically. If you want to print the 3D design, first click on “Export” and choose either the STL or OBJ file format. This should promptly open a download window.
Design file: Tinkercad demo
Image and video compression
Image and video compression is a very important step in the fabacademy since every week we are allowed to push only 10MB. I use the inbult printscreen feature of mac (Ctrl+shift+3) to take screenshots and if I want to edit or write some notes or put arrows while taking screenshoot, then i use flameshot. flameshot is a very easy and convenient software. One of the important step is to compress all the images before using in the assignments and pushing in the git. To compress the images, i use the software XnConvert. This software let you compress many images at a time and it is fast too. Likewise, i compress the videos before using in the assignments. As for the videos, I use the software handbrake. Handbrake is also a free source software and very convenient to use.
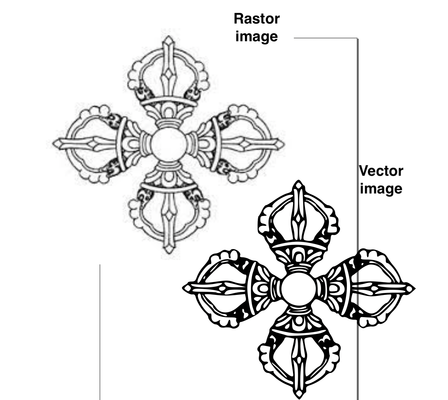
CAD2D: Raster and vector
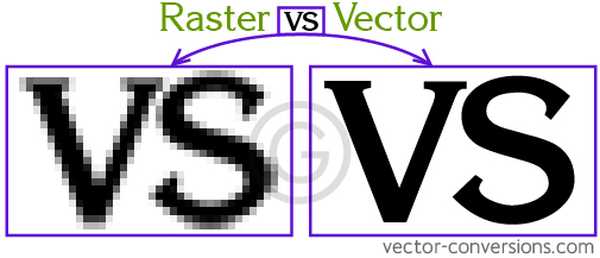
Raster: Raster images use bitmaps to store information. This means a large file needs a large bitmap. File extensions: .BMP, .TIF, .GIF, .JPG
Vector Vector graphics are best for printing since it is composed of a series of mathematical curves. File extensions: .SVG, .EPS, .PDF, .AI, .DXF

In laser cutting machine: For engraving- vector image (2D curves) is used For marking/cutting/drilling- raster image (image) is used
Image optimization
- Install image magick to the macOS

- Commands to optimize images :
1. Convert bigimage.png - resize 640*640 smallimage.png
2. mogrify -resize 640*640 bigimage.png
3. cp bigimage.png bigimage1.png
4. convert image1.jpg image2.jpg -geometry *400 + append stripimage
Video optimization
We can Extract videos from youtube from the terminals
-
To install
brew install youtube-dl -
To extract the video
cd sonampaldondorji/fabzero-document/temp/ youtube -dl paste the link -
If you want to select resolution and audio
In the terminalyoutube-dl -F paste the link youtube-dl -f 251 paste the link
Inkscape
To vectorize (Raster to Vector)
- Upload the image png
- click on path and click Trace Bitmap
- Single Scan for Black&white image
- Multiple Scan for Coloured image
- Adjust Brightness cutoff: higher the brightness threshold number- thicker the line
- Apply on update to see if image is upto your preference
- Click apply once you are done
- Click document properties
- Click on resize page to drawing selection
- Put in the following parameters W = 210mm H=152mm for A4 size Top=5, bottom=5, left=5, right=5
- Save the vectorized image
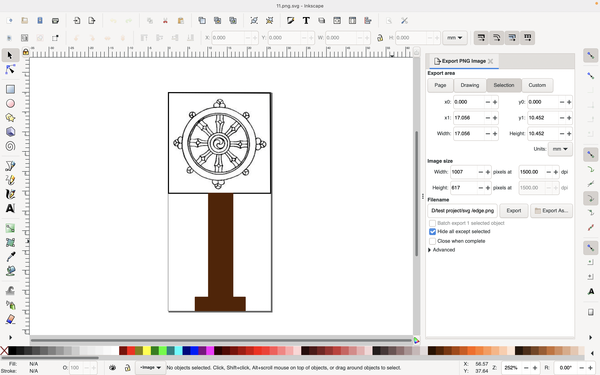
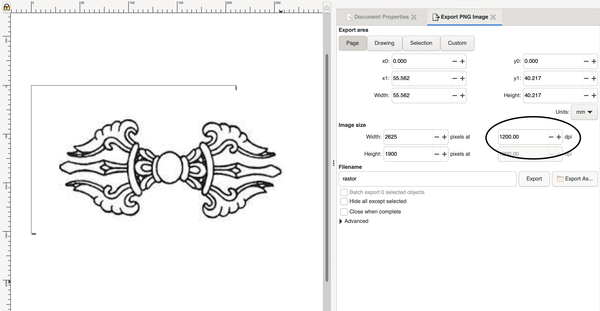
To rasterize (vector to png)
-
Open the image png
-
click on file
-
Click on export png image
-
Click on page
-
Set the parameters
dpi 200-300= For printing dpi 600= For machines dpi 1200= For super precise (pcbs etc) -
Click on document properties
-
Put in the following parameters
W = 210mm H=152mm for A4 size Top=5, bottom=5, left=5, right=5 -
Save the image
Losslesscut
- Open losslesscut app
- Open the video you want to trim the video
- Press i to start the section you want to trim and o to end the section
- You can make as many sessions as need
- Click on export to save the video