Week15- Wildcard Week
Introduction
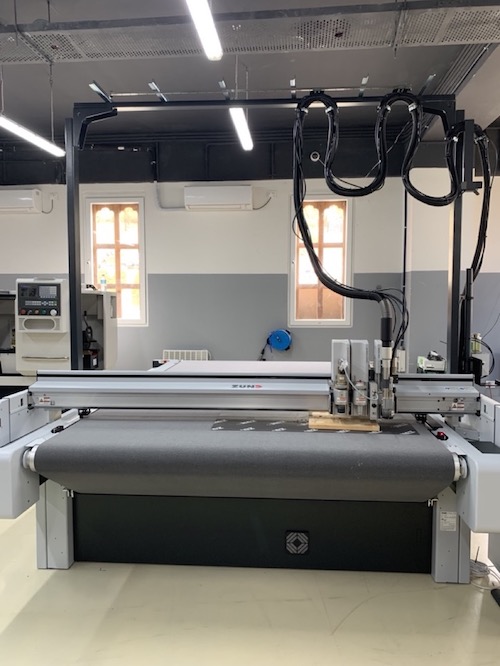
Interesting week but we only have handbot in and we have 11 students in fablab mandela. I asked permission if I can visit superfablab in thimphu and they were kind enough to let me do this week's assignment there. They have lots of machine but some were not set up yet. So, for this week I decided to work with ZUND.
Assignment
- Design and produce something with a digital fabrication process (incorporating computer-aided design and manufacturing) not covered in another assignment, documenting the requirements that your assignment meets, and including everything necessary to reproduce it. Possibilities include (but are not limited to)
ZUND
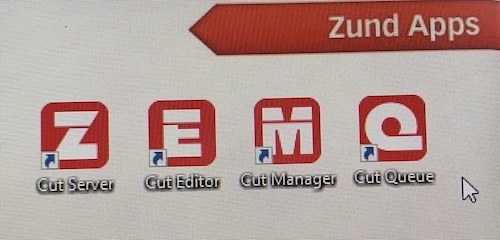
Software: Cut editor, cut queue, Fusion360
Difference between Zund Cutter with Shop-bot and SRM20
- While Zund can cut, engrave and fold, SRM20 can mill PCB board and cut moldings
- Zund has 3 tool holder while shopbot and SRM20 have only one tool holder
- Zund can automatically change the tool while we have to manually change the tool in shop-bot and SRM20.
- Zund functions with compressed air whereas CNC can work without the compressed air
- Zund operates much faster than shop-bots and SRM20.
- Zund is usually used for mass production while shopbot and SRM20 are used for prototyping.
Operation
Cut editor
-
Open the cut editor
-
Click on file-> import -> open your file.
-
Select which part you want to route
-
On the right side, click on the edit button on the material
-
Select the material from the options given
-
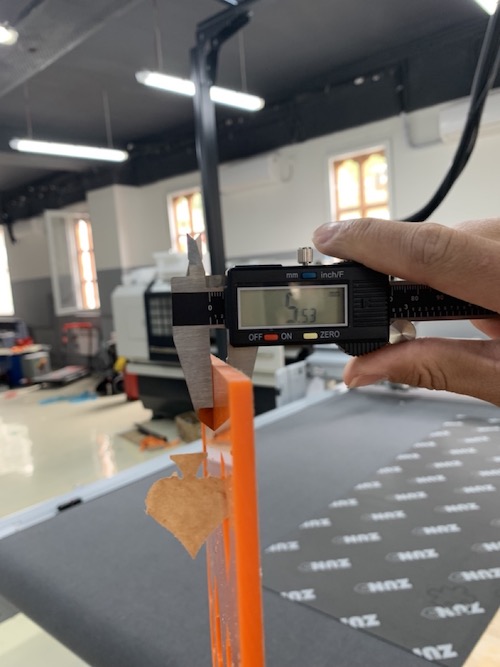
Measure the thickness of the material using a digital vernier calliper.
-
Write down the thickness in the material thickness.

-
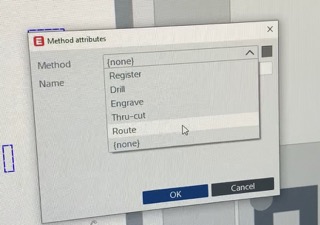
Select the part you want to route and right click
- select change method
- new method
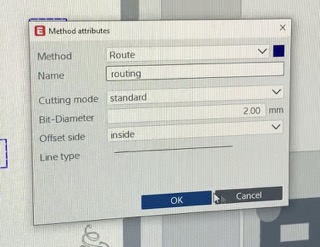
- select route
- offset side- inside
- bit diameter- 2mm
- name the file- routing
- click on ok
-
Select the part you want to engrave and right click
- select change method
- new method
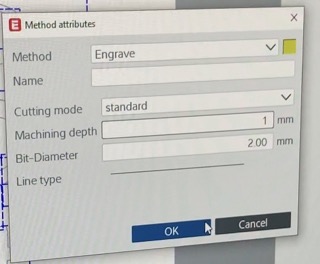
- select engrave
- bit diameter- 2mm
- machining depth- 1mm
- click on ok
-
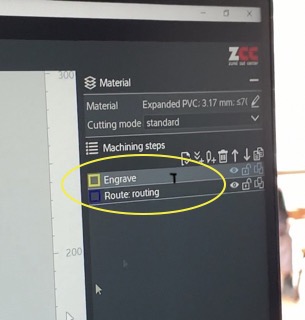
Different colour files represents different jobs(routing or engraving)
-
on the left top side-> click on send to server-> ok
-
Close the cut editor
Cut queue
-
Open the cut queue
-
It will display the list of jobs. Double click on ur file.
-
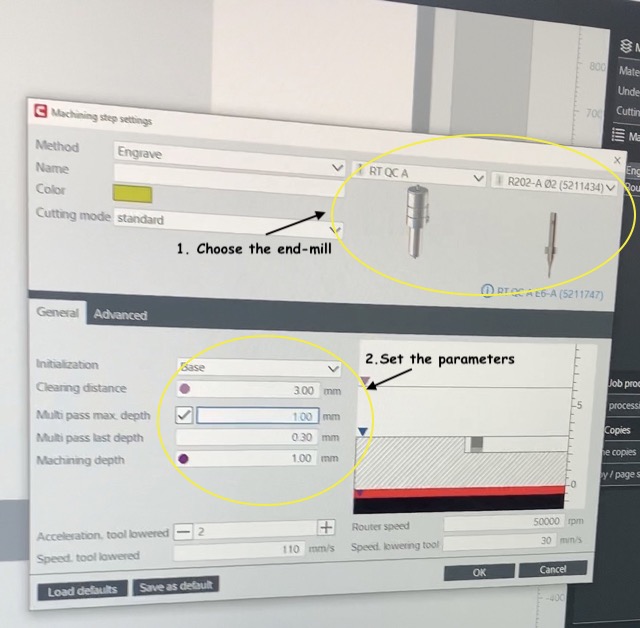
Double click on engrave file on the right side of the screen which opens the machining step setting window
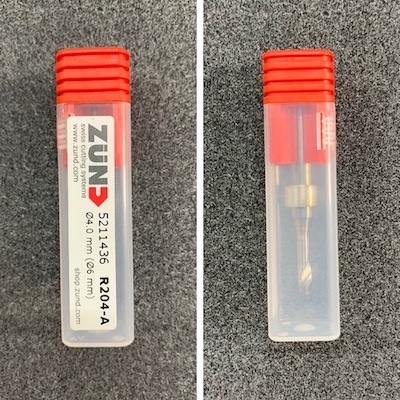
- Choose the end-mill= R202-A dia2 (5211434)
- Under the general-> multi-pass max depth= 1mm-> machining depth= 1mm
-
Double click on the routing file on the right side of the screen which opens the machining step setting window
- Choose the end-mill= R202-A dia2 (5211434)
- Under the general-> multi-pass max depth= 1mm -> base depth= 0mm

-
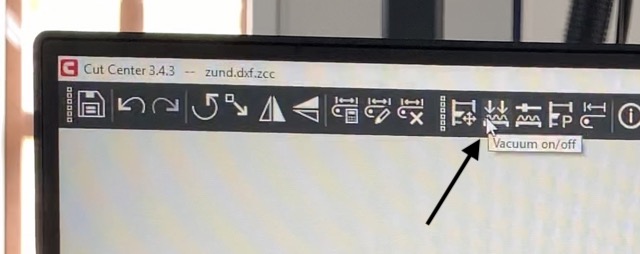
Click on the vacuum on/off at the top menu to turn on the vacuum
-
Laser will move towards the reference point which is denoted as R on the screen
-
Set the xy axis using arrow signs
-
Ctrl + R= to set the reference
-
Click on start job to start cutting
-
2mm dia is the smallest end-mill and the end-mills change automatically by the machine itself which is really really cool.
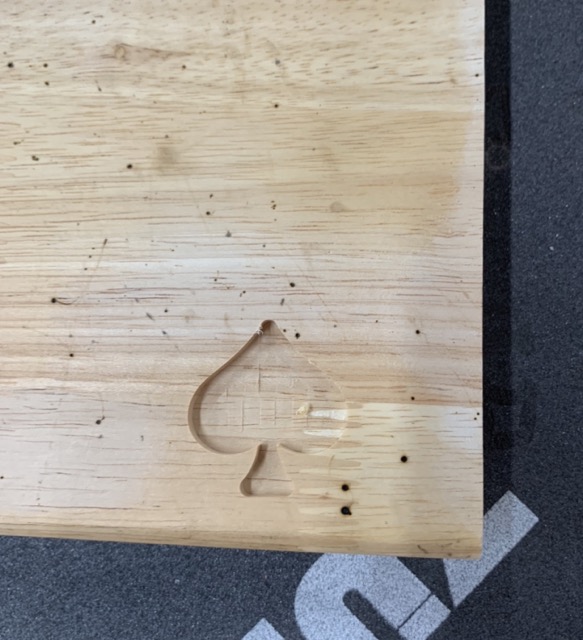
Result
-
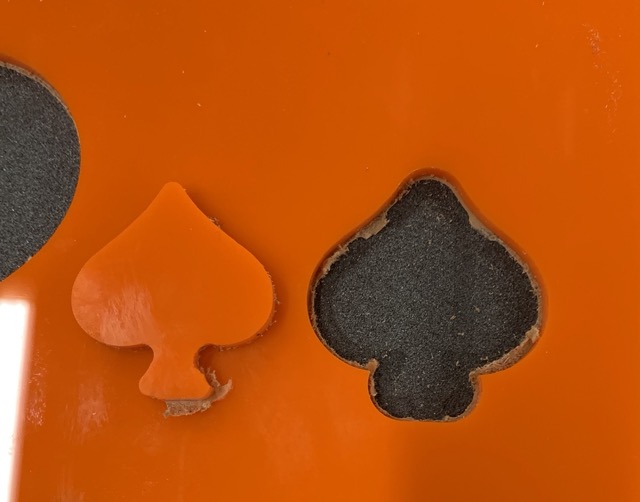
Routing
-
Engraving
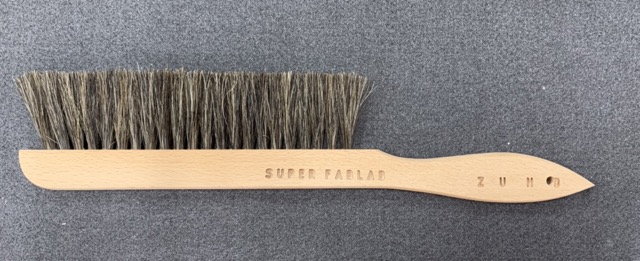
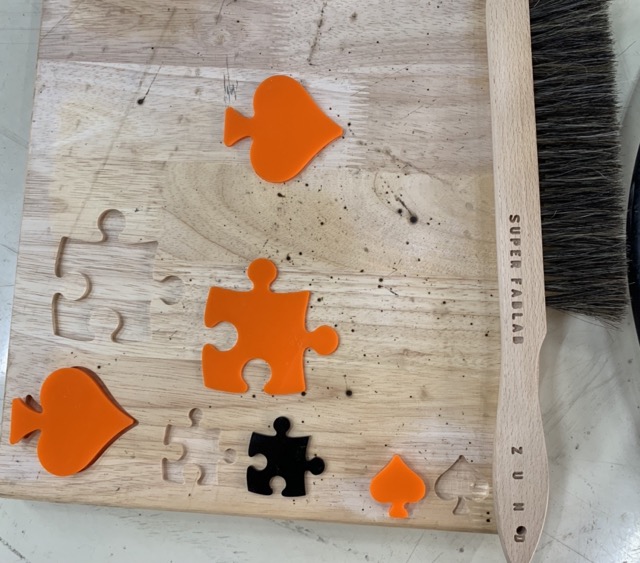
Final products
I made puzzle pieces and engraved names on the brushes.
Design files
- Spade shape - stl format
- Jigsaw puzzle piece - stl format