Controller box: 3D printing
In my project I needed a controller box in which I could connect and put all my electronics in.
Initially I planned to make the controller box using laser cutter but later I opted to have it 3D printed since it looked aesthetically pleasing.
I designed the controller box on fusion 360 software. Along with the box, I also designed a lid for the box. The designs can be seen below;
The design was then sent to the makerbot 3D printer. It took 20hours to print the box.
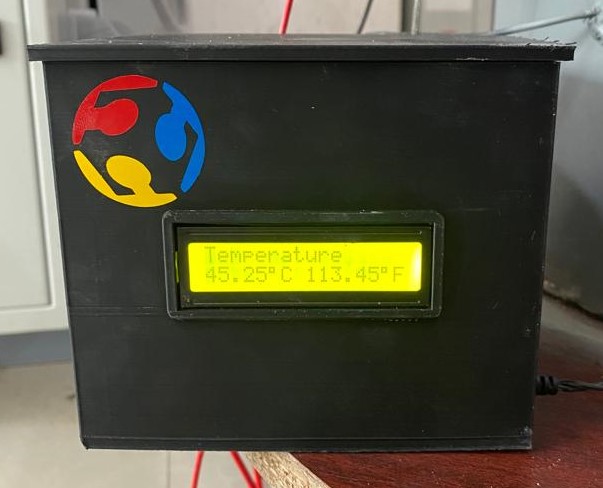
The final printed product is as shown below;
LOGO Design: Vinly cutting
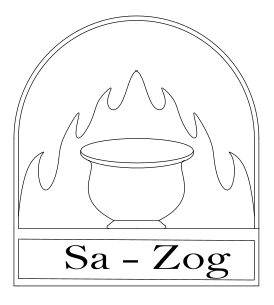
For my project brand, I designed a simple logo on fusion 360 and named the product as "Sa-Zog" which literally translates to earthen-made/made of clay in Bhutanese Language.
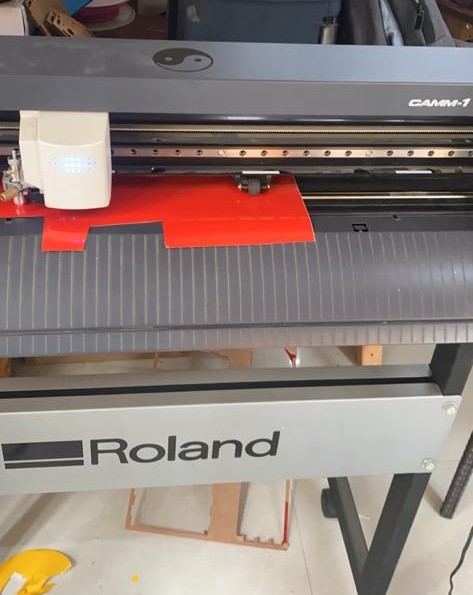
 I cut the design using vinyl cutter.
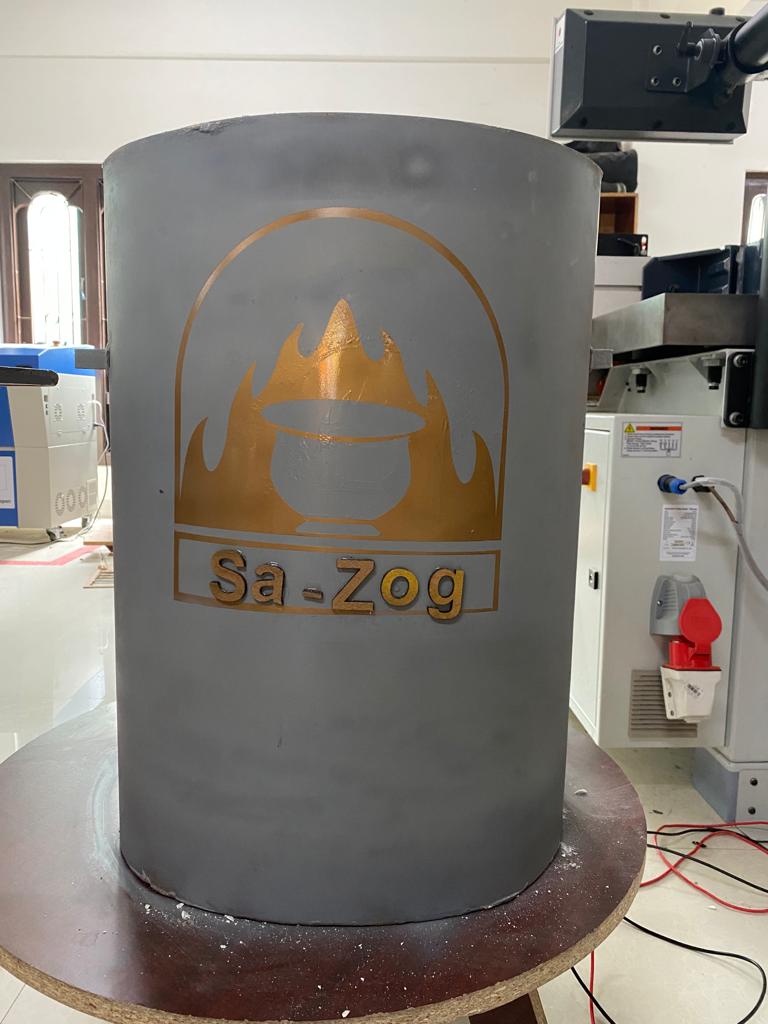
Since my kiln will get heated up, I felt the vinyl might get damaged. Thus, I used the vinyl cut logo as a stensil and sparay painted the brand name on my kiln body.
Once the spray paint had dried, I peeled the stensil off and the final output came as seen in the picture below;
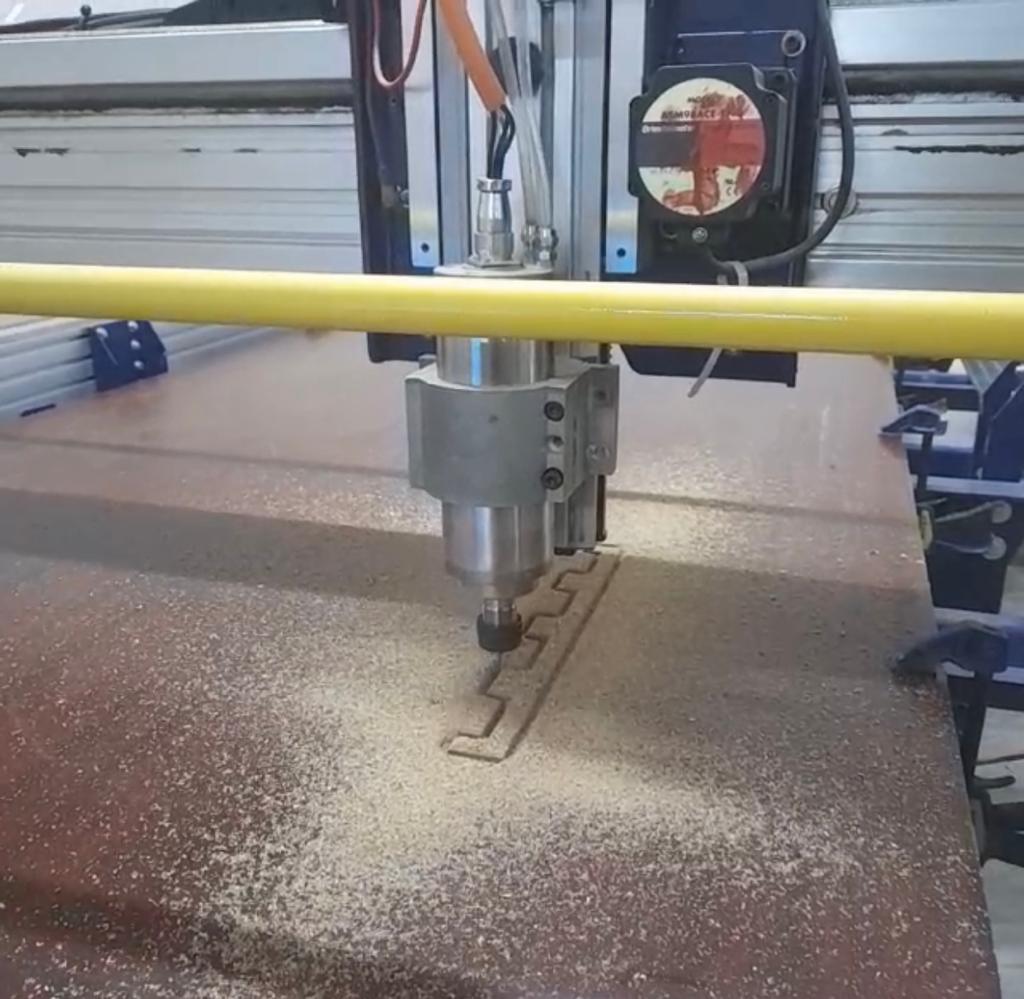
Kiln Table- CNC Cut
Since my final project which is a kiln is quite heavy and also will get heated up, I wanted to make a table for the kiln to prevent the kiln from spoiling the floor.
For my design, I used fusion 360. Initially I made a similar design in the CNC week but this time I just changed the dimensions to fit my kiln.
The .dxf file of the design was then sent to the CNC machine and the table was cutout from particle board. Once the design was cut, I assembled the pieced and built the table.
I was skeptical about the strength of the table in the begining but luckily the table was able to with stand the weight of the kiln.
